
 Member
Here is a guide on how to refinish your hazy headlight covers and/or install angel eyes.
Refer to this excellent thread for removing your headlights and taking off the covers: http://forums.bimmerforums.com/forum...d.php?t=893721
A different method(baking) is used to remove the covers from 2001+ cars.
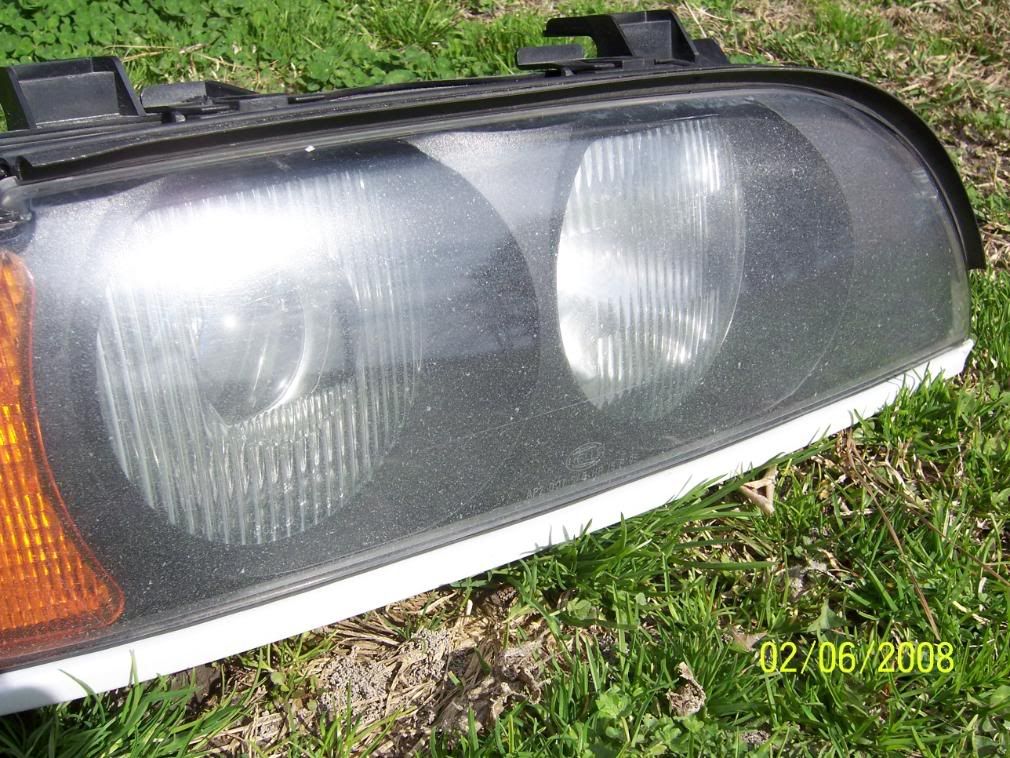
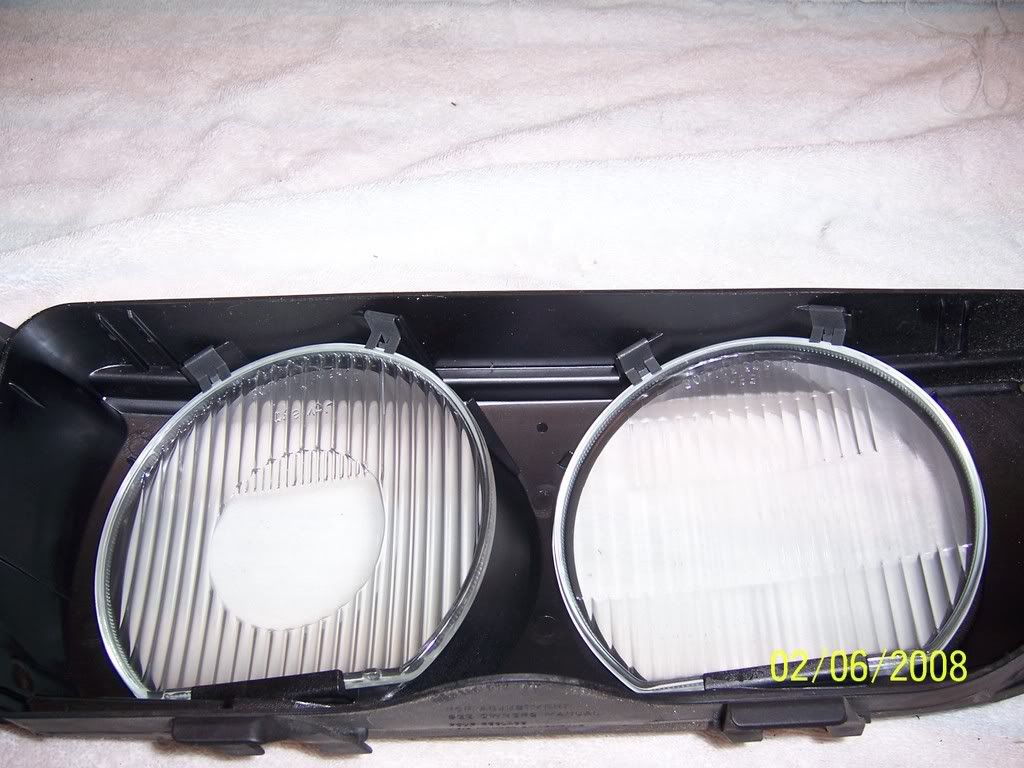
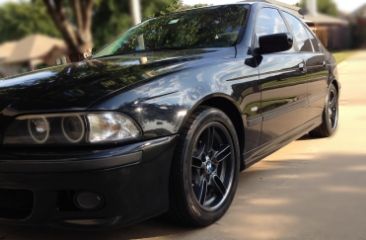
Here is a pic of what my covers looked like after 8 years of driving.
Once you get your covers off, clean them up a bit. We don't want any dirt or grit on them. Ok now for the almost scary part.
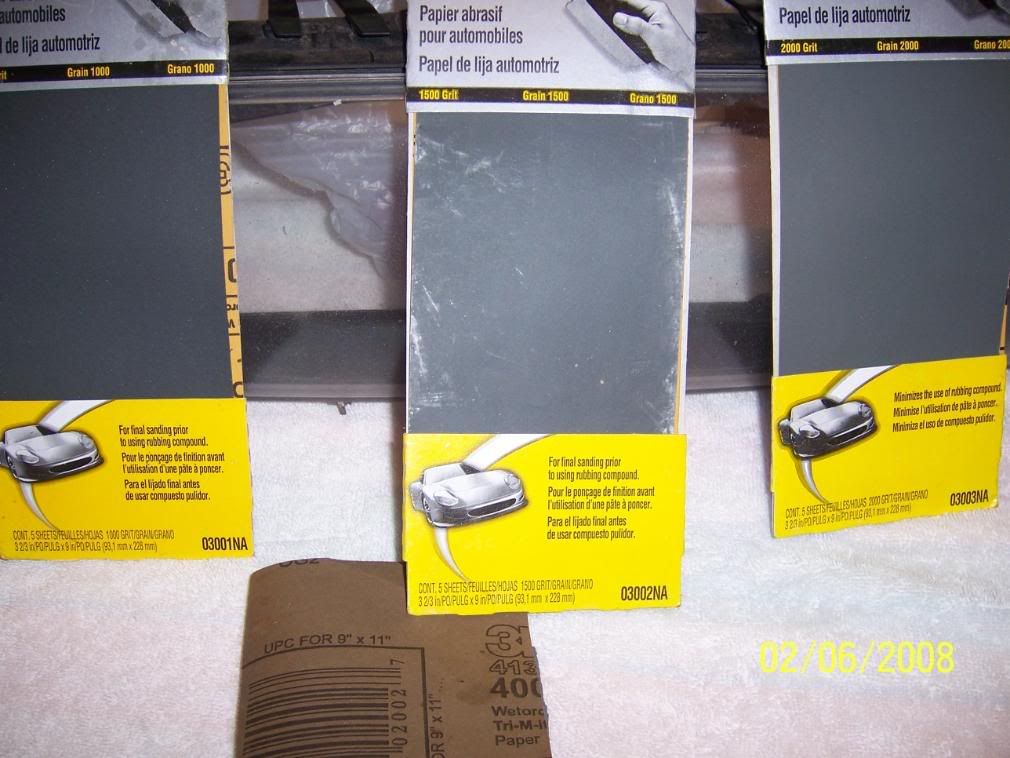
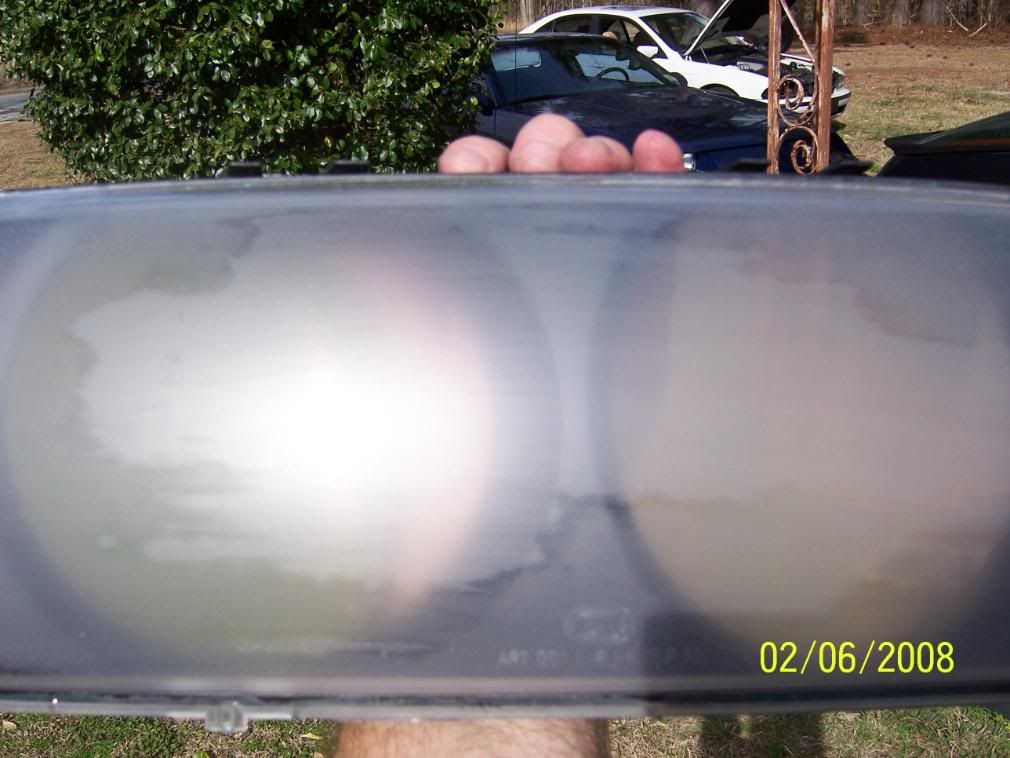
That's right. You are going to sand them. Don't be scared. I chose to start with 400 grit wet/dry sandpaper from 3M because I had a million small pits that I wanted to get out. I put it in my kitchen sink and ran a small stream of water over the covers as I was sanding. I recommend only wet sanding. Here is what they look like after the first pass with 400 grit.
Haha. I got you. You're screwed now!!!Might as well buy some new covers. These are goners.
Seriously though, don't worry. Now, move up in grit(finer) using the same process. I went to 1000, then 1500, and finally 2000. You can start as rough as you want, and finish with as fine as you want. Keep in mind though, you will want to use several stages(ie. don't go from 400 to 2000). Take your time on the sanding if you want it to turn out good.
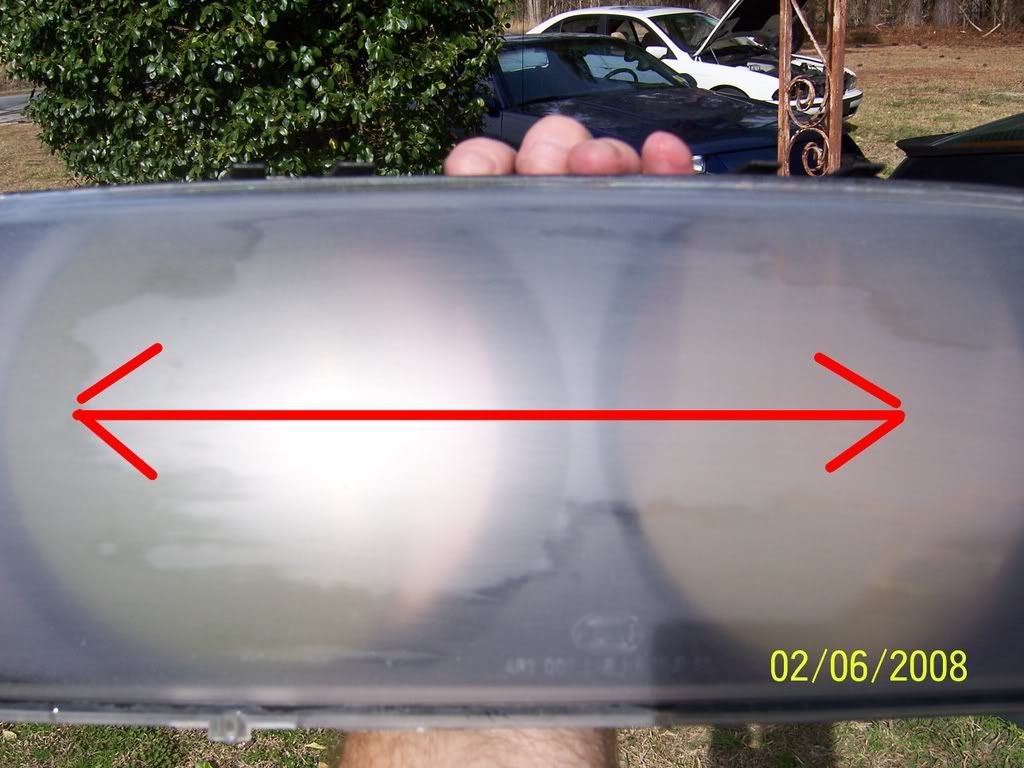
Don't use too much pressure and let the stream of water constantly rinse off the cover. You will want to sand using a back and forth motion. Don't use circular motions.
This took me a while as I did it by hand and each time you go finer in sandpaper, you need to sand out the "scratches" made by the coarser paper. If you don't get them out, you will see it in the end. TAKE YOUR TIME!!!
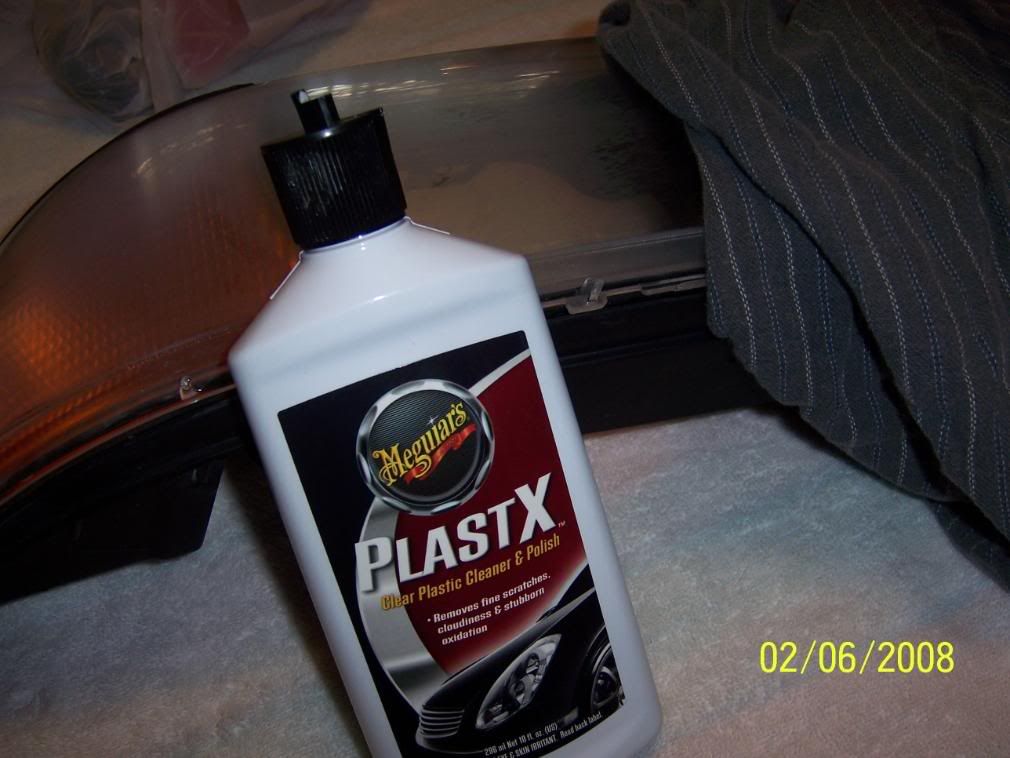
Ok, so you're done with sanding? Time to bust out the polish. I chose to use Meguiars PlastX(and some old boxers).
Again, use a back and forth motion. Hopefully you sanded well. Here is what mine looked like after the polish.
Nice! Obviously you don't have to use old school methods(read: cheap) of polishing, but it will save you from going out and buying additional tools and materials.
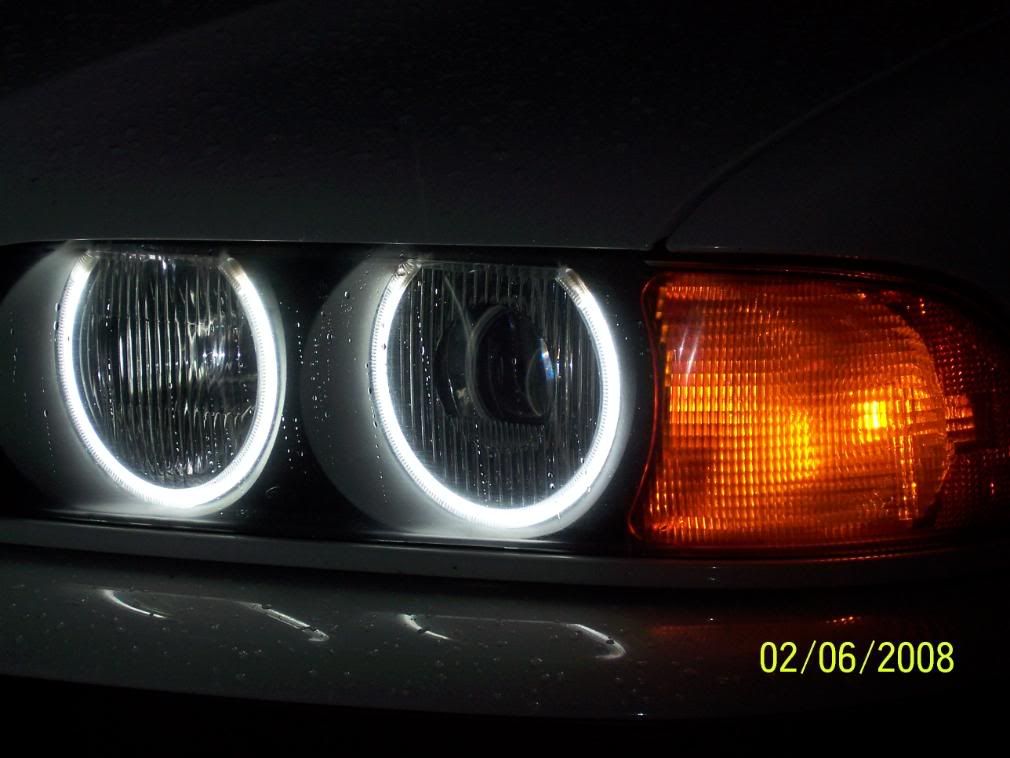
That's it! Put your covers back on OR if you were going to also install angel eyes, keep reading.
We all know maintaining a BMW costs a little more than your average car so if you are into saving money like me, this is a relatively inexpensive way to improve the looks of your lighting. I found some angel eyes on Ebay for about 50 bucks shipped to my front door. This guide may work for other brands of angel eyes or it may not. I don't know as I haven't seen the design of others. So on with it...
Take the lenses out of the covers.
Once they are out, clean up the plastic surface right behind where the lenses used to rest with some rubbing alcohol. This is so the glue that you are going to use has a clean surface to adhere to.
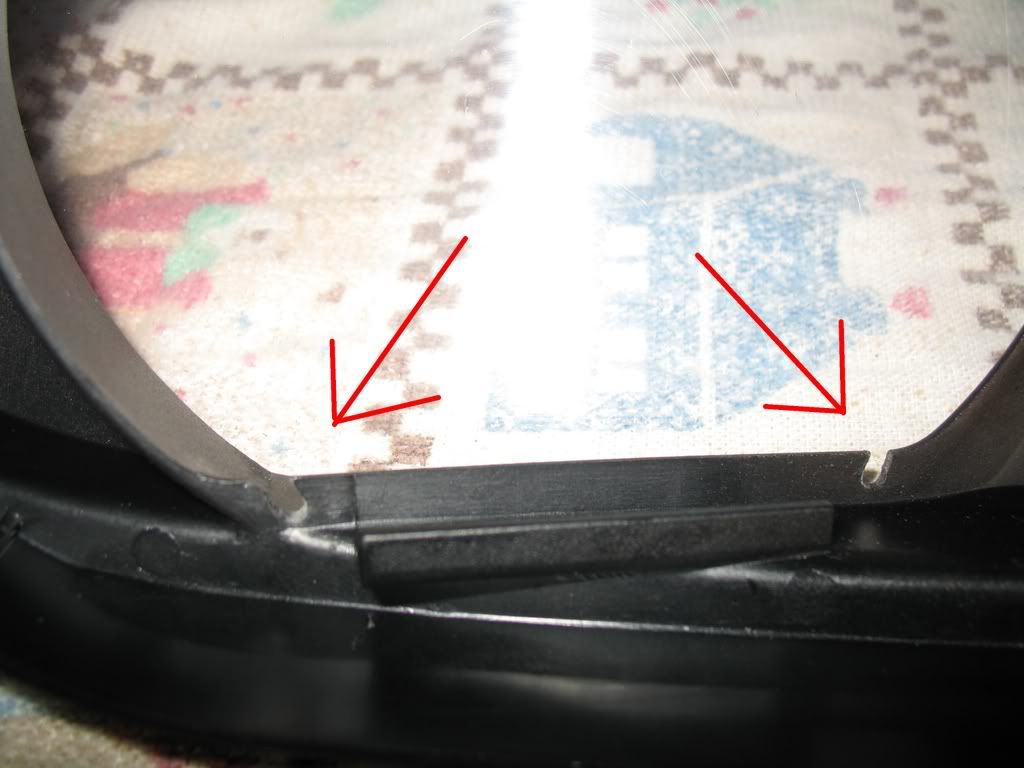
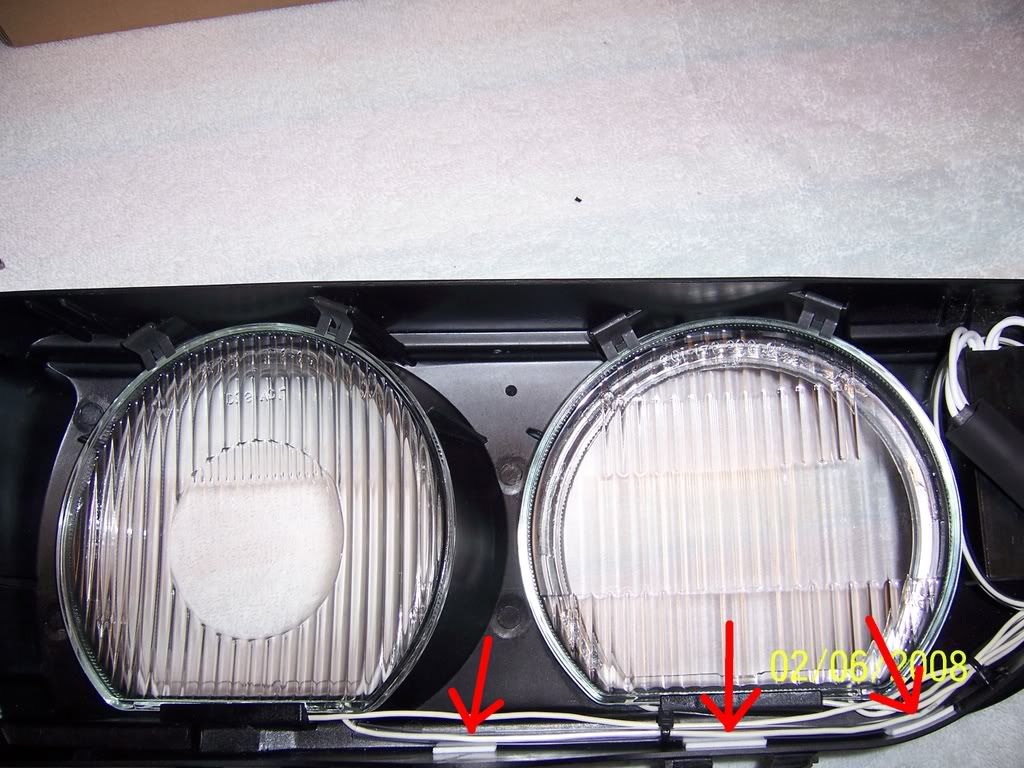
Now, I cut out 2 small notches on each opening for lights. These are for the wires coming off of the rings. If you don't cut these notches, the wires will be pinched when you put the lenses back in. Position the rings where you plan on mounting them and mark the plastic so you will know exactly where to grind/cut/saw. Remove the ring before you make the notches. I used a small metal grinding bit with a dremel because it was convenient. Use whatever you want but be careful of the cover.
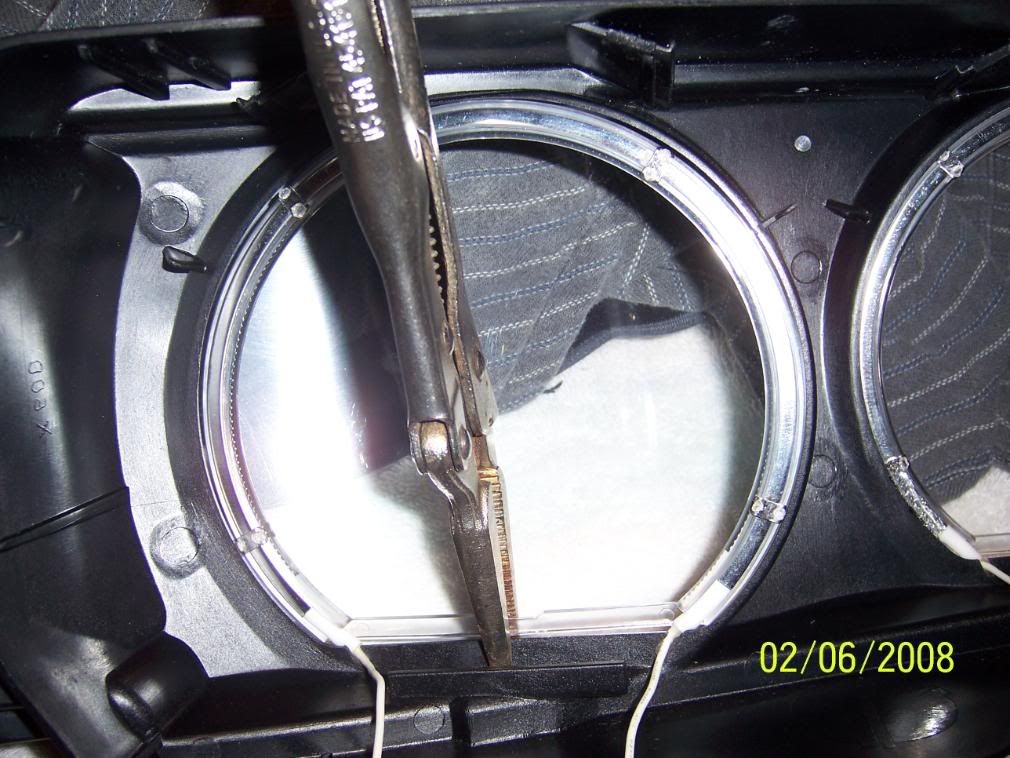
Now get a ring out and position it. This can be tricky so take your time and keep your cool.Keep in mind that the lense is curved so when it rests in its place, it will be resting against the angel eye unless you space the ring away a bit. Not too much though, you don't want a huge gap between the ring and the headlight "hole". I used a small vice grip to hold the ring in place as you can see.
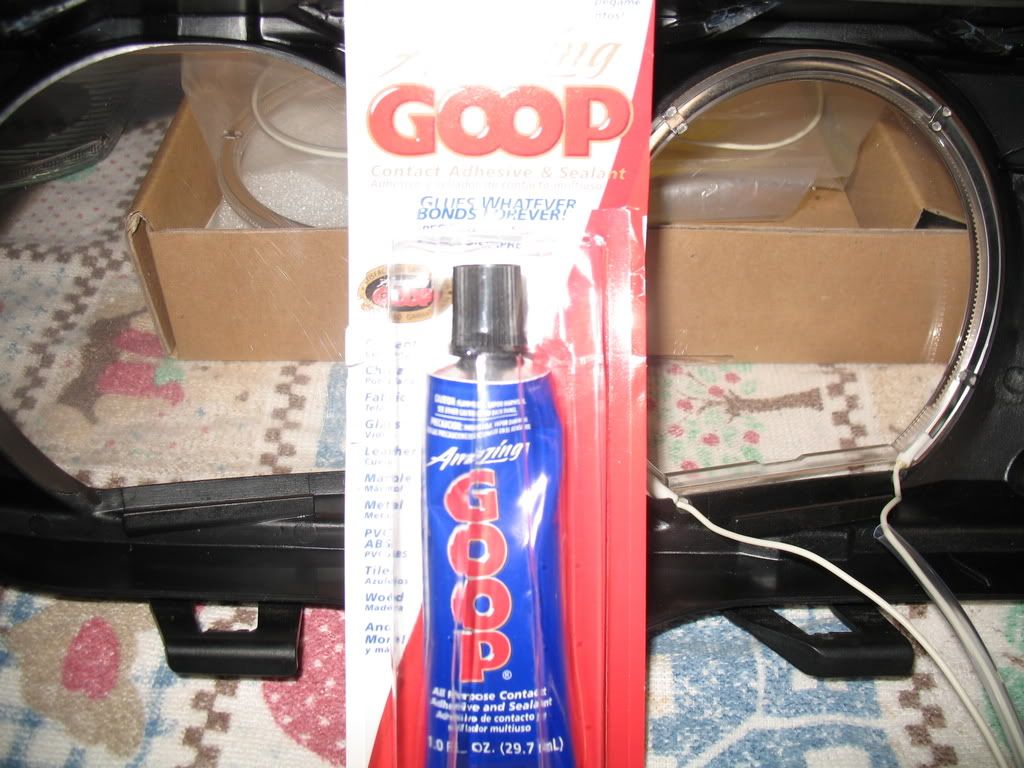
Make sure this is a stable clamp(not too much pressure though). Time for some Goop. You can use whatever you want to but this stuff worked pretty good for me.
Squeeze out a little bit at a time onto whatever you want. I just used the bottom of a plastic cup from Taco Bell.
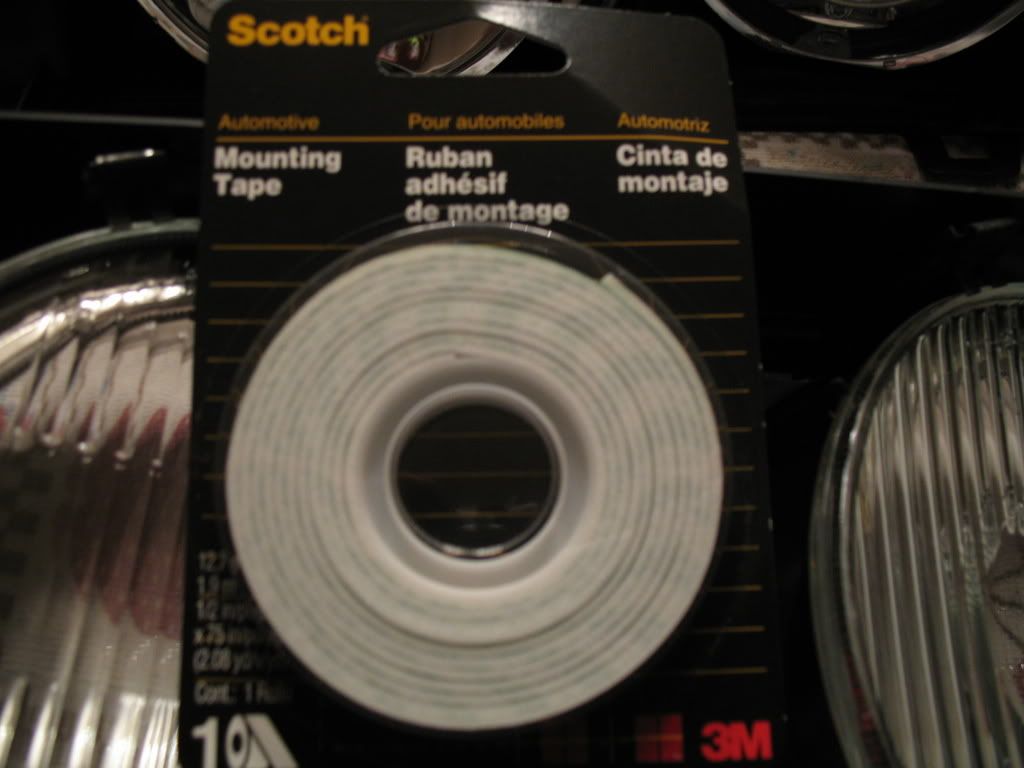
Do both rings. Now put your lenses back in. At this point, I used some 3M mounting tape to hold down the wires from the angel eyes so they don't get in the way.
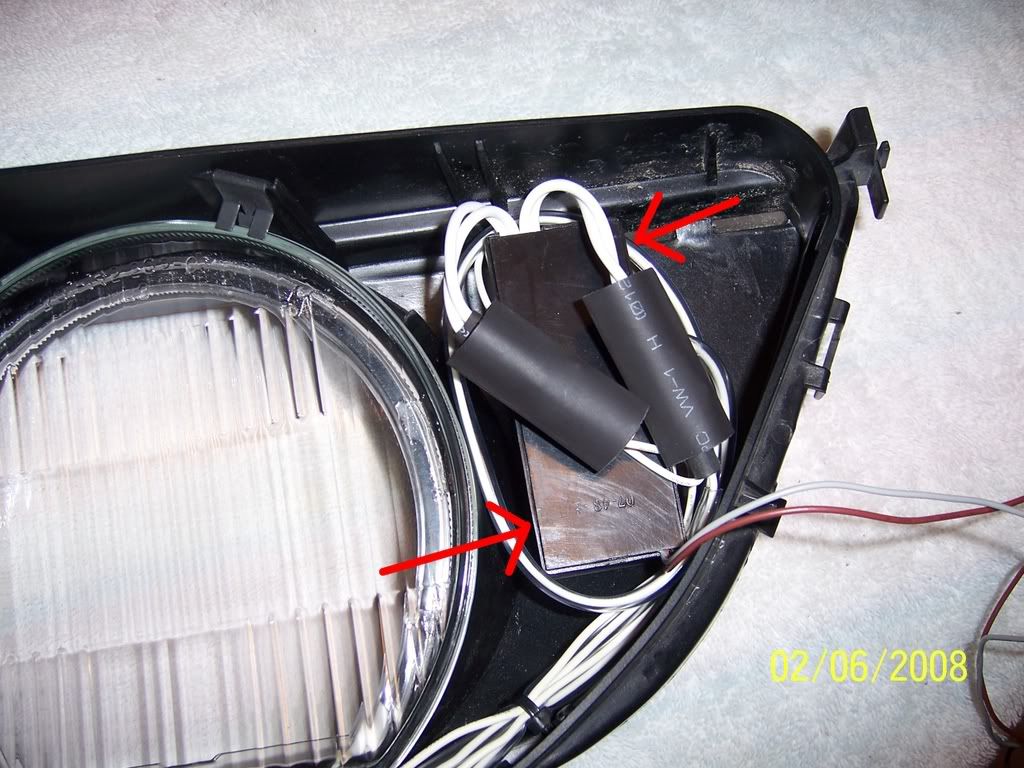
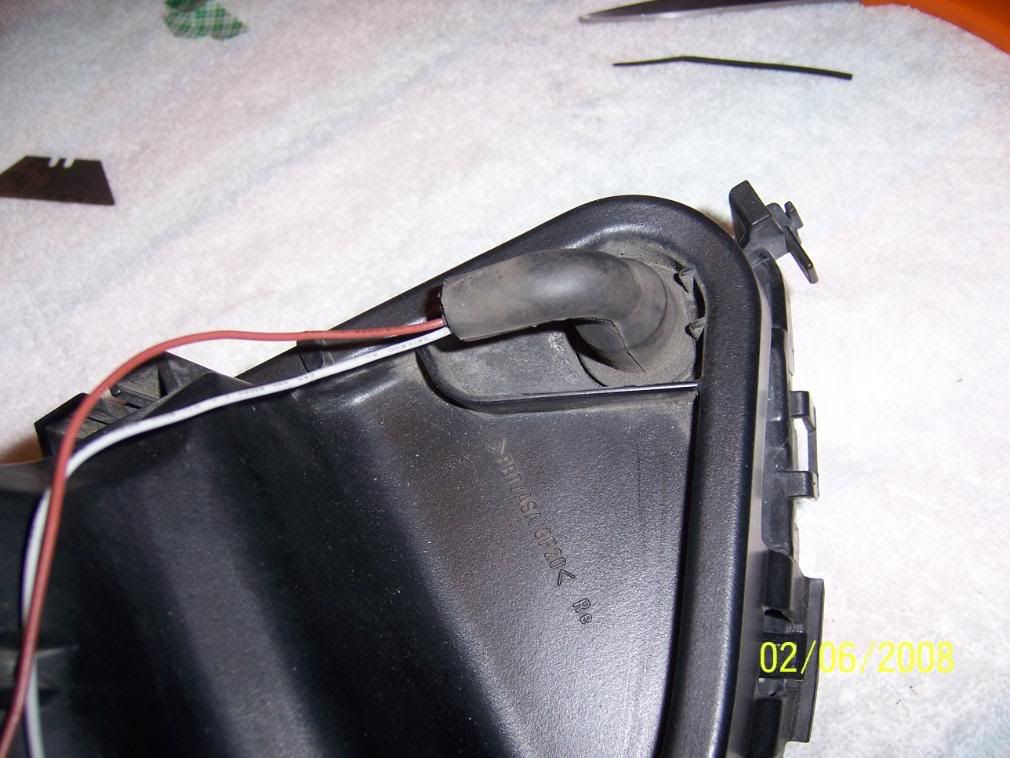
I didn't want the ballast for the angel eyes in the engine bay so for a cleaner install, I chose to put it in the headlight assembly. I hope this won't be a problem. Maybe I need to get a fire extinguisher just in case.
Using mounting tape again, I placed 2 small strips on each end of the ballast and mounted it to the cover. How nice of BMW to give me this extra space.
See the gray and brown wires? Those are the power and ground wires for the rings. I ran them out of the vent because I didn't want to drill any holes and the vent was conveniently located near the ballast.
Make sure everything looks right(ie lenses are installed correctly, wires are tidy and out of the way, etc.) and put the assembly back together.
Now all you have to do is put your headlight back in and wire it. I tapped into my parking lights because I would like to be able to control when the angel eyes are on.
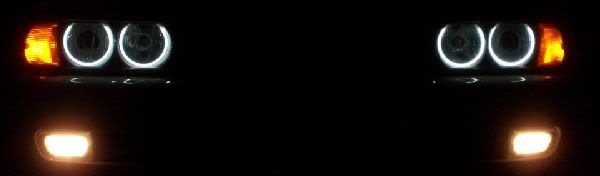
There you have it. An inexpensive solution for a headlight makeover. Feel free to pm me with any questions. I'll try my best to help.
Mike
Edit: Parking Light Wire Color Coding
Last edited by jamesdc4; 06-06-2009 at 08:21 PM. Reason: Added link to parking light wire color coding.
2000 540i M-sport
1991 Camaro RS LT1/T56 Procharger ATI
"The laws of physics cannot be repealed,
even with ASC+T/DSC" --As stated in the driver's manual.
Status Quo!
Dude I salute you! Now thats getting the "job" done! This is must see TV!
Another FP5241 Creation
Parting out M54 Engine. Intake and all. Cats avail as well. PM ME!
Member
Very nice work!! Came out great.
License Revoked
great post-one of the best I have seen! I just ordered a set of these myself so you just did me a huge favor. Nice work. Using the vent was smart. Very clean install.
Bill
Member
Ditto..I'm going to do this to mine. Can you please get the the ebayer you bought these from?
Member
Nice write up
Corey
I like cars
1985 Chevy C30 3+3 Dually
1989 Mitsu Mirage Turbo Drag Car
1992 Eagle Talon Tsi AWD
1996 Mitsu Eclipse GST-FS will trade for 540/6
2005 Dodge Magnum Hemi RT AWD
1999 BMW 528iT SOLD searching for M
Member
Awesome write up! Would you mind a link to the Angel Eyes you bought on Ebay so I can look into them myself??? Thanks!!

FOR SALE '00 540i 6-speed 101k mi - 260 RWHP & 311 RWTQ - OEM '00 M5 tails, OEM '03 M-tech rear bumper, Magnaflow, 6000k fogs, CDV delete, M5 rear swaybar, Akebono ceramic pads, Brembo rotors, AMSOIL, etc.
Member
Very nice writeup. You explained the process and the variables within it very well.
Prodigal Member
**applause***
Dude!!!
Awesome DIY.
Very much appreciated.
Great job on the wet sanding!!!
Cant wait for more pics!!!
I'll be sure to link this thread whenever somebody asks how I got my AE's done.

UNDER CONSTRUCTION
- 2000 528i Sport -
Got any questions about my car? Feel free to PM me!
Member
so he went from 400grit then 1000,1500 to 2000 grit cause my headlight cover look exactly like that before he polish it.
///M
2002 540iA sport sterling grey, umnitza predator ice, yellow fog
Impossible is Interesting
I'll second that!Originally Posted by 00BMW540i6


Prodigal Member
Tha whaa?
Yes, i believe so, but he started with 400...
UNDER CONSTRUCTION
- 2000 528i Sport -
Got any questions about my car? Feel free to PM me!
Member
looks great... ive been contemplating doing this but was scared to sand my head lights.....
one question tho... eill the lights turn back to a haze when the polish wears off? do you constantly need to polish them to keep them clear?
either way look really nice congrats on the job and awesome write up...
Member
From my experience, they can haze back over, but if you poilish once a year, or when you notice some haze, you should be OK. Hey, it's a lot cheaper than replacements.
Or, you could do the polishing and then put Laminix (or similar) clear covers on the lights.
"All my life, I have searched for a car that feels a certain way....Powerful like a gorilla, yet soft and yielding like a Nerf ball. Now, at last, I have found it." -- Homer Simpson
"Gulp! How much is this monstrosity? Eighty thousand dollars?!? I'm ruined!" -- Herb Powell, former President and CEO, Powell Motors Corp.
Member
Thanks guys! Glad I could help someone.
Once you polish the headlights, they are done. There isn't some film that will wash off next time it rains. However, like philboski said, occasional touch-ups might be beneficial.
2000 540i M-sport
1991 Camaro RS LT1/T56 Procharger ATI
"The laws of physics cannot be repealed,
even with ASC+T/DSC" --As stated in the driver's manual.
Member
This is an excellent DIY! - it should be posted permanently in the DIY E39 section...
five a day
Member
Rock on! I plan on doing this soon!! Thanks for the write up.
Current:
2016 BMW 535i xDrive
2017 Volvo XC60
2000 BMW 540i
Past:
2012 Audi A4 S-Line
2011 BMW X5 50i
2010 Mercedes ML350
2002 Lexus IS300
1998 Audi A6 Quattro
1988 Honda Prelude
BMWCCA 484984
Linky, please.
Nice job!
RC061+RC062
Thanks for the write-up! I'm doing this when the weather gets warmer for sure!
Rules to live by:
- Fast, reliable, cheap. You can only have two.
- Do it right, or do it twice.
- BMW: Just because you can afford to buy one, that doesn't mean you can afford to own one.
1998 528i 5-speed sport - sandbeige with technical graphite trim - Jim Conforti Shark Injector - CDV delete - MY2000 M5 Xenon headlights - MY2000 M5 tails - PP M5 front bumper - E46 M3 paper filter - E60 545i shifter w/ E46 ZHP knob - 12" Alpine Type-R & 500w RF - CD53 w/ AUX input
Member
Like he said, do it once and you're done. It really helps the look of the car, and it only takes like 30 mins. In retrospect, it's not a big job when you're done. I did mine while still on the car.
Member
Dude, you rock! You jsut saved me $$. Excellent write-up!
Thanks,
-C
Member
Really nice write up mark. I'm going to do this later today.
But did you change to clear corners? the pic of the car in your signature has clear corners, whereas the writeup has yellow ones.
Member
Thanks guys!
Lol, that pic is in black and white. I kept the ambers.
2000 540i M-sport
1991 Camaro RS LT1/T56 Procharger ATI
"The laws of physics cannot be repealed,
even with ASC+T/DSC" --As stated in the driver's manual.
Super Duper Pooper Scoopr
how exactly do you wire them into the parking lights though?
 Posting Permissions


 Reply With Quote


Bookmarks