
 Member
When I bought my car the p/o had the seat top covering off and at an upholstery shop to replace the side panel, the shop installed the new belt guide.
I found the new guide for the passenger side in the trunk, it bothers me that it is broken, but somehow the hassle of replacing it myself seems a bit much.
As some mentioned I don't use the guide (new on the drivers side) as it puts the belt too high for me...so....I am wondering what a shop would charge just to install it......for the sake of my "OCD ness".
Member
I replaced both guides on a set of seats I bought for my coupe. Found some good how-to pics and descriptions. Came out great for 1 afternoon in the winter, and I must be in the very bottom of the automotive expert spectrum on this forum, but hey it's just a seat, so seemed much less intimidating to me than tearing into the engine.Originally Posted by daka

Member
If you've done it before and know the best approach, this could be an under 20 minute job once the seats are out. Drilling out the mounting posts with a 3/16" bit is far easier than trying to slide or cut off the retaining washers. Using tape to hold the new washers to the mounting plate solves the problem of alignment and dropping the washers.
Taking out the seats is easy, only four floor fasteners plus the seat belt, but takes considerable time to disconnect the electrical connections and route them properly when you reinstall.
Edit: I have vinyl seat covers, which may allow more access than leather. I can just barely position the backing plate, with the retaining washers taped into position, into place with my hand flat.
Last edited by djb2; 05-18-2015 at 10:19 AM.
Kurb-Hopper
I replaced the guides in my seats last year. I made a tool to assist in getting the ring retainer up inside the head rest and onto the guide. This stopped me from having to completely remove the seat cover. Then I found these neat aluminum clips that snap over split to tie the halves together and hopefully strengthen the guide overall.

Z3M Racer '99 M Roadster
Member
Need more info on the clips please.
Hobby dismantler
I am in the middle of doing this. I read the entire thread and it is a lifesaver. I am actually surprised no one posted part numbers in this thread for those of us that are "trying to be efficient by reducing time spent searching" aka lazy.
DO IT YOURSELF.
You mean the part numbers in post #4?
Hobby dismantler
I assume they are in the pictures. No pictures loaded up on my phone. They were easy to find on realoem though. Great write up. thanks for putting it together.
Member
getting ready to peel open my seats, and planning on the 3M 125lb zip ties instead of going back to the hog ring...
In looking at the replacement OEM brackets, and knowing how fragile these things seem to be, i'm considering reinforcing/filling in the underside void area that goes against the seat, possibly with a strong epoxy or a epoxy/carbon fiber combo....
anyone done this??? thoughts???
i don't want to do it again if possible...
also, are the replacements holding up better than the originals??? or have people just quit posting about it.
wondering if someone with access to an injection molding machine could start cranking these things out with a polymer similar to what is used in the frame of Glocks or even magpul Pmags... that stuff is strong and very hard to break. (i've tried to break both...)
Last edited by crashgordan; 07-08-2014 at 08:43 PM.
Member
I added the black electrical shrink tubing over the "ears" of mine and they are holding up just fine. Easy. Just have to shield the leather from the heat gun and shrink it down tight.
Member
There is a reinforced plate under the leather. The only way to keep them from eventually breaking is annoyingly attentive care when grabbing the belt or moving the seat.
-Todd
DO IT YOURSELF.
I have considered such a reinforcement with epoxy on other weak plastic areas, such as the shifter surround.
My concern is that if the epoxy has a different rate of thermal expansion than the original plastic, it could actually CAUSE a crack instead of strengthening against it.
Member
I had a similar idea 2 years ago when I replaced my seat belt guides. What I did was cut a piece of (I think it was 18 gauge) aluminum to fit in the interior of the seat belt guide and embedded it with epoxy. It has held up fine, no cracking, no notice of expansion issues, etc. Wish I had taken pictures to show you but was a newbie (still am) and had no privileges to post. I would like to thank vinncie for his great write up to get me started on the project. Also replaced the brushes in one of the seat motors as it was erratic and now works fine now and had some of the stitching in the seat redone while it was apart. Hope this helps.
Member
I followed this guide to replace a seat belt guide this evening. It's not too bad once you commit to taking the skin off. I would recommend a pair of hog ring pliers for reassembly.
I used these: http://www.amazon.com/gp/product/B00...?ie=UTF8&psc=1
Thanks Vinci for one of the most useful how-to posts I've ever seen.
Member
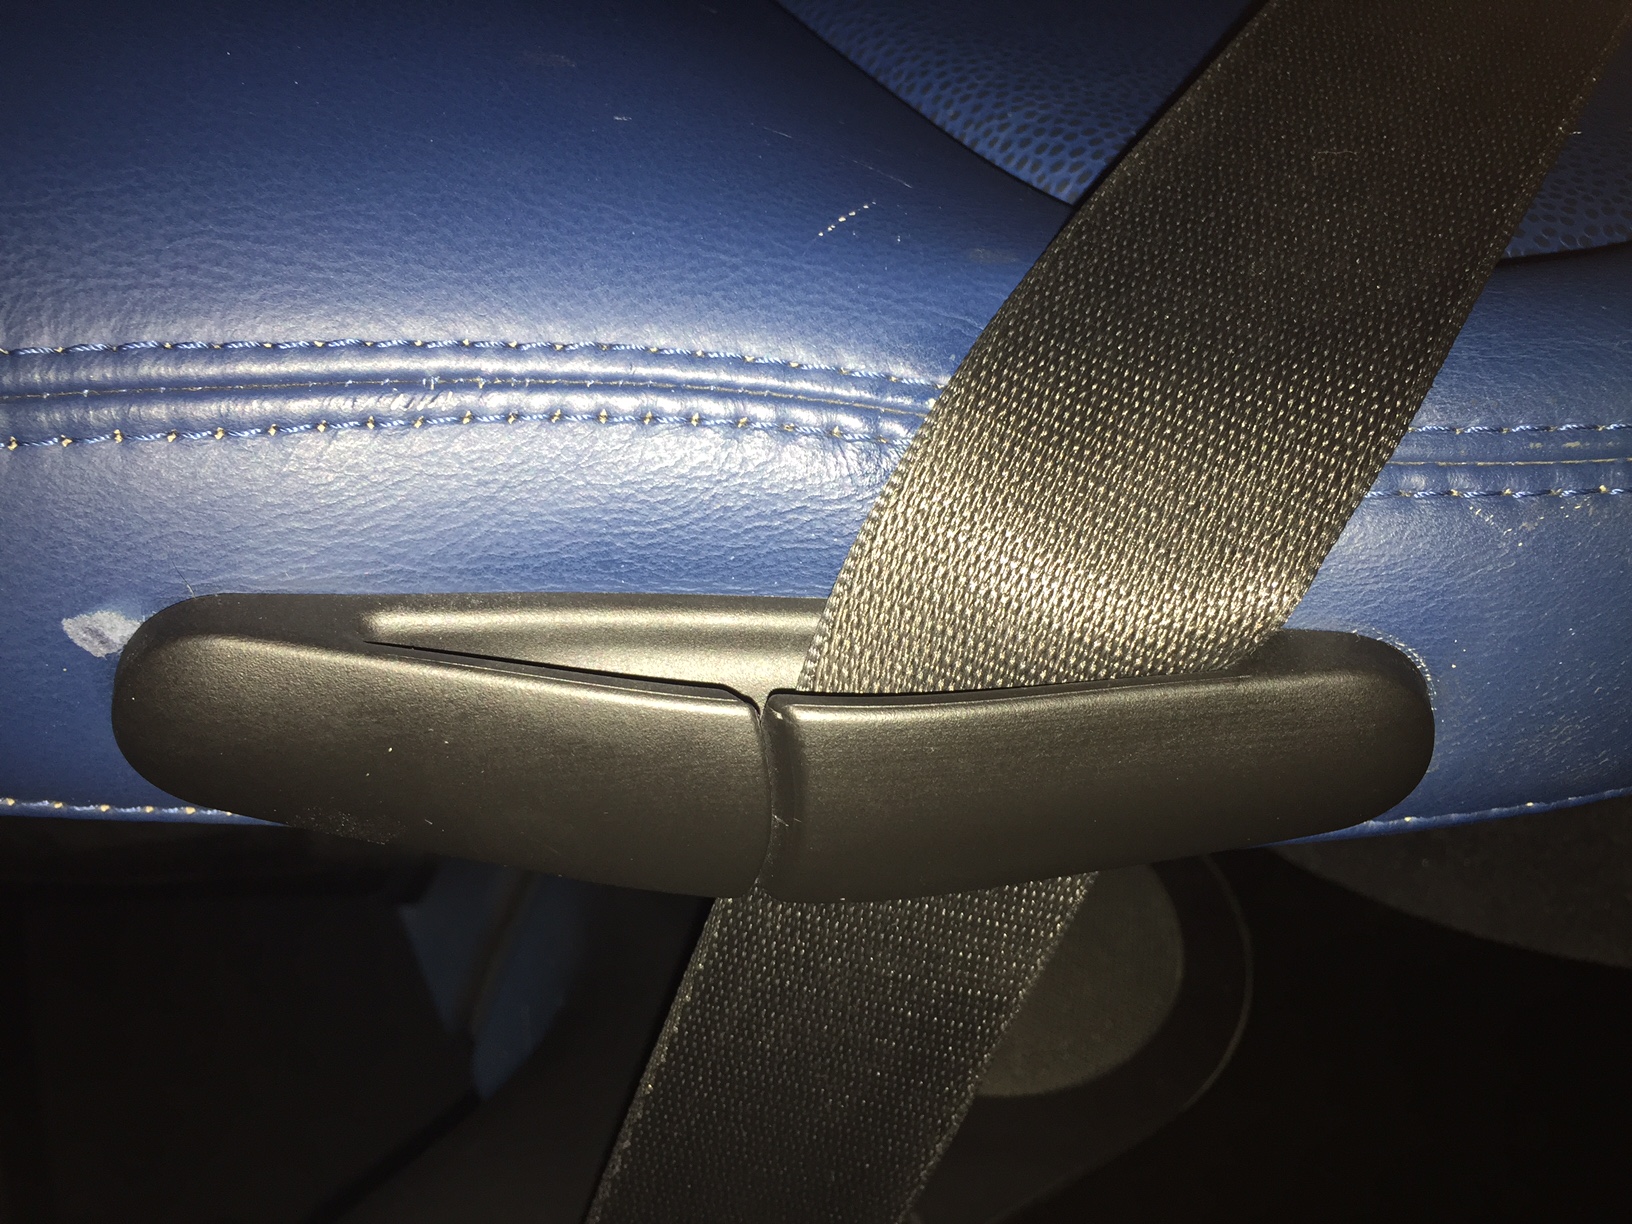
While this in an excellent thread, may I suggest a much quicker fix if you're not a perfectionist and value your time vs. a small part...
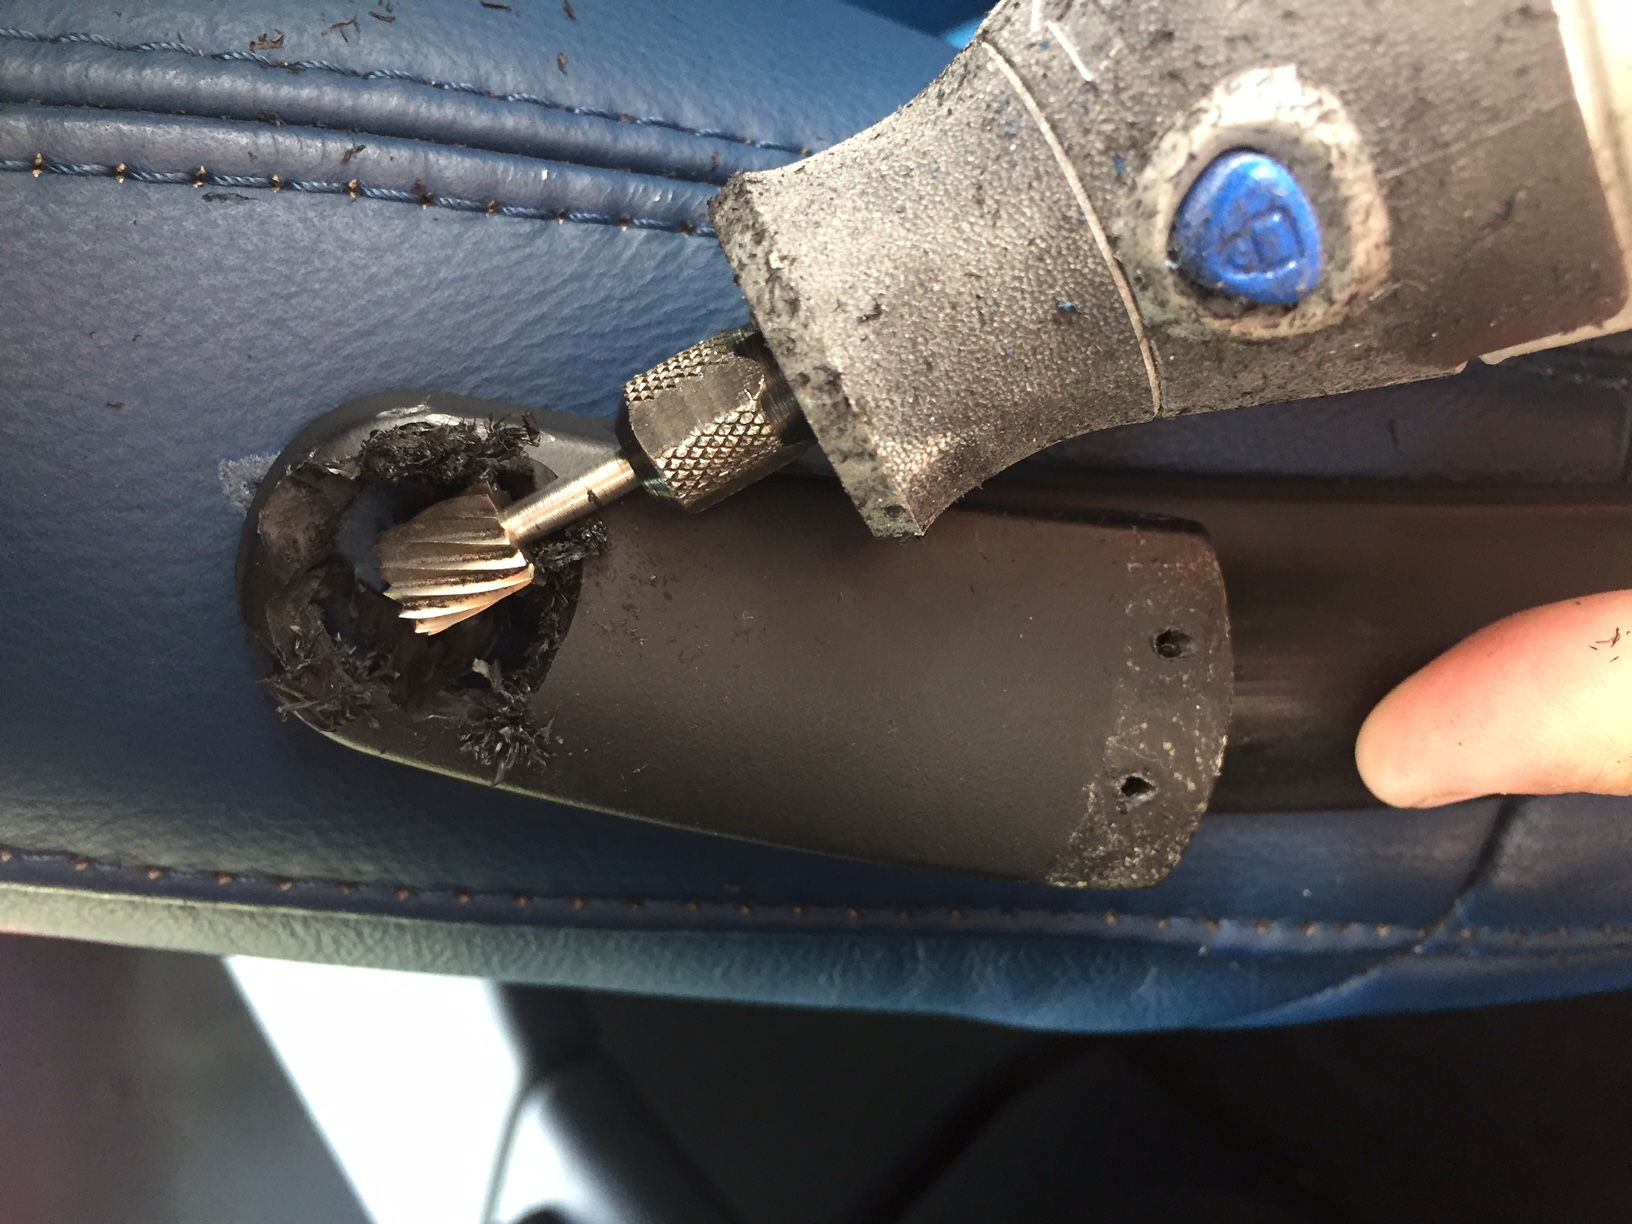
1) Using a dremel tool grind away the mounting area on the broken tabs (hold dremel with both hands tightly, it can get away from you and mar the leather)
2) Remove broken clip
3) Grind more of the remaining clip stems that are attached to the metal circular clip inside the seat
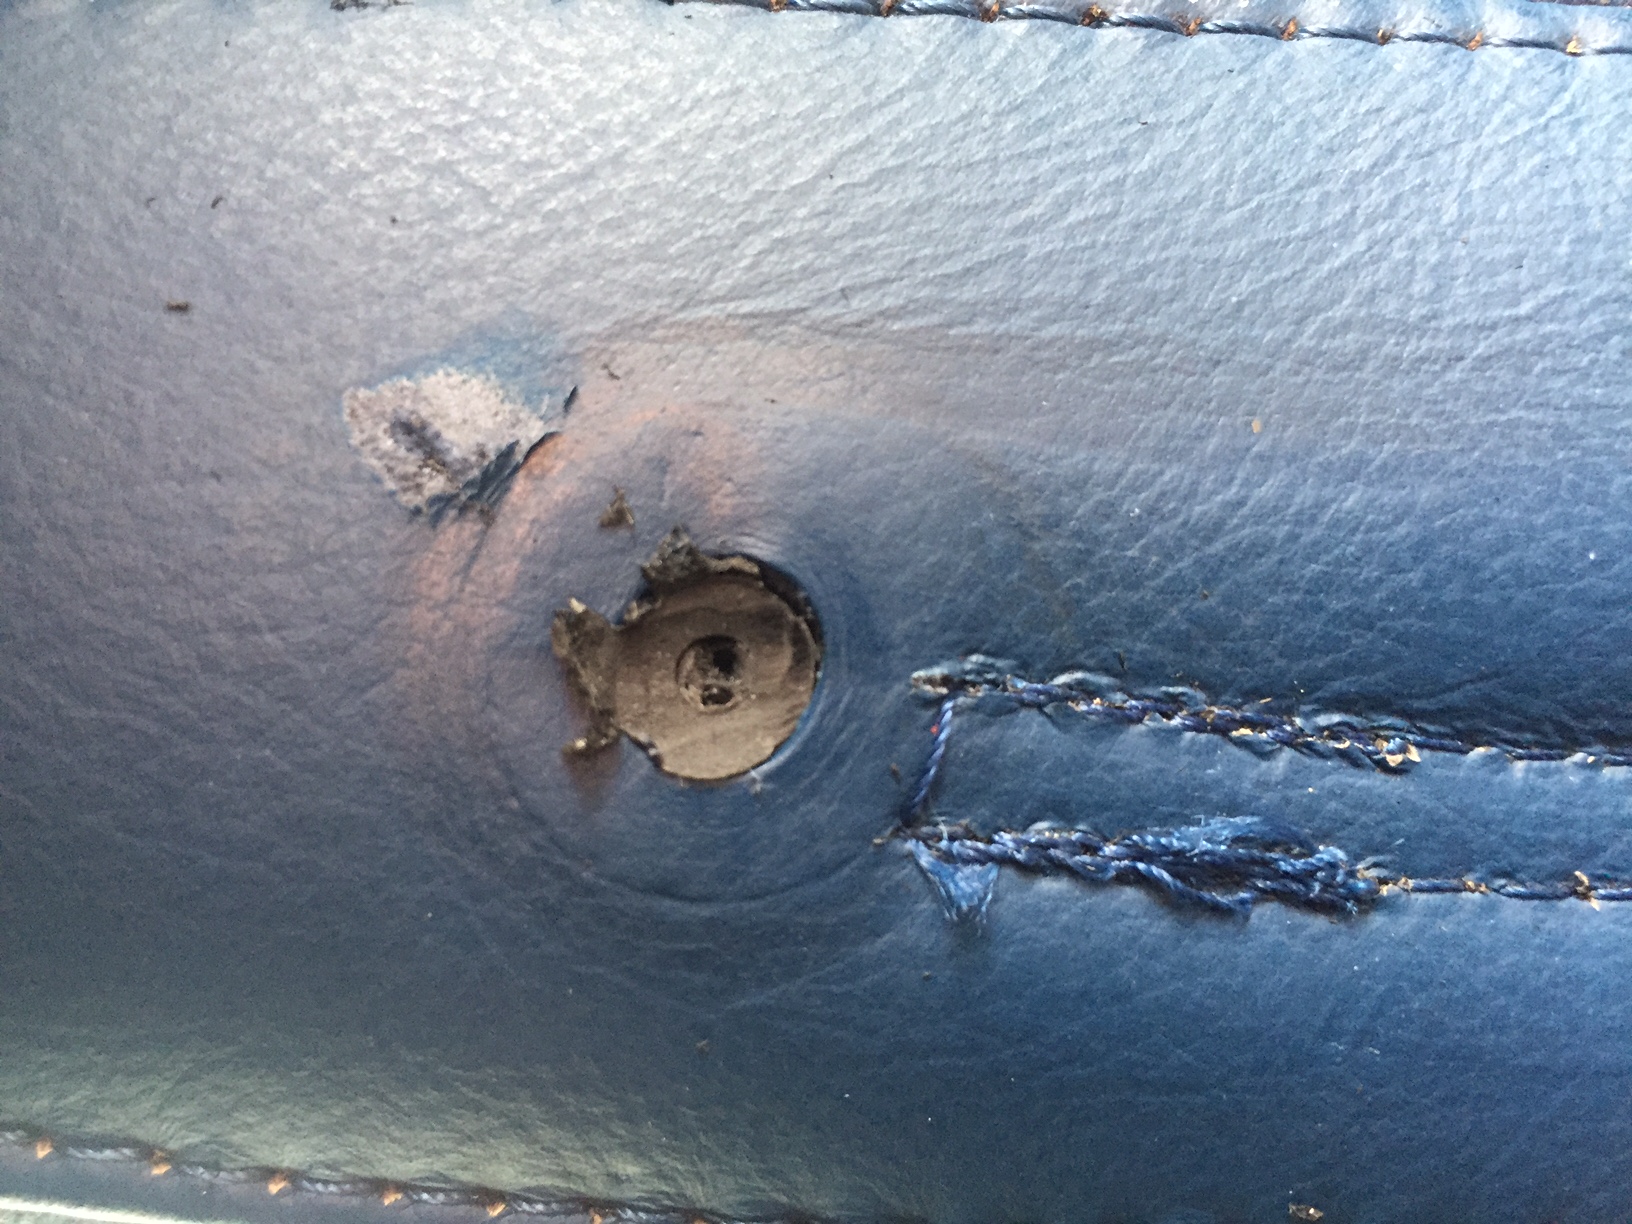
4) Push the remaining metal clips and stems aside slightly, into the seat using a screwdriver, clearing the way for epoxy and the new clip stems (but not totally out of the way, see #7 below)
5) Rough up the stems of the replacement clip with 150 grit sandpaper
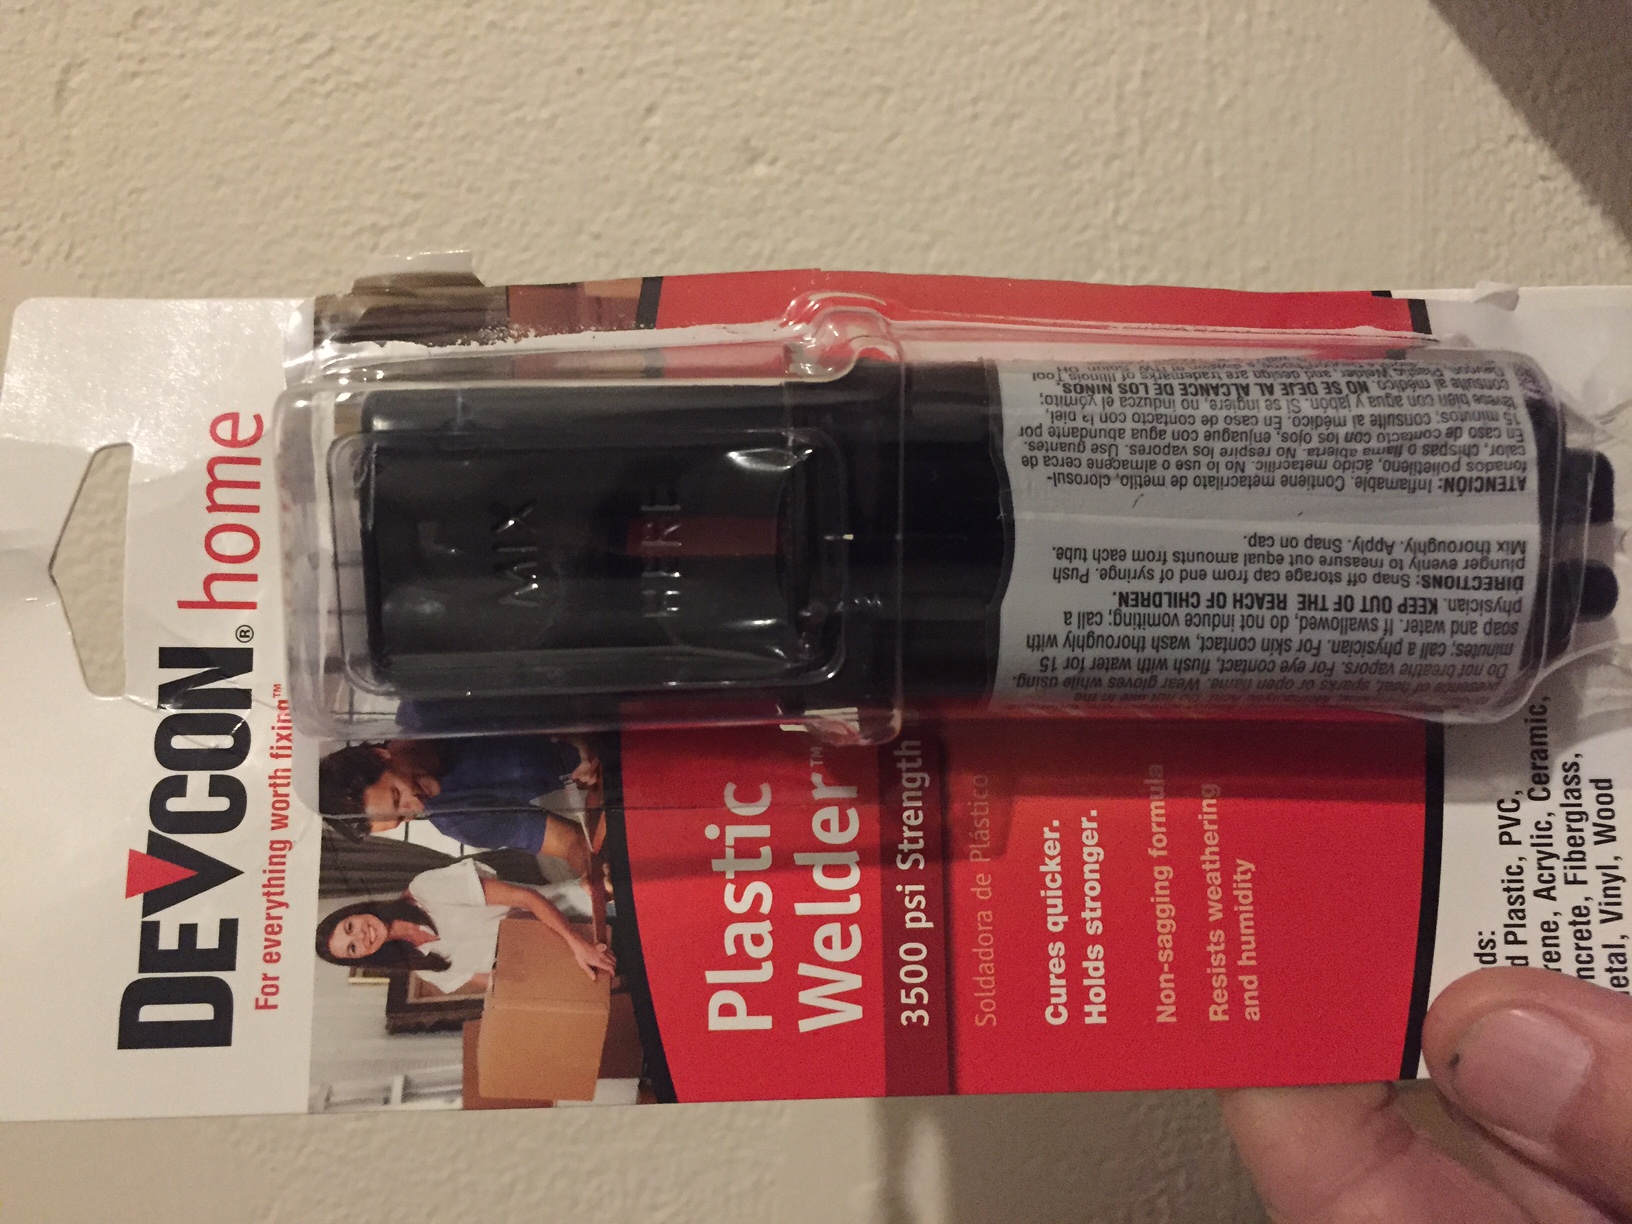
6) Mix a 2 part plastic epoxy welder (I used Devcon plastic welder 3500 Psi from Ace) on a piece of cardboard
7) Hold edge of cardboard mixing tray up to the hole, using a small flat tip screwdriver push a decent amount of expoxy into the holes (you'll see seatfoam and the original plastic backing clip sewn to the seat, remains of old plastic stem and metal clips pushed slightly aside but used as additional things to grip to )
8) Place the replacement clip into the holes, wipe off any excess, thread the belt through the clip and tighten belt to maintain pressure (or hold by hand for 5 min)
Done in under 10 min, as opposed to 3 hr seat removal, it's a car, hopefully there are better things to do with your time
Member
I think for many people the car is a hobby and they find it rewarding to fix something like this properly. So, it's not a waste of time to spend a couple hours taking out the seat, cleaning the carpet really well, and fixing the seat belt guide. It's really quite easy following Vinci's guide as well.
With the epoxy method how would you fix the seat belt guide when it breaks again?
Member
It will not break again if the opening is strapped with wide velcro to prevent stress on the plastic fingers. Velcro is quick to remove for getting the seat belt off the seat. My guides were intact when I got the car with 32,000 miles in 2012, and I strapped them to prevent them from breaking. See No. 2 here:
http://forums.bimmerforums.com/forum...list-them-here
BMW MOA 696, BMW CCA 1405
Member
I just bought my 2nd Z3 yesterday (sold first one in 2015) and it came with a broken seat belt guide (passenger side) Didn't realize how time consuming it would be to replace it. Ill buy new seats.
Have Fun & Be Safe -Chilly Billy-
Member
Hello. I just posted on this fix. I did both seats in under an hour following a thread on this forum. Really wasn't that bad and easier than I thought. OEM parts for less than 40 bucks. A lot cheaper then buying seats...
Member
So you are going to buy new seats because your seat belt guides are broken? That's the least logical thing I've read today. Why not use glue? It's really not that time consuming. It took me maybe 40 minutes to completely disassemble the seat. Reassembly will be a lot faster.
Check out my M Roadster projects and DIYs:
Cooling system part 1: https://youtu.be/ERqztIL1DPw
Cooling system part 2: https://youtu.be/-DnclDkn2hI
Power convertible top: https://youtu.be/KLYNqkCBh_M
Head unit removal: https://youtu.be/LKe9fPKrAqE
Member
Wish you had more pictures. The back of mine fell behind my back while driving today. The 2 fingers remain. I'm not exactly sure what you did here. Did you basically glue (epoxy) a new one to the seat?
Last edited by Kram71; 12-04-2019 at 03:13 PM.
 Posting Permissions


 Reply With Quote


Bookmarks