
 Member
Thank you all for the feedback on the wheels - seems like painting is the way to go. I am going to hunt around for a few more places that specialize in that. Most folks are just trying to do fast/quick wheel repairs for insurance or lease trade-ins. Need to find someone that is a bit more discerning.
It popped up on https://www.motorsportparts.nl/ - their website is a tad shoddy but the folks behind it are super communicative and great to work with. It honestly showed up faster than some parts that I ordered domestically. I gave it a bit of a wipedown yesterday, the inside and outside are both immaculate and I honestly think it's never been used.Originally Posted by bluptgm3

My 3.46 ring and pinion finally arrived from Portugal yesterday - it is in pretty good shape. I was super careful while cutting the pinon bearing off - I found it was best to cut 85% of the way through it with a cutting wheel and then I was able to hammer it off with a small chisel - avoiding damage to the pinion. On Monday I am sending it out to https://negearpolishing.com/ to be REM polished (while it's out, why not).
Also working on the OE stamped LTW rotors that the car came with - aside from the age they are nearly brand new, over 27.5mm all around. They soaked in rust remover for a day and then were coated. Before installation, the surfaces will be hit with a flex-hone to clean up. And yes, it is totally acceptable to have the coating on the veins as well.
Lastly, I have decided I'm not going to use the pressed-in hubs I bought if anyone is interested. I think the price went up on these since I purchased them - this is an amazing setup for a track car, endurance racer, drift, etc etc, just overkill for me. I'll work out a deal with someone, send me a PM if interested. For sale post.
Last edited by jaysonx; 10-01-2022 at 11:31 AM.
Member
BMW E36 M3 Expert
You can still buy the Alpina diff cover new for $712 shipped from Euro retailers.
Hope you didn't pay much more than that.
Member
About right, exchange rates are very favorable right now. I didn't think they were still producing them though.
Last edited by jaysonx; 10-01-2022 at 10:33 PM.
Member
Sometimes I feel like I'm on an endless parts collection adventure, my buddy said that I should read up on the Ship of Theseus.
My new ring gear and pinion came back from being REM polished in record time. It is remarkable. Again shoutout to https://negearpolishing.com/ - super high-quality work and very friendly.
I am going to save myself the work of publishing the step-by-step diff rebuild process, there are some pretty detailed sources out there already that do a great job explaining. I have finished acquiring all of the associated components and precision tools needed to complete this job. Currently, I am in prep mode and getting things as organized as possible.
This bench mount is super handy for working on the differential (it spins around, making things easy). Here I am getting ready to remove the flange.
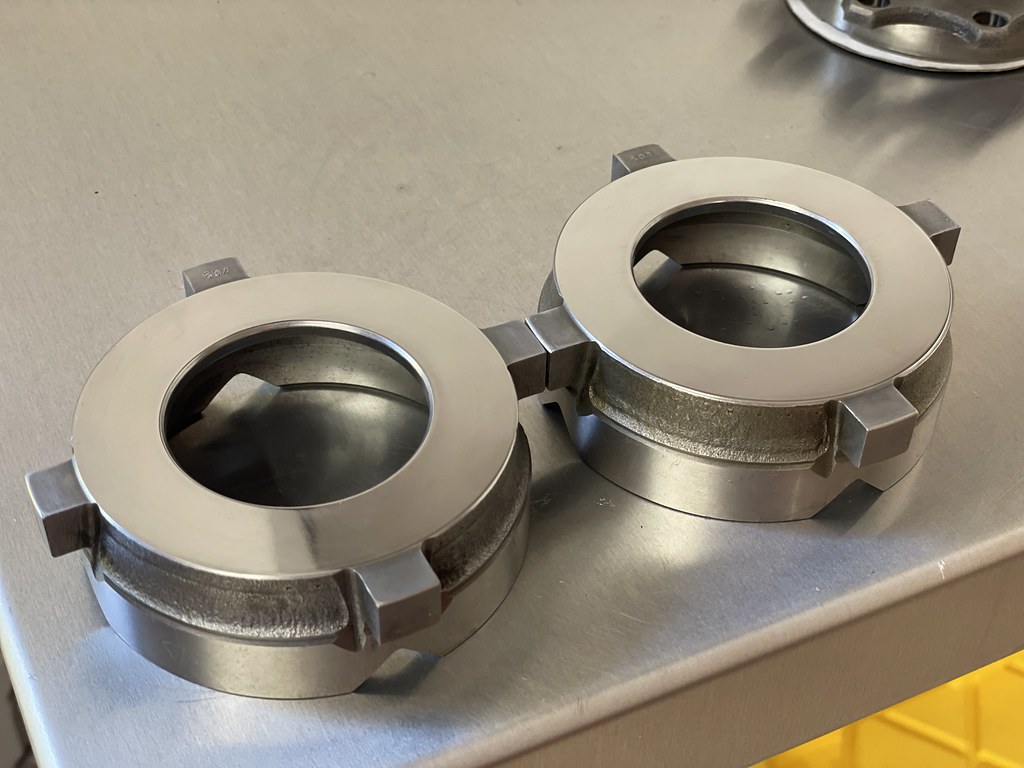
Organizing some of the internals of the LSD, I am upgrading to a 3x clutch setup
Mating surfaces are all polished up. The clutches I pulled out had very light wear, but the other seals in the differential were starting to weep. And my main pinion bearing was starting to stick - that could have been the source of some drivetrain noise I was hearing when I last had it on the road.
In other news, I am rebuilding my power steering pump considering that OE replacements are not much of a thing anymore. It is a pretty simple exercise. Cleaning up the housings is on the list.
I also have some A/C fun coming up!
I have not installed any of the front or rear suspension components yet, at the 11th hour I decided I'll go ahead and do the oil pump nut and Z3 oil pickup enhancement for peace of mind. Oh and since I am going to be in there anyway, why not add an oil baffle? Been waiting 2 weeks for those parts, they finally showed and they sent the wrong baffle so I will be waiting a bit more!
Member
BMW E36 M3 Expert
I can vapor hone the aluminum if you need it.

 Senior Moment Member
BMW E36 M3 Expert
Senior Moment Member
BMW E36 M3 Expert
Hey Brett, did you simply mask the data plate when you wet blasted that thing? Cause I'm really thinking of building a wet blast cabinet.
No matter where you go, there you are...
Member
Absolutely, ill shoot you an email.
Member
BMW E36 M3 Expert
I did, yes.
Definitely a worthy addition to your garage if you can build it right and have adequate air supply.
Member
Vapor hone or caper degrease?
Member
Jason this is an excellent thread. It is so hard to document all this stuff as you go. I've been putting in a massive effort taking pics and video and taking notes on my latest cleaning and your thread is def better than mine in the quality of pics and the short and concise explanations. Awesome.
what's the part number? Might want to buy one of them for my 2nd diff.
Last edited by brianc; 10-20-2022 at 12:29 PM.
Member
Thank you! It's hard to grab the pics sometimes with my oily hands, hah. I do have an old phone laying around which comes in handy from time to time.
Re: the diff cover, check out this link. It looks like there may be one more in stock. They will ship internationally if you email them.
https://www.motorsportparts.nl/bmw/b...entieel-deksel
Member
Ahoy! Praise to the holiest in the height - I have completed the differential rebuild. Behold - in all its glory.
Amongst the many resources I used throughout this entire process, I actually found the information contained within this thread to be exceptionally helpful if anyone here is thinking about embarking on a project like this.
I will say, making the investment in all of the PROPER precision tools to complete this job made things much smoother. Even down to the handy differential mount that I installed within my working space. Try and get everything in METRIC as well, much easier to stick to one system. (I didn't and wish I had).
I won't get into too much of the nitty gritty here, but personally, I think getting the proper pinion torque set was the most challenging part of the process. I don't know if it was just my crush sleeve, but it wanted to build up a bunch of pressure before it would 'release' to get a different torque reading on the pinion resistance. At times it felt like I was trying to shoot a bullet with another bullet - but I finally netted out right in the middle of the specified range. With that issue overcome, handling the backlash and other settings was a much easier process (again, with the right tools, staying organized, taking your time, checking, rechecking, and rechecking again.
Here I am with my dial indicator setup (Fowler High Precision).
One of the runs of checking the gear pattern, I ended up doing this a few times as it took me a bunch of playing with shims to get the backlash *perfect* with a great contact pattern on the drive and coast side of the gear.
.
I can't state enough how overjoyed I am to be done with the differential, it was a challenging project for sure, but one that I enjoyed taking on.
In other news, I started getting organized to put the front suspension back together but had the last-minute 'may as well' urge to drop the oil pan and take care of the pesky oil pump nut. And while we were there... why not just do the baffle and Z3 pickup as well.
The oil pan was cleaned up, and Bimmerworld baffle was welded in. BONUS: This is a machine shop near me that rebuilds all sorts of engines, he has a few S52's and S54's that he is working on for spec guys. He already wants to rebuild my valvetrain, this will def come in handy later...
Working the magic on the oil pump nut. I used aircraft-grade wire with twisting pliers. Apparently, this is a common practice in aviation. Make sure to anchor the wire on the left side, as the pump nut is threaded in reverse. Also - torque the nut to 75lb/ft - ish with red threadlocker. My torque wrench does not work in reverse so I used my ratchet, I got near 75lbs (according to my butt dyno) and the crank started to spin, so I quickly stopped there to not cause any damage.
Z3 pickup installed and everything went back together after!
I am honestly ready to put everything back together at this point - the only last final final final thing I am contemplating is doing the RTAB pockets - which would be very messy in my garage. IF I can find a local mobile welder then I will consider it, but I really am not sure if I want to take it on. More to come!
Member
That differential belongs in the Louvre
Member
If you do decide to do the RTAB pockets make sure to lay down welding jackets or something to protect the floors. Epoxy floors do NOT hold up to welding slag and sparks. Ask me how I know.
Member
BMW E36 M3 Expert
Ask me too.
Member
Hahaha, thank you. All I can think of is Indiana Jones's 'It belongs in a museum' gif. What do we gotta do to get a giphy plugin at this place...
Oh boy - good callout. I have no interest in re-epoxying my floors in the near future - or setting the garage on fire. I think Rogue Engineering would do it, they are not far away from me.
Member
Man that rear diff looks awesome. These threads make me want to work on mine so bad but the funds dried up a while back. I will finally be doing more work on the M3 this winter though as I will be dropping the rear end to do all the bushings and everything back there. Now it makes me want to go and do a diff rebuilt as well and make things all look as pretty as your stuff is.
Member
Thank you! The 'pretty' stuff is the fun icing on the cake for me, but the actual mechanical function of this thing is the #1 priority. Parts wise the cost of the diff rebuild isn't too terrible, probably around $1k in pure parts including a 3.46 ring/pinion. However, there is a mountain of tools to be used during the process and if you do not already have some of them, that's where the cost really starts to go up. I used my press and puller tools a bunch for removing the bearings, driving the new races, etc, and the hydraulic press that I have access to for the bigger things. For example, a dial indicator torque wrench that is 1-10nm alone can be a couple of hundred bucks. I would say having the right tools and space to do the work is the #1 priority on a project like this, it is precision and it def isn't cut out for everyone. That said, if you decide you are up for it and need recommendations on what tools to get and where / resources, etc, please shoot me a PM.
And who knows, I can throw this thing on, and despite my best efforts of triple checking that all measurements are in spec, it can still explode in the first mile. We shall see! haha.
Member
Thanks Jason. I might message you in the future. And good luck with the install and first drive. I'm sure it will be fine.
Member
How much $ do you have into this car so far?
Member
BMW E36 M3 Expert
Rich, with two r's, much.
Member
Not keeping track. This exercise is about the enjoyment of restoration, not ROI. The result in the end will be a remarkably plain / seemingly stock E36 M3 that will turn a few heads because it presents well. A pretty uncommon sight here in the Northeast.
Last edited by jaysonx; 10-28-2022 at 11:17 AM.
Member
Heaving the differential in was quite the chore with that giant cover, but eventually, everything went back into place. Dealing with the greased CV joint on the driveshaft was equally frustrating, there is a gasket that needs to be installed on the differential side of the flange. The first try resulted in it tearing as it was mixed in with the grease and slid around during installation. You 96+ guys have it much easier! I ordered another and was able to line up the bolts a bit better on the second go-round. A 16mm crowfoot wrench is on order so I can finish torquing the driveshaft bolts down. The axles were reinstalled and properly torqued with no issues (super long extensions make it a breeze), and the powerfill again came in handy for transferring fluid to the diff. 3 quarts of Redline 75W140 wasn't enough to fill it up, so looks like I'll grab another. I created a stubby 14mm hex key from a cheap one on amazon so that I can properly tighten the fill plug when finished. All in all, a good bit of progress.

Member
There has been a lot of talk around here recently regarding power steering pumps. I encourage everyone here who has their OE pump to simply rebuild it. The process is not that bad, and the quality of the OE unit is unmatched by any of the aftermarket providers. FCP sells the rebuild kit here: https://www.fcpeuro.com/products/bmw...it-32411135880
Huge shoutout to Brett who vapor-honed the housings - they look absolutely spectacular. He also has a great how-to for the reassembly posted over at MForum here: DIY: E36 M3 Power Steering Pump Rebuild
Inventory of parts, ready for assembly
Pretty vaporhoned goodness
I used some D4 during the process to keep things from being bone dry
All finished, just needs a pully and install!

Member
Rebuilt mine a year or two ago for the same reason, aftermarket pumps lack the quality. Plus the rebuild is simple.
Car is looing great!
 Posting Permissions


 Reply With Quote


Bookmarks