
 Member
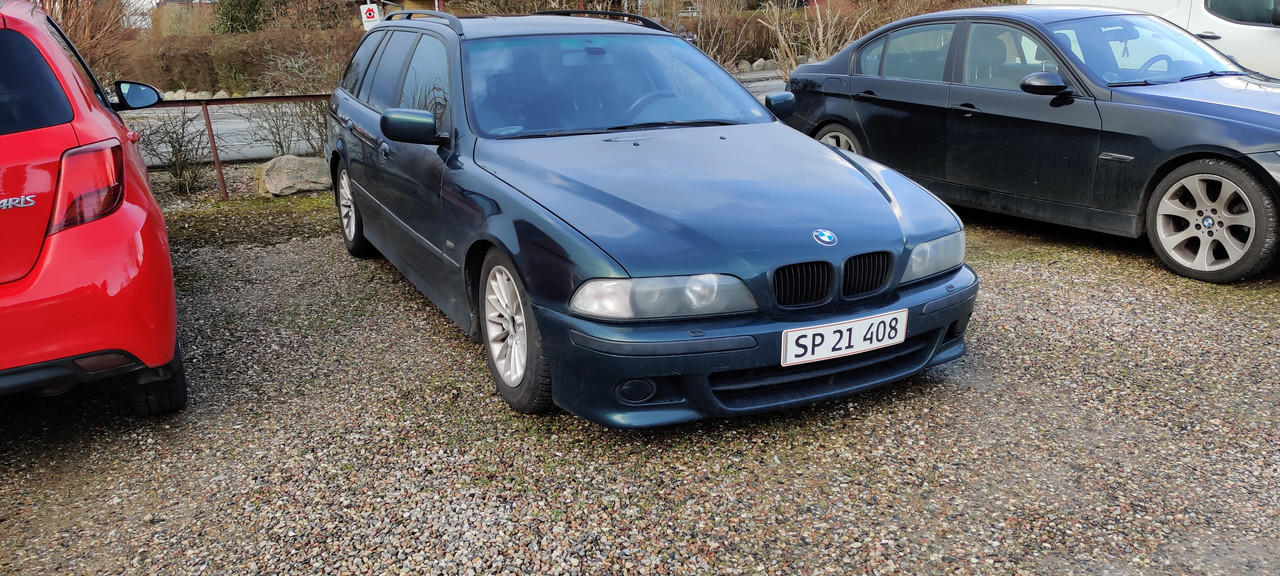
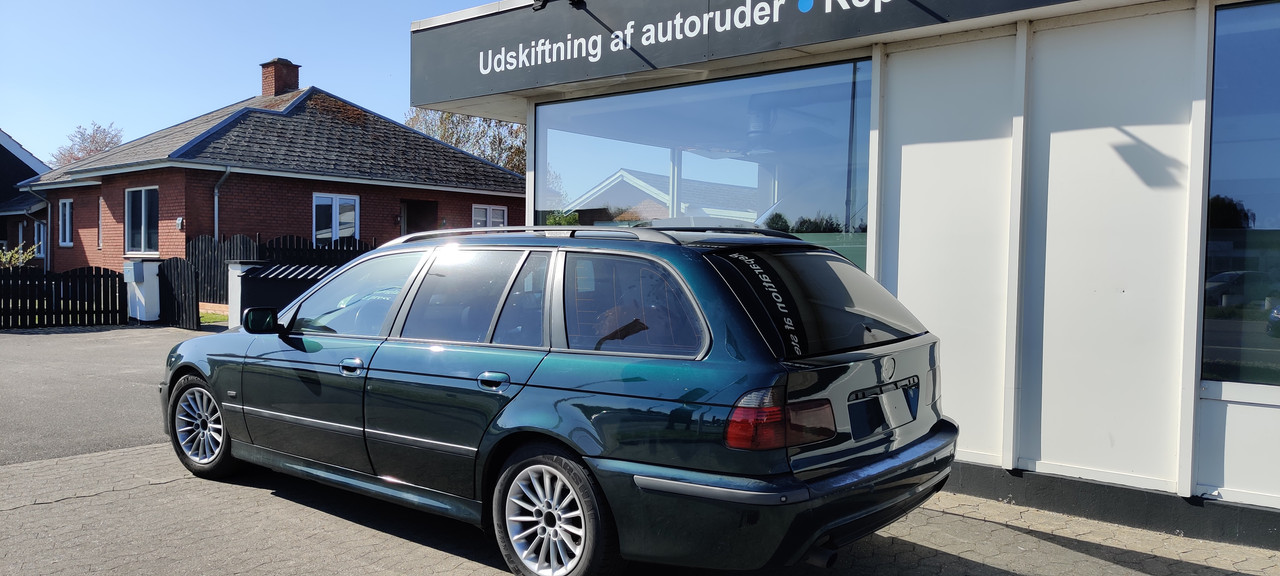
BMW E39 528i Touring - OEM Styling ProjectInstagram - Pineapplejuice92
My name is Simon, Im 27 years old and Im a car addict, more specific BMW addict.
I work at a body shop, where i repair vehicles that has been in accidents, in my spare time I got my own company where I detail vehicles.
I have always been into OEM Styling, and want to keep this E39 that way. That meaning M-Tech apperance, and minor modifications that even to the trained eye, will appear OEM.
I have alot of goals and modifications that I want to do, to this car and hopefully you will join me on this journey. I will attempt to post as many photos of whatever is happening.
Information
Make/Model: BMW E39 528i Touring
Color: Oxford Green (Oxfordgruen metallic - 324)
Output: 142 kW / 193 HP (@ 5500 RPM) - 280 Nm (@ 3950 RPM)
Production Date: 1997-09-04
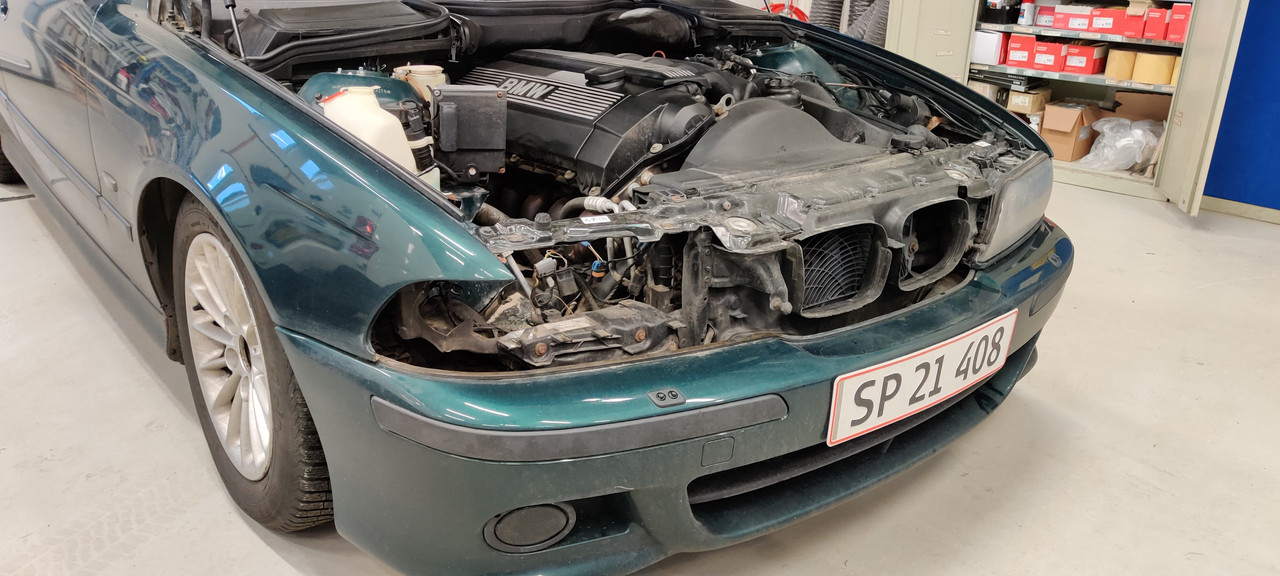
Engine Code: M52B28
Equipment
220: Self-leveling Suspension (Rear only)
260: Side Airbag (Front only)
283: Lt/aly Wheels BMW Styling li
411: Electronic windows (Front & Rear)
520: Foglights
548: Speedometer with Kilometer reading
665: Radio BMW Business (Removed/Replaced with 16:9 Navigation screen)
Extras
386: Roof Rails
412: Extendable Load Floor
430: Interior & Exterior Mirror Package (Electro Chrome / Auto Dimming)
438: Wood Trim
441: Smokers Package
456: Electronic Comfort Seats (Removed/Replaced front seats to Black Electronic M5 Seats)
494: Heated Seats (Front only)
500: Headlight Washer System / Intensive Cleaning
522: Xenon Headlights
540: Cruise Control
555: On-Board Computer (Upgraded to MK4 Navigation/Computer)
694: Preparation for CD Changer
863: Europe/dealer directory
888: Danish / On-Board Documentation
896: Daytime Lights Function
Post Production Original Equipment / Extras
Exterior
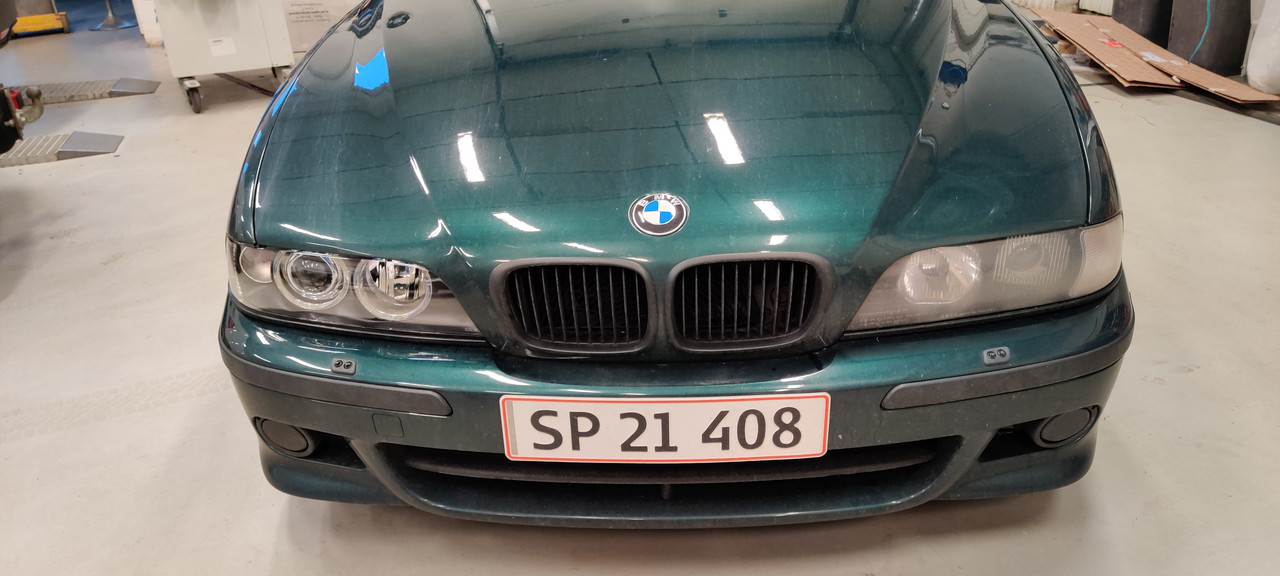
M-Tech Front & Rear bumper
Original Hella Facelift Headlights (with Xenon & LED Halos)
Facelight Tail lights
Shadow Line trim
Rain Sensor System
Interior
Navigation 16:9
On-Board Computer upgraded to MK4
Speedometer with High OBC
M5 Electronic adjustable heated Seats
M-Tech Steering wheel (without telephone)
Current To Do list / Modifications
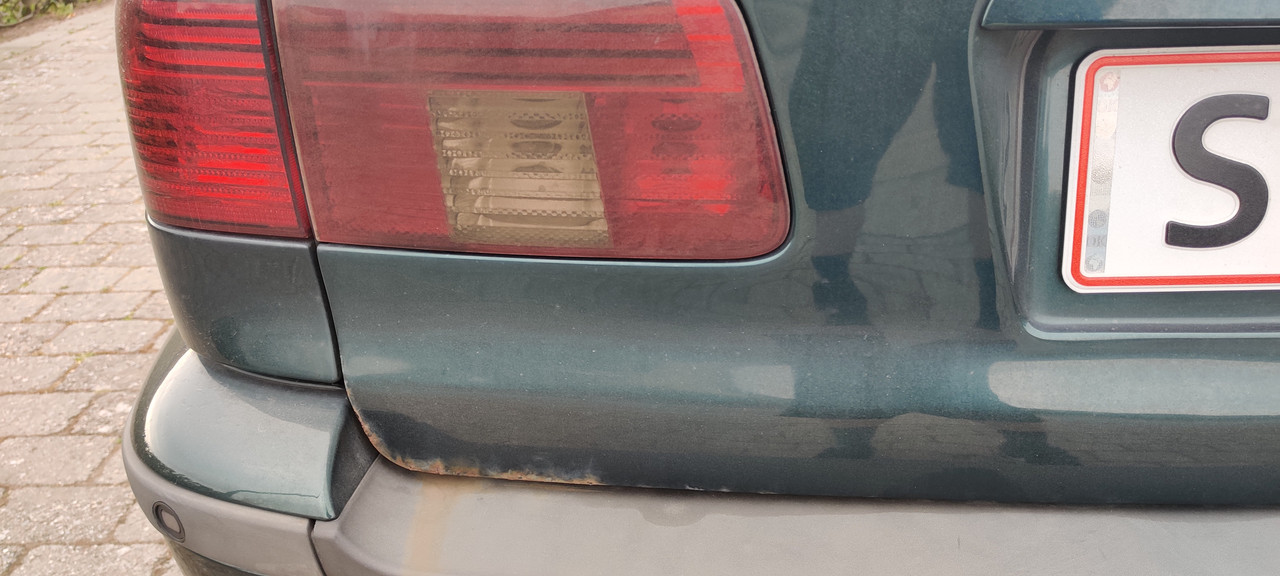
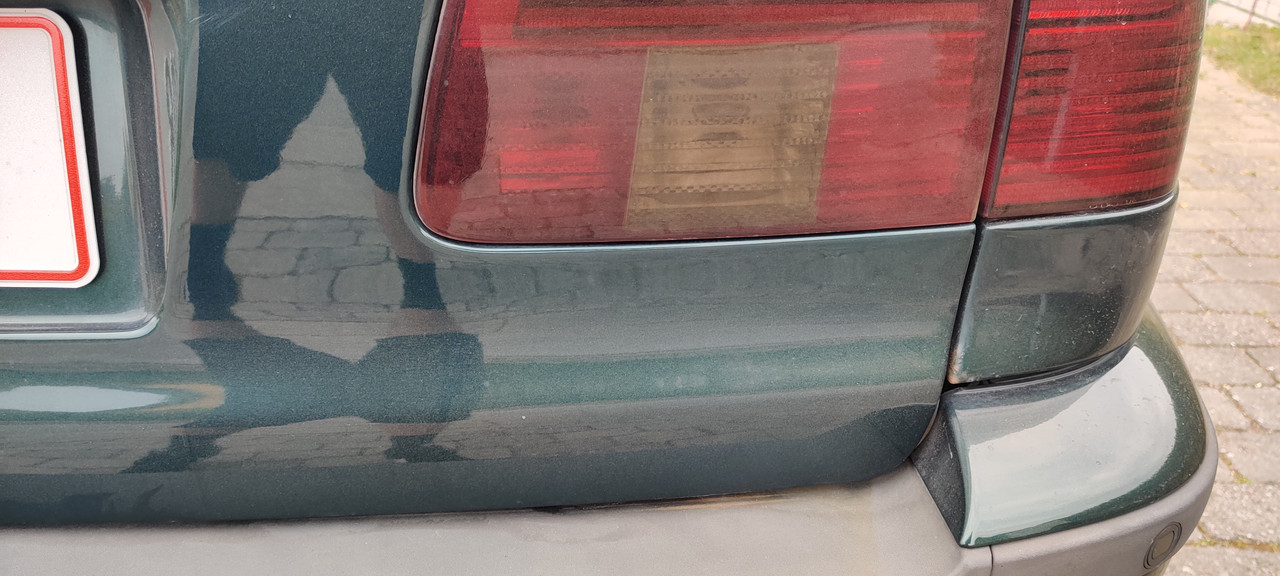
Replace Tail lights with Original ones (Current ones look bad)
Replace Right Rear Quarter panel
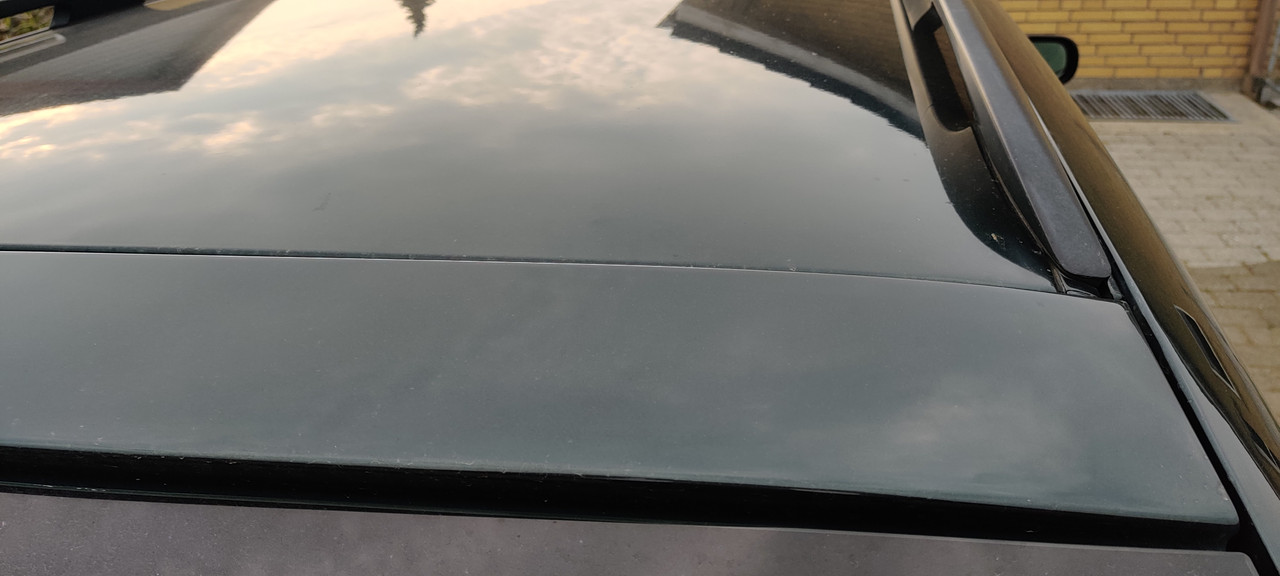
Removal of stone chip rust & Respray of entire right side / roof
Replace Front Cop Holders
Long Term To Do List / Modifications
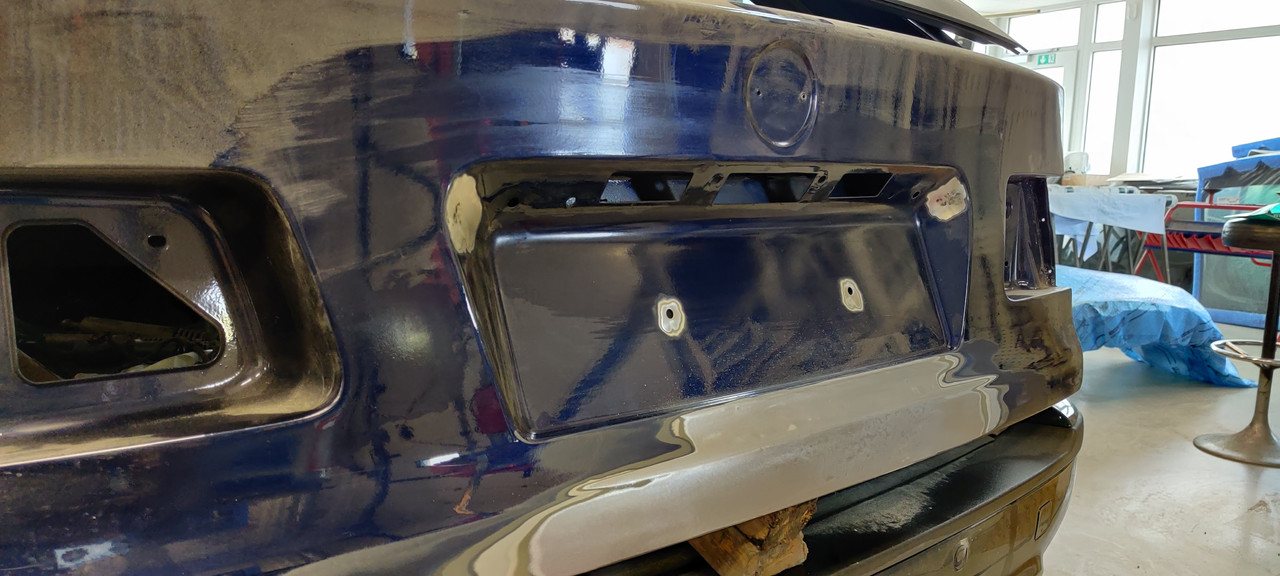
Replace Rear Bumper with an Original M-Tech
Replace M-Tech Steering wheel with Telephone (Current one is worn and buttons look bad)
Bluebus Bluetooth Module
Telephone setup with microphone
Replace bushings with Powerflex
Replace front summer tires with 245mm (made the mistake of buying 225mm Michelin Pilot Super Sport)
Fix Speedometers On-Board computer (2 dead pixels)
E38 Door Handles with lights
E38 Rear Passenger tables (attached to the front seats) (Needs to be custom made, but in OEM style)
Rear view parking camera (needs to look OEM) (Possibly add the camera to 16:9 Navigation in the TV option)
M-Tech inner wheel arch Front Right (Currently its the original stock one)
Monitors in headrests (Hidden like the E38s)
Thermo Windows
Replace drive train with M62B44/M62TÜB44 or S62B50 if possible (S62B50 may not be possible as BMW never produced an E39 M5 Touring, and Denmark are very picky on car mods)
Board computer upgrade (Schmiedmann bundle that allows me to see current oil temp, water temp, battery voltage, and digital km/h) (I only care about the oil temp function, I wouldn't mind a M5 Speedometer, if i didnt loose the Liters/100 KM function)
Last edited by Chivava; 05-11-2020 at 09:49 AM.
Member
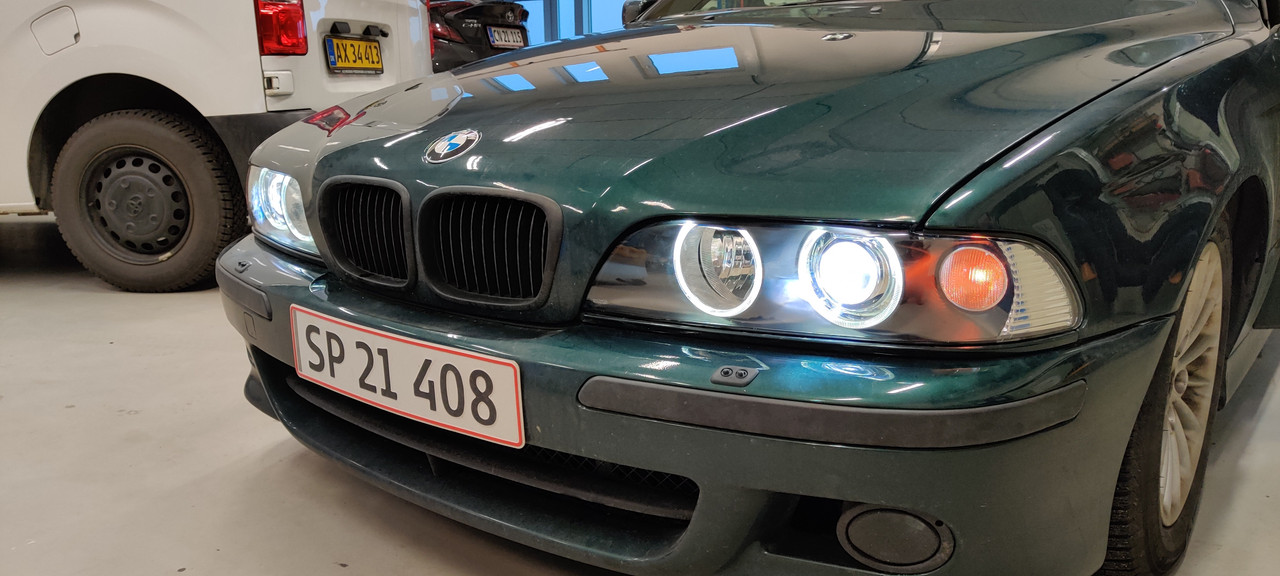
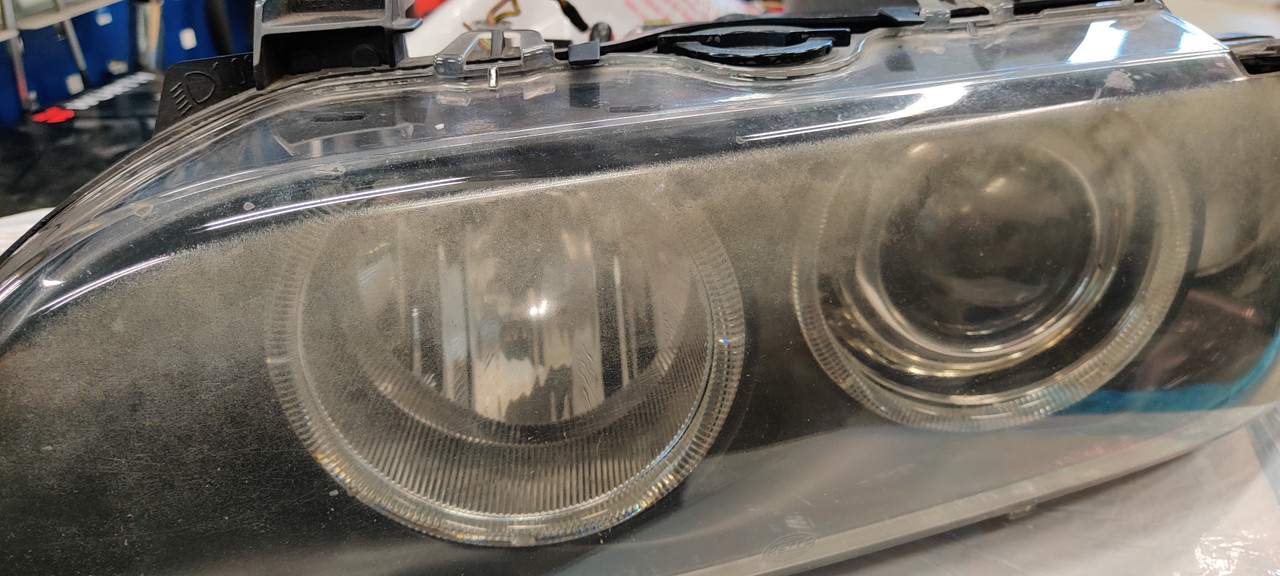
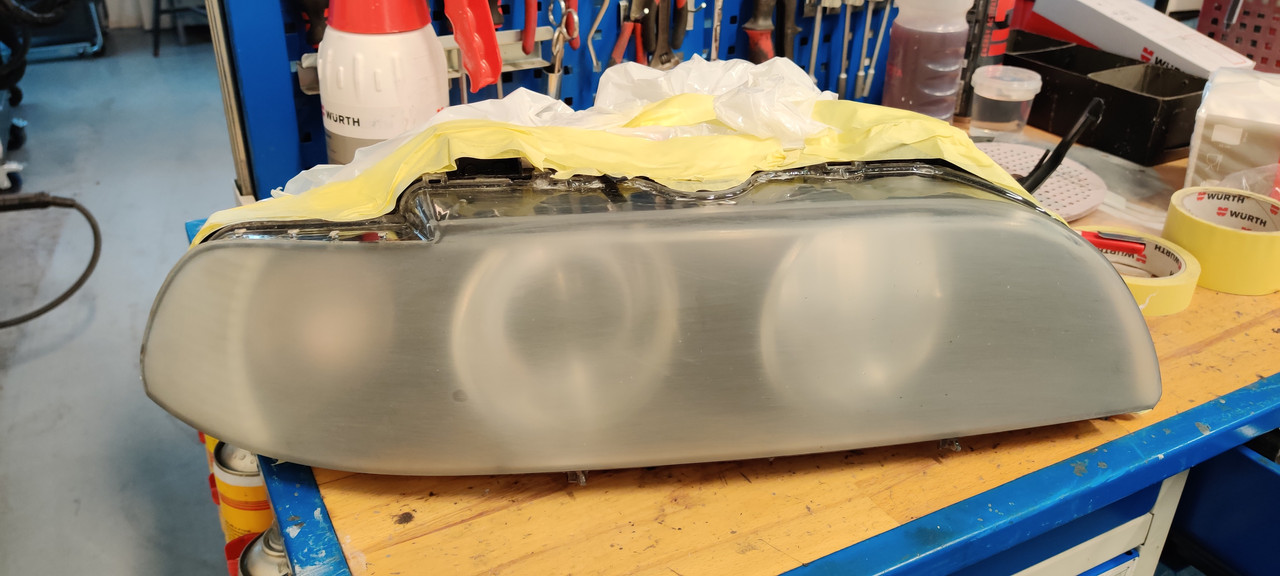
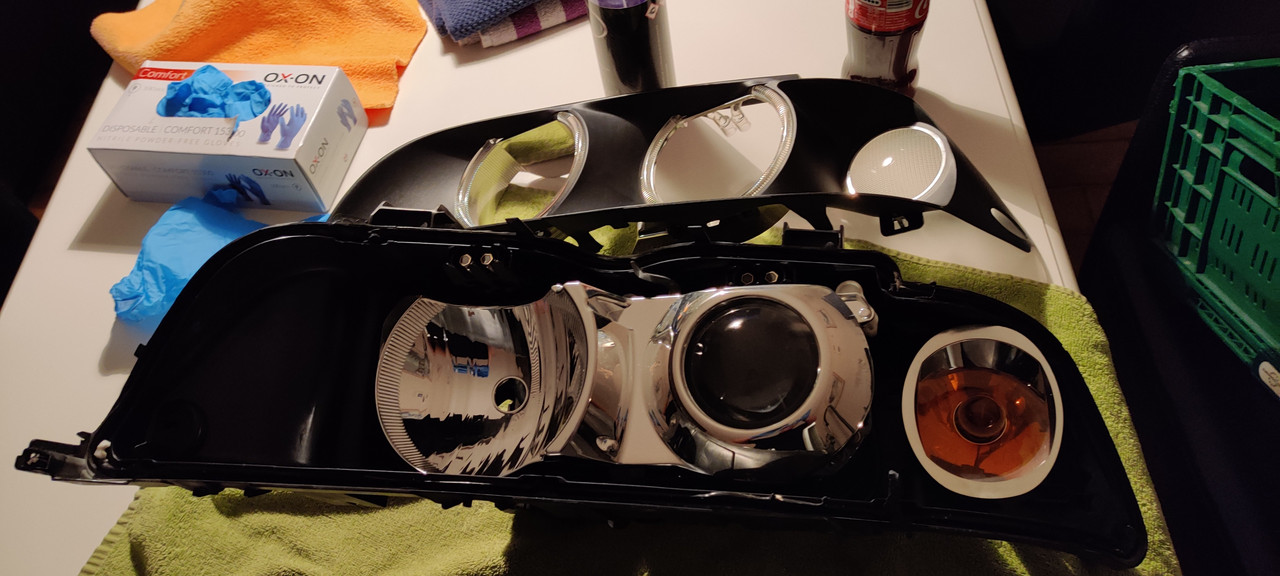
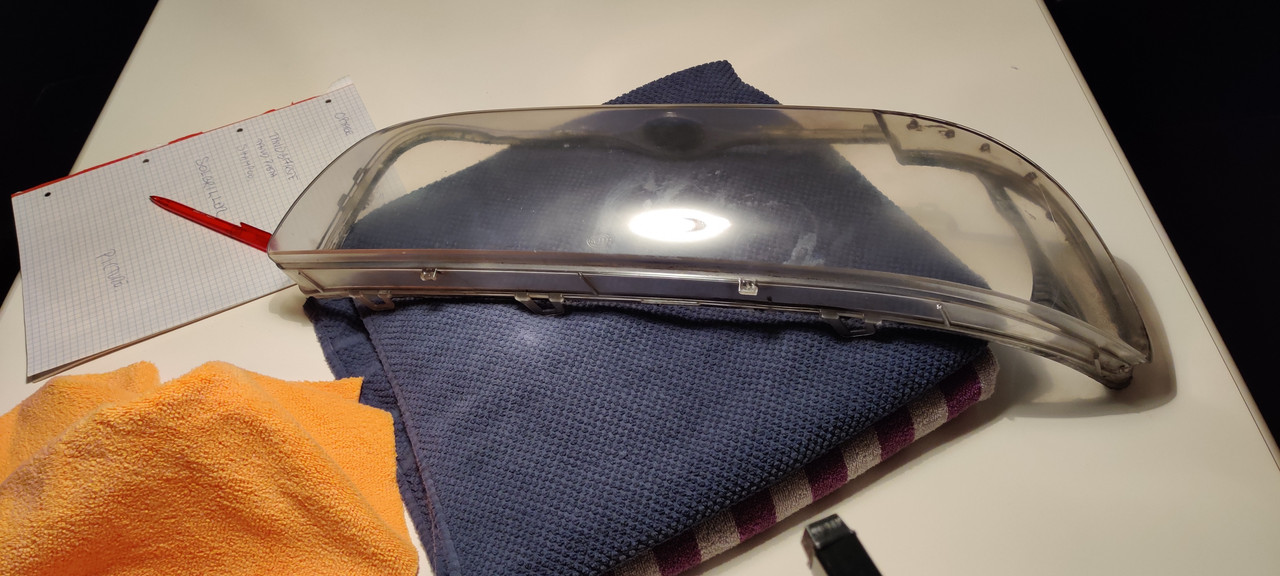
The past week I have worked on these headlights, I bought these second hand one from Denmark and another one of eBay. Paid about 200$ total for both (Original Hella Xenon EU Spec). I wanted to restore the original lens, and I sanded them down to get them resprayed with Plastic Primer followed by 1K Clear Coat. Sadly they have been taken apart before and I dont know if this is the cause of the interior damage on the lens, but they were also minimal fractured (not that visible to the naked eye), so I quickly decided to replace the lens with aftermarket ones of Schmiedmann.
So far I am pretty happy with the results, in the upcoming few weeks I will keep checking if the seals are good enough, or if I should bake, reopen and reseat the lenses.
The removal of the original lens were extremely easy, I were really surprised. You just got to remember, to remove the two Torx 10 screws at the turn signal bulb, and then 200-220 fahrenheit / 110 celsius in the oven, and its super easy to take apart, no tools required.
Fitted Schmiedmanns LED Halos while I was at it, costed roughly 70$, and in my opinion looks stella.
Last edited by Chivava; 02-27-2020 at 12:46 PM.
Member
Nice! I love the green, but then again.. I am quite bias lol
Headlights made a huge improvement
Member
Thanks, originally I were trying to get my self a blue E39 Touring, but nothing was available at the time, so my second choice was Oxford Green, and that color has not let me down.Originally Posted by cmybimmer

I have been wanting those headlights for long time, and suddenly i saw someone selling a right headlight for 100$ with shipping, and was like no way.. Original Hella..
Cant pass that up!
Member
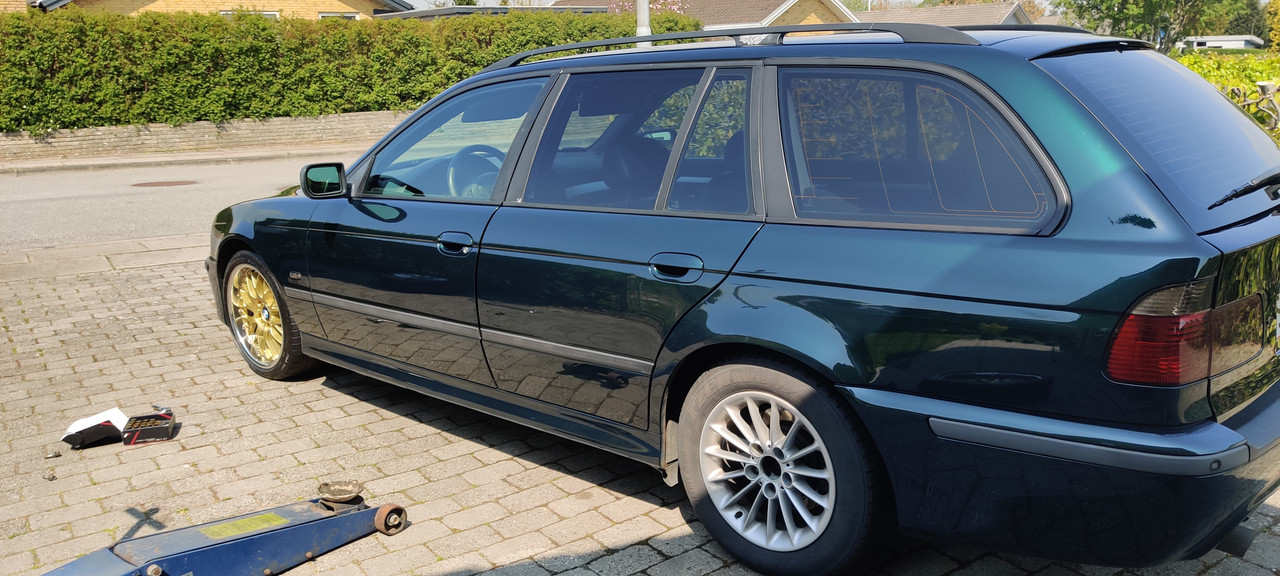
I have been inactive lately regarding what is happening to my ride, about 2 months ago I changed my suspension. It had some cheapo coilovers in the front, that was in bad condition and overall terrible to drive with. Further more it had Bilstein B4 OEM replacement shocks in the rear, that had been lowered to coilover spec (NOT by me!).
I replaced them with Bilstein B8 shocks and H&R 40mm lowering springs in the front. (It doesnt have springs in the rear).
I still need to get it aligned, but I am currently waiting for my ''new'' wheels to arrive, as I'd like to have it sit on my summer wheels, that are not worn etc, to ensure best alignment. (Yes I know tin foil hat, but i've always believed that worn tires makes a difference on alignment)
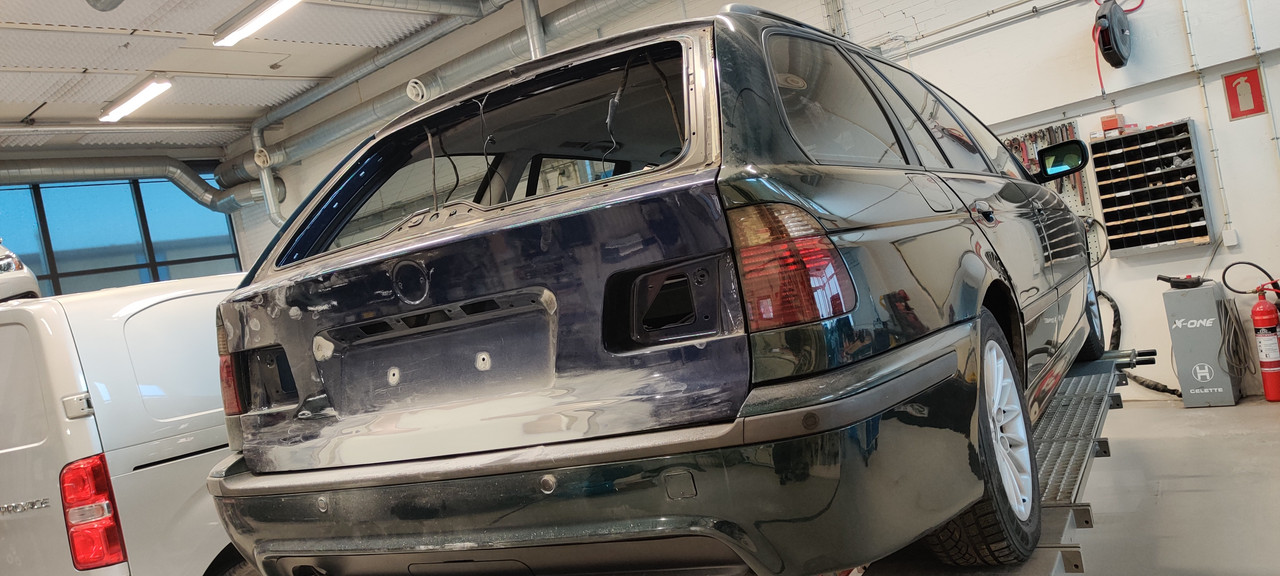
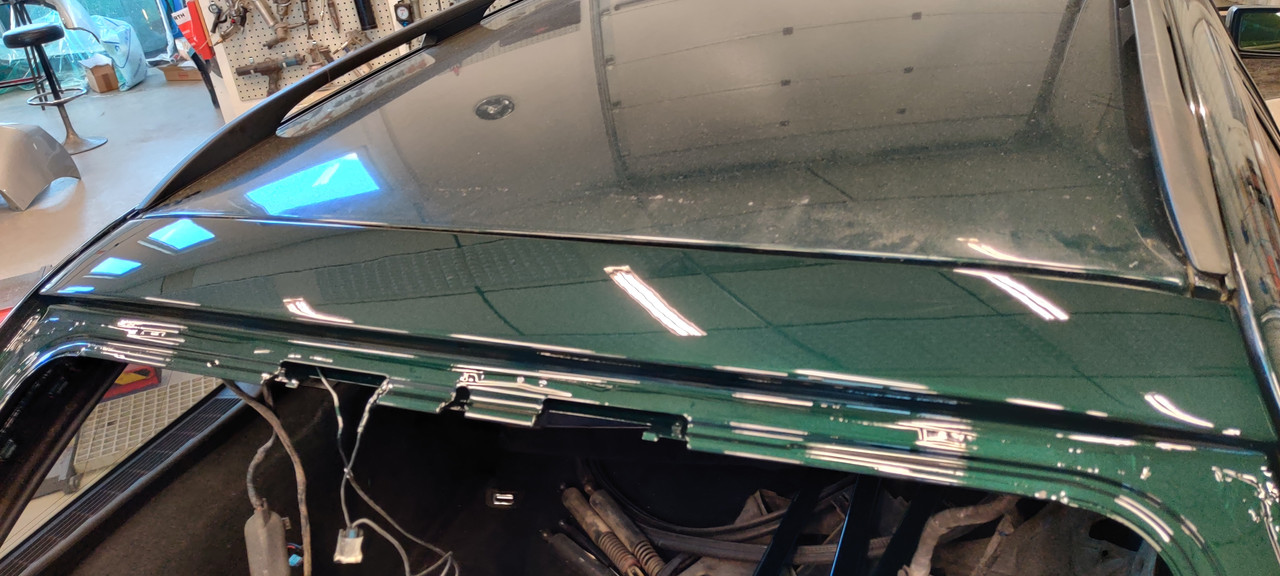
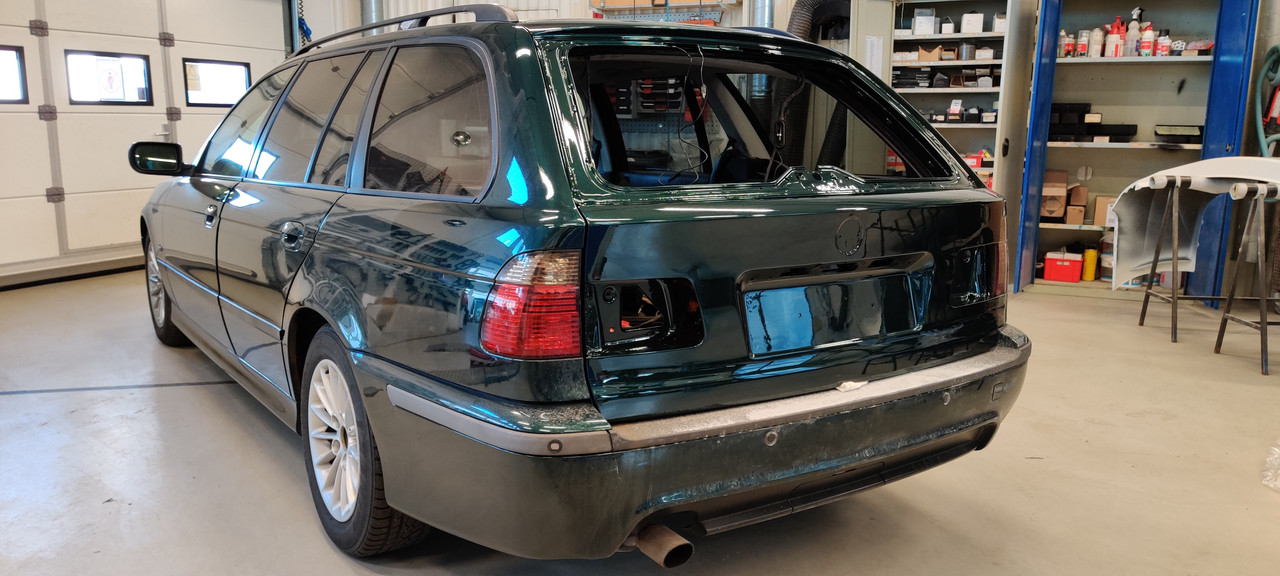
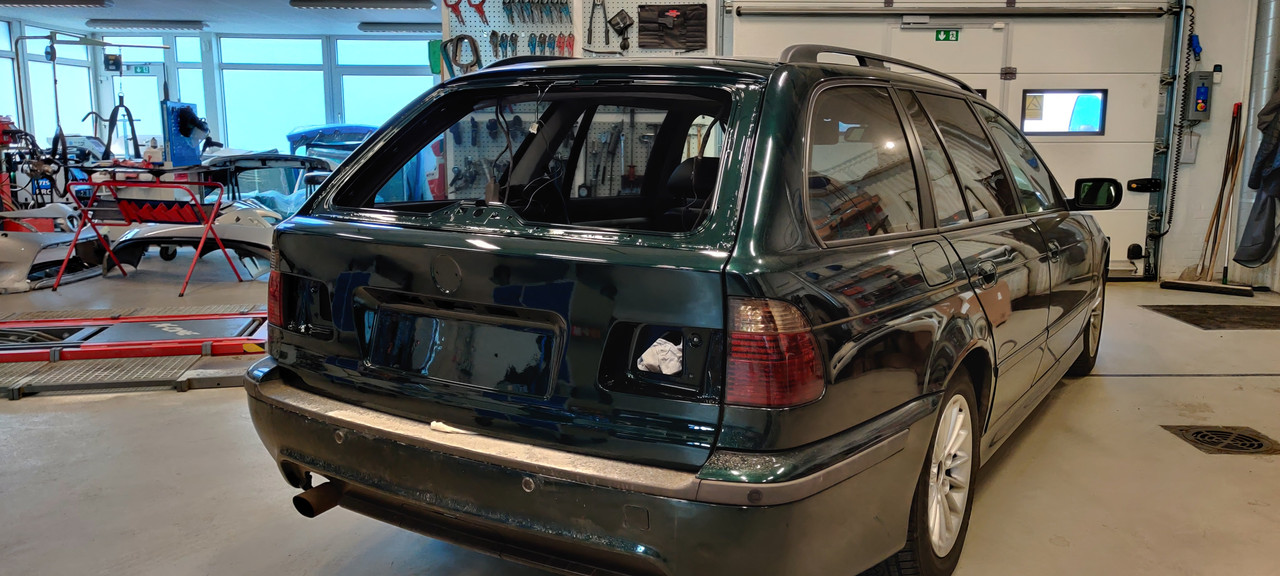
Anyways.. Some weeks ago I were loading my trunk, and my trunk shocks has been bad for a long time, along with the hinges. When I dissambled it, I found out one of the shocks for the upper trunk lid, wasn't even connected, but both hinges were shit.
So I am changing the upper and lower trunk, along with both hinges and all 4 shocks.
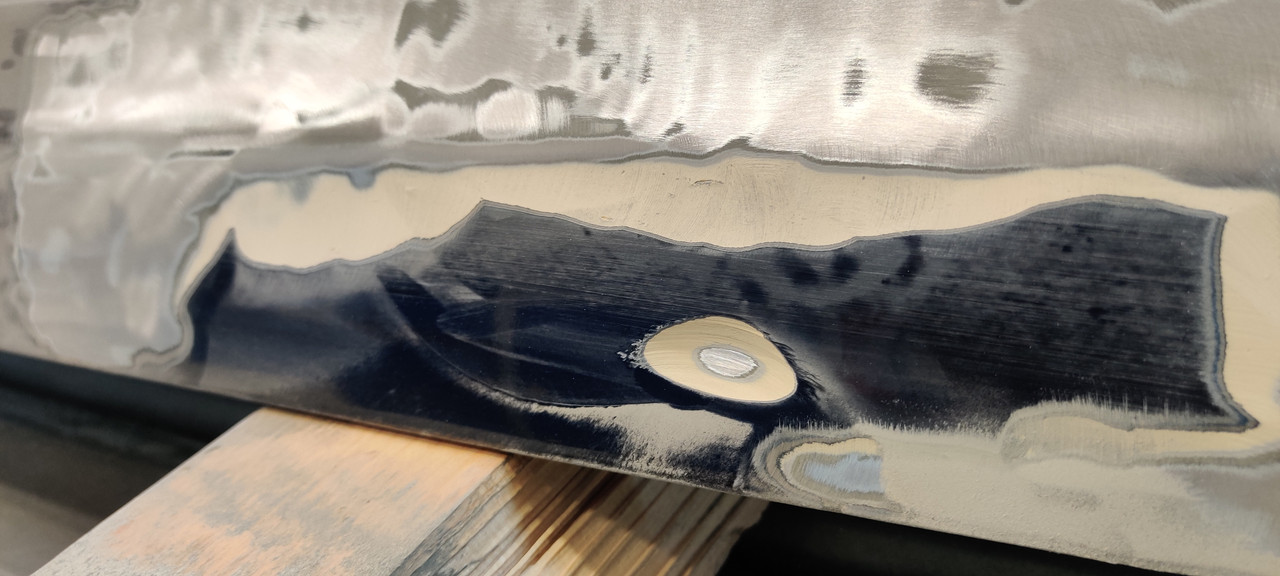
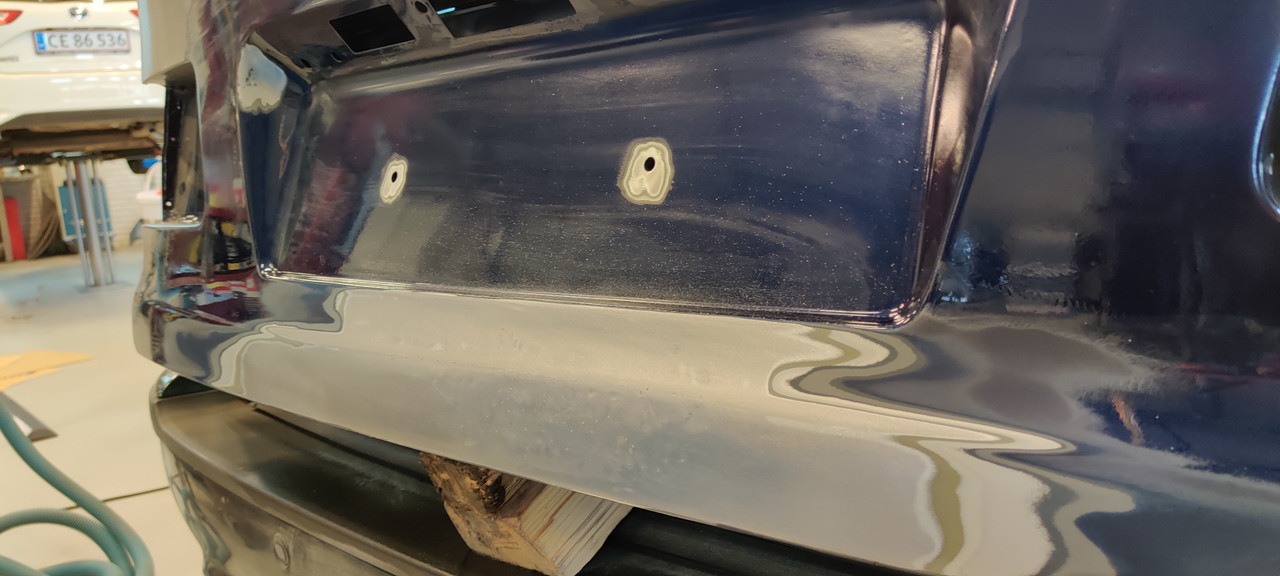
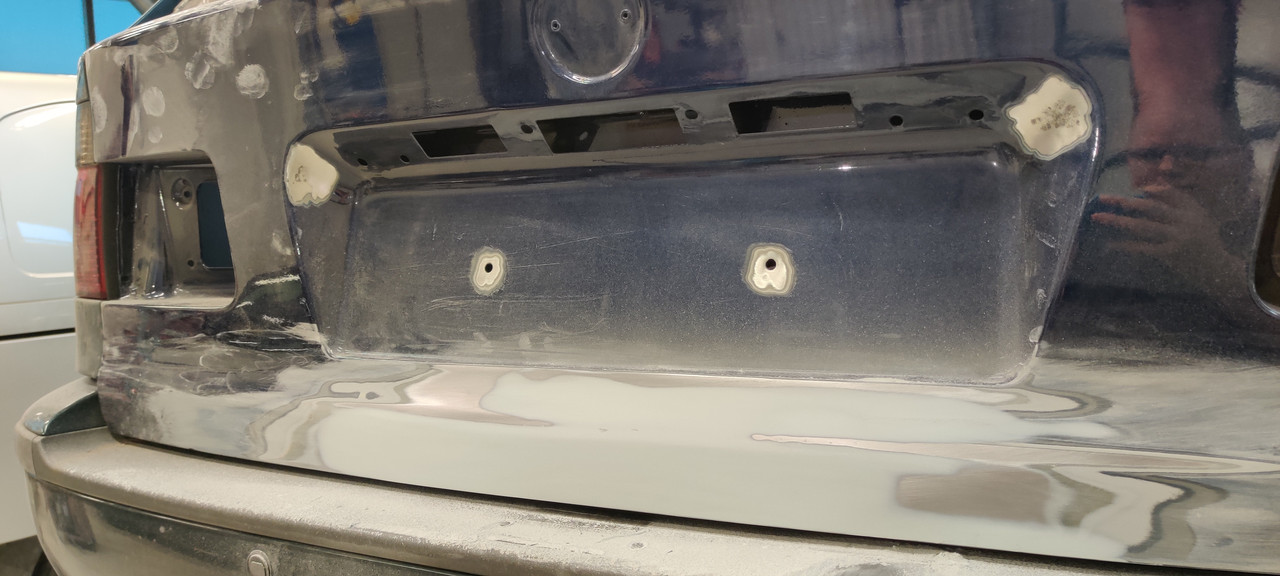
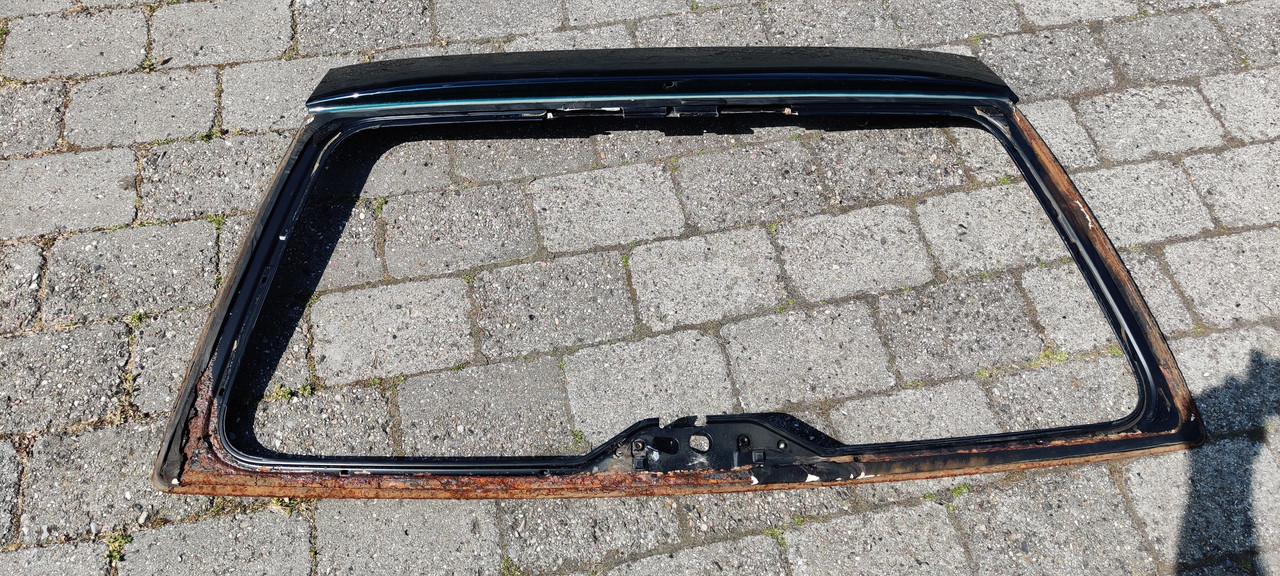
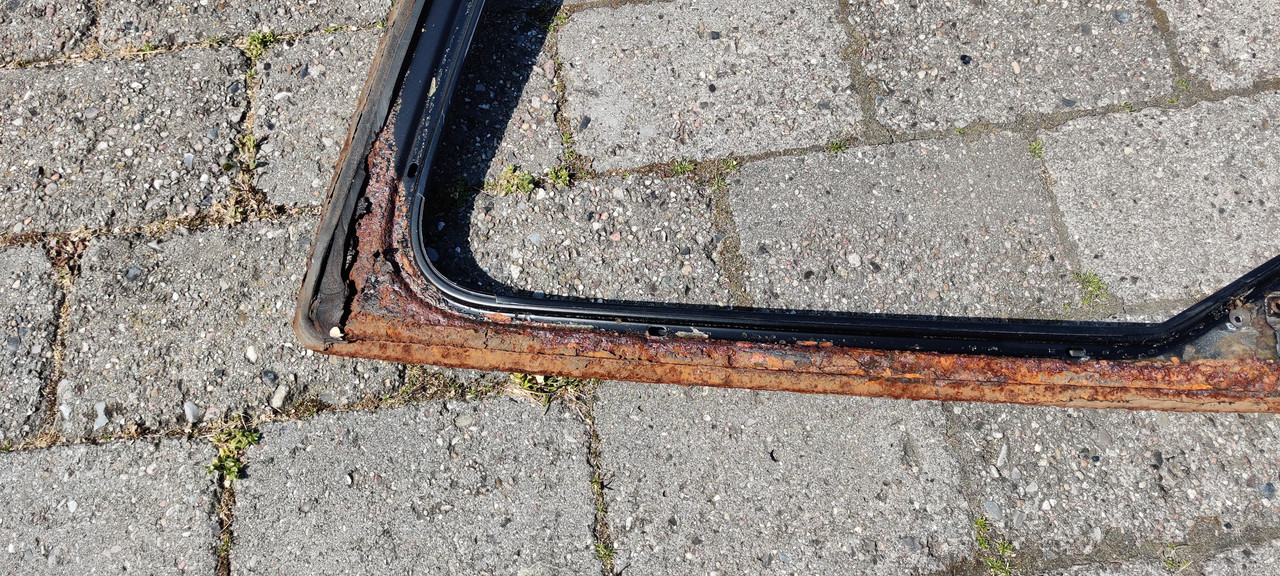
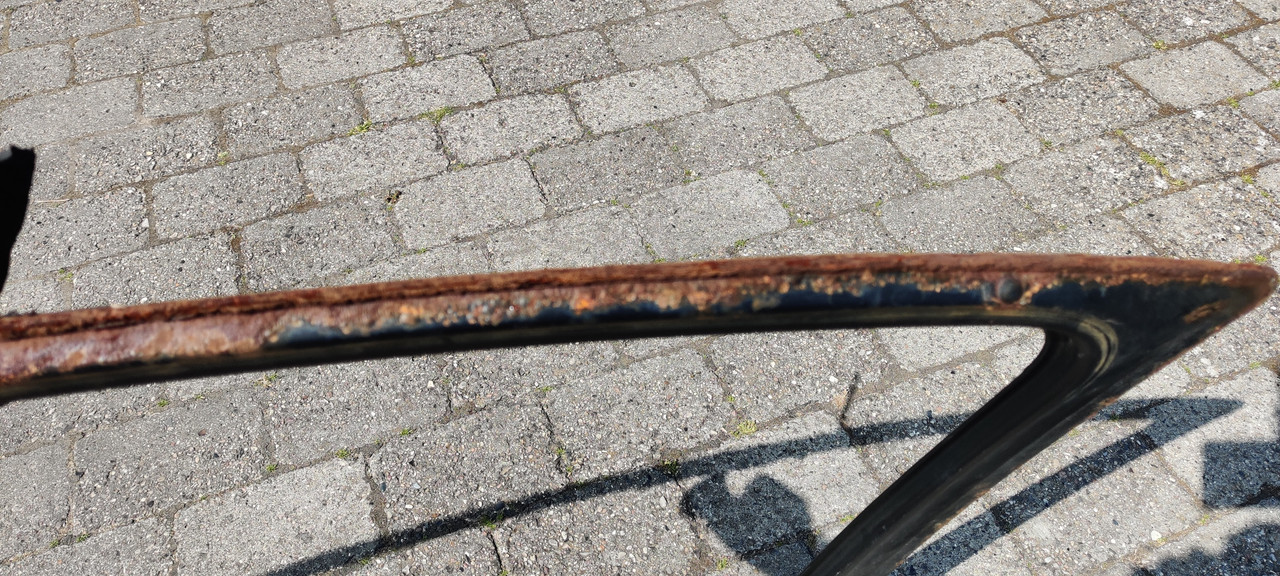
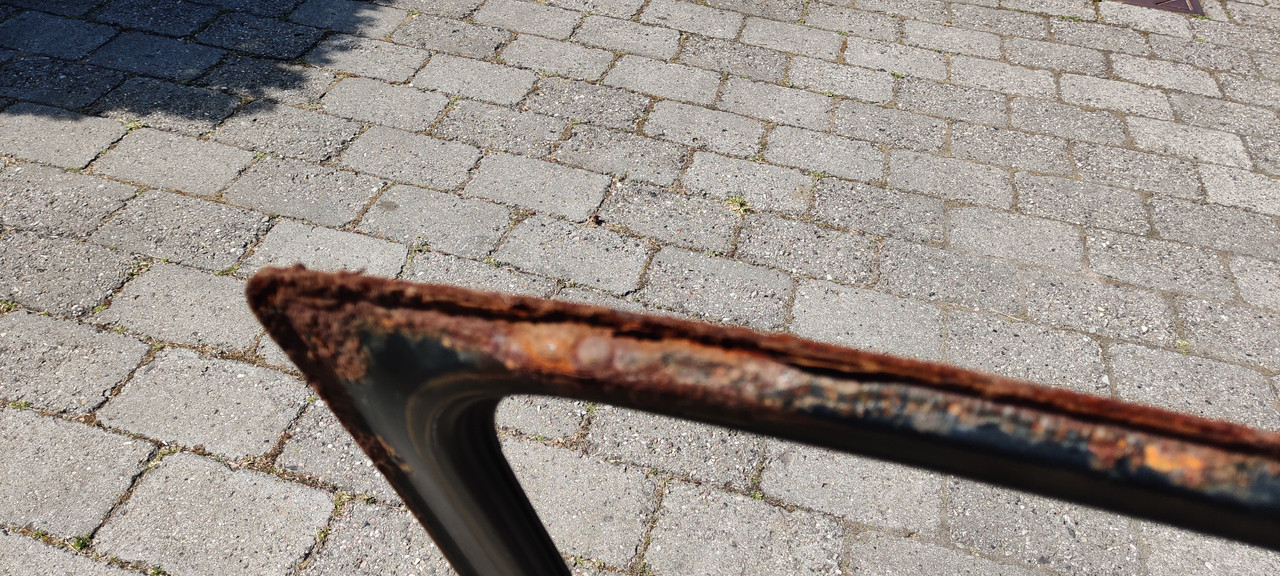
When I bought this second hand trunk lid, I saw that it had a ''minor' dent, initially I were thinking of just using a bit of filler on top of it, to even it out, as it wasnt that bad. But then I thought, why not just see whats underneath as it seemed weird, the paint.
When I started sanding the ''paint'' away, I found serious bondo.. The previous owner of this trunk lid, didnt even attempt to fix the dent. So I had to clean up that mess, the picture doesnt do it justice, how badly dented it was, hopefully the amount of bondo will tell you how shit, it was..
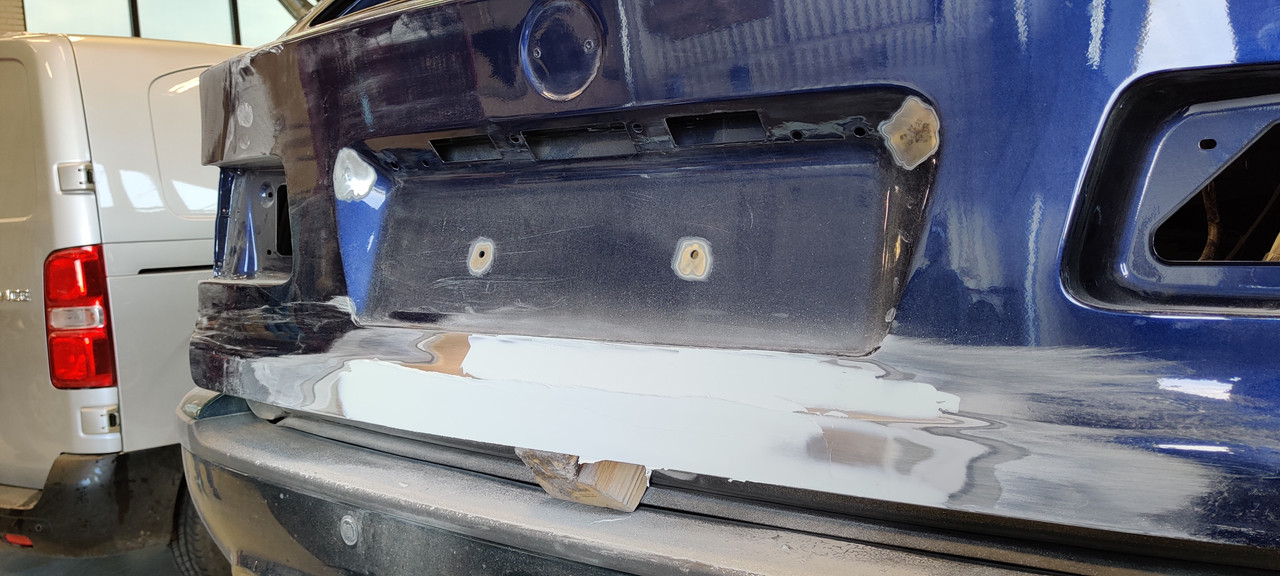
Thankfully I work daily at a Toyota Bodyshop, and was allowed inside to fix her up. I had to ''weld'' some waves on the design edge, or whatever they're called, to pull that one out. Please note that this is precision welding, and not the more ancient one, that leaves holes and a 1 inch heat circle behind.
picture upload sites
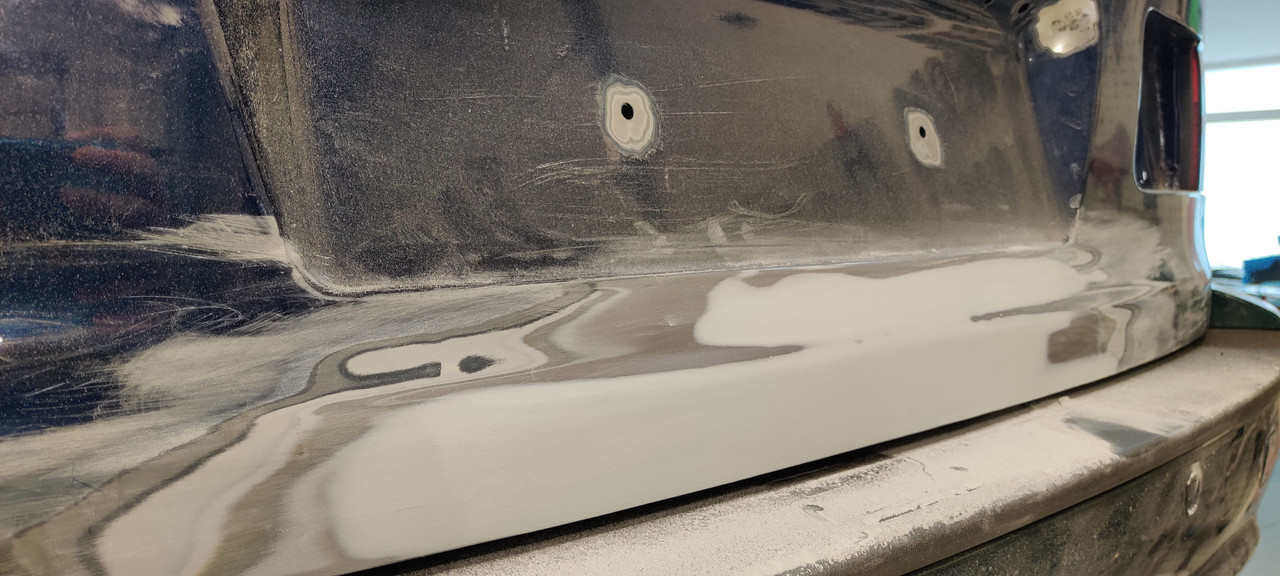
After roughly 2 hours of using a pin puller, and feeling the metal, I were somewhat ok with the result. By no means is this perfect, even though I would much rather prefer it being that way.
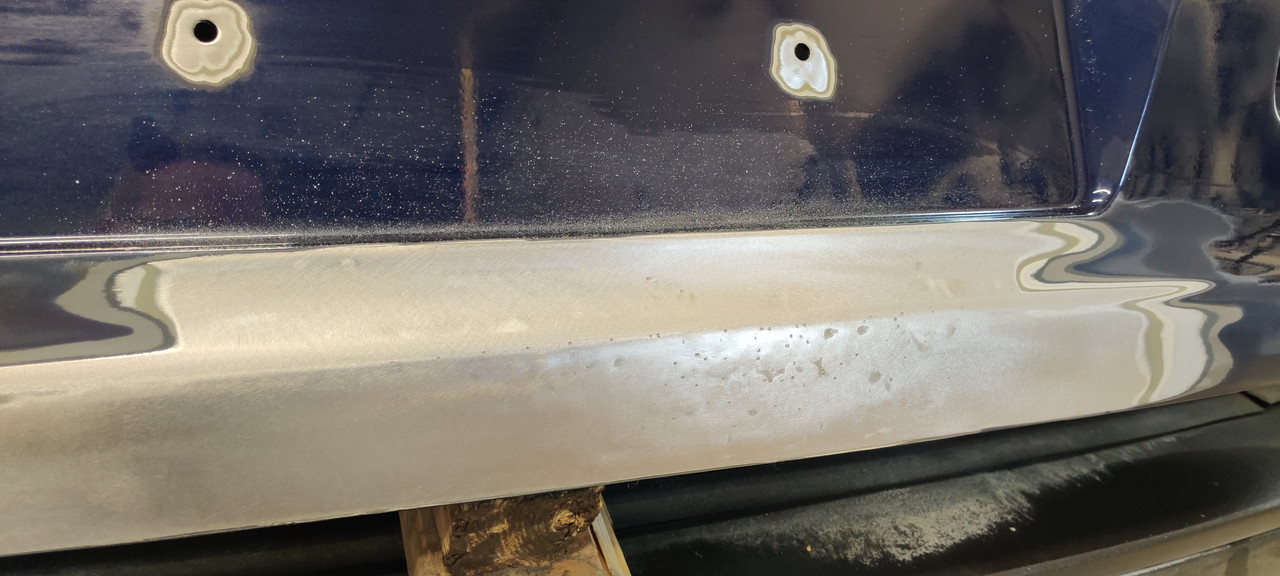
The trunk were then sanded down with P120 and P180 before using body filler. The painter will do the remainder of the sanding and body filler.
Member
I want more please.
Z3///M Roadster | GC Sleeves | TCKline 450lb (F) & 700lb (R) | Koni S/A | Porsche 996 4-Pots | CSL 345mm (F) | e38 328mm (R)
Member
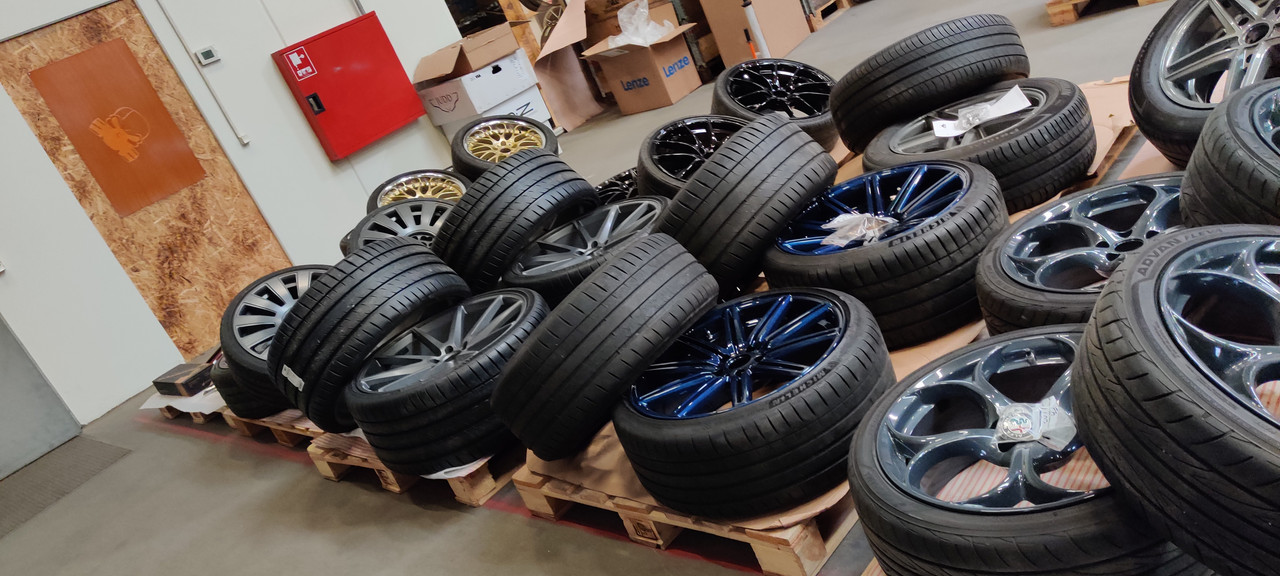
I'm going to be ceramic coating my newly bought BBS RS744/745, and those will very shortly be on here too 😁😁
Member
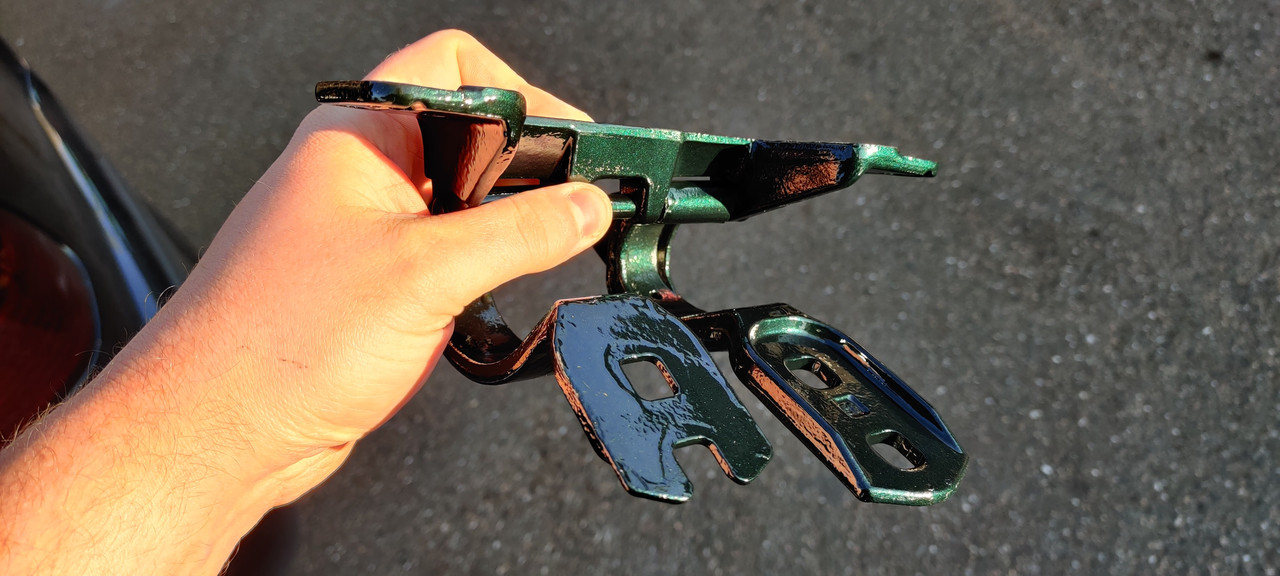
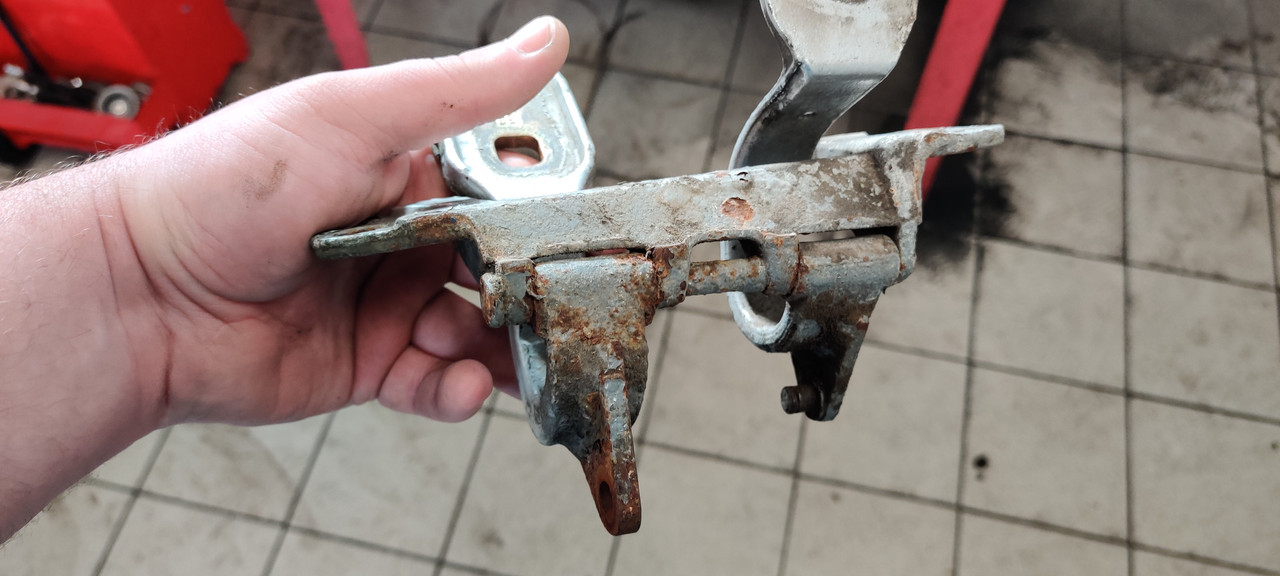
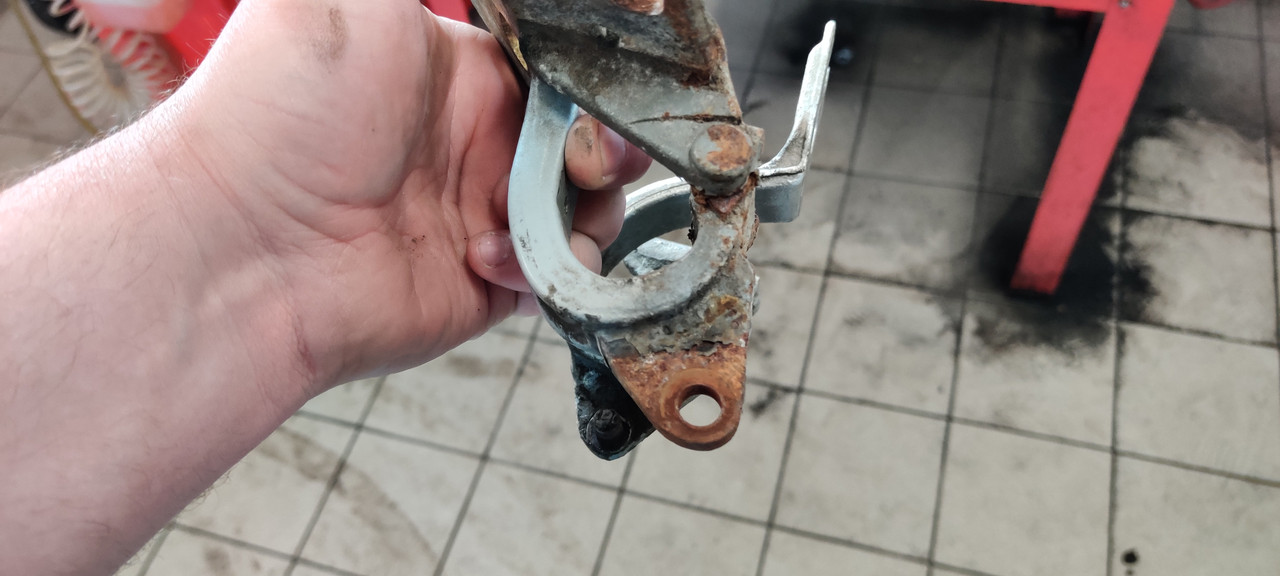
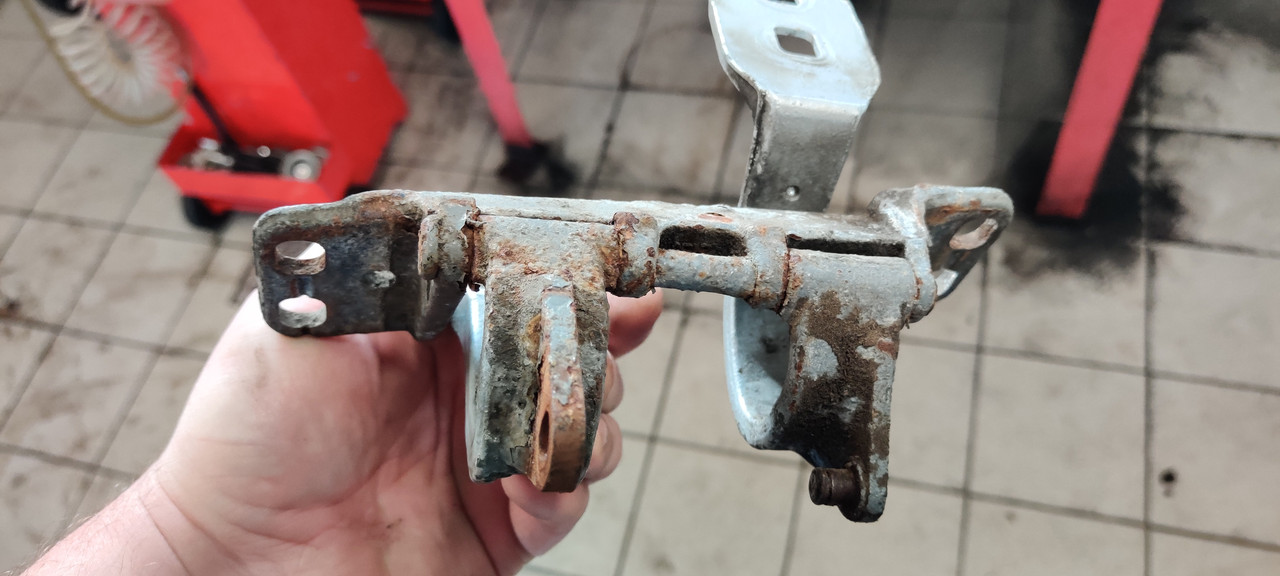
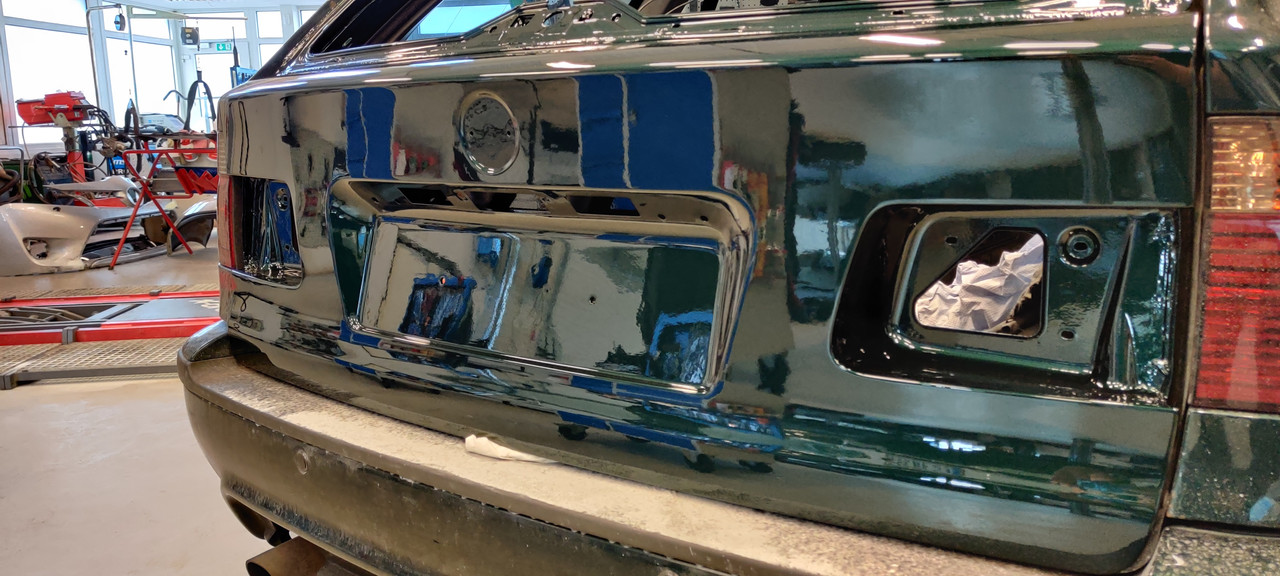
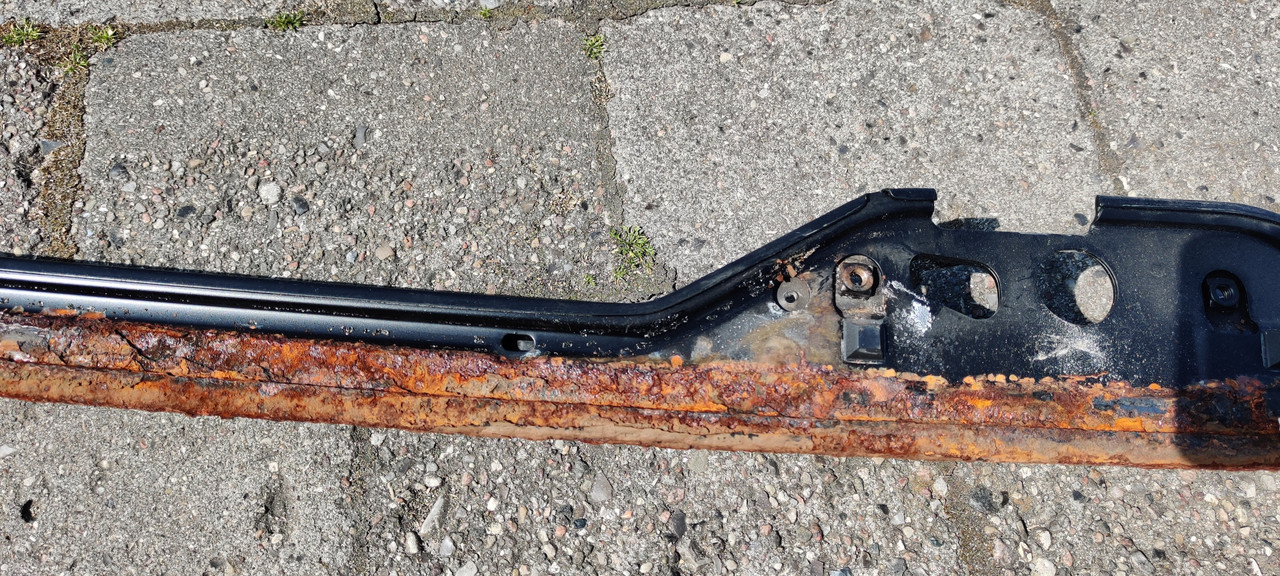
Heres a teaser for you guys. I bought used hinges for the boot lids, as they were 300$ EACH!
It still amazes me, how expensive touring parts are, when it comes to body parts.
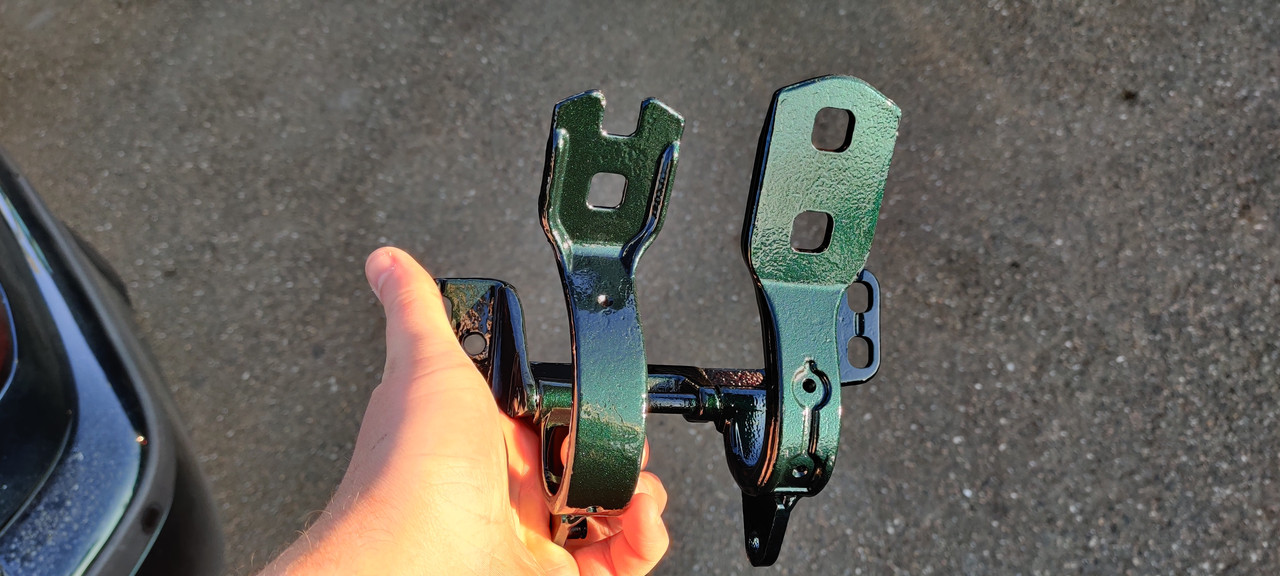
One of the hinges was in ''worse'' condition that the other, this is obviously nothing but surface rust, considering how thick these pieces are. I sandblasted one of the hinges, as only one of them required it.
Im pretty pleased with the results of the paint job so far. Heres some rants though.. Why on earth did BMW put the wires (for the upper boot lid) between the boot lid and the glass, so you cant access it, without removing the glass..
I just cut off one of the wires for the glass, and eventually got fed up with trying to sort that out, so I send my car off to a Glass specialist, along with the old boot lid, that still has the old glass in it.
The donor upper boot lid came with a glass already installed, and thats where i learned this.
Hopefully I'll get a call tomorrow saying that they have routed the wires correctly, and reinstalled my window, else i'll have to buy a brand new window for 350$.
Member
Another successful day, after a few hickups. I started out by mounting the handle grip for the boot lid, I wasnt satisfied with the way it laid on the boot, Im still trying to figure out what I can do, to make it sit better, and it seems to be cased by the gasket, so i've tried removing minimal bits of the gasket.
Somehow the big strut for the bigger boot lid dismounted it self, or wasnt properly attached in the first place, and boom the boot went down. Thankfully nothing broke, but painful noises were made, and my heart rate and stress level went through the roof for a couple of hours.
I also decided that I should probably get some new wheel bolts, not necessarily because of them being ''lock bolts'' but rather because, I wanted the gold ones.
I couldn't resist but to Ceramic Coat them, while they were still brand new, and when back over my wheels, as I forgot to Ceramic Coat the stainless bolts, that hold them together (2 piece wheels).
Member
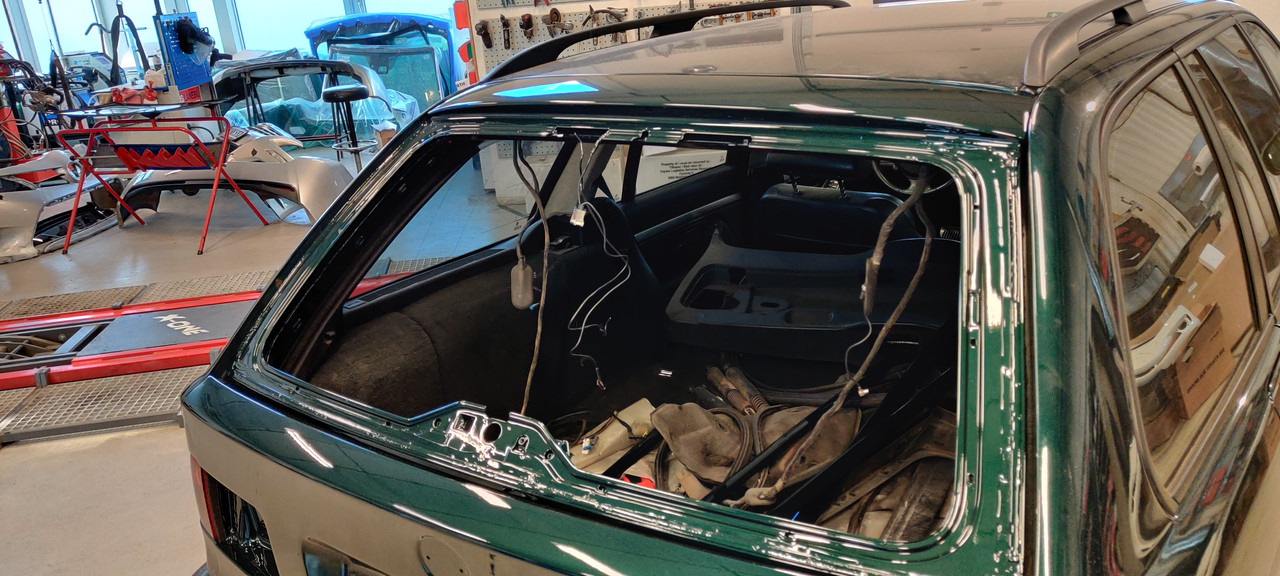
The upper boot lid that I bought was used, and came with a used window already installed, so I had to remove that. We sadly broke the ground wire to the window, and we couldn't solder it back on. Eventually after looking and trying to figure out, how to actually do said job. I eventually gave up, and gave a call to a window installer, after paying 150$ I were good to go.
It wasnt a hard job for them, but for me.. Such a headache.
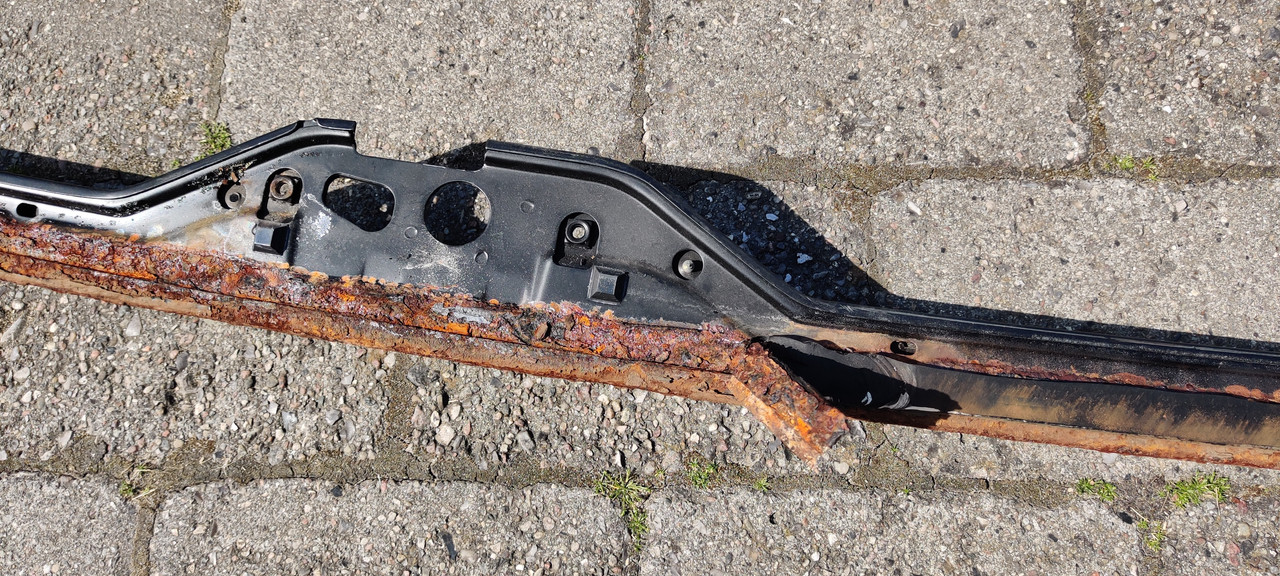
I knew the upper boot lid frame were in seriously bad shape, but man.. This is bad.. The glue that holds the window to the frame, had 0 contact in almost the entire bottom.
Member
As stated earlier I started to reassemble the boot lid, I got the handle grip back on, I had to buy a brand new one, as the old one, had the bolts and nuts rusted completely together. This is sadly a common fault on many cars, and I didnt see it coming, but probably should have.
Ohh well.. Of to the paint shop again.
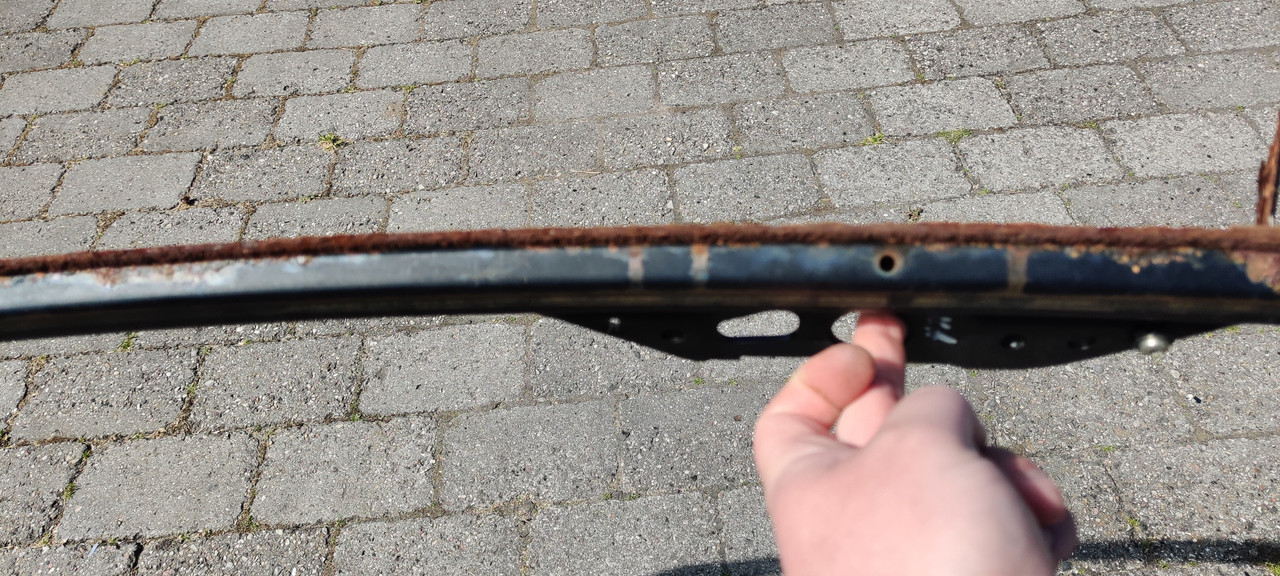
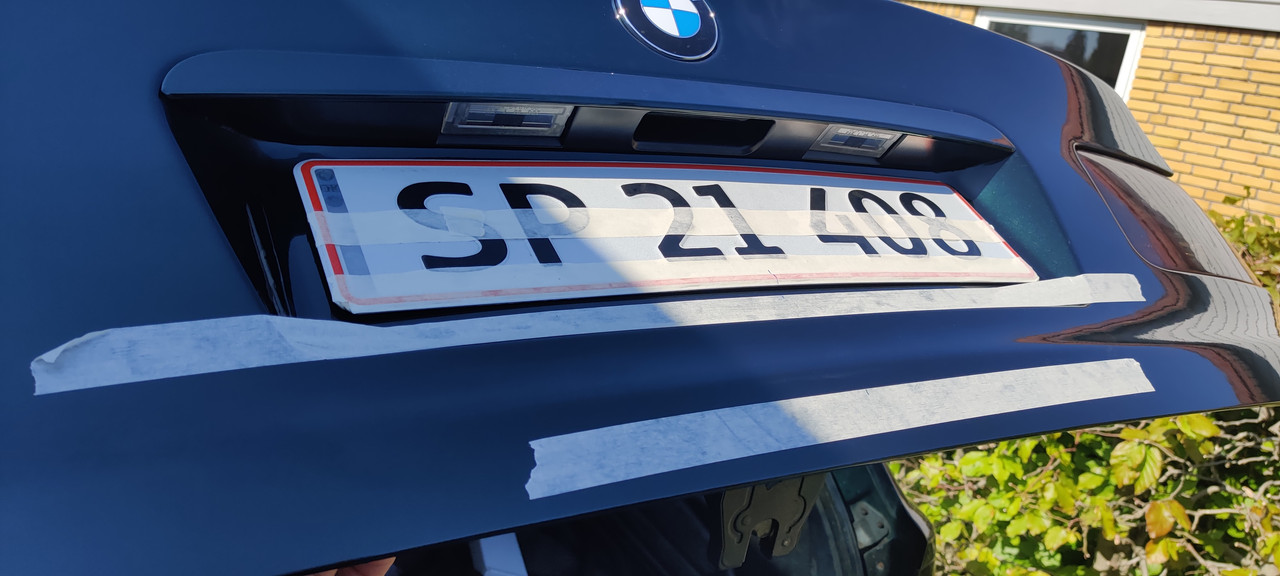
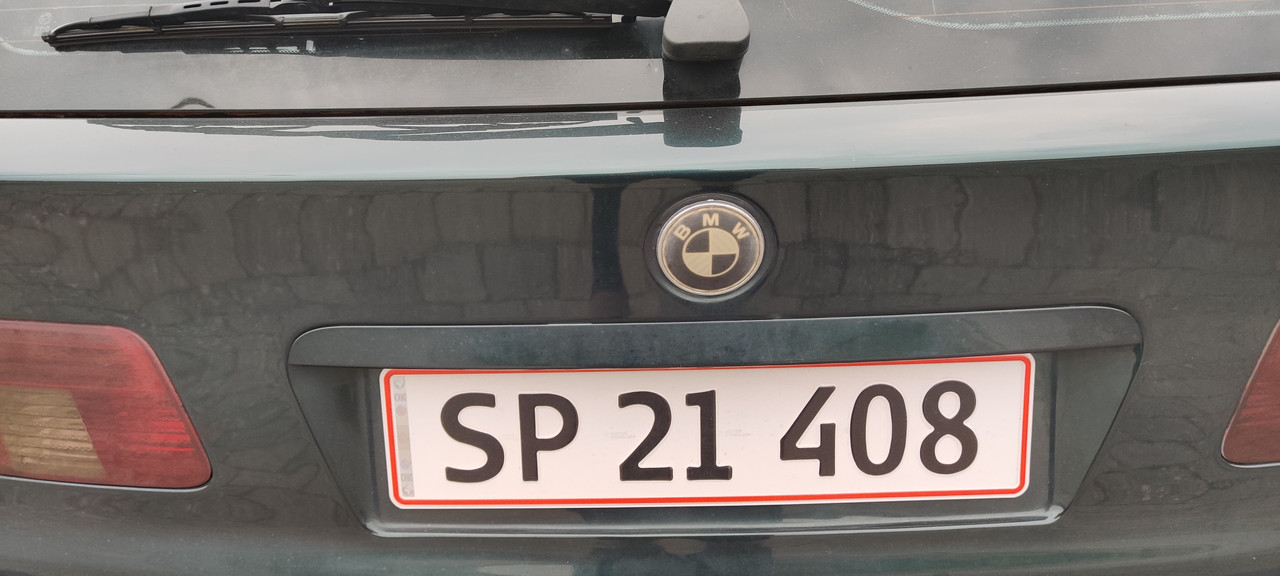
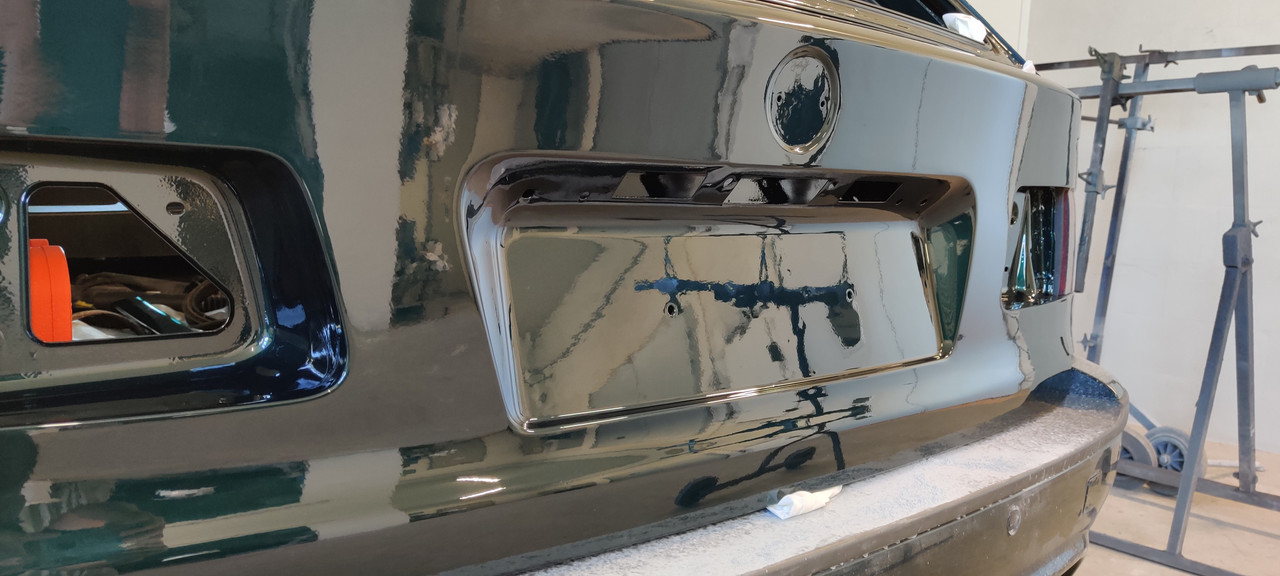
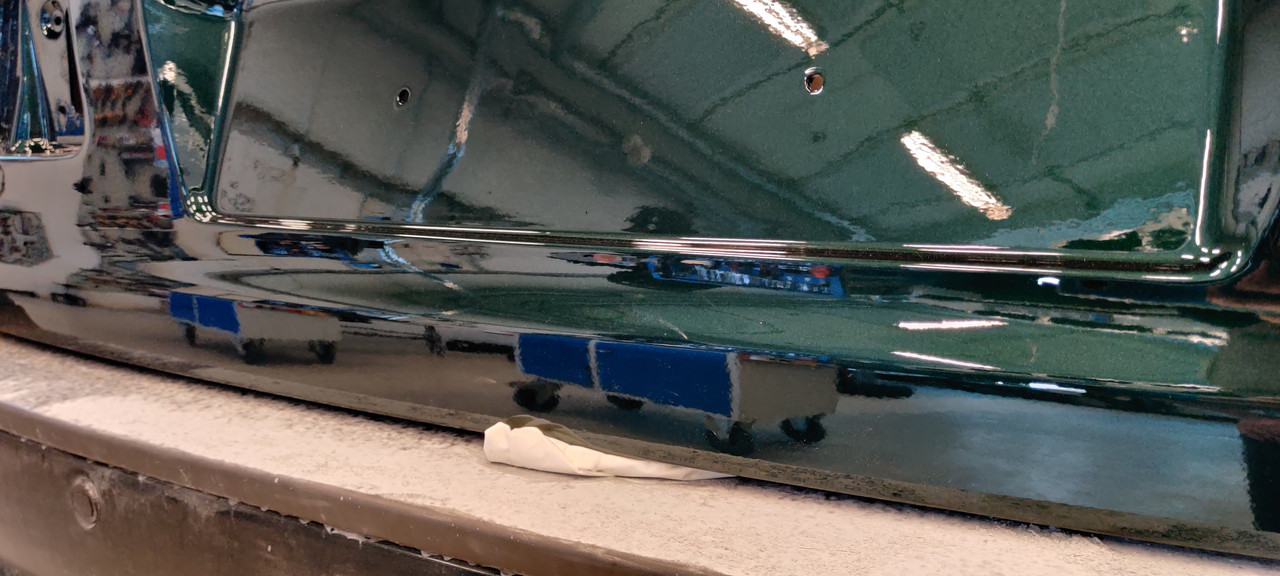
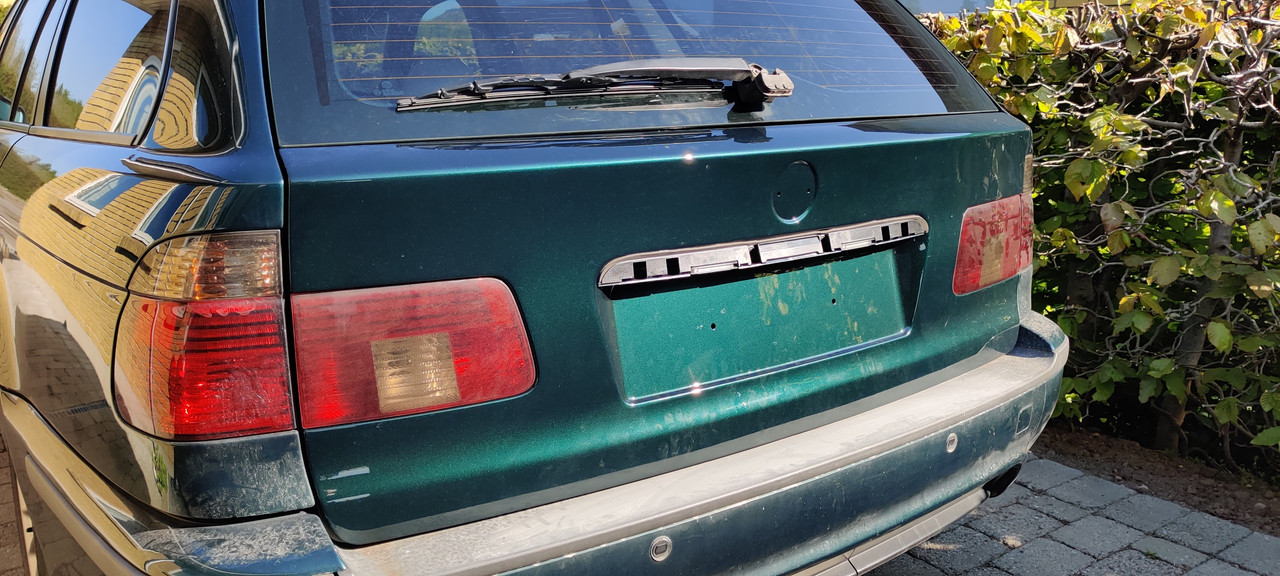
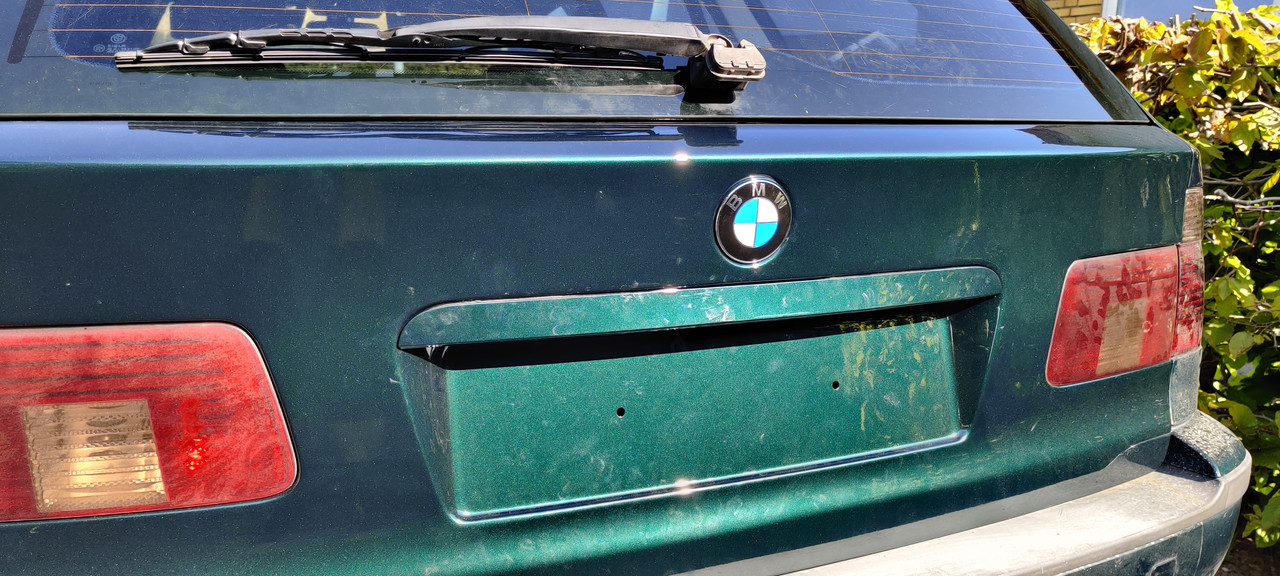
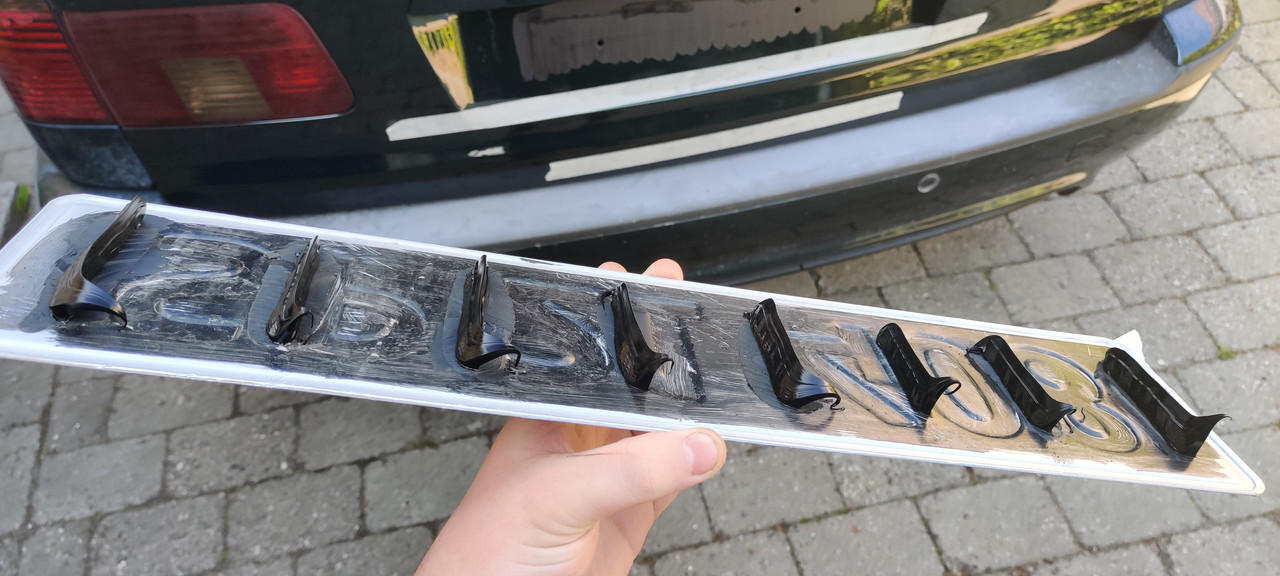
And here we go again, a lot of people will call me a mad man, but god dammit I hate seeing screws and rivets on License plates, it obscures the nice clean look of a car. So when I got these replacement License Plates last year, they were glued to the car, to make that extra detail.
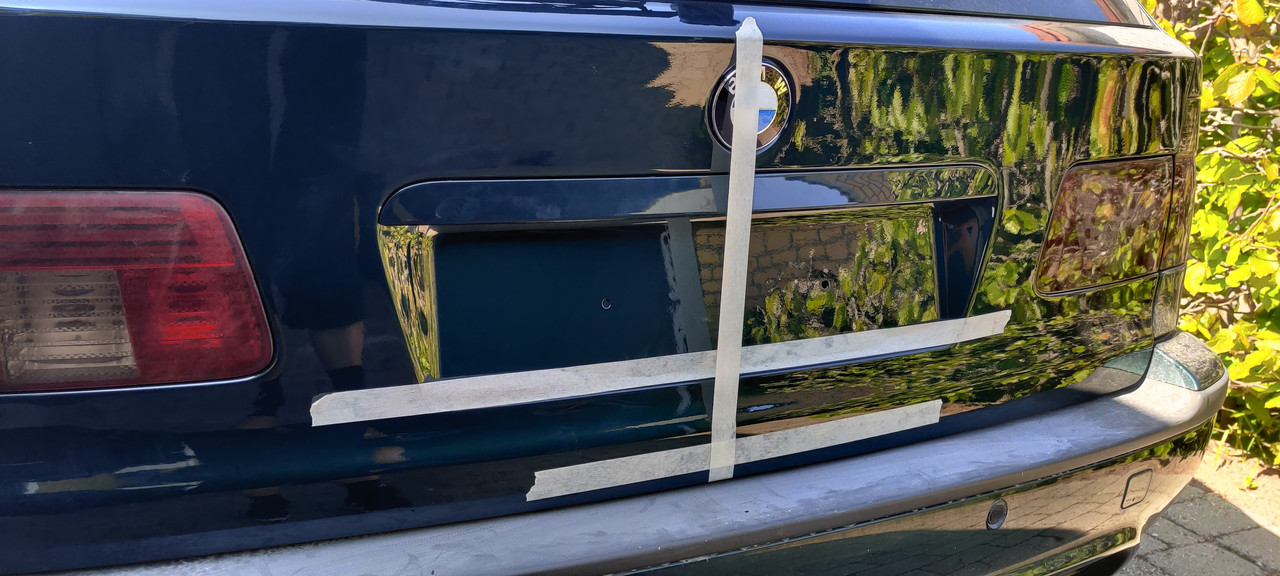
Later in the afternoon I decided to finally remount the License plate, on the rear again. It took roughly 1 hour, as I REALLY wanted it to sit perfect again. After my front bumper were broken, I had to remount that License plate, and im not 100% happy. So this was not something I were gonna take lightly. (For anyone wondering, the edge to edge measurement of the boot lid, at the bottom is 64 cm, and the height between License plate and handle grip is 9 mm)
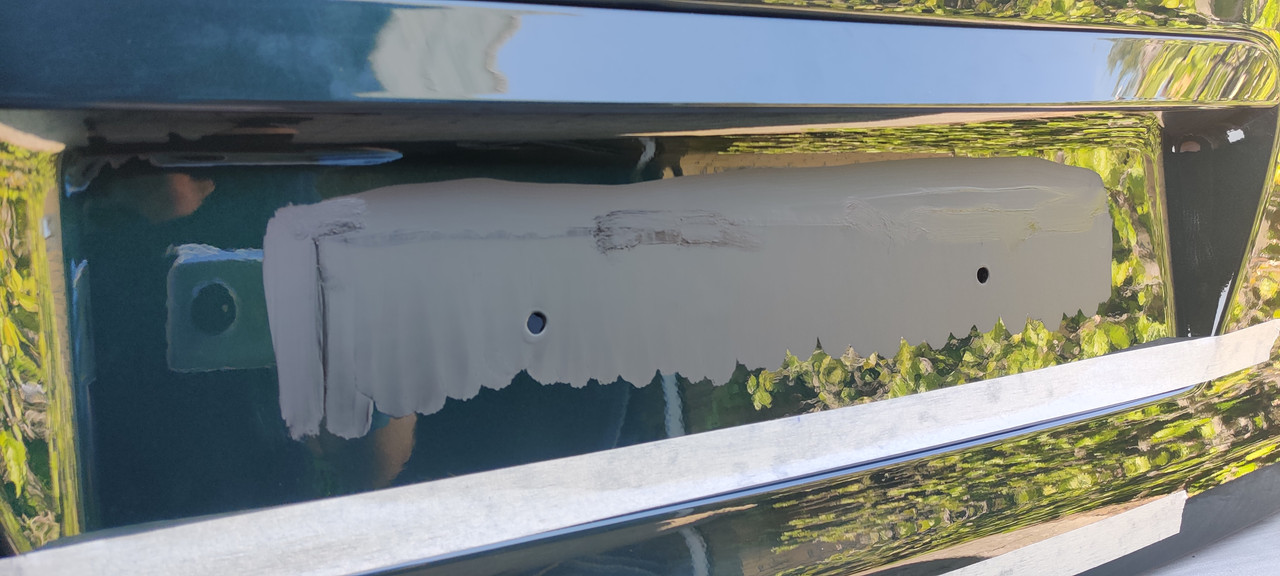
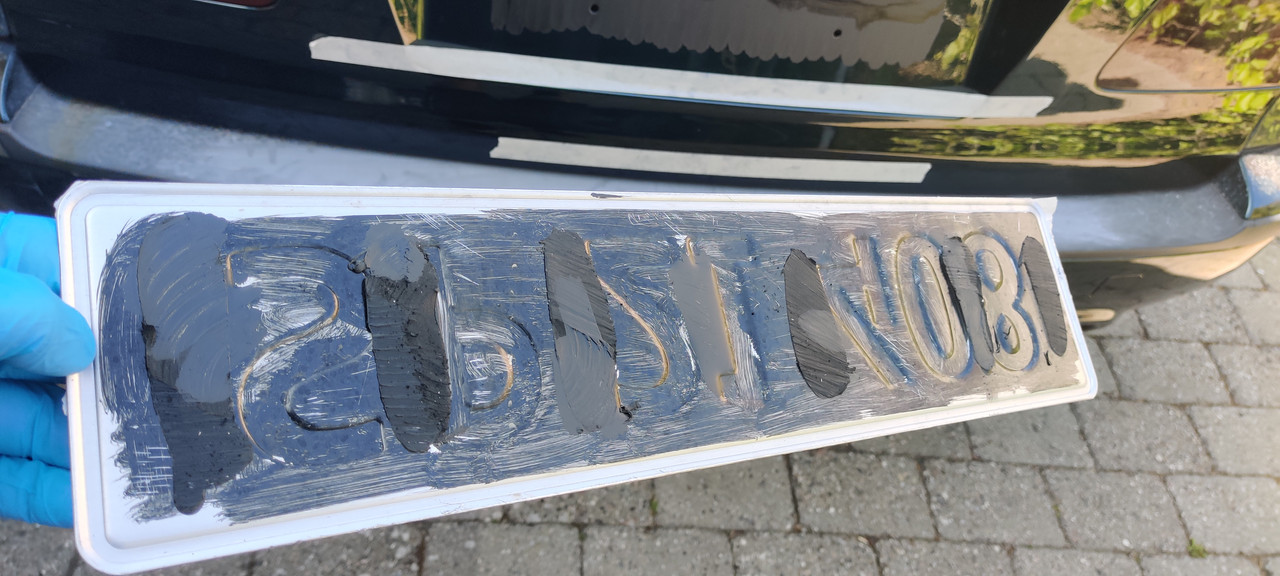
After spending what seemed like an eternity measuring the boot lid, finding the middle and figuring out what the correct height, from the License plate to the handle grip should be, I was all set. I primed the surface of the boot lid and cut the excess glue, of the License plate, before giving that a new layer of primer, and of course glue!
Member
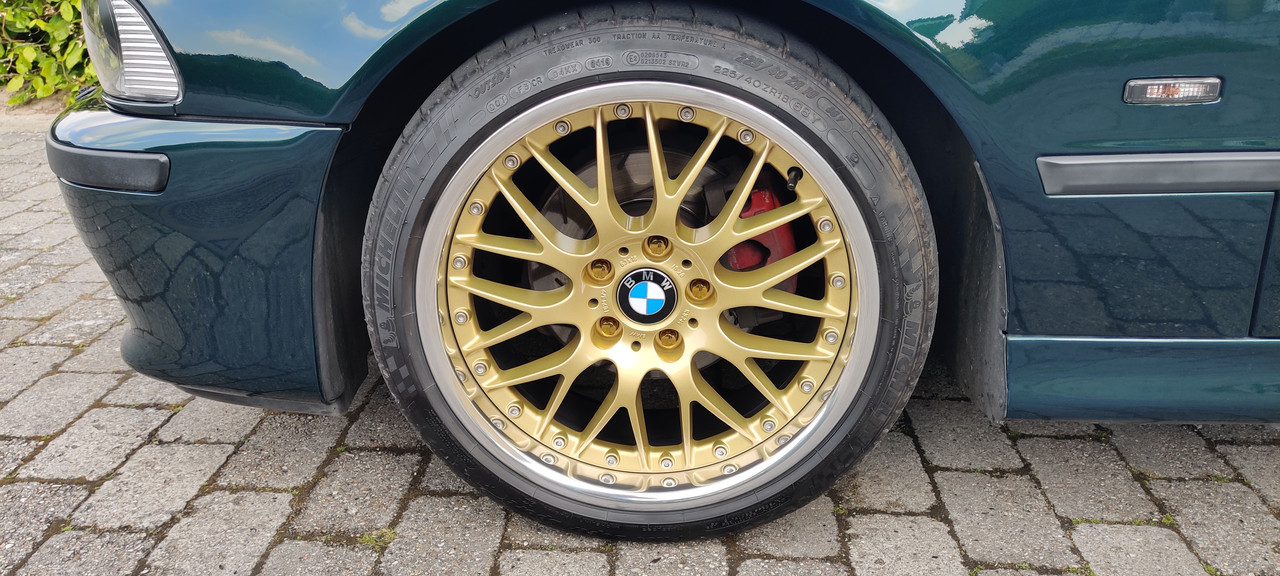
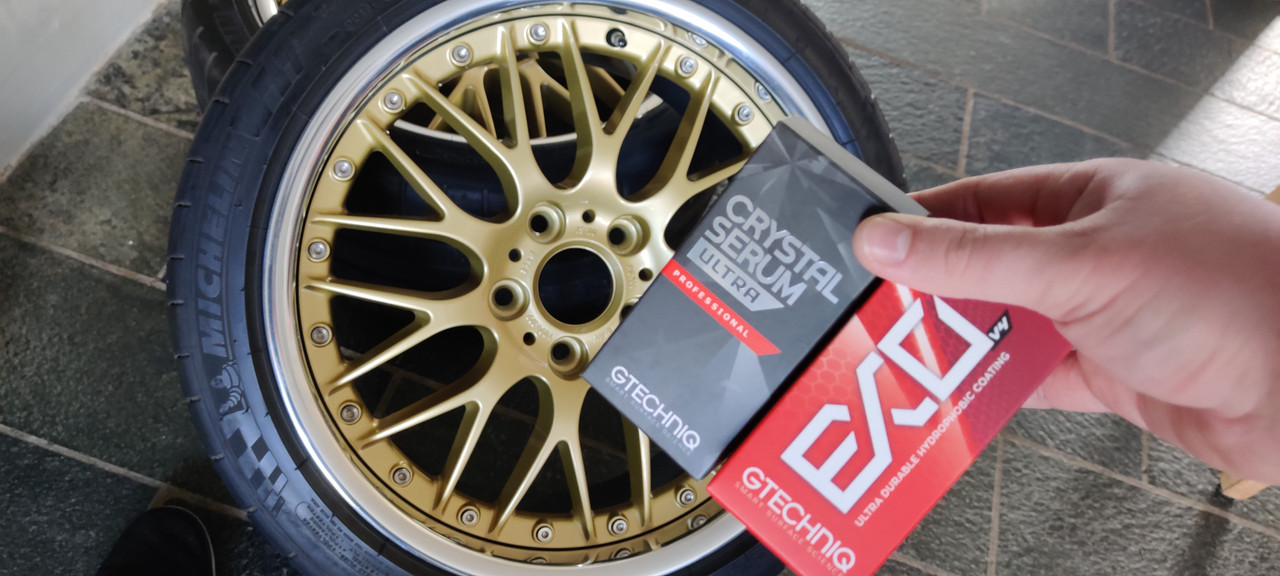
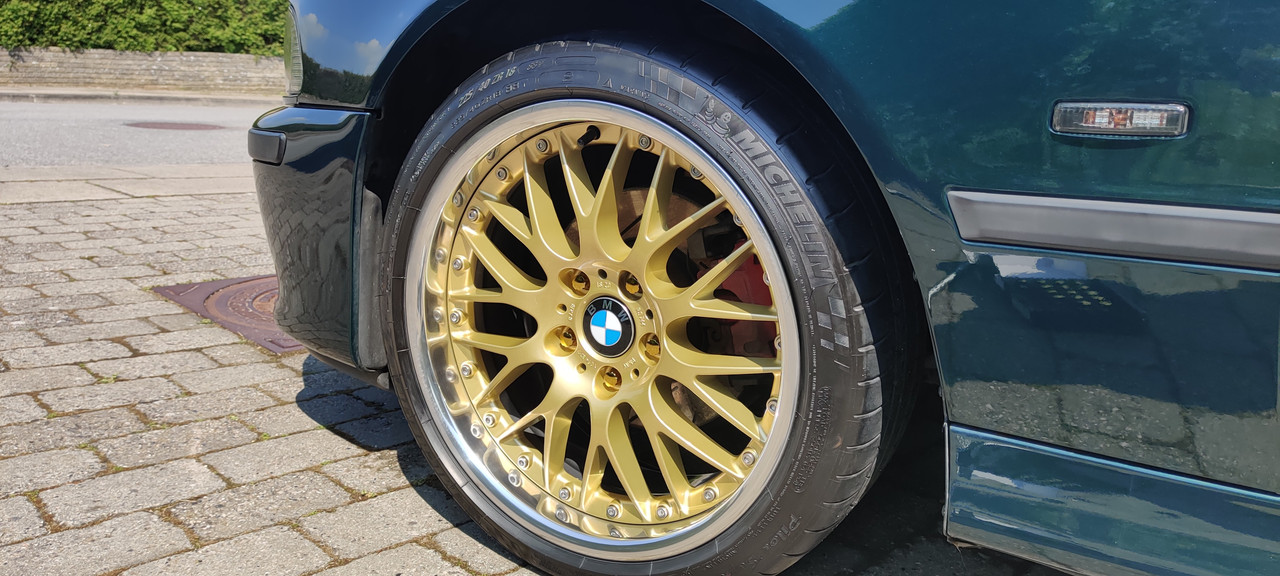
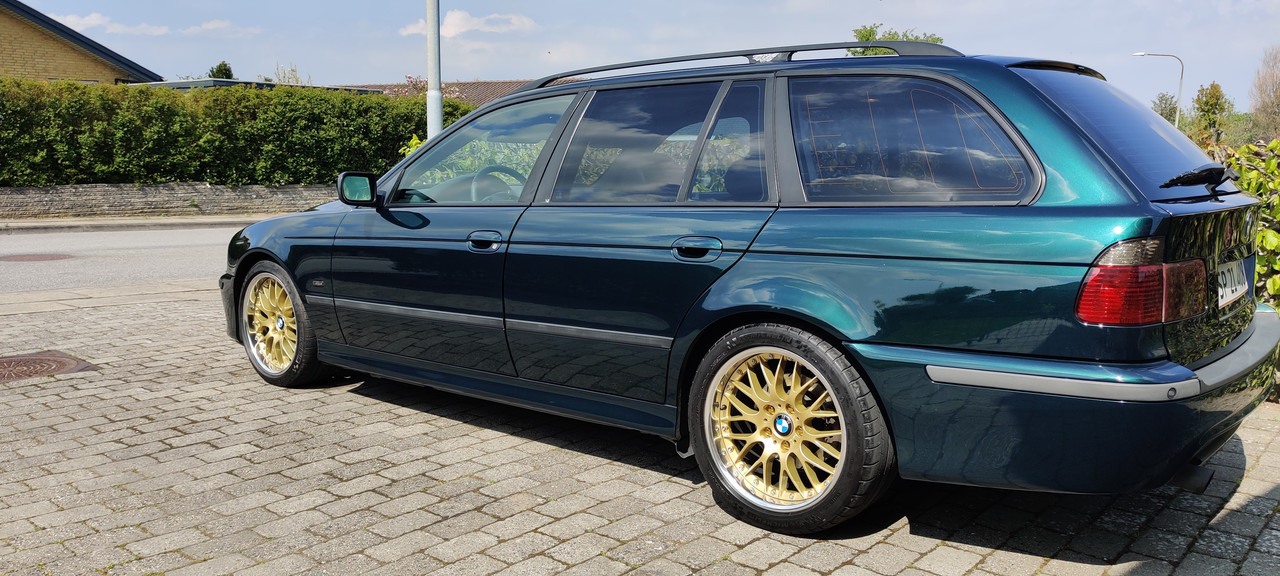
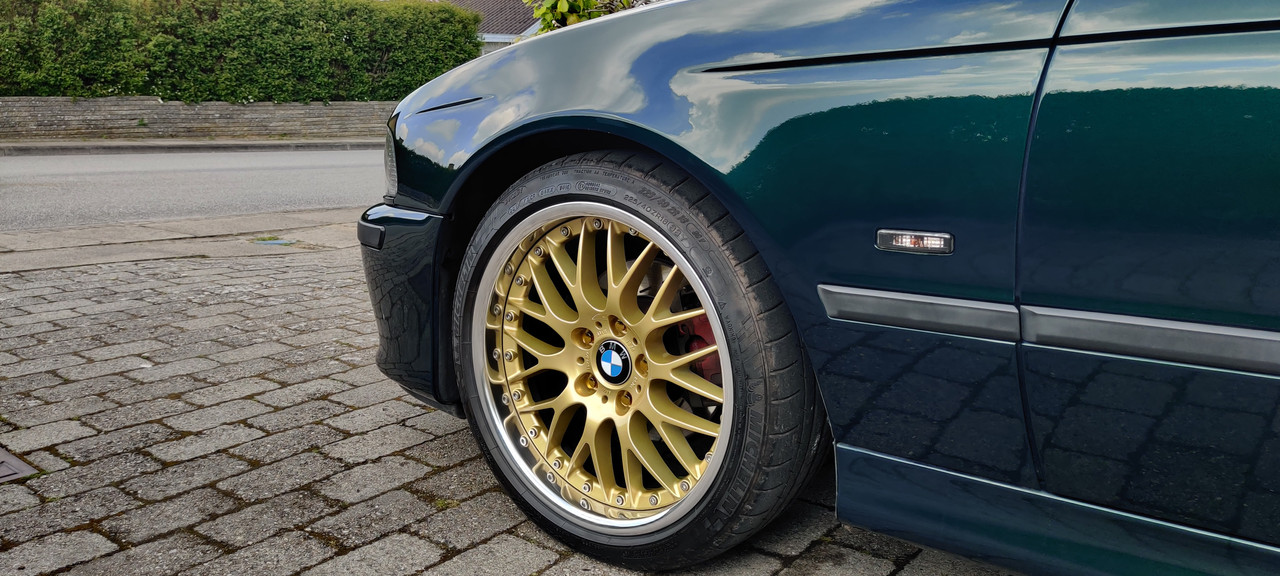
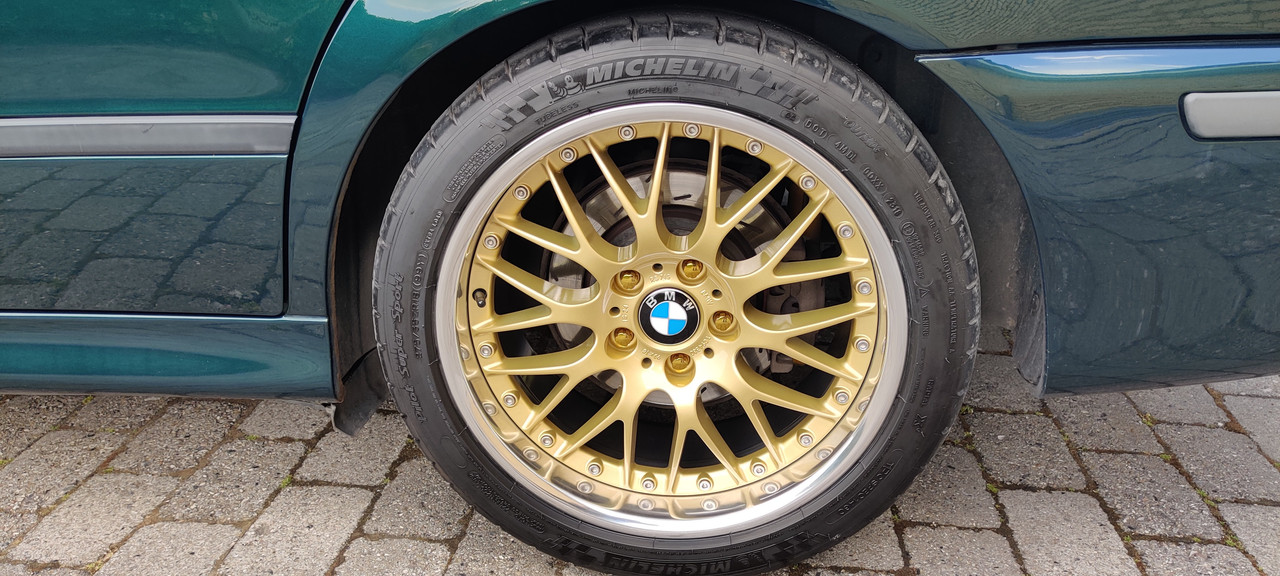
As promised here are my ''new'' BBS RS744 & RS745, aka BMW Style 42.
I bought from of eBay from Hungary, and im pretty pleased with them, in my opinion they are not 100% in the paint department, but 99% of people would classify them as spot on. Deep down in my heart, I know I will end up getting them redone in the future, so they are 100% and gold on the inner arches as well.
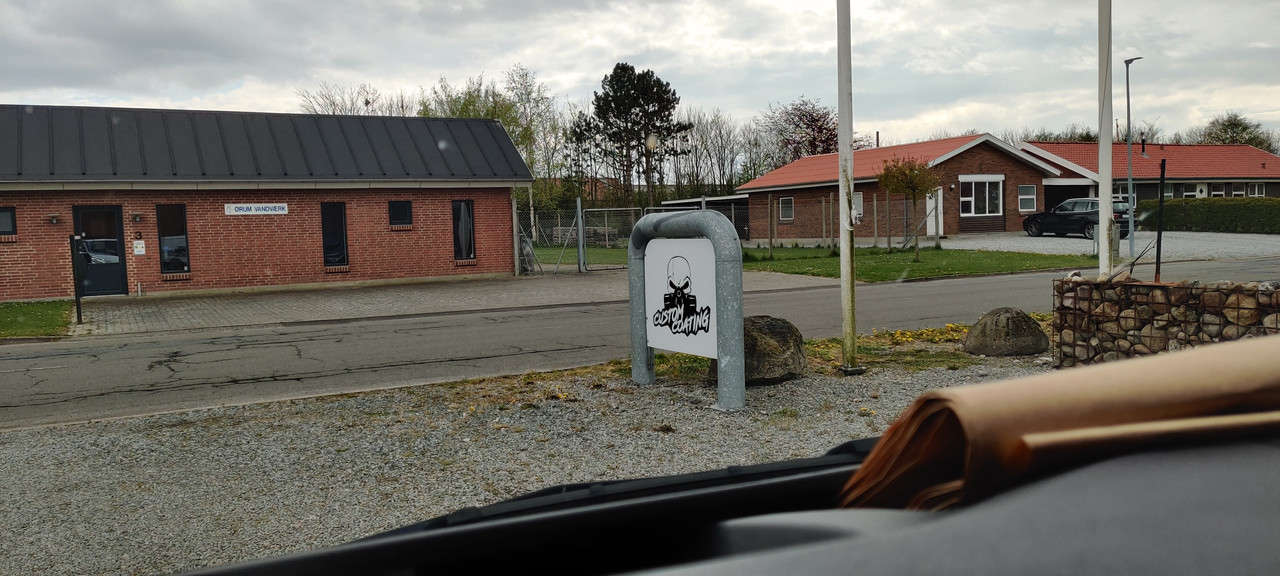
They were send to a company called Custom Coating in Viborg, Denmark. As they seem extremely nice and takes proper care of their customers. They gave me advice throughout the entire process, what they would do and what the 100% perfect route would be. One of the rear wheels were a bit out of spec, but considering that it was minimal and it would leave a mark in the paint, if they repaired it, I opted to take their advice and try them on the car first. Considering an E39 is not a perfectly new car, its not certain that I would ever feel said out of spec.
I am extremely novice when it comes to Polished lips, and have litterally no idea, how to achieve a mirror finish, hence why they look a bit meh. (I had to clean the tires, and it was near impossible to not hit the lip)
Anyways.. My last pair of wheels were Ceramic Coated with Gtechniq Crystal Serum Light and 2 layers of Gtechniq EXO V4, this time about, I decided to go with the ultimate route, Gtechniq Crystal Serum Ultra and 2 layers of EXO v4.
Last time about, I werent Gtechniq accredited, so I couldn't get Crystal Serum Ultra.
The tires it self were coated/dressed with Gtechniq Tire Coating T1, for that longer durability and deep rich black look. They were dried down with a microfiber towel afterwards, as I dont like the glossy apperance of tires.
Member
Looks great. Love that's Green.
I'd think about some 15mm Spacers in the front and 10mm in the rear to push the wheels out, but you've got those beautiful lugs that are gold that wouldn't be long enough.
Hmmm.
Member
Thank you
Personally I dont like running spacers on my car, and those are Japan Racing wheel bolts, thought it would be such a shame to use the old rusty looking ones. I know these arent the same kind of gold, but i kind dig that.
 Posting Permissions


 Reply With Quote
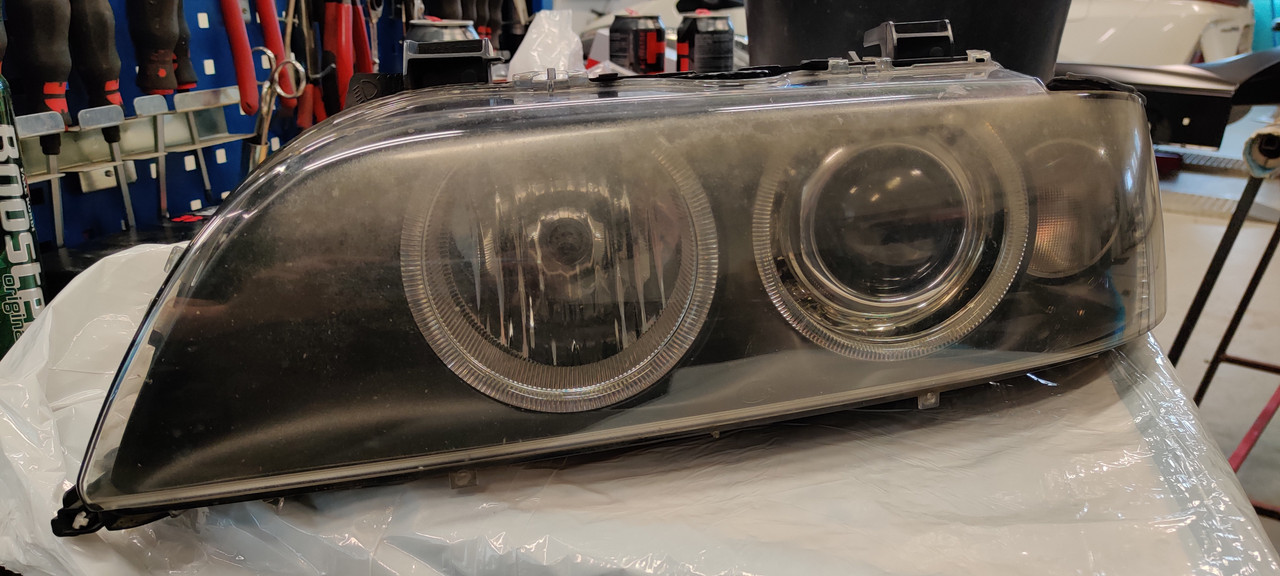


.JPG?width=1920&height=1080&fit=bounds)


Bookmarks