
 shade tree mechanic
Moderator
shade tree mechanic
Moderator
We had the same problem some years ago with an Alpina B12 with M70, did not start, was parked in our DIY group storage for several years. Tank had only about 30 liters left and looked like rust, at the bottom of the tank the long period of standing fuel had turned into varnish like gum, tried a lot of things like changing all DME's, spark plugs, leads, CPS, ignition coils etc, in the end it turned out that 10 of 12 fuel injectors were completely blocked and 2 let through a bit of fuel, changed both fuel rails from another engine and the engine started up immy, before we had drained the old fuel and filled new one in, also changed the 2 fuel filters of course. Then one of our wrenching buddies wanted to test the old fuel, so we filtered it and then he mixed it 50:50 with new fuel, engine was running very rough. BP explains it here: petrol life in vehicle tanks https://www.bp.com/content/dam/bp-co...icle-tanks.pdf
Shogun tricks and tips for the E32 series are HERE!
Member
Thanks for chiming in, Shogun! When I was replacing the fuel pumps, I siphoned out the fuel tank and vacuumed the bottom where the pump carrier sits of debris. I also pulled drivers side fuel sending unit and the fuel tank is clean, no rust.
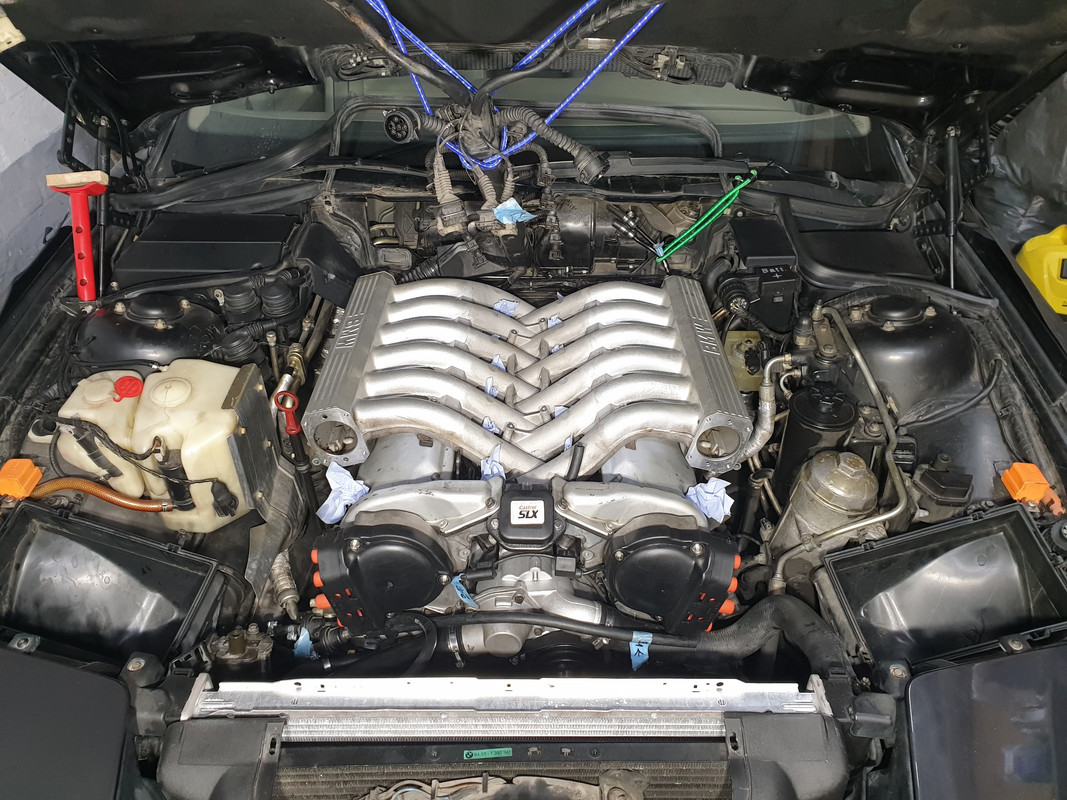
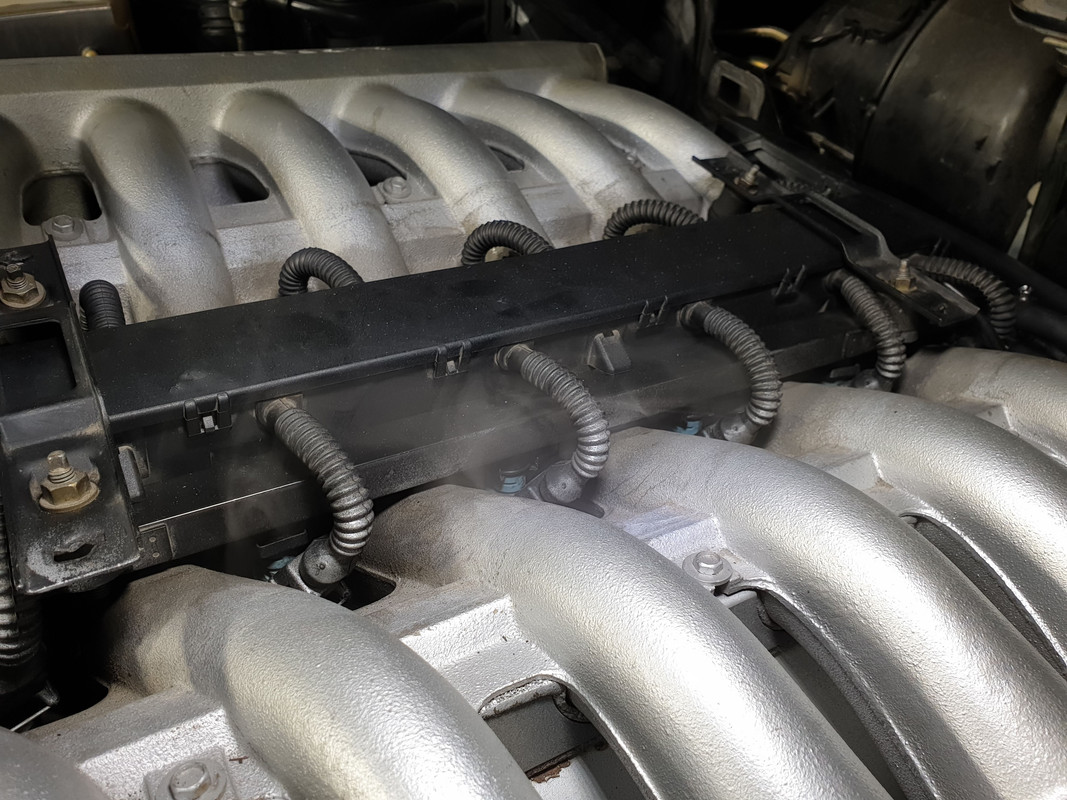
I finally ponied up for a smoke machine and confirmed my suspicion. Intake manifold gaskets on one side have a pretty sizable leak.
So intakes need to come out and gaskets resealed. I'll also pop valve covers off and check/resecure banjo bolts.
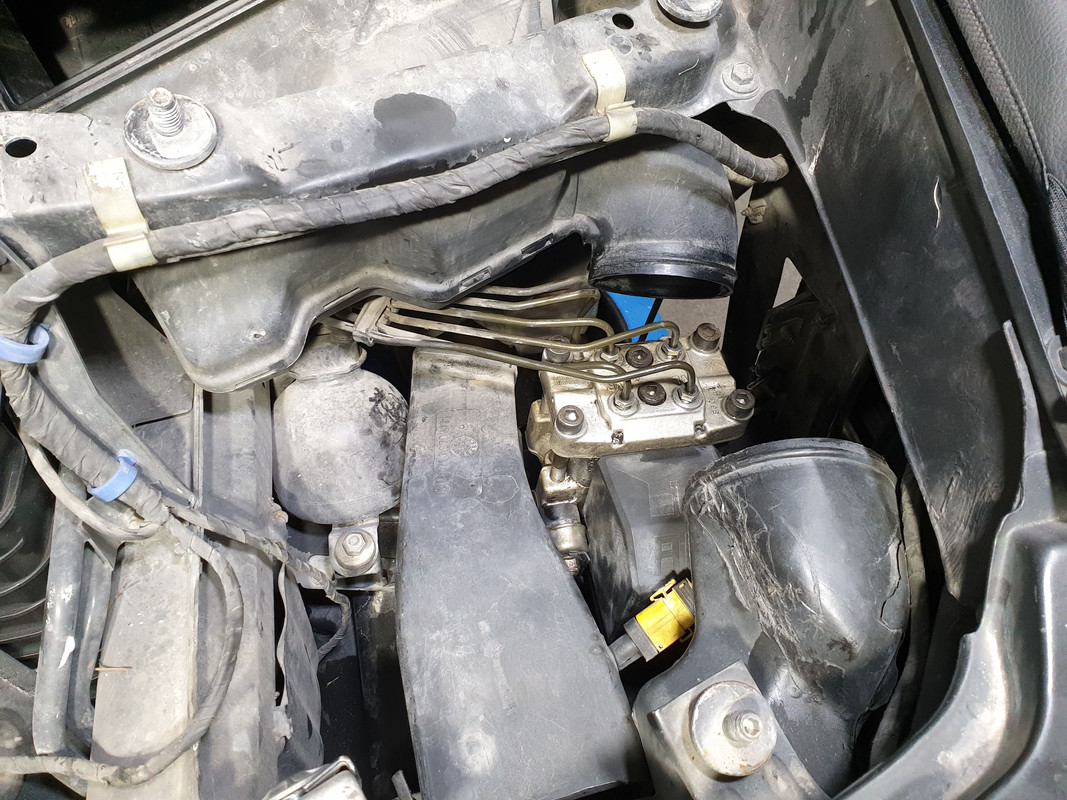
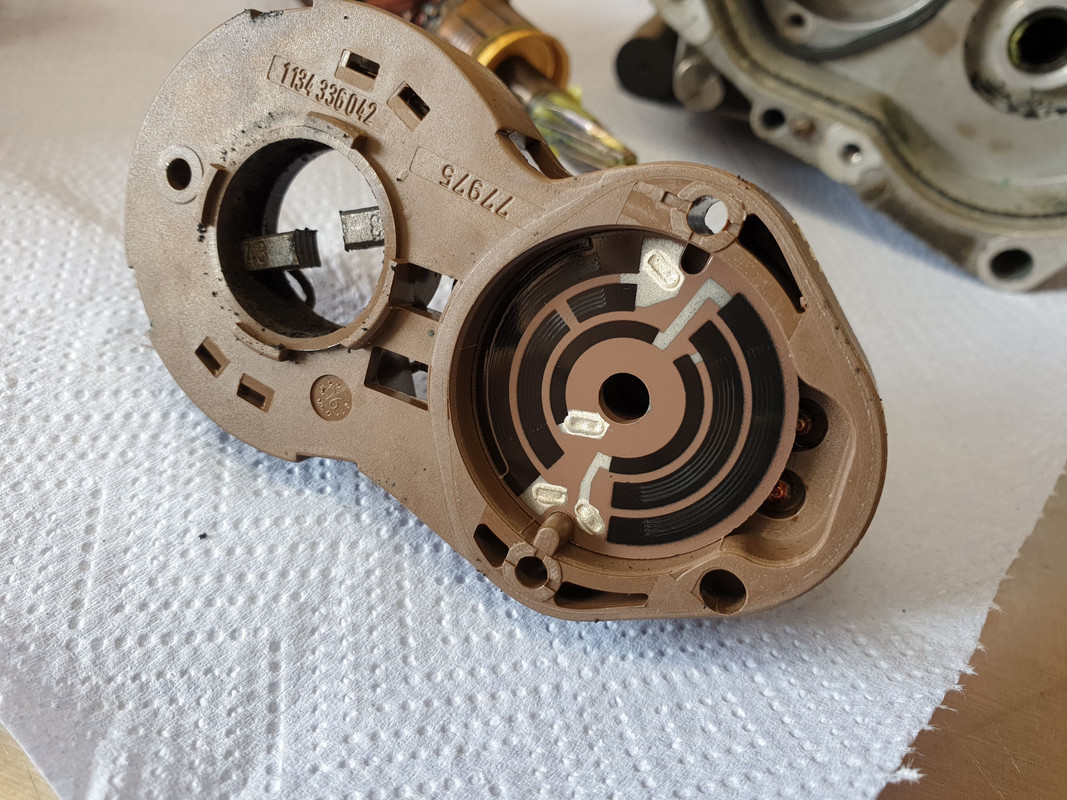
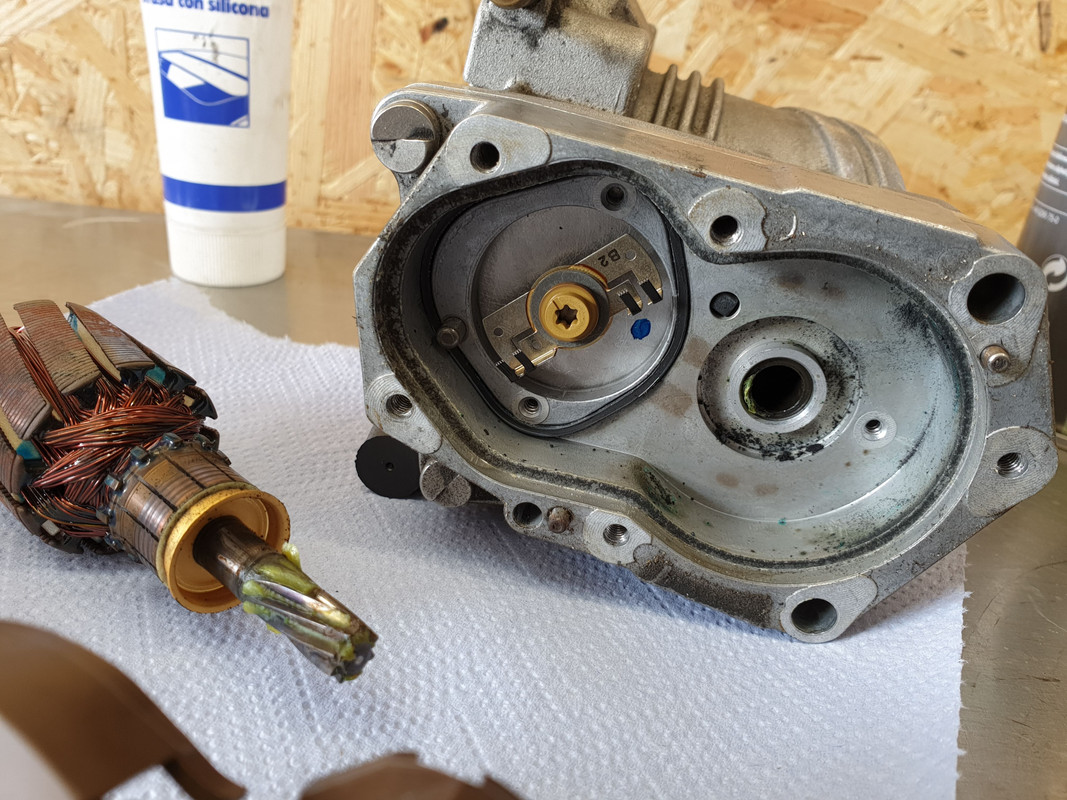
I also confirmed that the ABS pump is 100% clogged, no fluid will flow through it, probably corroded on the inside. I bought a used one, fingers crossed it's better.
Member
If you decide to crack the abs pump open please post pictures. I'd be interested in seeing what's wrong and if it can be fixed.
Sent from my ONEPLUS A6013 using Tapatalk
Member
BMW CCA Member
This thread seems to support the idea that persistence pays off... a good lesson.
Thank you for providing optimism!
Mark in mid-MO
1993 BMW 850Ci 6-speed
2011 Cadi CTS coupe 6-speed
Member
AFAIK, no one rebuilds them. I talked to Wokke and even he says to replace it as it corrodes on the inside and can't be fixed. But if I find time, I'll crack open it and see how it looks.Originally Posted by buildit

Thanks! The car is running but the battle is still not done
Sent from my SM-G965F using Tapatalk
Member
Sorted the brakes with a replacement ABS pump.
I installed the pump and left 4 lines on the top disconnected, put light pressure on the reservoir with power bleeder and brake fluid immediately started coming out.
Reconnected everything and I was able to bleed the brakes fully. Nice steady flow and the car has brakes again!
I truly wonder how are we going to keep these cars on the road once the good used ABS pumps dry up. They appear impossible to rebuild and they've been NLA with BMW for a long time.
Also, I wanted to replace the weird looking filter in the power steering reservoir (32411128167) and was told by my local BMW dealer in Germany that it's been discontinued and cannot be ordered.
That's another part NLA. I see FCPeuro and few sellers on eBay still have them so better stock up while you can as that will be the last of them.
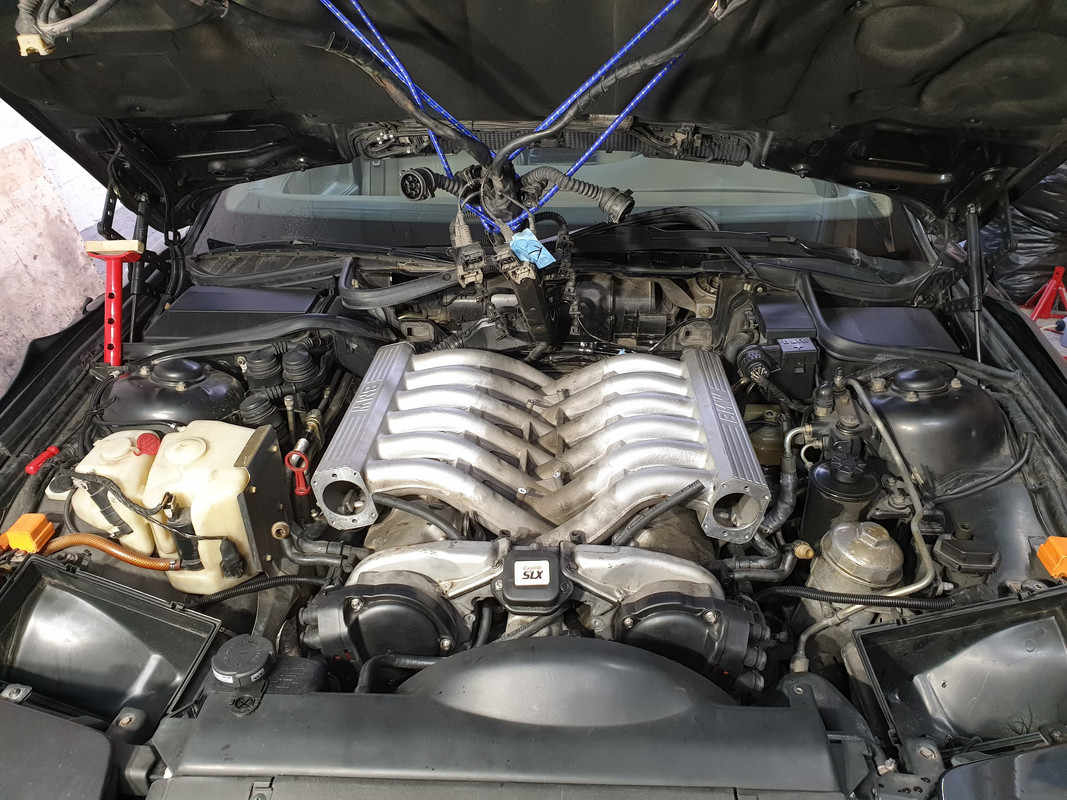
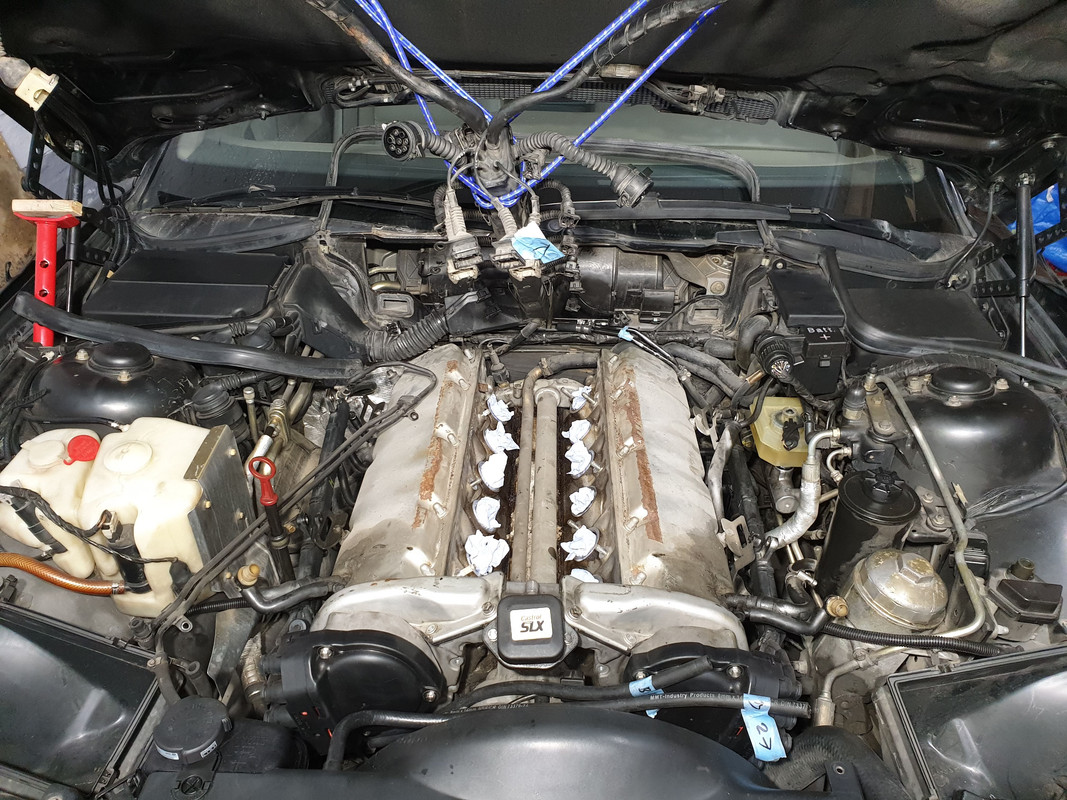
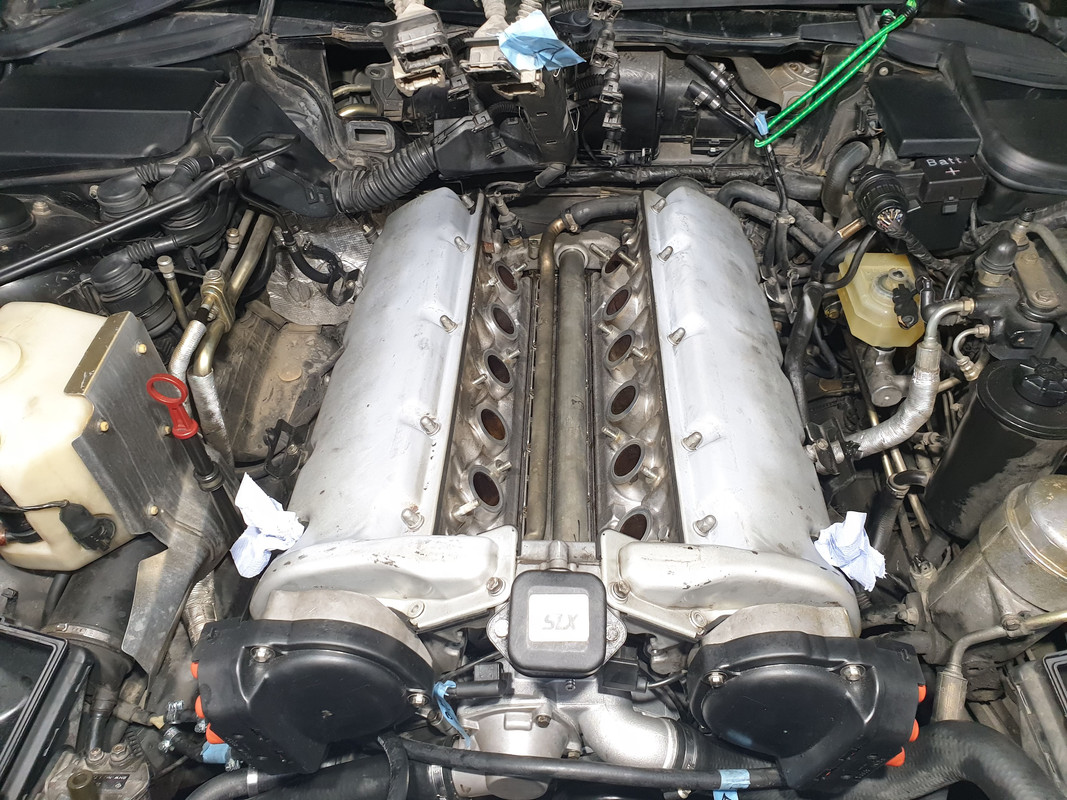
Anyway, I got the intake manifolds off.
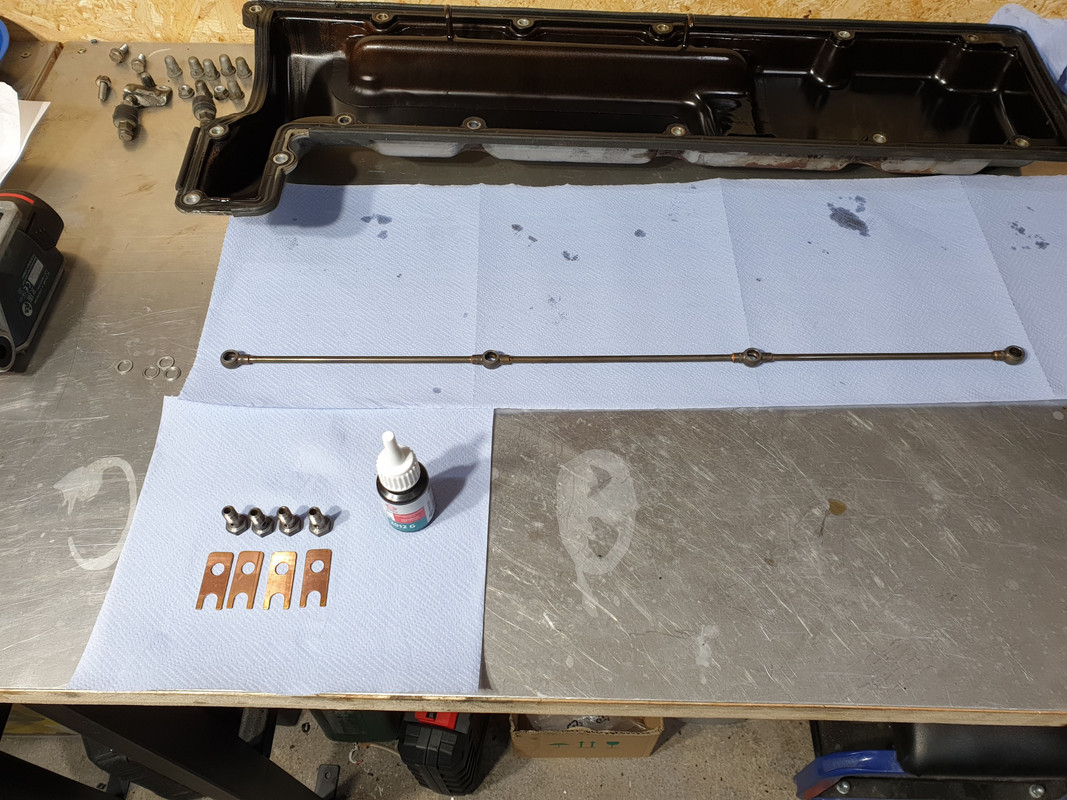
Getting ready to pull valve covers off and inspect banjo bolts. I got locking tabs for them from Engl Production.
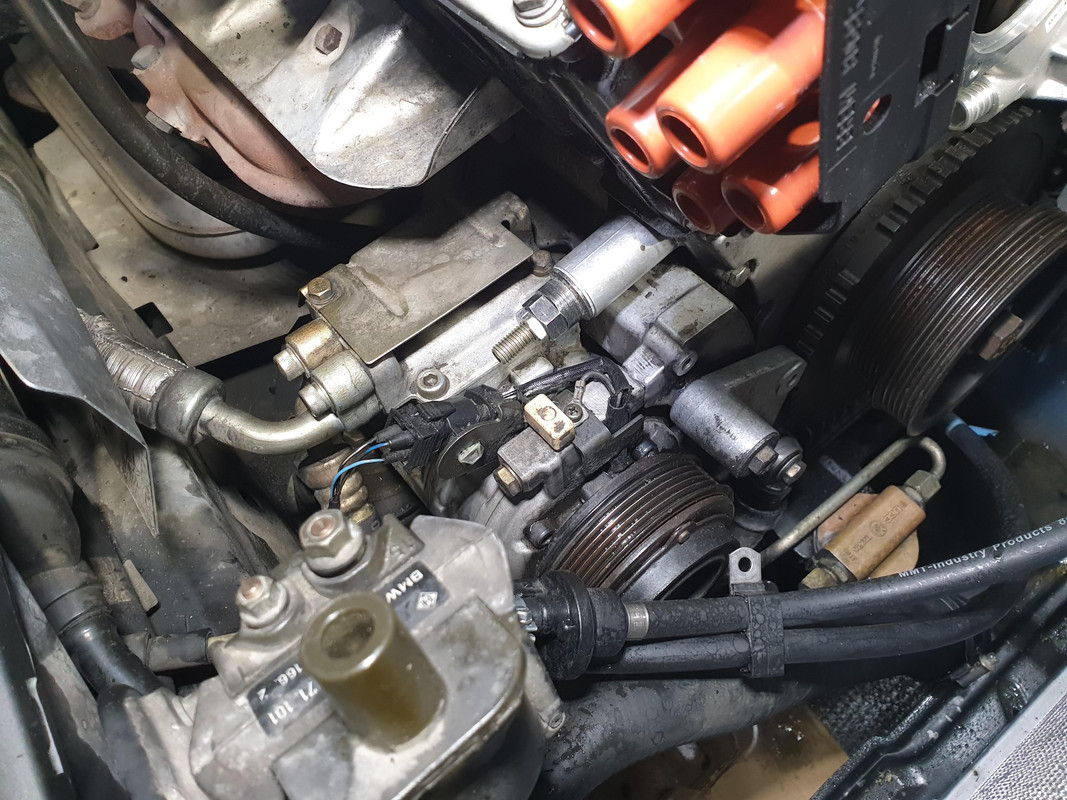
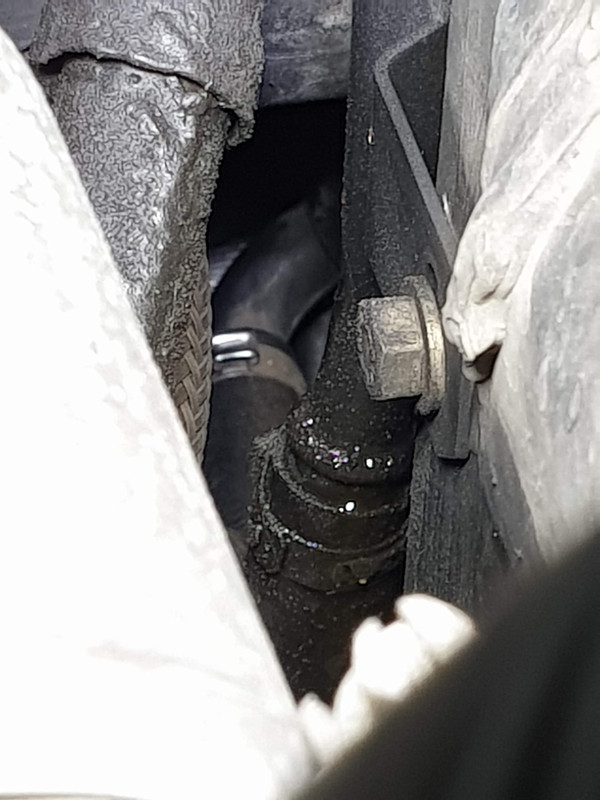
Meanwhile, I had a good look around and found a treacherous coolant leak on the back of the engine, coming from the valley pan or pipe O-ring.
This puddle fills up pretty quickly once cleaned so the leak is sizable. This means the water pump needs to come out and I get an exclusive chance at snapping valley pan bolts. Good times.
Member
I snapped one of the bolts that hold the pulley onto the crankshaft. You could see the corrosion along the shear line.
I look forward to you pulling the ABS Pump Apart
Member
That's a fun one to snap as well.
Once I'm done with this car and I have time, I'll open the pump but I suspect it won't be much fruitful as someone would've posted something by now.
Member
Thanks for the heads up on the filter - snagged a spare from eBay
Sent from my iPhone using Tapatalk
Member
Valley pan came out drama free. No broken bolts!
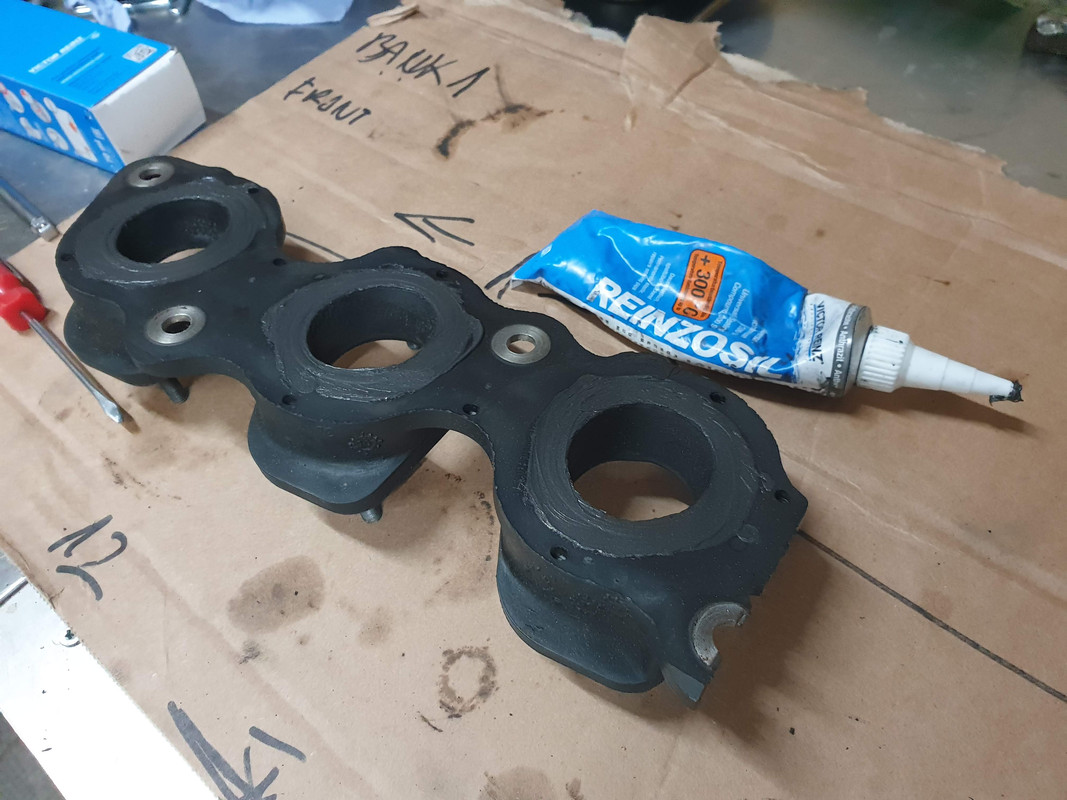
What's the general opinion of using thin layer of sealant with the new gasket? Normally I wouldn't use any but the surface isn't 100% perfect and if this thing leaks again, I'd rather set it on fire than do all of this again.
Sent from my SM-G965F using Tapatalk
Last edited by sreten; 02-21-2020 at 12:17 PM.
Mad Scientist
Reinzosil.... YES.
Permatex or Gasketcinch (elephant snot)... will work, but you will need to burn it instead if the pan ever needs to come off again
'91 Dinan 860 Stage III (new 6L engine)
'91 Dinan 850 TT stage III (brand new engine) 21st Century Tech meets 18th Century Dinan...
'91 850i 6sp (mint) (sold)
'90 Dinan 750iL TT stage III (Guido - The Beast)
'94 850 CSi The Detroit Auto Show car (restored to factory perfect) (sold)
'96 850Ci, The George Carlin car
''73 3.0 csi, '08 535i, '03 X5 4.6is
...and a few other non BMW cars
Member
Thanks, Cartoonz! Pretty much came to the same conclusion that it's better to use it since I can't get the surface 100% clean and flat plus the gasket is just a regular plastic coated paper gasket or something of that sort. I used Reinzosil, love that stuff.
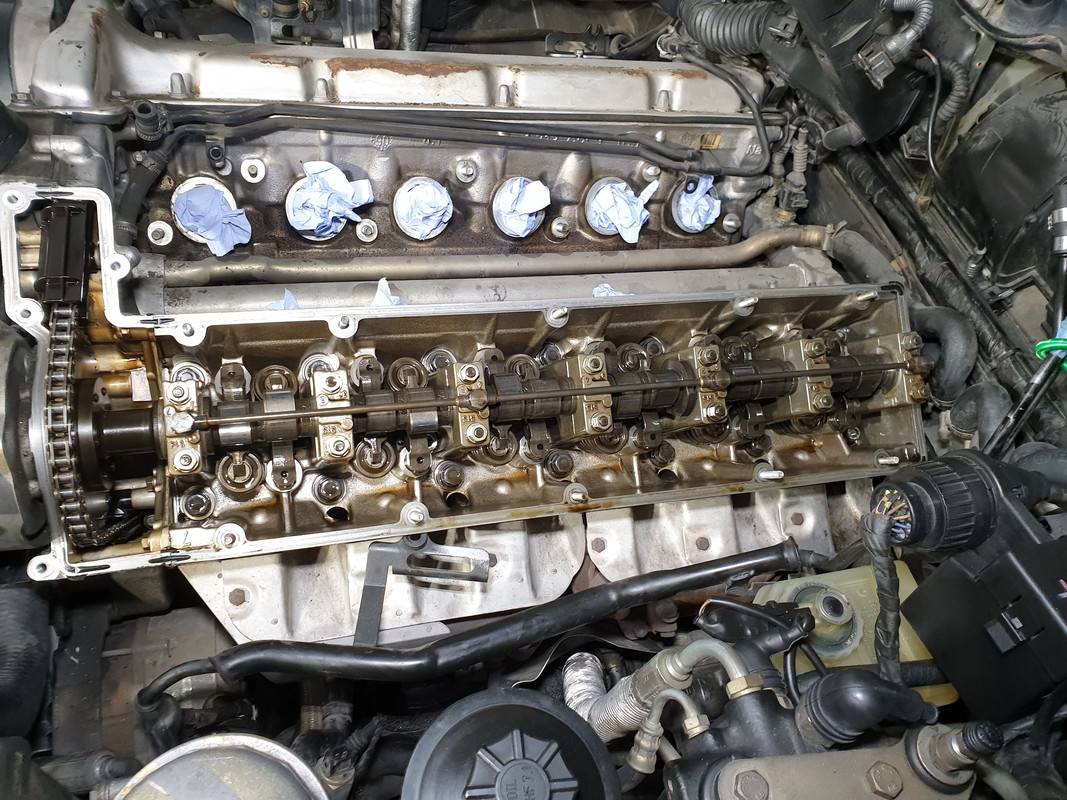
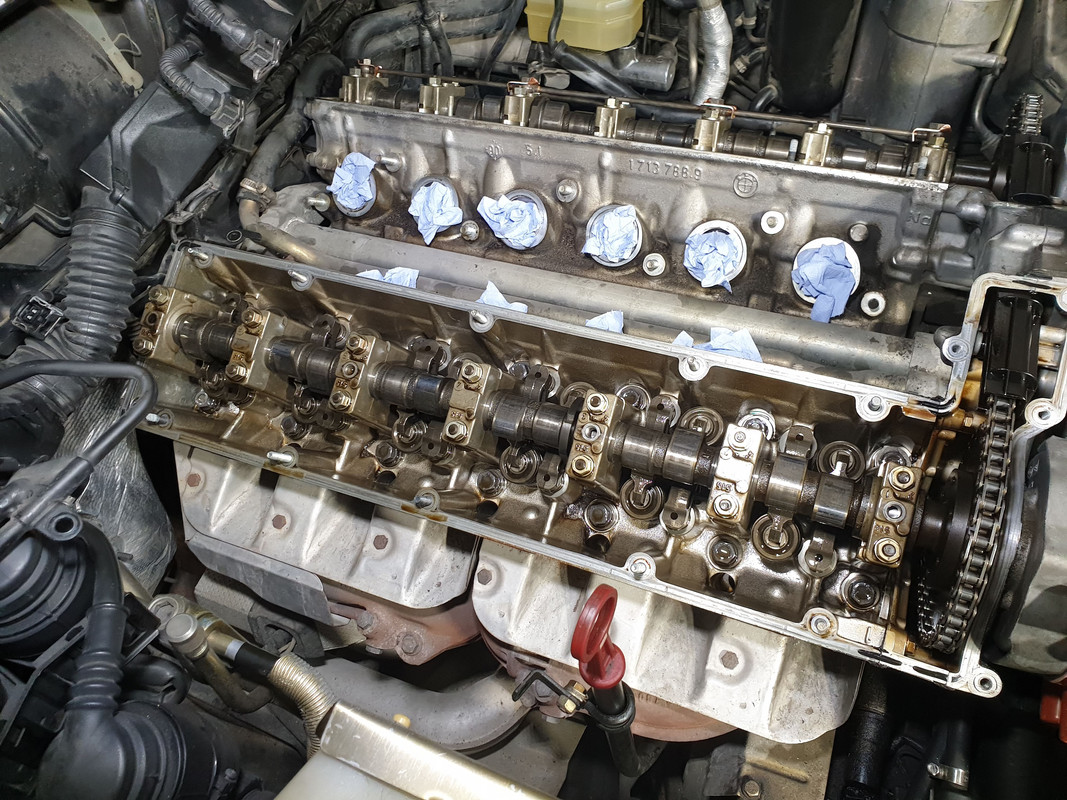
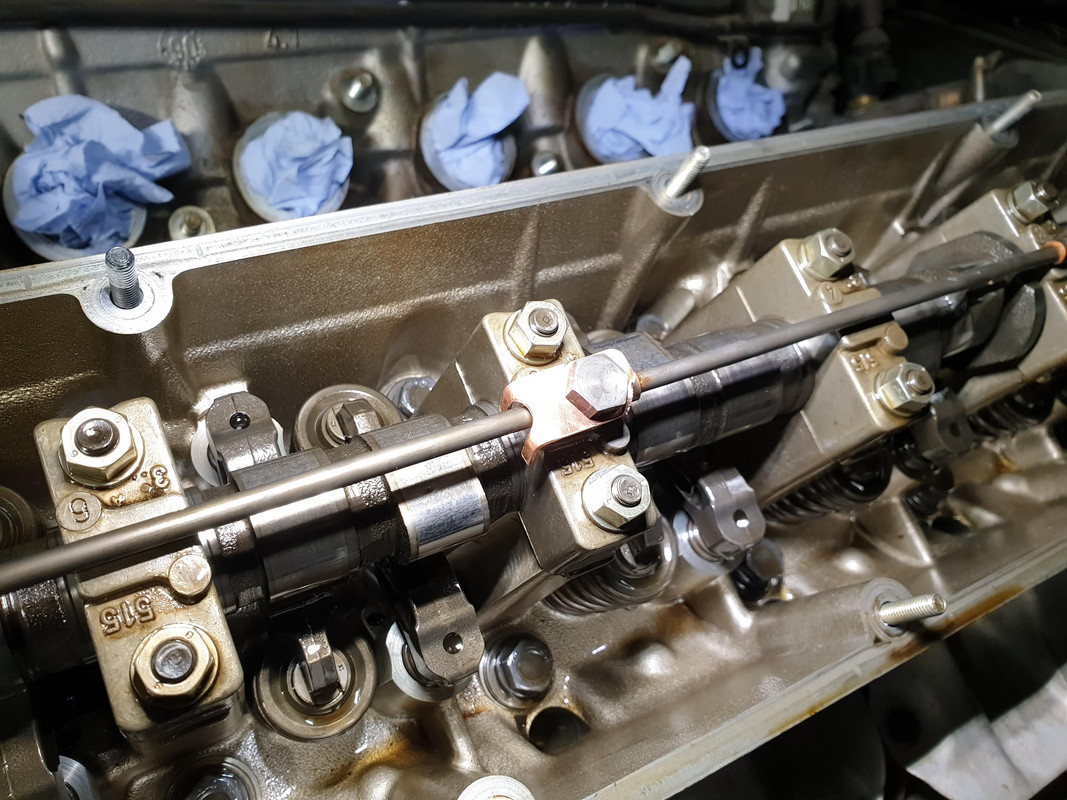
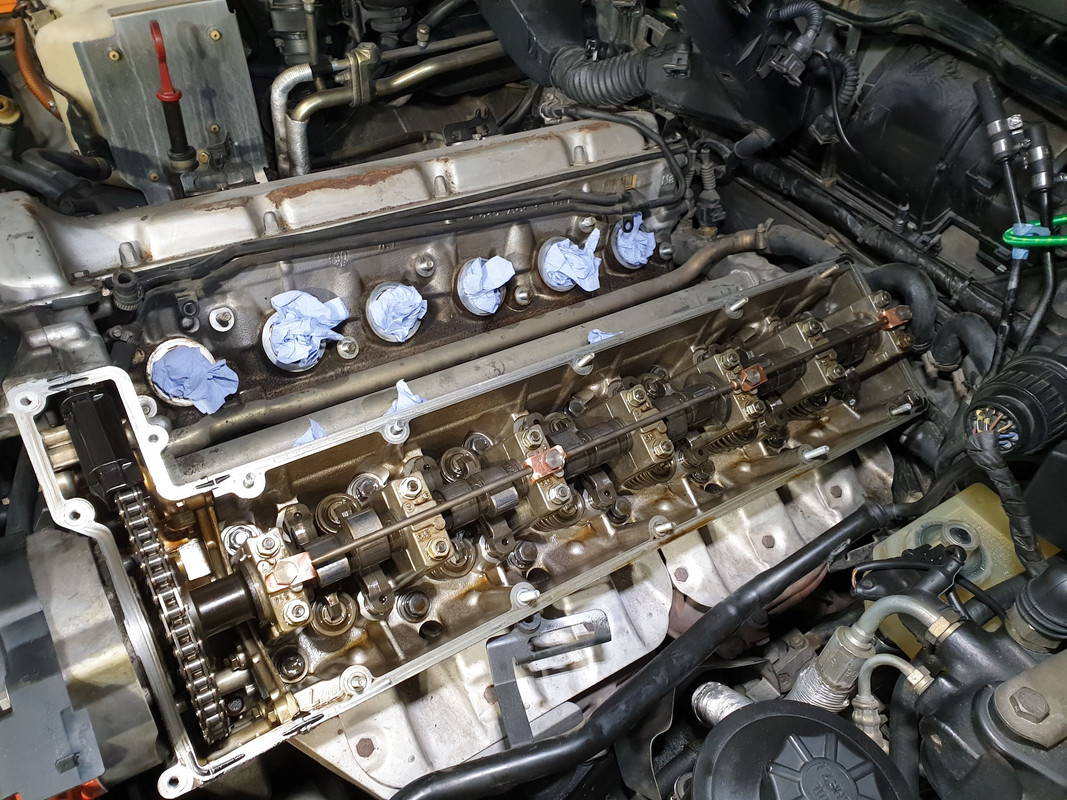
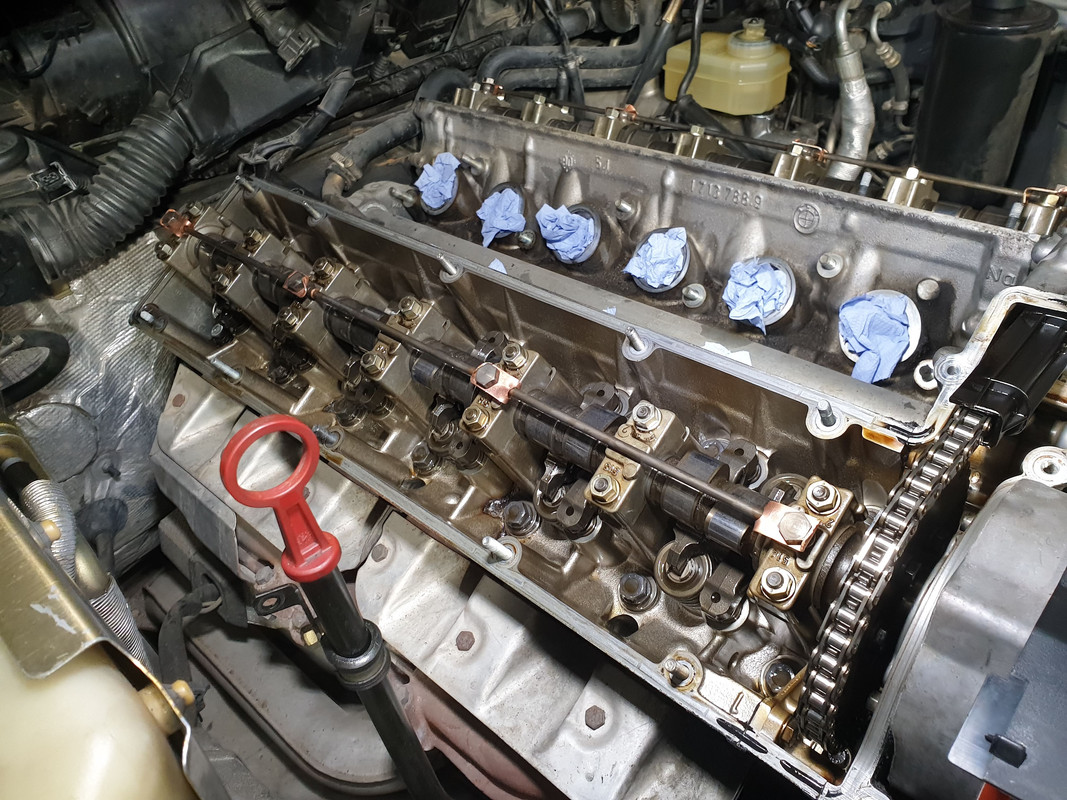
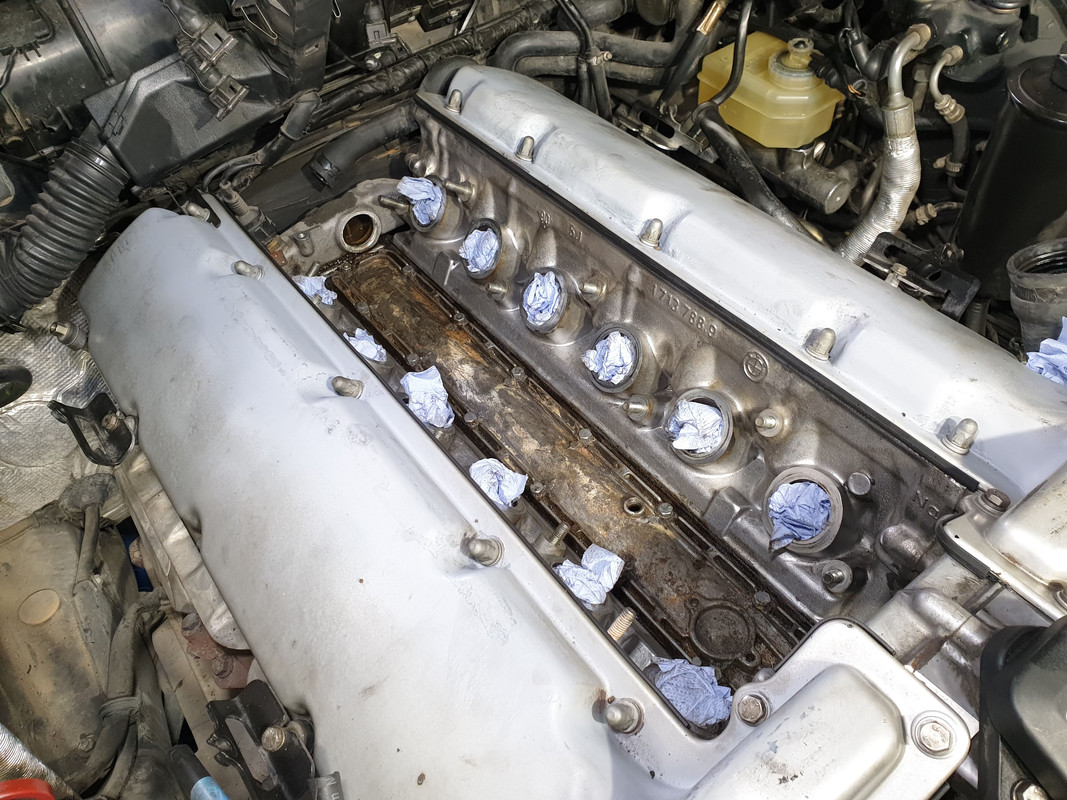
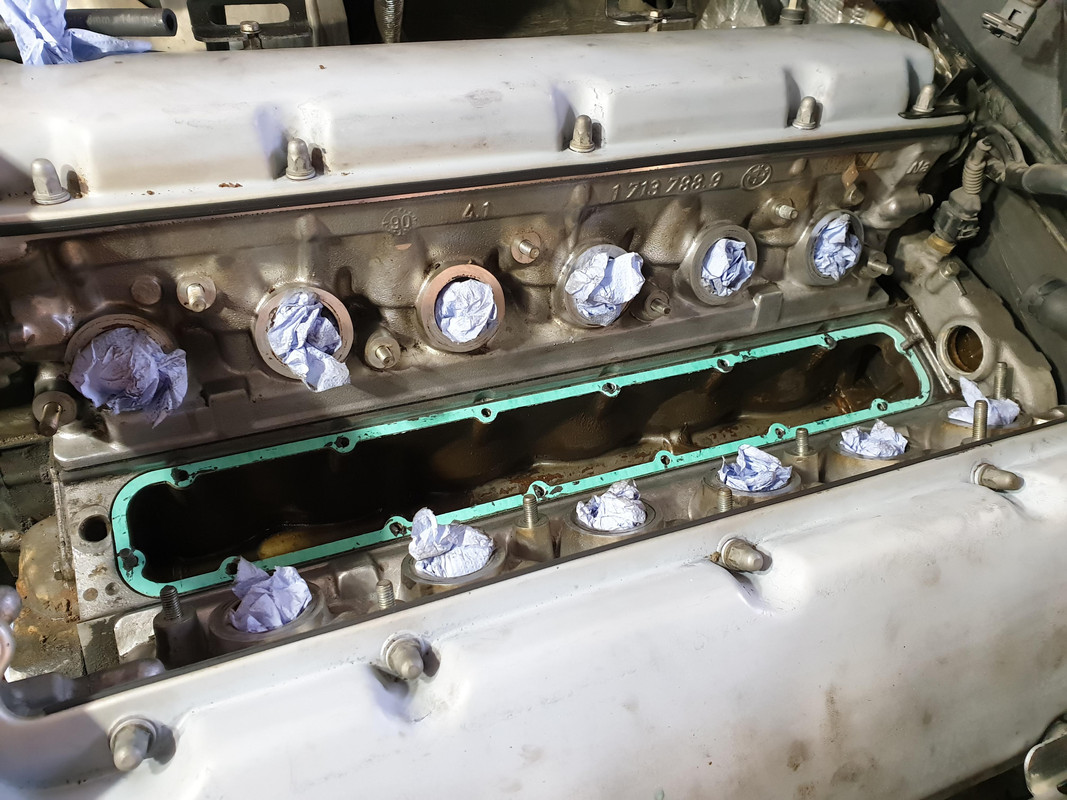
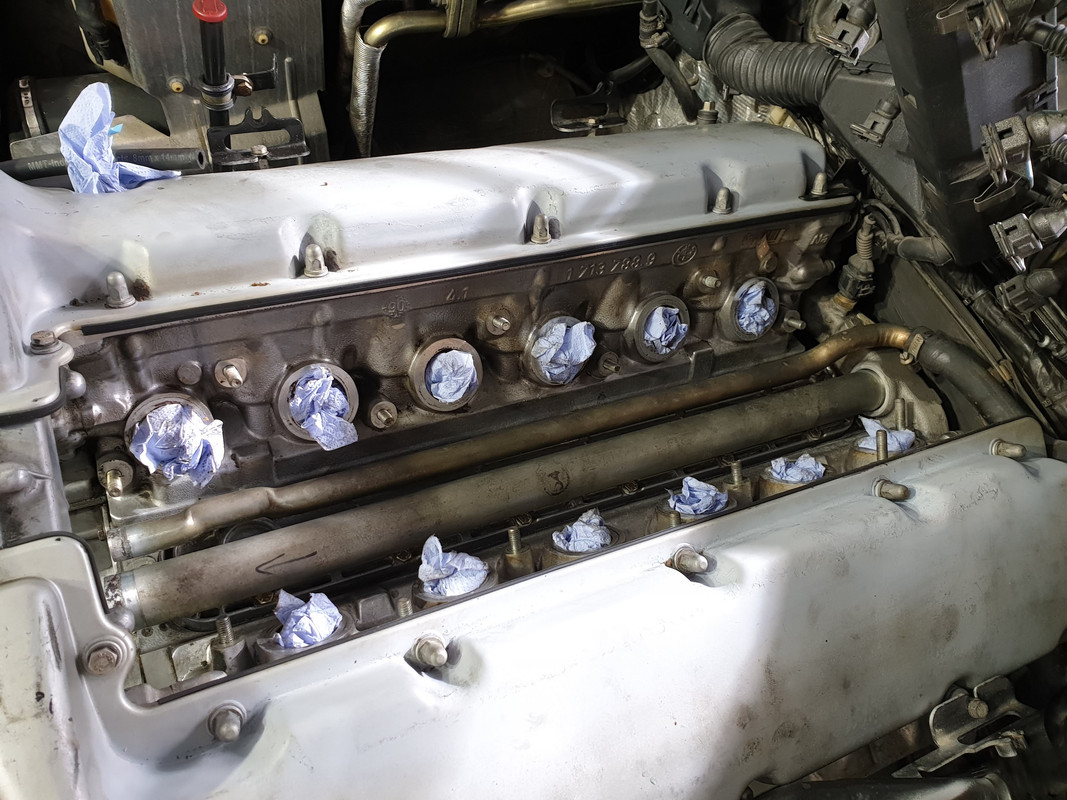
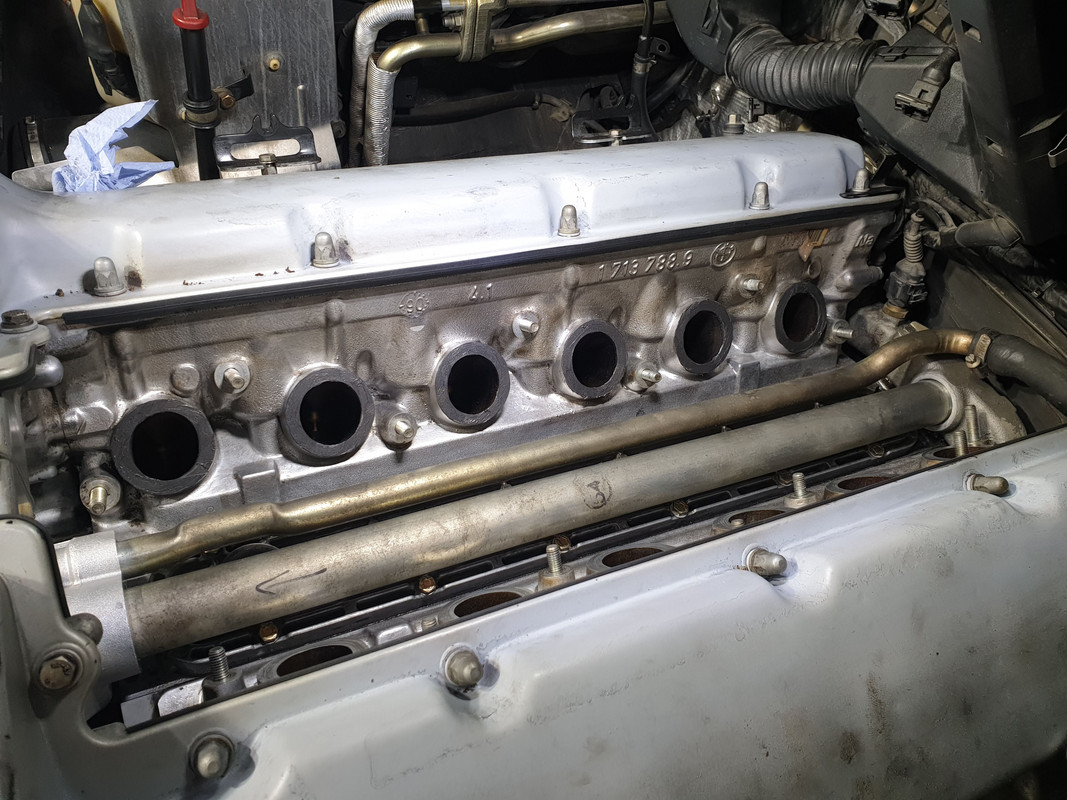
I removed valve covers and was greeted with a very clean engine. Pretty sure this is the first time it was opened since it left the factory.
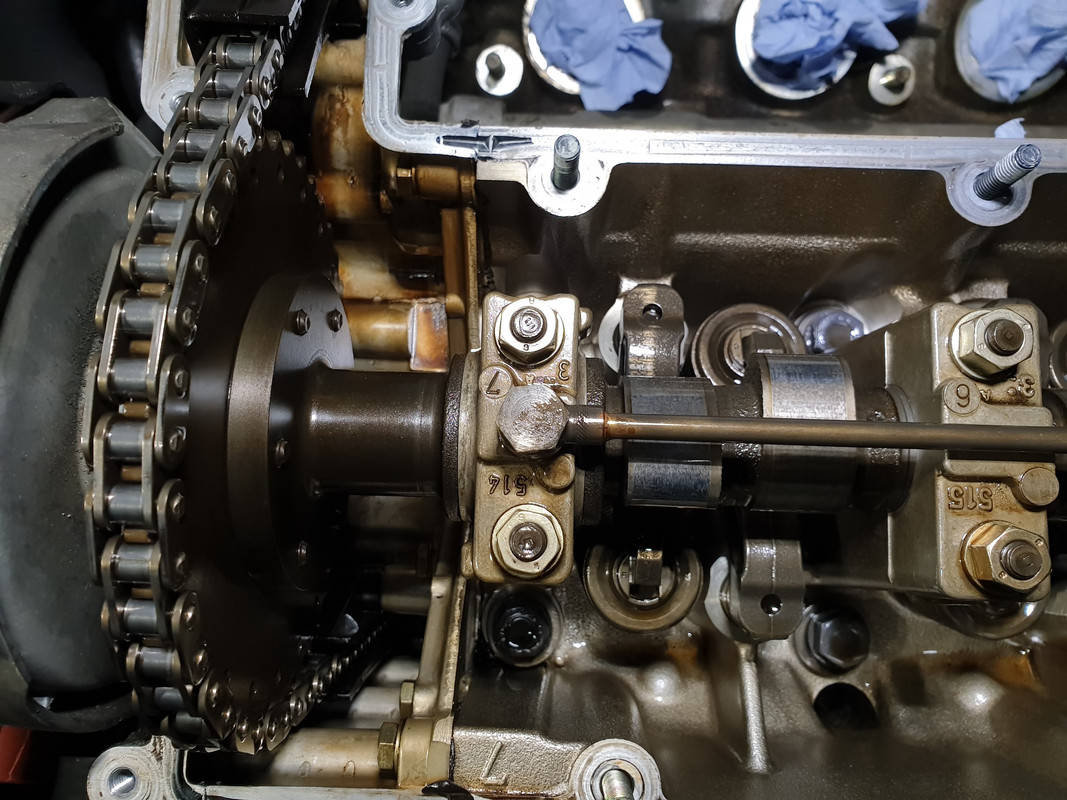
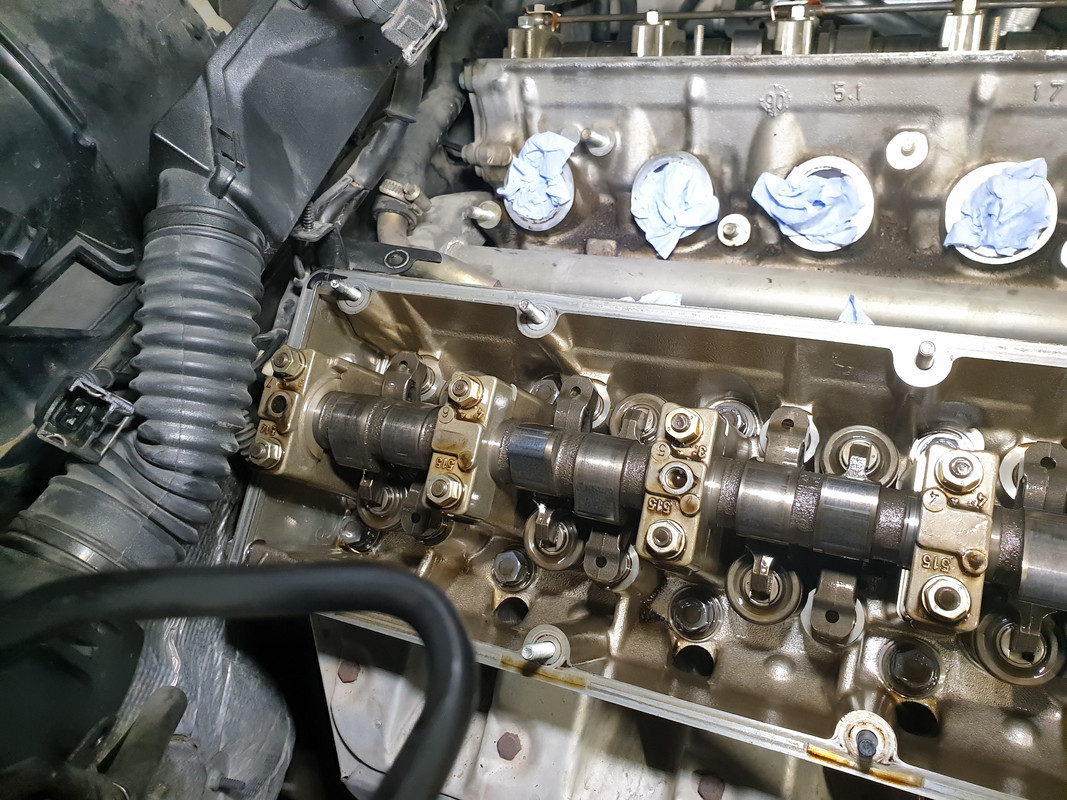
Camshafts are in perfect order. None of the banjo bolts were loose but I was able to undo them effortlessly.
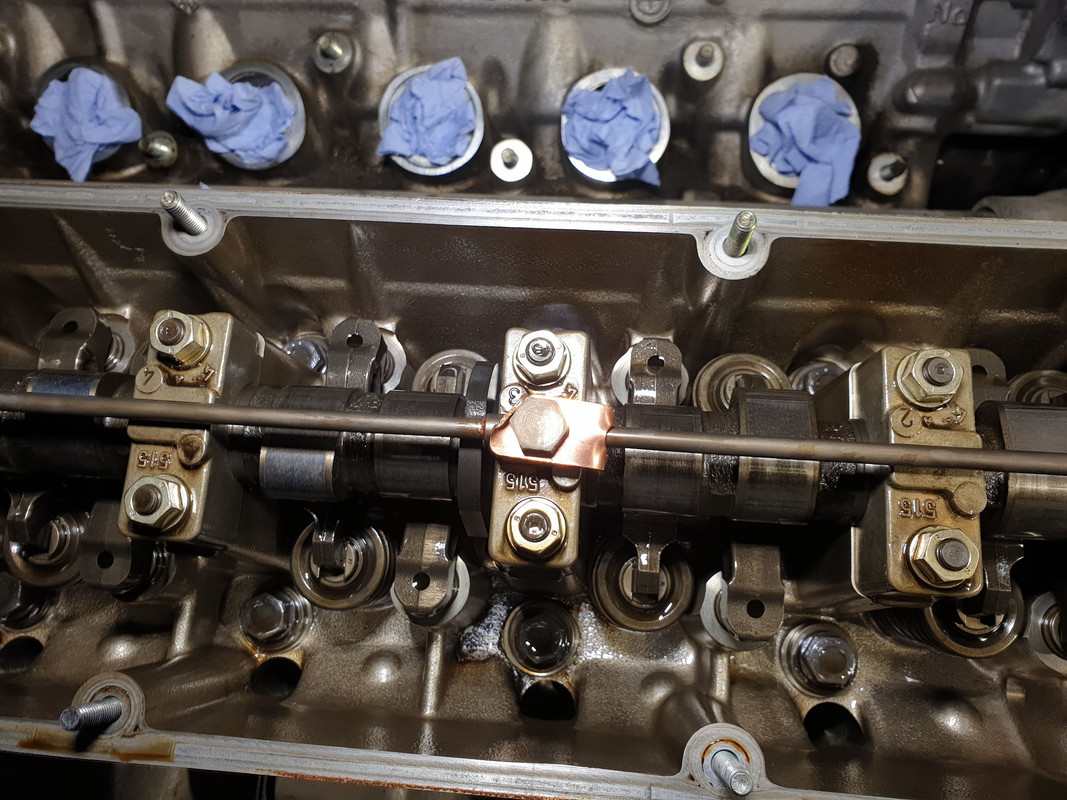
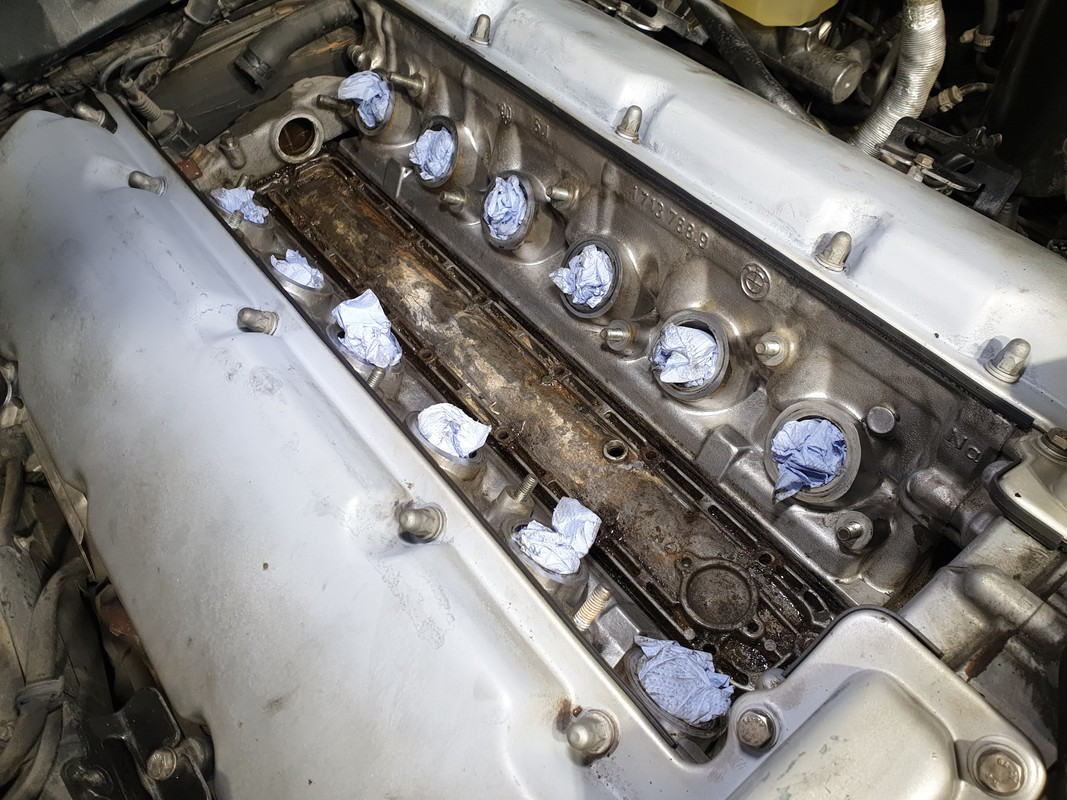
Same lovely sight on bank 1.
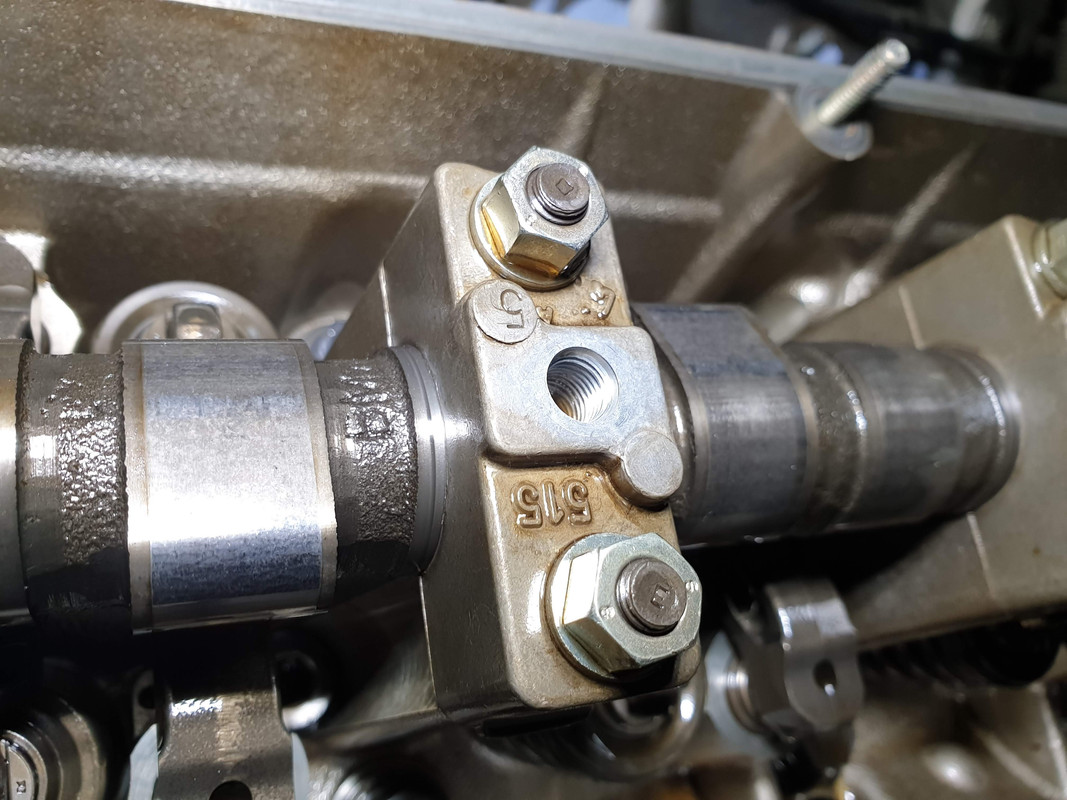
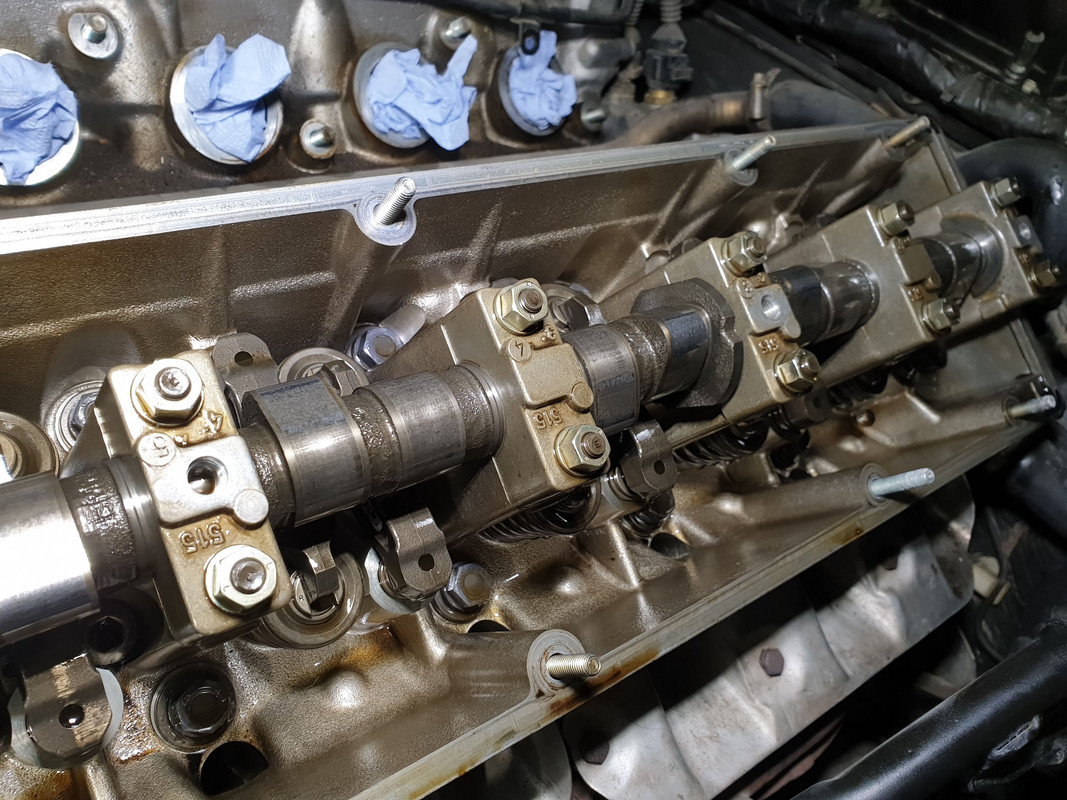
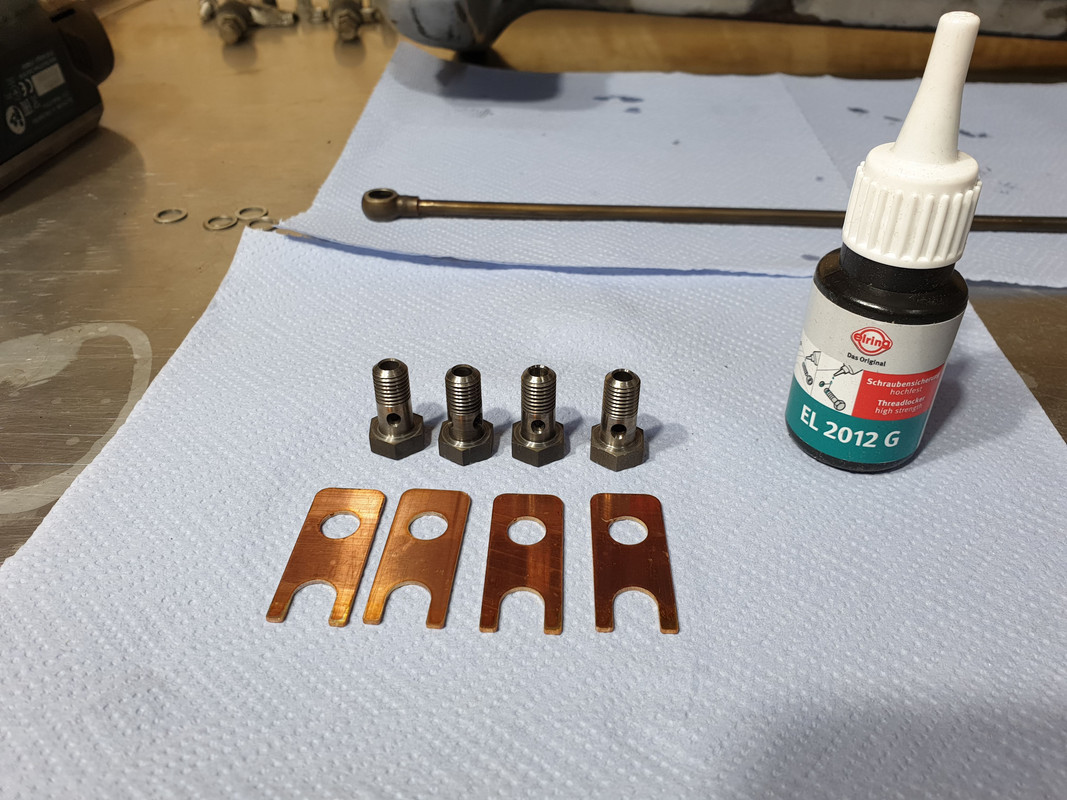
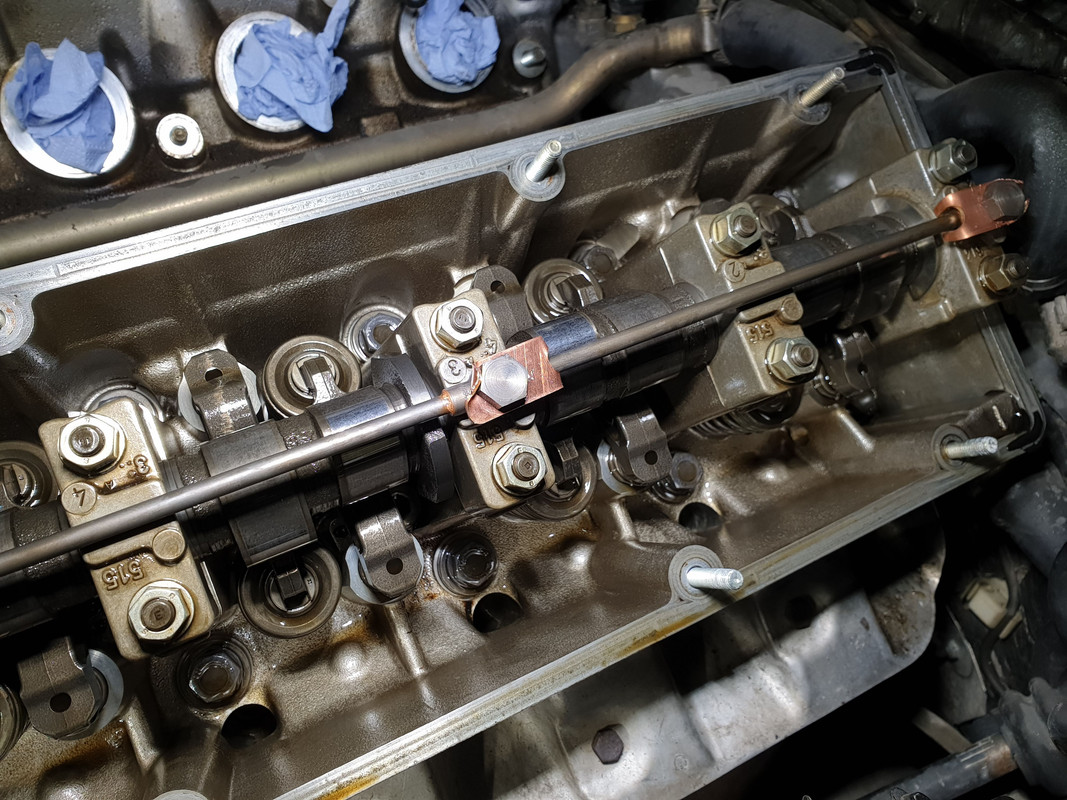
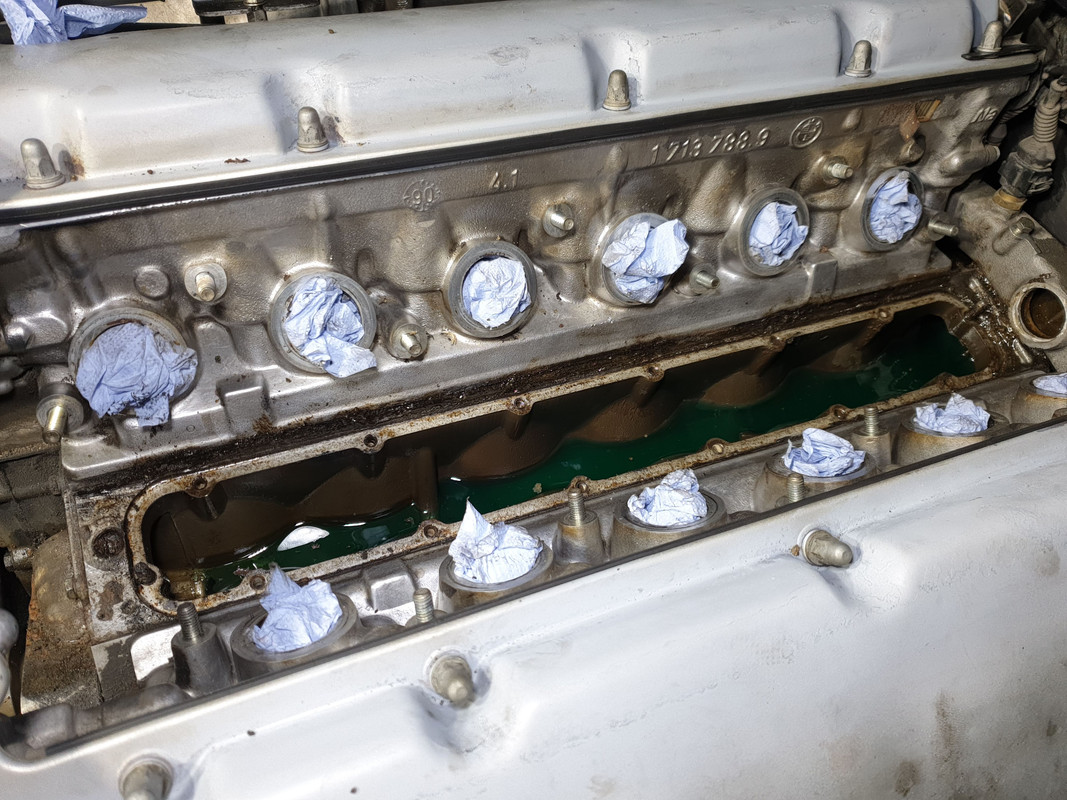
To these banjo bolts from backing out, I used ENGL locking tabs and high strength threadlocker. I cleaned the threads thoroughly, torqued down the bolts to 12 Nm and bent the tabs. These are not going anywhere anytime soon.
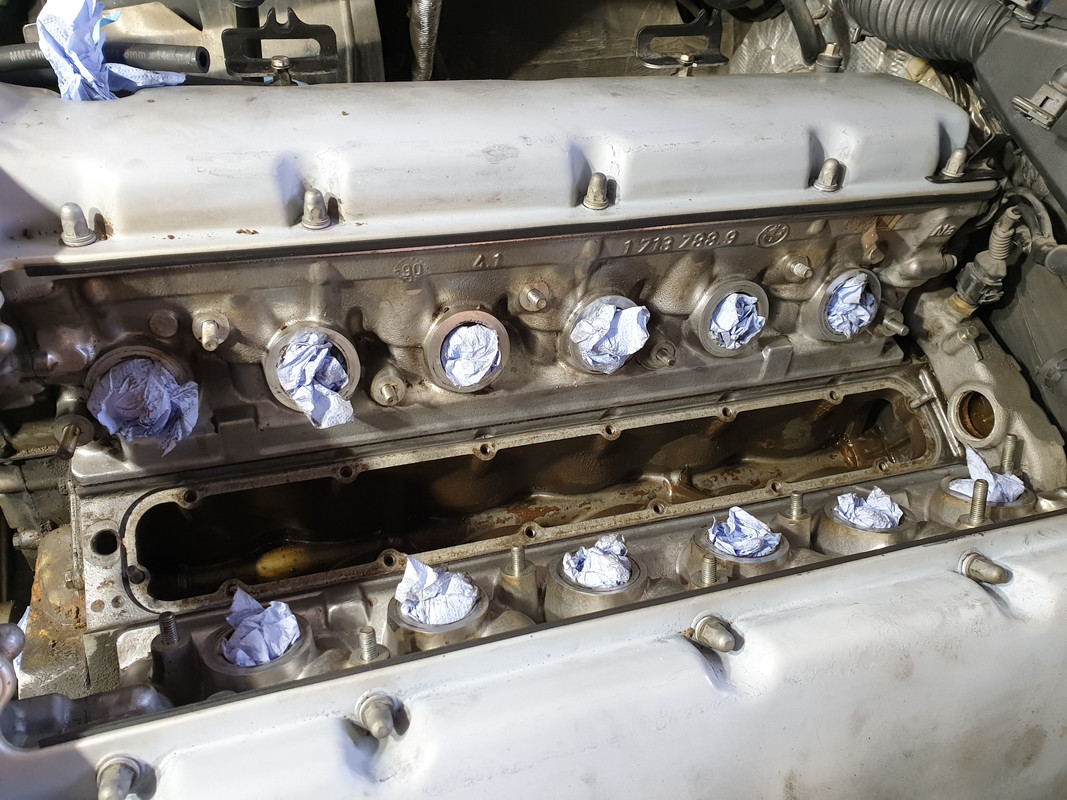
Repeated the same process on the other side.
New gaskets and I put a bead of Reinzosil where the front and rear covers meet the head, just like it was done from the factory. Valve covers are torqued to 10 Nm.
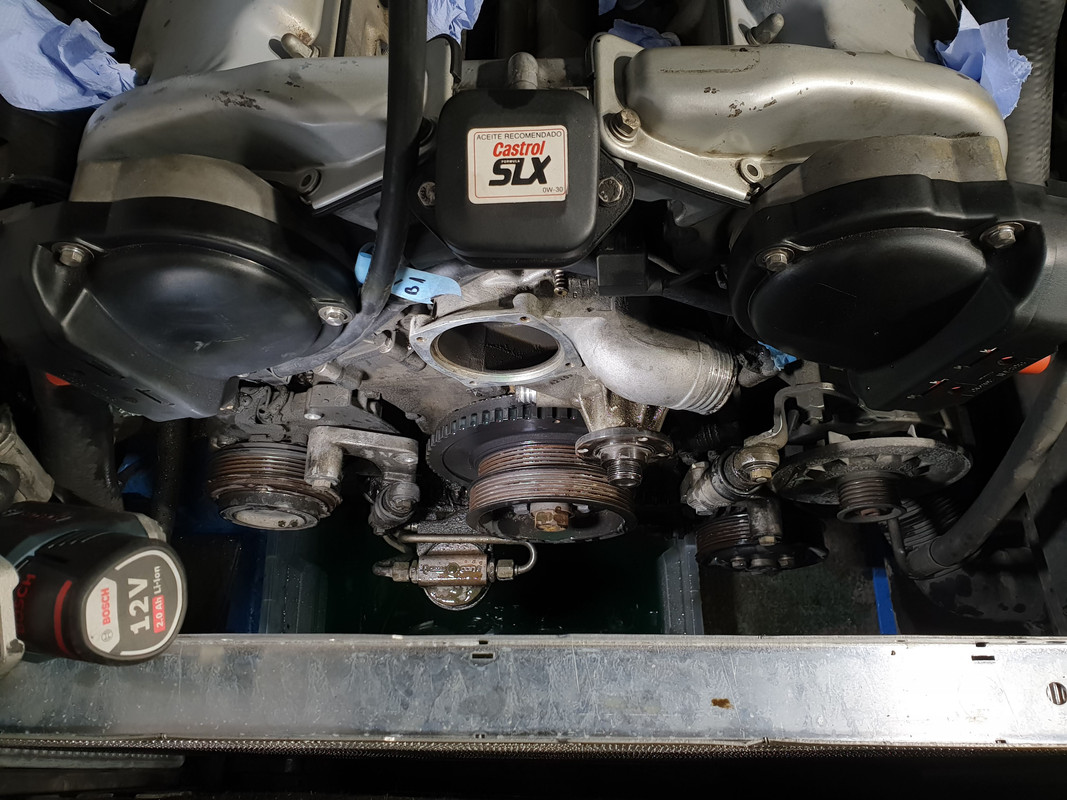
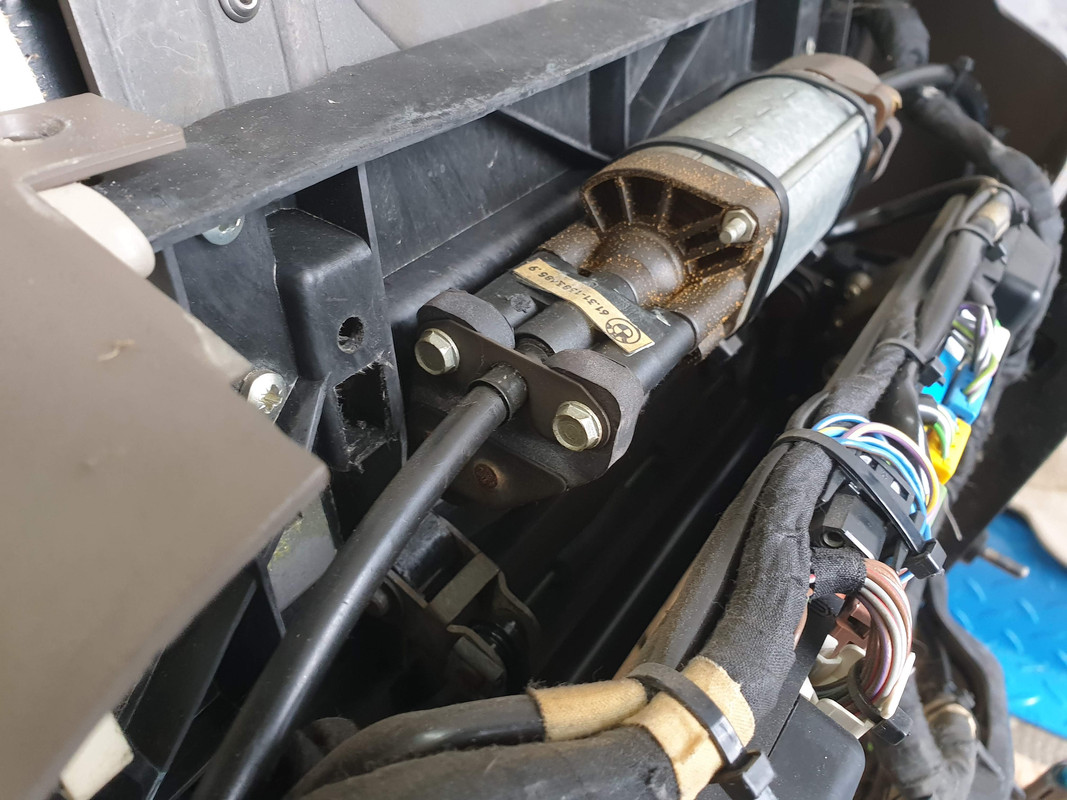
Next, water pump and valley pan gasket. Removed vibration damper/crank pulley and then the water pump. I used 3 M5x40 mm bolts and threaded them in openings on the water pump and it backed out nicely. To separate it from the 2 pipes on the back, I had to carefully use a pry bar as they were stuck together pretty good.
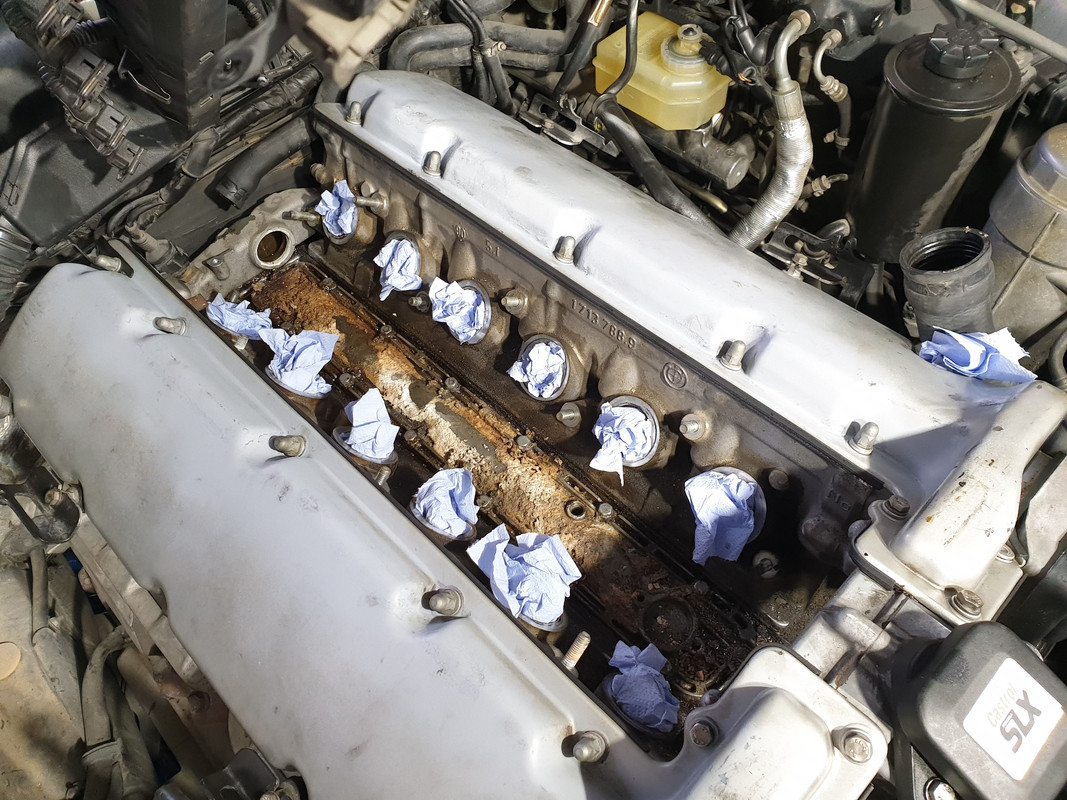
Valley pan area looked properly disgusting.
I used a plastic brush to loosen up the grim and then vacuumed it.
Previously I was regularly soaking these bolts with penetrating oil. On the first bolt, I used a blow torch to apply heat and smacked it with a hammer few times and it came out relatively easy. On the rest of them, I was just hitting them with a hammer and slowly went back & forth when undoing them and all of them came out easily.
I siphoned out the coolant, cleaned and vacuumed the whole area.
I used new zinc plated bolts M6x28.
I smeared a light coat of Reinzosil on the bottom side of the gasket and the cover. Torqued the bolts to 10 Nm.
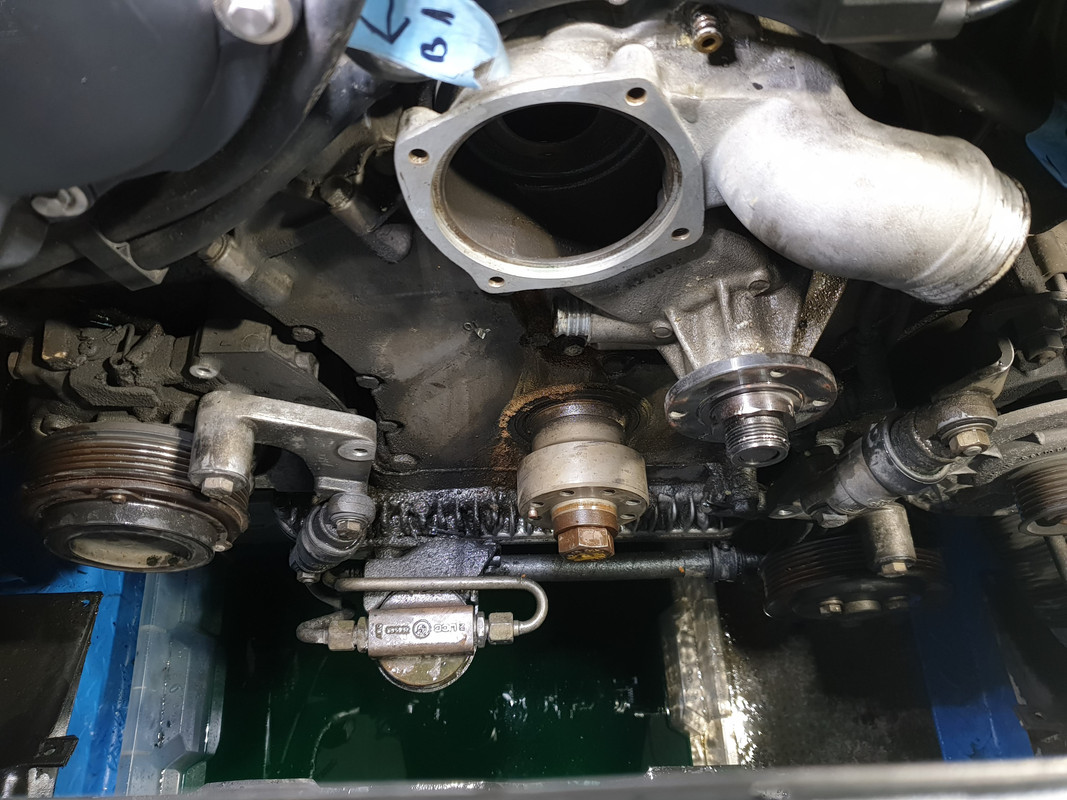
Front of the engine was equally nasty.
Cleaned it as best as I could.
Reinstalled the pipes with new O-rings.
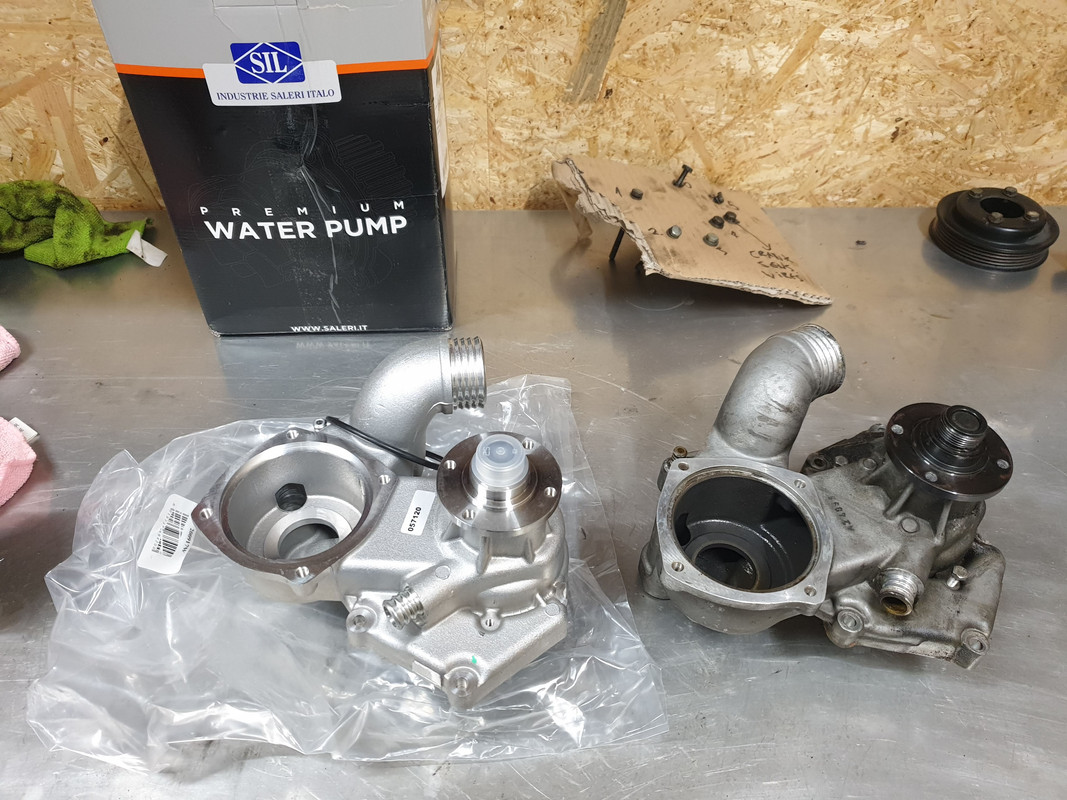
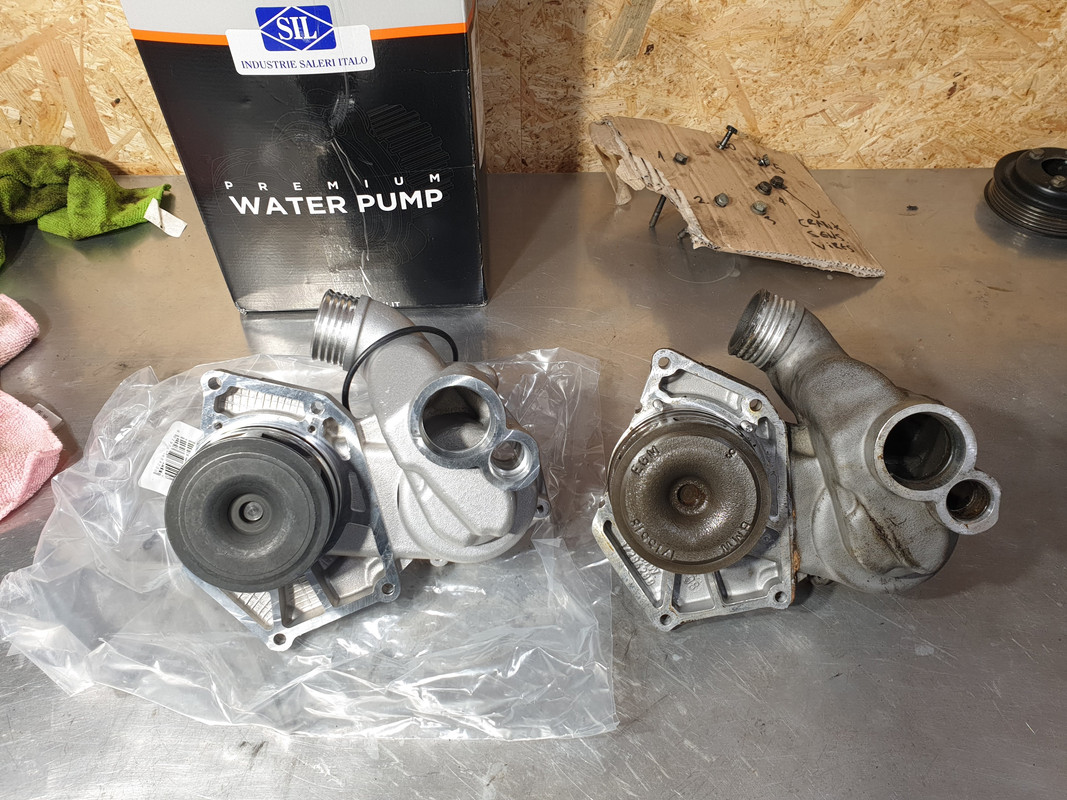
Although the old pump appears to be fine and has a date stamp from 1998 which means it was once replaced, I thought it'd be silly to reuse it so I got a new one.
New O-rings all around and I used silicone grease on them so they don't tear and assemble easier.
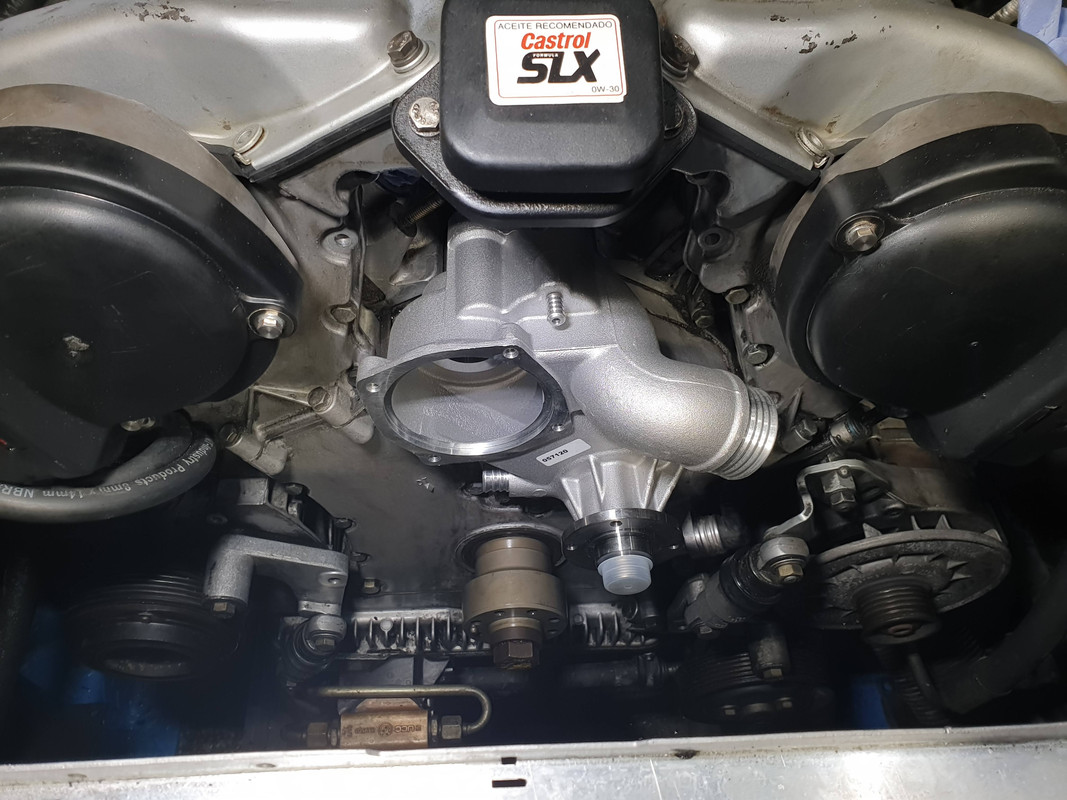
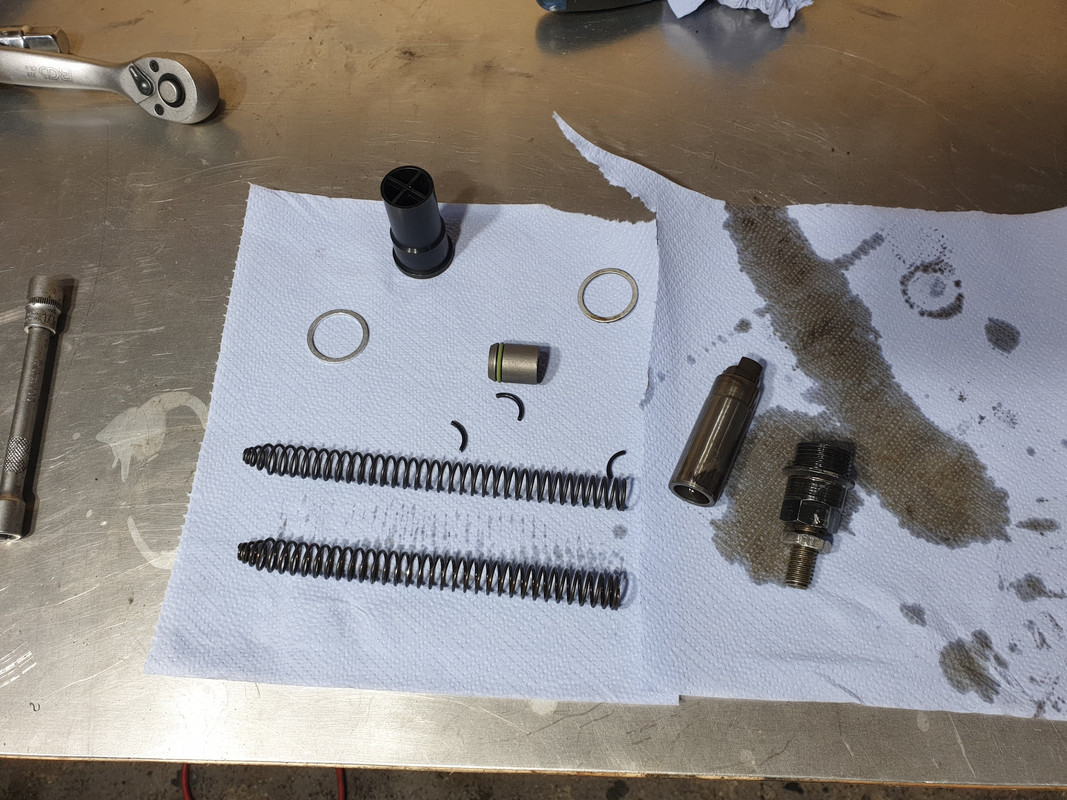
While everything was out of the way, I tackled a major oil leak source. Timing chain tensioner O-ring.
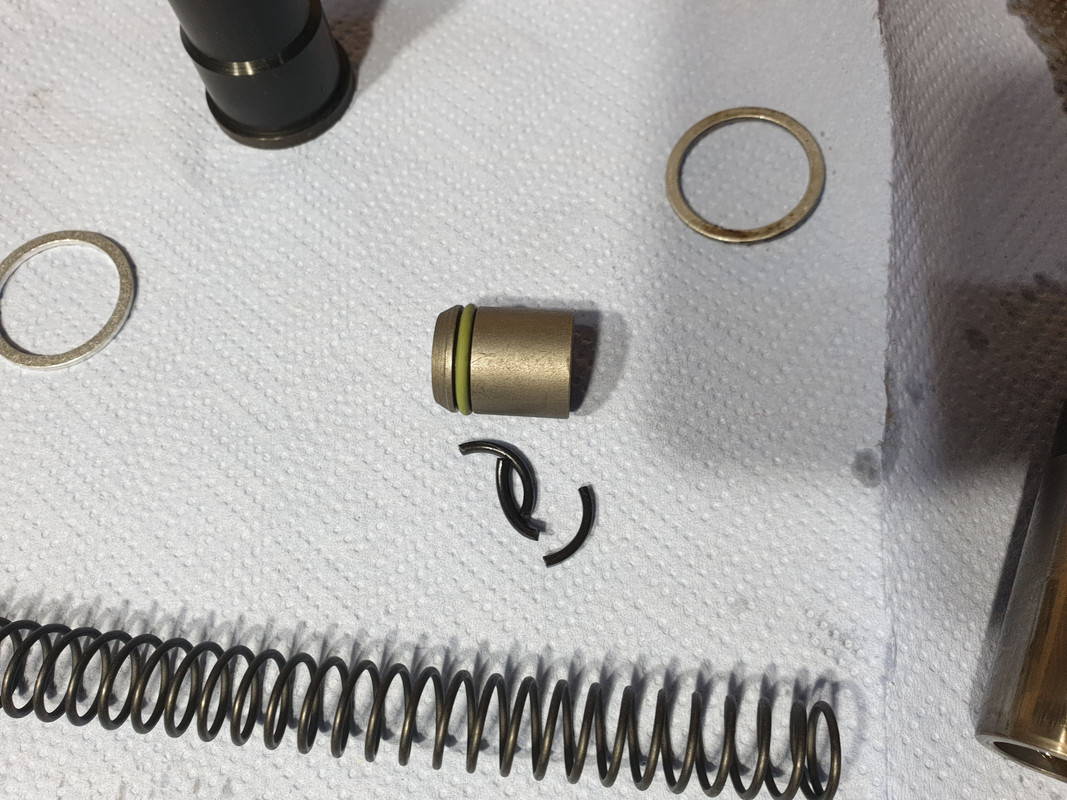
New O-ring. The old one was basically a brittle piece of plastic.
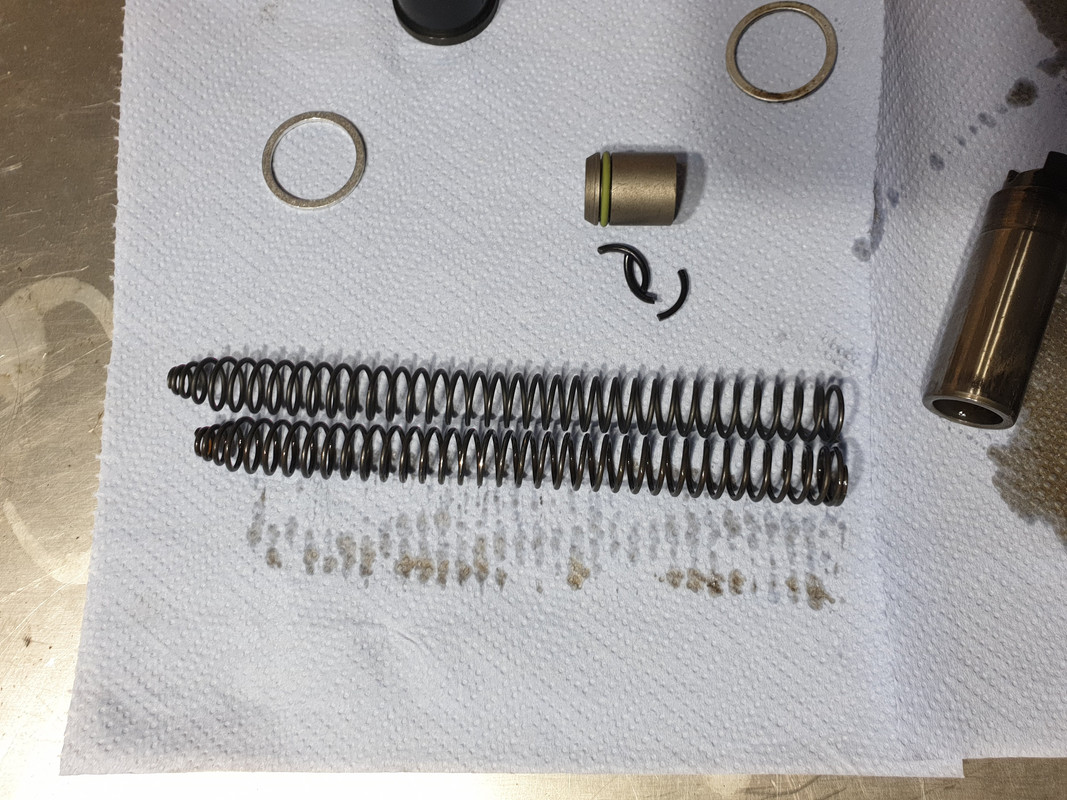
I was surprised how compressed was the old spring in comparison to the new one.
Cleaned and reassembled.
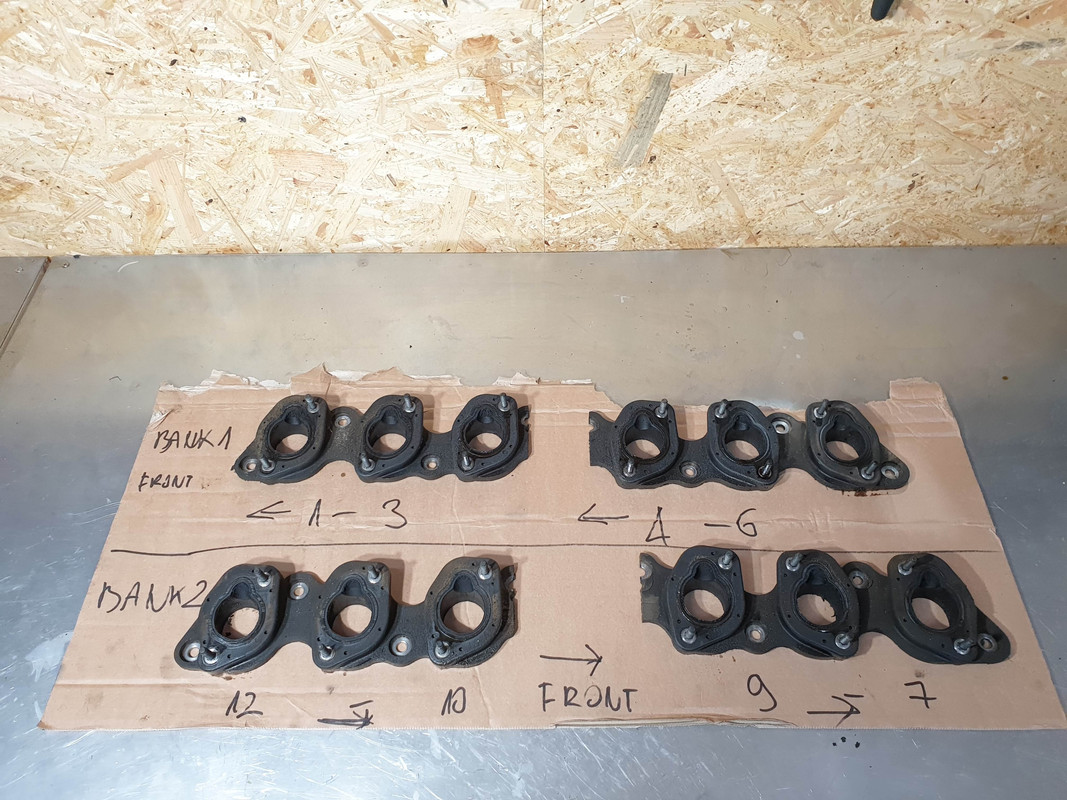
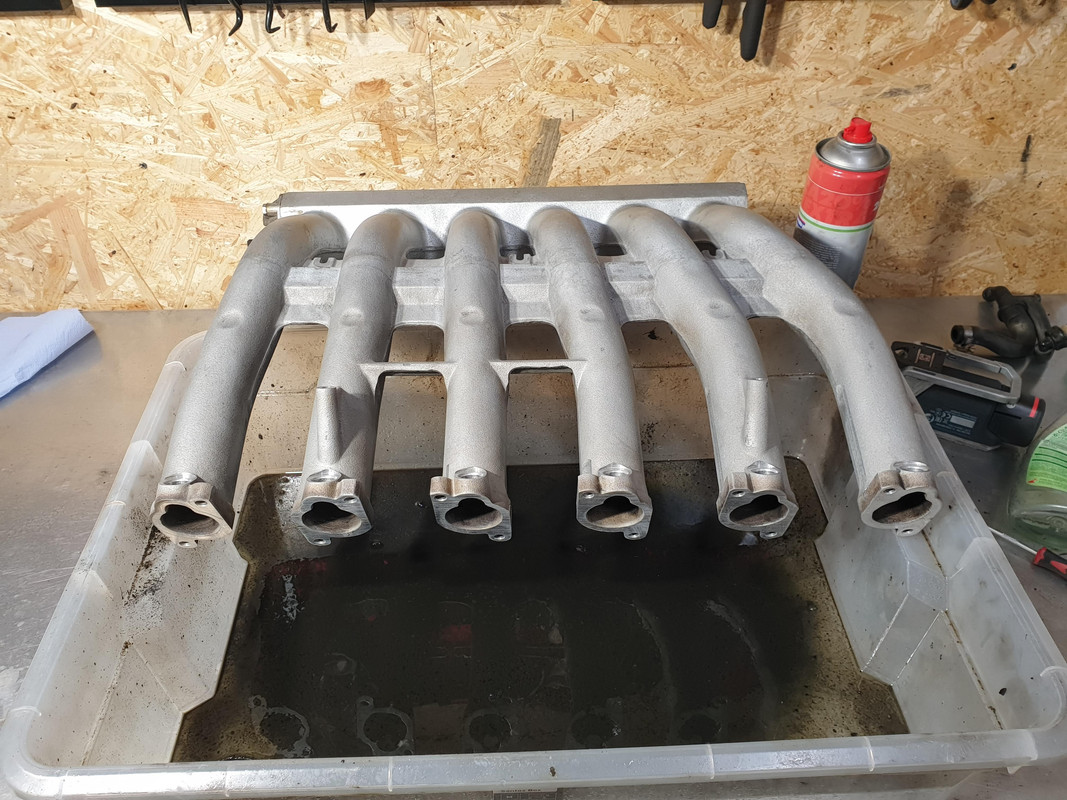
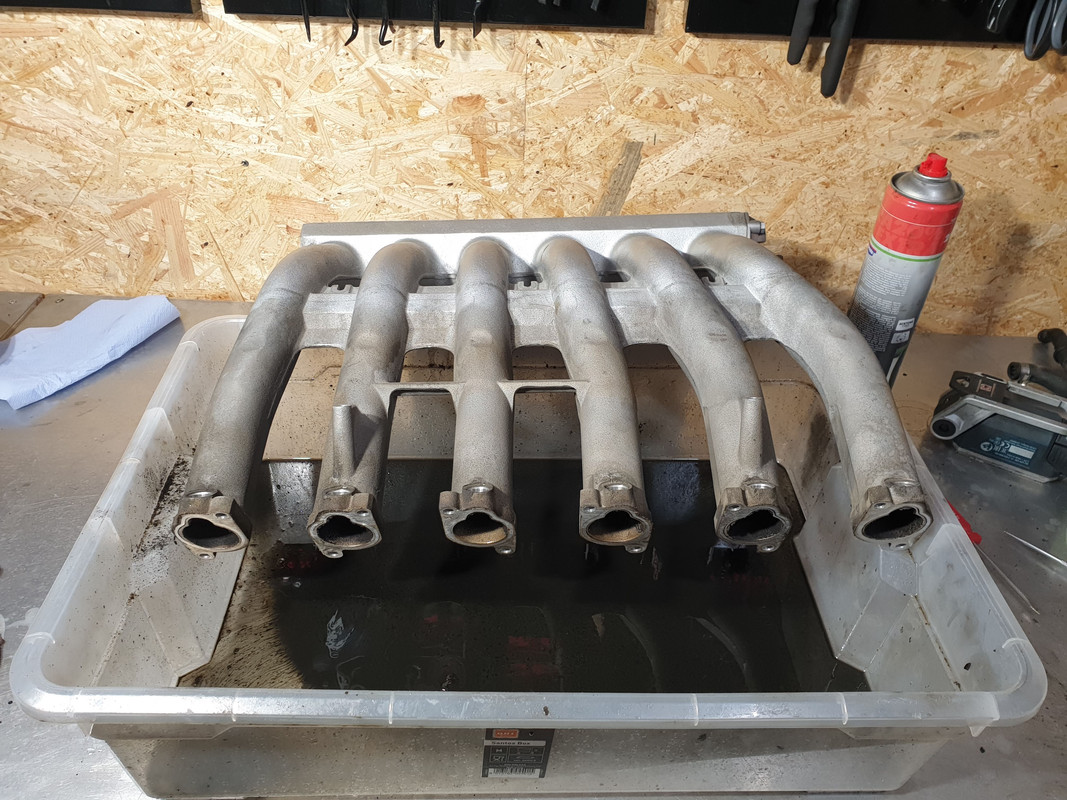
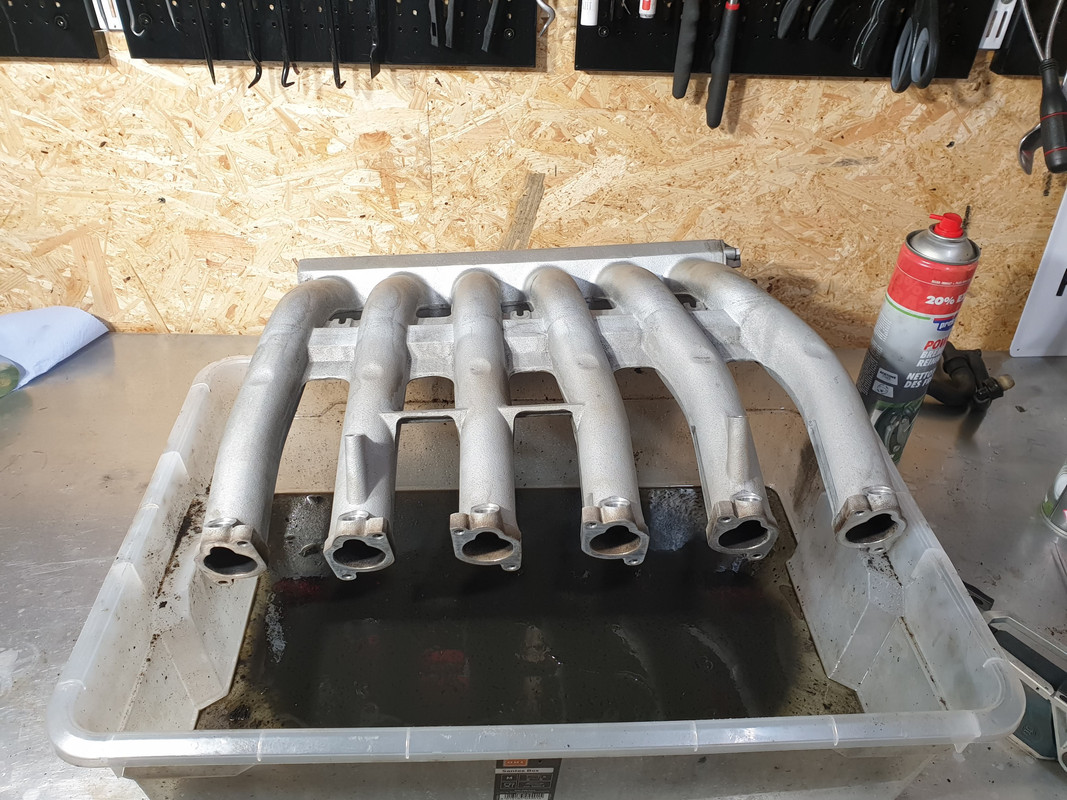
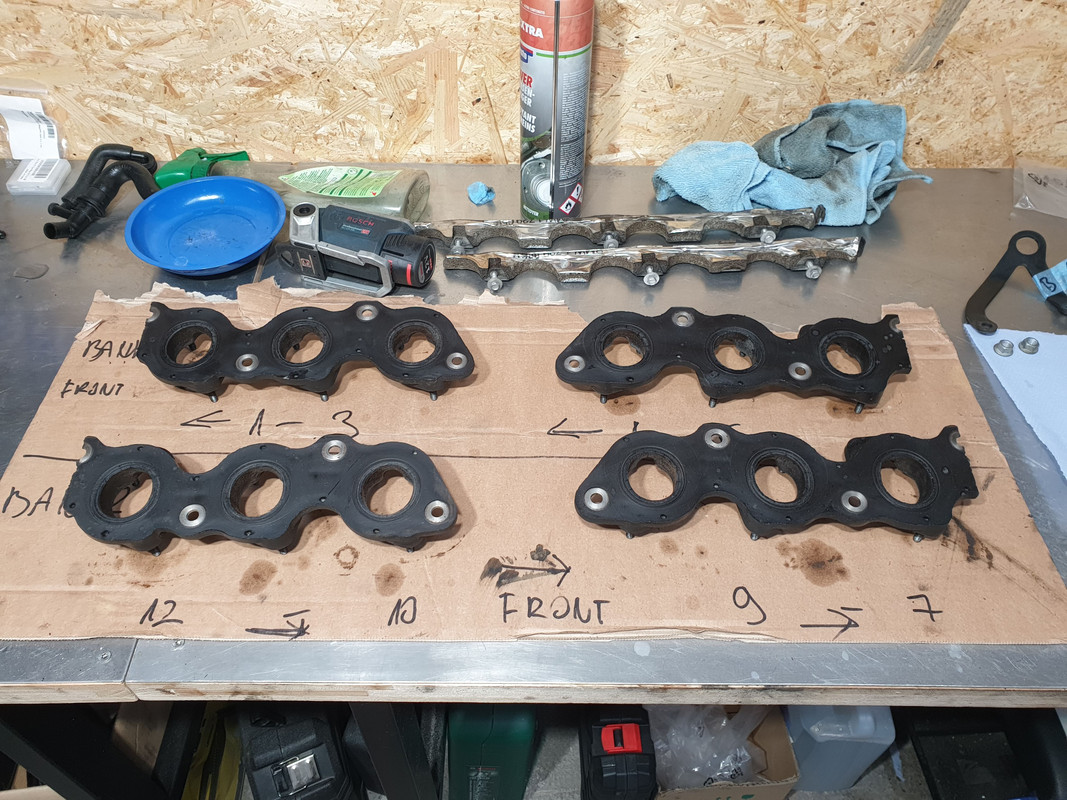
Prepping and cleaning manifolds.
Nuts are cleaned as well.
Cleaned and degreased gaskets. They are actually in good condition, no cracks in the rubber.
Cleaned the mating surface on the head.
Applied Reinzosil.
Also on the gasket side. 12 mm nuts that hold gaskets to the head are torqued to 22 Nm.
Then manifolds go in. Reinzosil on the manifolds and gasket side as well.
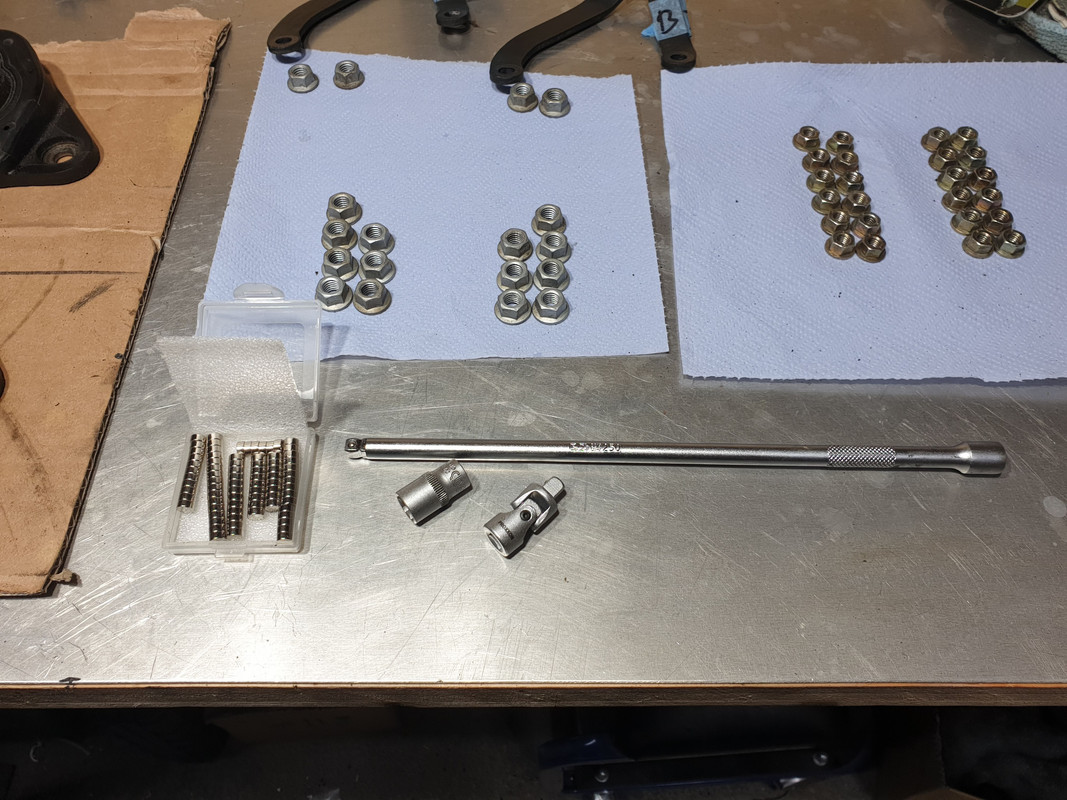
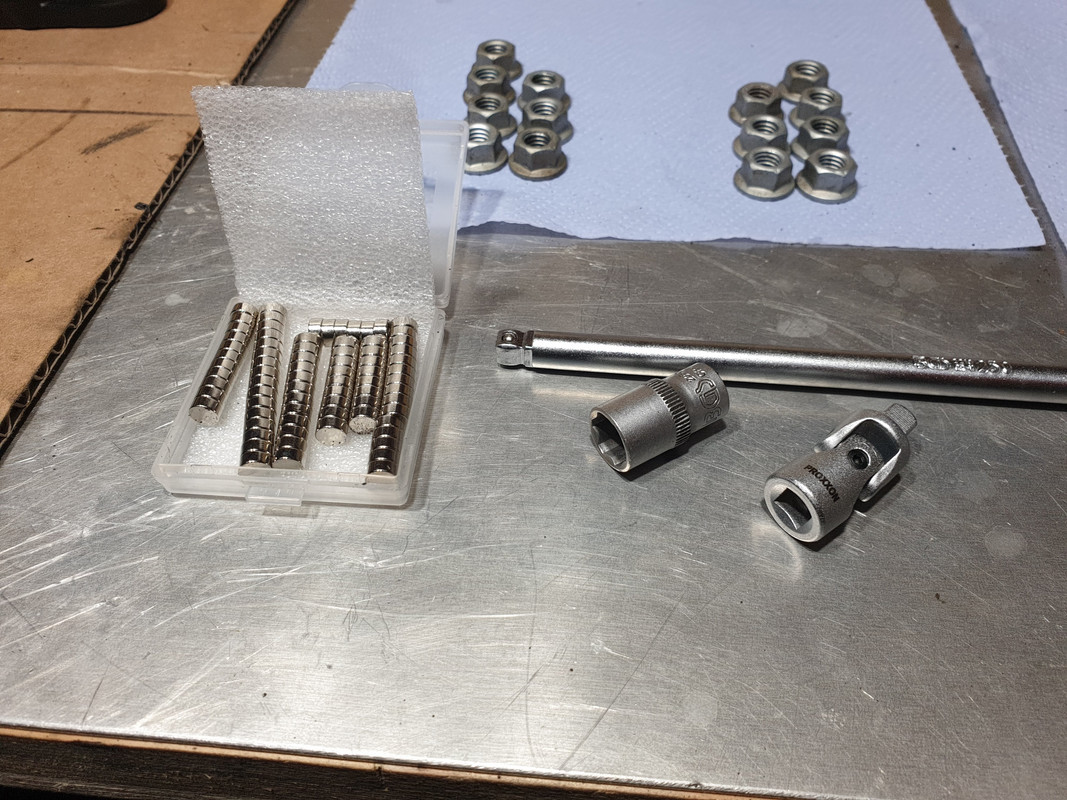
I've seen various methods being used to hold the nuts from dropping when reassembling intake manifolds and most of them do work. This is what worked for me.
Long extension bar, good sturdy universal joint and 6x3 mm magnets which I stuffed in my 10 mil socket.
You can swing with it as much as you like, the nuts are staying put.
This method was quick and easy. Torque for intake manifolds to gaskets is 10 Nm.
This is as far as I've come. Later this evening I'll reinstall injectors, bolt on the throttle bodies and smoke test for leaks. If all is well, then I'll remove and disassemble DK motors for cleaning and button up the rest.
Member
Dont the magnets stay with the nut?
Member
No, because the larger surface (6 mm) of the magnet is sticking to the socket and smaller (3 mm) to the nut. If you do the nut all the way down, they can stay on the stud but I just start threading them 2-3 turns, pull out the extension and magnets stay in the socket. Then torque them with a normal socket.
You can also glue magnets inside the socket, that way there's no chance of them staying on the stud or nut.
Member
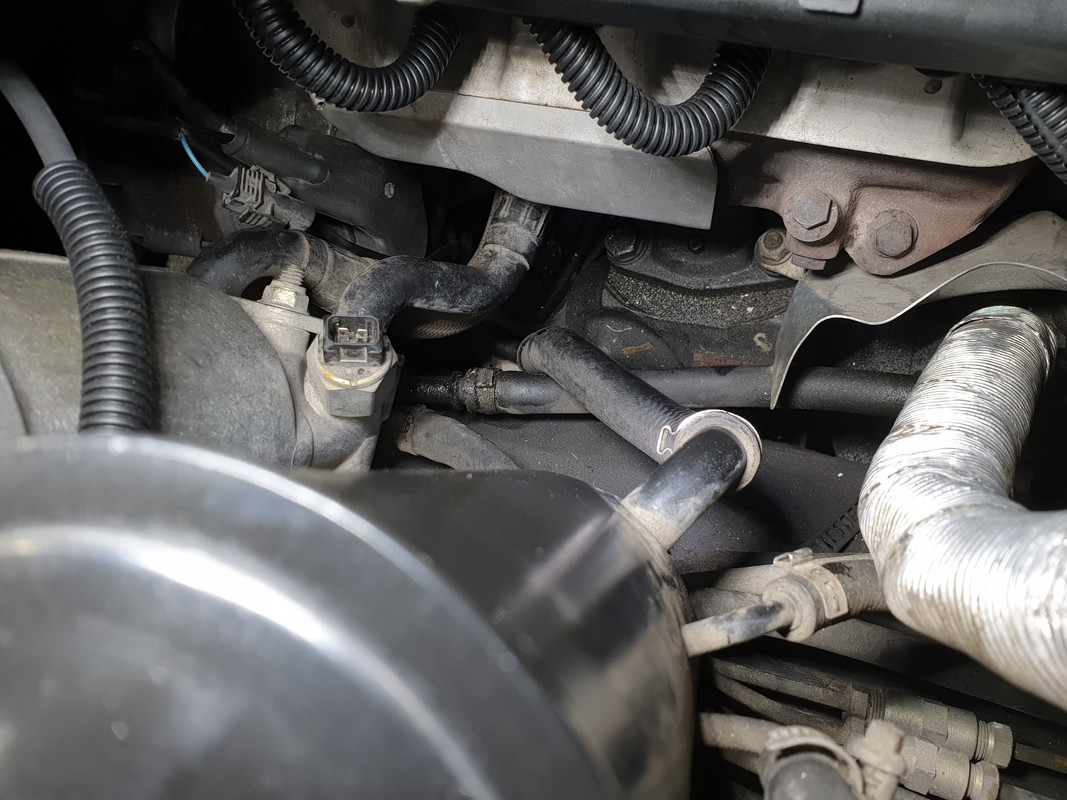
i rerouted the fuel return line above the valve cover... as far as i remember it was that damned line that make it so difficult to reach some nuts.
With that out of the way , one can see all nuts in almost a straight line .
PS i hope you did a coolant pressure test before assembling intakes ?
Last edited by Belgiumbarry; 02-24-2020 at 10:23 AM.
Member
You mean this one?
The metal lines bolt to the gasket on bank 1 and I didn't find them to be in the way of reaching the nuts. Maybe a bit on one of them the but you can get around it easily.
The manifold on the passenger side needs to be removed first and then the other one because of this line though.
As you can see by the last picture in previous post, the rest of the cooling system is not put back together so I didn't pressure test it. Probably should've but lets say I'm confident in my repair which will likely bite me in the ass.
Member
Yes , this one... it's this one you need "swivels" in the wrenches.
I did a pressure test before mounting the manifolds.. didn't want to do it 2 times .
SAM_2622.jpg
Member
I really should do the banjo bolts on my 8.
I did tell my mechanic to do it, but dont know now if he ever did
Member
That's a smart idea, we'll see if I'll regret it but I also don't have a pressure tester on hand.
I only had time last night to reinstall injectors and throttle bodies, performed a smoke test and it's airtight, no leaks from the gaskets!
A bit of smoke is coming through the flaps on throttle bodies but I take it that's a given with old units.
Now to reassemble the rest of it and pray for no oil or coolant leaks. Hopefully it runs better too.
Member
This is a great thread
I need to replace my water pump as well. Are you happy with the quality of the SIL pump?
Member
Yes, very. Good OEM quality, same as the one that came out.
Lets pick up where I left off.
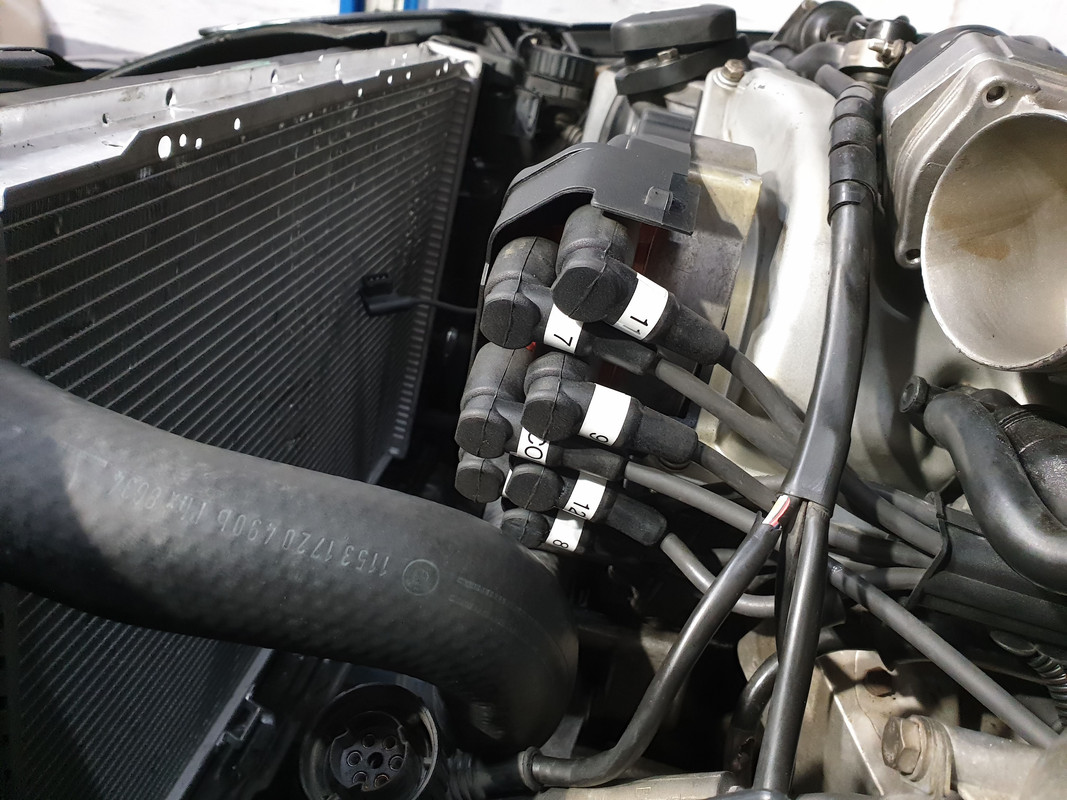
Reinstalled injectors and wiring harness.
I used the opportunity to neatly label the ignition wires.
I then started it and the engine was running so much better during cold start but still not perfect during the first few seconds. So I went back and cleaned the throttle bodies.
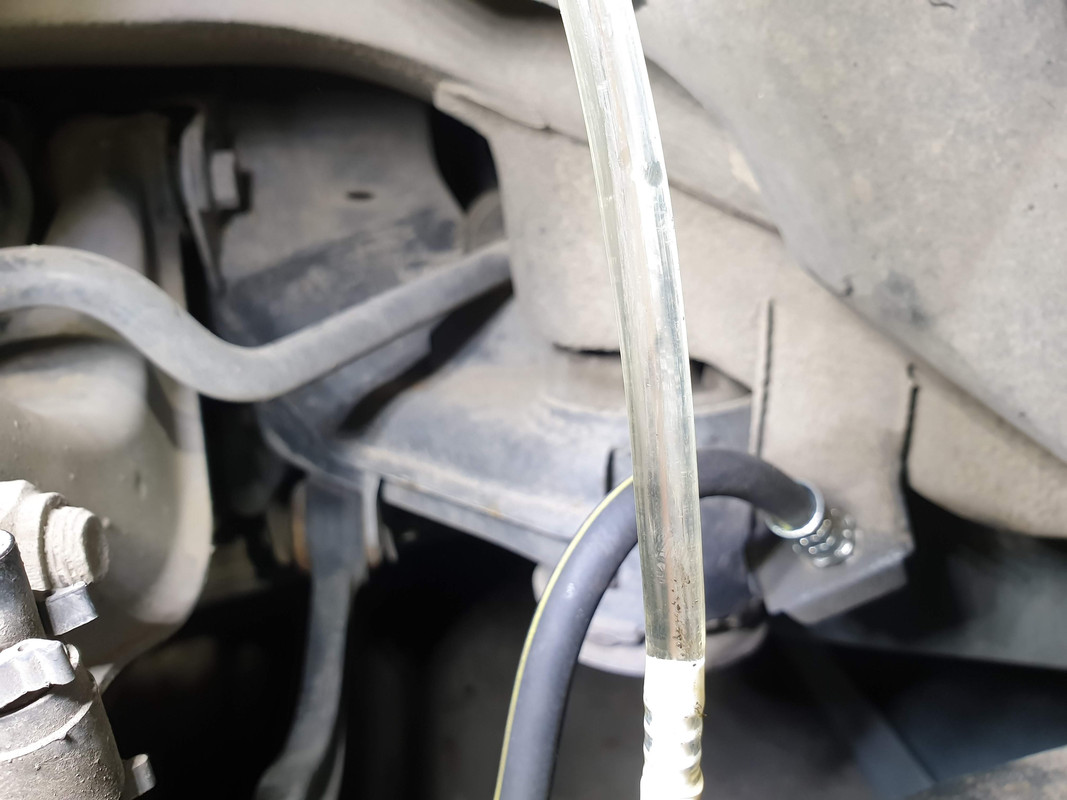
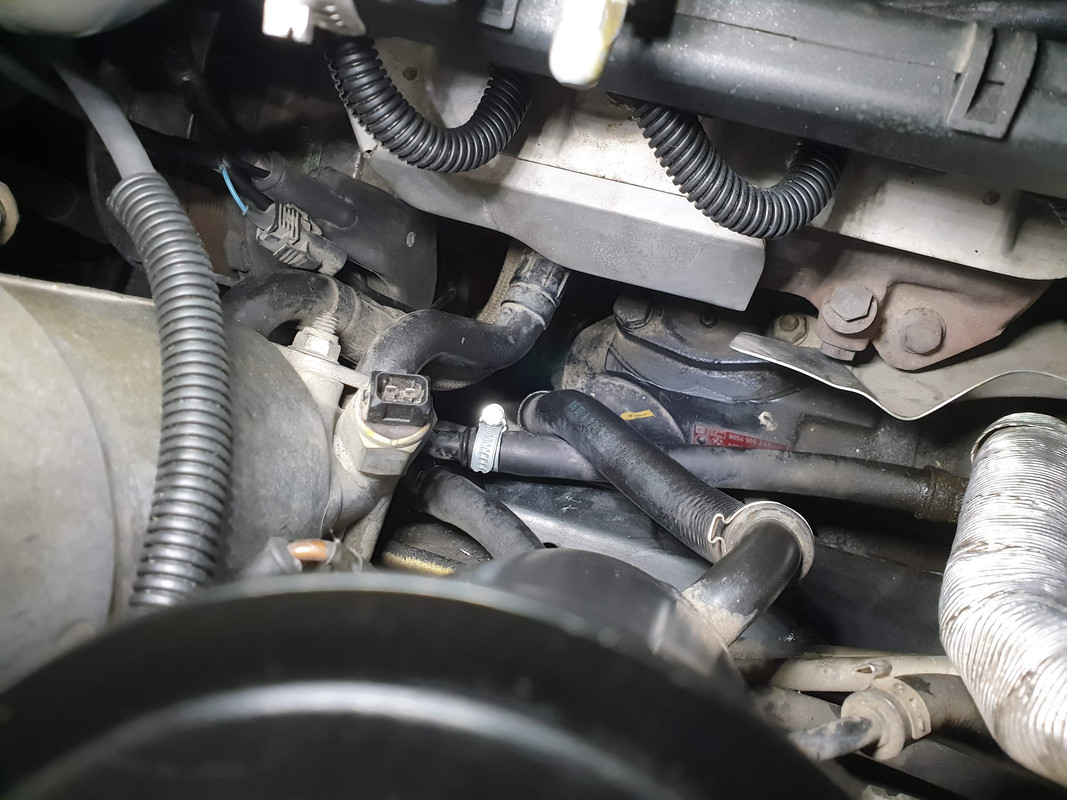
I missed it before, but it was pouring power steering fluid out. Changed the clamp and that was quickly sorted.
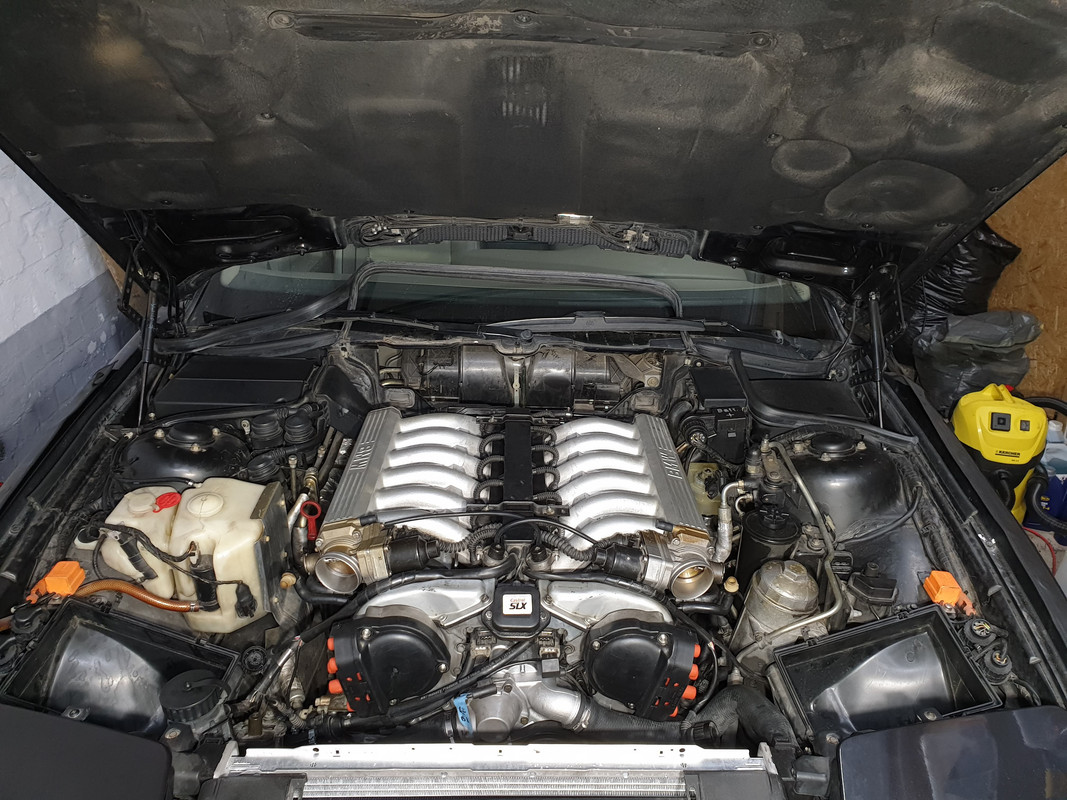
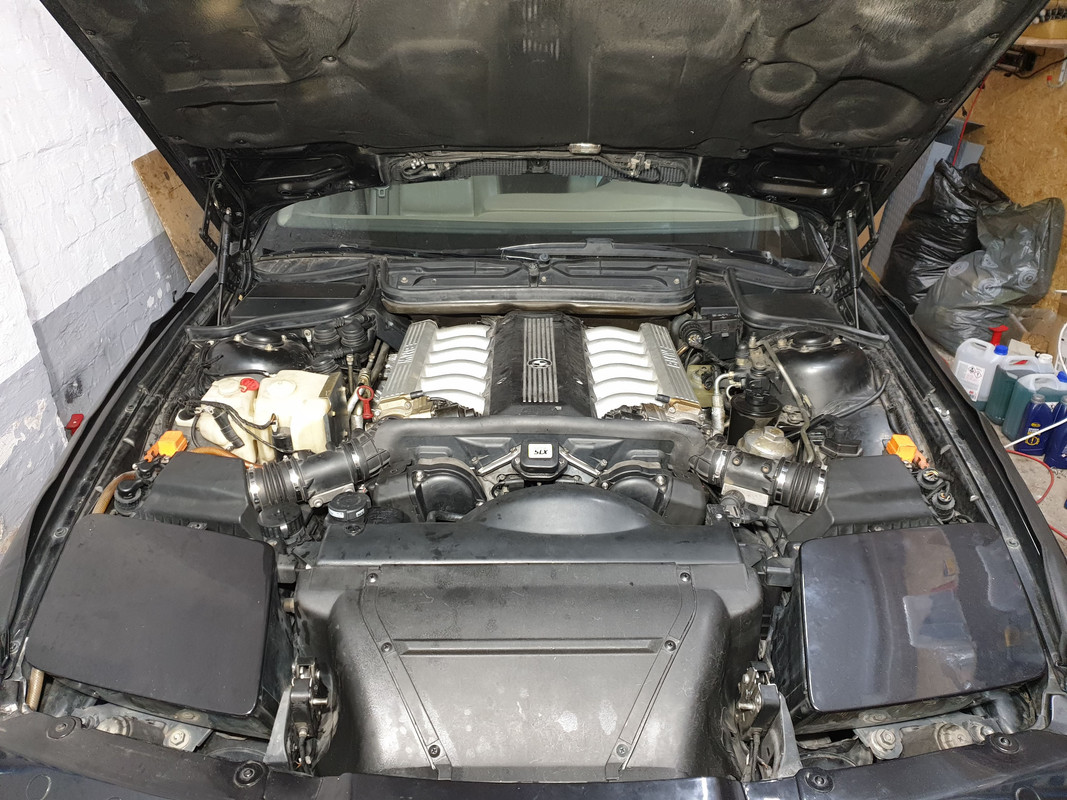
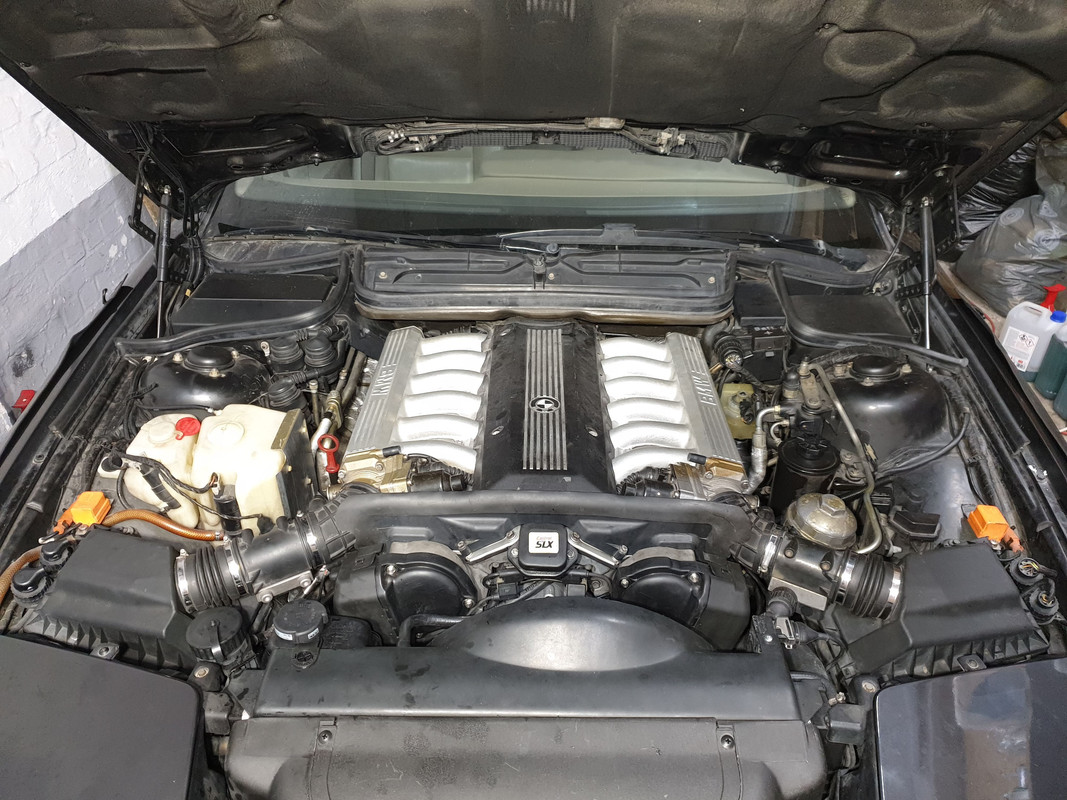
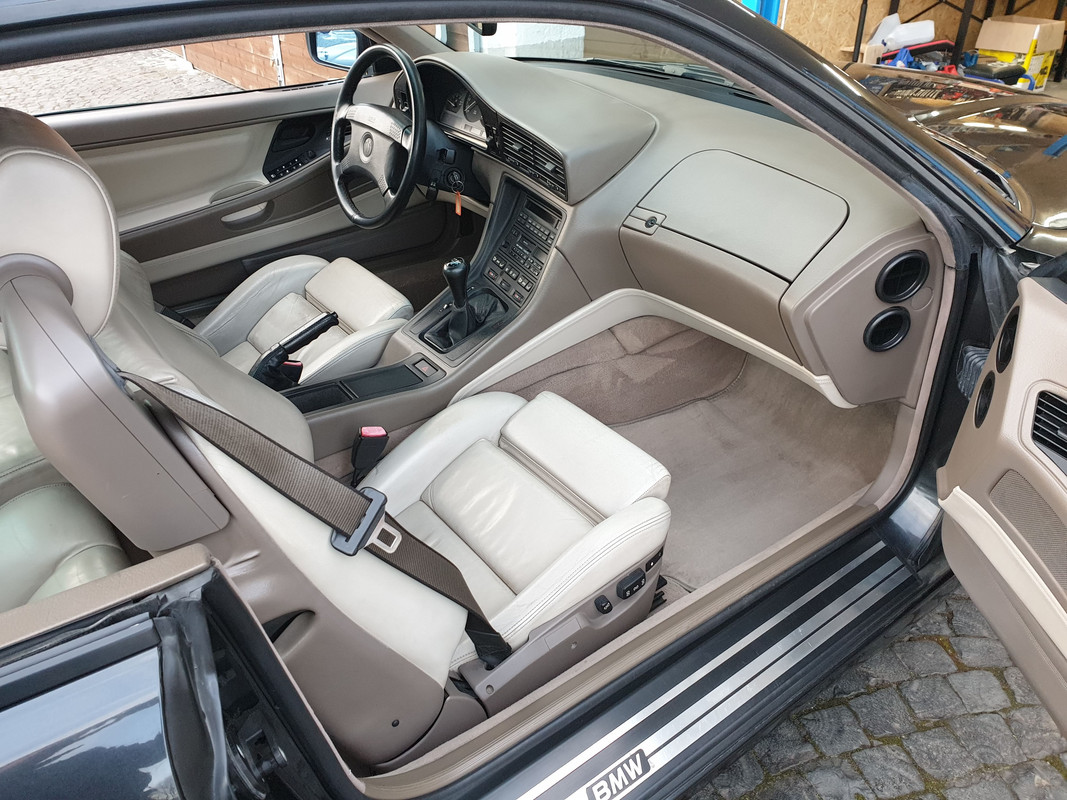
With clean DK's, the cold start is bang on. Perfect from the turn of the key, stays smooth and running beautifully. Here's everything reassembled.
No coolant leaks and the temperature stays right in the middle.
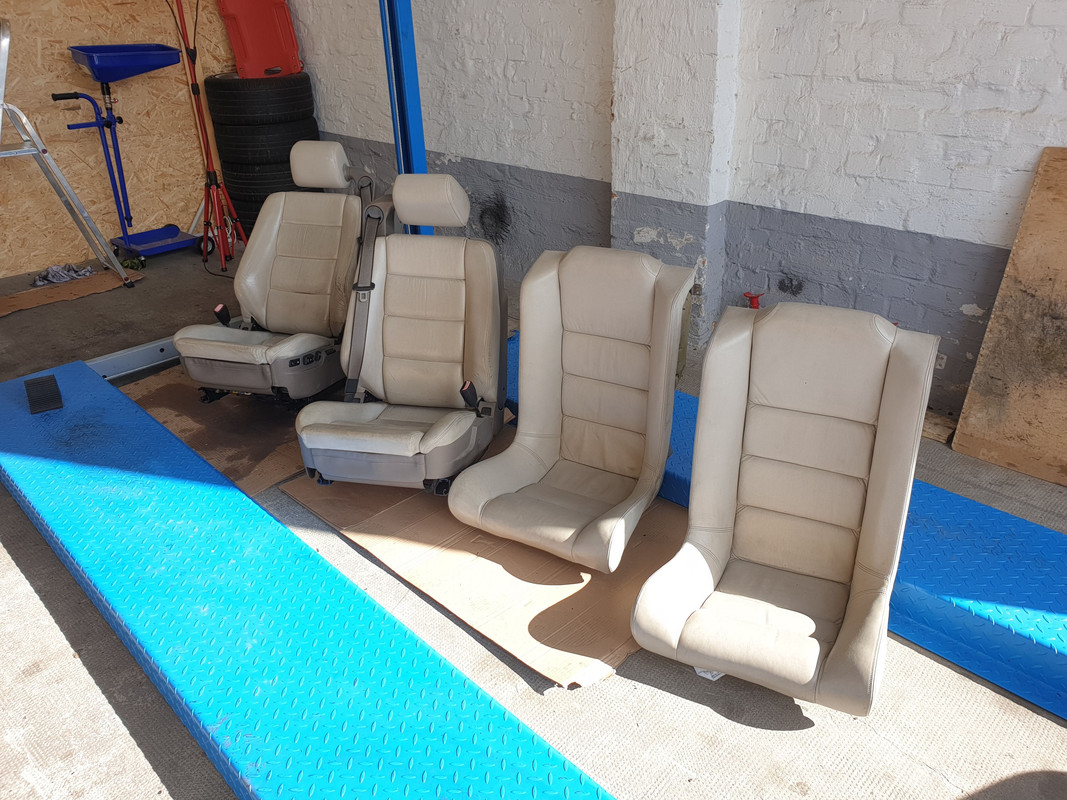
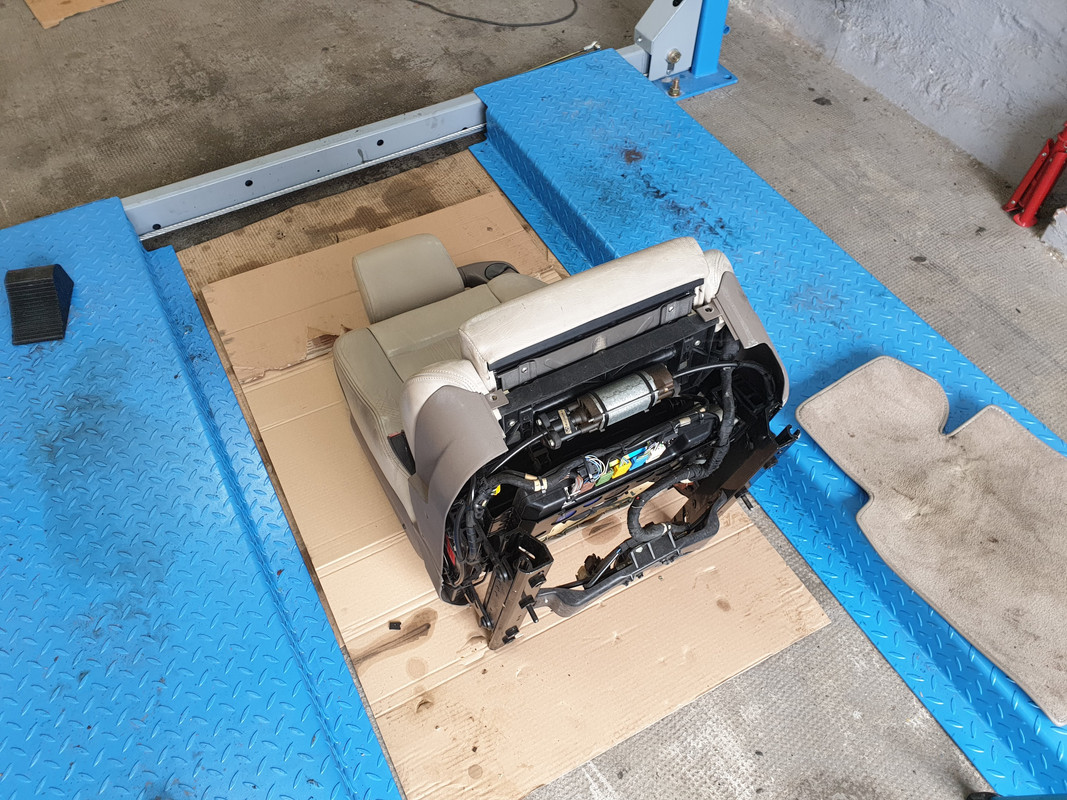
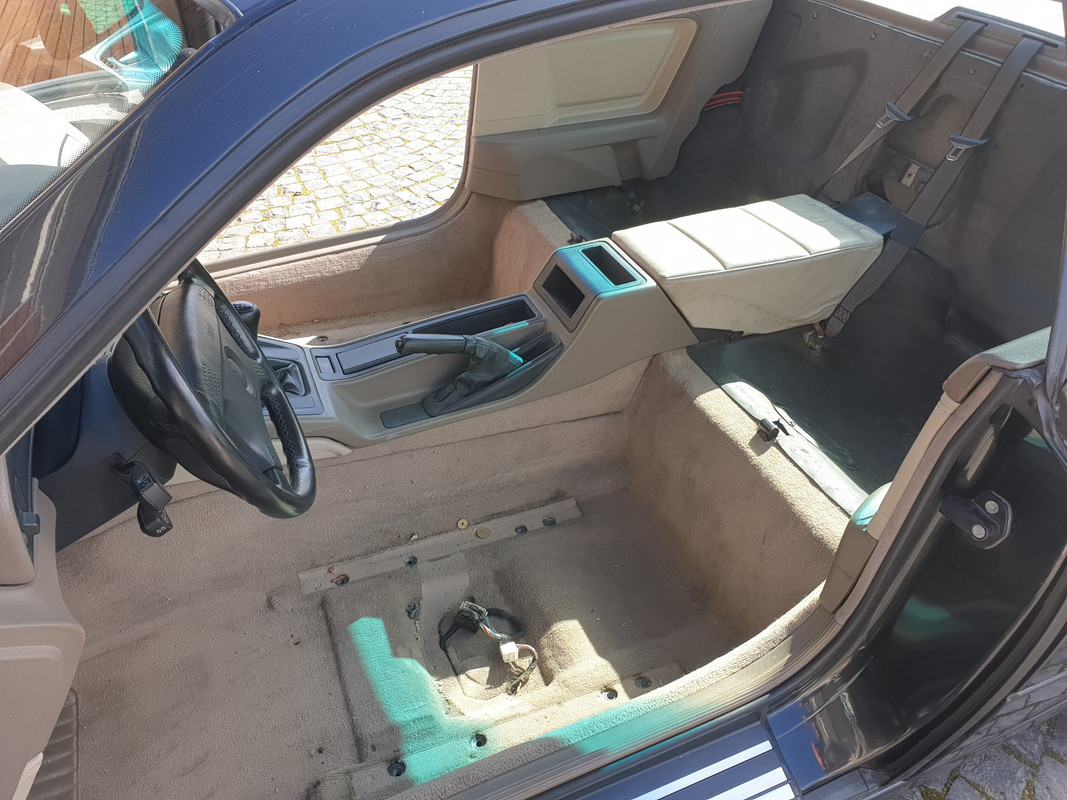
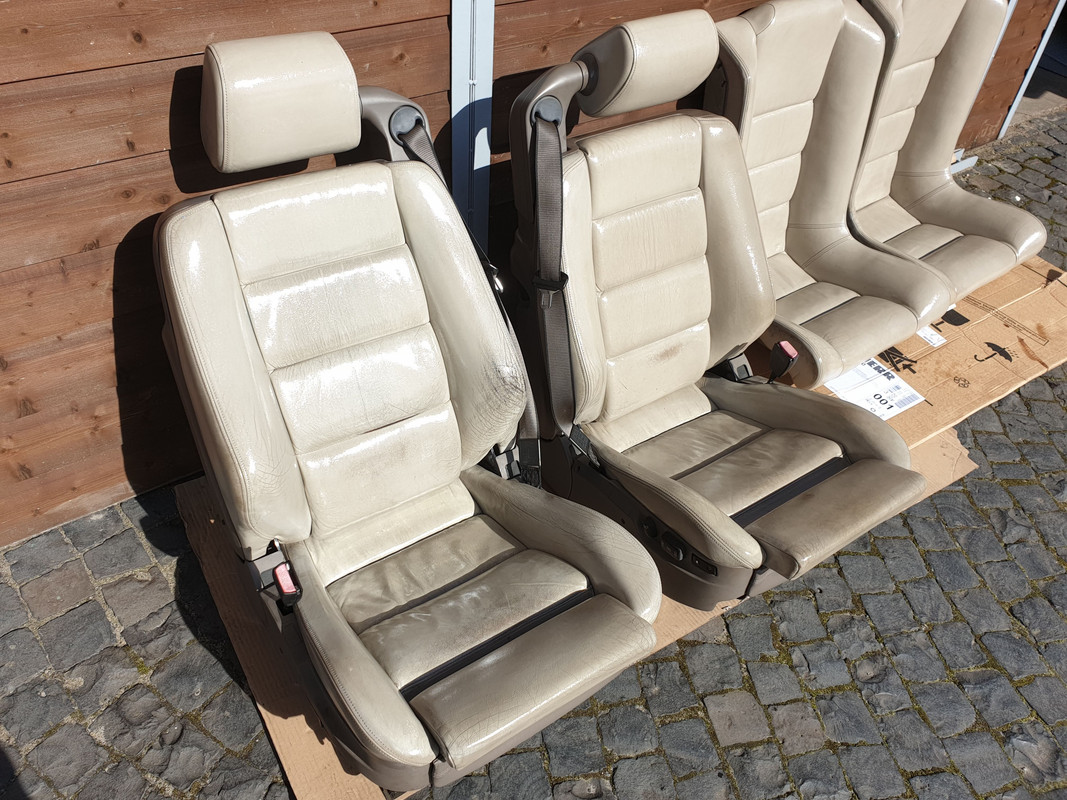
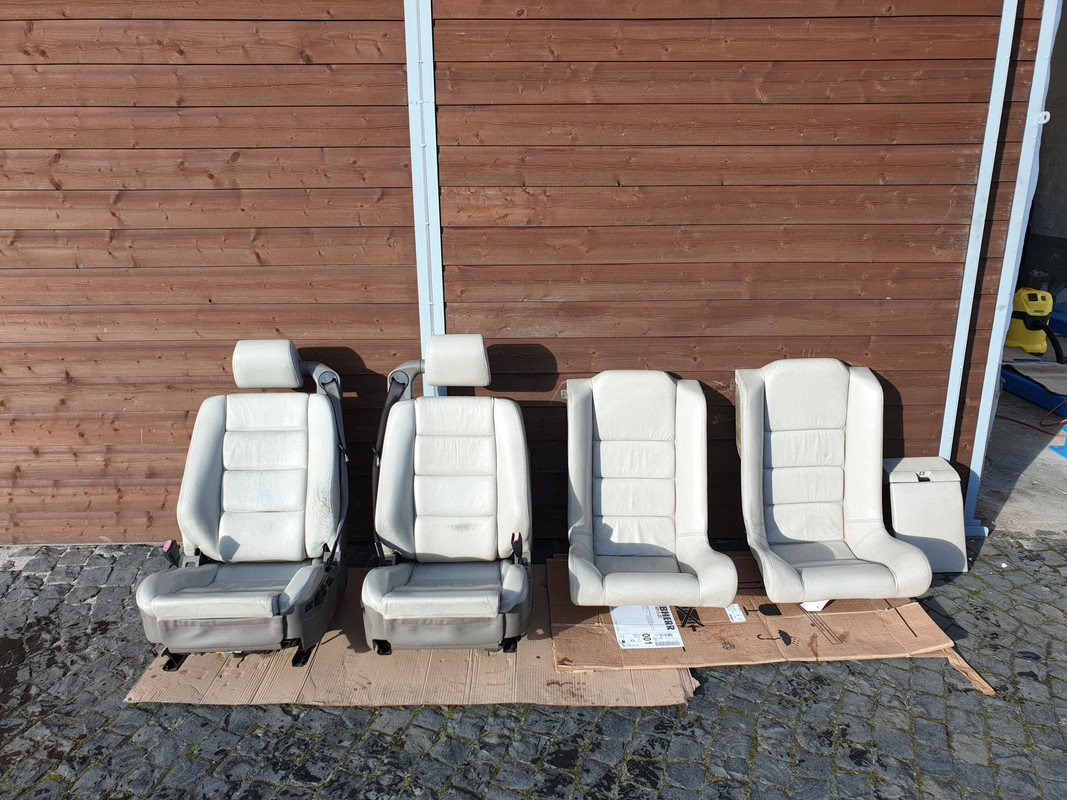
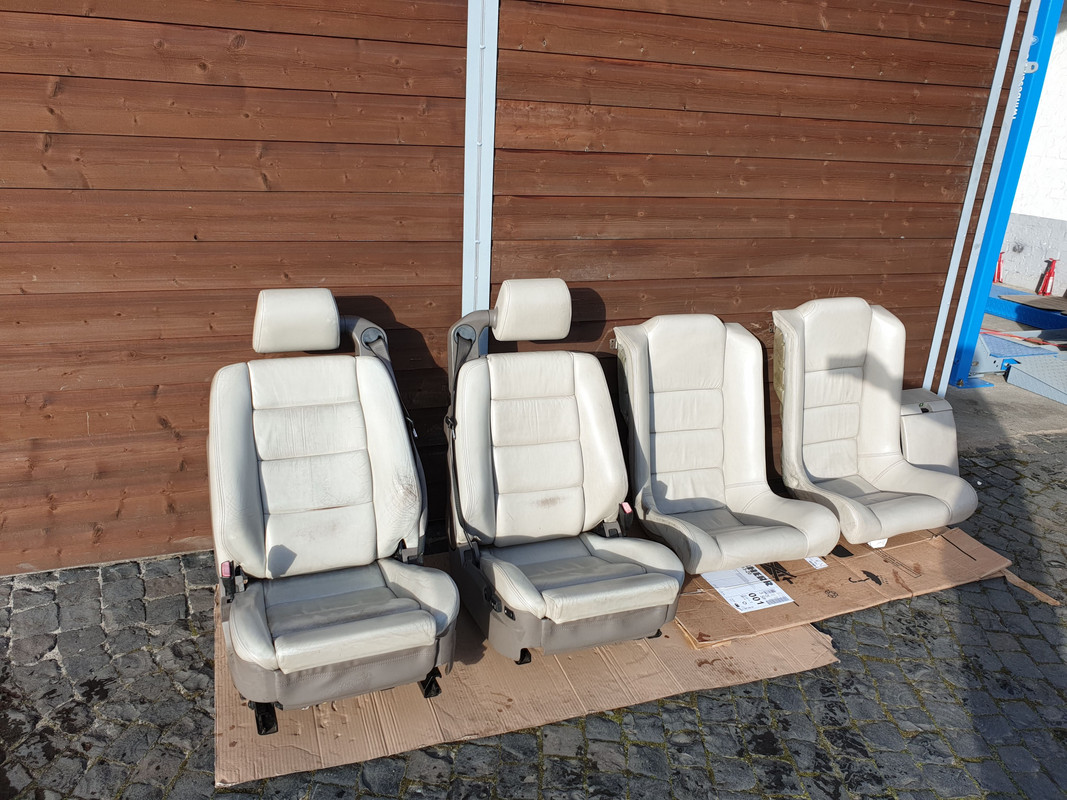
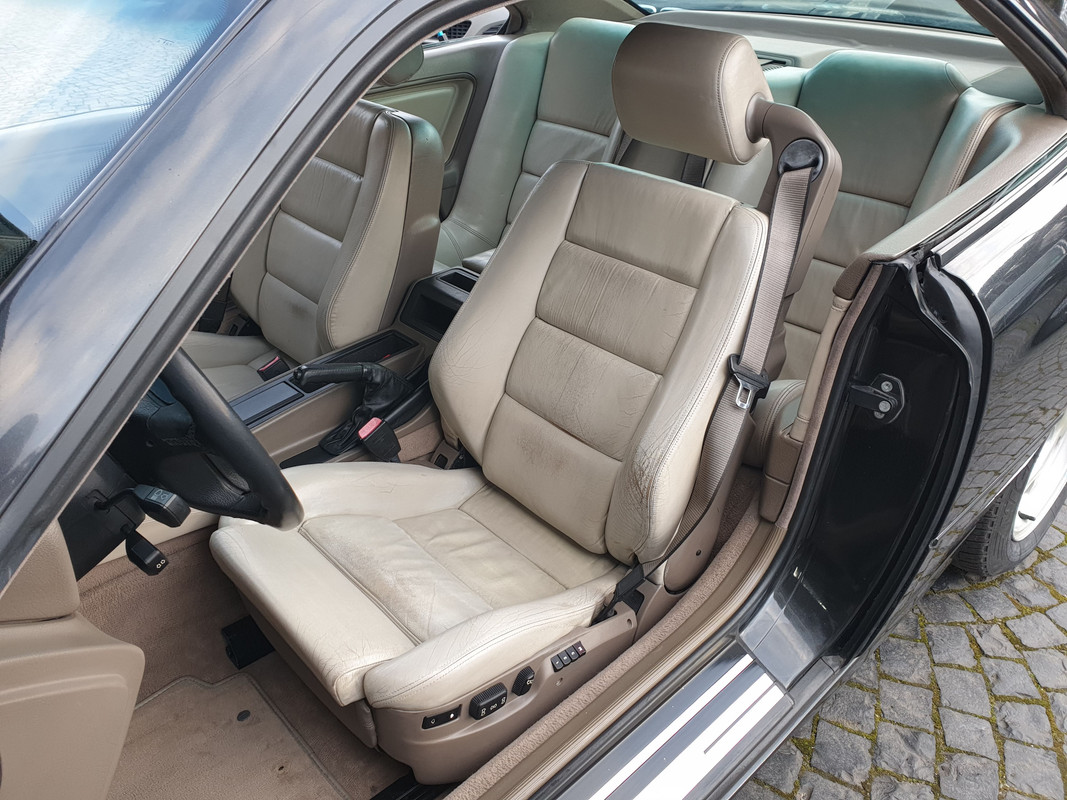
Ripped the seats out to fix twisting of both front seats and do some cleaning.
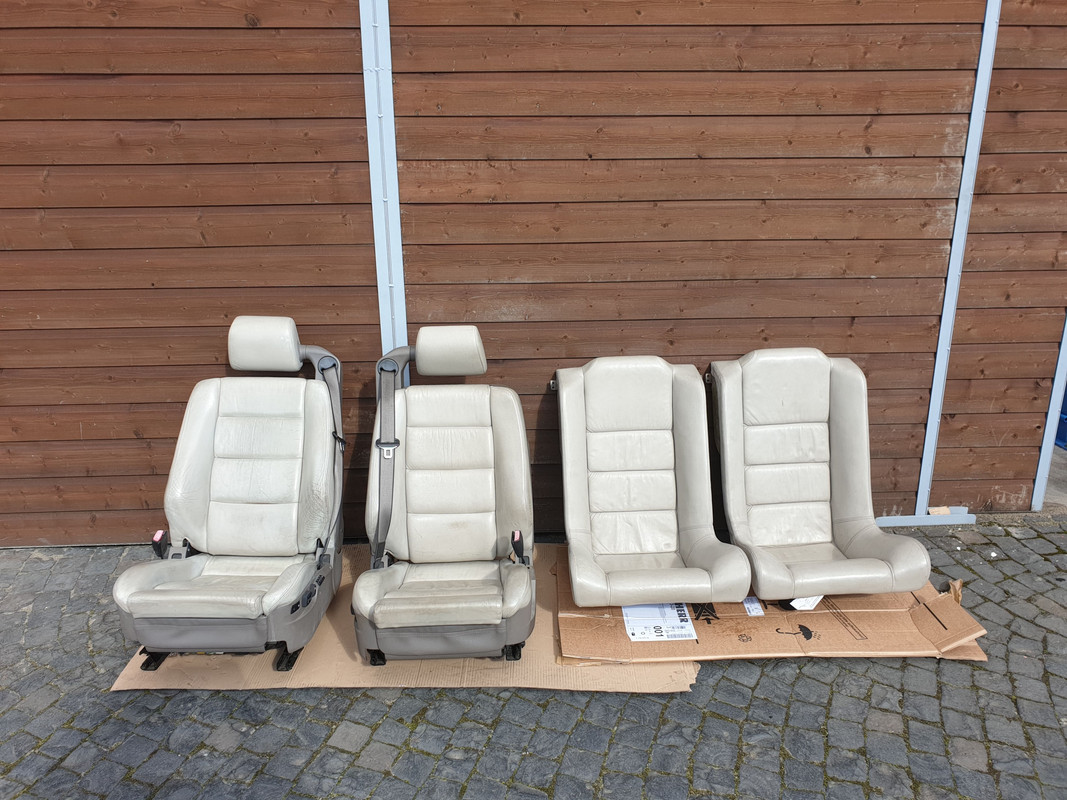
I used leatherique to clean the leather. Before:
During.
Clean.
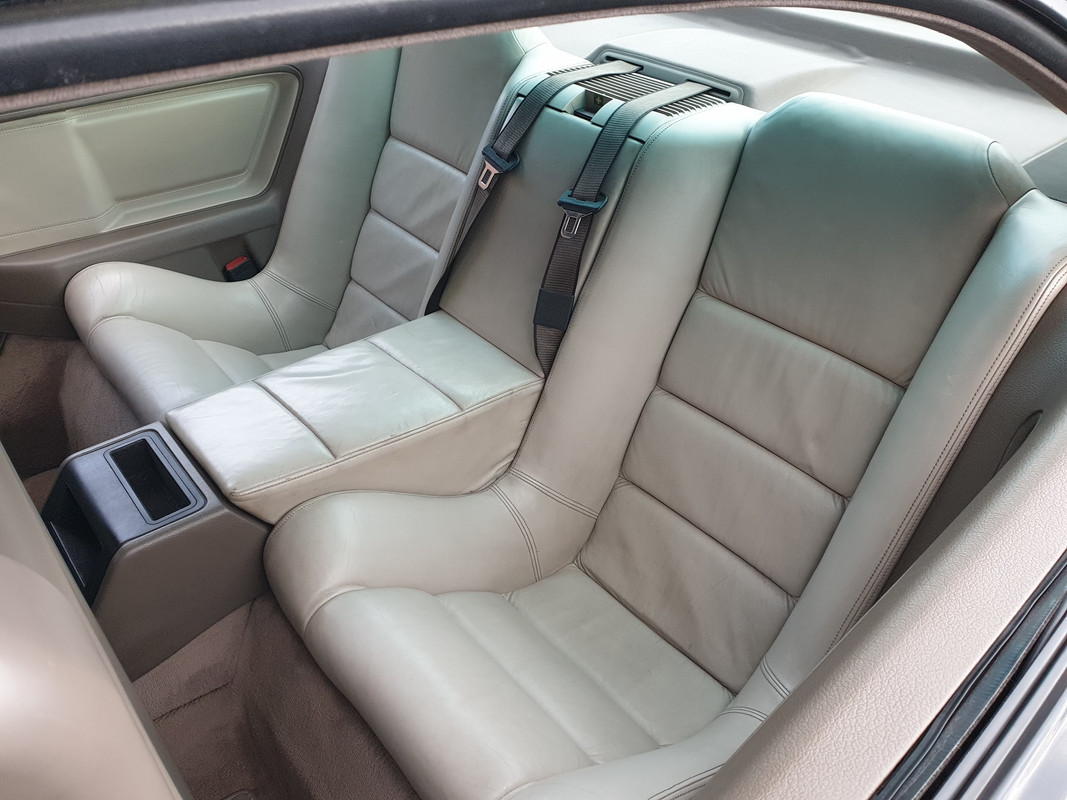
It's evident that the leather would benefit from some dye to make them perfect but overall I'm happy with the results. I have to say I love Sport seats compared to the standard ones, very comfortable and lots of support.
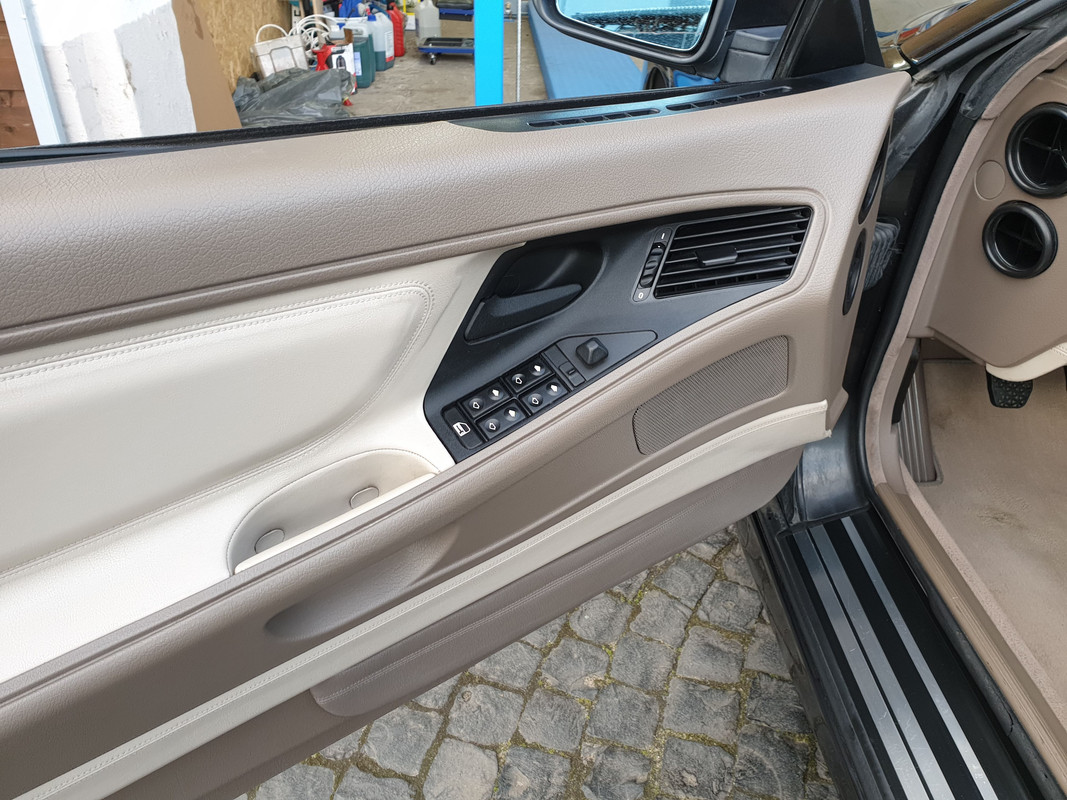
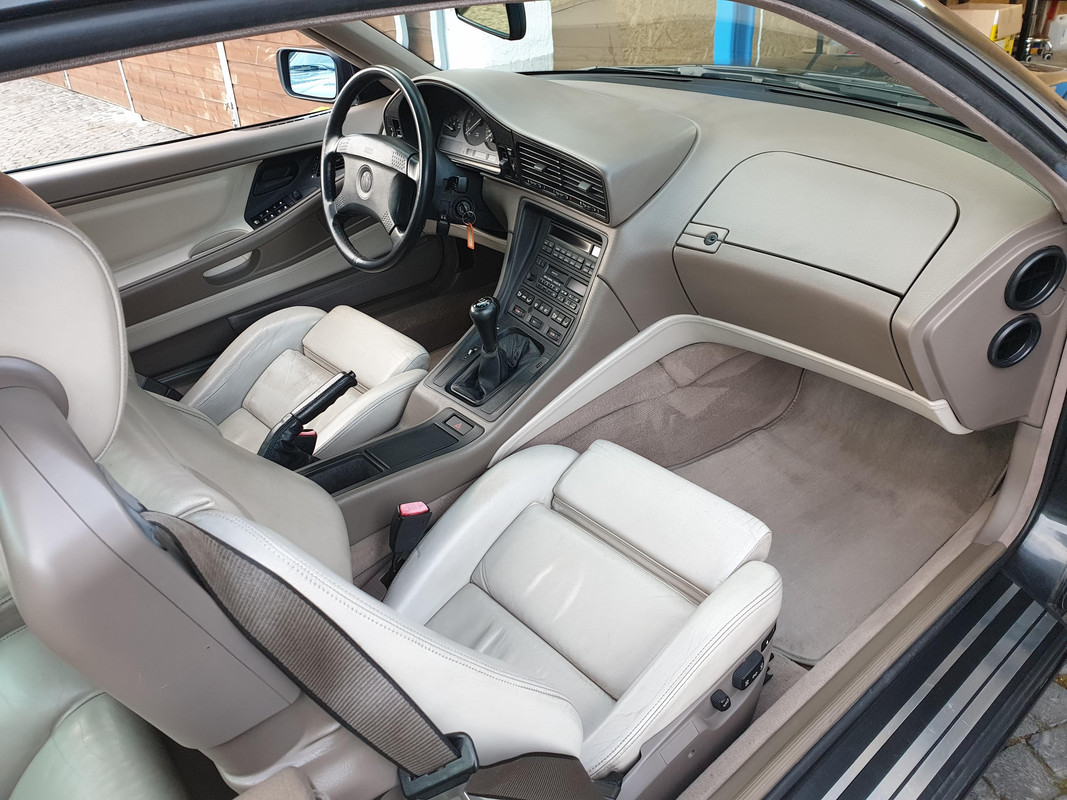
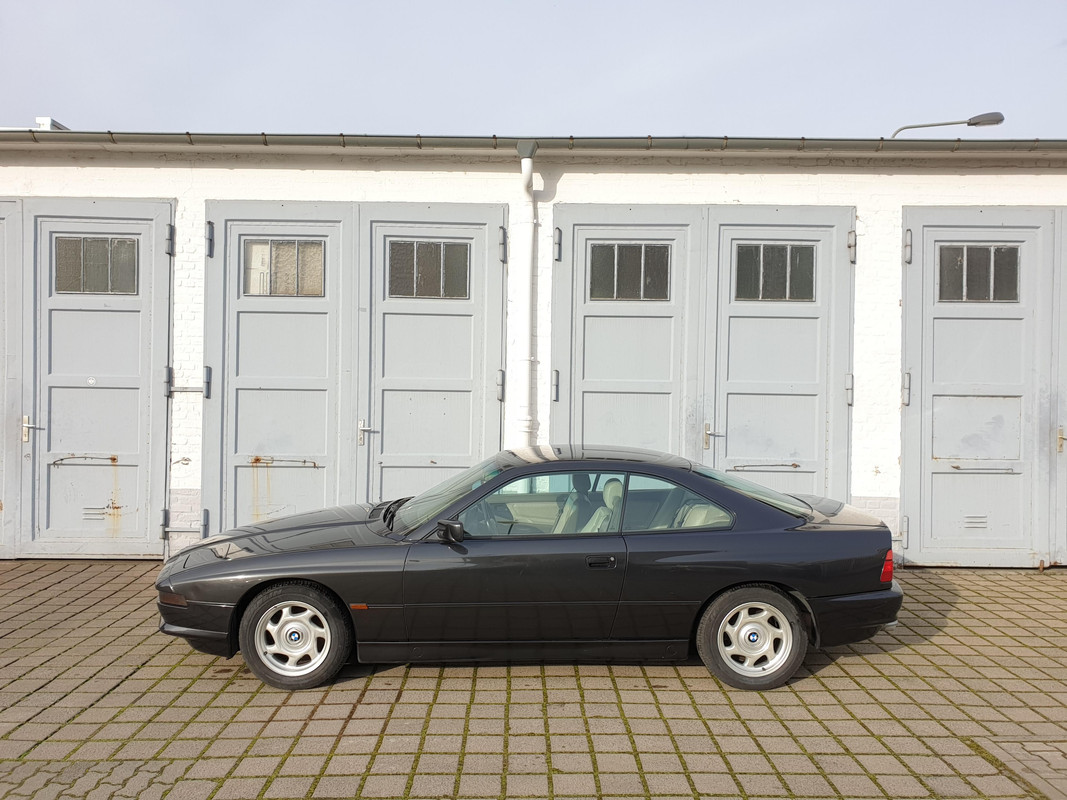
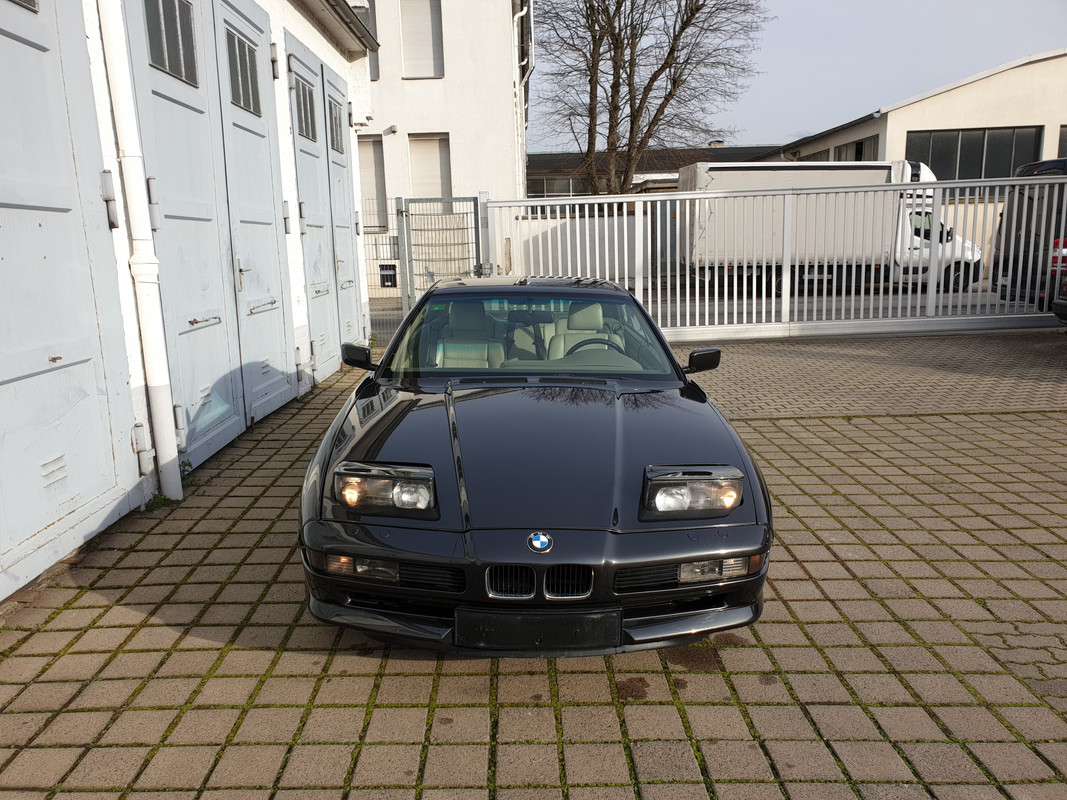
Few exterior shots.
That's as far as I go with this one. There's still suspensions to be sorted out, steering box leak and bodywork but the new owner will be taking care of that.
Thanks everyone forcontributingand sharing your knowledge to get this car up and running!
Member
BMW CCA Member
That's a sweet car. I envy the sport seats! I appreciate your posts.
Mark in mid-MO
1993 BMW 850Ci 6-speed
2011 Cadi CTS coupe 6-speed
Member
Fantastic work! Very nice and clean.
I would love to have the sun roof delete. Do you know how much extra headroom that gives you?
Member
Sreten,
Im tackling this job myself but cannot find the ENGL locking tabs for the banjo bolts anywhere. Do you remember where you sourced them?
Member
Here they are
http://www.engl-production.de/sicherungsblech.html
Sent from my iPhone using Tapatalk
 Posting Permissions


 Reply With Quote
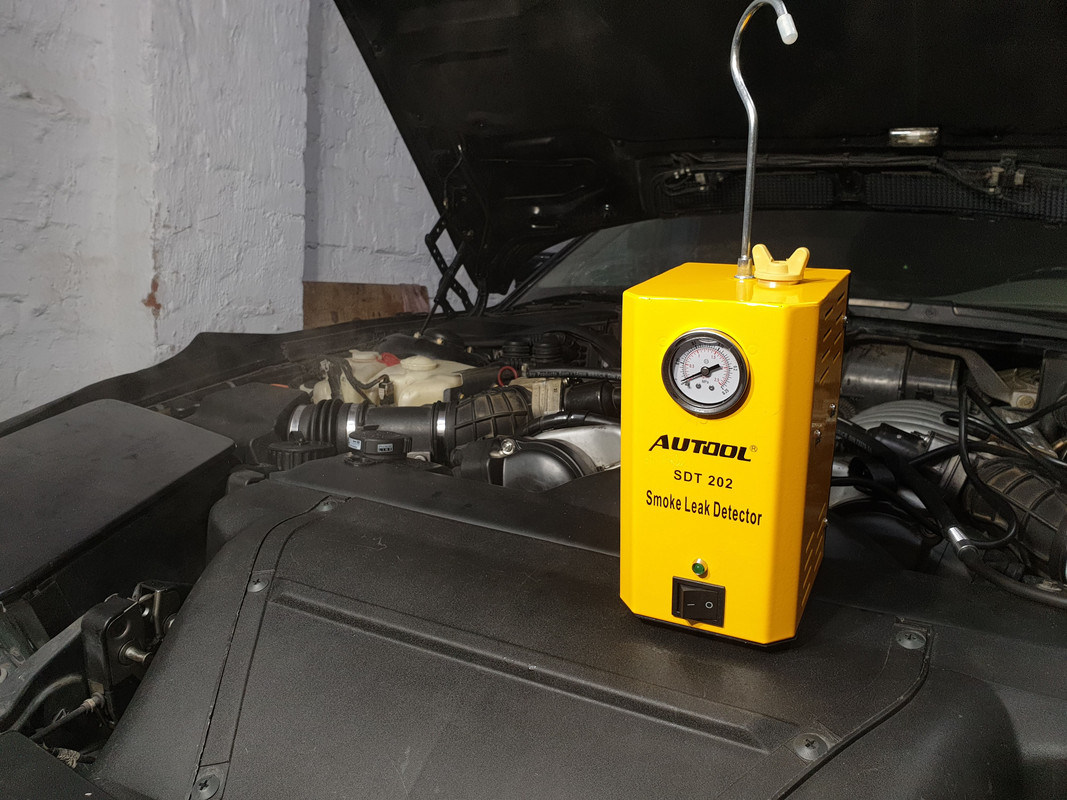


Bookmarks