
 u owe my mule an apology
For a drag car I don't think you want to go any farther than you have it or the center of balance is going to be too far to the rear and it will want to go on the bumper all the time rather than putting energy into forward acceleration.
86 325es, 2.8L m50, S476sxe, ProEFI 128 ecu, e85, solid rear axle, TH400 trans, 28x10.5w slicks, zip ties, popsicle sticks, tape
best time 9.06 @ 151.8 mph, best 60 foot 1.30
M54B30 Inside
One of the things I'm concerned about is how much weight I've taken out of the back of the car. Last time I did this with the E46 Coupe, I had to run the rear ride height nearly 2" lower than the front of the car to get a 50/50 weight balance. It will be worse with this car, because I'm adding even more weight to the front of the car! (Exhaust manifold, turbo, big IC, dry sump tank, fuel surge tank, etc) The box in the trunk of the car that used to house the fuel surge tank is now likely to become a weight box to get more weight on the rear tires.Originally Posted by someguy2800

I do understand what you are referencing, but I'm not heading into this blind....
Something I'm looking to do once I have time, is to weight the car with the OEM mounts, then put the new mounts on and see how the weight shifts. Not too hard to do with the lift cart, and lift, and scales I have in the shop.
M54B30 Inside
Well....the angle grinder had to come out again today.
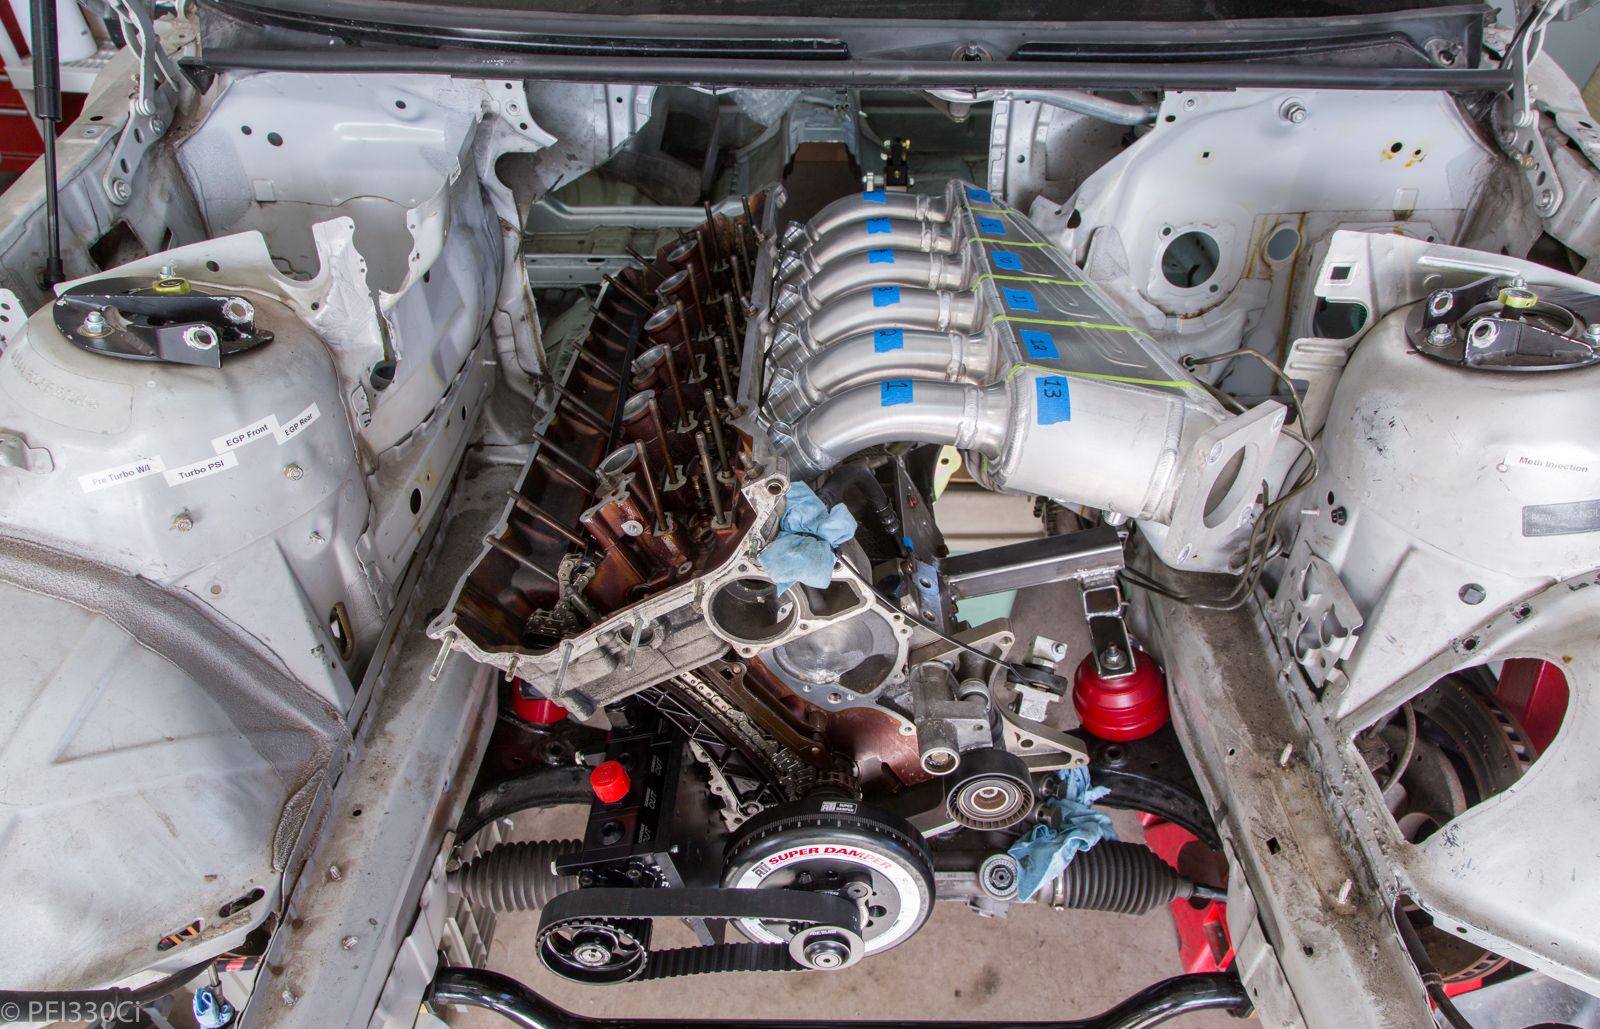
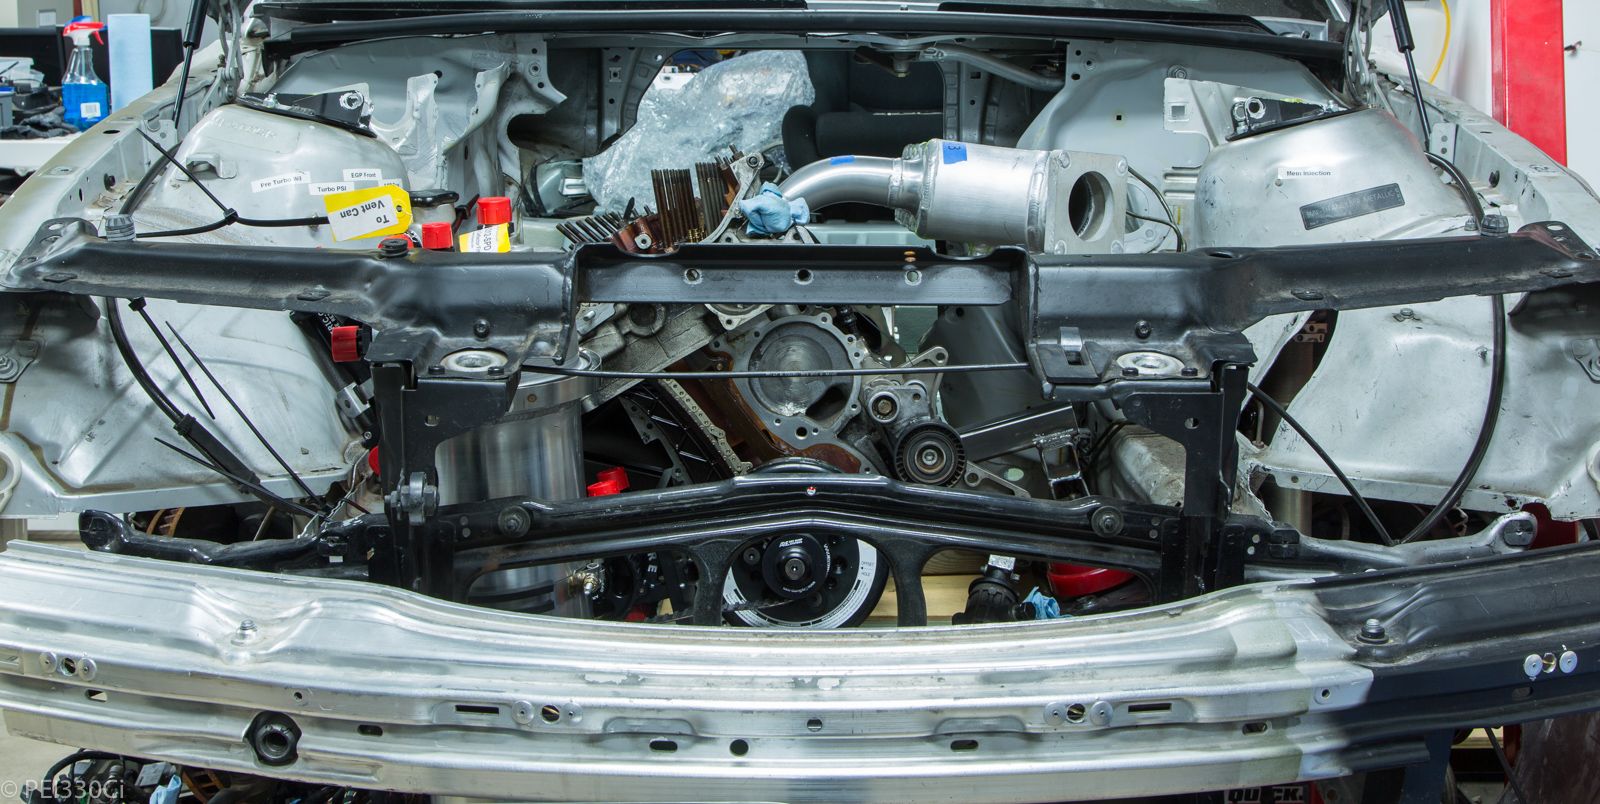
While the engine fit with the new engine mounts, the transmission didn't. I had to cut out more of the tunnel on the driver's side of the floor:
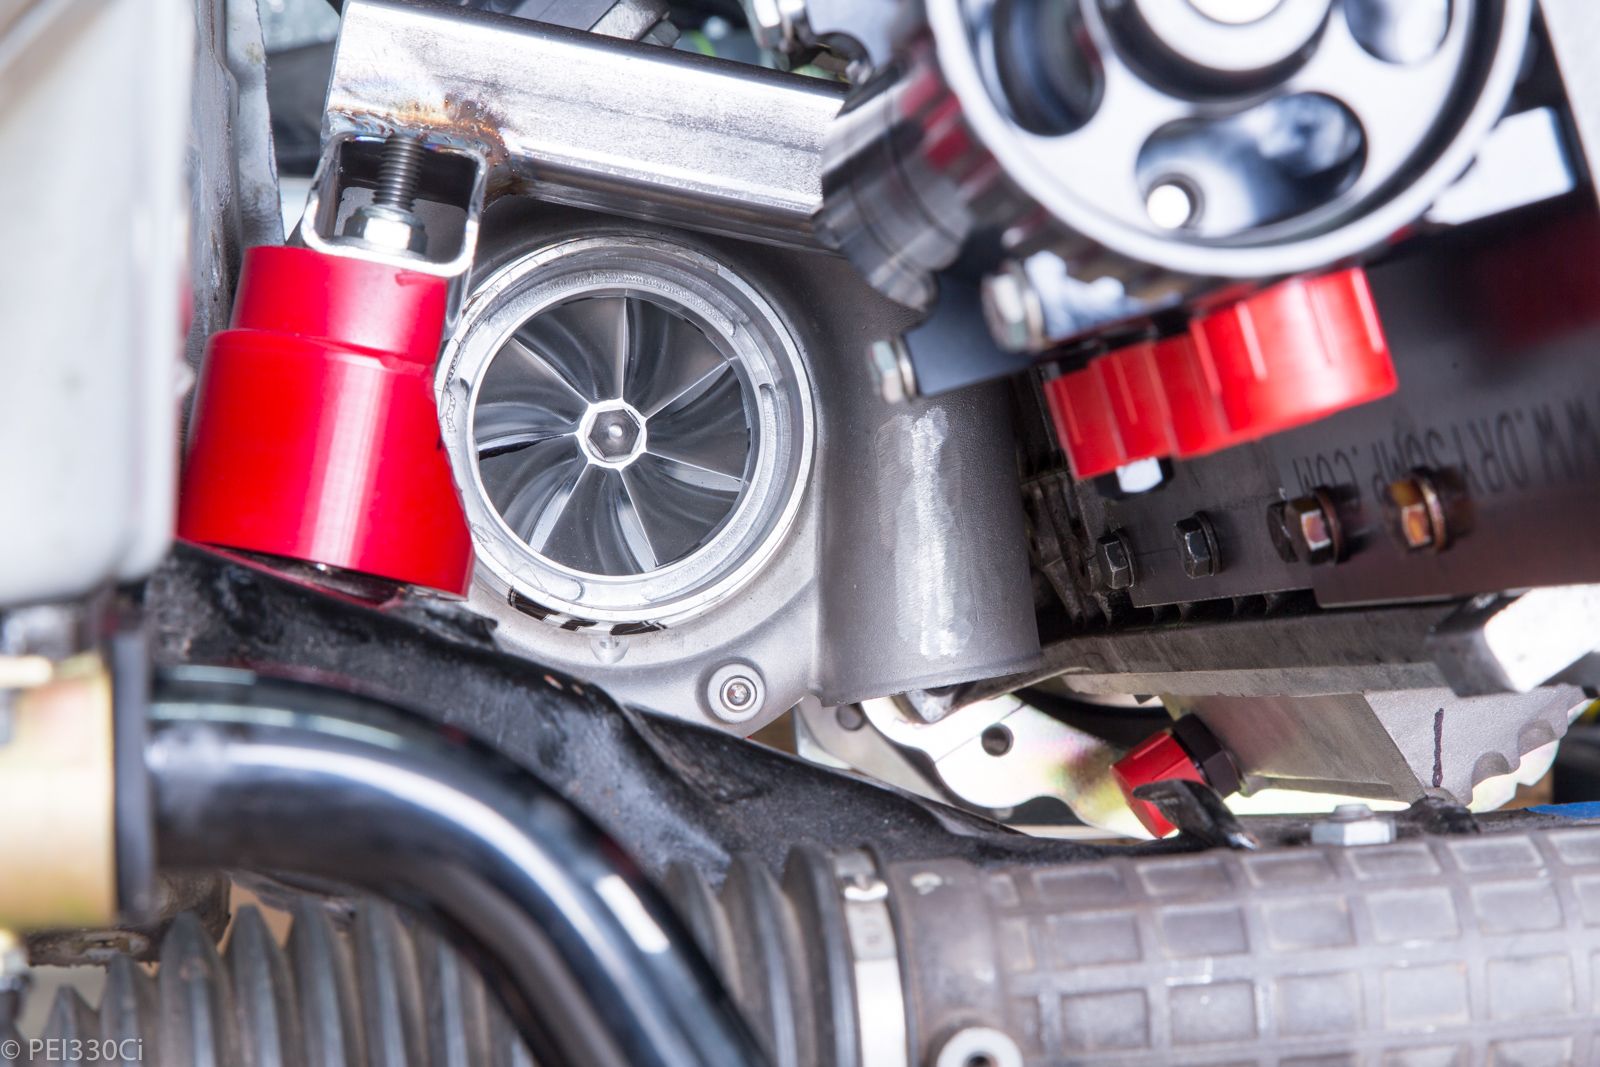
Turbo now has lots of room for the downpipe:
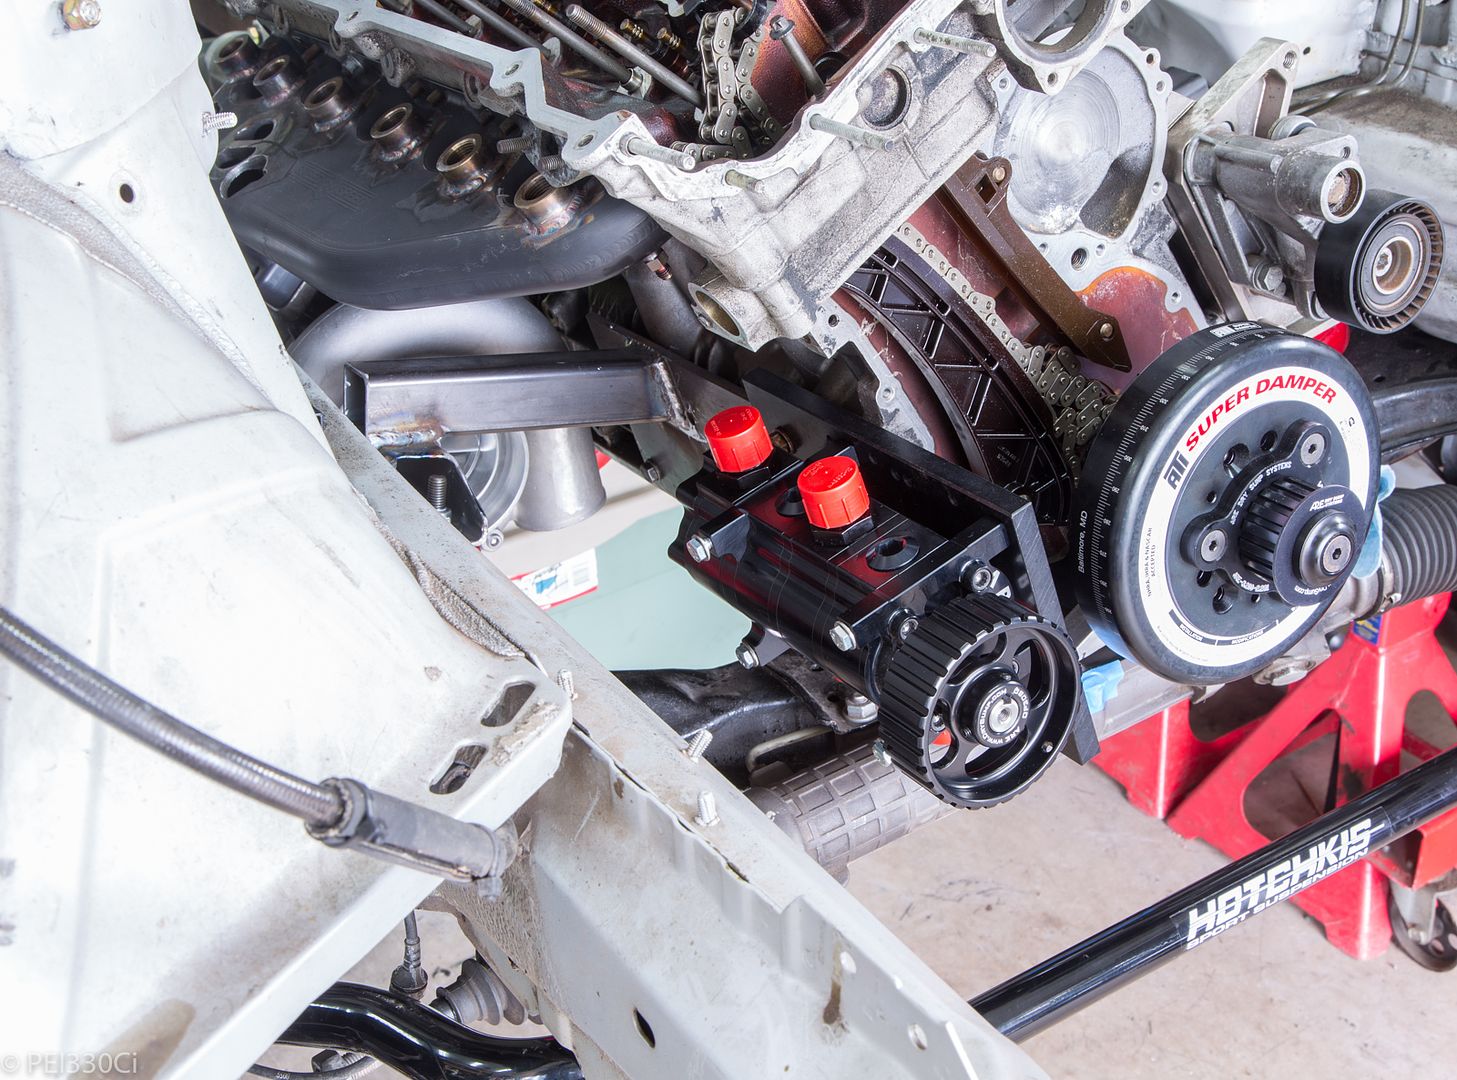
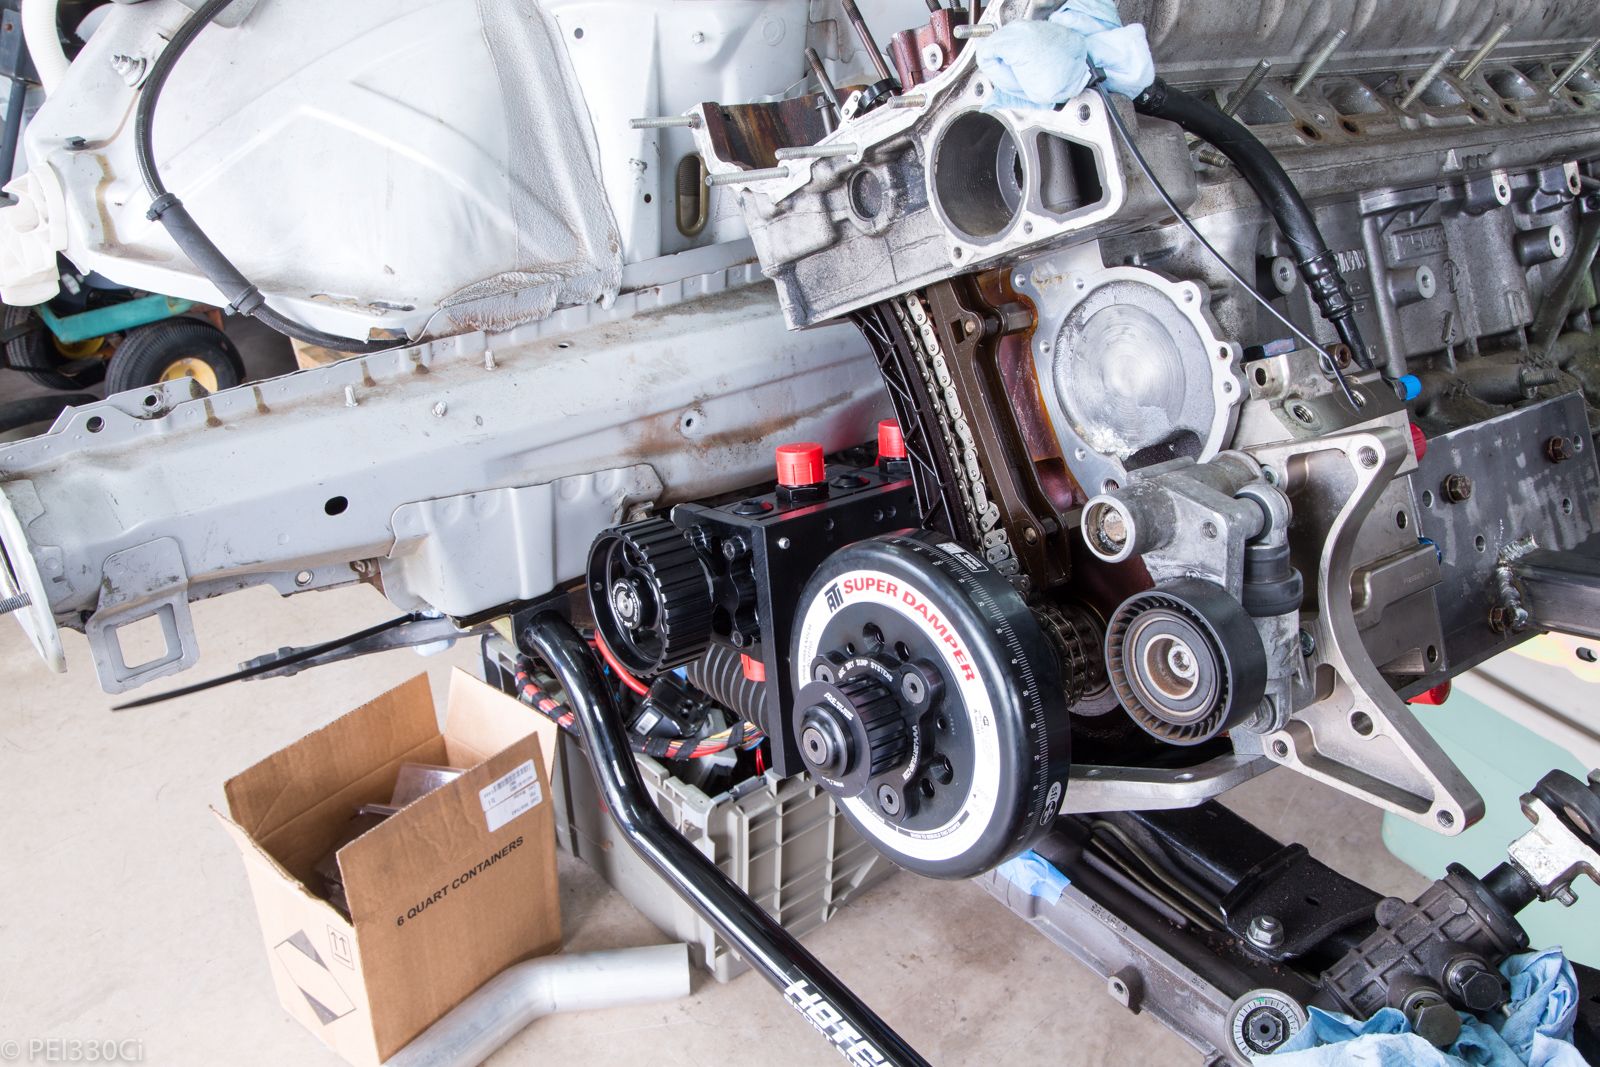
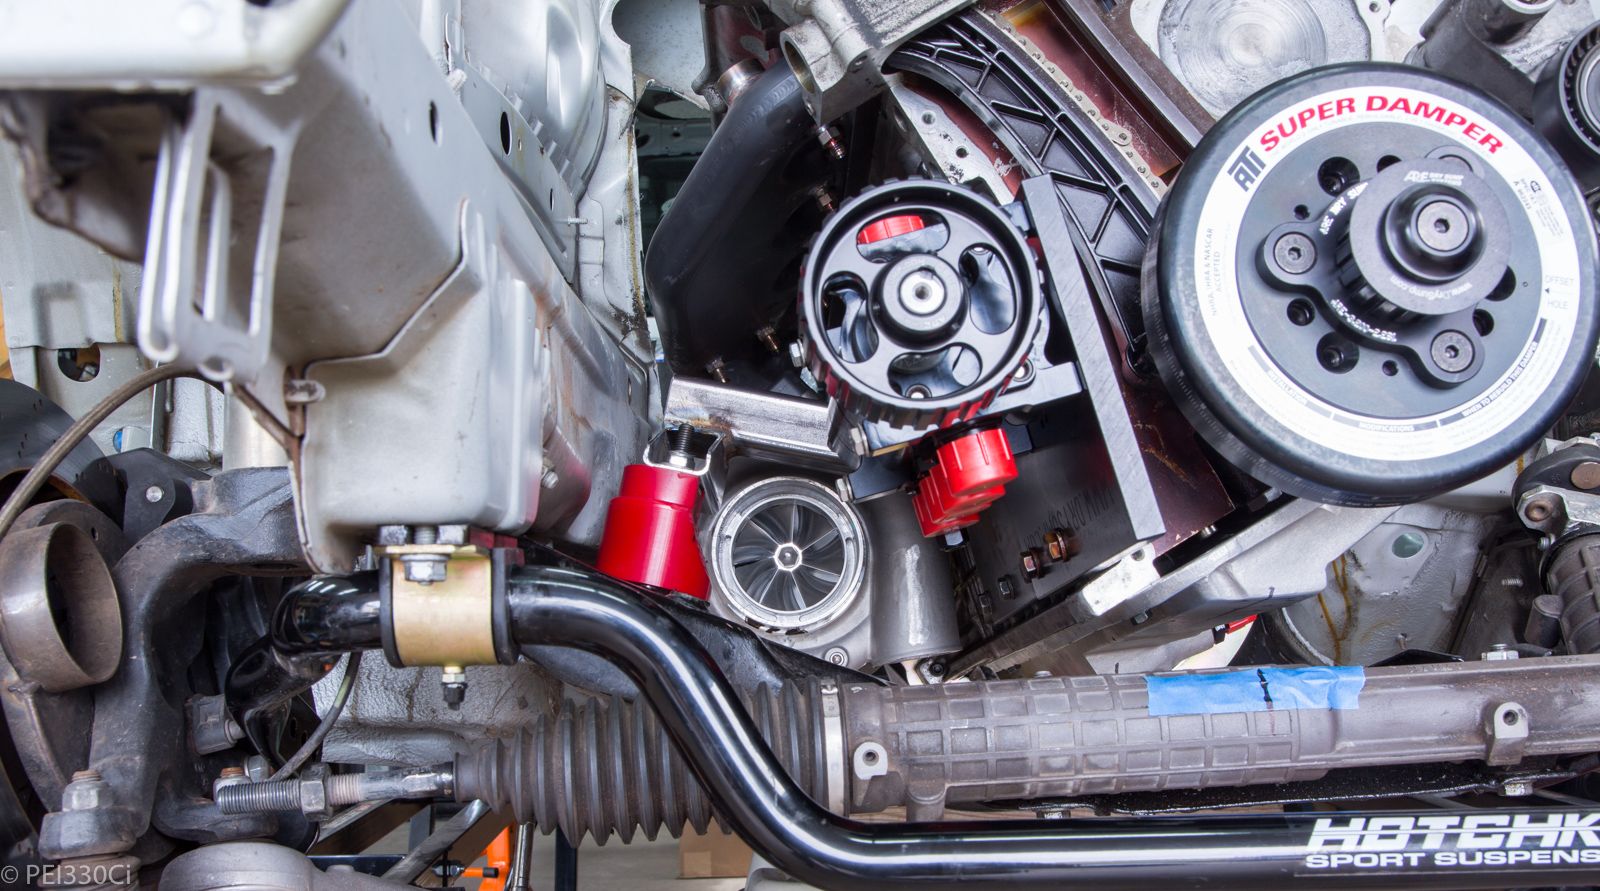
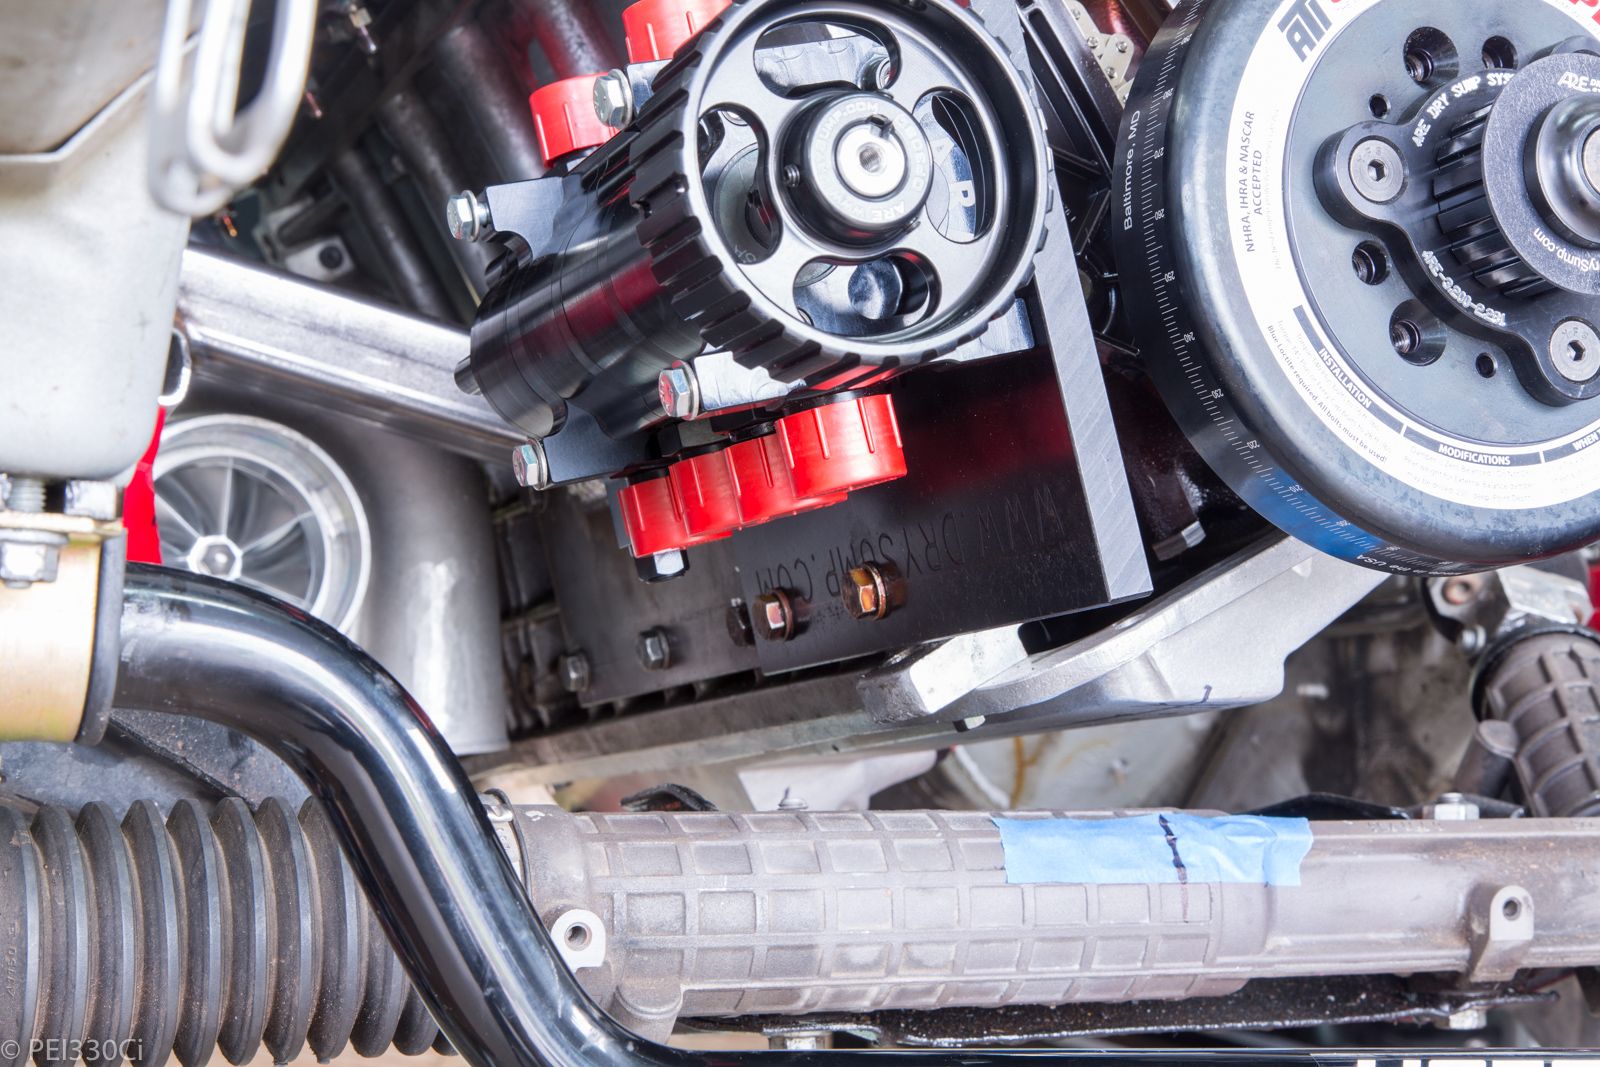
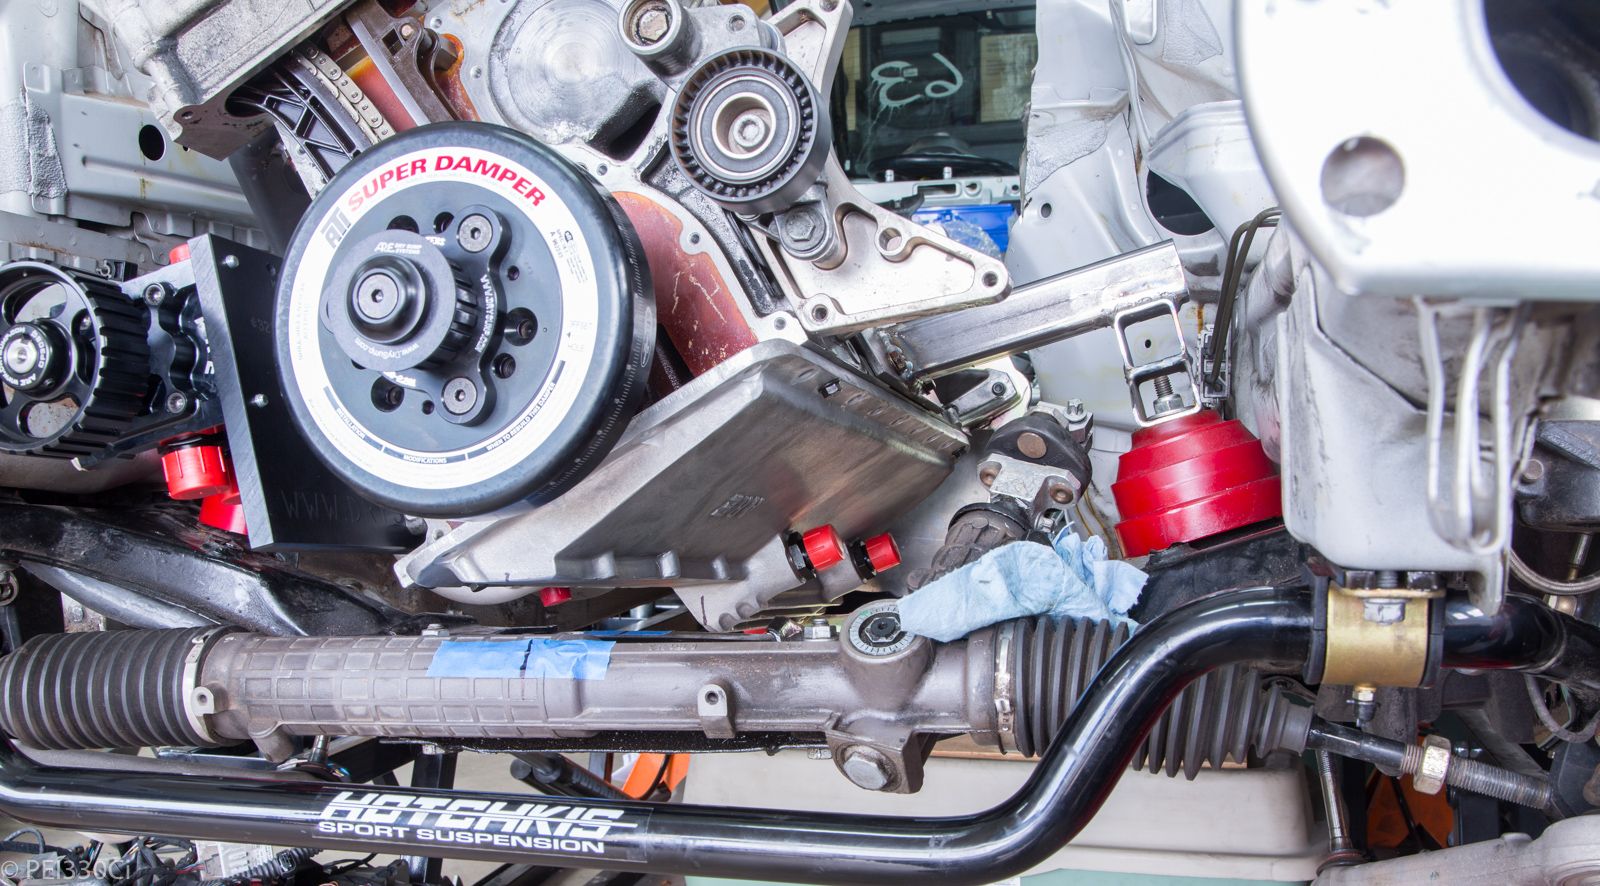
The dry sump pump had to be moved up about 3" from where I had originally planned to mount it. (With the engine being moved back, the scavenge inlets sat right on top of the steering rack)
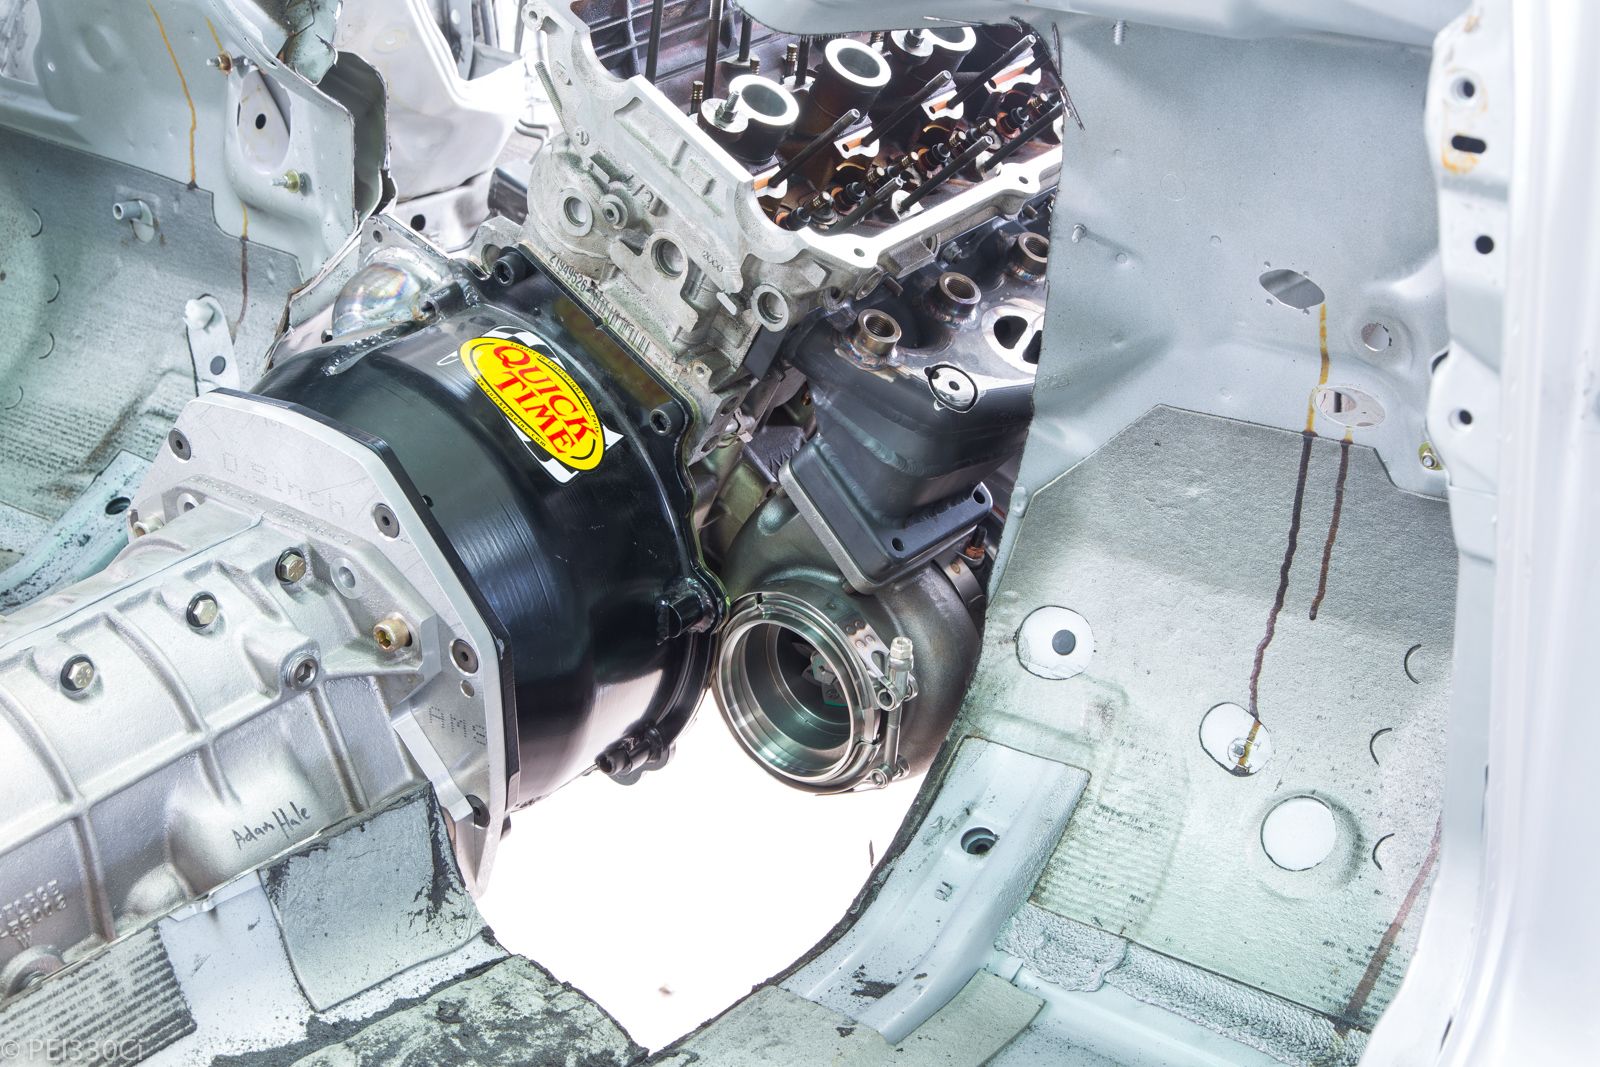
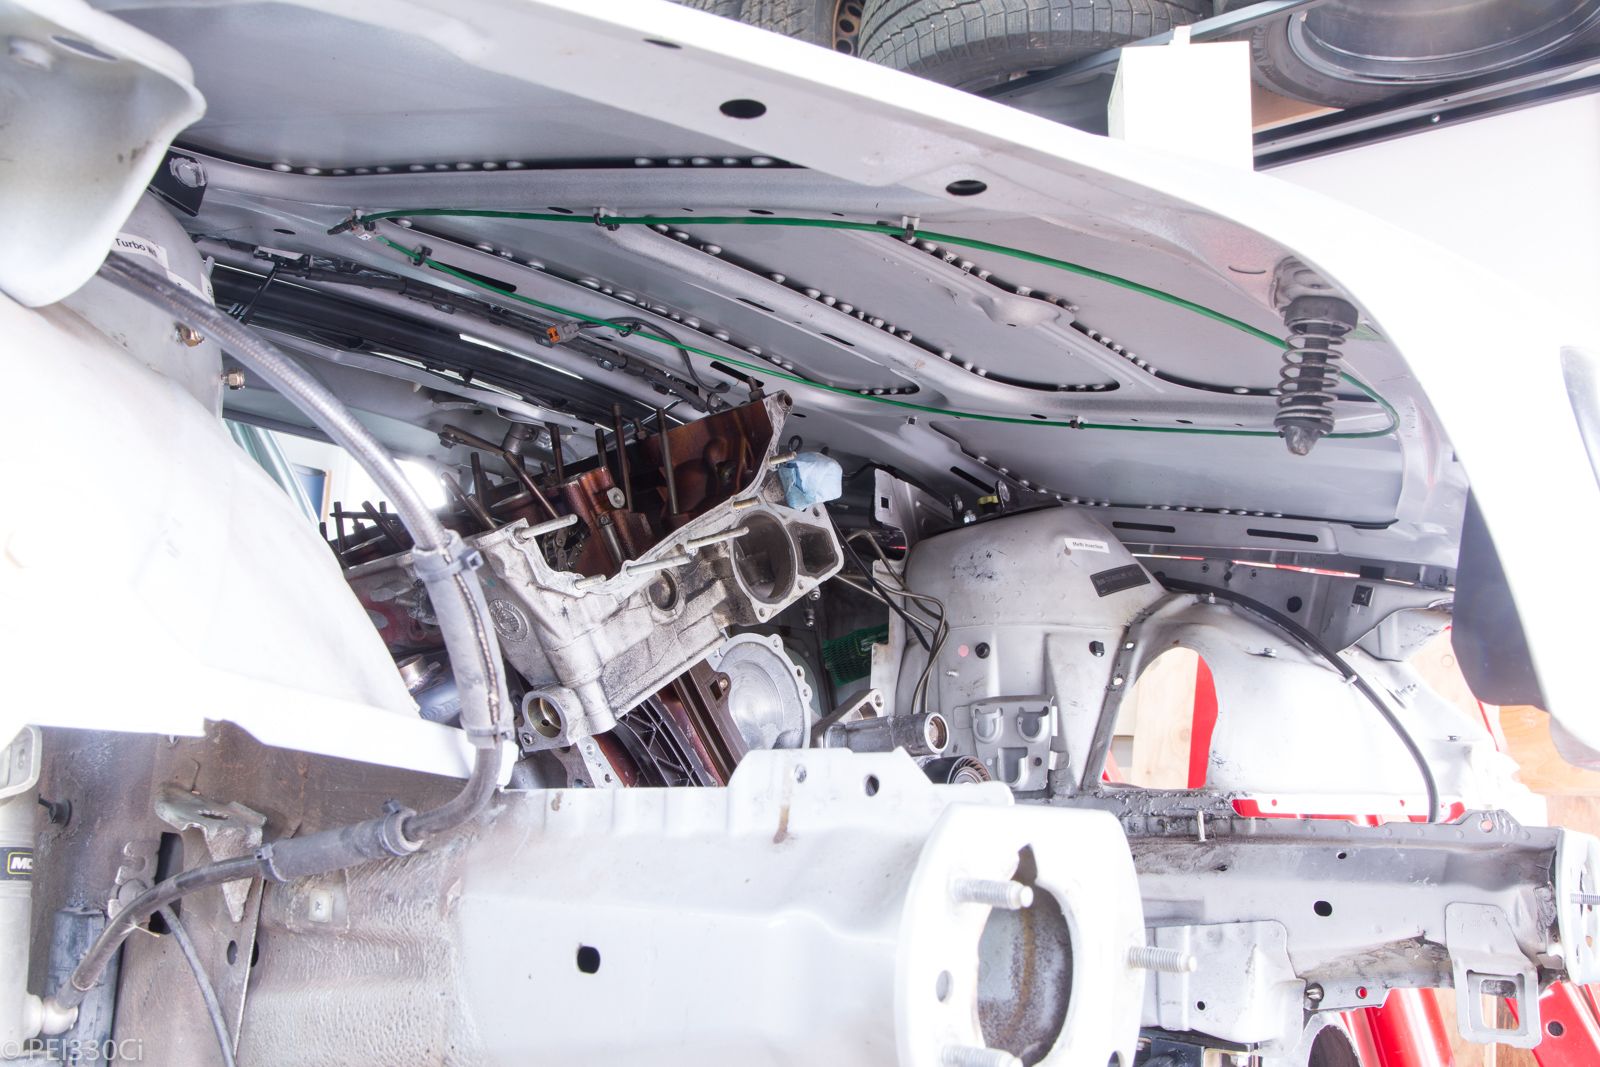
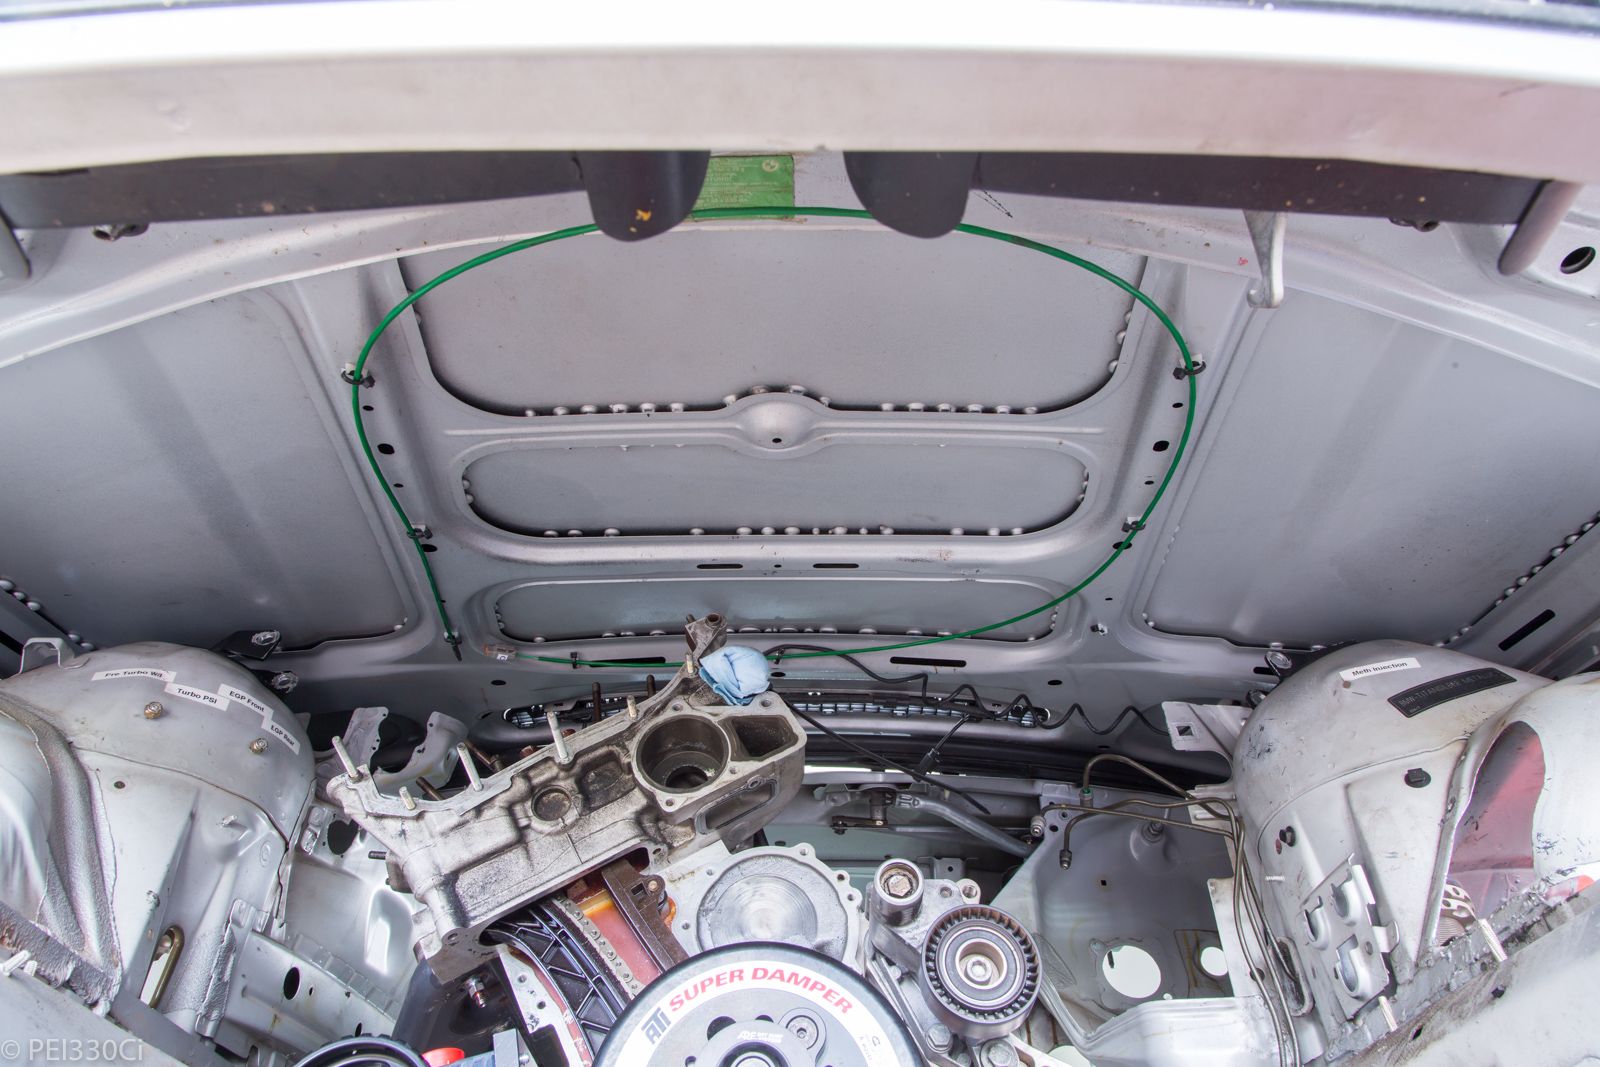
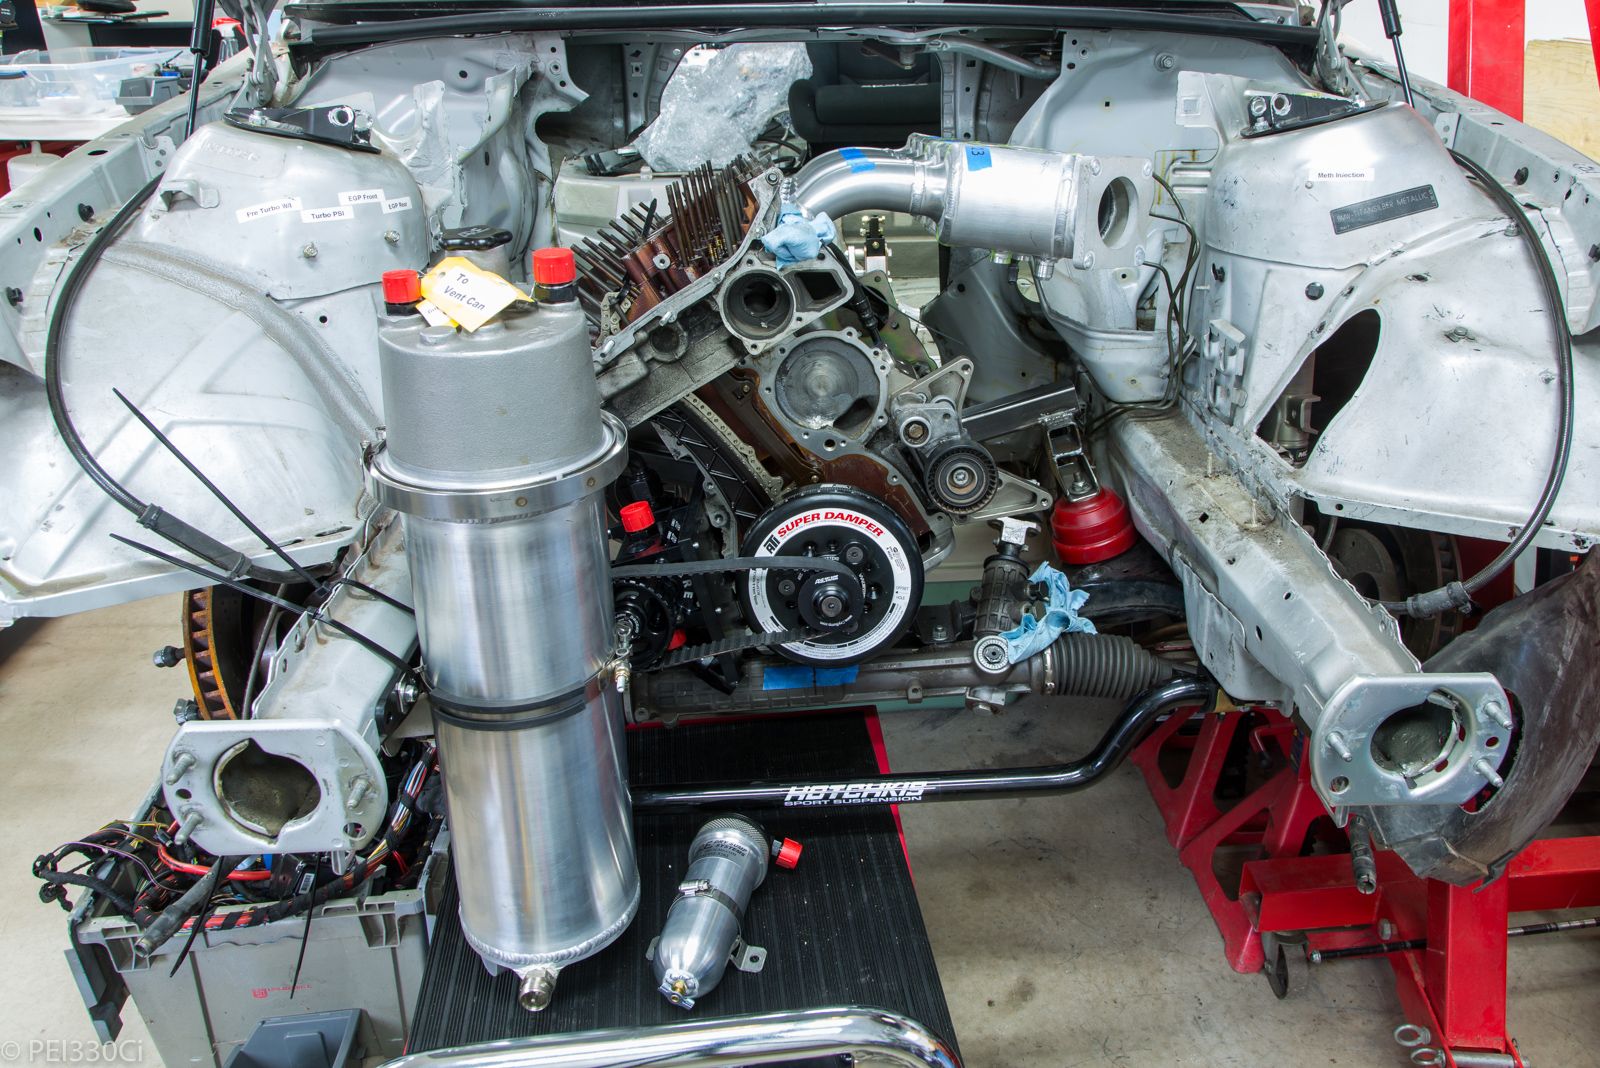
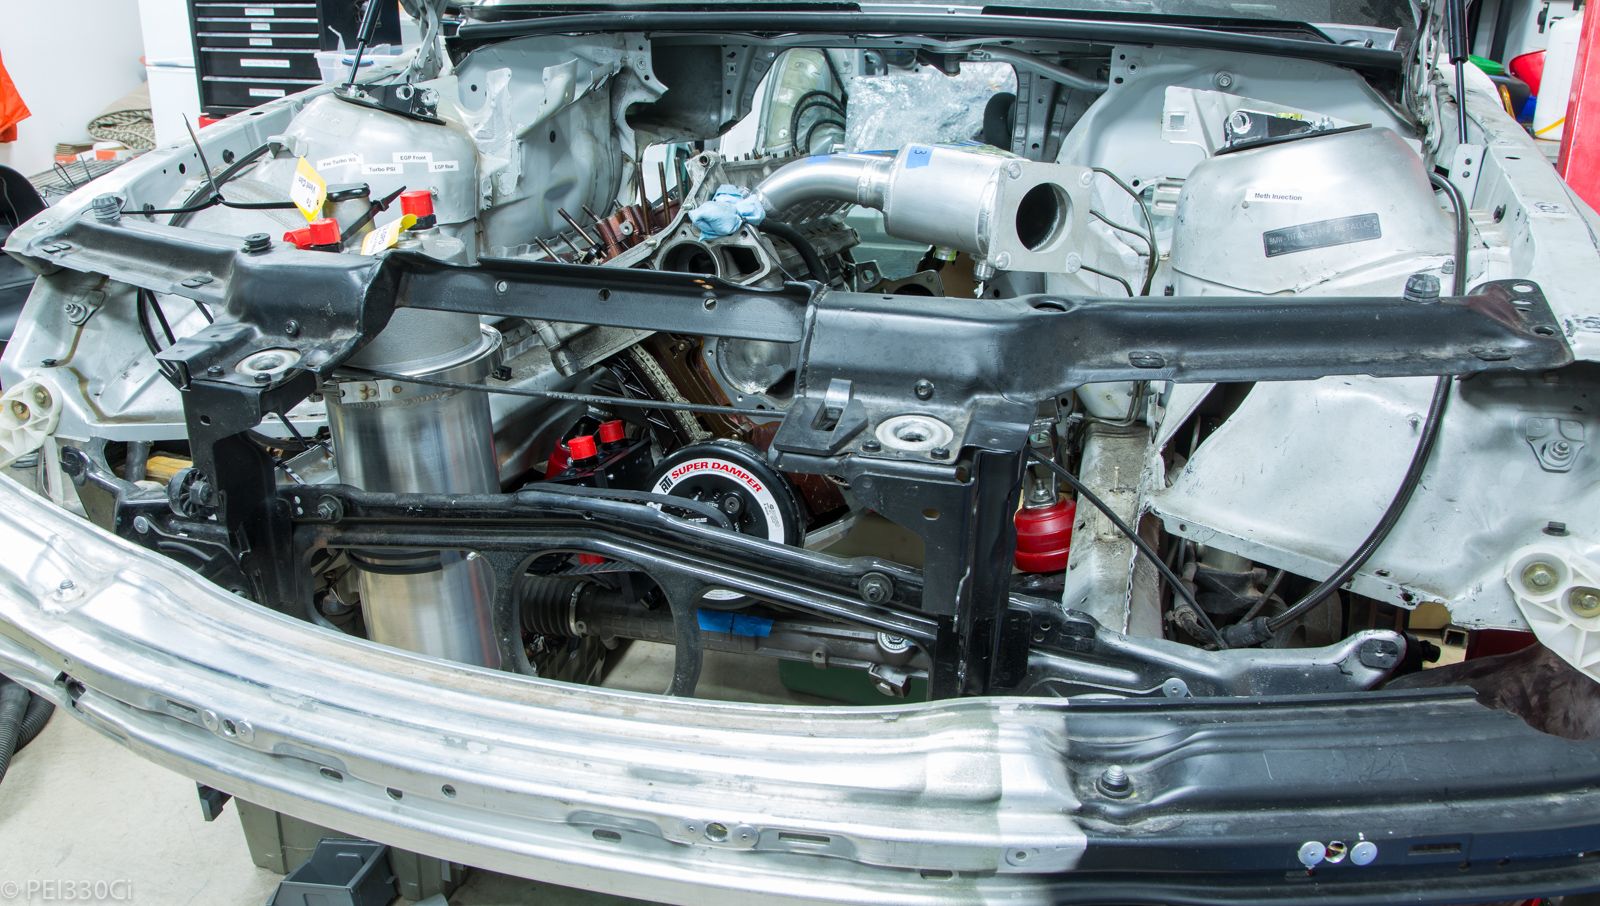
This should give an idea of how far back the engine sits now:
- - - Updated - - -
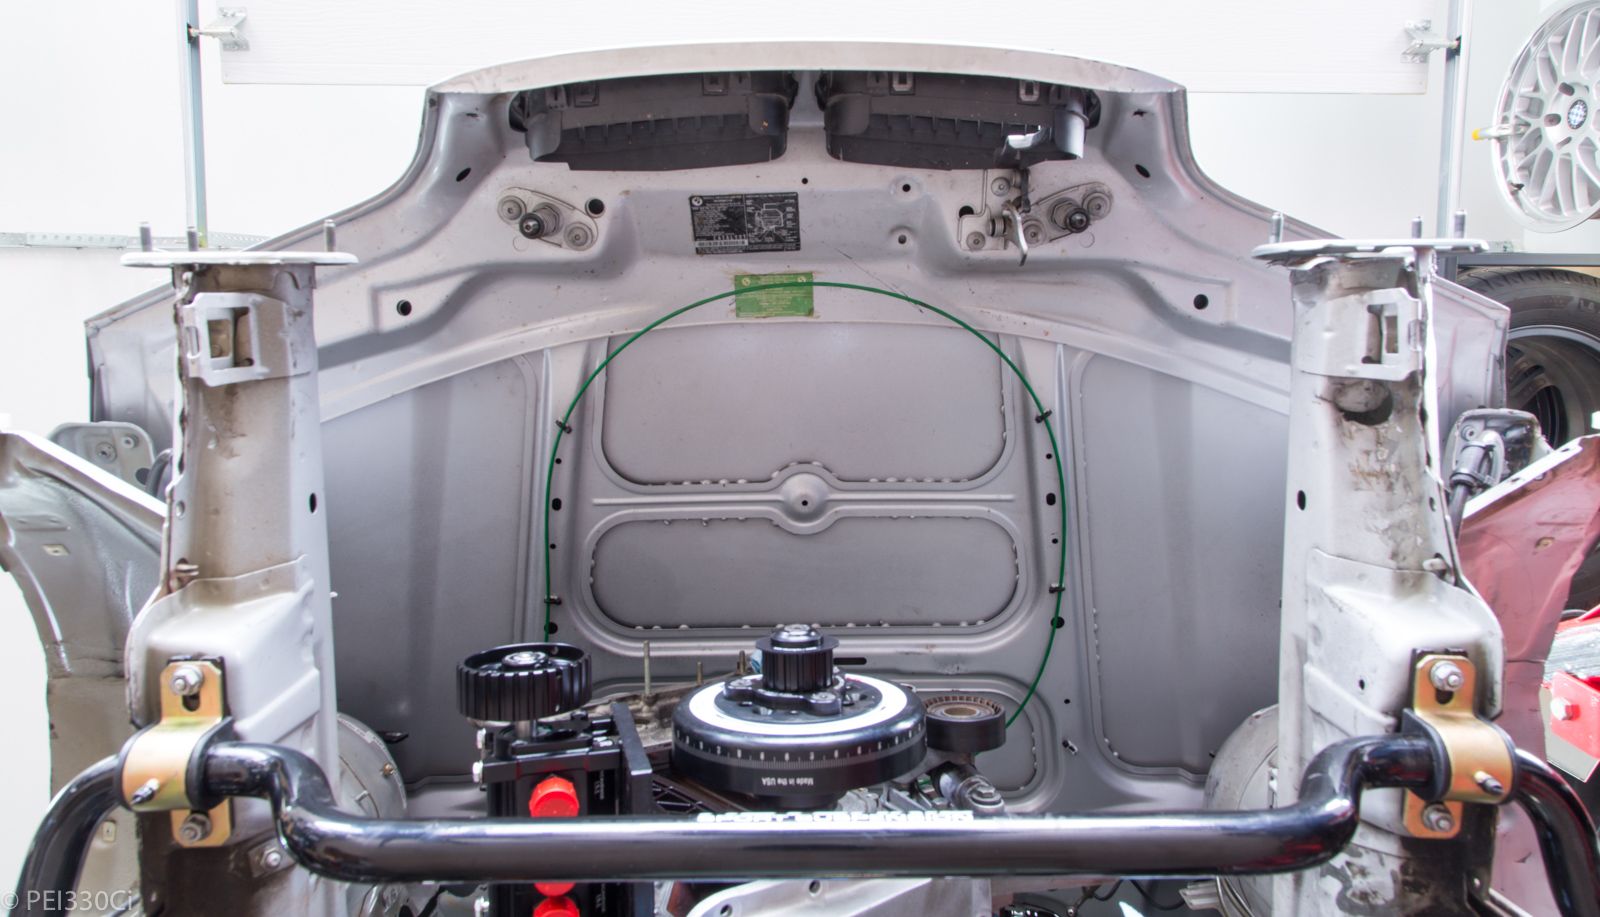
Clearance:
- - - Updated - - -
Sizing up the hood vent ducting:
- - - Updated - - -
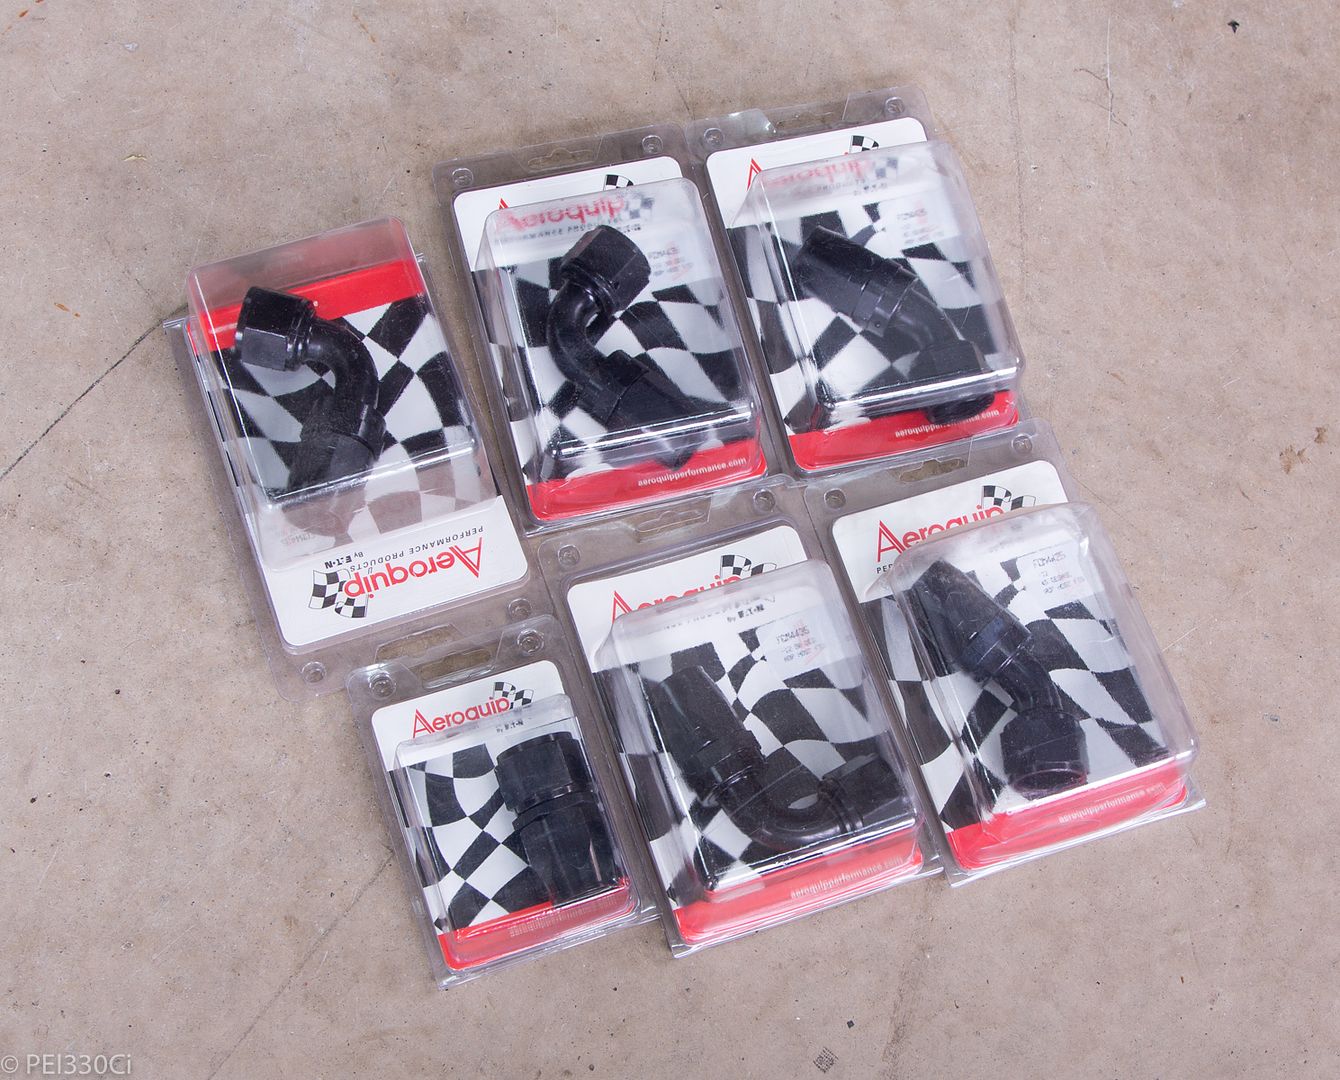
First round of fittings for the dry sump:
Mock up:
Member
Looks like you're making room for a second cooling system, one for a special cylinder head, or is that for another time? :P
M54B30 Inside
That's no longer planned for this car.
M54B30 Inside
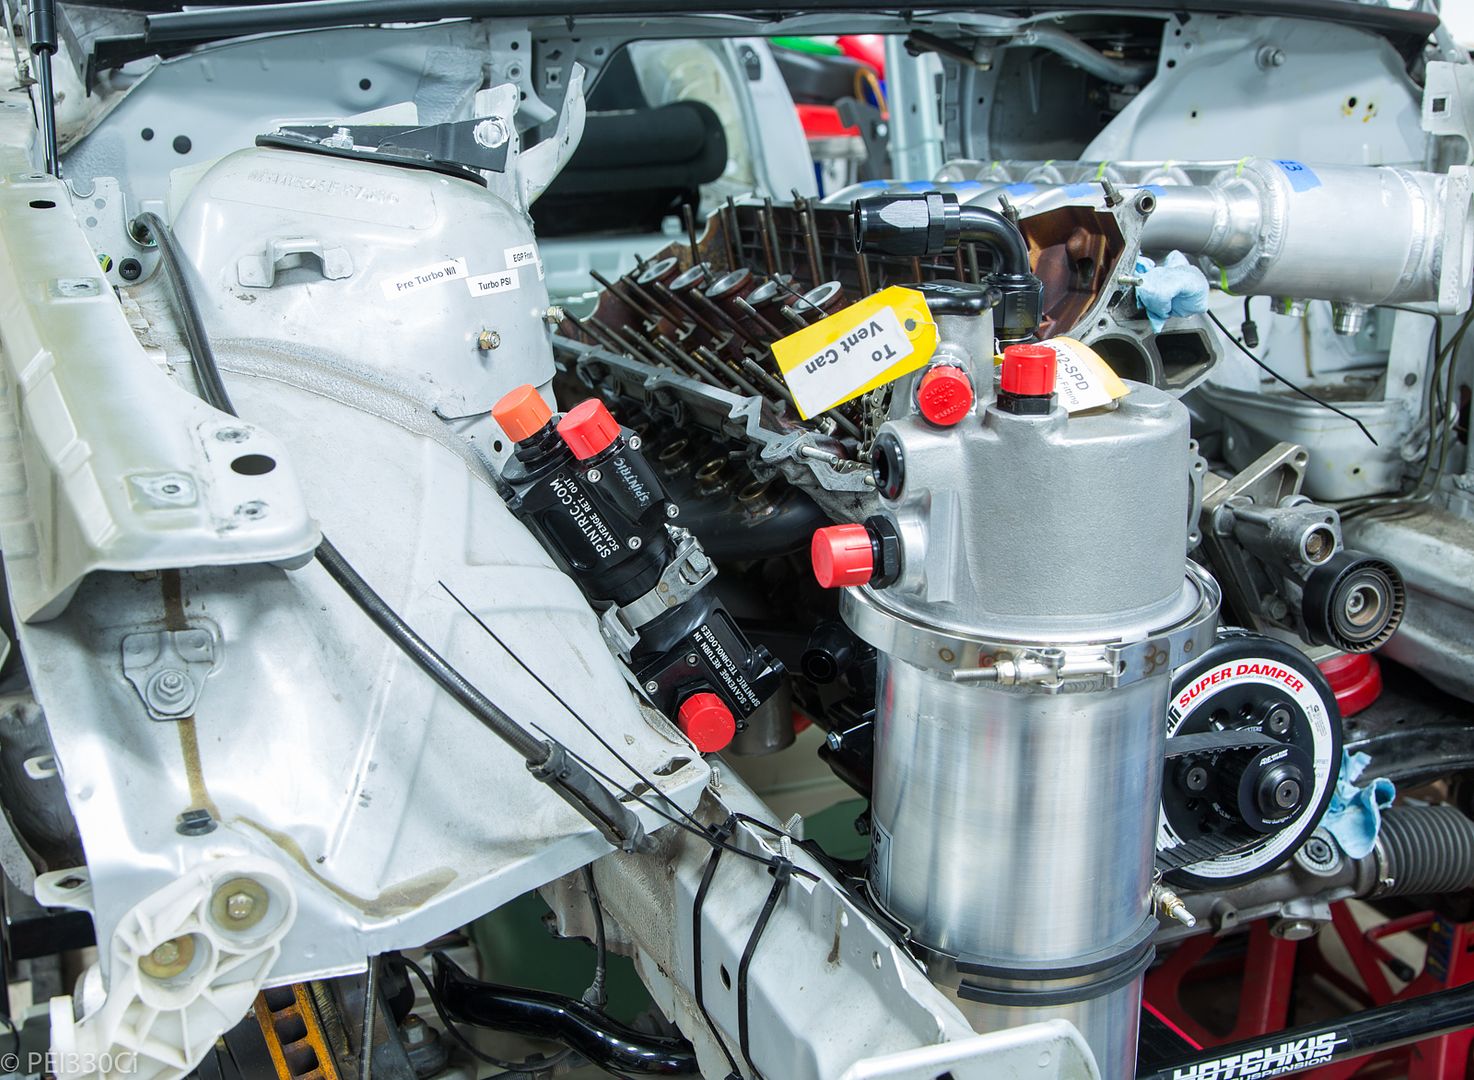
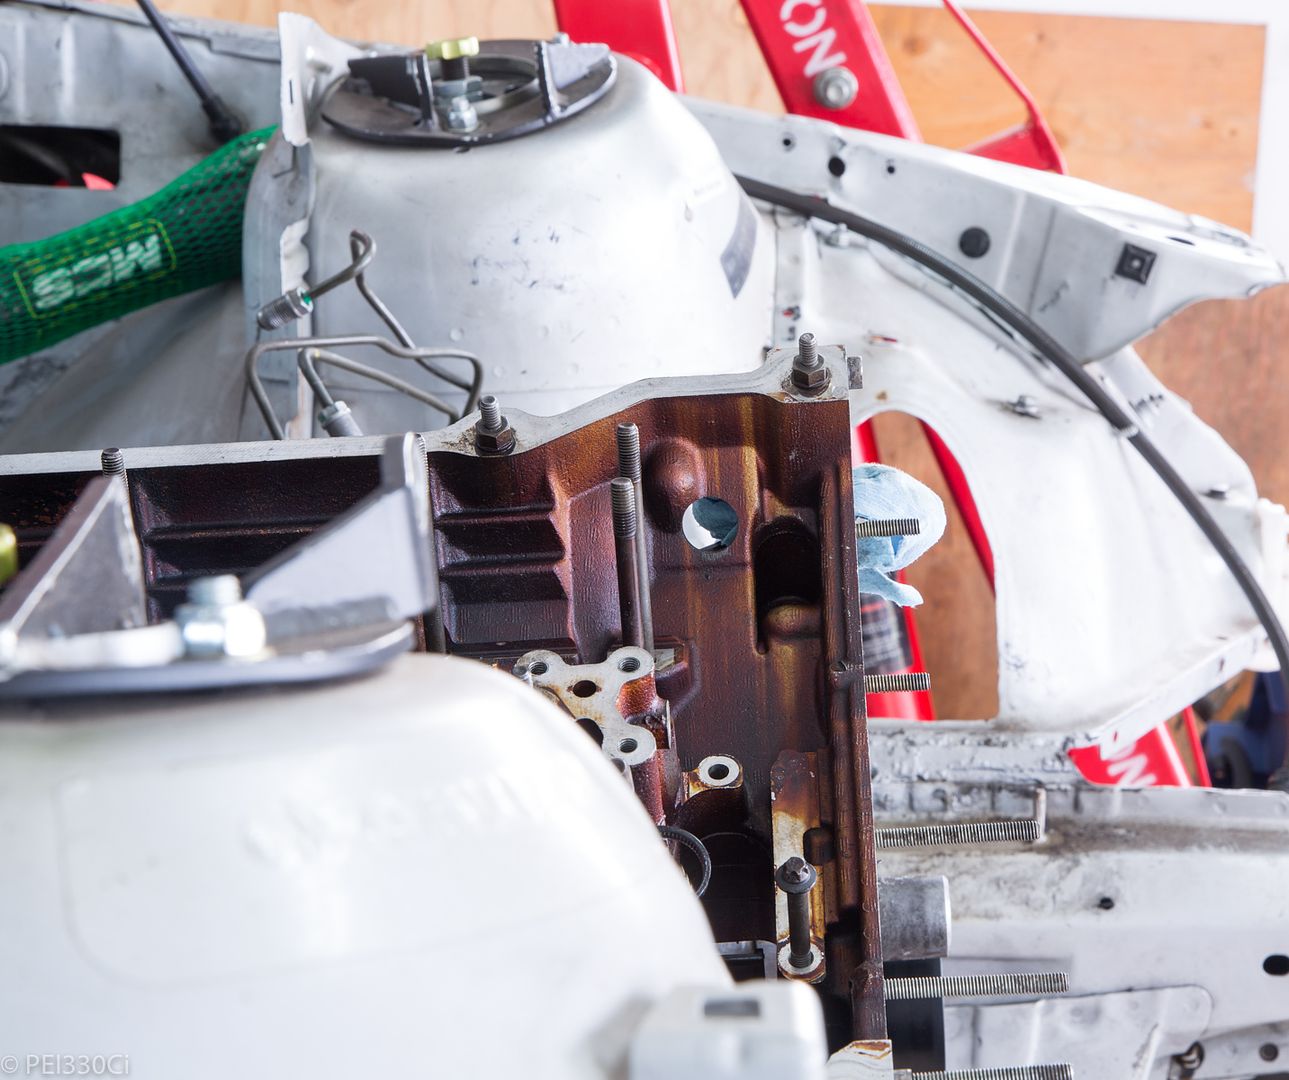
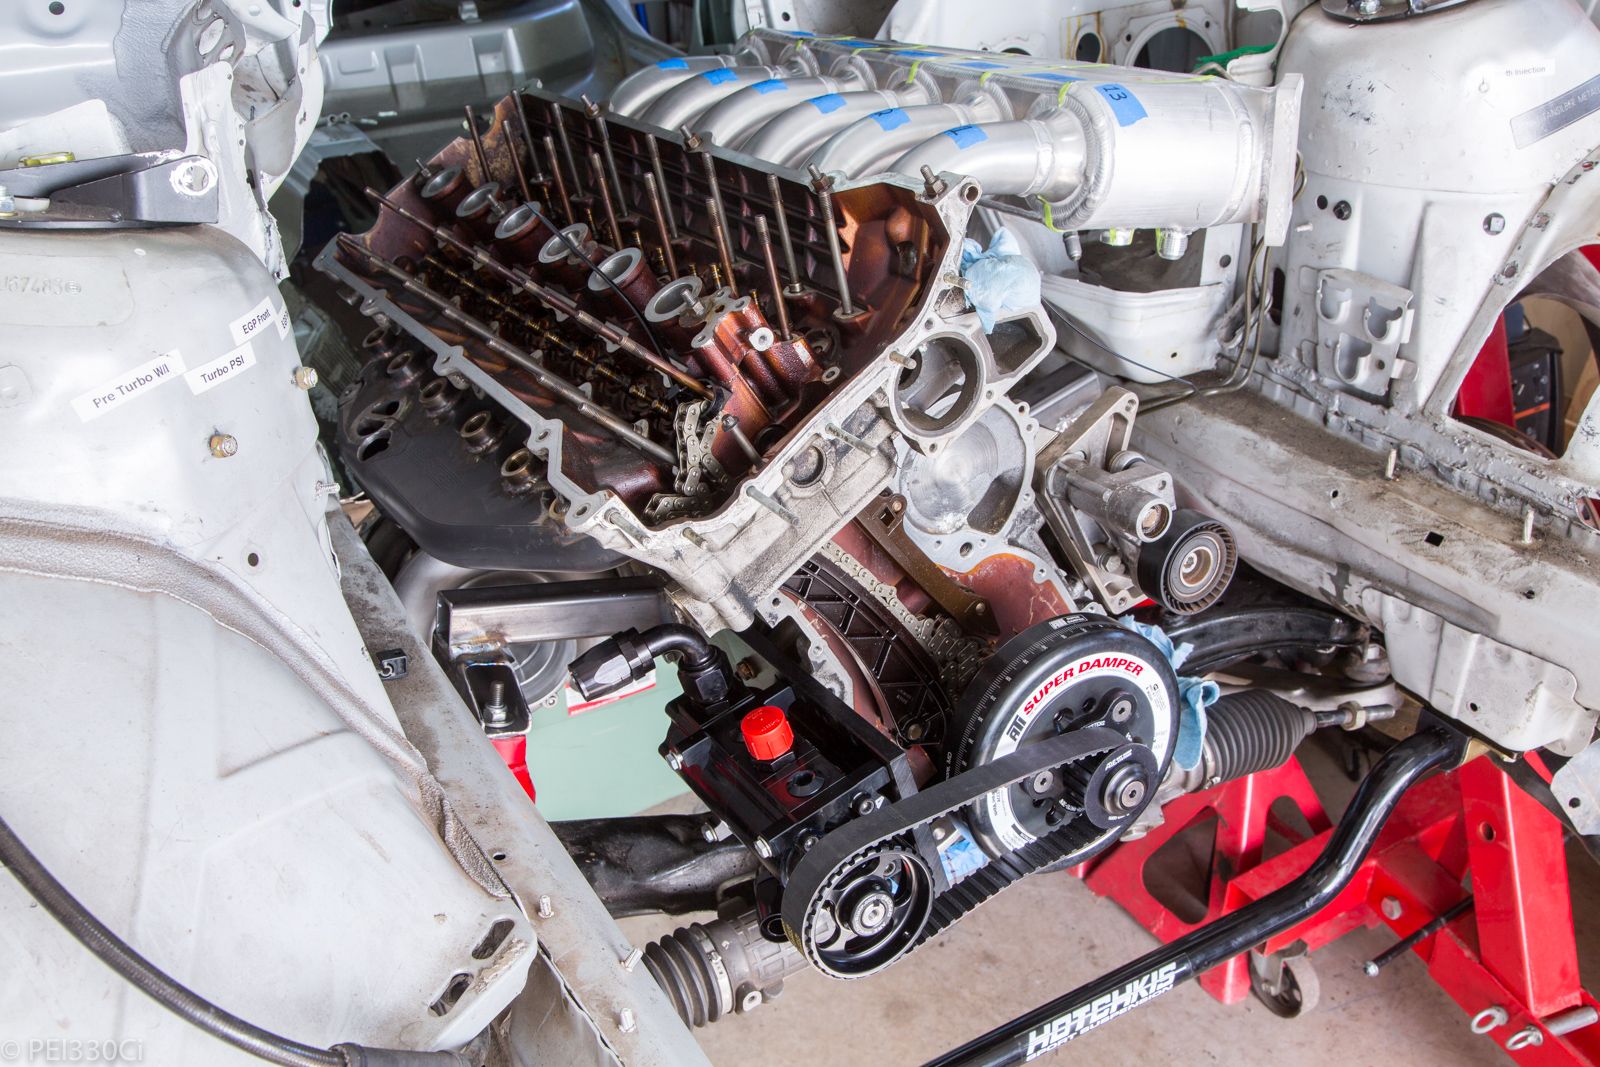
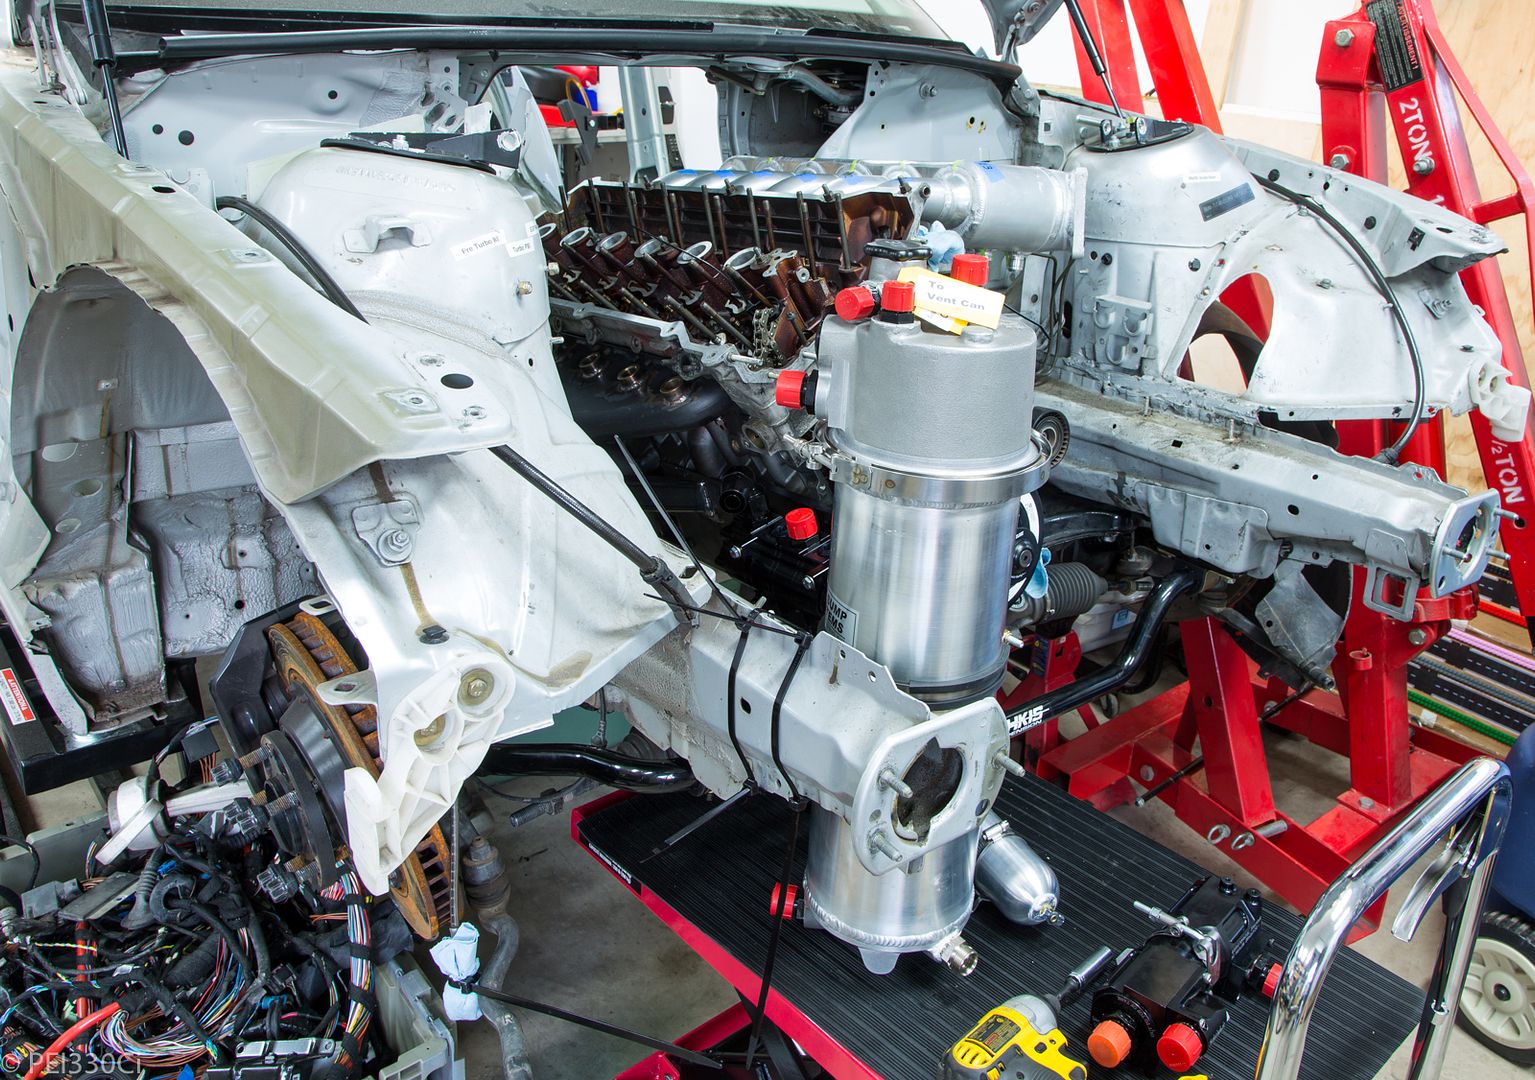
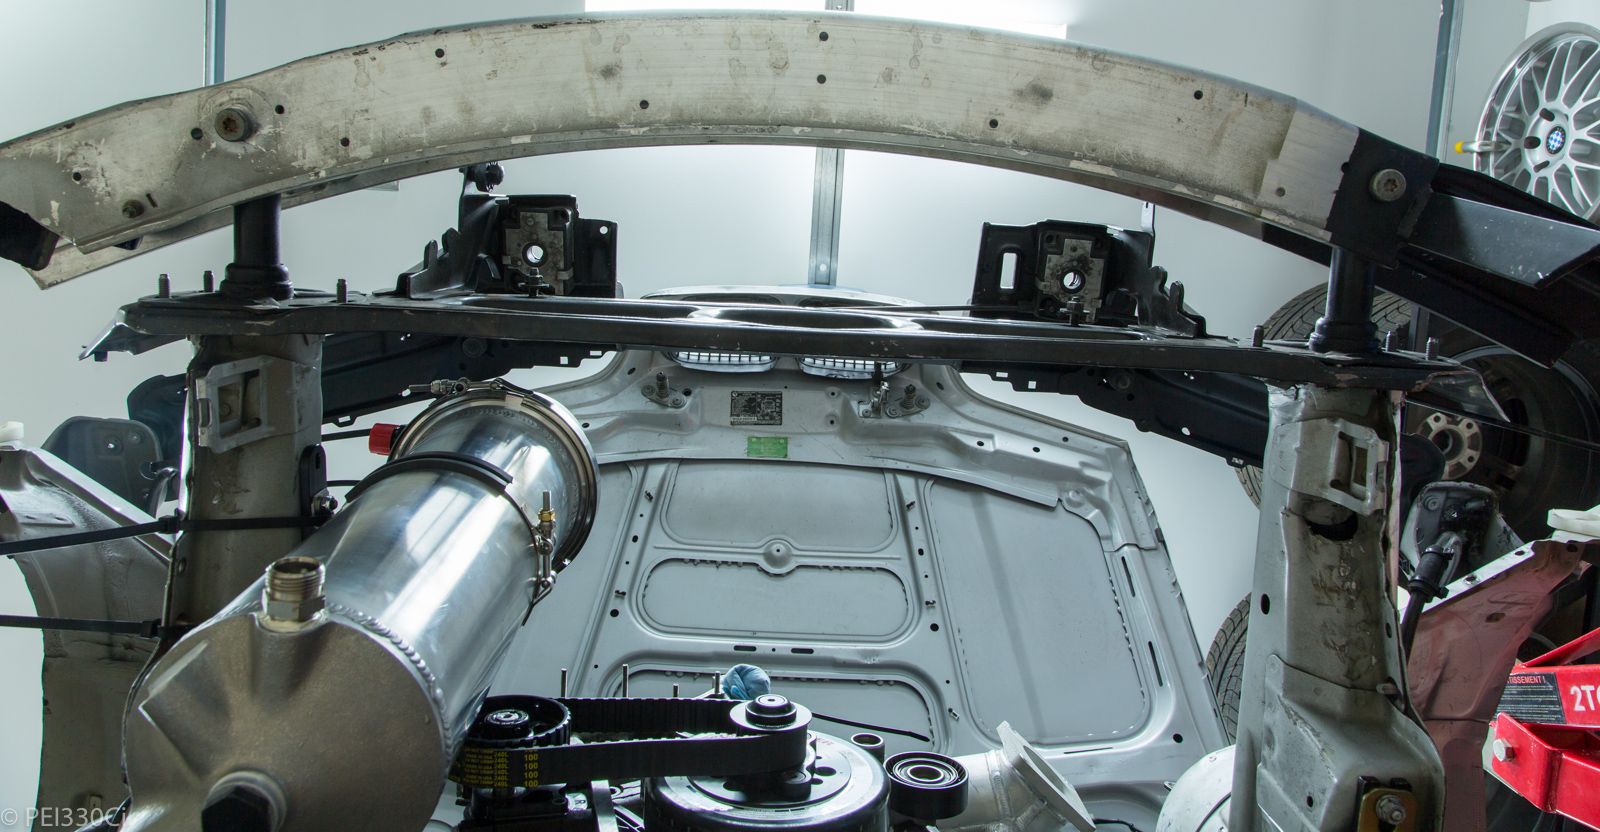
One of the major reasons for moving the engine back was to create enough space to fit the dry sump tank in the engine bay. This is a tight squeeze, as the tank is 26" tall, and there is a fitting to be mounted on the top of the tank that increases this by 2.5". If you put the dry sump tank too far forward, it will either stick out through the hood, or hang down lower than the car's frame. While suggested by many, there just isn't the space beside the back of the engine, or in the pockets behind the strut towers. (Only 18" deep, would seriously compromise the structure if cut out, and would then hit the front wheel.)
So this put focus on moving the cooling package as far forward as possible, and the engine back as far as reasonable. (I now have a shifter location issue, which forces the driver to be very far back in the car, that will need to be resolved in the future.)
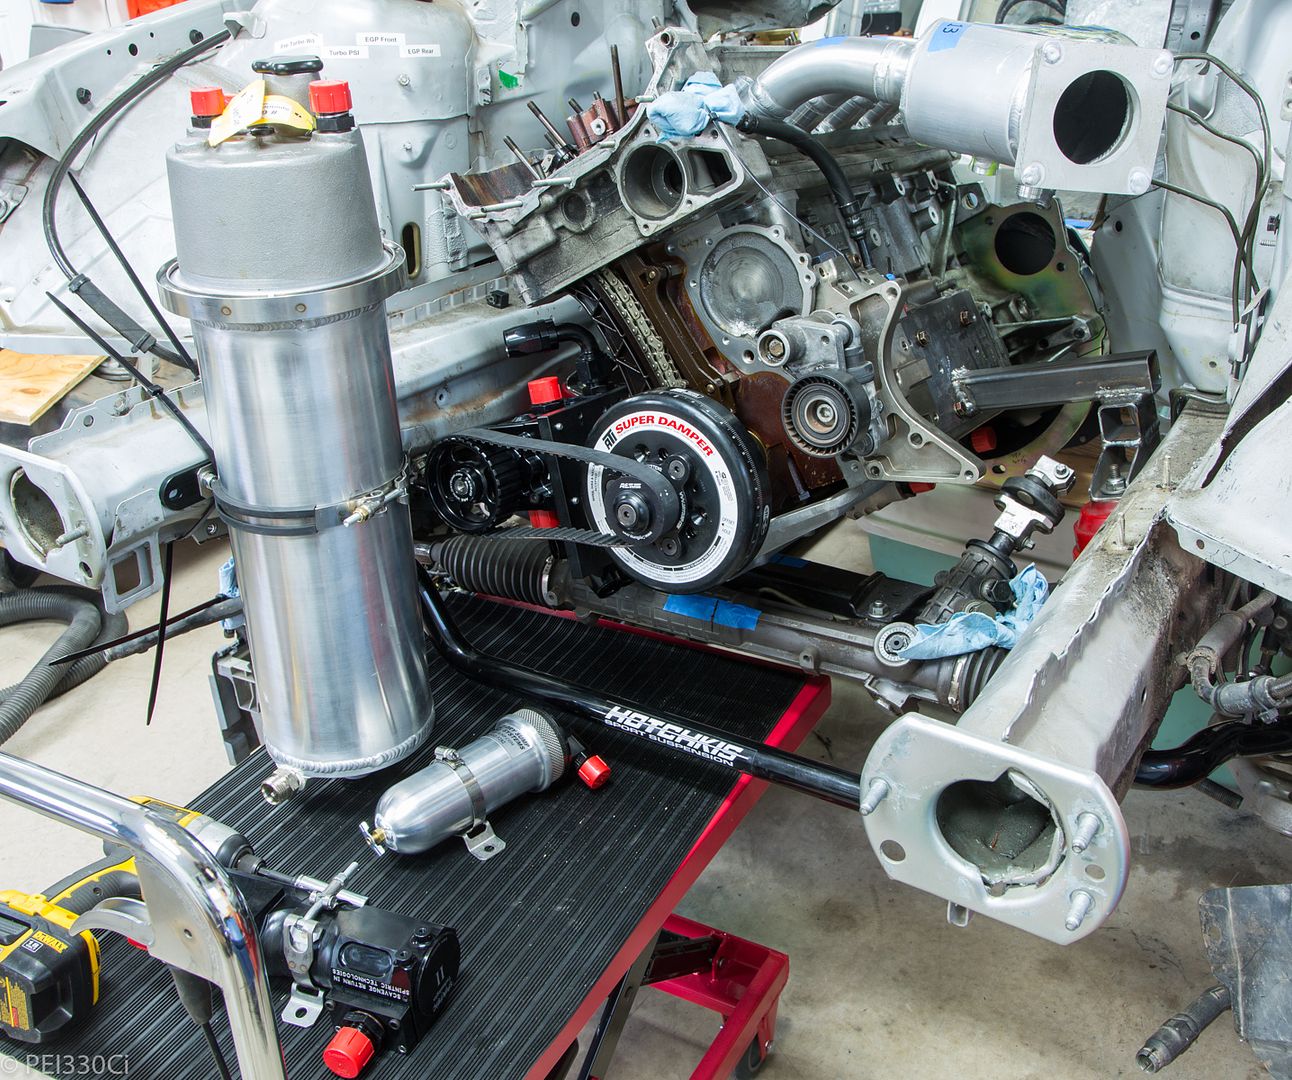
Oil tank mock up:
From there, I mapped out the angle of the fittings required for all the hoses. The Spintric is mounted next to the oil tank to make routing as efficient as possible:
M54B30 Inside
*Note* The lift cart was set at the same height as the bottom of the frame of the car to help locate the dry sump oil tank.
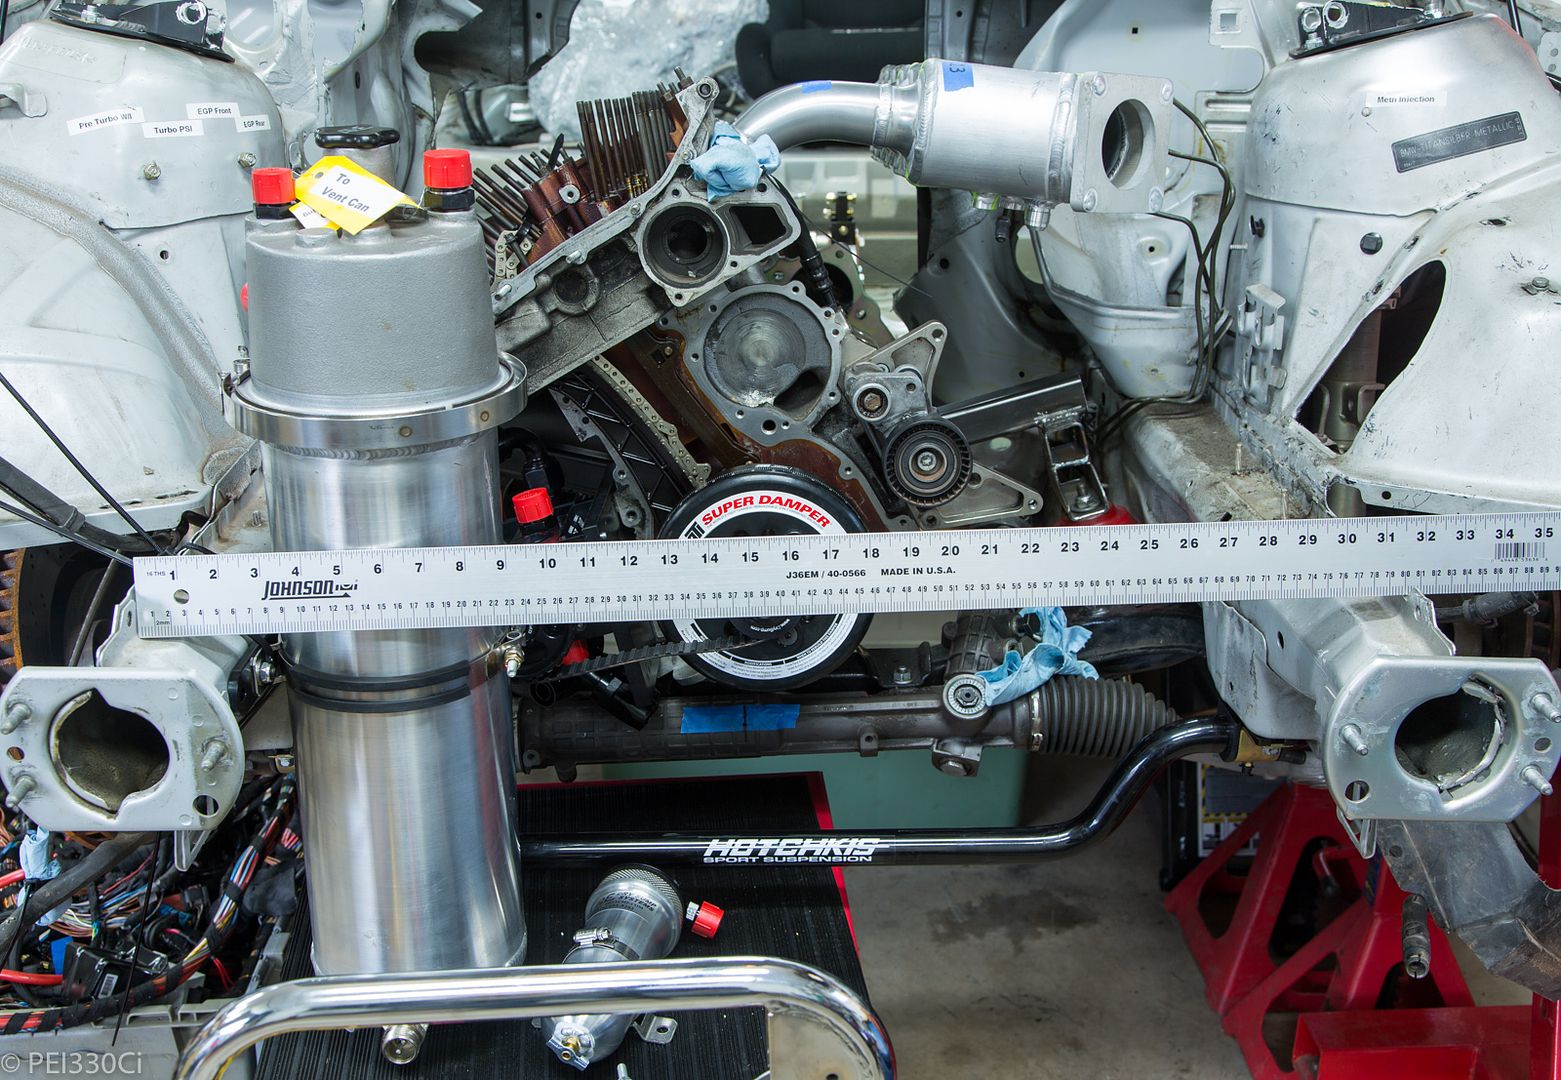
Next up was the cooling components, specifically the radiator. Measuring stuff:
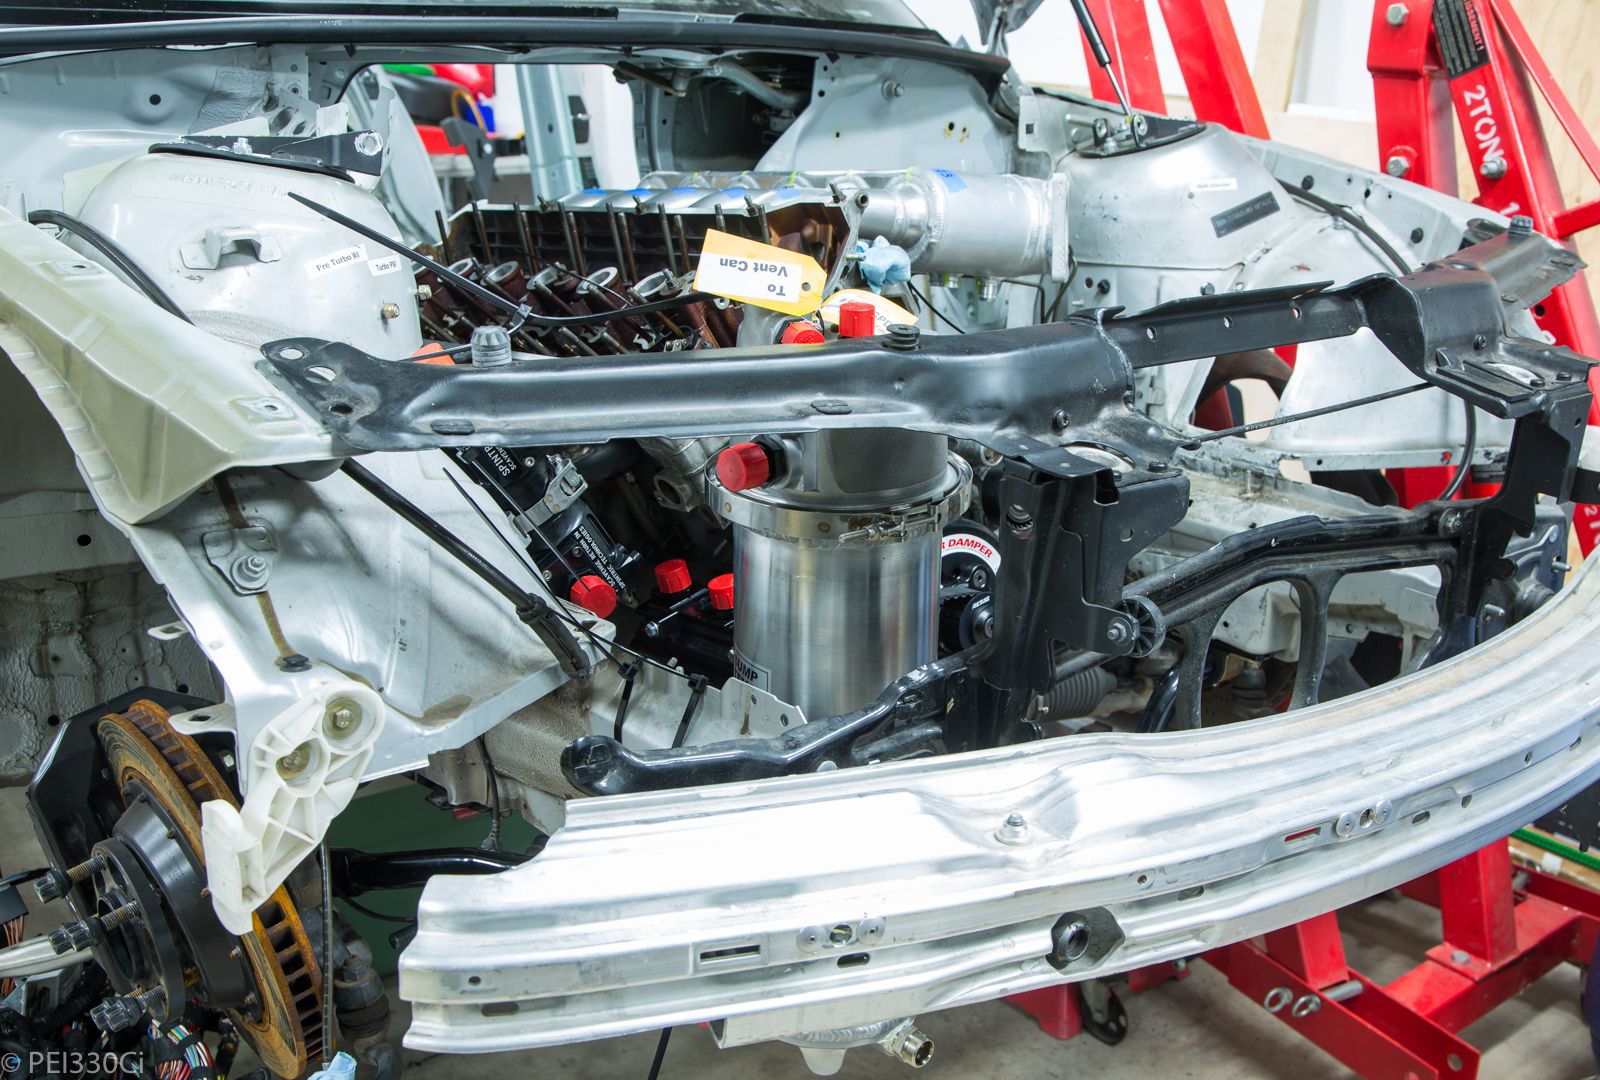
Mounting the front support frame to measure clearance:
A 2" thick core can fit pretty easily; I'm going to talk to Bell Intercoolers about doing a custom radiator.
Member
Why not try with a slightly shorter but fatter oil tank?
M54B30 Inside
This is what is recommended....taller is better. Initially the plan was to mount the oil tank in the back of the car, so it's current dimensions were fine.
A.R.E. does offer a shorter and fatter oil tank, but it wouldn't fit up front at all. It would be both too wide for the current placement, and too high to be placed behind the strut tower. (That tank is designed for the Corvette, which it does fit there)
M54B30 Inside
I ordered the SFI25.5C chassis specification book to use as the baseline for my cage construction. Obviously the rear of the chassis will be made for the IRS vs a 4 link suspension, but the front passenger compartment and engine compartment will be based on the 7.50 second certification for up to 3,600Lb cars.
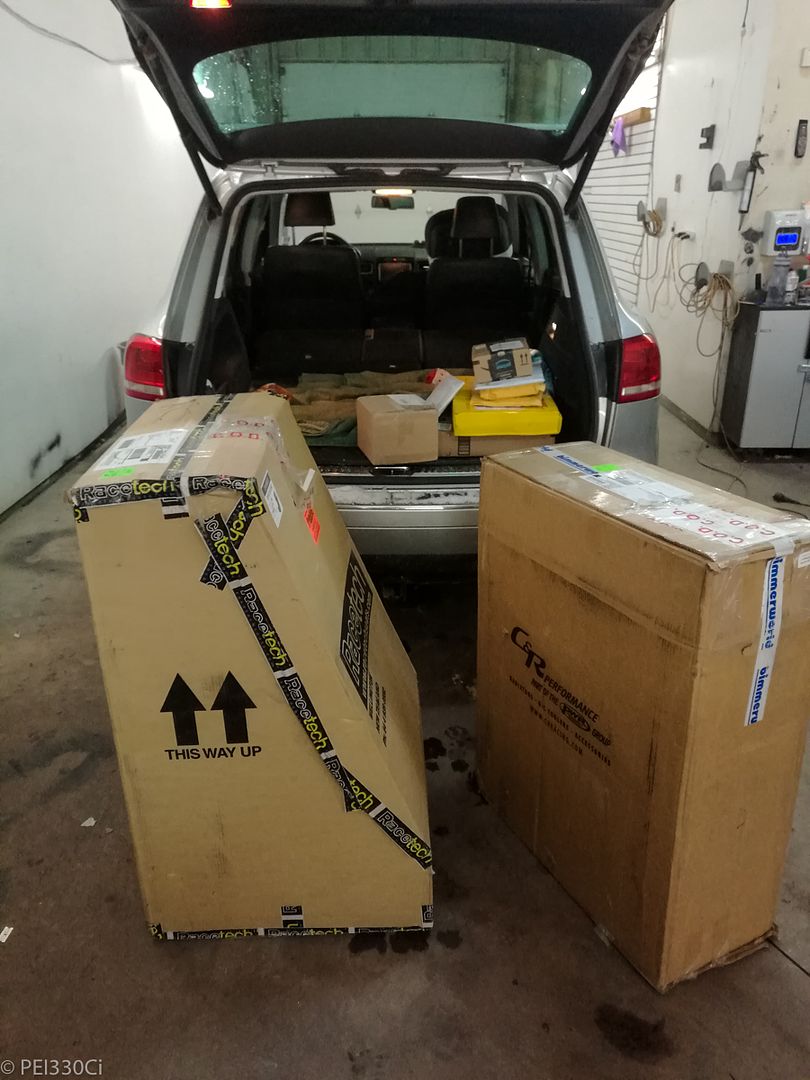
To measure up the driver compartment, I've just received a Racetech 4119HRT seat. I've also got an OMP steering wheel on the way with a Krontech quick release to setup the steering wheel position.
What I'm probably most excited about is the new radiator. It's a custom piece from C&R with an integrated oil/water element, and is significantly larger than stock.
Member
Love it all! The Krontech is awesome, and the custom stuff from C&R is always great. Can't wait to see it all come together!
--Peter
Wait, what?
He's back! I'll never forget the old build and fire. Glad you're working your way forward.
Any updates on this?
"Be who you are and say what you feel because those who mind don't matter and those who matter don't mind."
-Dr. Seuss
DIY BMW Tools. Charlie For President
M54B30 Inside
We're building a chassis jig to mount the 330i onto. Once we've set the ride height, and locked in the suspension pivot points with jigs, there is a TON of material being cut out of the car.
Admittedly, I thought that the SFI book would give more guidance on the front end and rear end of the car, but it's primary focus is the driver's compartment. Everything else seems to be up to the fabricator to figure out.
Member
Looking forward to you posting pics about this, it's going to be epic.
Member
Wow. Just wow. Other level stuff, here, Adam. Even for you!
--Peter
M54B30 Inside
Thanks Peter
Yes, it's a new adventure...much more challenging than what I've done before. I think this might be the first "Tube Frame" E46 build that uses all of the OEM suspension pickup points.
Member
Methinks you are right! I anxiously await more pictures as things progress!
Nothing like a new challenge, eh?
--Peter
M54B30 Inside
u owe my mule an apology
No 4 link?
86 325es, 2.8L m50, S476sxe, ProEFI 128 ecu, e85, solid rear axle, TH400 trans, 28x10.5w slicks, zip ties, popsicle sticks, tape
best time 9.06 @ 151.8 mph, best 60 foot 1.30
M54B30 Inside
Not at this time.
There is still a fair amount of turning and braking involved.
If I do decide to minimize the road course and street driving capability, a 4 link can be added to the back of the 25.5D cage.
M54B30 Inside
Racetech does a really good job of packaging their seats!

u owe my mule an apology
Put in chassis points for both! A ladder bar at least!
86 325es, 2.8L m50, S476sxe, ProEFI 128 ecu, e85, solid rear axle, TH400 trans, 28x10.5w slicks, zip ties, popsicle sticks, tape
best time 9.06 @ 151.8 mph, best 60 foot 1.30
Member
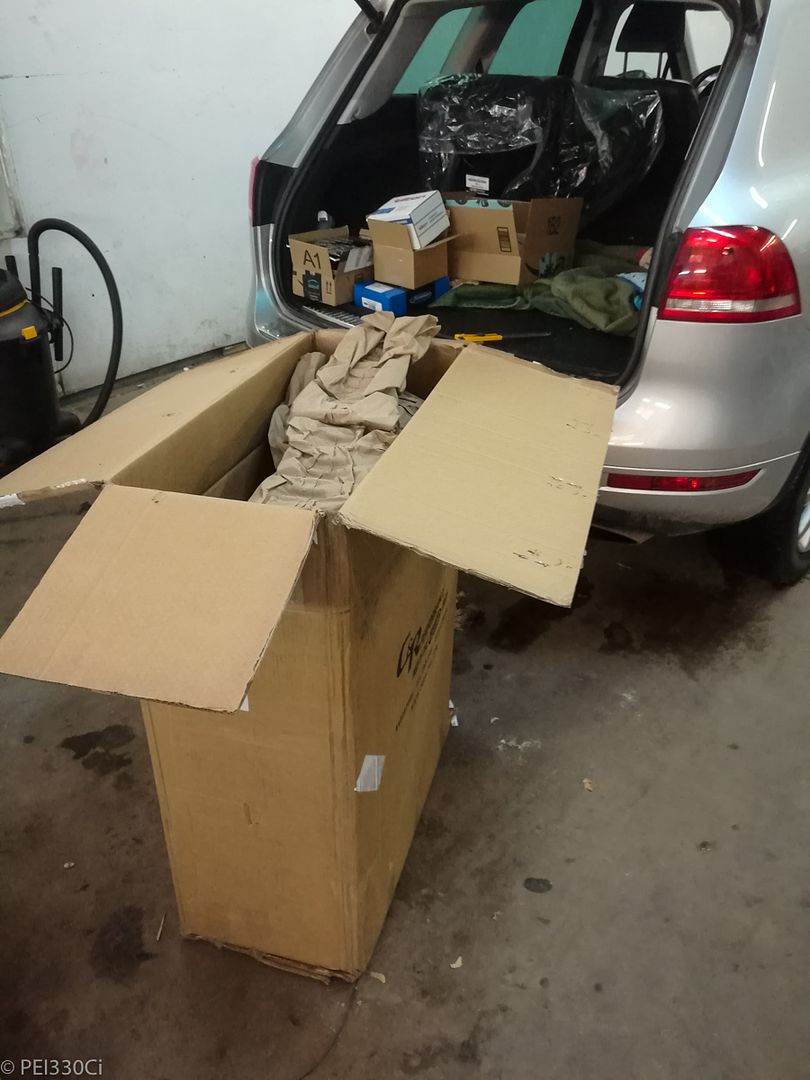
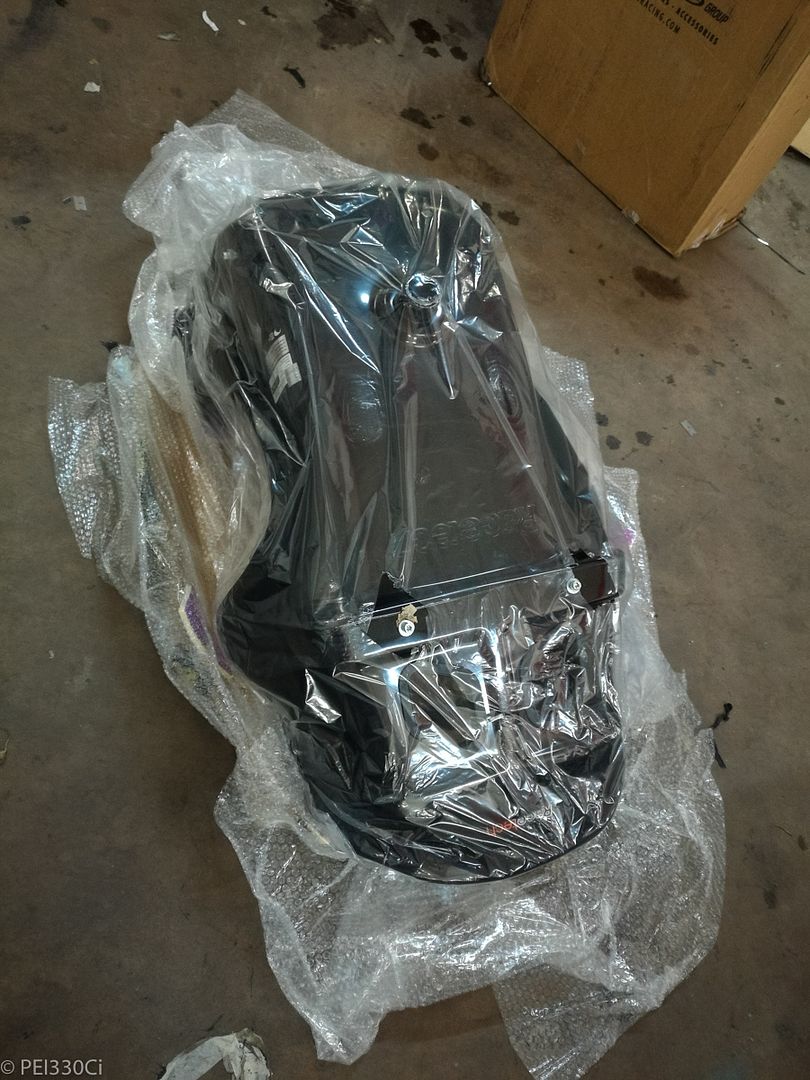
Where's the pics of the thing in that C&R box?
M54B30 Inside
This?
Member
Are the pics working for everyone else?
 Posting Permissions


 Reply With Quote
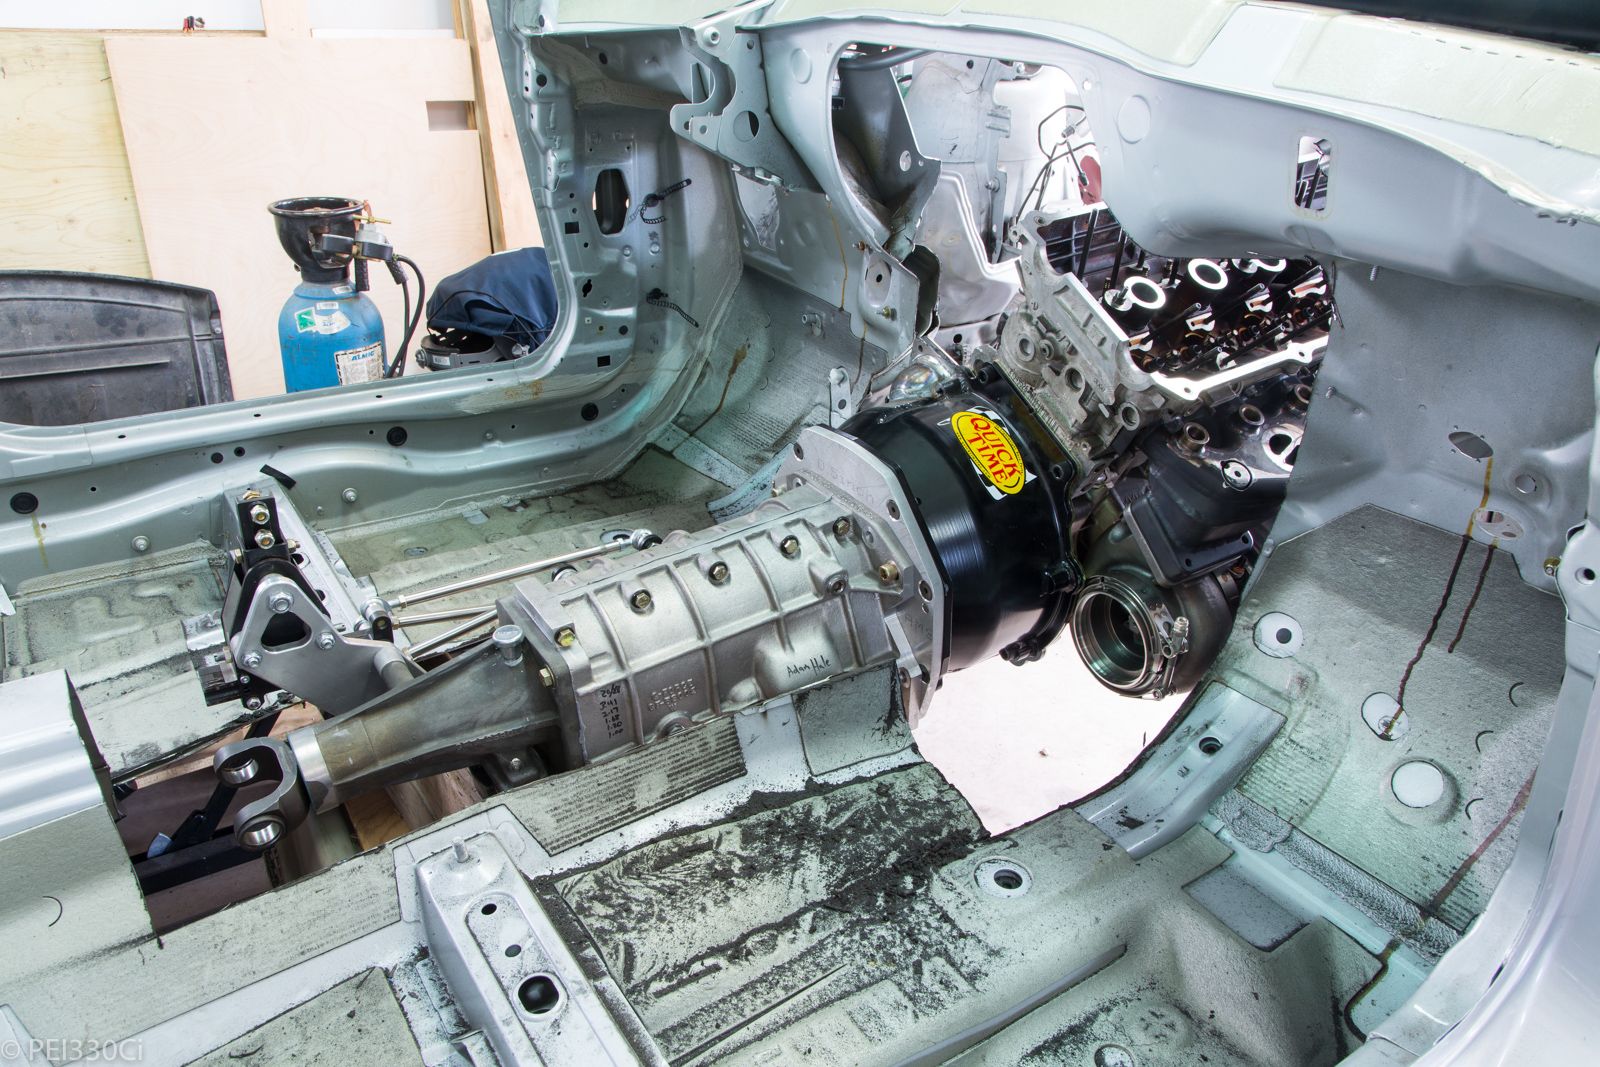


Bookmarks