
 Member
Another member here asked me about any tips I had for installing vinyl after the work I'd done on my car. I ended up writing a LOT, so I thought I'd share it publicly as well.
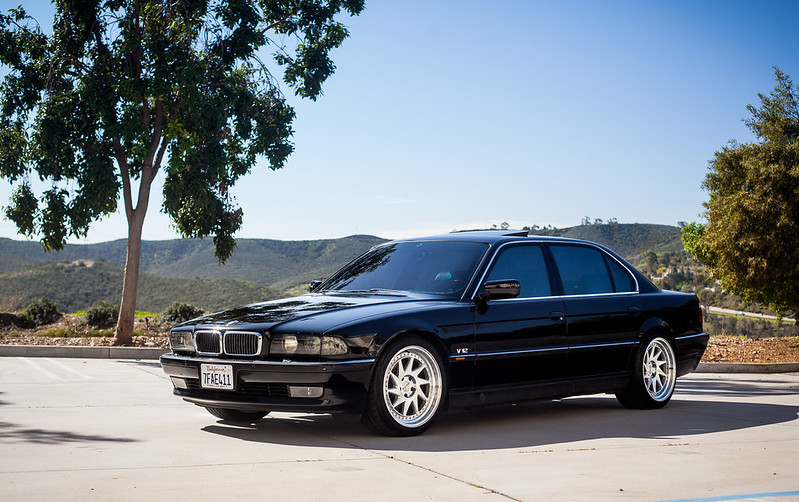
My car was originally black:
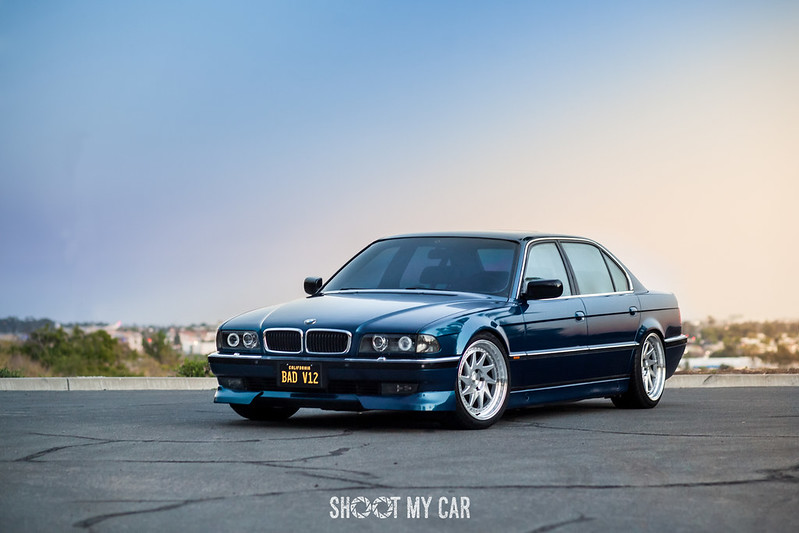
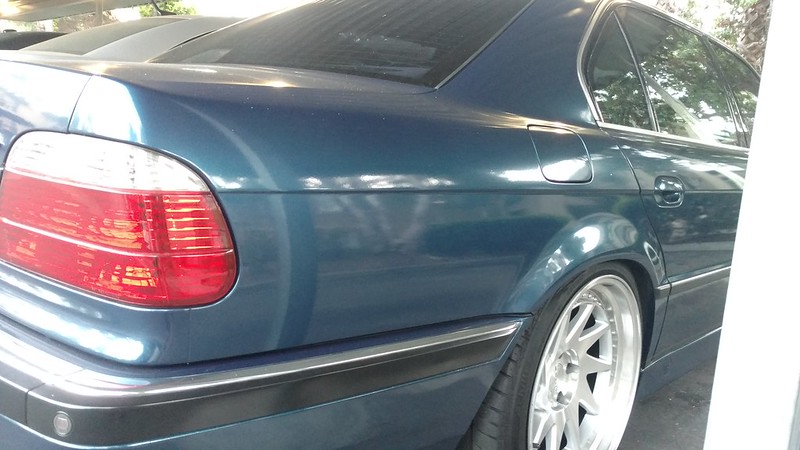
And now it's blue. I used Midnight Gloss Blue by Arlon, which I got from Fellers.com for cheap because it was discontinued. But you can grab a roll of most vinyl from them for $450-700. I got a full 25yd roll because I estimated between the size of the E38, and guaranteed screw-ups on my part, I would need it all. I was right.
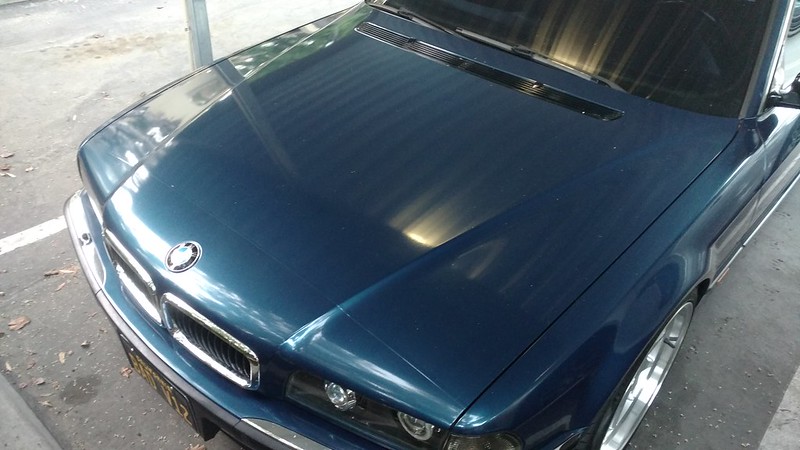
The E38 is pretty easy to work on, because there aren't a lot of complex curves or deep recesses to work with. But where you come to recesses, try to lay the vinyl in there, rather than heating it and stretching it in. The latter will lead the vinyl to pull out again later as it heat cycles in the sun. One way to combat this in general is to re-heat each panel you finish with the heat gun (post-heating). This helps kill the memory of the vinyl and conform it to the new shape.
Edge cleaning and prep is key for every single panel. The fastest way for a wrap to fail is if the edges aren't done properly - it will start lifting within days. I grabbed a couple of containers of pre-soaked iso-propyl alcohol wipes from Amazon. I'd wash each panel with dish soap (removes all car waxes etc) and around all the underside edges I could reach. Then wipe the panels down with IPA wipes and be sure to wipe the underside edges until you're not getting any dirt/black grime coming up. The edges are also important to post-heat to make sure the vinyl seals and is wrapped properly there.
I watched a ton of install videos on youtube by CKWraps on Youtube (link). The guy is occasionally annoying but his techniques are really really good. This was my first full-car wrap and although there are certainly imperfections, all the research in advance saved me from something that either failed quickly, or looked completely amateur.
The first big tip is that almost all vinyl is only 60" wide. Our hoods are ~62" by the windshield. If you work with a second person and add a bit of heat across the vinyl, you should be able to stretch it far enough to wrap in a single piece. I was working by myself and couldn't get it to work properly, so I ended up doing the 60" width laying from the windshield to just above the kidney grills. Then I added a second piece across the front of the car, so the seam looks sort of like a clear bra installation. That was the best outcome I could do myself.
[/url]
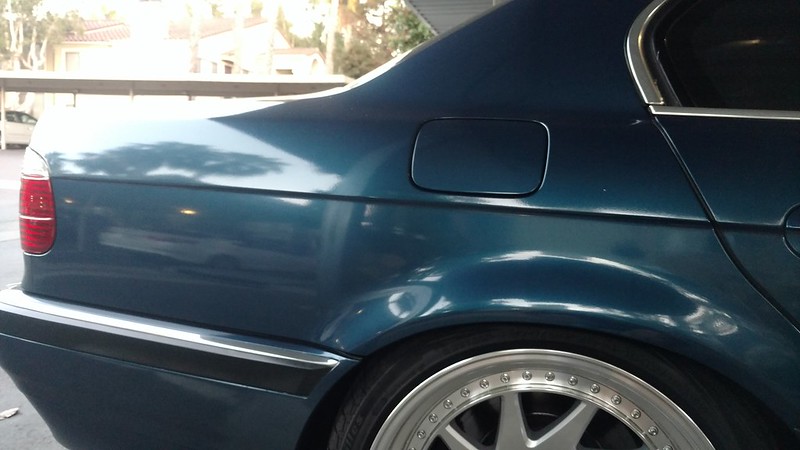
The section from the A-pillar to the rear quarter/tail lights is approximately 12 feet in length if you do it in a single piece. That's a huge section to waste if something goes wrong. (With all of this, plan to start on smaller, flat sections until you get used to working with the vinyl). When I did this section, I put a seam at the horizontal body line in the rear quarter panel. That way, the 12ft vinyl section only needs to be about 2.5ft wide, so you can do both sides of the car from 12ft of vinyl from your roll. Also, you do the lower part of the quarter panel first, and then the top/C- and A-pillars bit second. That way your seam edge overlaps from the top, and the edge points down so you don't see it.
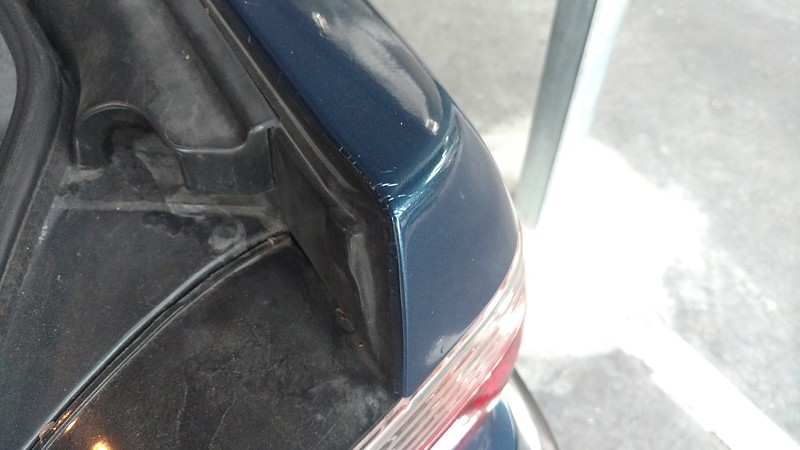
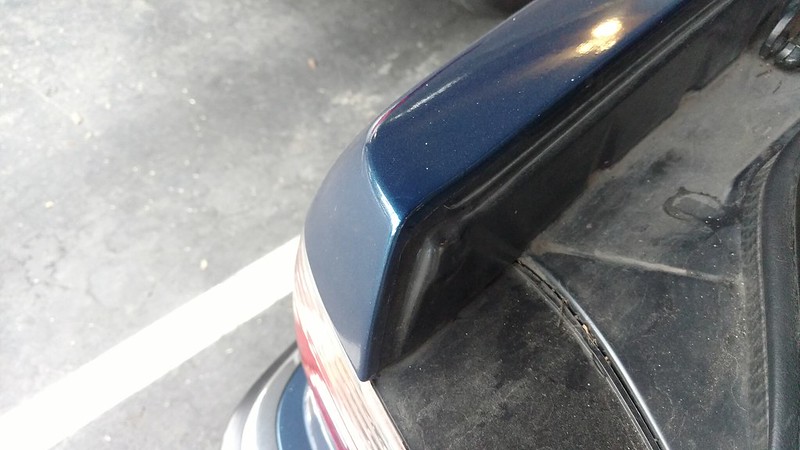
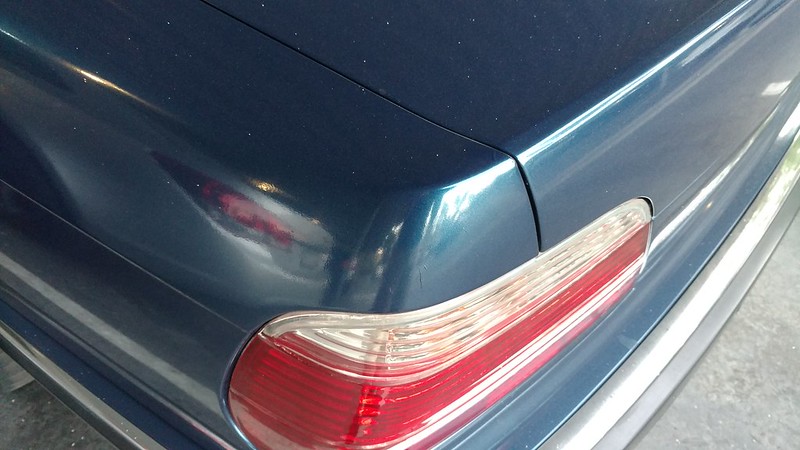
Speaking of this rear quarter panel - the area right above the tail lights is not that easy to get right. This is the trickiest part of the car in my opinion. You are using one large piece of vinyl to cover a sharp transition where by rights, there should be a lot of extra vinyl bunching up at the top corner beside the trunk. I'd practice it at least once with a small piece of vinyl first. Lay it on the side of the quarter panel, and then gently heat it up and stretch it around above the taillights and top edge by the trunk opening. It essentially has to be stretched out over this area so you don't get lots of wrinkles/excess material around the trunk opening.
The passenger side I did first and it was very tough to avoid wrinkles.
I didn't want to waste that 12' x 2.5' piece of vinyl, so I lived with it.
On the next side, I did better.
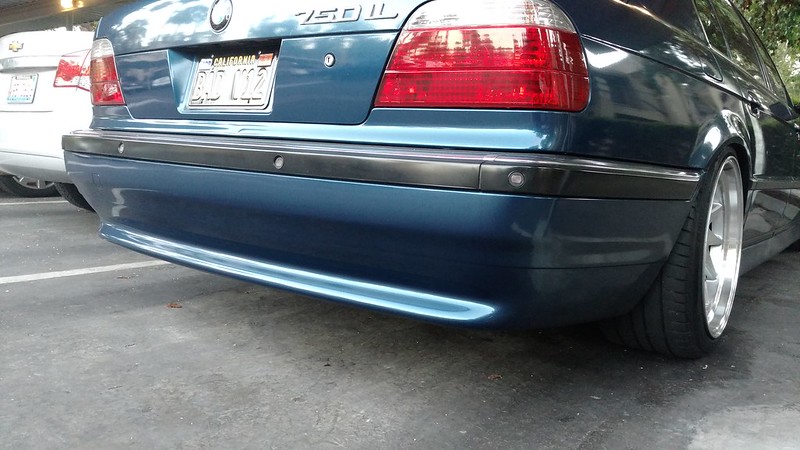
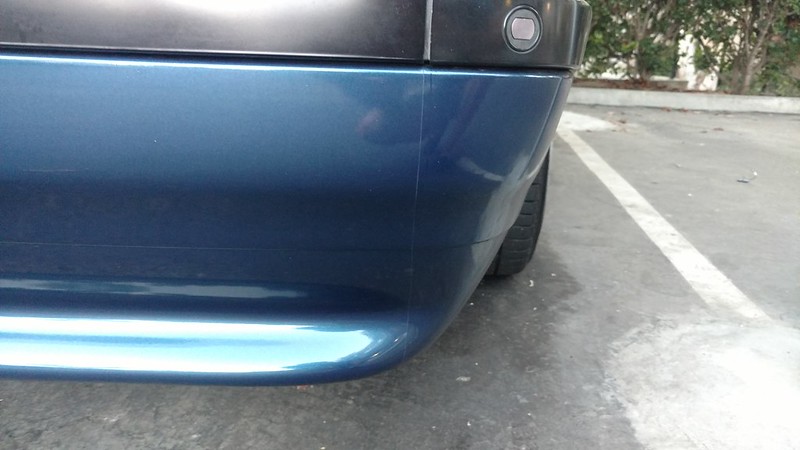
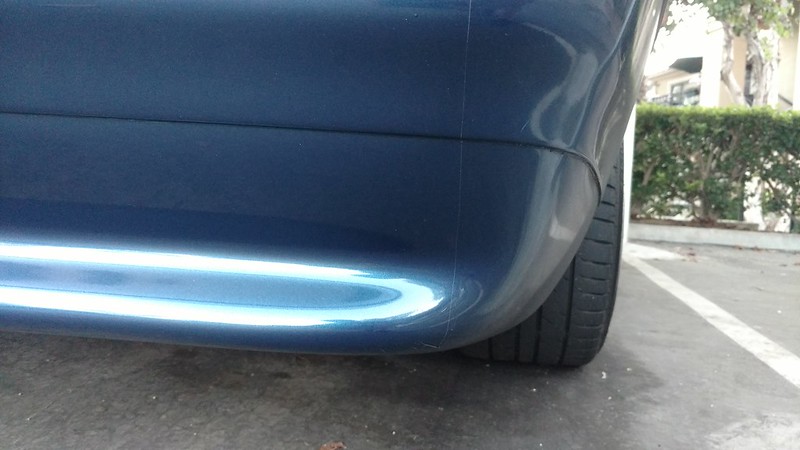
I did my rear bumper in 6 pieces, as I was getting low on vinyl and didn't want to screw up such a large single piece. Again I started from the bottom. I did 3 pieces along the lower black rubber part (mine is pre-facelift) with vertical seams at the rear corners; then I did 3 pieces above that with vertical seams in the same places. From more than 2 feet away the seams are pretty invisible since they're down low.
I chose to line up the vertical seam with the one in the black rubber trim. In fact I did this with the top edge of the bumper as well (forgot to grab a photo of that) which made it easier to work around to the top bumper sides. I never took the bumpers off the car.
The horizontal seam you can't really see, I overlaid it on that body line as mentioned. Again, worked from the bottom portion to the top (so 3 pieces of vinyl around the bottom, then 3 more along the upper portion). The vertical seam I lined up between the top and bottom sections of vinyl. So in this photo, you're looking at 4 different sections of vinyl intersecting where the vertical seam bisects the horizontal body line.
Another point I should mention - the top of the trunk may also be a two-person job. I watched a few of CKWrap's different trunk videos, and I still had issues really stretching the vinyl across the rear edge properly. Having a second person to help stretch a bit across that rear edge would be REALLY beneficial. When you stretch a bit on that edge, it helps minimize wrinkles as you work down the rear vertical edge of the trunk.
Underneath that, it's useful that you can do the lower half of the trunk/licence plate recess with a separate piece. You do need to use heat to carefully stretch the vinyl into the plate recess area. This is where it's REALLY important to post-heat it afterwards, to make sure it doesn't lift out down the road.
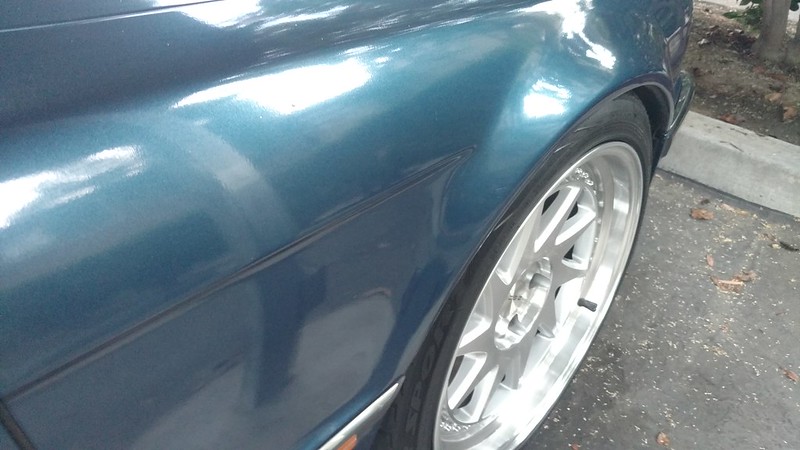
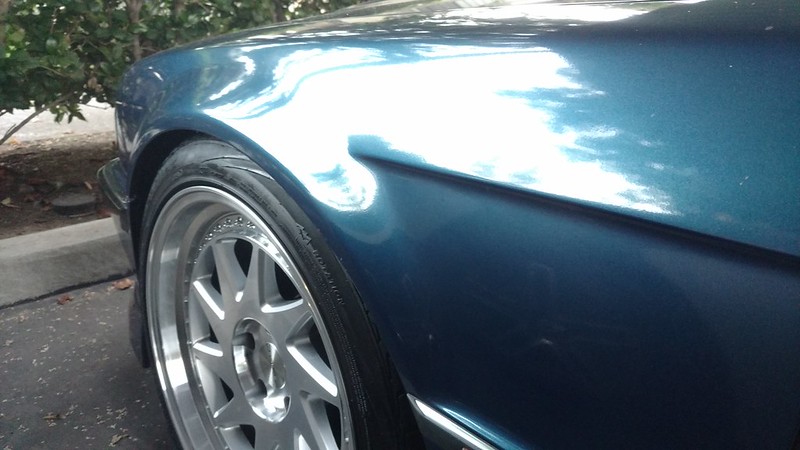
This area on the front fender is a bit tricky, although done carefully it works out well. Its the indent behind the wheel which is fairly deep.
What I did was first stretch the vinyl across the whole panel, getting it like "glass" from the top of the wheel arch, to both the top and bottom rear edges of the fender. Next use the squeegee to lay down the vinyl above the wheel arch, and above the horizontal body line. Next, you have to work into the indentation. You can use heat here, but wherever you use too much you can overstretch the vinyl or risk it lifting afterwards if you don't post-heat properly. What I did was just slowly worked it down with the squeegee or my finger (in a felt glove) - it's hard to describe, but it will start looking like it's going to bunch up and wrinkle. But if you work it back and forth carefully, you sort of use the extra material forming the wrinkle to lay the vinyl into that indentation, working down and towards the back of the car. Its hard to describe, but it was one of those areas that being slow and careful just paid off.
I decided against using knifeless tape as it was one less thing to purchase and I was able to do it mostly freehand. For the rear quarters and on the front of the hood, I put down blue painters tape first so that I could cut the edges on that, then peeled the tape up from under the vinyl, and finally sealed down the vinyl edges.
I took off the door moldings (the rubber trim along the middle of the door) and also the lower trim/seals which slide out towards the rear of the doors. I didn't take off the upper chrome trim around the windows/roof, or the plastic at the bottom edges of the door windows. Those I just tucked underneath a couple of mm.
I did not have success wrapping the mirror covers. They're a bit tough given how much you have to stretch over them, without much of an edge to properly tuck the vinyl in afterwards. I tried a couple of times and the edge kept peeling up after a few days in small spots. I gave up and left them black (my base color).
If anyone has other questions, I'm happy to answer them!
Last edited by Aitch; 12-15-2017 at 11:06 AM.
Member
Thanks for the write up. I'll be doing the same before fall.
2003 Mercedes E320
2002 Mercedes ML500
1999 BMW 740iL
FASTEN SEAT BELTS
Wow
License Revoked
nice. question is....how long does it usually last? i know wrap vs dip is different but iirc dip only lasts a few months-year tops.
Member
Wow impressive i think it looks great!
Member
Thanks guys.
The vinyl is usually quoted to retain its finish anywhere from 4-6 years, on average (varies between brands). With poor installation it can last a lot less, as I mentioned usually because the edges peel or sections lift up from indents. I figure if I get at least 2 years out of it before any of those things happen, I'll be happy, and then ready to change it up anyway.Originally Posted by mooll

The Lord is a man of war.
Impressed
Sent from my iPad using Tapatalk
El Cid 1999 ILDUDMD Tune/DINAN CAI/19 in Style 95 Rims/Bilstein's Shocks/Eibach Lowering Springs/OEM Folding Mirrors/Custom Cupholder/Custom Wood Sunshade/Sport Steering Wheel/Euro Center Console/Leather Shifter/Rearview Camera /Luke Custom 10 in Sub Box/Cross Drilled Rotors/Rear view Camera/BMW OEM Monitors/BMW E38 Picnic Tables/Vanity Headrests/OEM Roof Rack/Strut Bar/Dinan MAF and Dinan Throttle Body and Dinan tunning /BM53 Radio upgrade /Custom Innovadrive NXG39 modify and Alpine ILX-W650 touch screen radio.
Member
great job..
I would have done this ages ago if I could find a wrap that matches the estoril blue on my M coupe.
anybody know of a perfect match?
A BMW
Swagon
Very nice work! I want to wrap our Volvo V70R in cream yellow like the 850R's. Might give it a try myself.
Member
I haven't come across one specifically yet. Best bet is to order samples from any place you find with similar colors. I found a lot of samples didn't look like the photos online.
Sent from my XT1572 using Tapatalk
BMW Dave
Looks great and very nice color choice!
Present:
'96 750iL (Project)
'95 C1500 350 V8
'03 540i M Sport AT
'22 GMC Sierra 1500 DD
'92 Olds Toronado Trofeo (Project)
Past:
'93 325is (Parted)
'95 840Ci (Sold)
'86 735i (Parted)
'02 Z3 3.0i (Sold)
'09 328i (Leased)
'91 750iL (Parted)
'00 Z3 2.5i (Sold)
'86 944 NA AT (Sold)
'84 633 CSi (Sold)
'06 X3 3.0 (Sold)
'20 M2:Competition 6spd (Sold)
Member
first thing i did.
Vvivid, 3m and some European manufacturer..
Nuffin comes close
A BMW
Member
I've heard mixed reviews on Avery. Oracle and Hexis are two other large brands.
Sent from my XT1572 using Tapatalk
Member
Avery!! That's the one..
ill take a look at the others thanks.
A BMW
Member
This came out incredible! A little dull for my taste which is why I am planning on going for the satin finish wrap. I do have a question which is bugging me. How did you terminate the wraps edge on the inside of the doors without it all looking stretched and nasty? Did you simply cut the vinyl between the door gaps and fold that small lip inwards? I was thinking of the possibility of going all the way in and tucking it in behind the door card. I would want to avoid any ugly looking edges where the vinyl ends.
Again fantastic job and thank you for putting this up. I will try and do this on my own as well.
BMW 7er Website www.7er.com
1989 BMW 735i Schwarz (sadly, sold) // 1989 BMW 750iL Cirrusblau Metallic // 1998 BMW 740iL Oxfordgrün Metallic // 2000 M5 Carbon Schwarz ///
Senior Member
Supporting Vendor
Looks great!
-James
Member
Thanks!
For the door edges, you got it. You stretch the vinyl across the gap to the next panel, and then use a knife to trim in the gap. On our cars you can't cut too deeply because there are rubber seals in there as well, so you don't want to be scoring or cutting them. However, that's the good part, because then when you wrap the vinyl around the edge you're actually pushing it behind the rubber trim in some places. Have a look on your car you'll see it. On the bottom edges of the doors you take the lower rubber trim off first by sliding it towards the rear; so that seals the bottom edges once they're back on. For the back edges (the rearmost vertical edge of each door) you just fold the edge over. But cutting it along the gap first while the door is closed gives you the straightest line, so it should be a clean edge wrapped around the door skin which you then seal down with heat.
The other key, as I pointed out before, is proper prep. If you properly clean and dry all the inner backside edges of the doors, and then post-heat the vinyl after wrapping (to seal it down and kill it's "memory" of the original shape, so it stays conformed and wrapped around the door edge) you should have no issues. 95% of my edges are still exactly the way they were when I first did them. There have been a few failures here and there but they are places like the back edge of the hood, and a couple of places around the corners of the fender/wheel wells. Simply trimming the vinyl back to where it is still stuck and heating it a bit again has solved most of those.
Member
Good job, looks great!
So you say a roll can be had for $450 to $700, are there other costs? That is a great price if I could pull off the job and not have it look like a wrinkled prune.
very tempting, because I need a paint job, but can't afford one and the one I could afford would look like crap.
1997 740iL; 5/96 build. Purchased 12/04.Off the road build project 2013 - 2021. back on road 3/2021. Became daily driver (only vehicle) 6/12/2021. Still not completed. Stay tuned as the adventure continues.
Member
Other costs are minimal. Some isopropyl alcohol, a couple of felt lined squeegees, a felt installation glove, Xacto knife, and a cheap heat gun are about it. If you have any rough areas of paint, you may want to try and sand them smooth first. Oh patience, and some time watching YouTube videos.
Sent from my XT1575 using Tapatalk
Member
Thanks, this may just be something to add to my project list. I have a lot to finish first though... and then getting some good ole seat time... then maybe, we shall see.
Anyway, yours looks excellent.
1997 740iL; 5/96 build. Purchased 12/04.
 Posting Permissions


 Reply With Quote

Bookmarks