
 Dementia candidate
Nice job, it would have been easier to lay the bmw rotor on top upside down and used the holes on that rotor for a guide. :P
The World is ruled by Kings and Queens that blind your eyes and steal your dreams.
When answering my questions please use a qualifier if you are not sure.
The more I work on this car the less I respect German engineering.
When you speak in Absolutes you are always wrong!
Semper Fi
Member
I did used the BMW rear brake rotor for a template but the hub on the BMW is larger then the mustang hub so you still have to center it. I could have bought the hub centric adapter rings but I did not want to wait for them and the hub on the axles is actually a camaro hub size so i after drilling the rotor the would have done me no good.
Last edited by FoxBodyRacing; 12-11-2016 at 06:19 PM.
Dementia candidate
I think the easiest way to line them up would be using the back side of a caliper around the hub.Originally Posted by FoxBodyRacing

The World is ruled by Kings and Queens that blind your eyes and steal your dreams.
When answering my questions please use a qualifier if you are not sure.
The more I work on this car the less I respect German engineering.
When you speak in Absolutes you are always wrong!
Semper Fi
Member
I'm not sure I'm following on that. They are 2 completely different rotors if you butted them up to a caliper you would be way off. I think I did it the best way it could be done without having a lathe.
Member
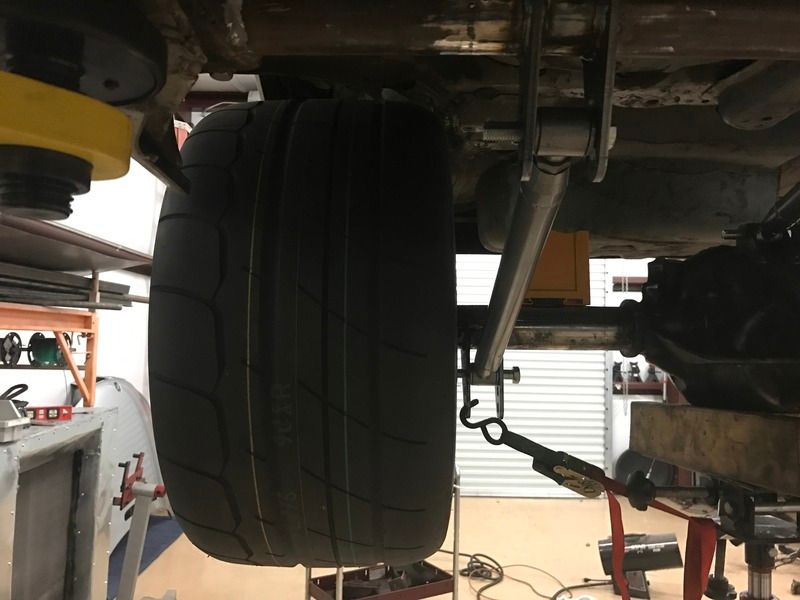
well after having to make some adjustments to the brackets because of the larger tires I have my control arms and brackets finished. now I need to assymbol the axle and get a real world measurement of where to cut out for the wheel wells. once I do that I can lower it into position and get the coil overs mounted and the panhard bar built.
once the rear is done I promise progress will move faster but I haven't found anyone that has done anything similar to the rearend except for a full back half car.

Member
I dig it!
Member
this is a massive undertaking!
is this gonna see the street? or just the strip?
seeing this parked outside the grocery store would be a hoot!
always trying to make it lighter and faster
^^former build: http://www.bimmerforums.com/forum/sh...-neglected-M3/
current build: http://forums.pelicanparts.com/porsc...car-build.html
instant grams: doktor_b
Member
Have to second this!
Member
Oh it is going to be a street car. AC and all. Won't be much trunk space left but will still have a back seat.
Dementia candidate
Doh sorry. This caliper.

The World is ruled by Kings and Queens that blind your eyes and steal your dreams.
When answering my questions please use a qualifier if you are not sure.
The more I work on this car the less I respect German engineering.
When you speak in Absolutes you are always wrong!
Semper Fi
Member
i see what you mean now. im not sure what was the easiest way but i managed to do it in a reasonable amount of time. i think it took about an hour to do both of them from start to finish.
- - - Updated - - -
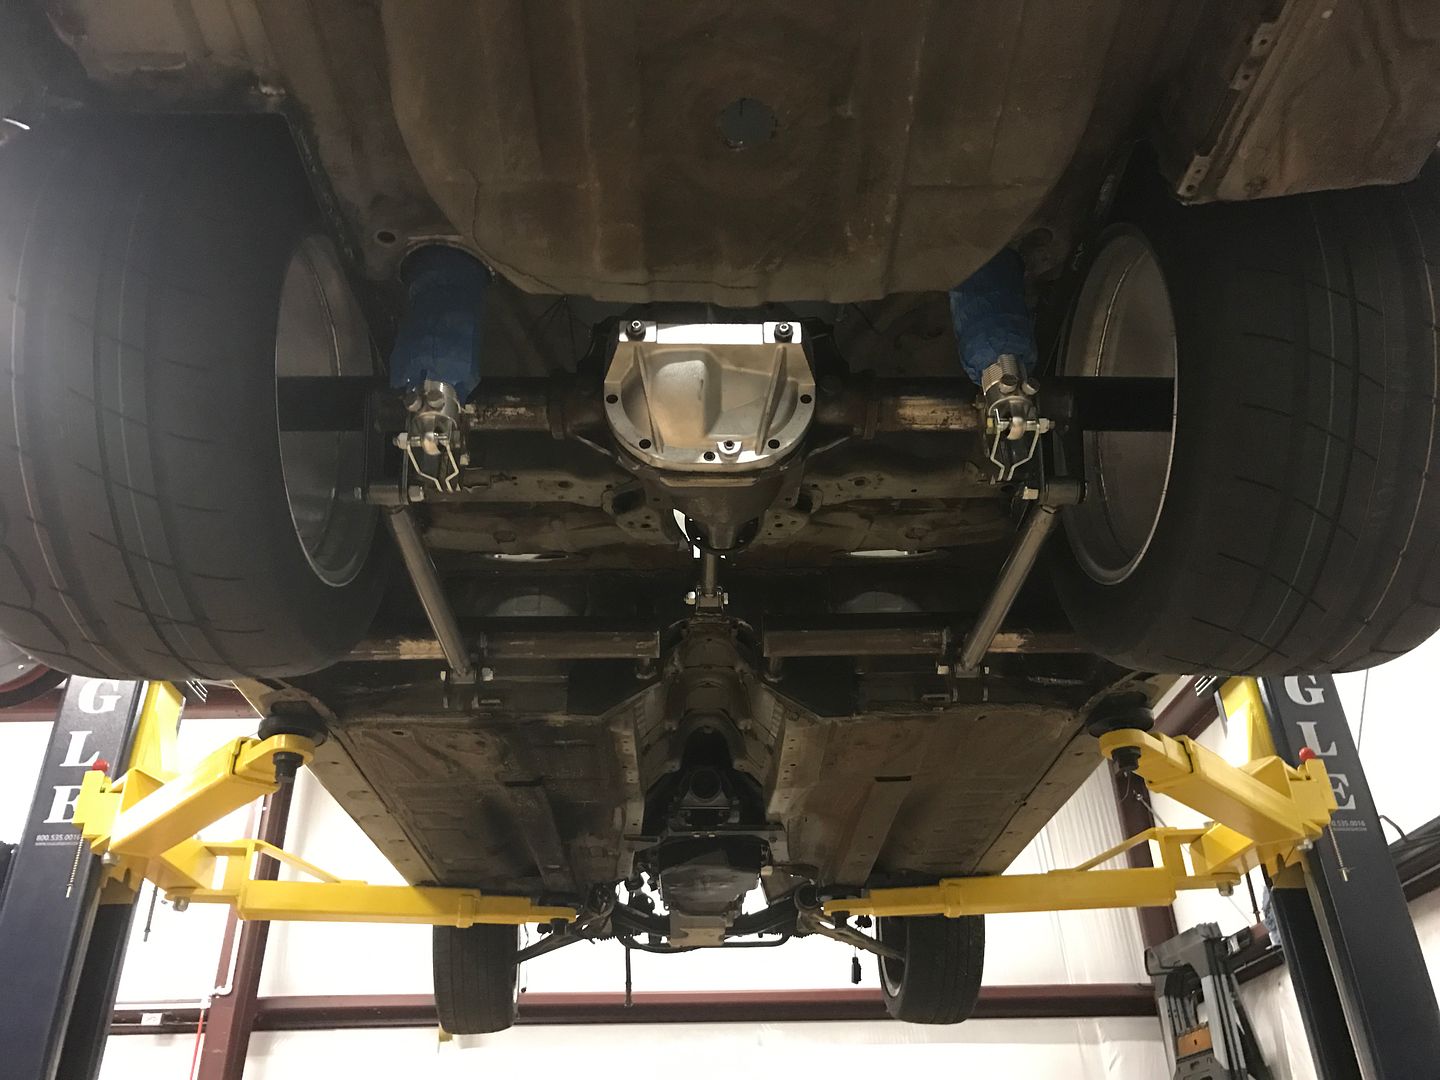
got the rearend built and brakes mounted. i coated the ends with POR15 i still havet o locate and weld on the brackets for the coilovers and the panhard bar so i didnt want to coat the whole thing, if you have ever used POR15 you know why. with just the control arms it is within 1/32" of being centered from the outside of the car. thats an easy adjustment with the panhard bar.
Member
Cheese and rice! That's ridiculous. Definitely following this. Good job so far good sir
Dementia candidate
Just fantastic! Love it.
The World is ruled by Kings and Queens that blind your eyes and steal your dreams.
When answering my questions please use a qualifier if you are not sure.
The more I work on this car the less I respect German engineering.
When you speak in Absolutes you are always wrong!
Semper Fi
Member
Nice work ... Nice to see some costom fab work ....
BMW MAKES IT CHEVY SHAKES IT #KEEPdreaming Youtube https://www.youtube.com/channel/UCYP...-oQyhdTwr58mwg
ALL THE LOVE http://bangshift.com/bangshift1320/t...c-use-perfect/ http://www.1320video.com/franken-bim...own-chevy-bmw/
10.1@142mph @ DA 7900 ft
355 SBC Blown E85 Spray Street car https://www.instagram.com/p/BGpx4nVPlMC/?hl=en
FOLLOW ME ON FB https://www.facebook.com/frankenbimm...haltitudewhips
Member
thanks,
just watched one of your videos. looks like you could use one of these 8.8 setups.
Member
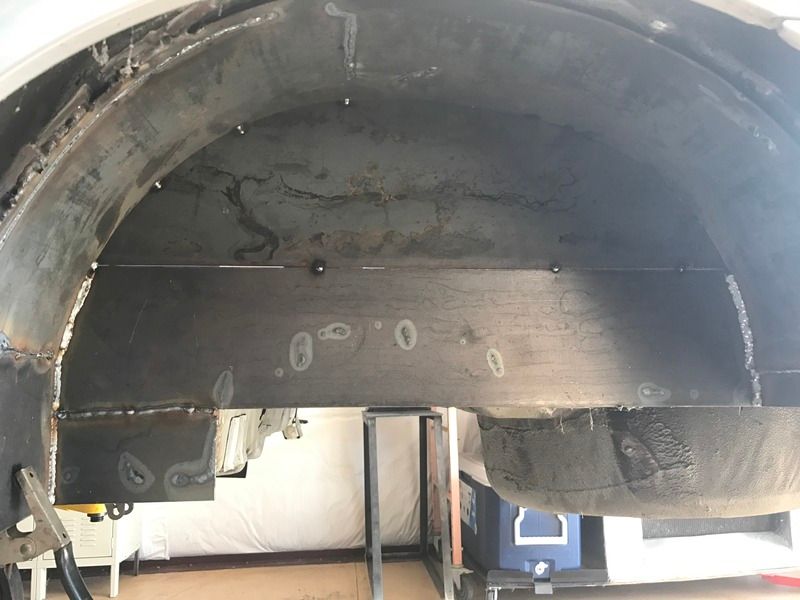
Started working the driver side tub today. Beings the original wheel well was so thick and I had to cut into the main frame part of the unibody I used 1/8"plate to box in the frame and then used 14 gauge for the rest of the tub.
Used a laser to mark where to cut and went to town.
Last edited by FoxBodyRacing; 12-18-2016 at 01:21 PM.
Member
Keeping the unibody intact as much as possible so I built some tubes to reenforce the body so the coilovers can pass through.
The coilover mount in place. I still need to reenforce it to the frame.
Starting to look like a rear suspension. Just needs a panhard bar.
Last edited by FoxBodyRacing; 12-24-2016 at 09:53 PM.
Member
Fix those pics! Can't see them.
Member
fixed
Member
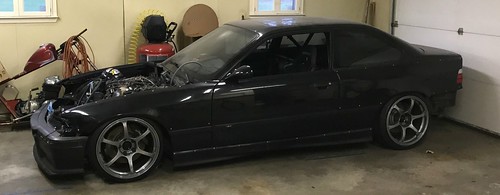
Looks great! Can't wait to see some pics of the car sitting on the ground.
Member
very soon. i plan to have the panhard bar finished tomorrow then i have some final adjustments to make to the coilover mounts after i get the rear centered. then i can finish off painting the rear and seam seal and undercoat the wheel wells and trunk area.
i broke my 3 in 1 40" shear brake roller a few weeks ago so i went out and ordered a 52" stomp shear and a 48" pan and box brake then i can build the covers and fuel cell.
i cant wait to get the rear finished so i can move on to the engine/turbo piping.
БМВ Фанат!
Amazing looking work!
Why did you ended up with a round tub on the driver's side and square on the passenger's?
- 96 328is 6.0L. (LS1 to LS2 build thread: http://forums.bimmerforums.com/forum...ad.php?2098938)
- 96 328is 5.7L. (LS1 build thread: http://forums.bimmerforums.com/forum....php?t=1289987)
- 95 ///M3 6.0L. (LS2 build thread: http://forums.bimmerforums.com/forum....php?t=1619249)
- 97 ///M3. (e46 Fender Flares/track car build thread: http://forums.bimmerforums.com/forum....php?t=1727098)
- 96 328is (Dual Fuel Pump to Surge Tank thread: http://www.bimmerforums.com/forum/sh...ad.php?1964025)
Member
+1
I wish I could find a cure for cancer, speak eight languages and do fab work like this!
Tipsy
Member
I was trying to find a picture but if you look at the wheel wells from the factory the driver side is round and the passage side is square. the battery sits right behind the passenger side wheel well and the fuel fill neck goes through there on that side too so I just went with it. also the bracing up top will still be able to tie into the wheel wells.
- - - Updated - - -
you can do it. it just takes time and a little bit of imagination. being around drag cars for many years I knew what needed to be in there I just needed to find a way to fit it all.
Dementia candidate
Nice update, keep them coming!
The World is ruled by Kings and Queens that blind your eyes and steal your dreams.
When answering my questions please use a qualifier if you are not sure.
The more I work on this car the less I respect German engineering.
When you speak in Absolutes you are always wrong!
Semper Fi
 Posting Permissions


 Reply With Quote


Bookmarks