
 Member
Yep. Gotta make do with what I have. The trade-off is a canal and boat out back. But the next place won't be on the water and will be all about the garage. Eventually.Originally Posted by squashman702

Tipsy
Member
Ran the last brake line I can with the motor still in place. I think I'm ready to pull it back out. Did anyone have to clearance their trans tunnel at all for the T56? I enlarged the shifter hole, but can't seem to find anywhere else that may be a clearance issue- is there something I'm missing? I still need to pull some of the heat blanket to be sure.
Clearance from above:
Member
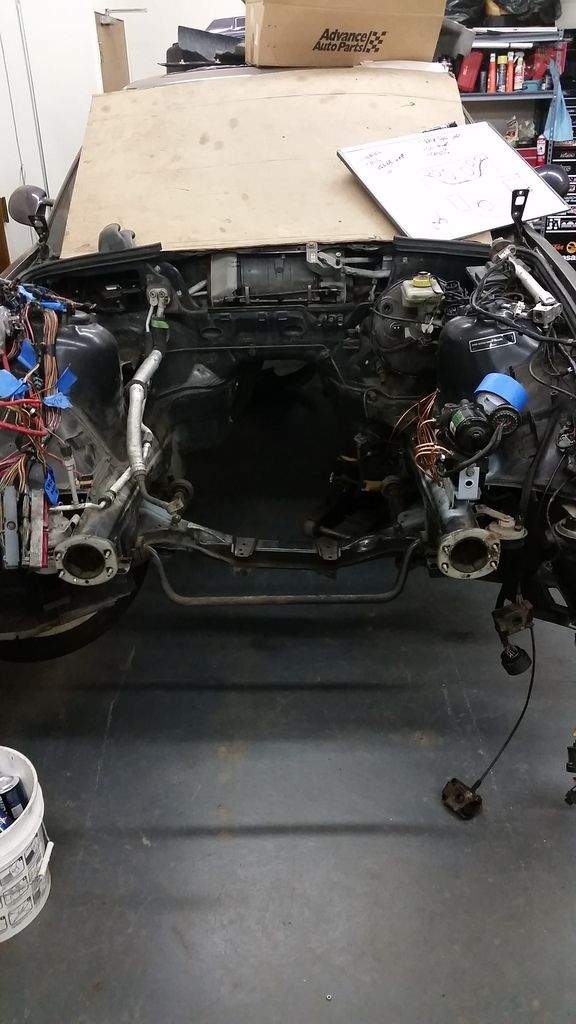
Motor and T56 are back out. Didn't have to pull the ABS pump, which was nice. I think I had it all out in less than an hour working by myself. Plenty of space to run the heater lines, delete the SAP tray and other miscellaneous brackets, and bend and flare the final brake line to the passenger side front. Pulling the A/C lines as well for the time being.
Member
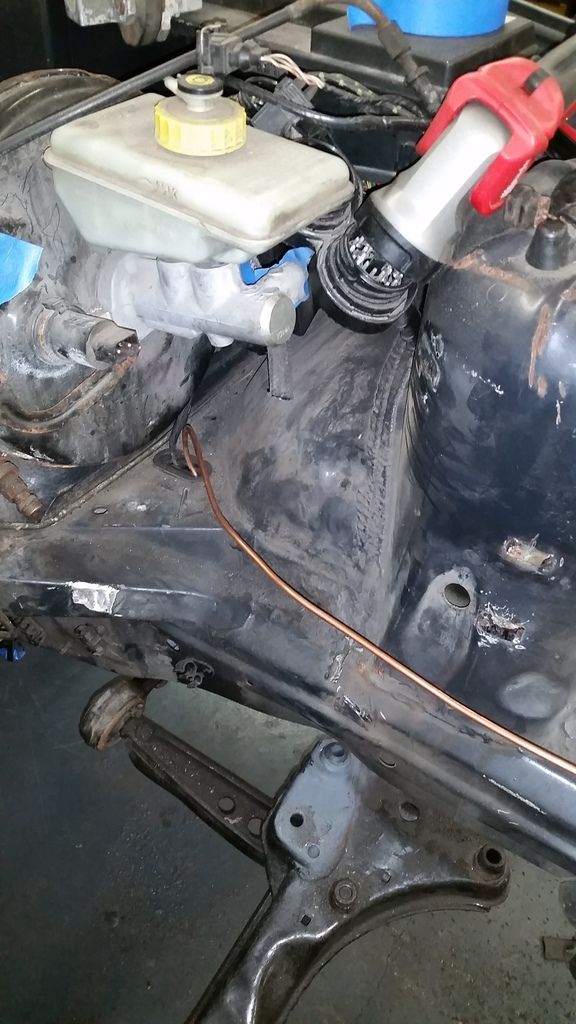
Bent the last brake line to the passenger side front, then pulled everything but the front driver's side line out. Pulled the A/C lines as well, and started to remove the brackets for the cruise control, ASC, and ABS pump, as well as the washer fluid tank. Took a couple pictures, but this is the only one that came out decent. Found some rot under the cruise control mounts, so I cut out the areas and will have to weld in some patches.
Member
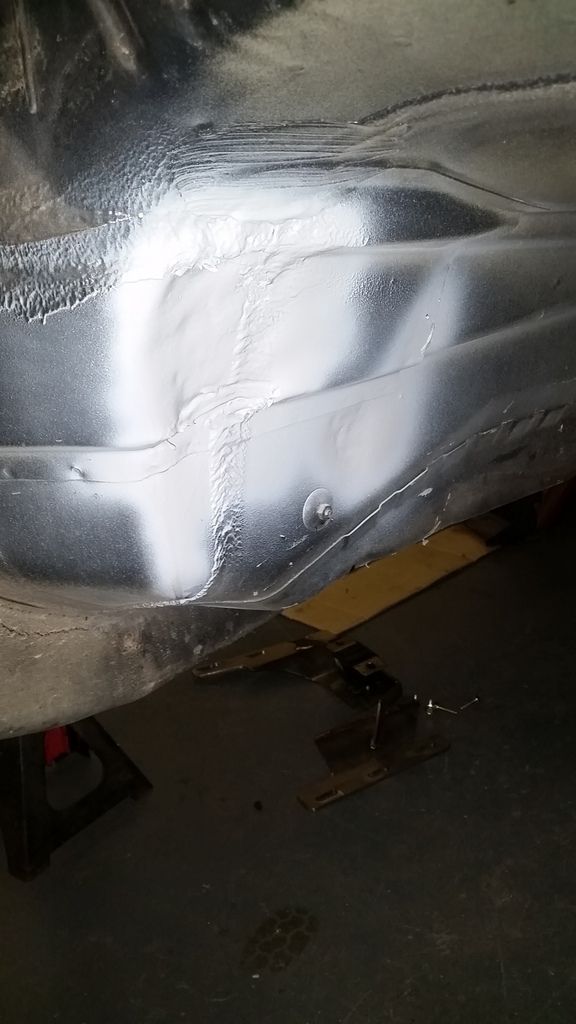
Spent a good chunk of the day in the shop today. I don't like welding sheet metal.
Got the contour pretty close to the lower patch. Messed around with some body hammers and a dolly we have at the shop.
Tack tack, then get mad when it burned through. This was .025 wire, and the Miller 211 I have set to 1.5/35.
Going to smear some bondo over this. I have no future as a body guy.
Brackets shaved on the passenger side, luckily no extra work needed there.
Remnants of the ABS pump brackets are gone. Traction control bracket gone. Whatever other bracket that was on the strut tower is gone too.
Skip shift delete is free when you have a welder. Stole this from Tipsy's thread on here. Cut the solenoid in half, pulled out the guts, pulled the plunger forward and burned it home, then cut the extended part off the inside.
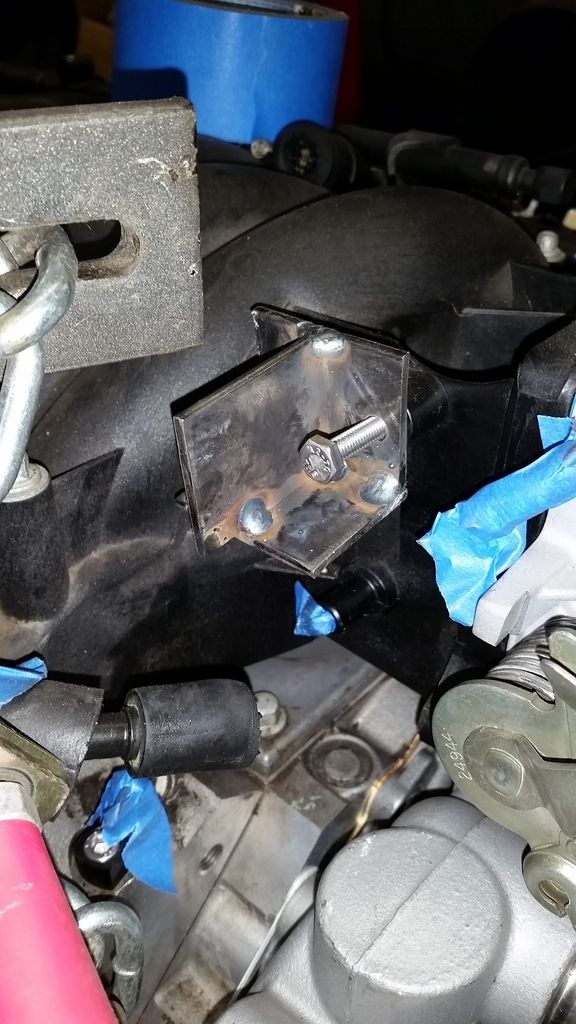
Thinking I'll bolt the heater control valve here- any reason this can't be mounted upside down?
Member
That Millermatic is autoset, no? I've been wanting to teach myself to weld for some time. I'd read that the autoset feature makes things a lot easier. But I've never laid a single bead of weld, so I have no basis for comparison.
Nothing here is Stolen. It's all shared. I would never have attempted this swap pre-internet. The sharing of information is a game changer.
Good question. I'm thinking about mounting the heater valve in the same location, though I hadn't considered mounting it upside down. Seems like a good place to keep it out of the way. But the engine will probably have to be pulled to access it in the future. Everything is a compromise.
Got a better picture of the bracket that you fabbed?
Tipsy
Member
Mine is mounted on the top side of that battery/tray whatchamacallit. Just because of the electronics of it, and possible servicing requirements; I'd recommend mounting in an easier to access area. But it's nothing but actuator valves that open and close though.
1998 M3 Sedan - LS3 M12T56 - A bad addiction.
Member
Autoset doesn't really do much beyond saving you from opening the door of the welder to figure out settings, from what I've done with it so far. Practice is far more important. I started on a Miller 135, which is a great machine for most automotive stuff, and can be had used for a few hundred bucks. Miller is releasing/has released a new line of machines that are lighter, which means that a lot of the older models like the 211 can probably be had cheaper. I went with the 211 because of the ability to plug in to 115/230v by switching plugs, plus you can hook up a spoolgun and weld aluminum. I give you props for jumping into this without a welder. It's been a lifesaver in a lot of situations for a variety of reasons, plus being able to stick together whatever I want is cool.
You're right- I've figured way more of this swap out just by reading.
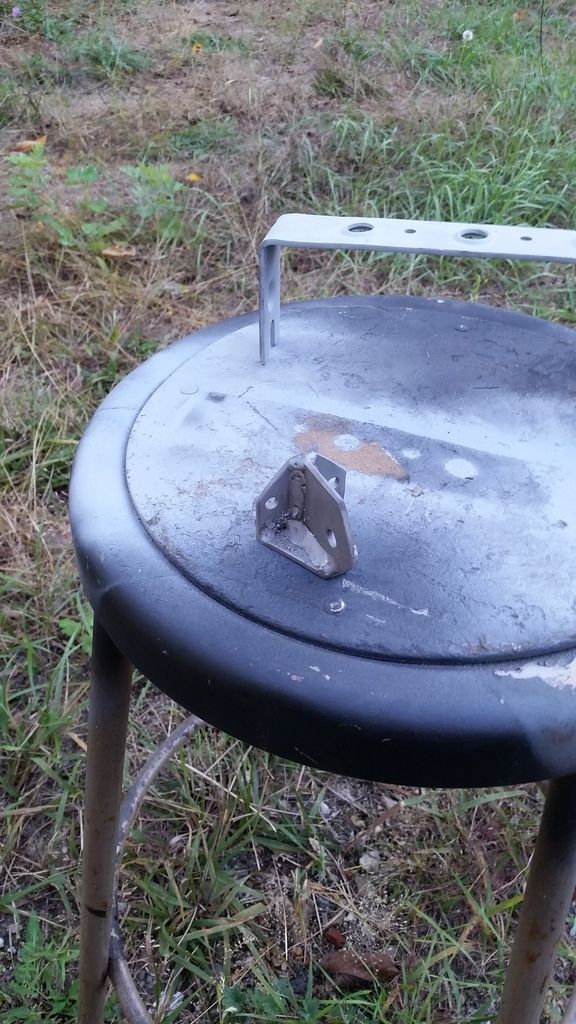
I can grab some more pictures of the bracket I made on Tuesday.
I made it and picked the location and instantly wanted to throw the motor back in to check clearances around it for the hoses, but I'm thinking I'll leave it where it is as long as I can get the plug to work where it's at. The one issue I can see is running the heater hoses down under the tray may not create ideal angles and placement.
Member
Lokar throttle cable is in. Managed to lose one of the clips on the interior though, it went flying off when I was trying to install, so I'll need to replace that.
Ground off the rest of the welds for the ABS pump bracket.
Burned in the base for my new ABS bracket.
Started on a throttle cable bracket.
Member
Why not just use an oem one or an aftermarket one?
Sent from my SM-N930T using Tapatalk
Ls2 e36 sedan
Member
assuming you mean the throttle bracket, i'm gonna bet it's for 3 reasons.
1. DIY is always better than store bought for a build.
2. he can.
3. that damned Lokar bracket is ~$50 and doesn't come in black for a single. at least not that i found.
always trying to make it lighter and faster
^^former build: http://www.bimmerforums.com/forum/sh...-neglected-M3/
current build: http://forums.pelicanparts.com/porsc...car-build.html
instant grams: doktor_b
Member
Doktor B nailed it.
I had the steel laying around, and the LS6 intake didn't come with a bracket. The bracket is stupid expensive for what it is, and I can use the $50 somewhere else, like on the stud conversion I bought at the BavAuto show on Sunday.
I really do like fabbing stuff up, I'll take any excuse I can get to turn on the welder. Keep in mind that bracket is definitely not finished either.
Member
i keep forgetting that i can actually build things like this from scratch. i have a welder (that i barely use), a square, and bench and angle grinders. don't really need anything else. just have to remember.
kinda wishing i had the $50 from that bracket back lol.
always trying to make it lighter and faster
^^former build: http://www.bimmerforums.com/forum/sh...-neglected-M3/
current build: http://forums.pelicanparts.com/porsc...car-build.html
instant grams: doktor_b
Member
Do it. More fab=more gooder.
Member
Finished up the fab on the throttle cable bracket. Added some extra welds, but had some porosity in them due to not cleaning out my cutting oil fully. Should be mostly hidden by paint.
Member
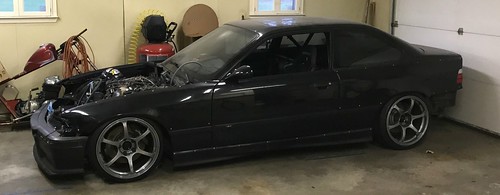
Motor went back in yesterday.
Needed to check clearances for heater hoses and trans tunnel.
Primed and undercoated the back side of the patch panels.
Motor back out. This is time #2 in and out, my shop mate is convinced I'll have it out at least 5 times before the swap is done.
Trans tunnel after hammer time.
Member
You can mount the heater valve in any orientation. We mounted it facing upwards on my friends 2JZ swap, no issues.
96 M3 | Forged LSx | Twin S366 | Injector Dynamics | E85 | AEM Infinity
90 Schwarz 325i
IG : sdobart
Member
Most move the valve to the battery tray area for clearance purposes.
Ls2 e36 sedan
Member
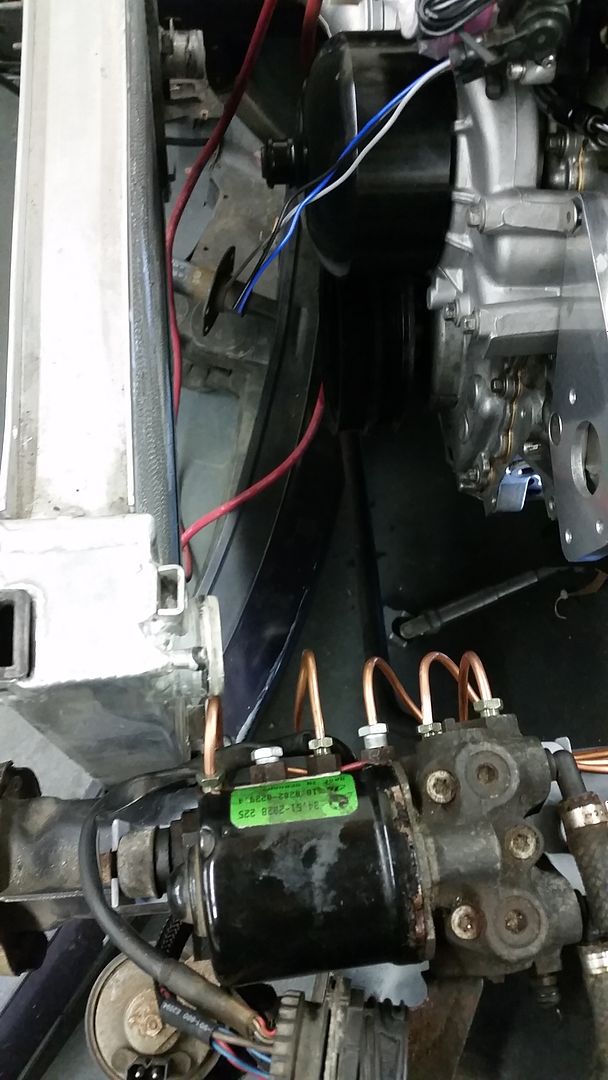
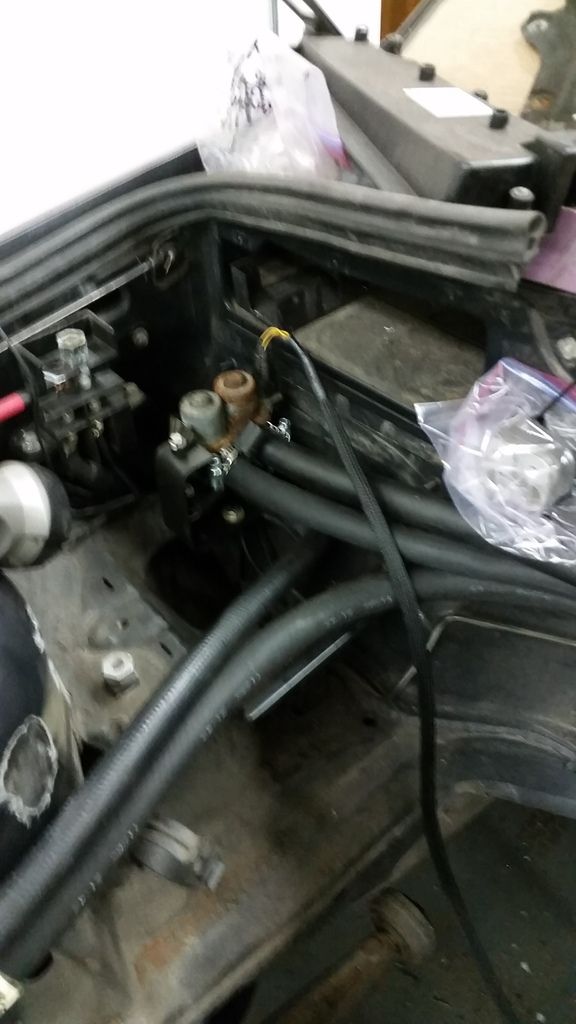
Ended up moving the valve to the SAP tray, had to run it on top because I was worried about heater lines running too close to the passenger side header. Some pictures.
This sort of shows the bracket I made for the valve.
Harness extended, plug basically crumbled apart, so I'll need to get a new one.
Member
Goofed off most of the day yesterday, and had to work today, so I didn't get much done. Did get the trans tunnel and gas tank covered with DEI stick on heat shield, however. Had some help from my girlfriend, it was nice to get her out into the shop and she actually enjoyed it.
Looking up at the tunnel.
Shiny AF.
Slave/throwout bearing came in from Rockauto today. It's a Luk LSC265B, marked "AP" same as the OEM. It was $3x.xx, so that was a big savings over a Delco piece. Clutch line came in as well, and I should have the remaining fittings to adapt to the slave and to the BMW hard line in the next couple of days. Haven't really seen many people adapt a custom line, and it may be a fairly low cost option once it's all said and done.

Member
that's a lot less than i paid for my TOB from Tick. and i felt like i got a solid deal. looks just the same...including the red rubber sock/boot/doohickey.
always trying to make it lighter and faster
^^former build: http://www.bimmerforums.com/forum/sh...-neglected-M3/
current build: http://forums.pelicanparts.com/porsc...car-build.html
instant grams: doktor_b
Member
Autozone was supposedly selling the same thing, but I struck out when I went there. It wasn't marked "AP" and it cost somewhere close to $70 as well, so it got returned. Did some googling after that happened upon an LS1tech post that mentioned LUK was the same, so I gave it a shot.
Member
we use tons of LUK clutches and clutch components at work. i wouldn't shy away from their products at all.
always trying to make it lighter and faster
^^former build: http://www.bimmerforums.com/forum/sh...-neglected-M3/
current build: http://forums.pelicanparts.com/porsc...car-build.html
instant grams: doktor_b
Member
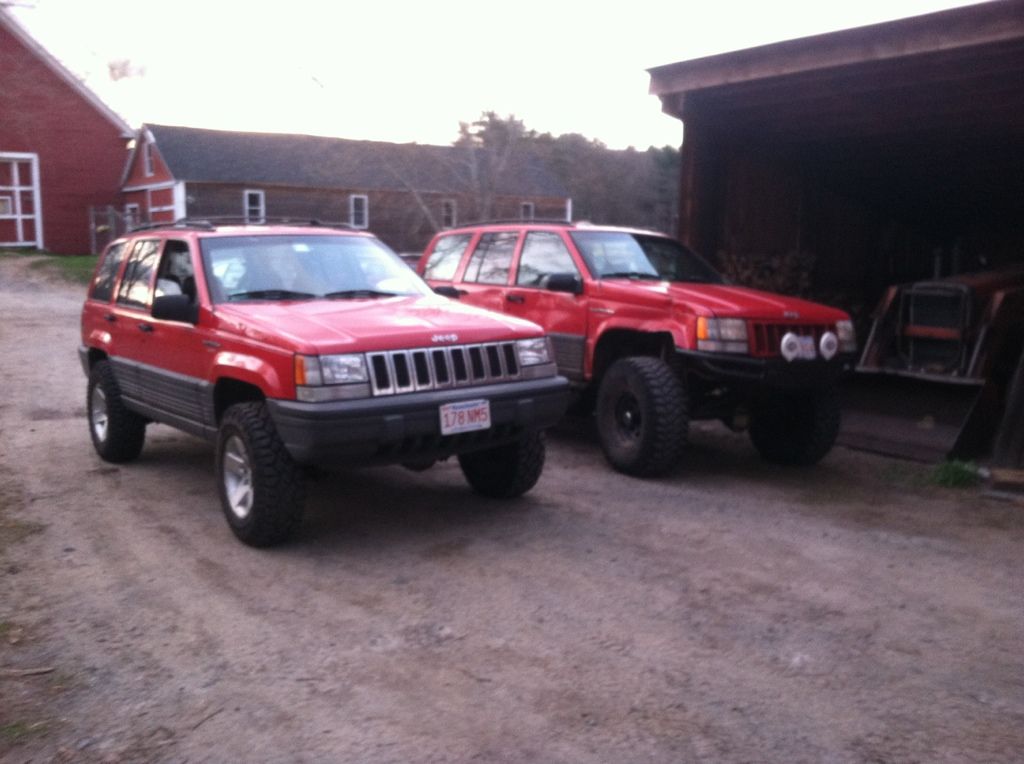
I've seen their stuff everywhere, not sure if it was a LUK or Sachs clutch I put in my old Grand Cherokee, but I know they're a trusted name. On a side note, I miss that Jeep. 250k plus on it when I got rid of it. Next to my buddy's 1994 factory 5 speed. 2 of 400 built for 1994; some of the more rare Mopars that few care about.
Member
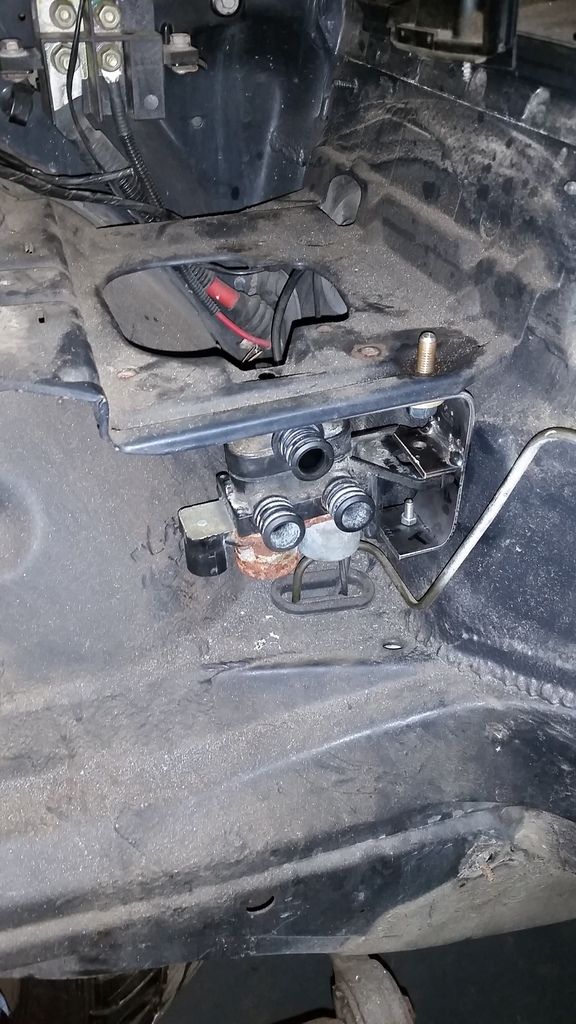
Is this where most power distribution blocks are mounted? Mine is in a slightly different spot, basically about an inch or two to the right of your heater valve position.
 Posting Permissions


 Reply With Quote


Bookmarks