
 Member
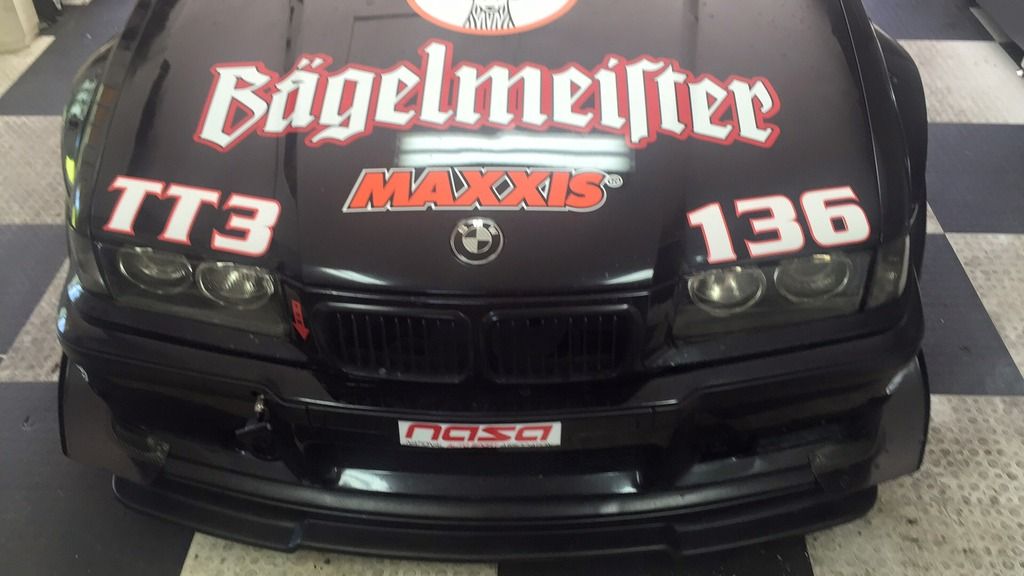
Got my dyno-reclass back and the only option that put me with a base class of TTC also gave me two asterisks (14 points). Even with that and my points, I would end up in TT3. So, it's off to TT3 for this year. With the proposed new TT4 being a HP/Weight of 12:1, I should be able to fit in that class with ~100lbs of ballast.
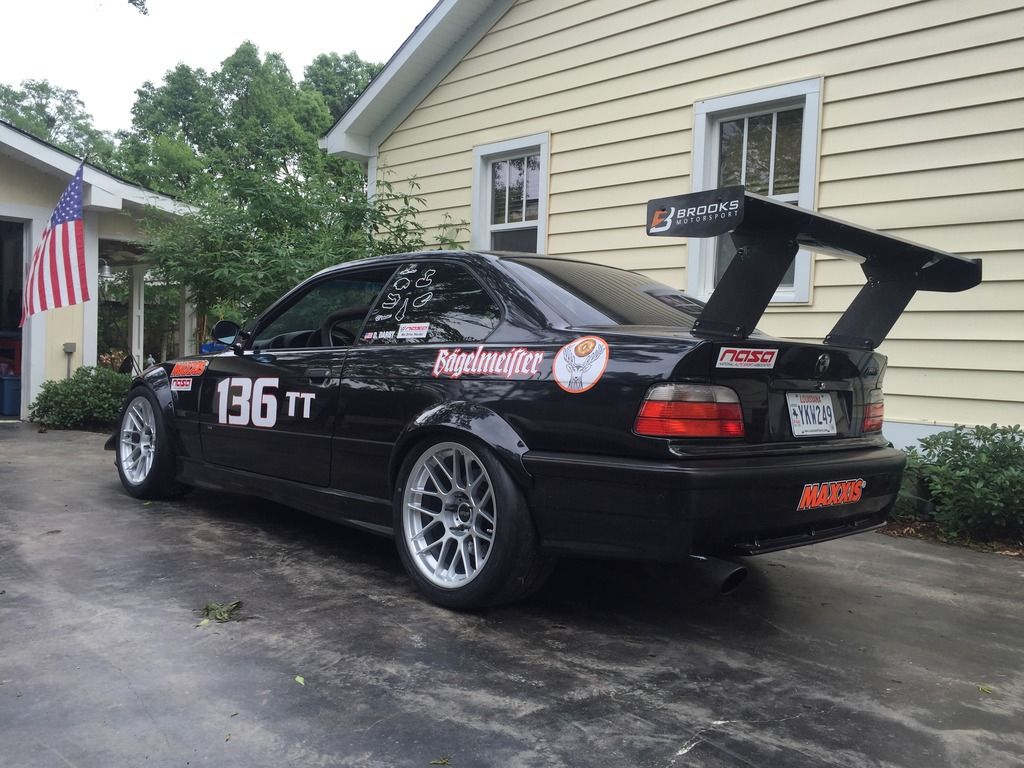
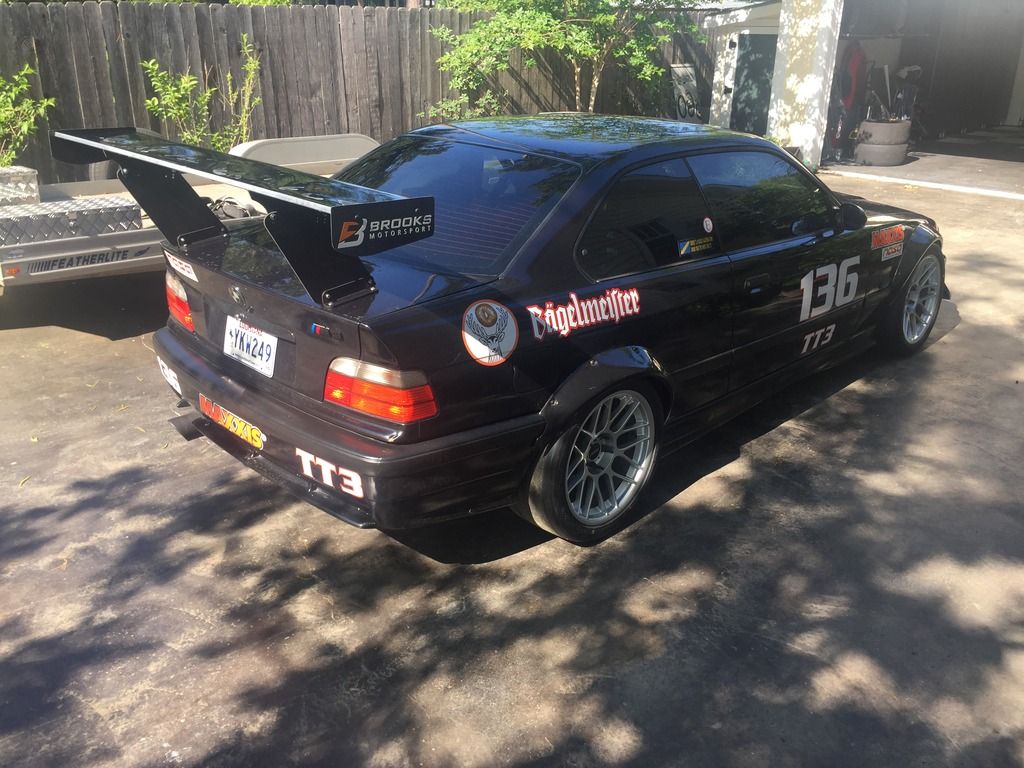
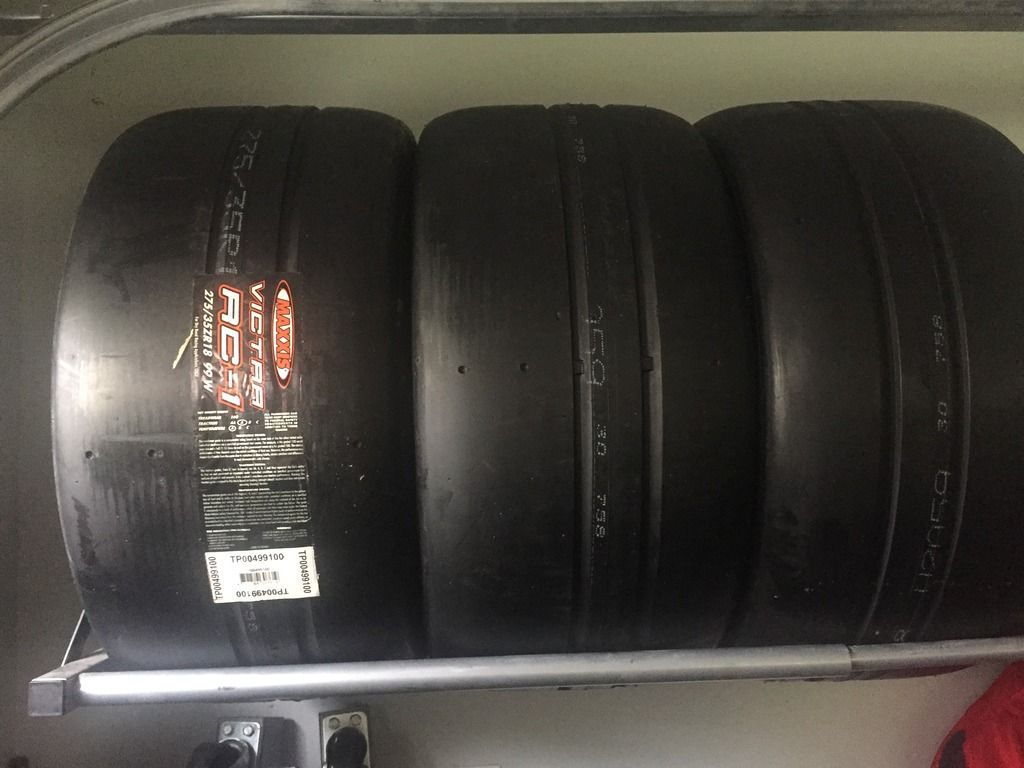
Ordered some 275/35/18 Maxxis RC1s and may try to get the Brooks wing before my May event.
Last edited by darbyfam; 03-25-2016 at 08:21 PM.
Texas Track Works
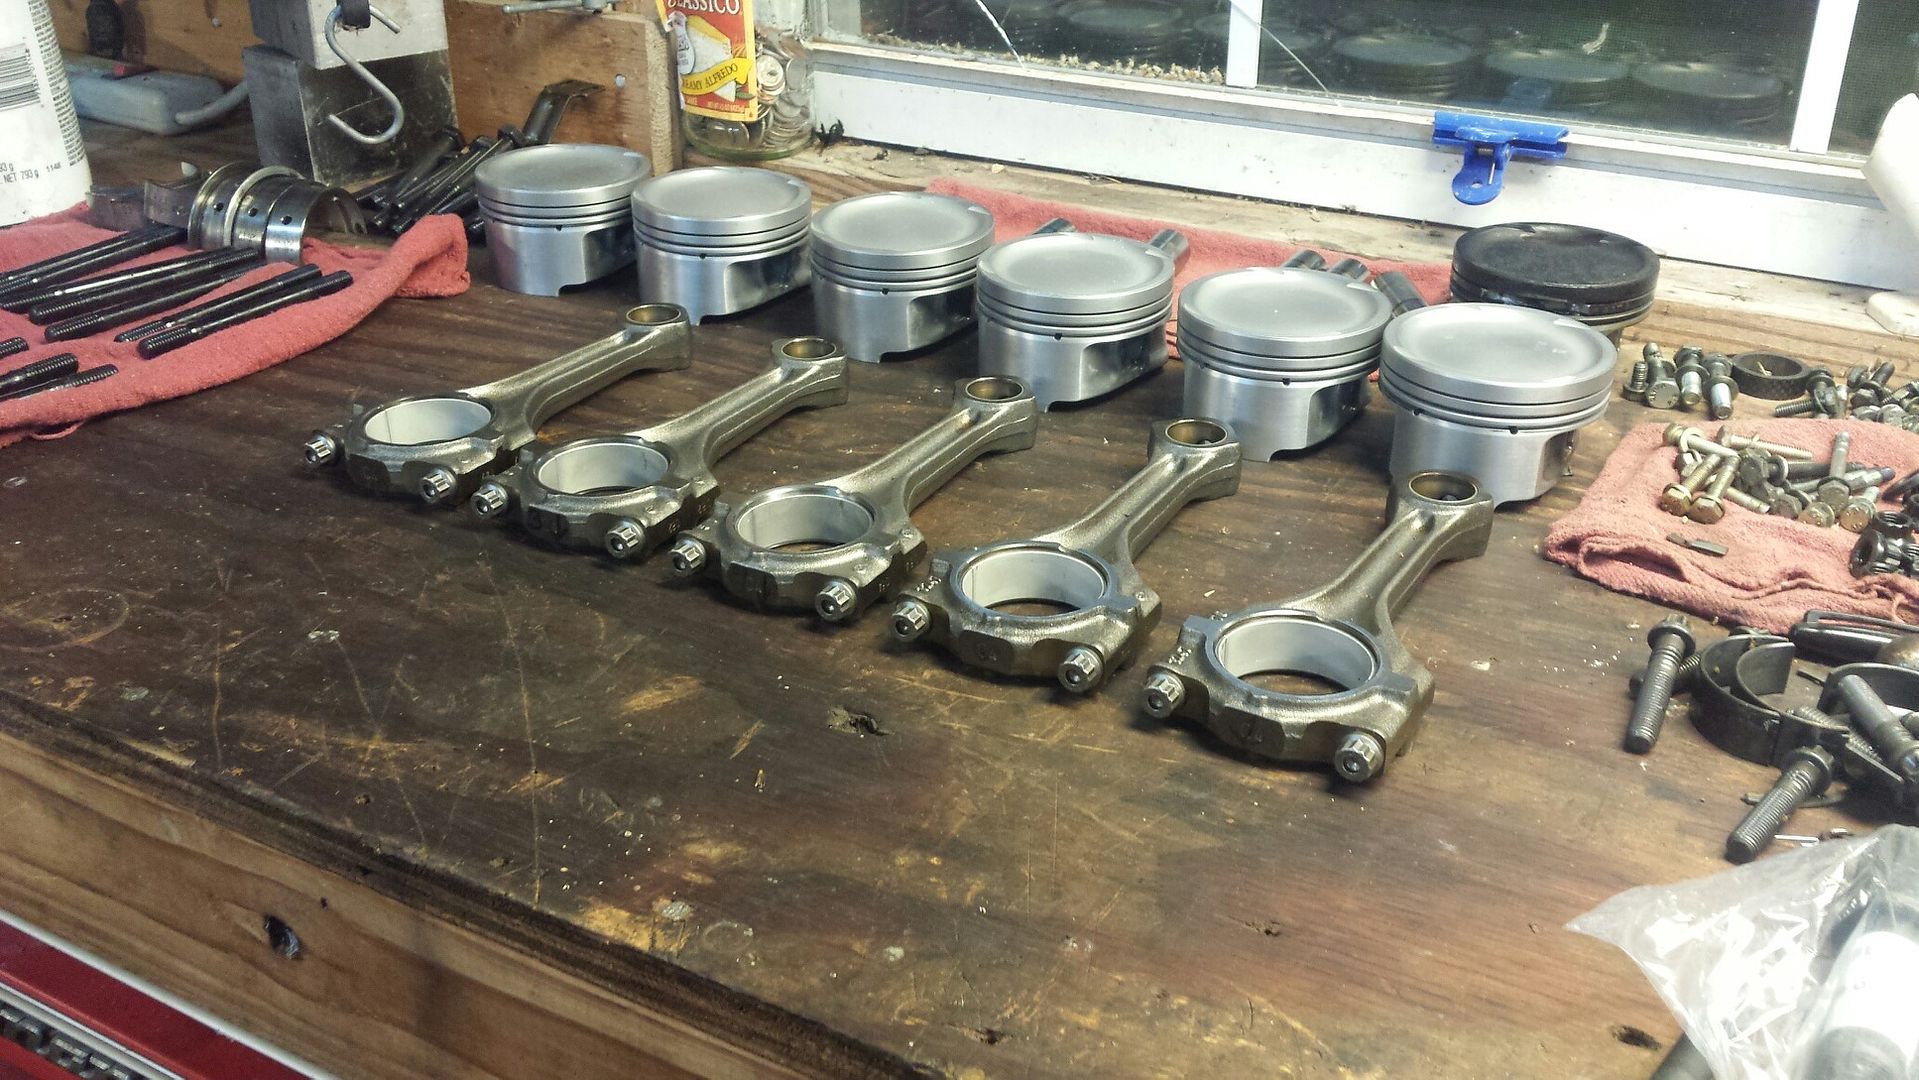
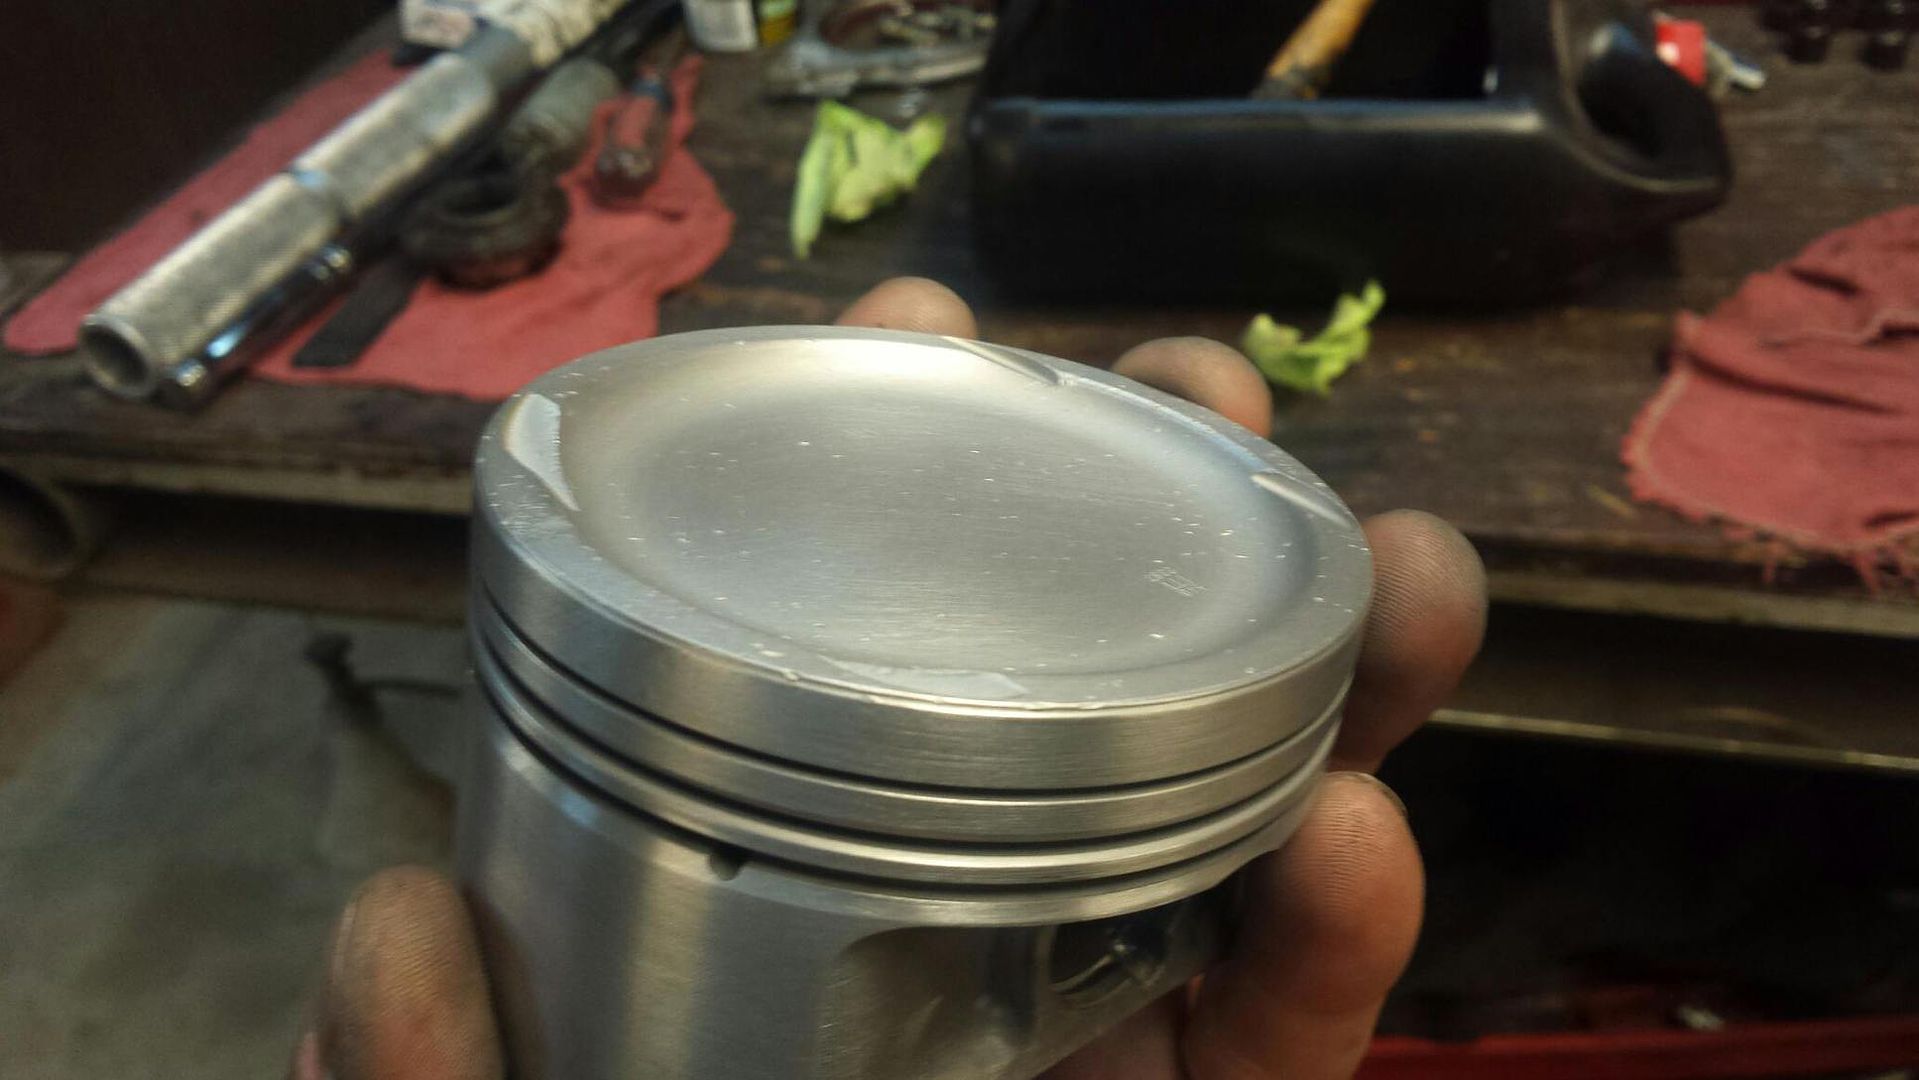
Any idea what pistons are in that S52? Were you given any specs?
Member
They are stock pistons. The reason I know is that I had to replace the one that cracked and I bought a stock, OEM one, used.
Last edited by darbyfam; 03-26-2016 at 08:49 PM.
Member
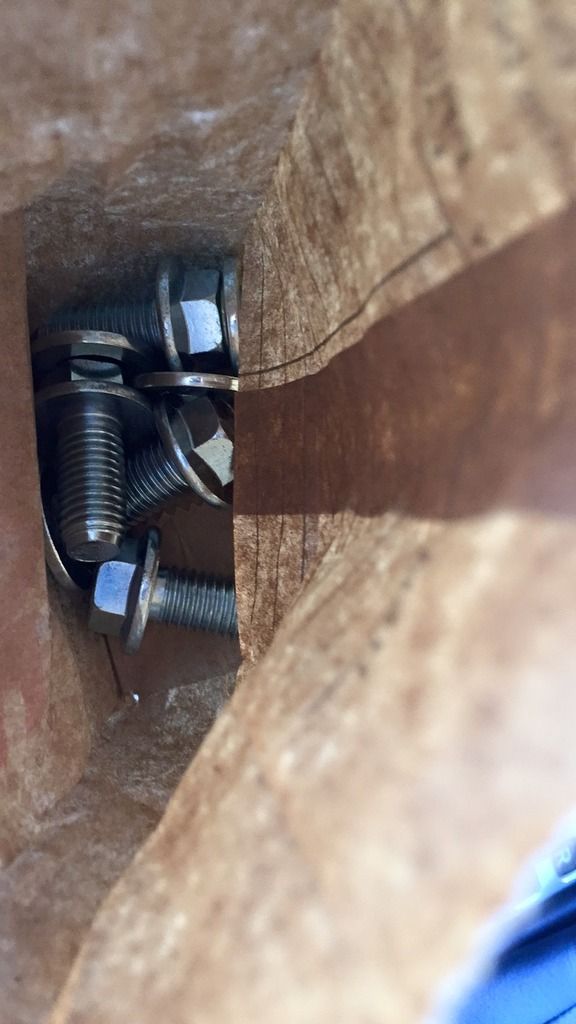
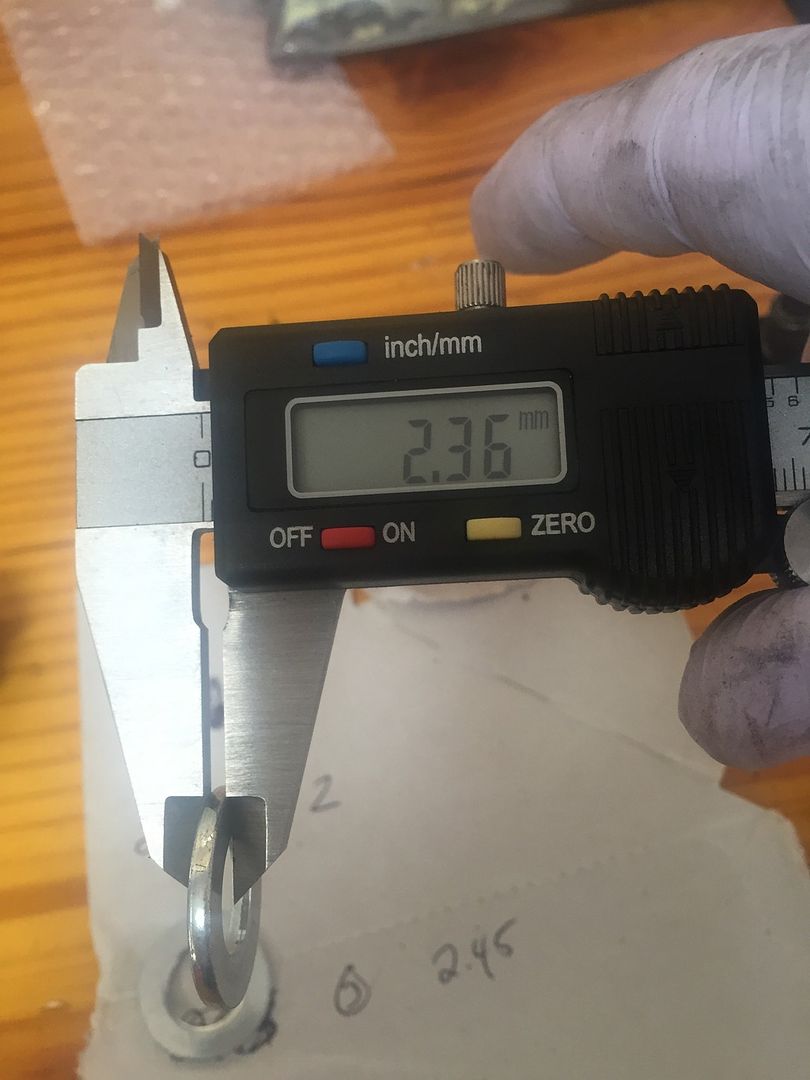
After finishing up all the bushings, etc I took it for an alignment a few weeks back. The alignment shop couldn't get any more than -2.5* of camber up front (even with the camber plates). Did some research and found that the 95 M3s had a little different suspension geometry and, without a shim kit, that's about all you will get. I started searching around for shim kits and found one from Bimmerworld, Turner and a few other sites. Prices ranged from $50.00 to $15.00. I decided to get the Ace Harware kit, which was $8.00.
Four grade 10 bolts and 4 grade 10 washers. According to my research, a washer ~ 2.5mm would give you an additional degree of negative camber. I measured each washer and the were all within .002 of each other (probably more the margin of error on my Harbor Freight calipers). This was after I realized that I was not being very scientific about measuring each one in the same spot. Initially, my readings were .1 off from each other.
Jacked up the car, removed the two lower strut bolts, inserted the washers and new bolts, and re-torqued everyone.
Rolled the car back out the garage to my marked alignment spot in the driveway. Put the Longacre alignment gauge on and viola - exactly -1.0 more camber on each side. Secured from event, re-stowed all gear.
Also ordered my Brooks Pro Wing today.
Member
Getting camber that way (over the typical camber plate method) is actually the better way to go (so long as you have the strut clearance), because you don't increase the king pin inclination as you do so and the positive effects of caster are kept intact, rather than negated. It's a double benefit.
Looking good! Car should be awesome!
Member
Tires arrived today from Maxxis. They included a free coffee cup with it.
I was having a problem with cold start up that I attributed to not enough fuel in the tune. I had added a shit ton of fuel to the cold start and it seemed to cure the problem. Then I remembered an issue I had with my old CRX that turned out to be the idle air. Got a new ICV valve for the BMW and viola - super rich cold start condition. Cleaned up the tune, uploaded it to the ECU she is doing fine again.
Wing looks like it will be here next week, maybe week after.
I have a Track Night in America event I will be attending on April 25th. My plan is to keep my tires of street on the car and, at least initially, leave the wing off. This way I can see how the tune and alignment feel without the added noise of new tires and more aero. If everything feels good, I will add the wing for the last session just for the grin factor. May NASA event will be the event I plan to run everything new together.
Member
Those are some nice tires! Let me know how you feel about them! I'm going to be running the same tires but 275/40-17, if you don't mind posting up a review. Possibly include any info such as your driving style, alignment all the way around, lap time difference w/o aero and with aero... Anything else you can think of, just thinking out loud here.
Member
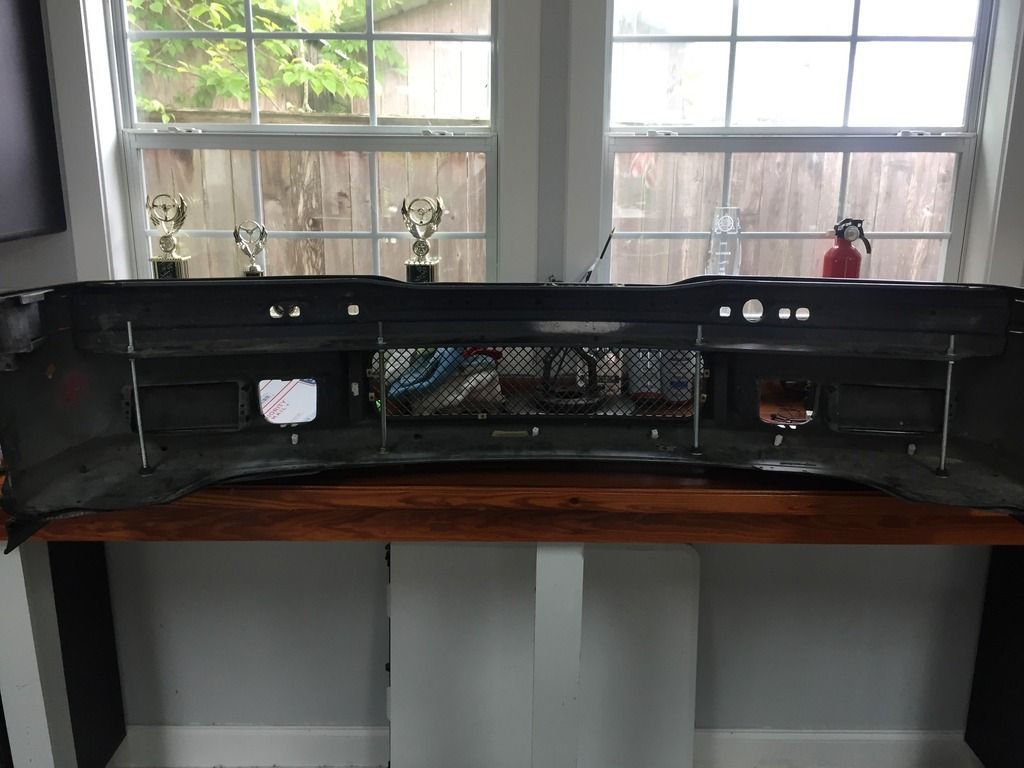
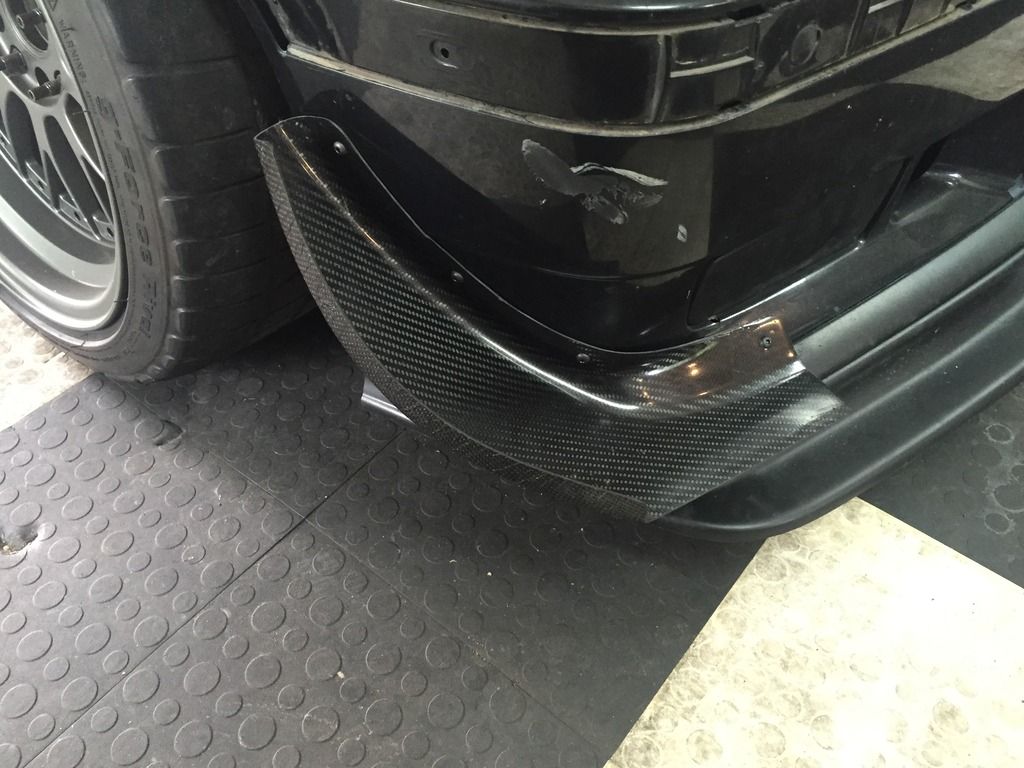
Since I have been hyper-focusing on aero updates, I knew my front bumper was way too flimsy to support any kind of effective aero. I currently have a splitter of sorts (it's more of a lip than a splitter) but I also have an under tray that directs air through the radiator pretty effectively. The combination of the lip and tray makes for a 1/2 way decent splitter setup IF the bumper could support it. You can see the bumper sag in this pic
I started doing some research on how racing teams and the BMW factory did their splitter mountings on the E36. Bimmerworld makes some supports for their splitter at $199.00 a set.
I liked the thought process but the mounts wouldn't work for me as they were too long for my application and they were pricey.
BMW used a similar setup on the LTW cars and the factory racers.
These too are too long and VERY pricey.
Both used the bumper support as the foundation for the support so I knew I wanted to fabricate something that did as well.
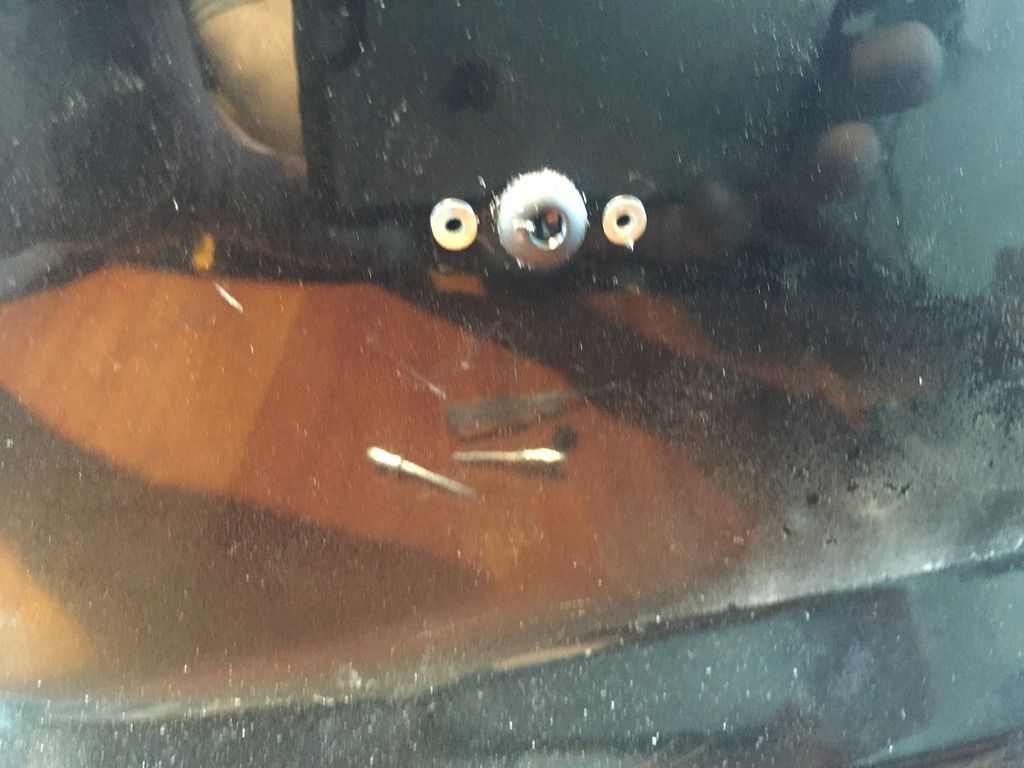
I had the carbon fiber splitter from my old Cayman that was damaged from an off-track excursion. I decided to use that like a giant washer of sorts. I cut it to fit under the bumper and behind the factory and add-on lip. This would provide rigidity both fore and aft and side to side
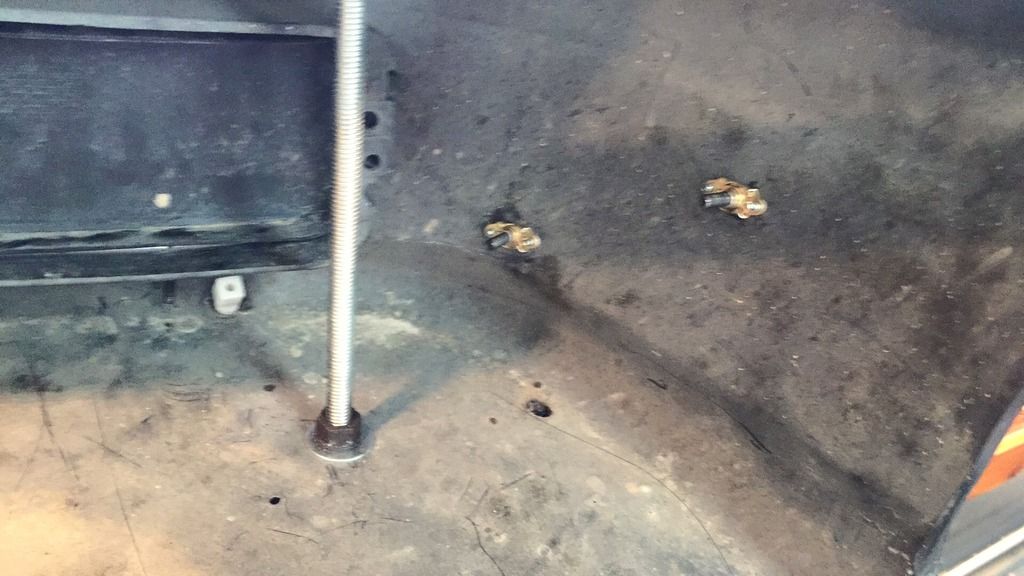
I purchased some 14" long 3/8" threaded rod, 16 washers and 16 nuts. I then drilled holes in the bumper support, the bumper and the carbon "washer" and threaded them through
This connected everything together and made for a really nice, stiff foundation. I still had a little flex in the sides of the bumper so I connected the side mounts to the bumper support for some added rigidity there.
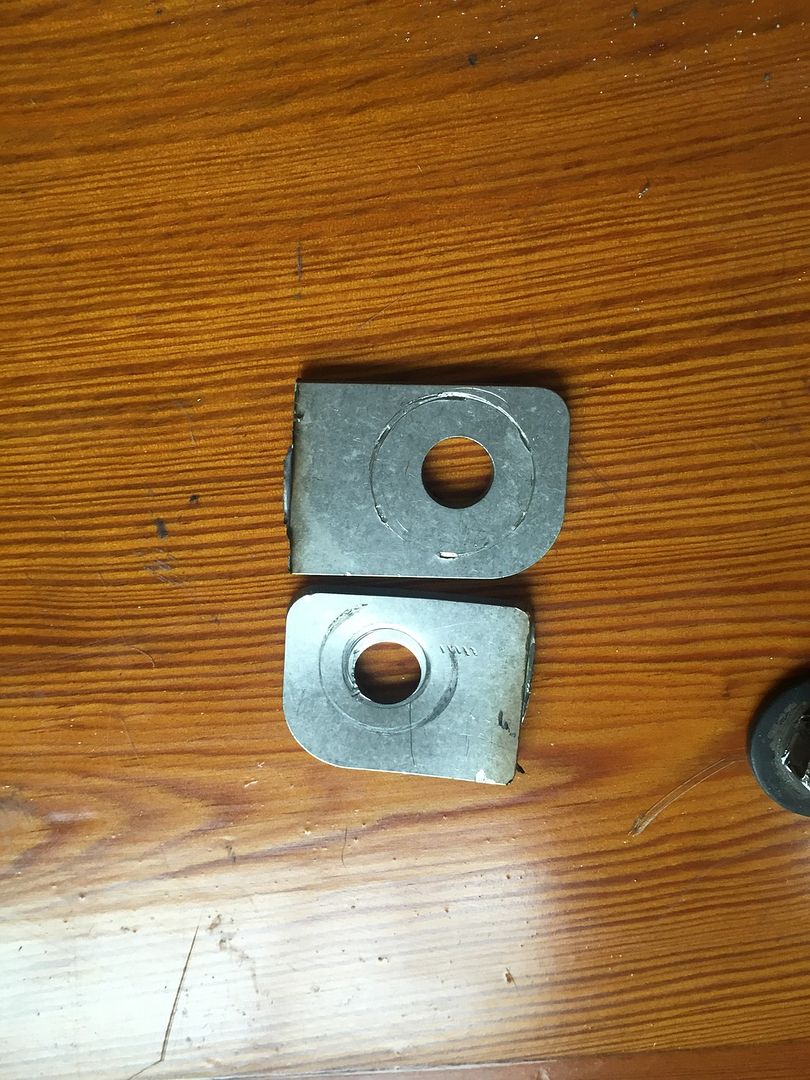
Lastly, I made some larger washers for the front nuts to get a really good bite on the bumper when tightening it down
There is no flex in the bumper at all now. Time to order some dive planes
Member
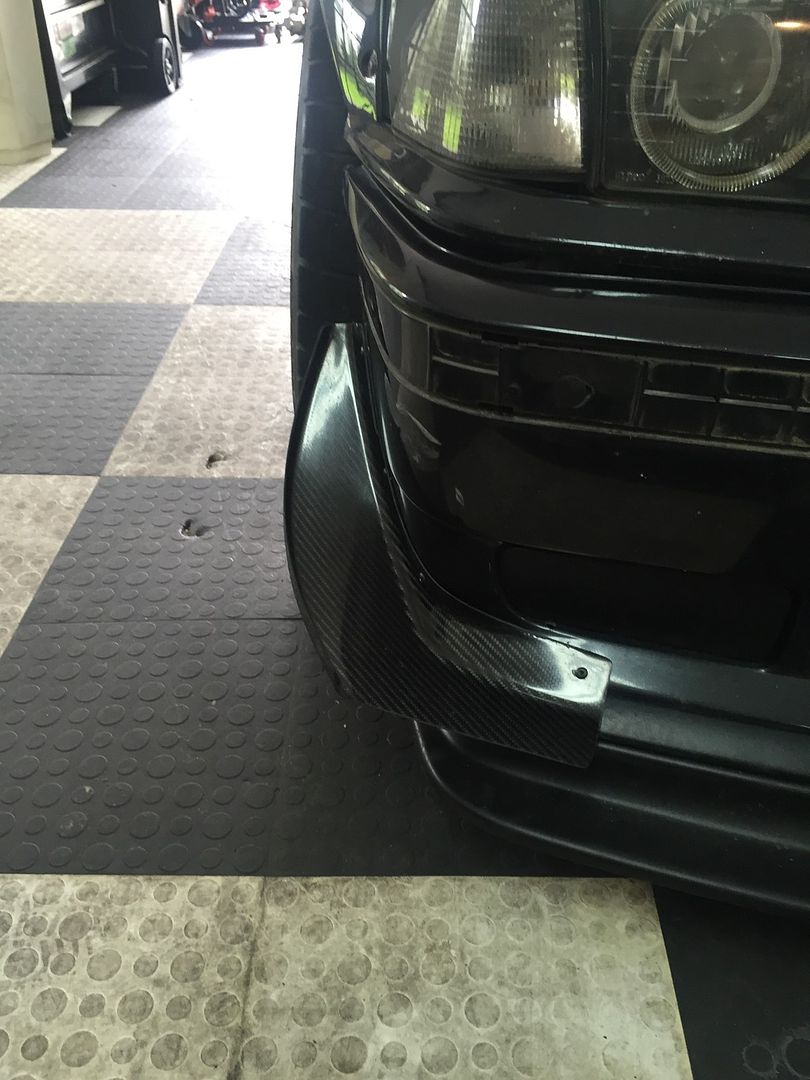
Aero time.
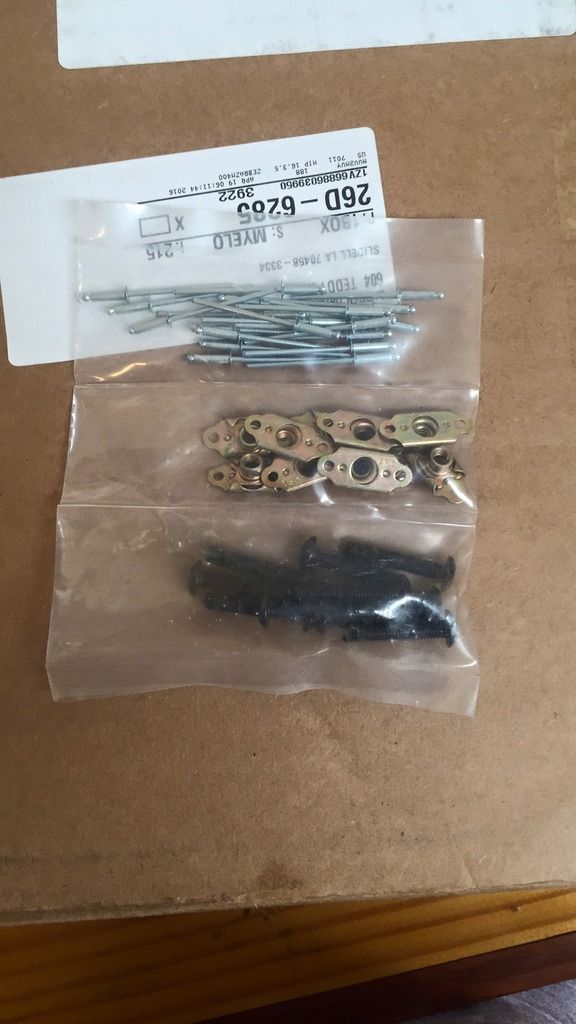
I decided to go withe the Bimmerworld dive planes as they seemed to work best with my application. It was a single plane that would help move air around the huge tires. For those that know BMW, know this means good stuff
The kit is very well made and came with some nice hardware for easy mounting and removal
Simply had to drill a few holes, install a few rivets and torque some screws.
The Brooks wing arrives on Thursday.
Member
Had a shakedown event at a Track Night in America at New Orleans Motorsport Park.
1. Had slight rubbing on the inside of the tire to the coilover due to the new alignment. Nothing bad, but you could smell it for sure.
2. Decided I am a "no-rear-bar" driver for the E36. Disconnected the rear bar again and much preferred the feel.
3. Tire temps say the alignment is right now. Pulled a little camber out of the driver's front and things evened out very nicely.
4. Rivals are probably heat cycled out. Got a bit drifty at the end of the day.
Next steps are to complete the aero install, get tires mounted on new rims and prepare for another shakedown at a May TNIA before my May NASA weekend.
Member
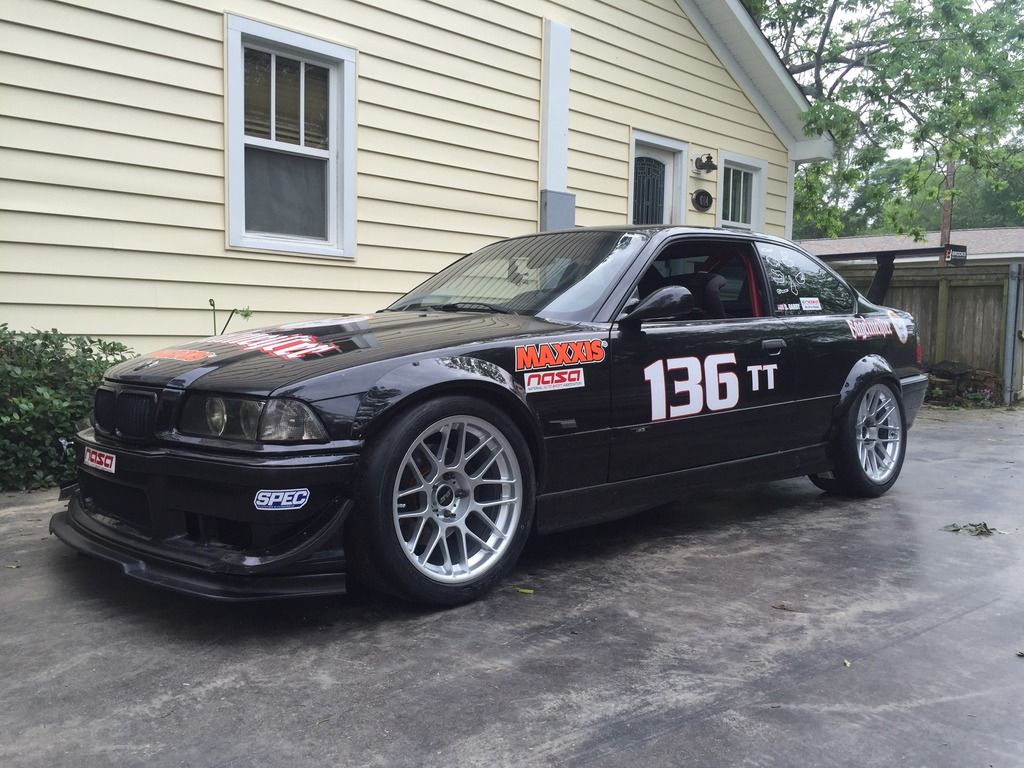
My rims arrived today. 18x10 +25 with Maxxis RC1 in 275/35/18.
Member
car looks real aggressive with those flares.
Member
perfect
Member
Car looks stupid clean. Great progress so far!
Member
Got my correct TT classing numbers in today.
Cone Killer
Huge HP numbers from your motor, wow!!
'03 911 Turbo 6MT fun car
'18 Toyota Land Cruiser Daily driver/Ski Machine/Off Roader
'15 Cayenne Diesel Wife's DD
'17 KTM 690 "Adv" 2 wheeled Adventurer
Member
Looking very nice. Can't wait to see what kind of lap times you put down.
Member
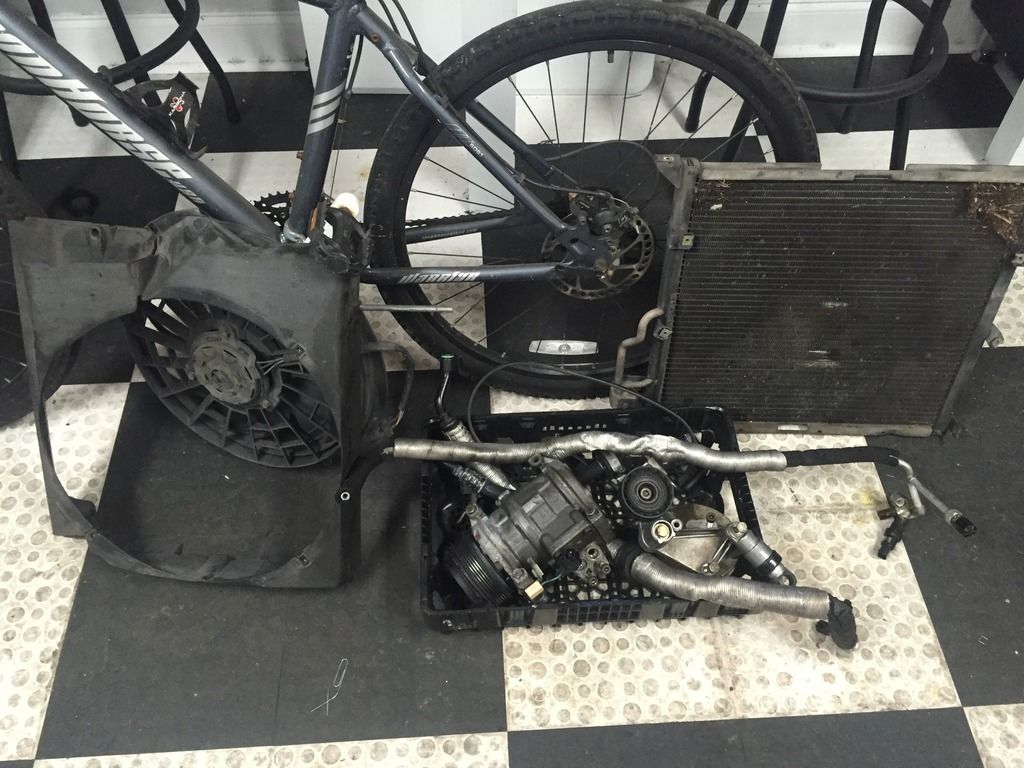
Started the weight savings part of the build today. Currently, the cars weighs 2780lbs with 1/2 tank of gas. With the HP I am making, I can get as low as 2540lbs and remain legal for TT3. Not sure if I can get there, but I am going to try. First step was removing the AC components from under the hood.
Other items on the list:
1. Remove carpet and padding
2. Remove heater core and all venting behind dash
3. Remove driver and passenger windows (fabricate system to have windows during transit)
4. Pair down the wiring anywhere I can.
5. Remove headlights and replace with CF deletes with intake on passenger side
6. Smaller battery
7. Install Bimmerworld dual fuel pump kit so I can run as little fuel as possible. Currently see fuel starvation issues at 1/2 a tank.
I wil complete all of the above after my next NASA event in two weeks.
Last edited by darbyfam; 05-12-2016 at 07:46 PM.
Member
I still stand by my position on making sure the fuel pump pickup is at the correct level in the tank to prevent starvation. My 93 325is ran down to at or below the E line at Autocross without starving. Then the pump died. I had the dual pump kit already (uninstalled), so I just dropped in the single pump to get the car running again. Suddenly I was starving at anything less than 5/8s of a tank. Installed the full dual pump setup but that didn't really help.
Then I took the new pump out of the tank, compared the pickup depth to the old dead pump and there was approx 3/8" diff in depth. Modded the new pump to match the depth of the old one, went back to OEM on the other side of the tank and all was once again well with the world. At or below E without starvation.
Member
how deep did you have to go to remove the AC?
I pulled AC on my 325 TTE car, but the motor was on the stand when I did it, so it was simple. On my TTD car the motor is still in there and I'm wondering how invasive I'll need to be to get it out.
Member
You can take the engine bay components out in an hour. Fishing for the evaporator might be trickier, I left mine in for now.
When you delete the A/C pulley off the crank, be sure to get shorter bolts to hold the crank pulley on. You can order them from a nonAC E36.
Member
I did the underhood job by myself in less than 1.5 hours. Pulling front bumper helped allot. It's really a simple process - don't breath the freon.
I suspect the under dash portion will take many hours working by myself. Mostly because I plan to pull the entire dash and do all the weight savings I can while I am in there. Vents, wiring, etc.
Member
2780# seems really light. My car has no AC, almost no interior (just the dash remains), removable plastic windows, gutted doors, etc., and I'm well over 2800#. I have a full cage, so that must be the difference. Still have the blower motors and heater core.Originally Posted by darbyfam

Member
Agreed. I'm similarly prepped as you with no heater core, no AC, full cage, fire system, no aero yet, and I'm still over 2800# with 1/2 tank. I'm putting in the dual fuel pumps so I can get my min weight of 2964# with 1/4 tank or less.
A cage obviously adds weight but not that much. My car was still over 2900# when it was gutted interior with AC and heater core. 2780# with interior, heat, AC, etc seems crazy low.
Last edited by hoki06; 05-14-2016 at 07:57 AM.
Member
And my car with no cage and prepped to Street Mod autocross rules with minimal "gutting" but lots of weight reduction pieces (CF hood, trunk, seats, aluminum doors, sunroof delete, etc...) is 2,380 with no driver and 2 gallons of fuel.
 Posting Permissions


 Reply With Quote


Bookmarks