
 Member
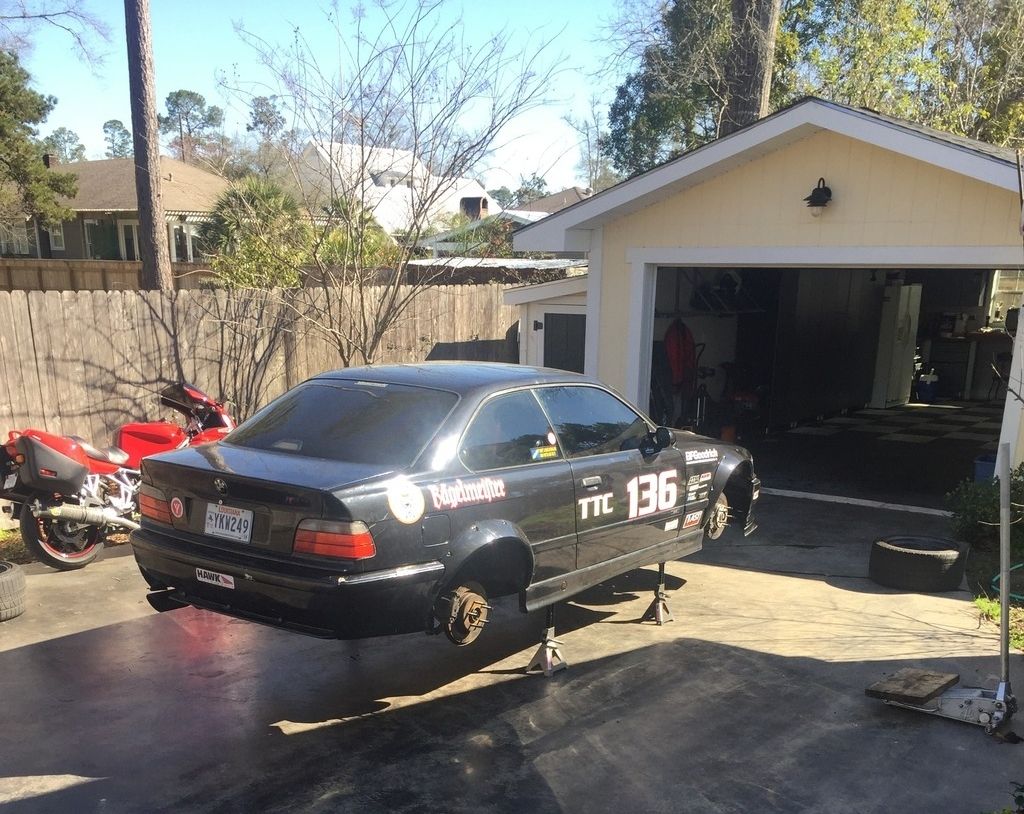
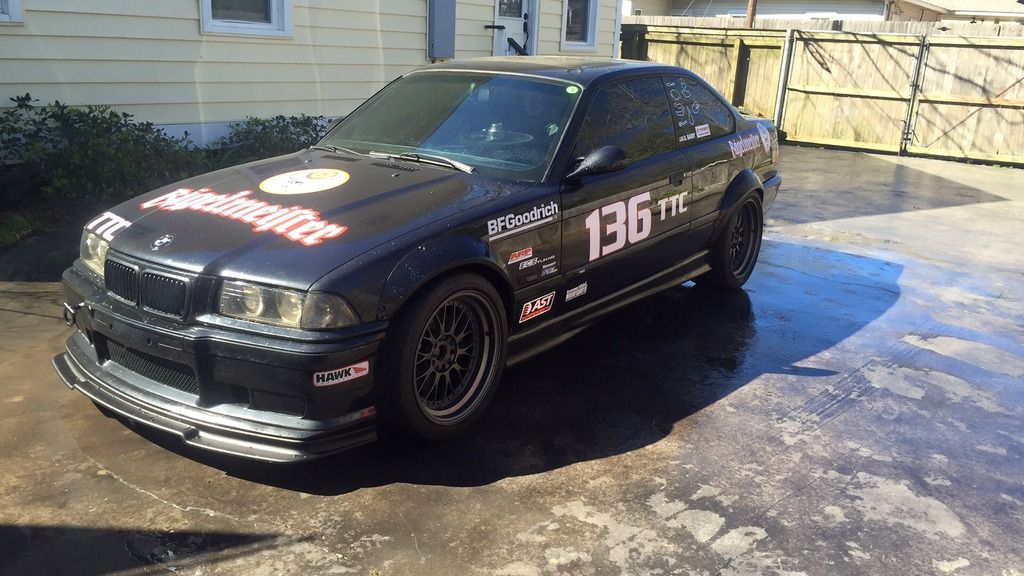
I purchased this 1995 BMW M3 with the intent of building a NASA TTD car. The intent was to keep it street legal with AC so it would be comfortable to drive to and from the track. I knew I wanted to strip a good bit of the interior for weight savings, but wanted to keep the dash and "creature comforts".
As it stood when I purchased it:
.
It already had AST 4100s, a chip, upgraded injectors, intake, header-back exhaust, good seats, etc.
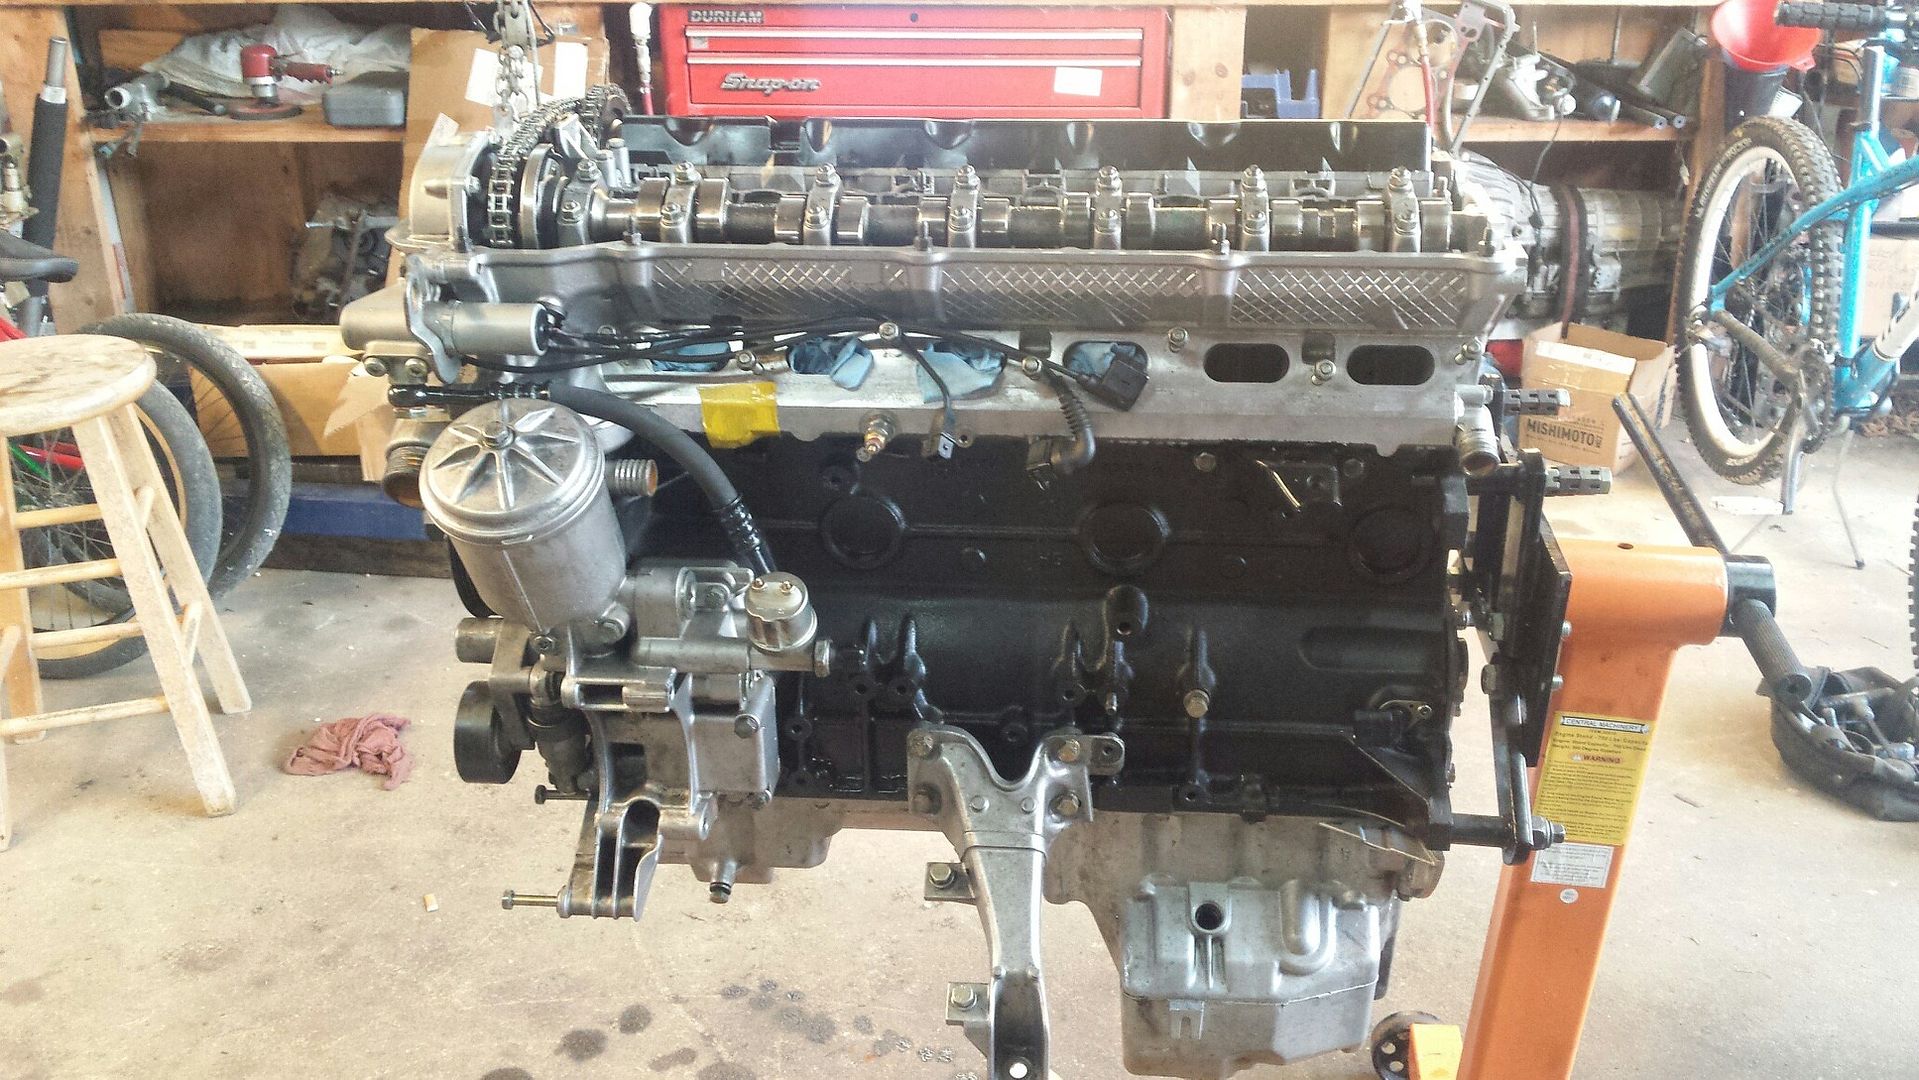
Before I even took possession of the car, I found a great deal on an S52 locally. It was listed on eBay and no one was bidding on it. I saw the Sunbelt sticker on the valve cover, so I went to look at it. When I arrived the owner said it was build by Sunbelt, had their cams in it and it also came with Supersprint Euro headers. I told him no one was bidding and it was at $500 on eBay so I would give him $500 right then. He said "Yes, just get it out of here".
Turns out, the motor was built by Sunbelt with their Stage 2 cams, the oil pump nut had already been welded, it had a euro oil filter housing, and the Supersprint headers. Quick napkins accounting told me I had just purchased about $7K of motor for $500.00. Now I realized there was probably a "catch", and there was. The head gasket was leaking a little bit on #6 cylinder. So, I purchased a full upper and lower gasket kit, sent the head off to be decked and the valves lashed, installed new valve seals, bought a clutch, flywheel, water pump, etc, etc, etc. In the end, I have about $1200.00 total in this motor and it's basically a completely new top end.
I also found a Turner "Stage 3" kit on Bimmerworld for a steal. It had an upgraded tune, 3.5" MAF, newer injectors and a better intake.
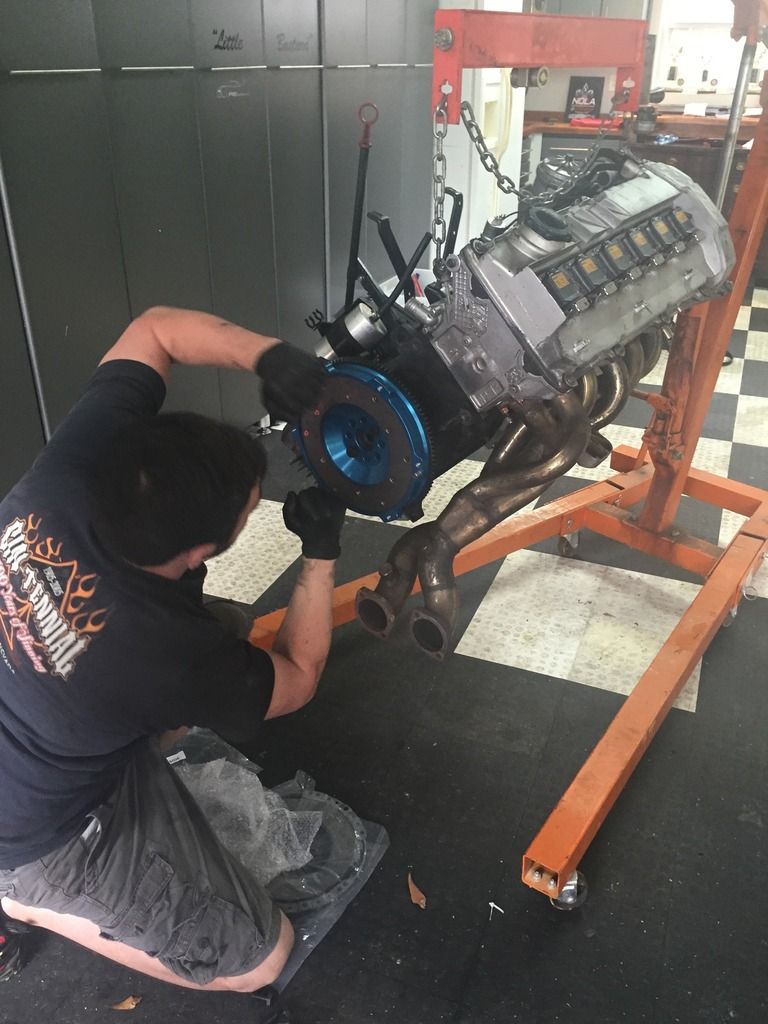
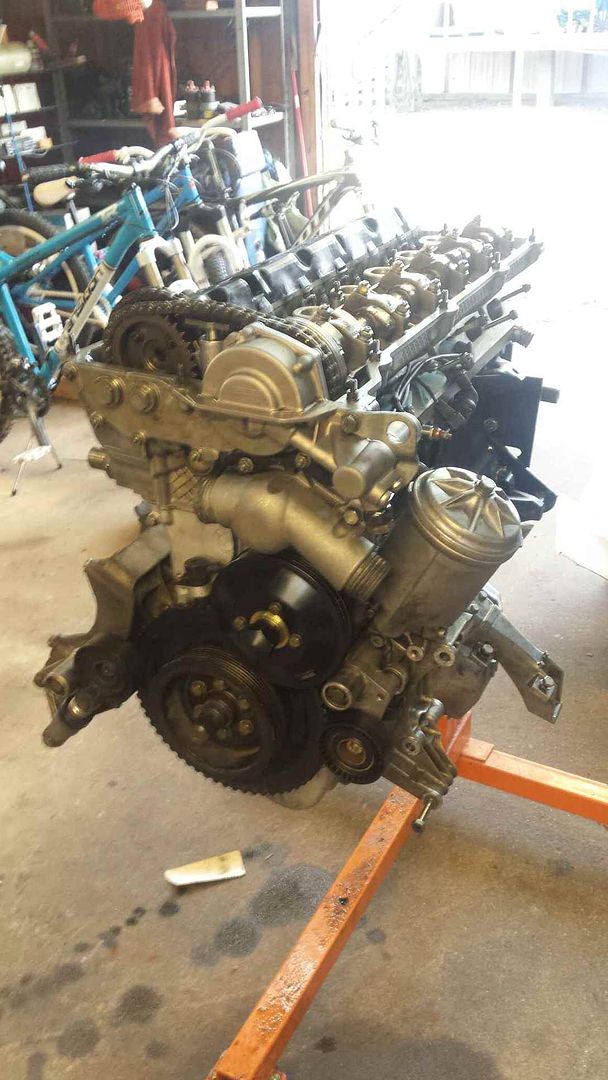
As it sits today, the motor is completely built and ready to go in. I have to pull the old S50 and swap them out. I will also add new exhaust and a Miller WAR chip with dyno tuning.
- - - Updated - - -
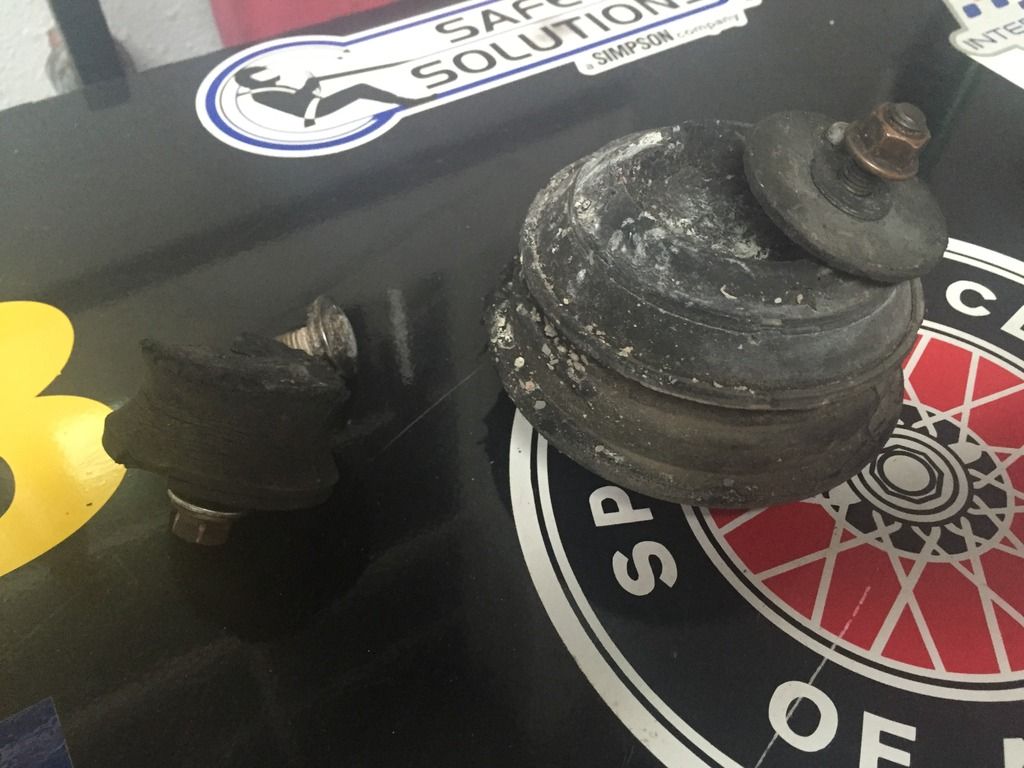
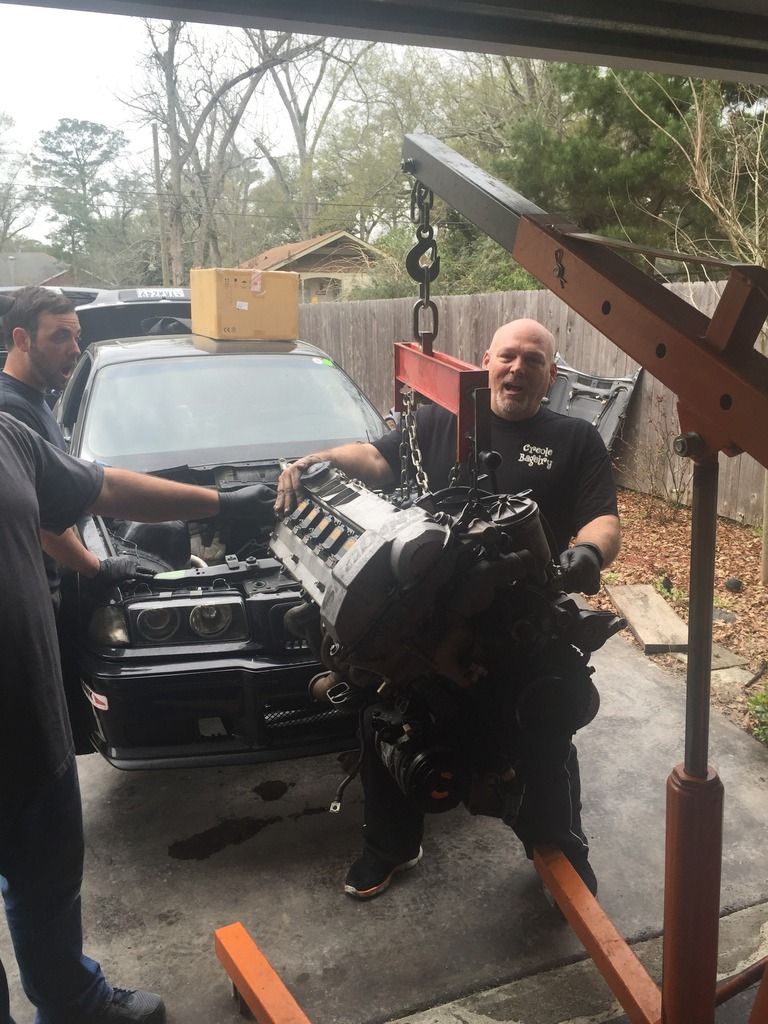
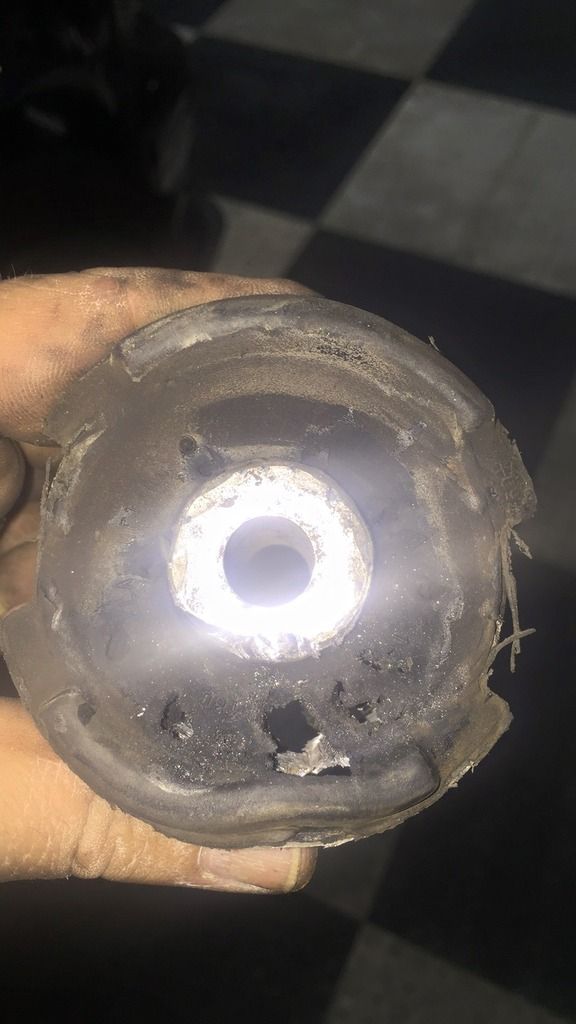
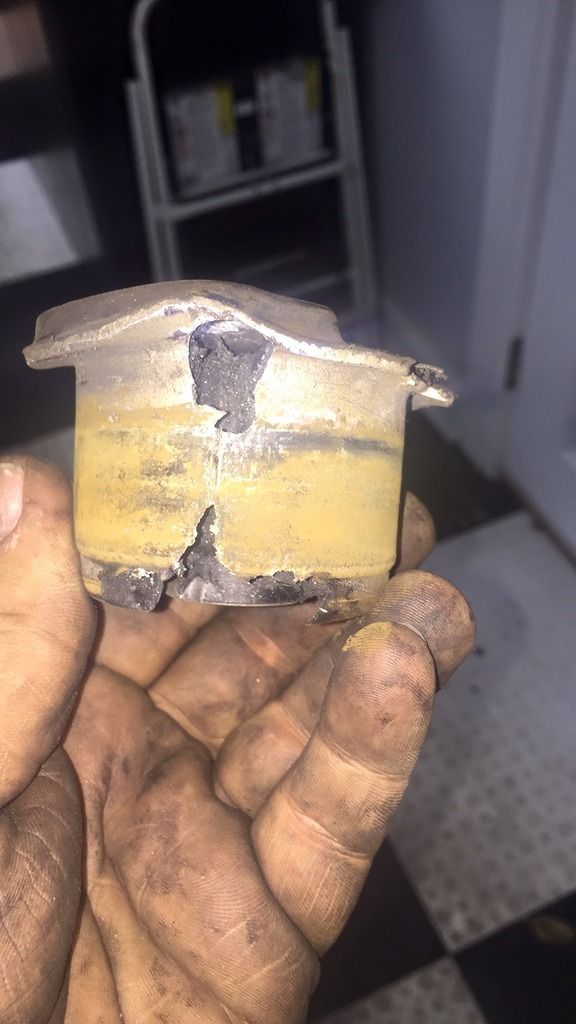
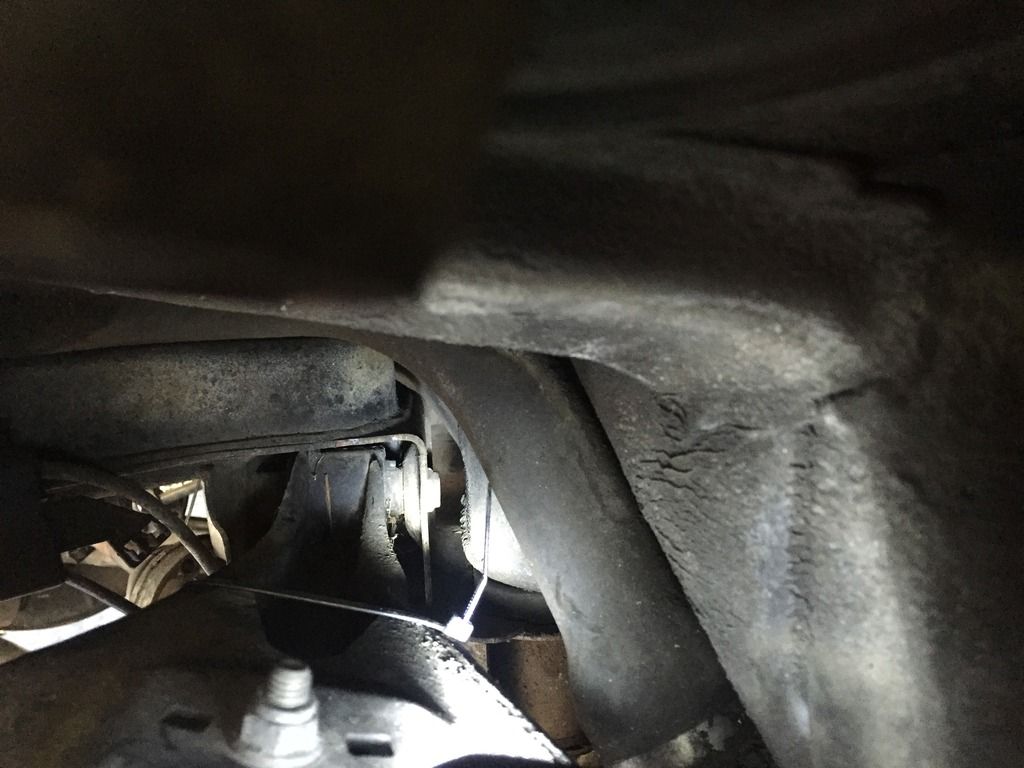
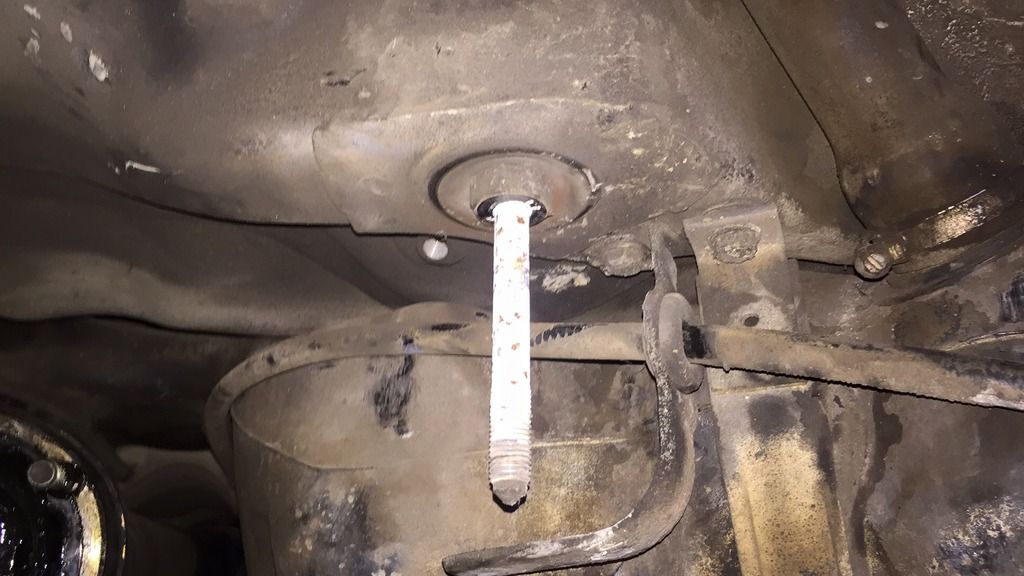
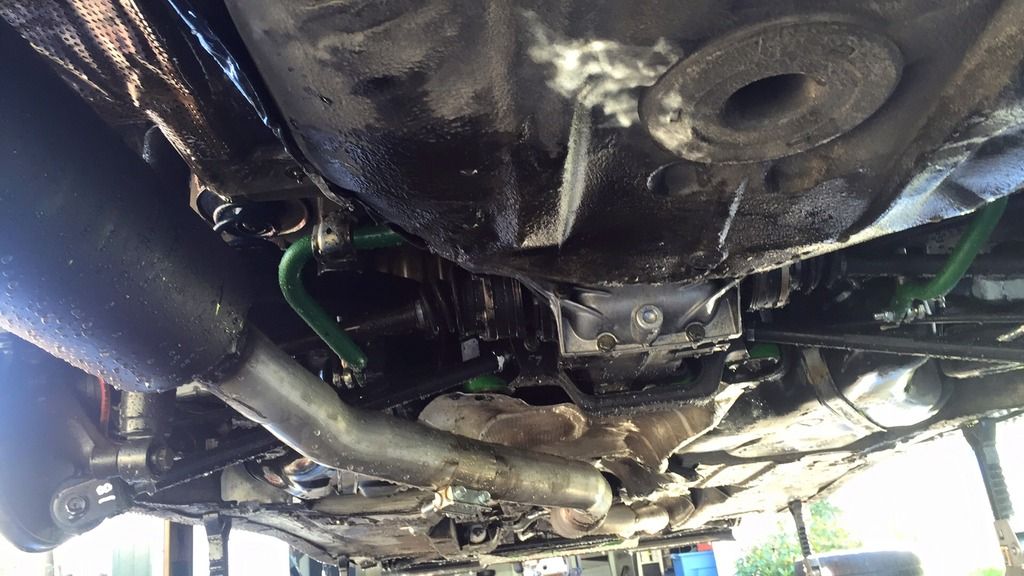
Pulled the old S50 and dropped in the new S52. Ran into a few issues (1) I didn't have the parts I ordered during the week (oil filter, temp sensor, and OBD2 to OBD1 temp sensor adaptor) and (2) I broke the power steering cooler hose so we couldn't finish up. We also found that the motor and transmission were floating in the car. None of the mounts were working at all. The transmission mounts were seared in 1/2 and the engine mounts were broken. Pics:
- - - Updated - - -
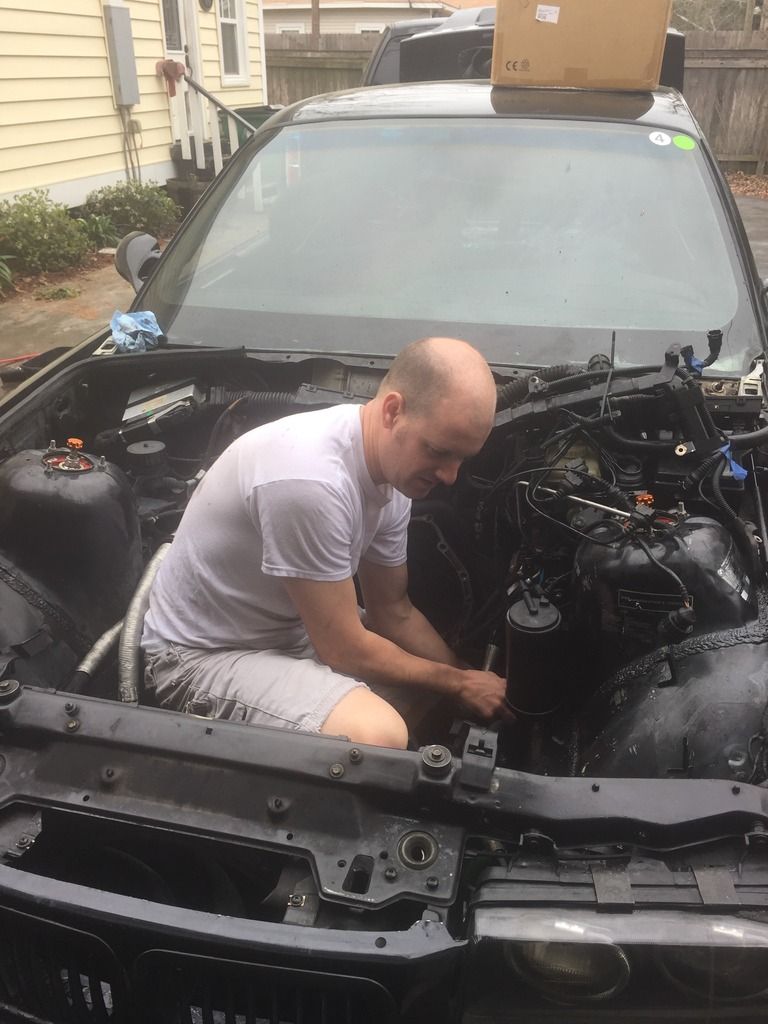
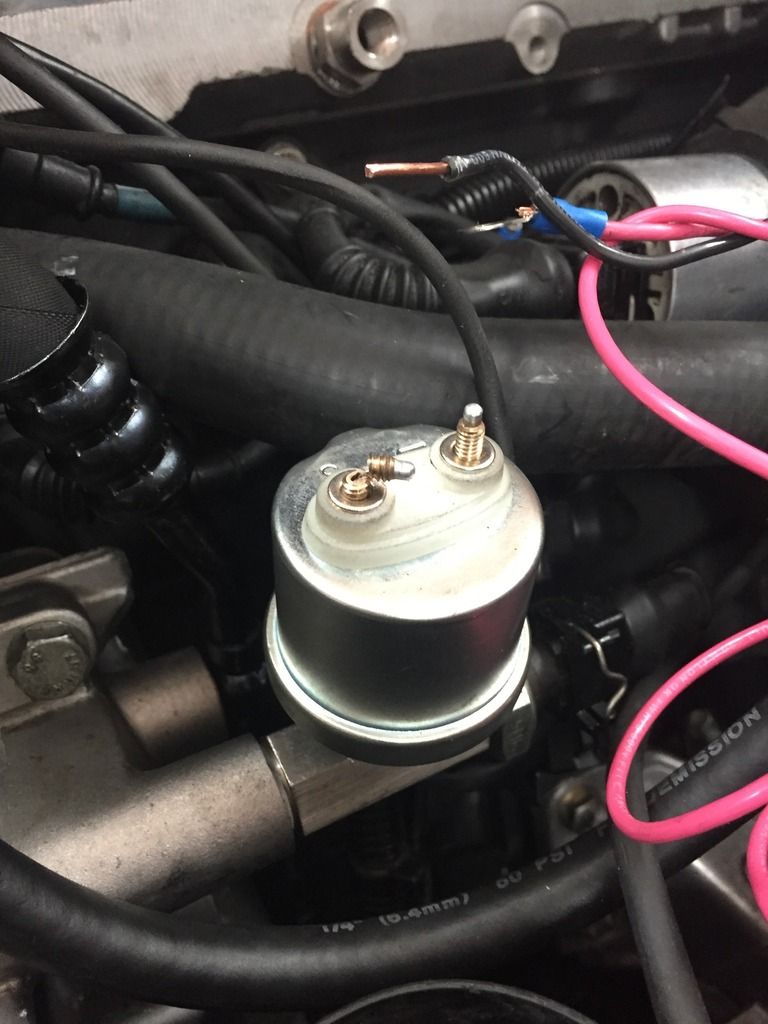
Had a few set additional very small setbacks. The OEM temp sensor in the block was (blue sensor in block) OBD1 but the adaptor I was using was for OBD2. Had to order the 4 prong OBD2 sender.
You can also see that I added a water temp sensor and oil pressure sensor for after market gauges. There is one in the base of the oil pan for oil temp as well.
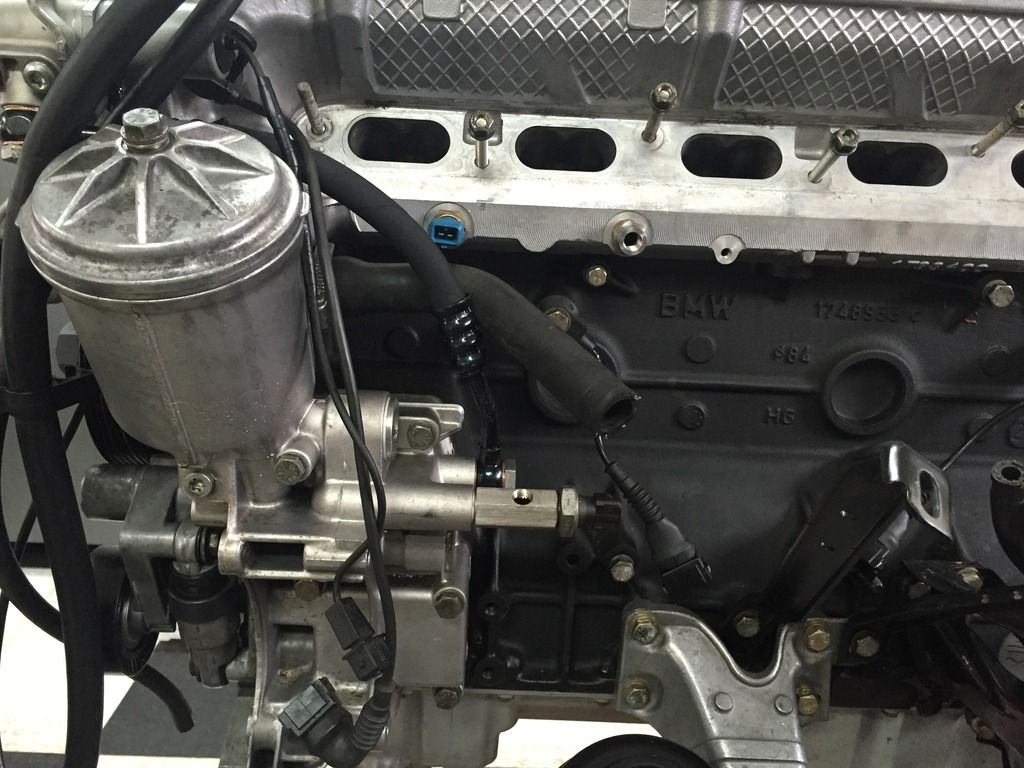
The oil pressure sender broke as soon as I tried to hook up the wires - new one on the way.
Still have to order the ECU as well. Going with the Miller WAR chip which allows tuning on the OBD1 ECU.
- - - Updated - - -
August 2015: The car sat for a while as I was stupid busy at the bagel shop I own (opened a 2nd location, expanded the current store, built a new kitchen, released a whole new menu, etc, etc). That coupled with the fun that comes from employing near minimum wage employees........
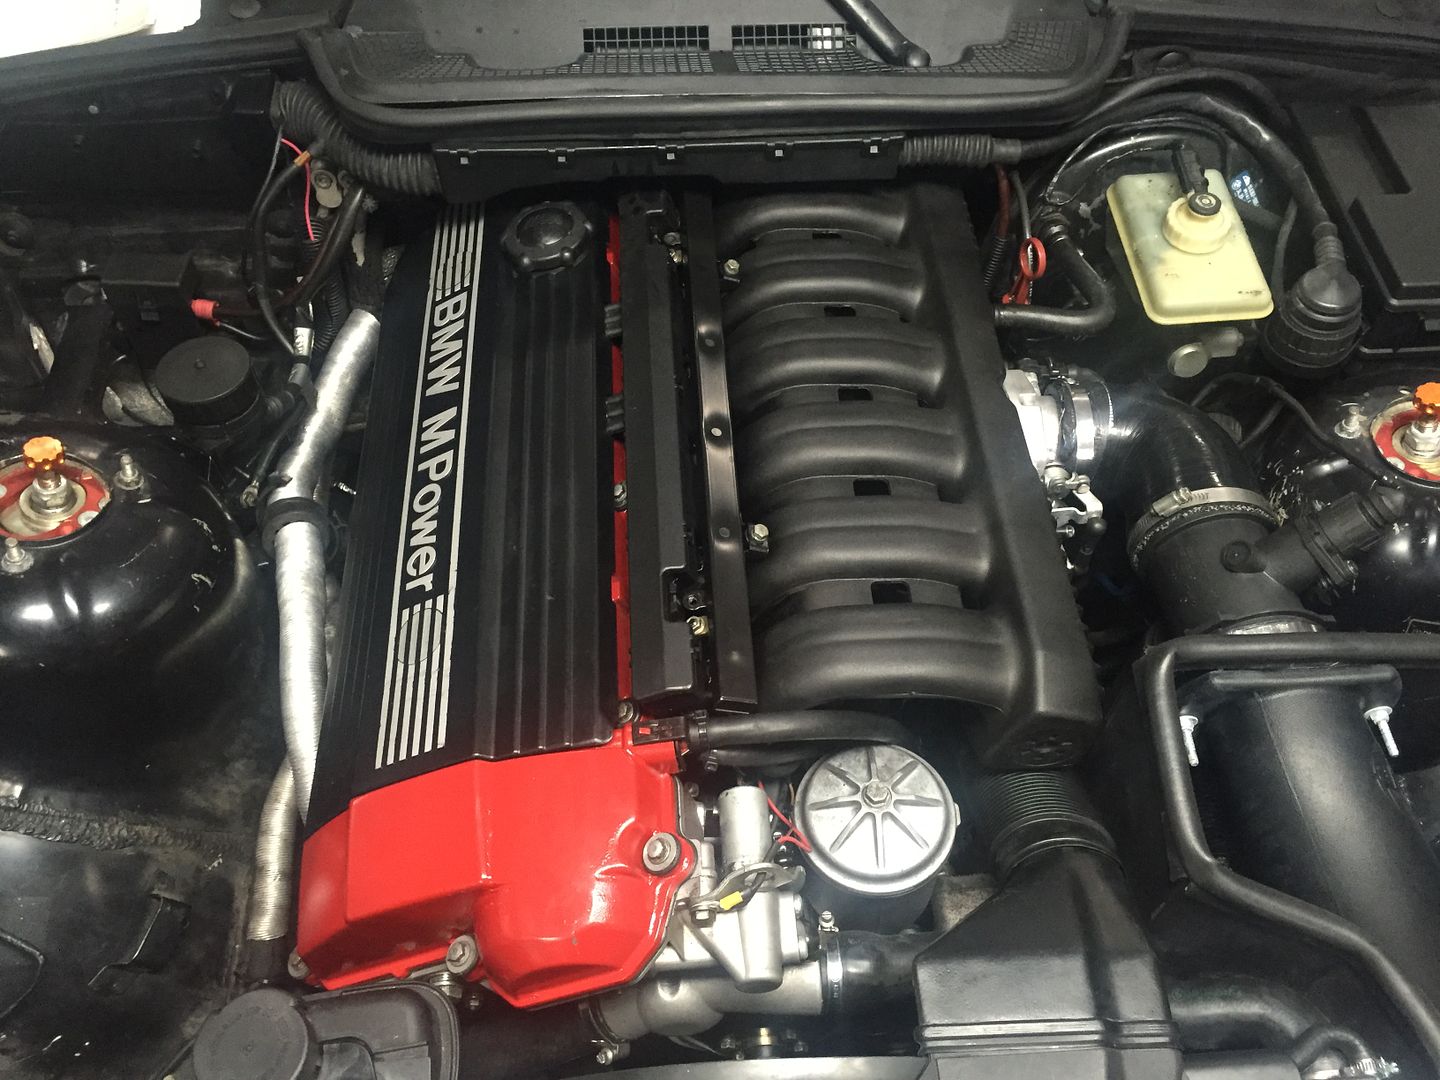
The motor is in and running.
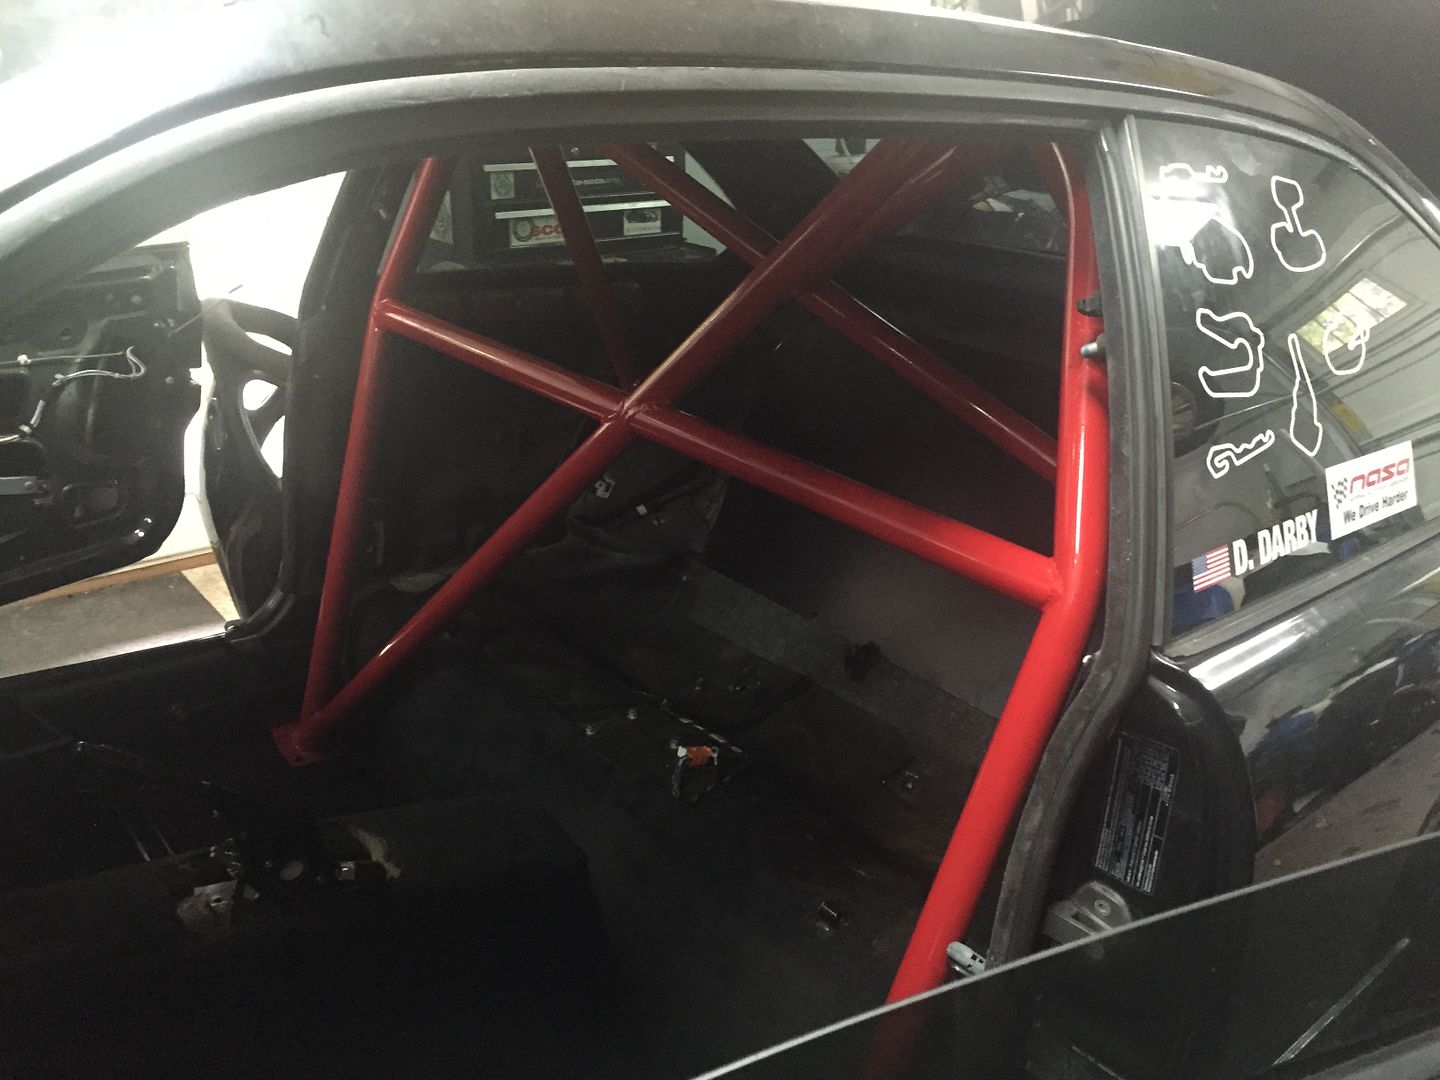
Also added a 4 point cage
Some 6-point harnesses
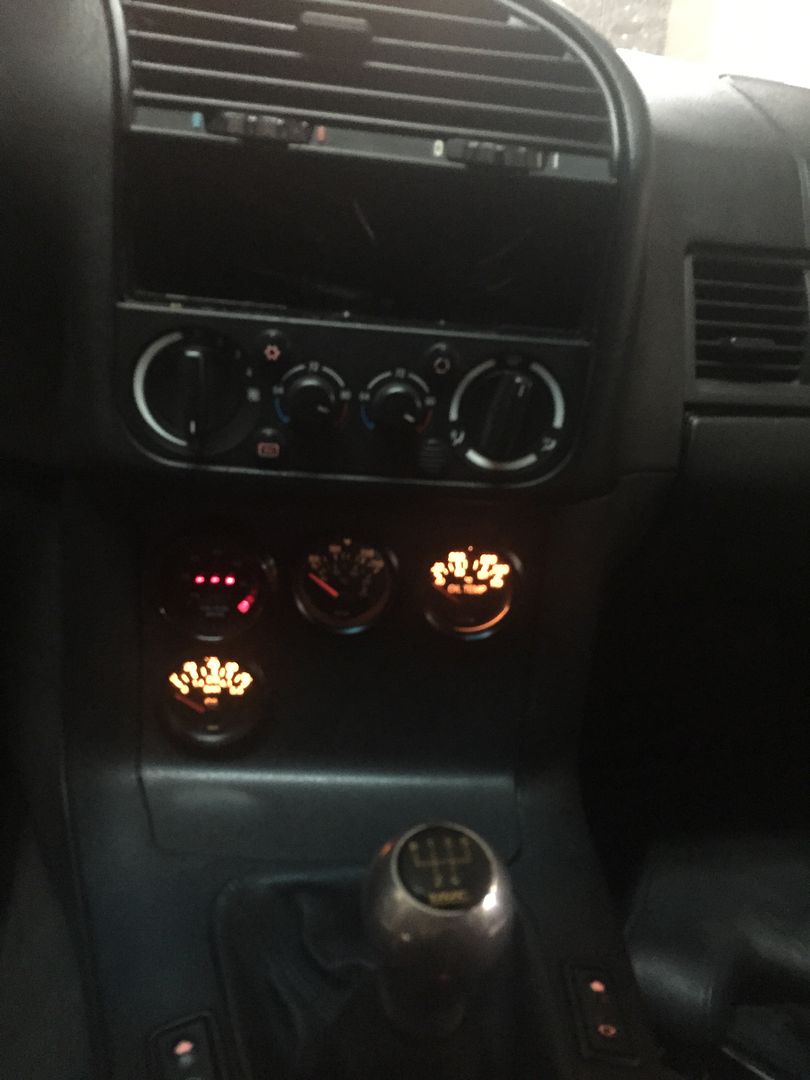
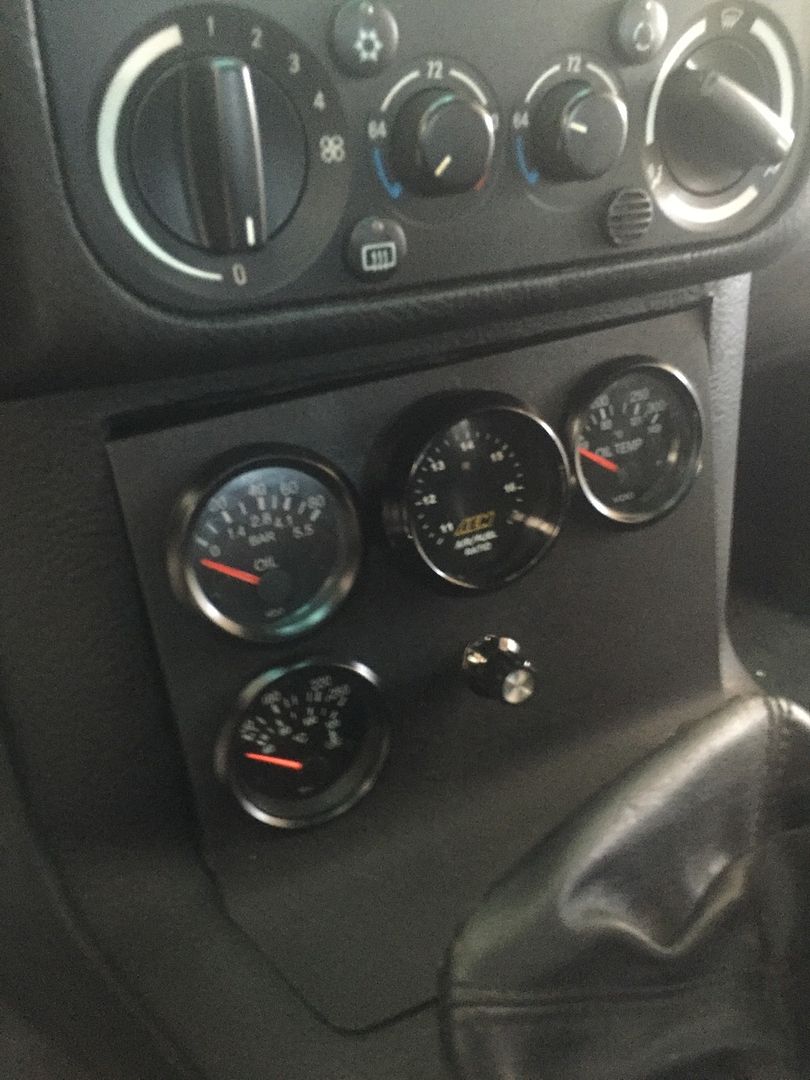
Added the Miller WAR chip (OBD1 programmable chip) and some gauges, including AFR for street tuning.
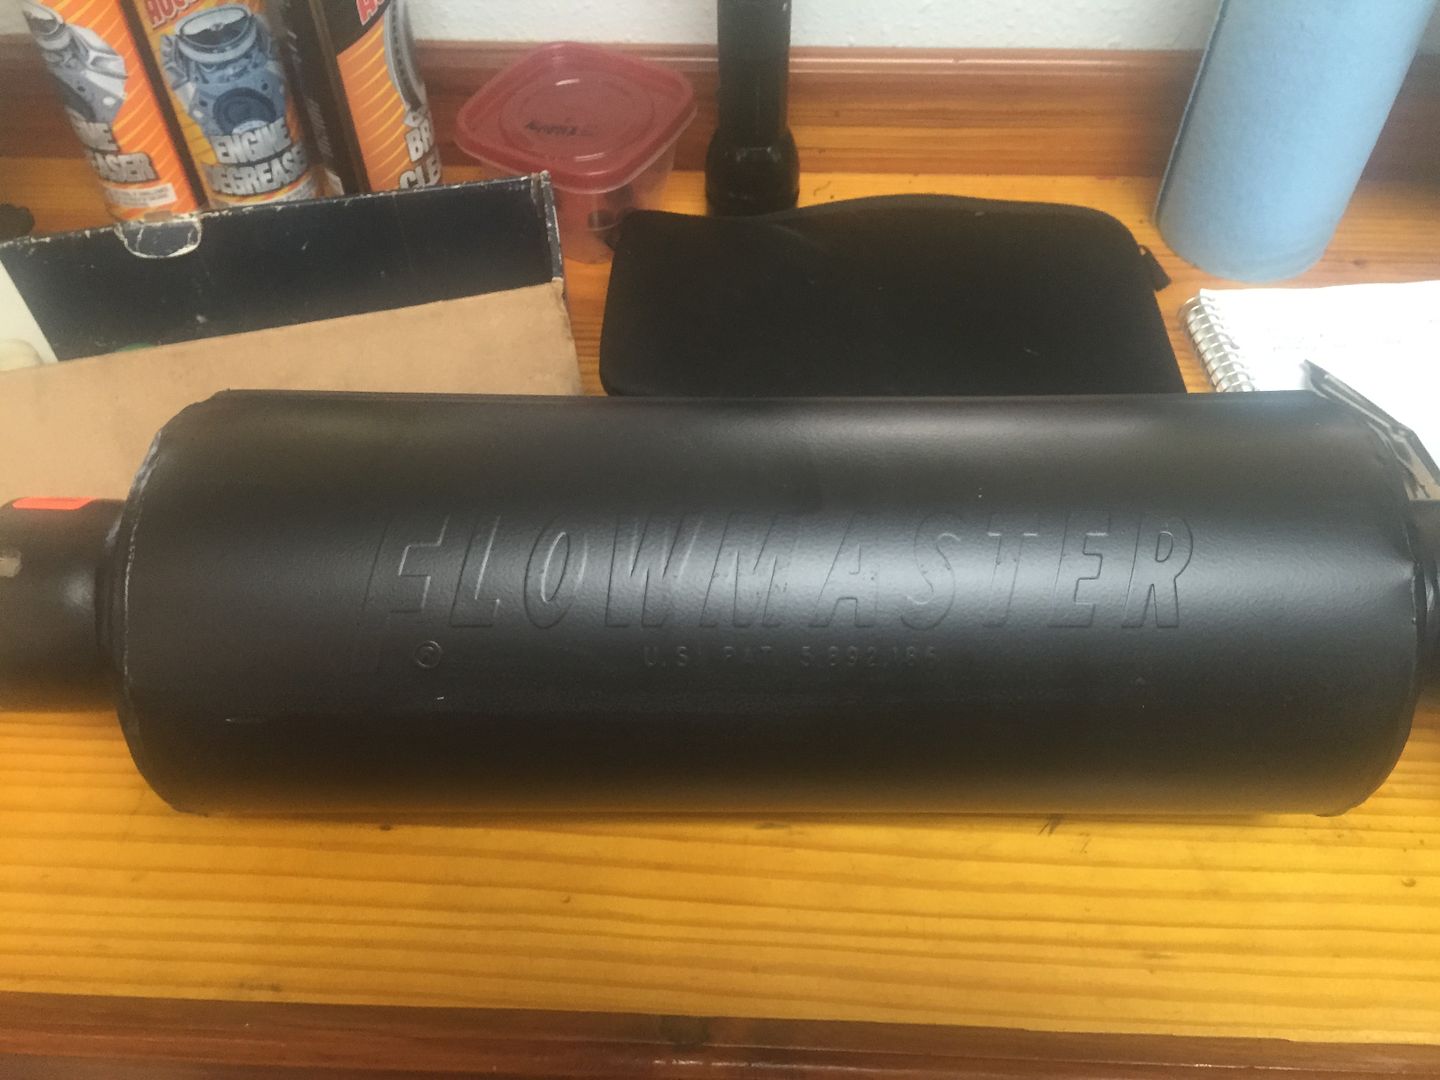
The plan is to go over it with a torque wrench this week, bleed the clutch, then off to the exhaust shop to finish that up. Going to be going with the Flowmaster Hushpower I used on my Miata (and that Vohshlag used on their E36). Then some street tuning and maybe some dyno time.
- - - Updated - - -
Late August 2015: And then, depression set in..........
Looks like bad rings on #6. Motor has to come out again.
And no, I didn't do rings when I did the head. And yes, I am an idiot.
- - - Updated - - -
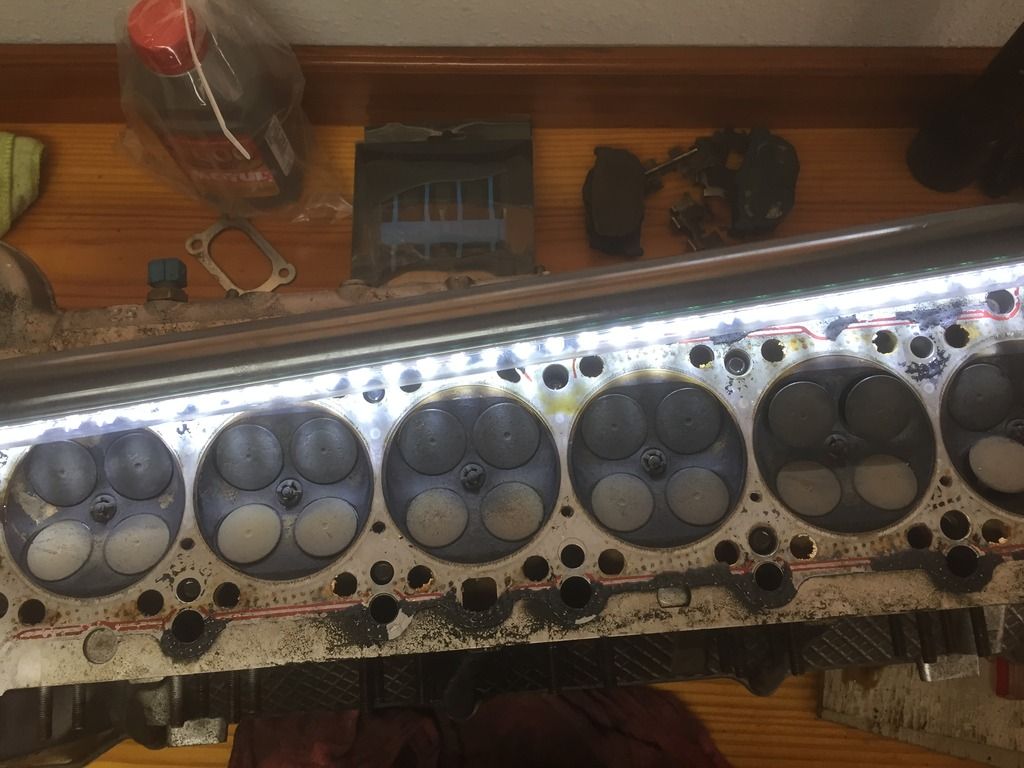
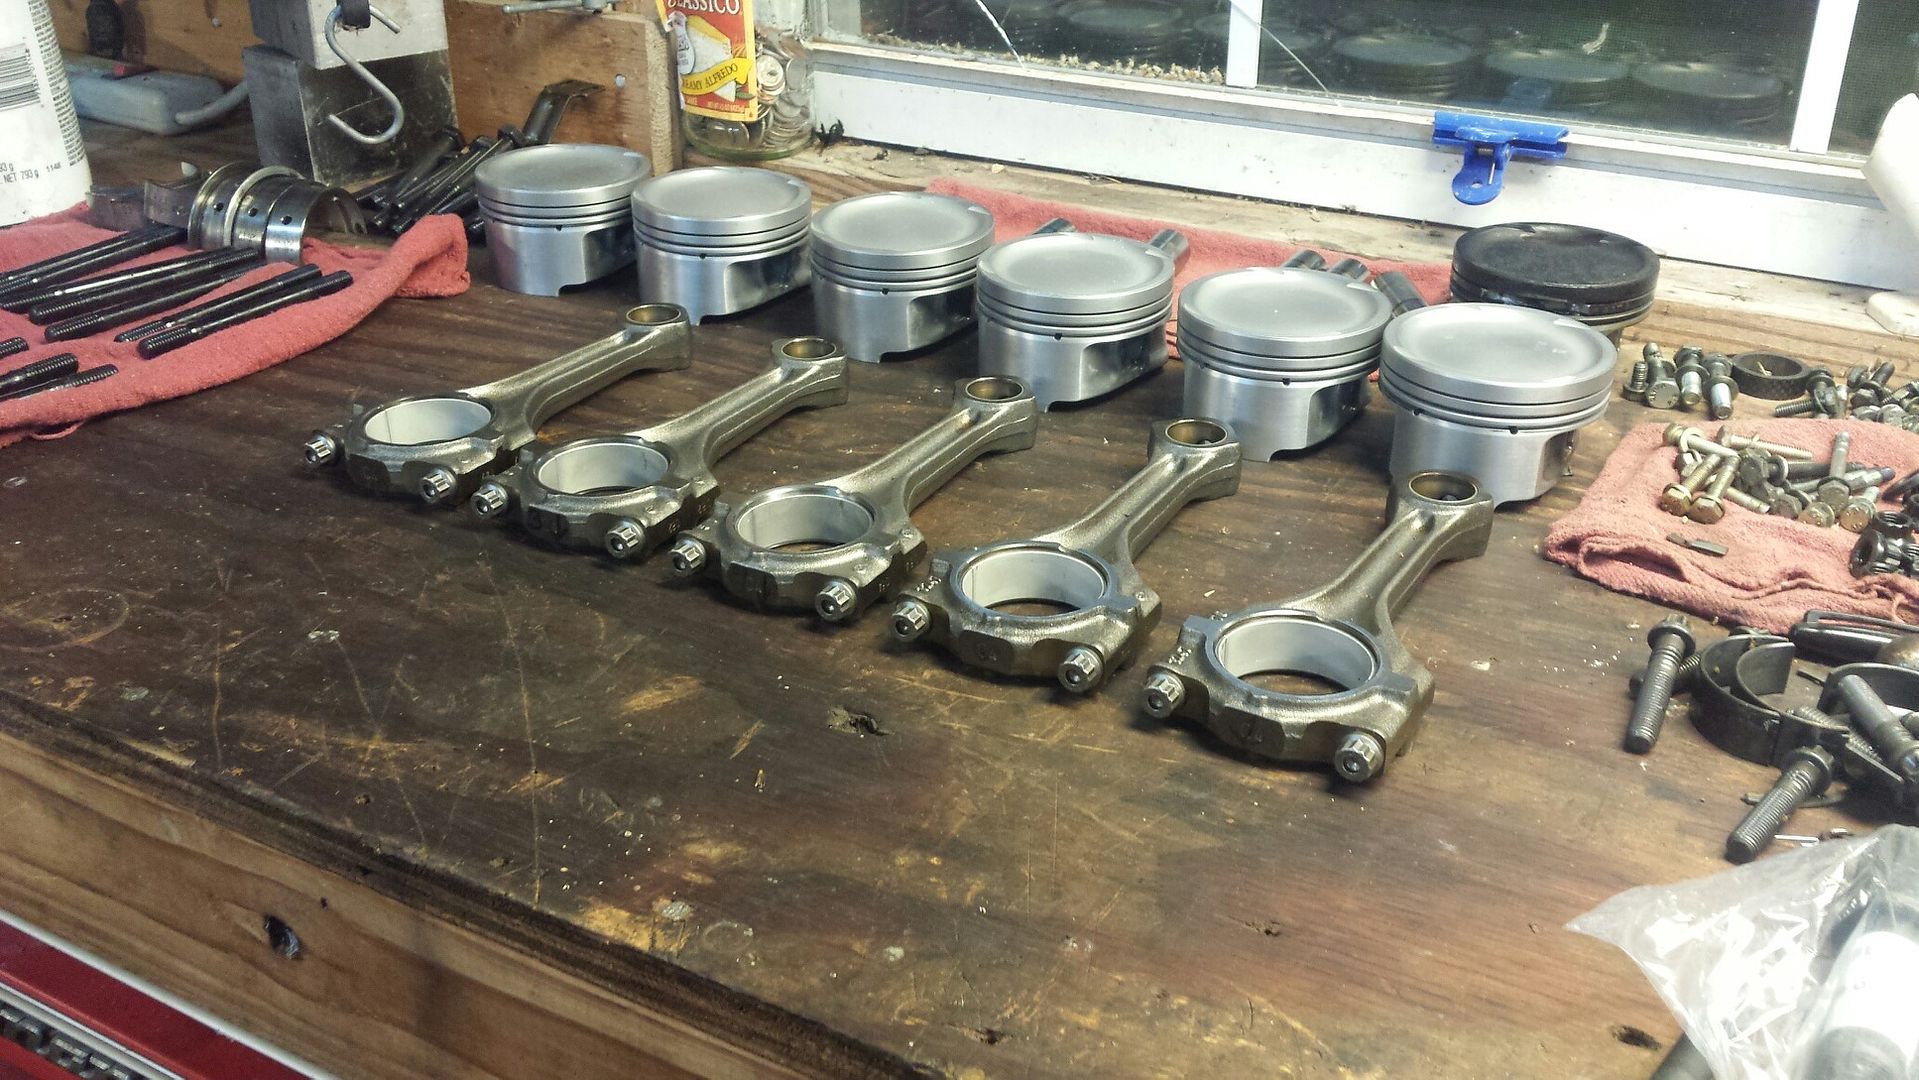
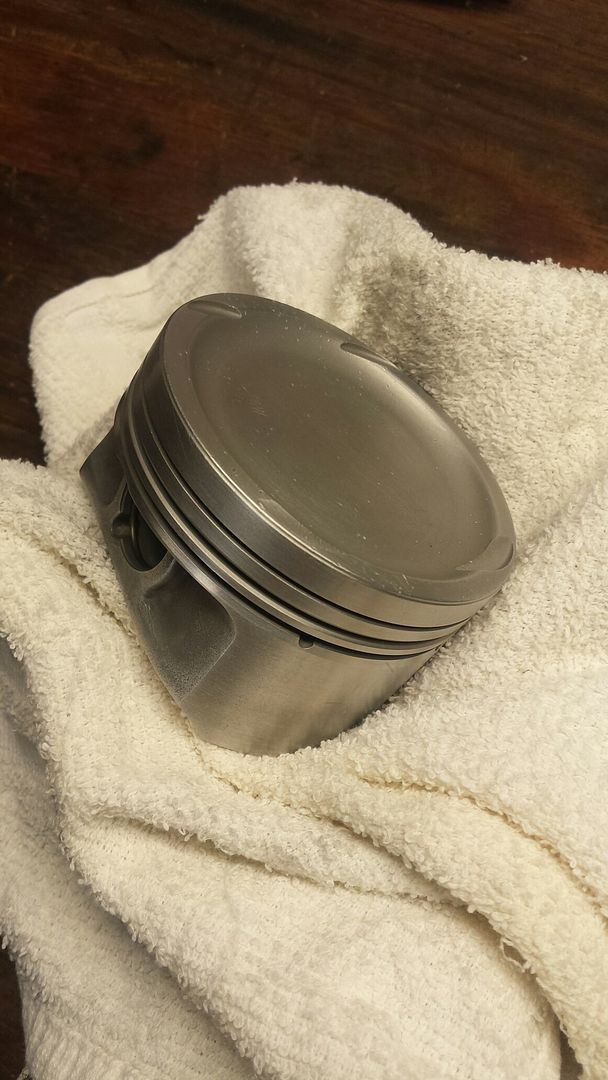
October 2015: Turned out the #6 piston was broken.
.
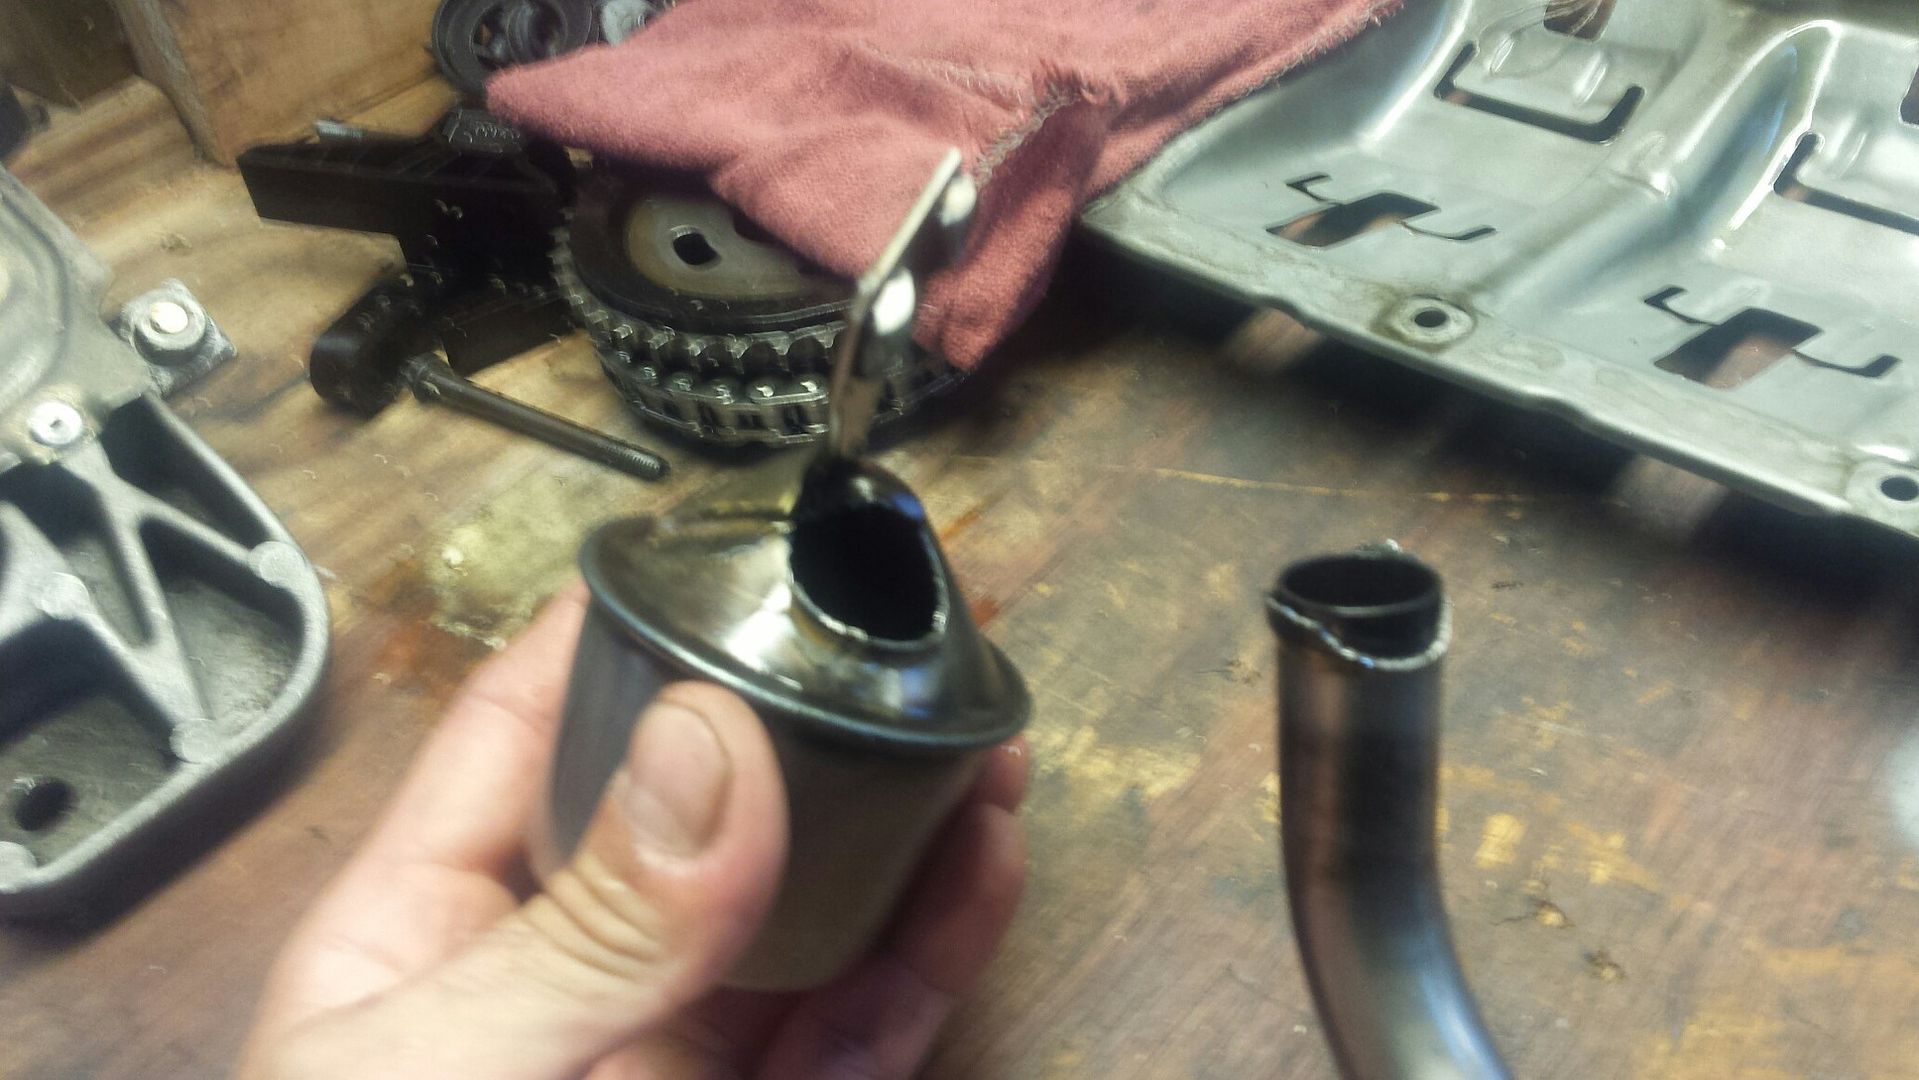
The oil pickup tube was also broken (I am perplexed about this one)
Everything is back together now with all APR studs, etc. The pistons were all cleaned with all new rings, etc, etc.
Still have to do exhaust to be 100% complete. Shooting for a November NASA TT event.
- - - Updated - - -
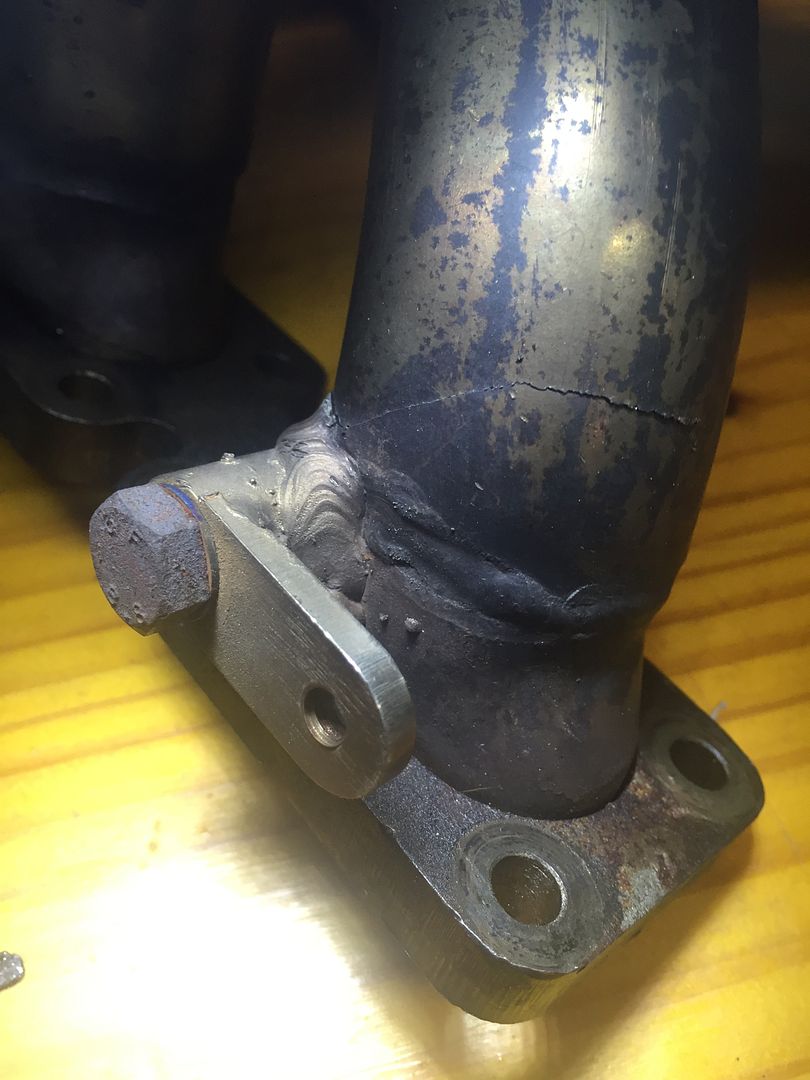
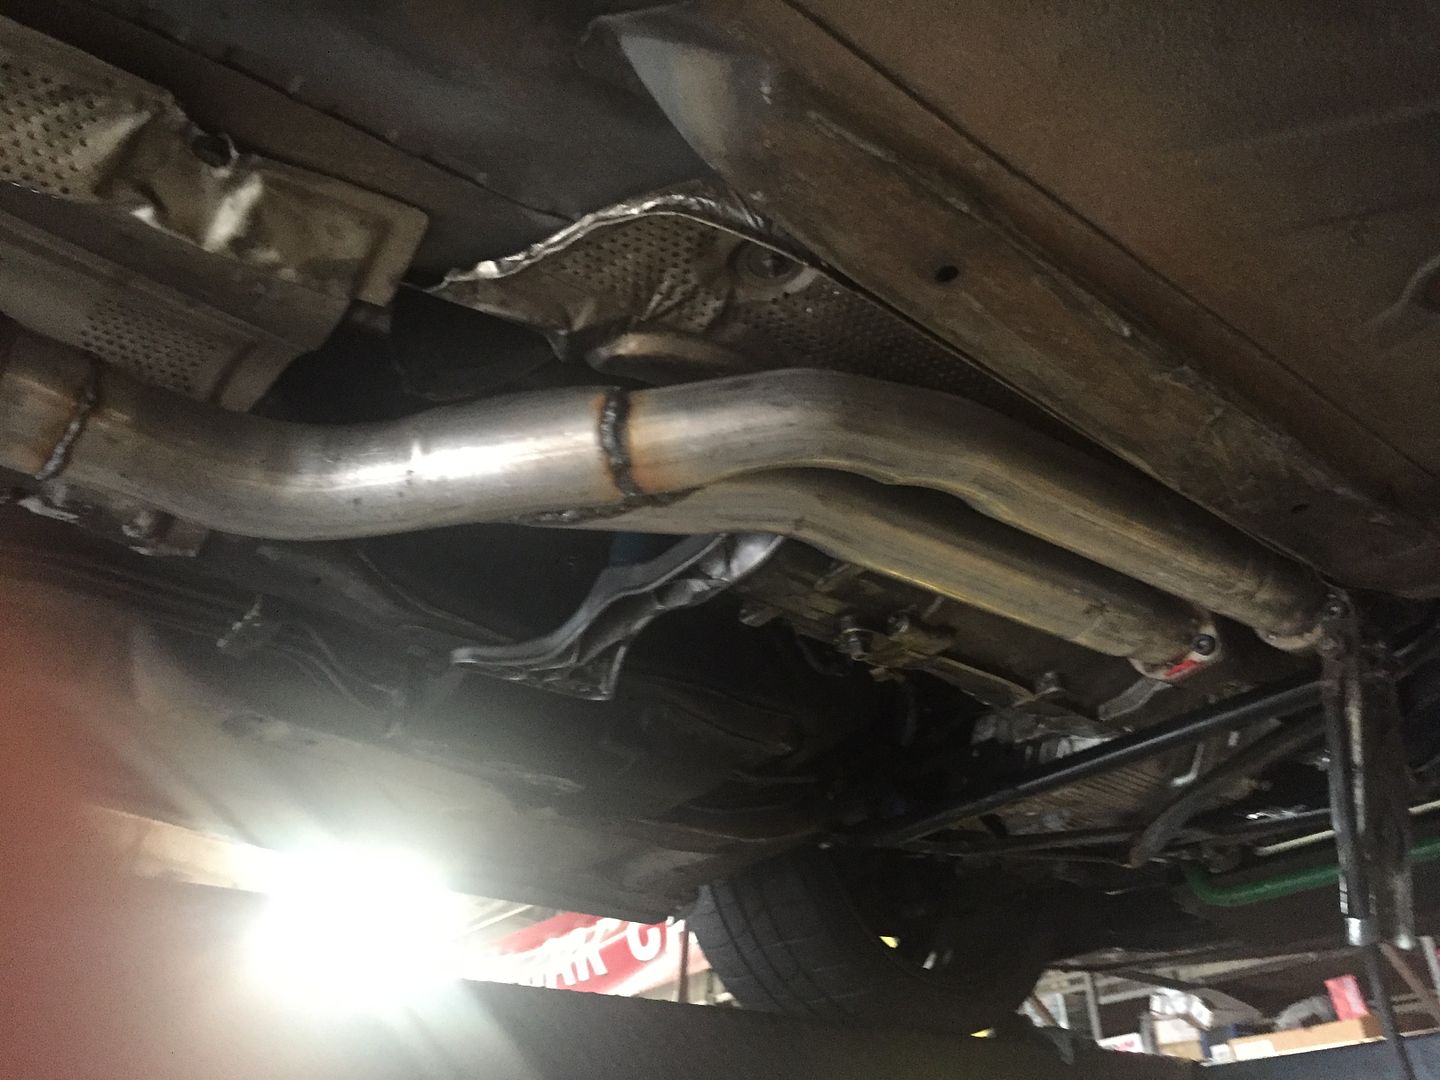
Mid October 2015: Got the motor back in and buttoned up. Found a small crack in the header, but got it welded up and all taken care of.
Next step is to get the header-back exhaust fabricated up. Plan to use a 3" tubing with Hushpower muffler.
- - - Updated - - -
November 2015:
It's ALIVE!!!!
- - - Updated - - -
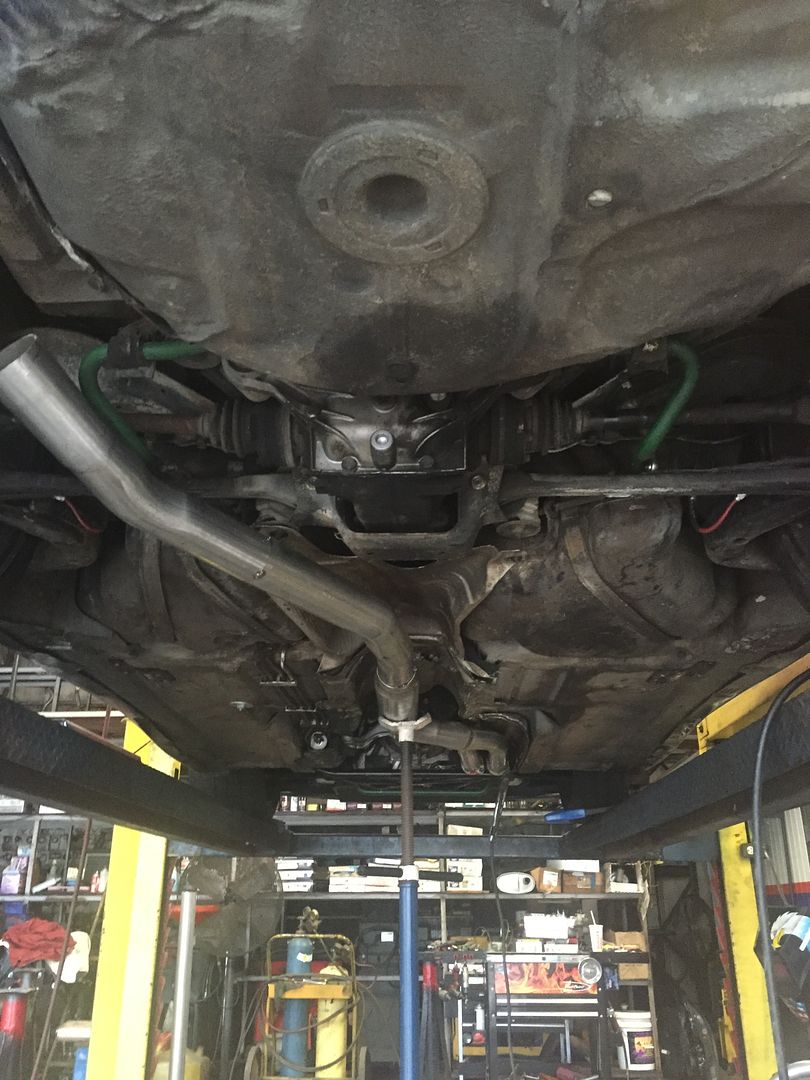
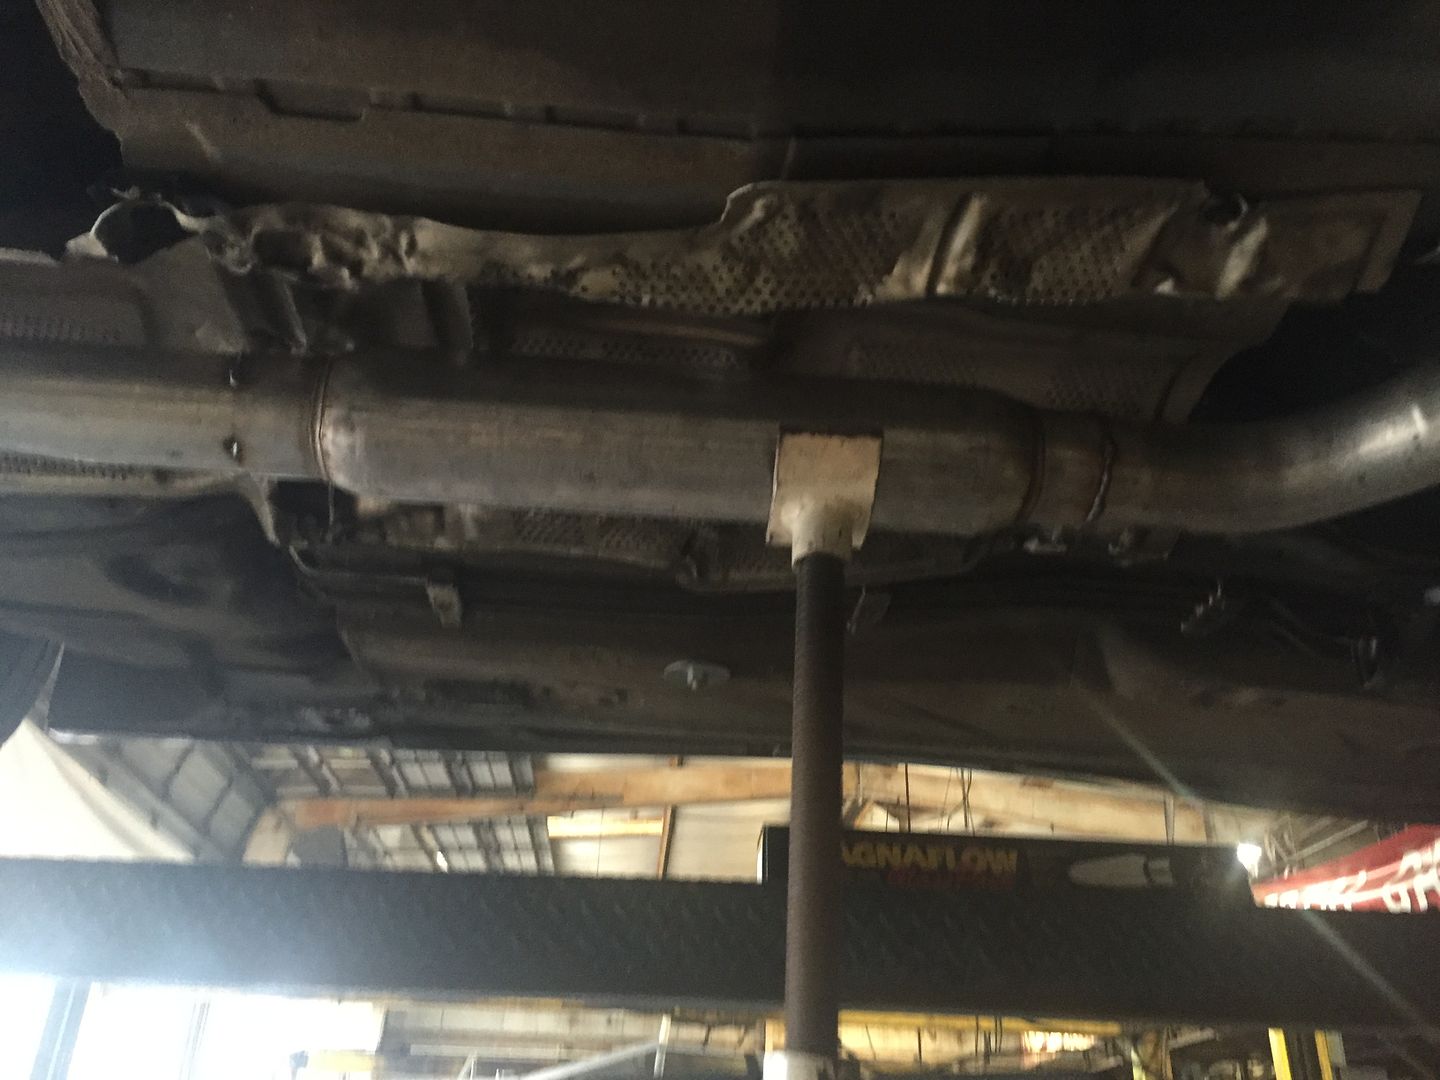
November 2015: Exhaust started.
- - - Updated - - -
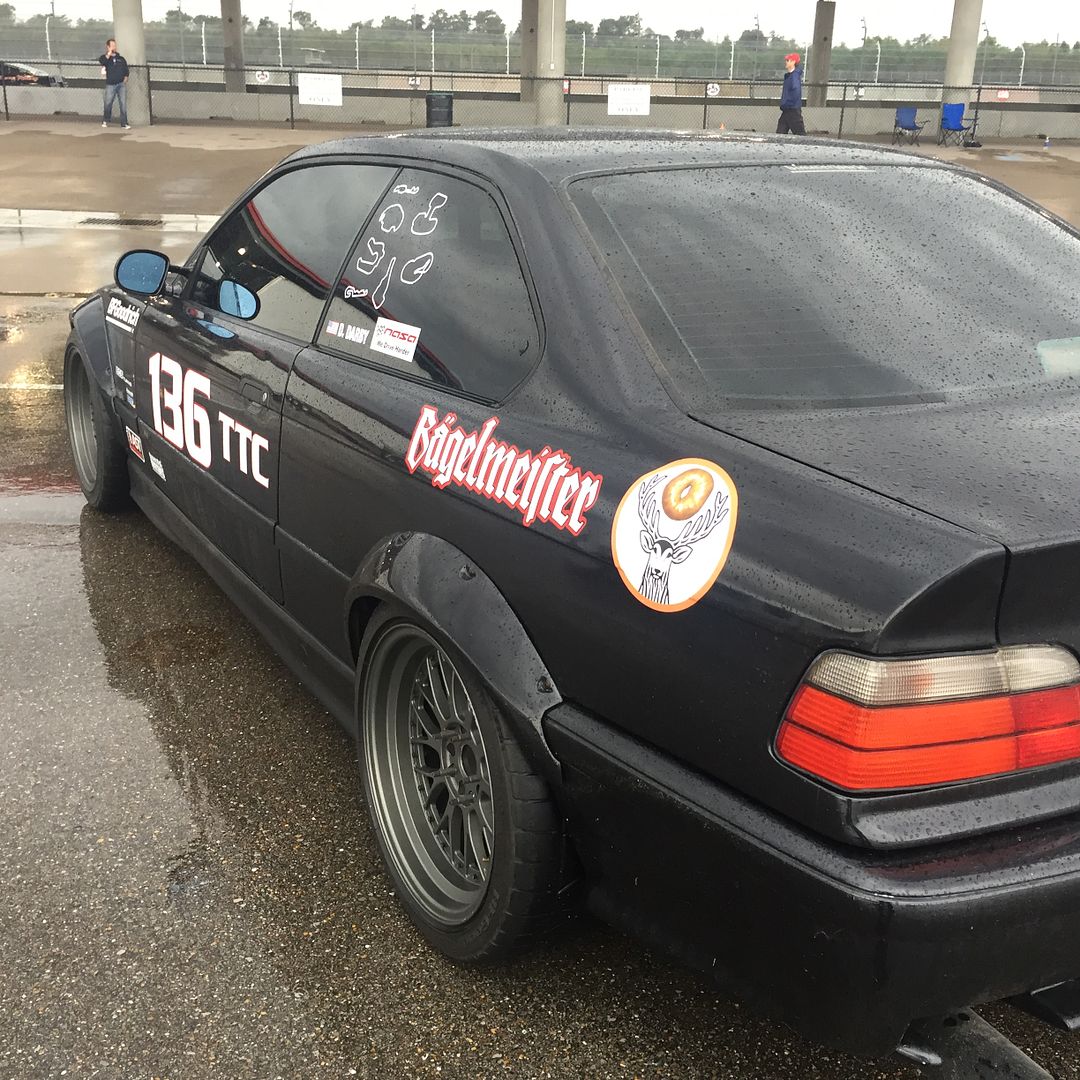
November 2015: ot the car all back together, electric fan installed, and prepped for a NASA event at NOLA Motorsports Park. Drove the car from my house to the track (about 60 miles) with no issues at all. Went out for my first session and had some oversteer issues in T3 which confused me as I had not had that issue since an adjustment to the suspension a few months ago. Ended my session early to make sure everything was OK and found that I was leaking oil pretty badly from the valve cover. Turns out I forgot to install the gaskets around the spark plugs before installed the valve cover. Local BMW dealership had the part and I changed it out trackside. Then, it started pouring down raining. Back out tomorrow for more testing.
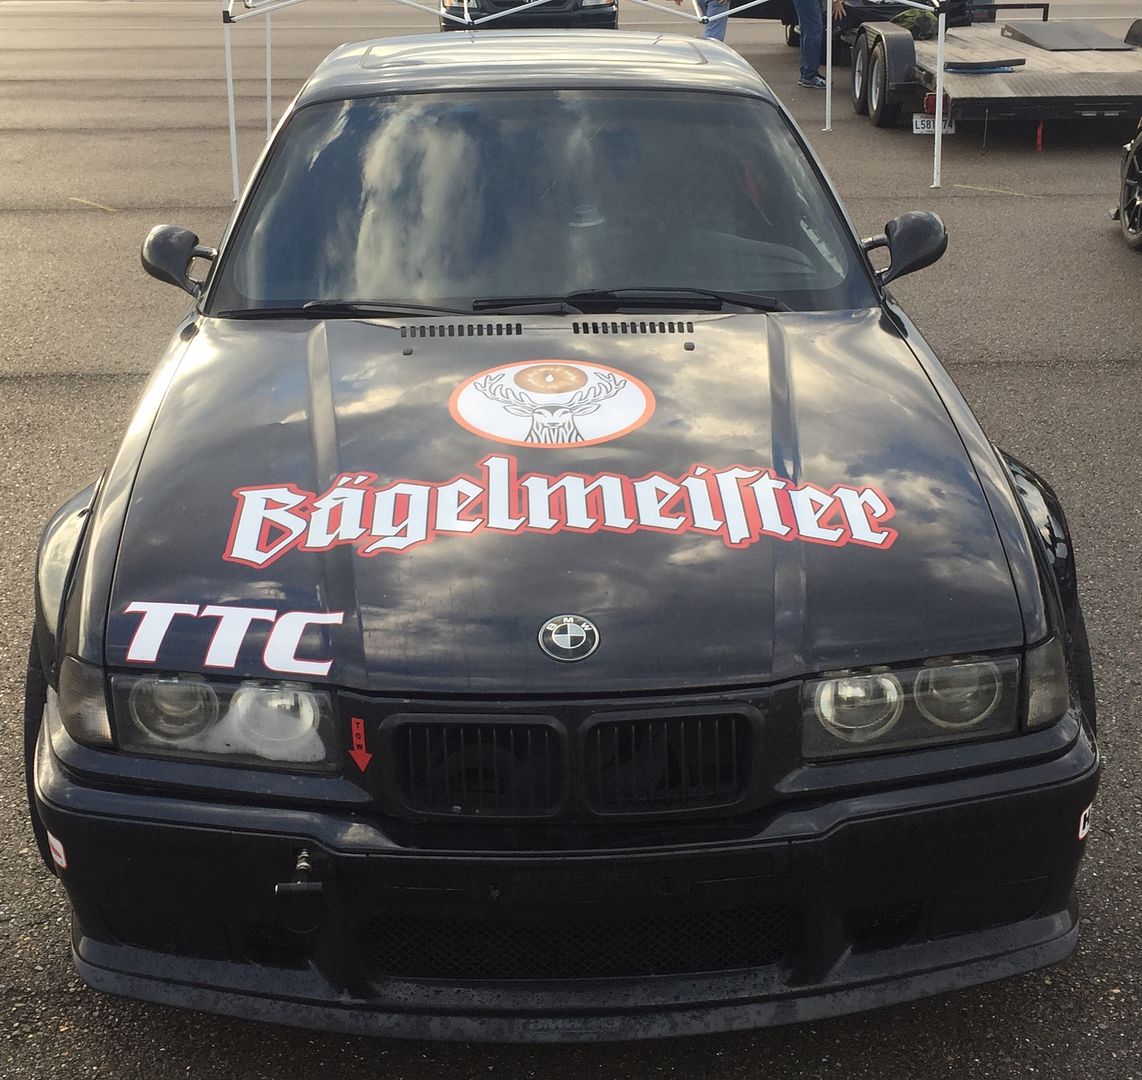
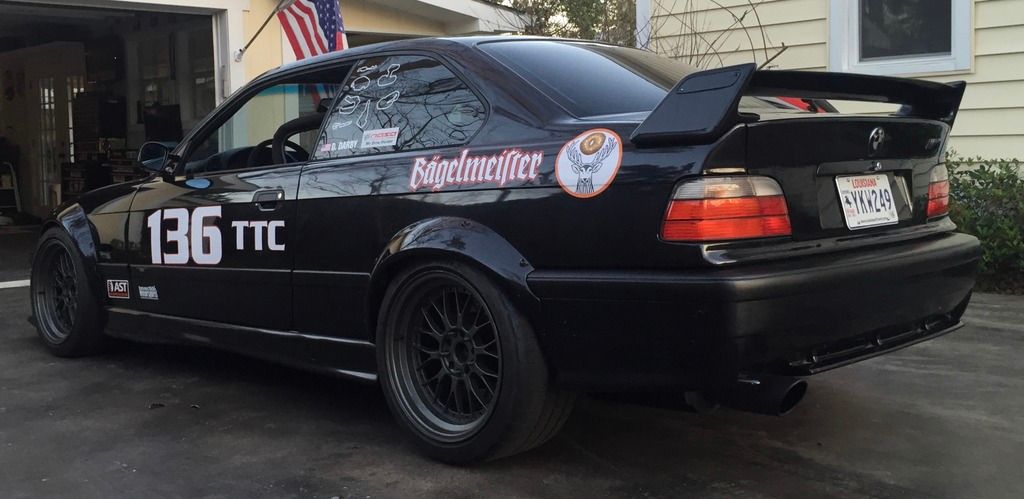
Also had a friend cut me some vinyl for the car.
Hopefully the satire is apparent.
- - - Updated - - -
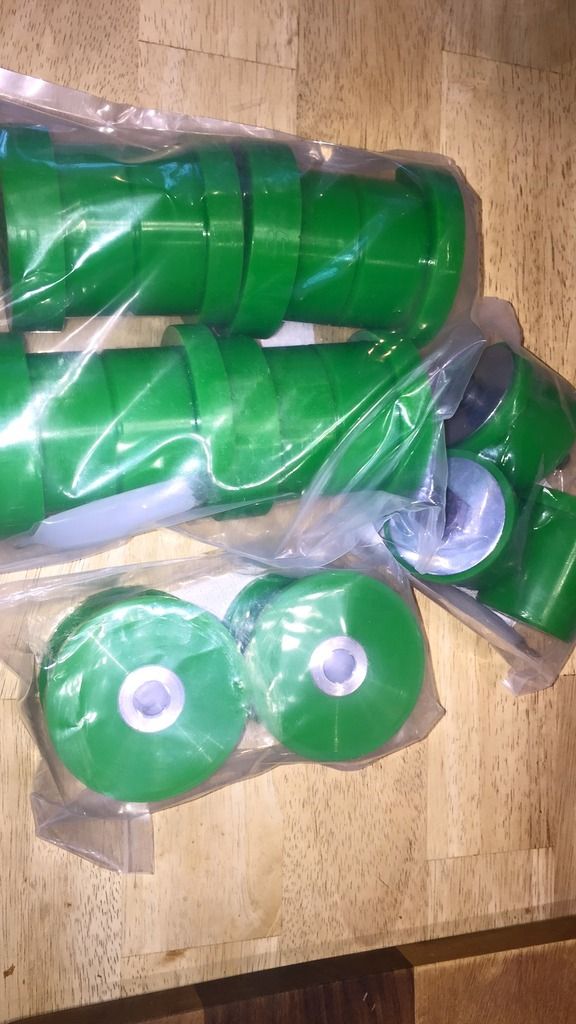
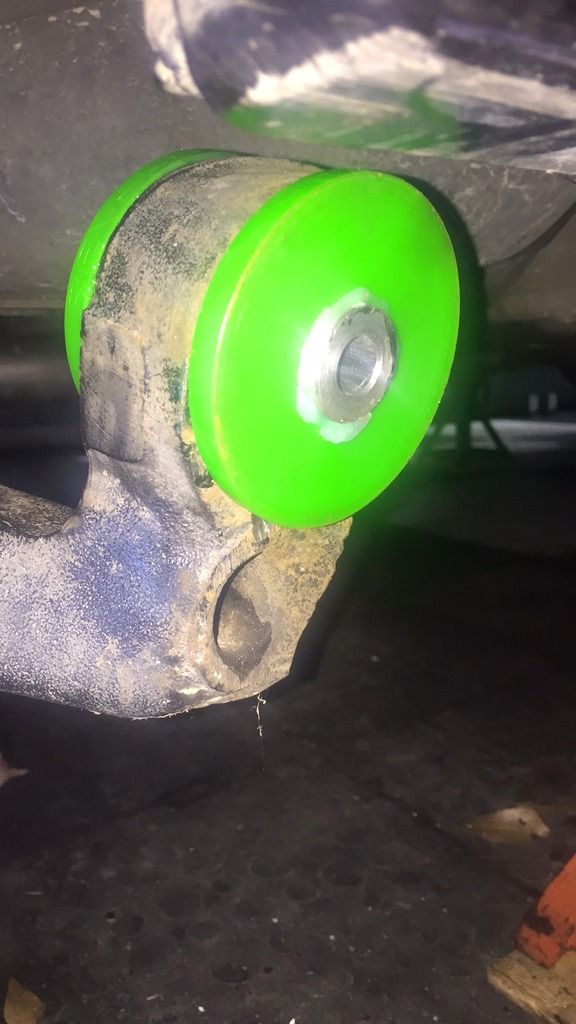
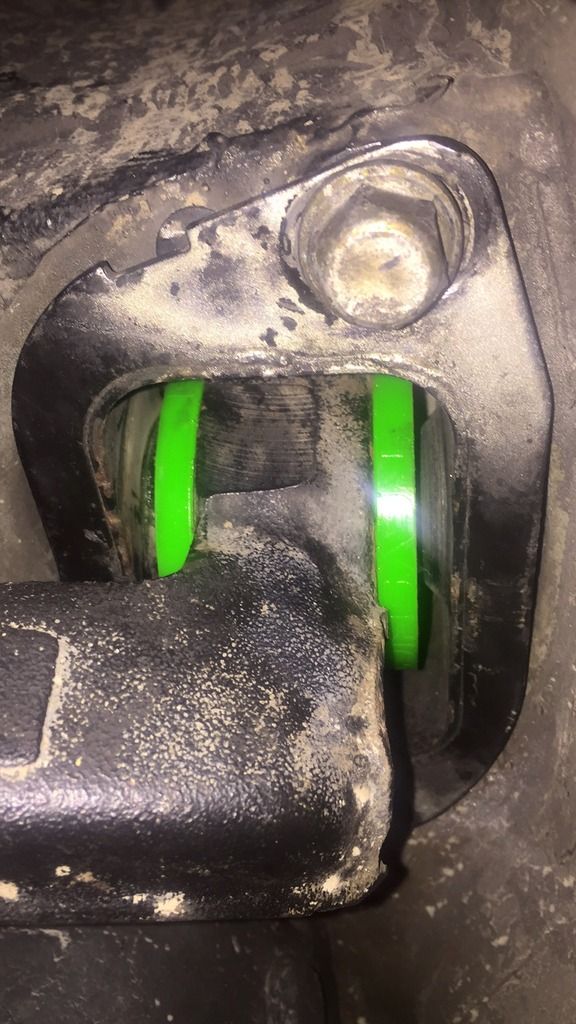
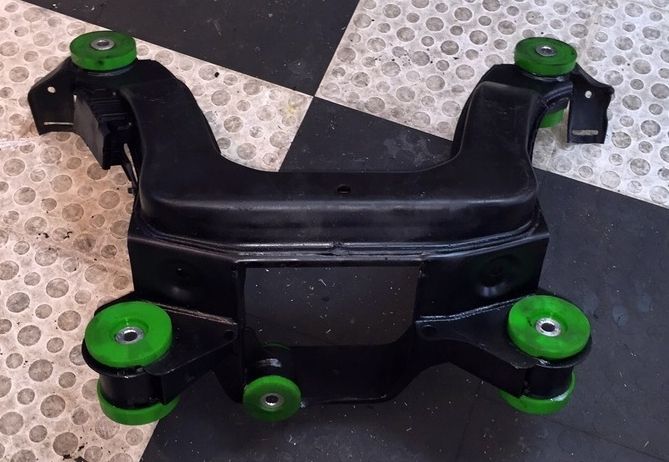
February 2016: Tonight I played a bit with bushings. As mentioned above, I will be doing rear trailing arm bushings (pretty sure these are the reason for my instability on hard braking), rear subframe, and differential bushings as well as adjustable rear lower control arms.
Bushings from Revshift. I also used their engine and transmission mounts as well as front lower control arm bushings.
First I drilled out the old bushings
Then basically filed down the outer housing with the drill until it released some tension and I was able to remove them by hand. BS Flag on the stupid required "special" BMW tool for this.
Then installed new bushing in carrier and re-installed carrier to car.
Called it a night after the passenger side. Will work the driver's side another night.
Also found you can't remove the inside bolt holding the rear lower control arm on without lowering the entire subframe or differential (Because BMW). Luckily I am removing the diff anyway, otherwise; what a PITA!!
- - - Updated - - -
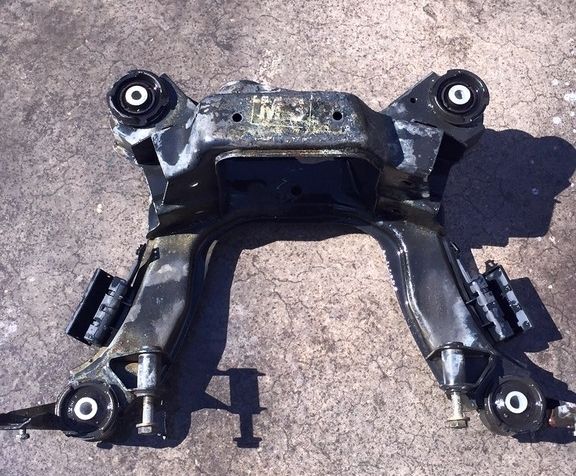
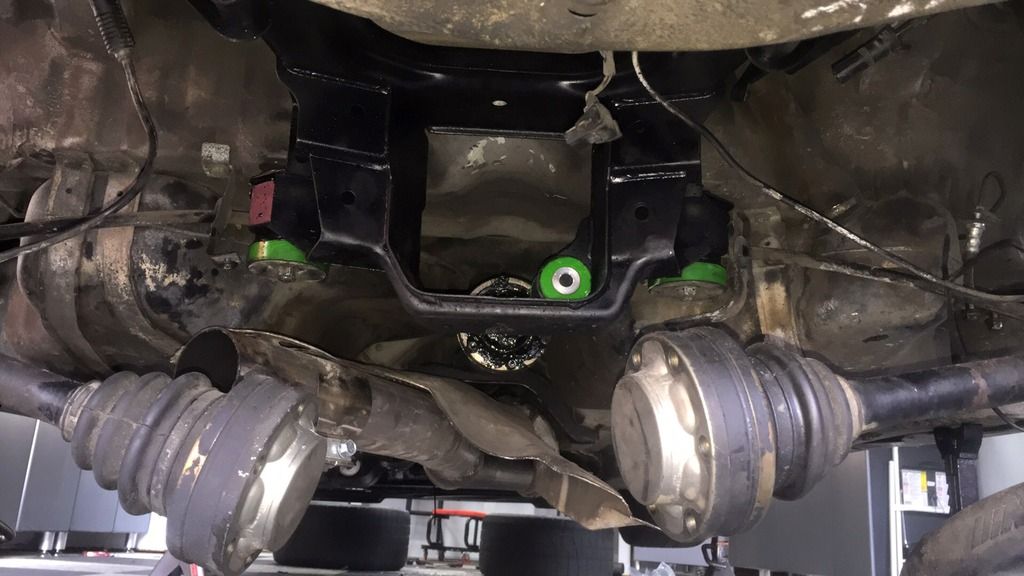
February 2016: Another day under the car. Today I pulled the subframe, cleaned and painted all the rear suspension components, removed/installed bushings and re-installed subframe. Took all god damn day!
Subframe pulled. The bushings were in MUCH better condition than I had imagined they would be in. But, I had it out, had new bushings, so I continued.
Removing the rear upper control arms gave me a little trouble. There is a bolt head that is easily accessible with the diff out but the nut on the other side is basically inaccessible on fist glance - you also can't fit a wrench in there. But, if you let the trailing arms loose, the upper control arm drops enough to get out the way and put a wrench in there. Took me a few minutes to figure this out.
Since my car is a 1995, there was a question of whether or not it had factory subframe bracing. Mystery solved; I have them.
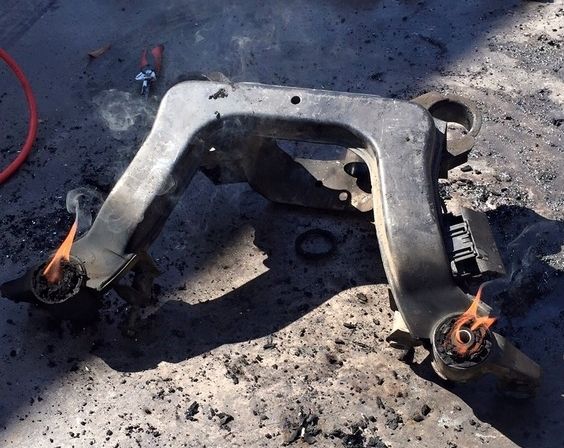
Fire!! Fire!!
Subframe all painted and new bushings installed. Also found (after I had installed them wrong) that the bushings were different and marked "Front upper, Front lower", etc. They are in correct now.
Back in the car
- - - Updated - - -
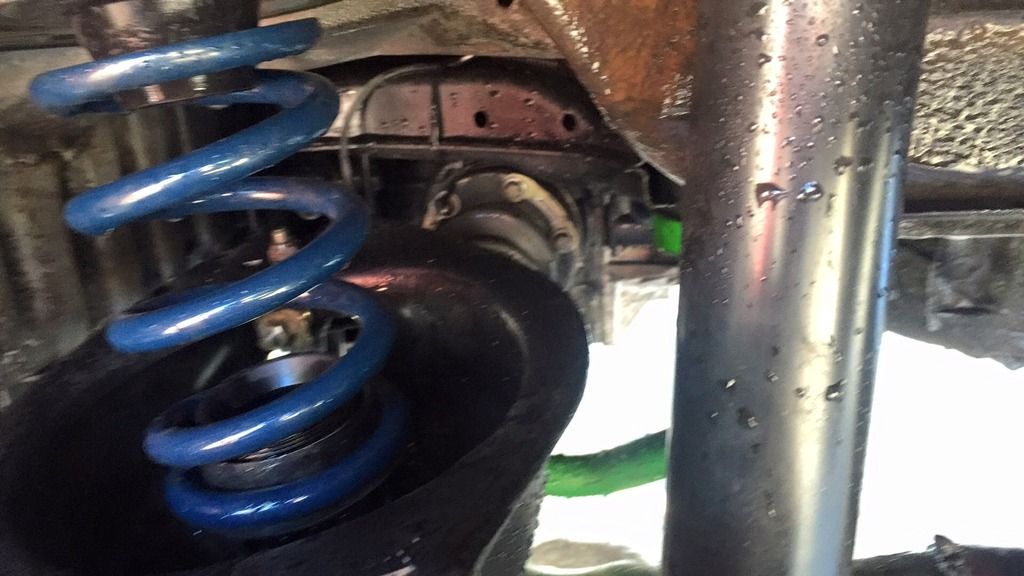
February 2016: All finished up. Brought her outside and put her back up on jack stands to pressure wash the entire underside. I like clean cars because leaks are easier to spot. After cleaning took it for a little test drive and found two small issues; (1) the short shifter has exaggerated a detent issue and now the shifter defaults to the far right rather than a neutral position and (2) the exhaust needs to be re-tweaked as it's sitting lower than before.
Now she needs an alignment and some tweaking on the dyno.
Last edited by darbyfam; 02-29-2016 at 07:31 PM.
Ambitious But Rubbish
Looks great!! Always nice to to see fellow NASA competitors on here.
Guessing there just wasn't a great way to keep the car in TTD with all the power mods it has?
2011 F-150 FX4 | 1997 BMW M3 #404 GTS2 | 2006 BMW M3 Convertible
Out Motorsports
Member
Pretty sure I am TTB now. I still have not finished the tune on the dyno. Once that is done, I will apply for a classing from NASA.
Last edited by darbyfam; 02-29-2016 at 08:09 PM.
Member
Awesome progress. I have revshift bushings myself. Cams sound great!
Member
Great write up, looks like a great setup
Member
Looks badass man, I love it!
1996 328i (m52B28US) OBD1 euro ZF 5spd. 3.23LSD conversion / Chem. PnP Head/ DINAN stg.2 CHIP/ VAC race valves/ S52 cams/ A/C delete/ fan delete/ Washer Fluid resv delete/ ARP head studs/ Cometic 140MLS / VAC Solid Engine/trans Mounts/ CAI / 2.5"Borla race exahaust/ NGK R spark plugs, M50 Mani, S50 Oil Res, Riot Racing HFTB, SAMCO Hoses, JBR FW, X-Brace, Mtech Front Bumper, RE RSMs, stoptech SS lines, Bilstein sports, H&R Race Springs, S52 Reinforcement plates, Kosei K1 w/ bridgestone RE960as, Brembo/stoptech slotted rotors, M3 Trailing arms, M3 Calipers, M3 Axles, ACS strut brace, weight reduction.
http://mbuild.blogspot.com/
Member
Looks great! Never seen the technique to burn out the bushings... How'd you do it?
Member
First I drilled some holes in the rubber then soaked the bushing in brake cleaner. The holes are to allow some brake cleaner to get to the middle of the bushing. Then, I set it on fire with a torch and kept the torch on the bushing until the rubber part pushed itself out. Then I used a sawzall to cut the outer metal casing of the bushing and hammered it out.
Last edited by darbyfam; 03-02-2016 at 05:09 PM.
Member
Originally Posted by darbyfam

Cool. Thanks!
Member
Took her today for an alignment. Unfortunately, the alignment tech was clueless. After I got it back, I had to adjust the front camber myself to get -2.8F/-2.5R. He never made adjustments to the camber plates.
I am going to double check my toe tomorrow and make sure he did that right.
Member
If you've adjusted the camber, the toe ain't gonna be where he set it.
Member
That's why I am going to check it.
EDIT: Checked and added 1/8" toe out. Called the alignment shop and told him about the camber plates, adjustment, toe, etc. He is going to re-align for free.
Last edited by darbyfam; 03-04-2016 at 09:00 PM.
Member
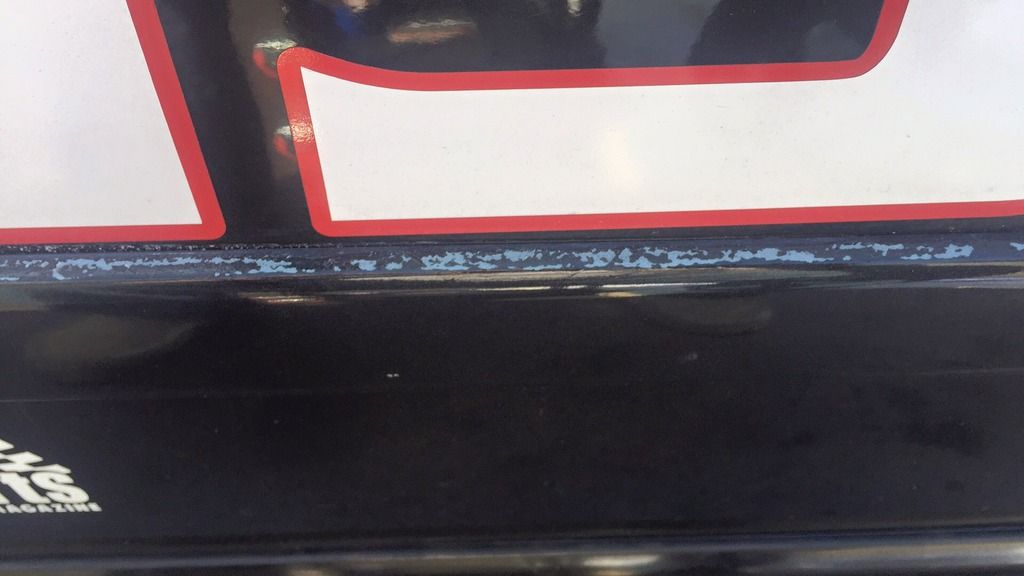
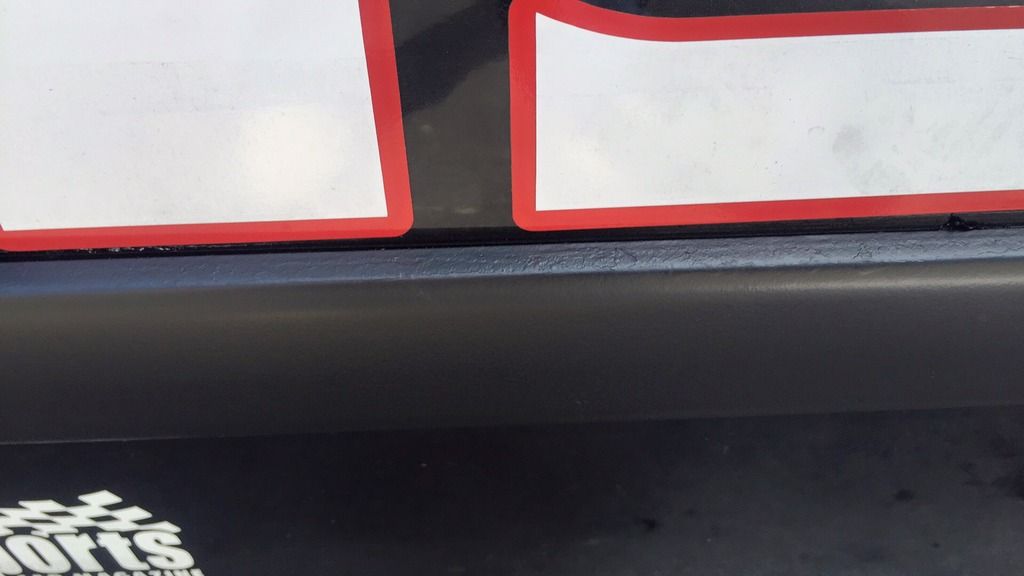
Had some time on my hands today so I cleaned up all the body side moulding and painted them with PlastiDip.
Before
After
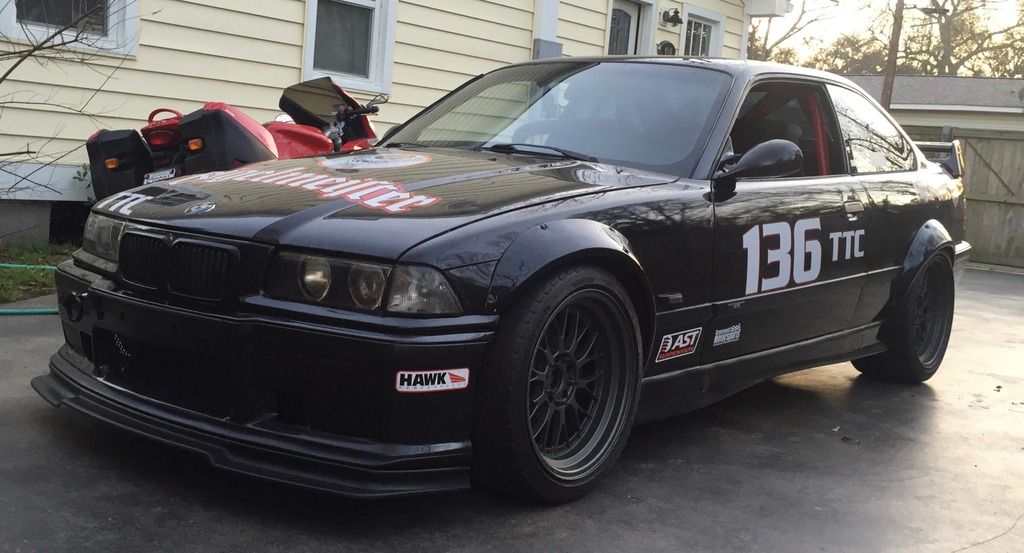
All the car
Also spent some time with Brody from Miller playing with my tune. Fixed a hard start problem by deleting EWS (cutting green #66 wire at ECU). Also worked some timing and fuel maps. Hoping to schedule some dyno time this week so Brody can fine tune everything.
Member
Worked some more today on the car. Added a seat back brace to the cage for extra safety and installed the selector switch for the Miller WAR chip.
Scheduled for the dyno on Thursday. Brody from Miller will be doing remote tuning to ensure I am getting everything out the mods.
Member
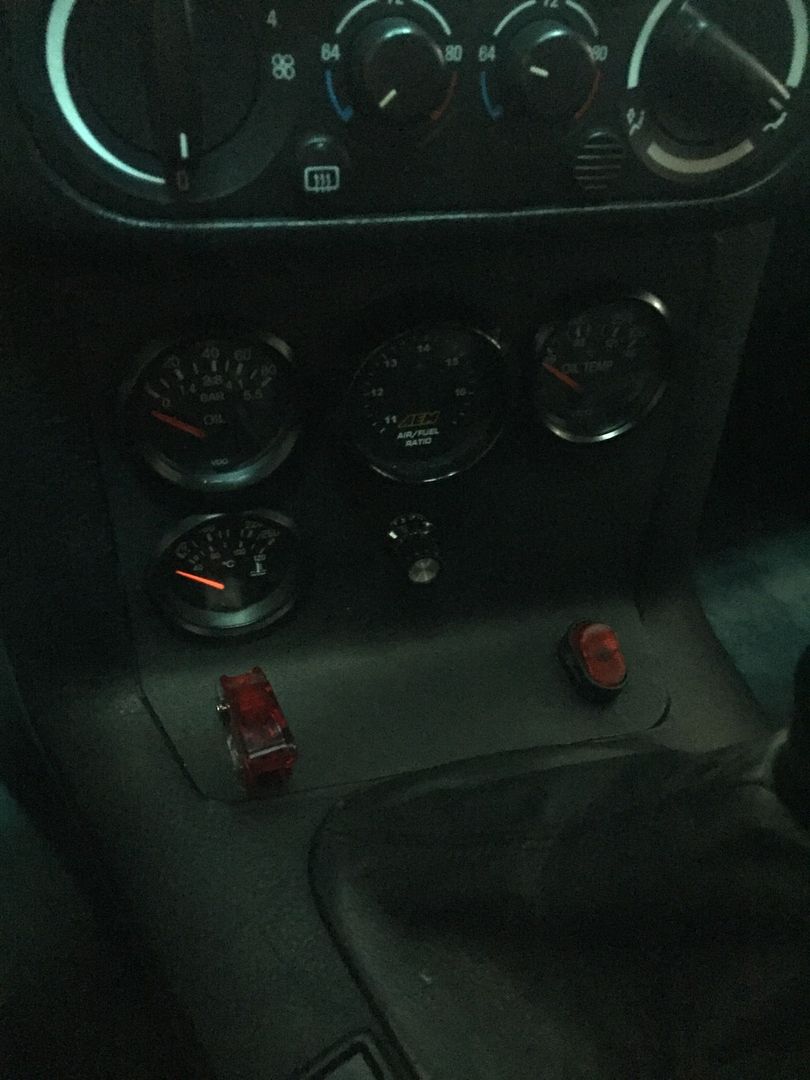
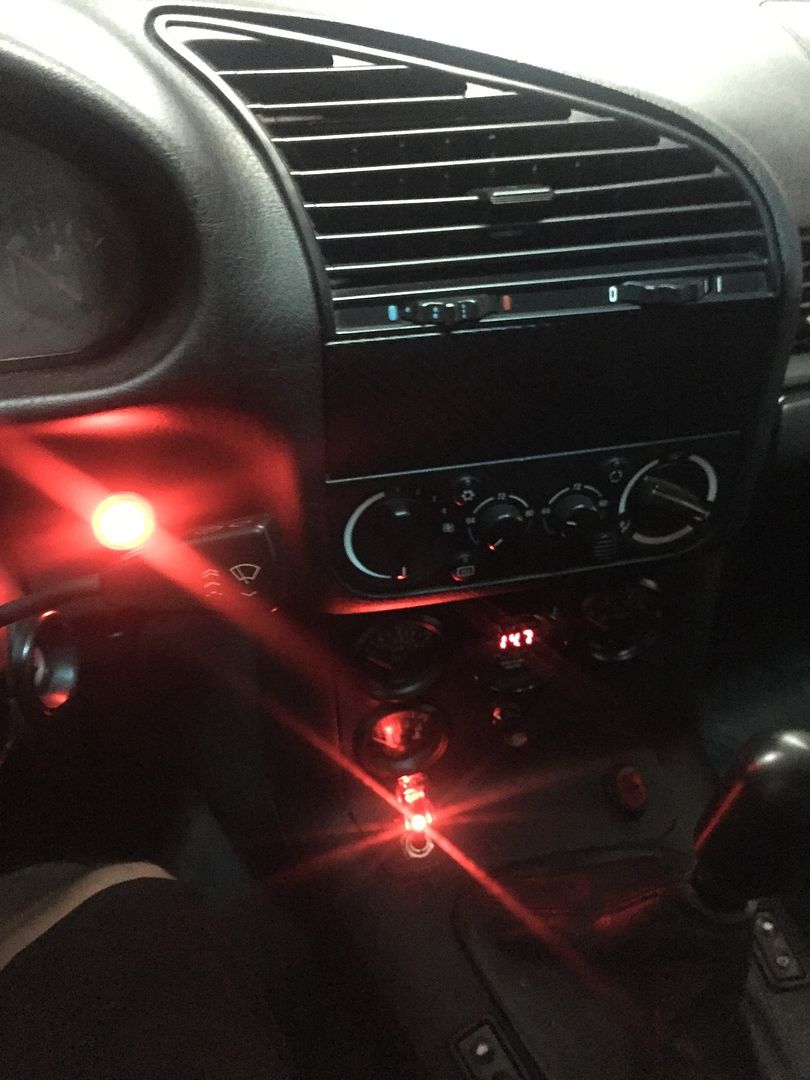
Being the fat, lazy ass that I am, I wanted to do away with the key so i didn't have to keep track of it, etc. So I embarked on a project to delete the key completely.
First I purchased a universal push button kit from eBay for $15.00.
I followed some good DIY threads on various BMW forums to get the wiring right. Wired the ACC and run together so that everything powers when the ignition switch is thrown. I then wired the push button through the solenoid, using the push button as the momentary ground. I put the ignition switch in the center console and the push button next to the steering wheel.
I also installed the switch for my the Miller WAR Chip in the center console. This allows me to choose between four saved tunes. I will only be using one tune but thought it best to install this now while everything was apart.
Had to bypass the BMW EWS because the key is coded for the car. Again, followed a few different threads on BMW forums to get this right.
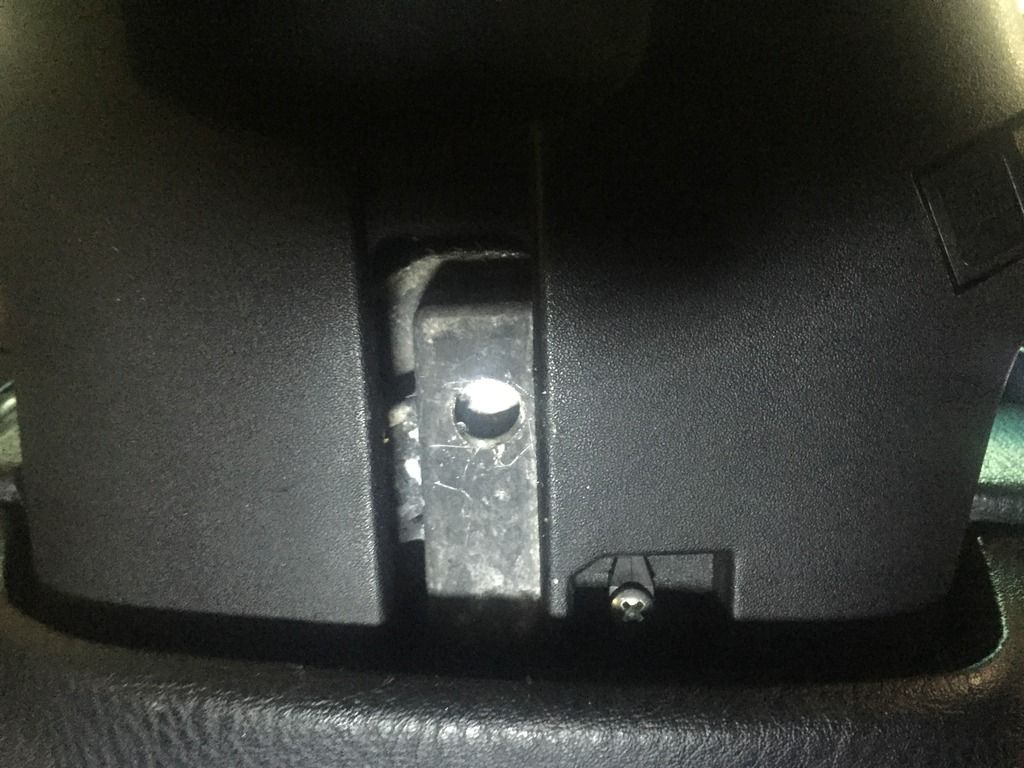
Lastly, I drilled out the steering lock and pulled the steering lock spring to have free movement of the steering wheel.
- - - Updated - - -
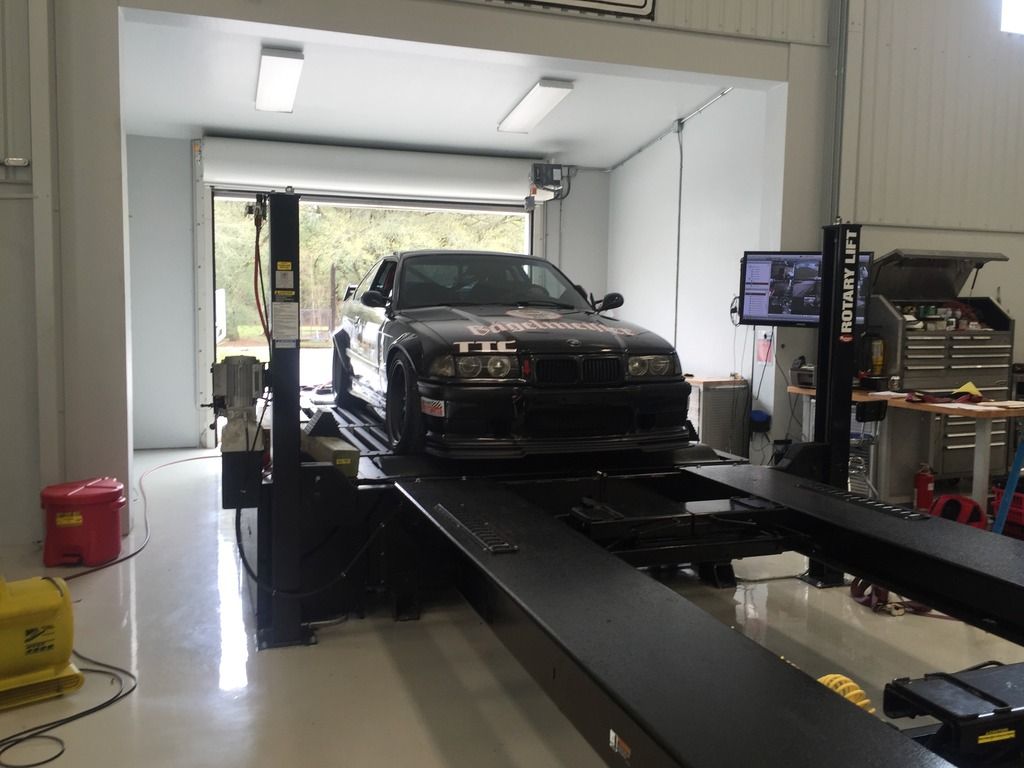
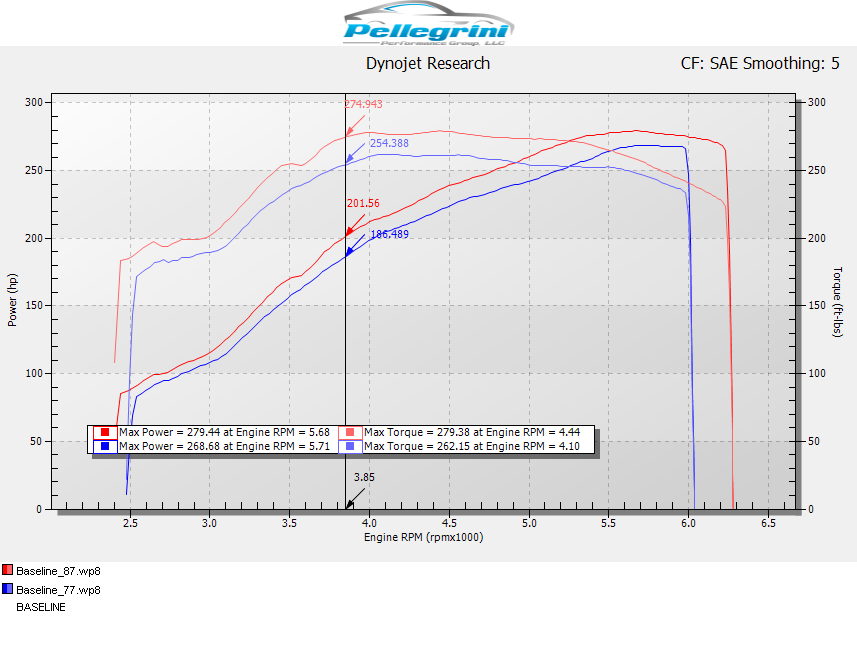
Also hit the dyno today to finish up the tune and get a graph for a dyno-reclass. Very happy with the results.
Was able to find 20 ft.lbs of tq and almost 20hp under the curve. She pulls like a freight train.
Member
Very nice, Stout numbers for your current set up. Excellent work :thumbsup:
1996 328i (m52B28US) OBD1 euro ZF 5spd. 3.23LSD conversion / Chem. PnP Head/ DINAN stg.2 CHIP/ VAC race valves/ S52 cams/ A/C delete/ fan delete/ Washer Fluid resv delete/ ARP head studs/ Cometic 140MLS / VAC Solid Engine/trans Mounts/ CAI / 2.5"Borla race exahaust/ NGK R spark plugs, M50 Mani, S50 Oil Res, Riot Racing HFTB, SAMCO Hoses, JBR FW, X-Brace, Mtech Front Bumper, RE RSMs, stoptech SS lines, Bilstein sports, H&R Race Springs, S52 Reinforcement plates, Kosei K1 w/ bridgestone RE960as, Brembo/stoptech slotted rotors, M3 Trailing arms, M3 Calipers, M3 Axles, ACS strut brace, weight reduction.
http://mbuild.blogspot.com/
Member
Have to thank Brody at Miller for working the maps to get these numbers. Honestly, I was a bit frustrated with Miller at first because getting them to answer an email or phone call was just about impossible for a while. But, once Brody got back with me, he was a great help.
Member
holy crap, those are some strong numbers.
Member
Very nice power! Any idea why it drops off at 5600rpm. Not getting enough air? Or maybe that's just how the sunbelts work?
Last edited by Pat533i; 03-18-2016 at 09:16 AM.
Member
I should be getting plenty of air. aFe intake, 3.5" MAF, Dinan BBTB. I am thinking it may be just how the Sunbelts were designed.
Member
So with those kind of numbers will you have to run TTB? Im unfamiliar with how the dyno declass works
Member
At a minimum, I will be in TTB. Looking at the classing sheet, I might end up in TT3 with the other mods I have. I have to wait and see and see what comes back from the dyno re-classification.
Member
How much does it weigh? You may be able to stay in B but you may have to add ballast.
Member
Fantastic, I plan on deleting my key also... Just a pain in the butt finding it lol
Member
Ran it across a truck scale and it came back at 3140 with me in it and a 1/4 tank of gas. Running the numbers, I think I am going to have to ballast up to 3400 to stay TTB.
Not sure how much to trust the scale and I am running a single fuel pump still. I fuel starve at 1/2 a tank, so I will have more gas in the car. I am still guessing I need almost 200lbs of ballast.
Last edited by darbyfam; 03-22-2016 at 05:54 PM.
 Posting Permissions


 Reply With Quote


Bookmarks