Decided to finally tackle this project yesterday. My blower motor was working at all speeds but at certain settings had developed a squeaking noise (bearing failure) which my radio was working harder and harder to drown-out. Additionally, I still had a faint funky smell even after I removed the mouse nest I found in the cabin filter last month.
Overall the job took me 3.5 hours, but at least an hour of that time was spend cleaning.
Before proceeding I searched for other post and found a couple which I felt were helpful. I would suggest giving them a read in addition to this thread as I have tried not to duplicate directions.
Other Posts
Good overview with pictures; not M5 specific
1 -
Gale's BMW Repair Page
Similar overview of the steps, however removal of intake is not needed.
2 -
Piancu's Blower Motor Replacement
My Process
1. Remove wiper arms, cowling plastic and engine bay rubber trim.
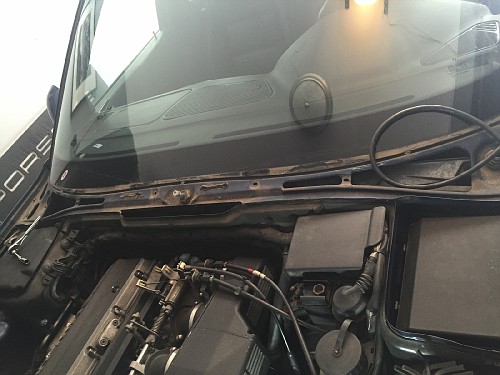
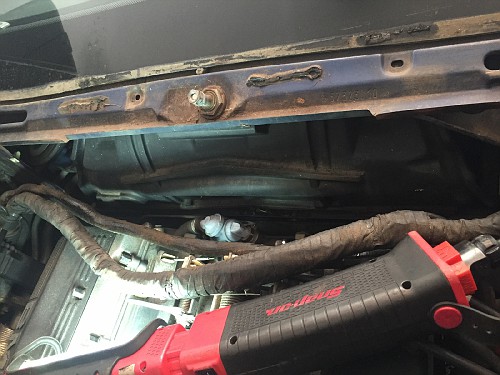
2. Remove the 10mm plastic nuts which secure the wiring harness tray and cut the zip / cable ties in order to free the harness
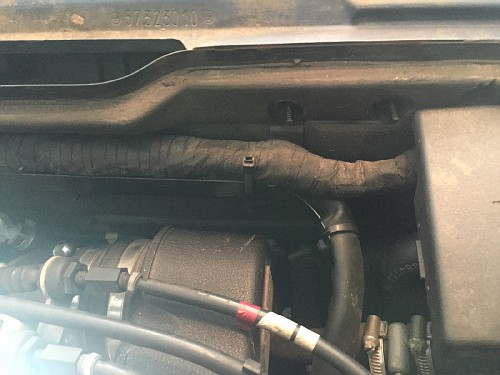
3. With the cable tray removed you next remove the bulkhead insert. This part is held with 5 screws (8mm?) I would suggest using a magnet to catch the screws on the bottom.
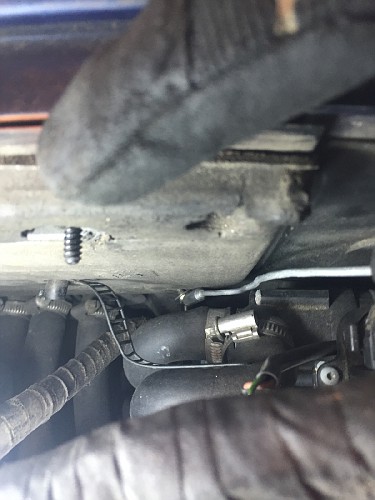
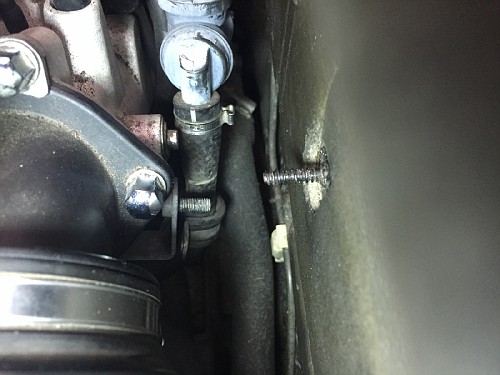
4. Remove the 10mm nut which secures the vacuum lines.
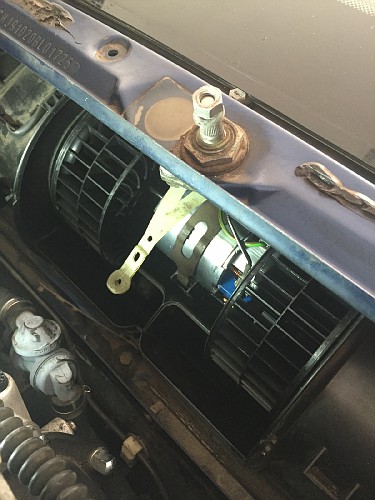
5. With the wiring harness pulled back and the bulk head insert removed you will now see this plastic cover with is lightly glued on, simply pull it off.
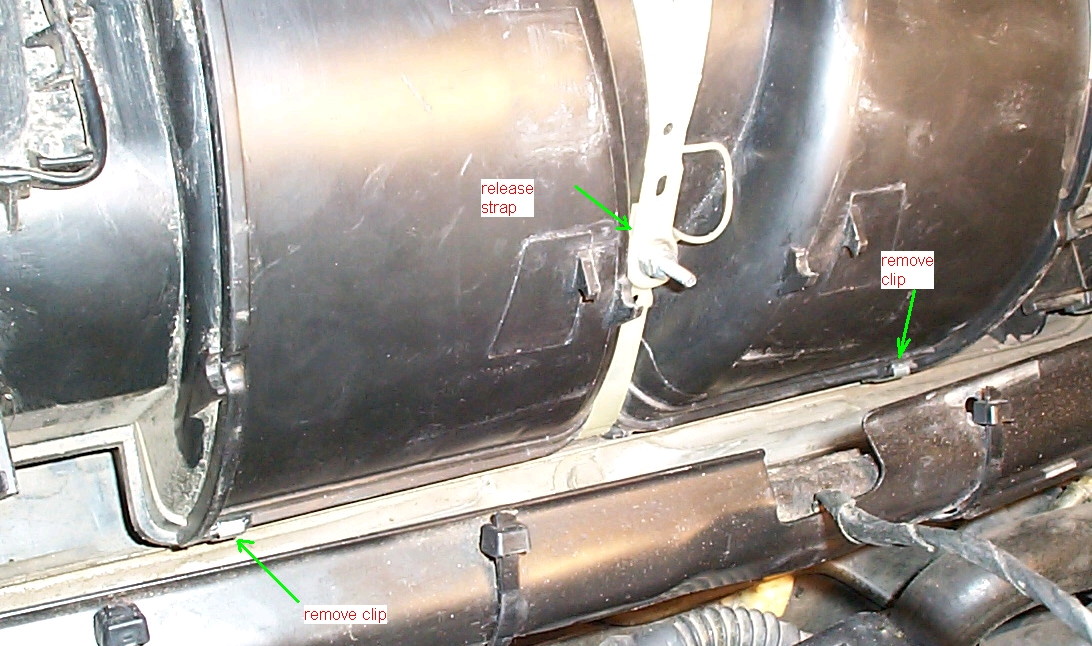
6. Release the white strap and two clips on the bottom to remove the access cover to the blower motor. (Photo Credit - Gale's BMW Repair)
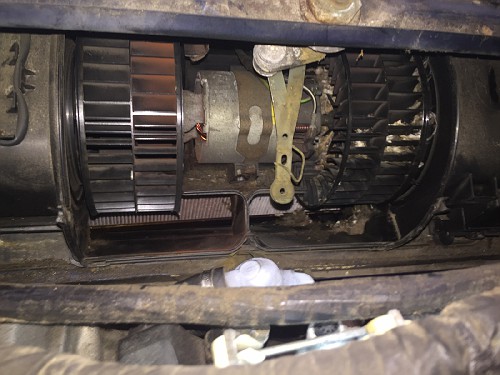
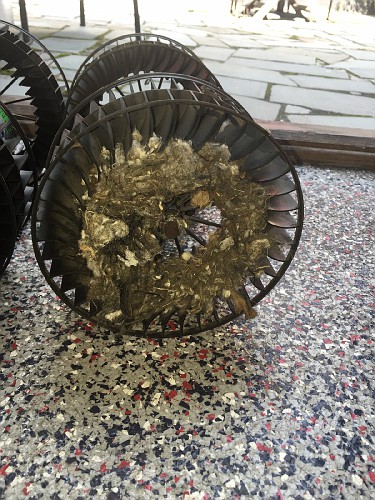
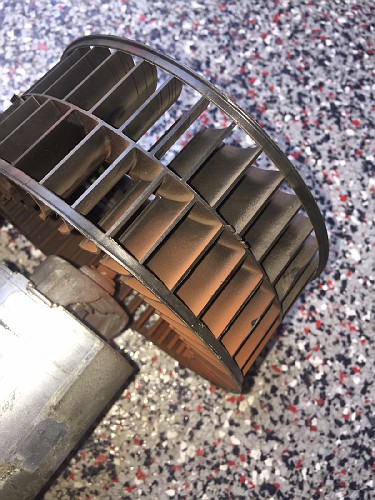
7. Voila! Your blower motor. [You can see clearly my two issues - bearing failure (left side) and mouse nest (right side)
8.
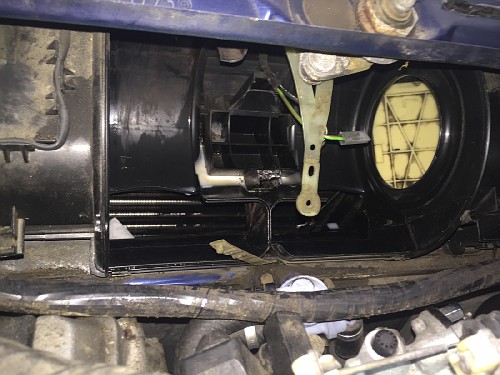
Clean!!! Take the opportunity to hose everything down and remove the 20+ years of grim which has built up in the area. As you can see in the photo I also removed the cabin filter in order to have direct access to clean the coils.
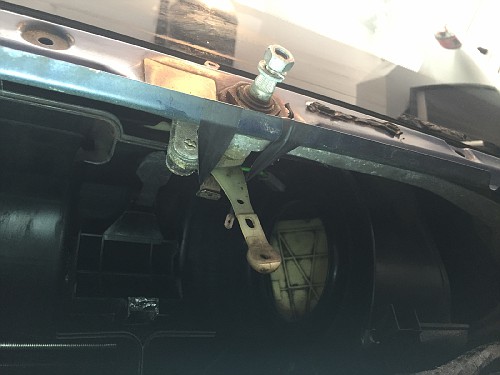
9. Temporarily tape the straps up and out of the way.
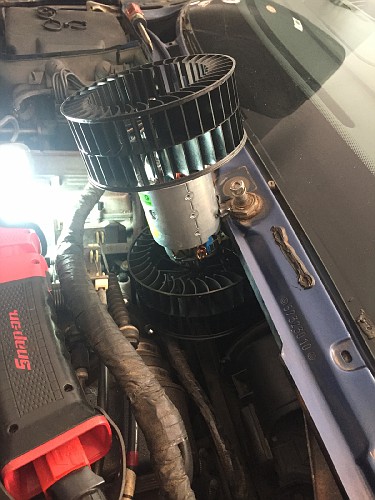
10. To install the new blower I put the right wheel in first then pivoted the unit counter-clock wise to then push the left wheel in second. Be gentle, yet deliberate and the plastic will deform to allow insertion.
 11. Remaining steps are the reverse of removal. Enjoy!
 Member
 Posting Permissions


 Reply With Quote
Bookmarks