
 Member
https://www.ebay.com/itm/141800051570Originally Posted by e30bimmer89

I watched a "normal" auction and paid 525.00 shipped for them. They are a decent casting, have 2.02 / 1.575 valves and decent springs. As stated before, I'm going to have them double checked just to make sure they are good to go. Sometimes too cheap is a problem.
As far as your budget goes, it's a good idea. You've probably heard it a hundred times, take the # you come up with and double it. It will be close to accurate then.
Member
That's not a bad deal at all. And yep, I've heard it time and time again. I plan on getting it installed and running, then going for performance goodies. I just plan on doing the basic needed maintenance just to get it going. Then I'll start gathering all the go-fast parts as money allows. On the plus side, I'll have a full shop and an endless amount of tools and everything else I could possibly need. The hardest part for me is definitely going to be the wiring. I'm reading everything I can find about it, just can't find an actual diagram showing the 2 ECU's integrated. Anyhow, threads like yours and all the other E39 swap threads have given me a good idea on getting the swap done or even considering doing it. Thanks for the link too. Going to check it out now.
Member
That's a lot of flow for having pretty reasonable sized combustion chambers.
i coulda saved myself some money and ballache if I'd gotten those and had them milled down for compression.
good find!
always trying to make it lighter and faster
^^former build: http://www.bimmerforums.com/forum/sh...-neglected-M3/
current build: http://forums.pelicanparts.com/porsc...car-build.html
instant grams: doktor_b
Member
Let's hope they are as good as advertised. I've been led astray before... can you tell I'm a bit pessimistic here? ;-)
Member
extremely relatable.
i just don't want to inject any bad mojo into anyone's build.
always trying to make it lighter and faster
^^former build: http://www.bimmerforums.com/forum/sh...-neglected-M3/
current build: http://forums.pelicanparts.com/porsc...car-build.html
instant grams: doktor_b
Member
I appreciate that. God knows I do that enough on my own!
Member
Ring gaps are all set. I've never really paid attention to the oil rings before, but CP says they should be .015-.050. All but 2 were at .002. I'm not sure that there would have been an issue if they weren't opened up (in terms of butting), but we aren't going to play that game.
Member
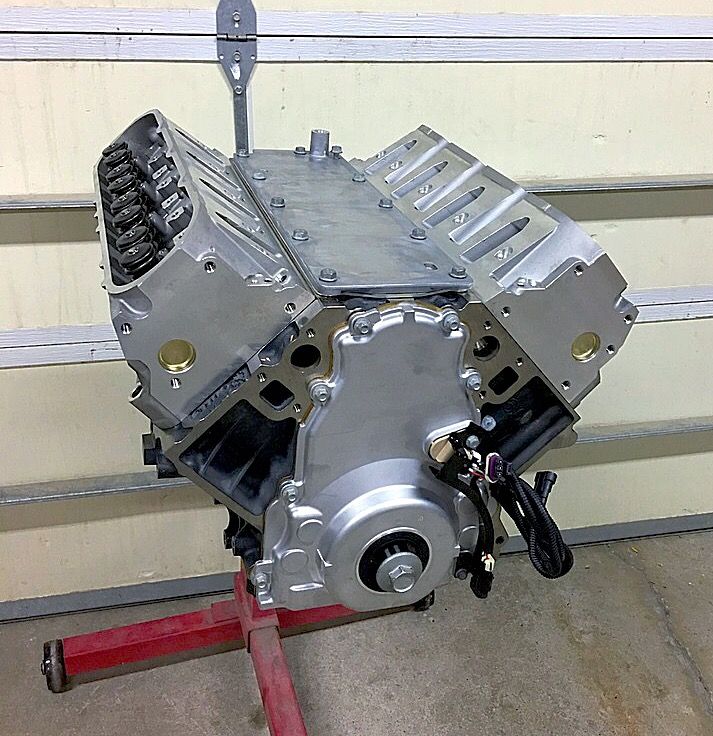
Pistons are back in! The heads, valley cover and front cover are mocked up just because I felt like it. I can't finish the assembly until the cam and lifters come out of the other engine.
Member
no LS6 valley cover?
are you running a CCV setup? or just venting to atmo?
always trying to make it lighter and faster
^^former build: http://www.bimmerforums.com/forum/sh...-neglected-M3/
current build: http://forums.pelicanparts.com/porsc...car-build.html
instant grams: doktor_b
Member
No, LS6 cover doesn't fit. This is a gen 4 block. The covers are different. I plan on running a -10an line from both side of the covers to a catch can.
Member
Here we go!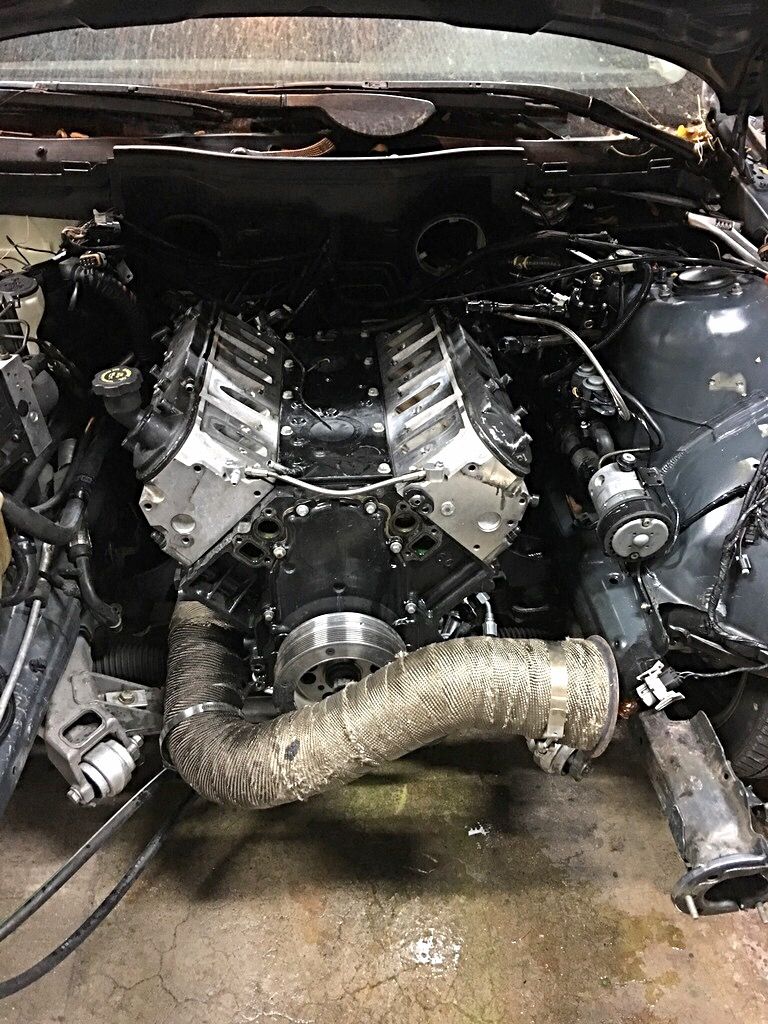
Member
Nice! You are making record time.
S.F.
Member
It looks like this one got a wee bit warm. Does an injector issue seem like a reasonable explanation still? The other pistons look fine.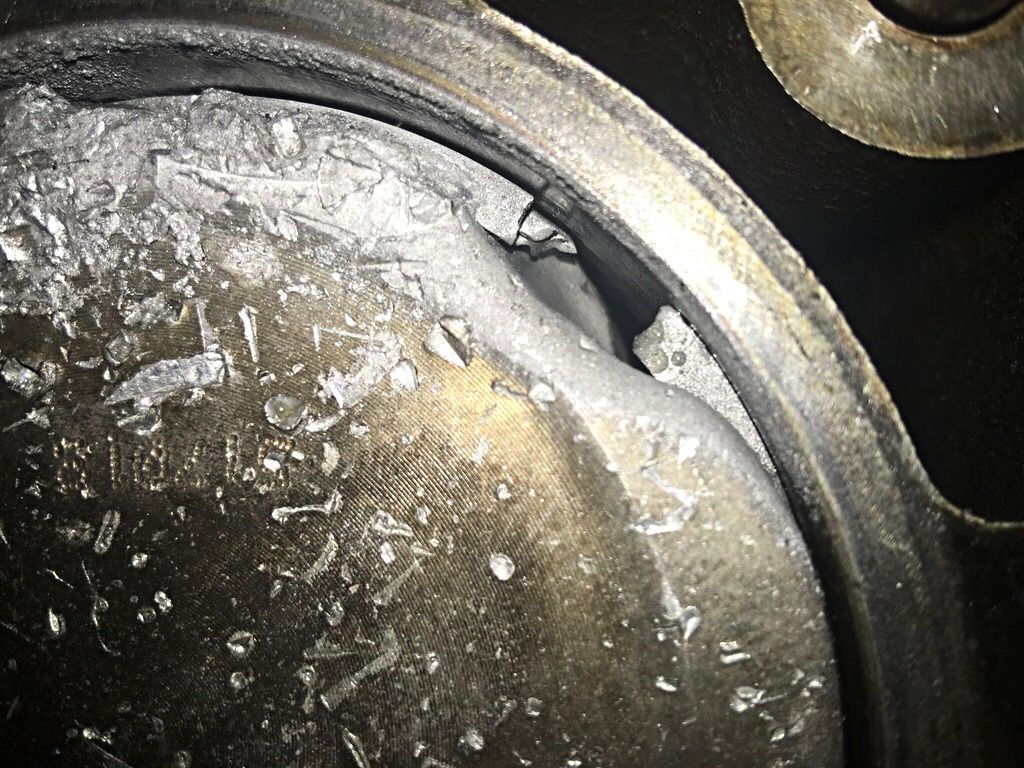
Member
Going lean is what's killing that cylinder. Injector, harness, injector driver or debris in the fuel rail or blocking the injecfor screen could be causing the problem for sure.
S.F.
Member
The only common denominator (aside from the cylinder) is this happened both times after it hit the rev limiter, more like when it was on the limiter.
Edit: I thought about this some more and started to second guess my rev limiter settings. It is set as "spark only." The rev limiter cuts spark to all cylinders when it is hit. There is also an option to do a soft cut rev limiter that alternates the cylinders that it cuts spark on instead of a hard cut across the board. Not sure that this explains anything!
Last edited by unnatrl; 10-21-2016 at 12:01 AM.
Member
Because carnage pics are fun!
The new engine is slowing coming together. Cam & lifters are swapped, head studs swapped, oil pan & pickup cleaned of debris and swapped. Naturally I couldn't get the lower timing gear off of the old engine, so a new timing set is on the way. Figured I might as well get the one with an adjustable sprocket so it's easier to degree the cam.
Also modified an F-body throttle cable. I've come to the determination that I hate the LOKAR cable, at least the outer portion. The inner cable was rubbing on the aluminum ends and binding. To do this, I combined both cables by using the LOKAR inner and stock F-body outer. The hole in the firewall had to be opened up a small amount for the outer cable to "snap in." I used the inner cable from the previous setup as it fit the gas pedal (different mounting than the F-body). A stock mounting bracket is going back on the intake side to work with the F-body cable. Hopefully, this setup will be a little smoother.
Last edited by unnatrl; 10-23-2016 at 12:07 AM.
Member
That's cool!
Member
Id love to see pics of how that was done, throttle cable is on the "to-do" list
S.F.
Member
I apologize for the poor pics, but I didn't take any while doing the throttle cable. Just assumed no one would want to see it.
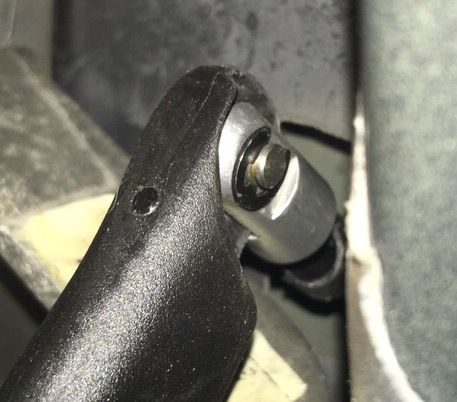
This is the stock F-body end @ the gas pedal side.
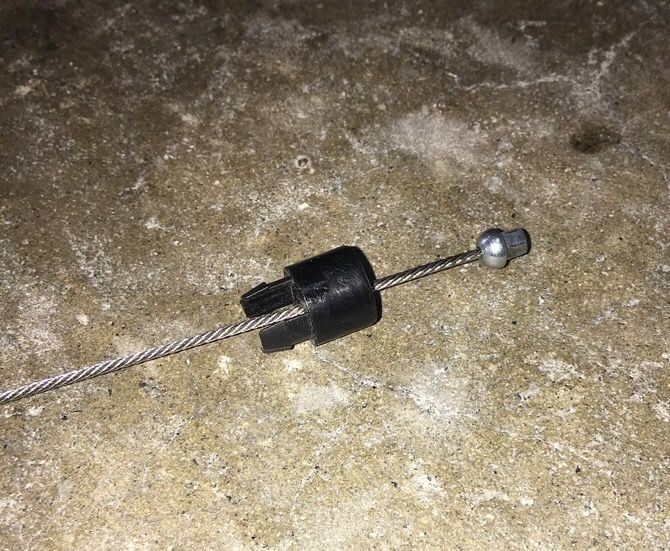
This is the Lokar end that is on the gas pedal.
This is the Lokar end at the throttle body. It has a set screw, so the cable length is adjustable.
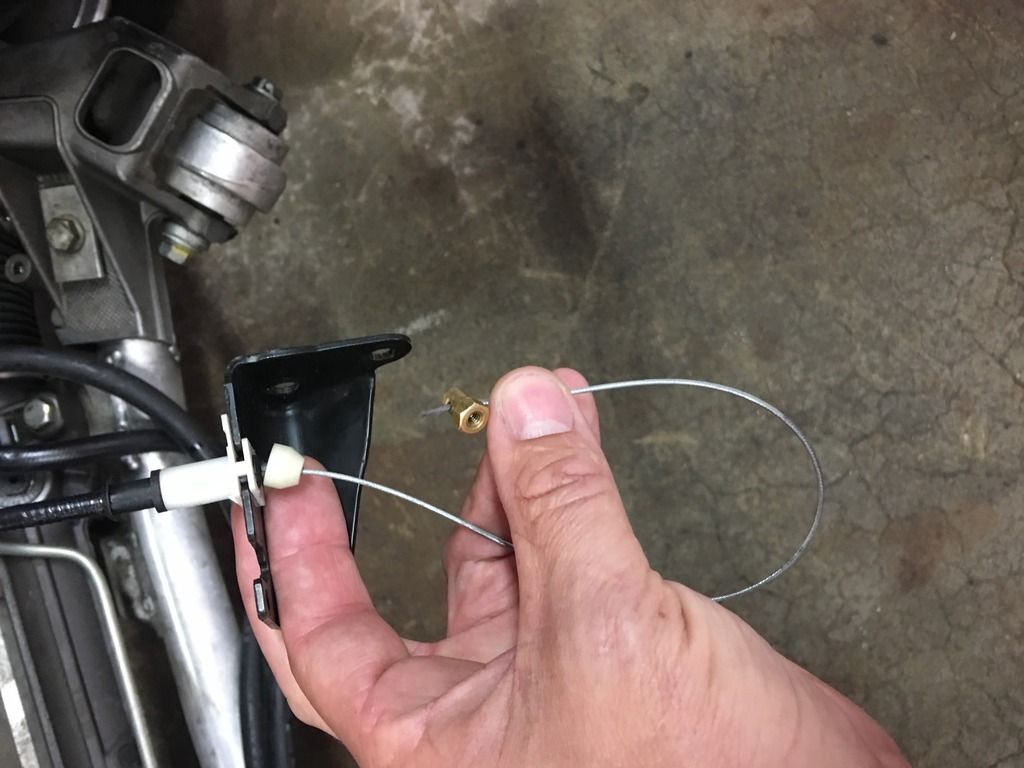
The firewall already has a hole where the cable comes through, I opened it up a little to accommodate the F-body cable. It pushed in and snapped into place.
Recap- cut the end off of the F-body cable and discard the inner cable. Remove inner cable from Lokar setup. Reuse Lokar inner cable and F-body outer cable. Snap the F-body cable into the OEM bracket. Use the Lokar brass end (with the set screw) on the throttle body side of the cable. You will have to trim the inner cable to length once it's all set up. Don't forget to make the hole in the firewall a little larger.
Member
Very helpful, thank you!
S.F.
Member
That cool mod for this man! Which the part number for the Lokar cable that you used? I am going to your setup
Thanks in advance
E39 LSX SWAP PARTS FORSALE
Member
I originally used the LS1 universal cable from Lokar. Not sure what the part # was. It's been a while. Sorry.
Last edited by unnatrl; 10-27-2016 at 10:47 PM.
Still has a E39
Supporting Vendor
Do you have any good underside pictures of the car with the 4L80 in it?
Not saying I'm going that route, just weighing options =)
Member
I can certainly take some. I'm terrible about working on the car and not stopping to take any pics. It will be a few days, but I will take some and post them up.
Member
I'm finally making some progress. It's been interesting to say the least. Good news- short block is complete and back in the car.
Reason(s) for taking forever:
Starting with a new block has been been a pain. The bell housing dowels, coolant plugs, oil galley plug, oil galley barbel, etc had to be sourced.
The valve events on the cam were a little soon on the intake and right on the money for the exhaust. I bought an adjustable timing set (dual roller chain) just in case it needed to be adjusted, but ended up leaving everything set dot to dot. It ended up close enough. I advanced/ retarded the crank sprocket, but the valve events were further off than setting it straight up.
The double chain required the oil pump to be spaced with included spacers so the chain doesn't rub on the pump. It's not much, but enough that the rotary file had to come out for the timing cover. Then the pickup tube mounting point had to be elongated.
Once this was all fit and everything seemed good, I had this feeling that I better check the pickup to pan clearance. It was over an inch. A simple spacer was able to drop it down to just under 1/2". It's still a little more than ideal, but it's better than before (no issues with oil pressure previously).
The short block dropped in without issue. I think it was a lot easier to do without the heads on. Speaking of heads, I've decided to have the original heads repaired. They are at the machine shop now.
The injectors were sent out yesterday to get flow checked and cleaned. Curious to see what comes of that.
The only other update is to the power steering pump. It has been swapped to another Volvo pump, this one has the reservoir built in. It takes up less space and has less possibility of leakage.
Obligatory pic!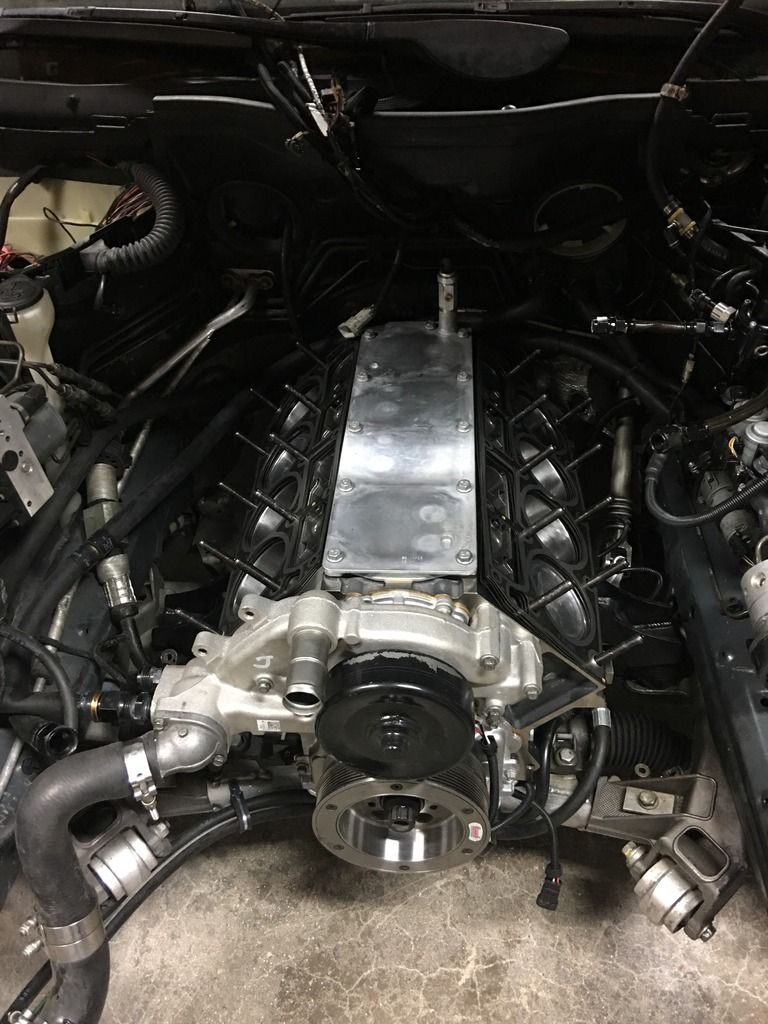
Last edited by unnatrl; 11-02-2016 at 11:08 PM.
 Posting Permissions


 Reply With Quote
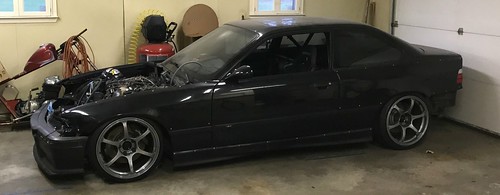


Bookmarks