
 Member
she is gorgeous!
Where are you hurting?
Member
Thanks! Made a little clip because it was such a nice day:
Also took some pics:
Last edited by Grant318is; 11-27-2014 at 02:11 PM.
Member
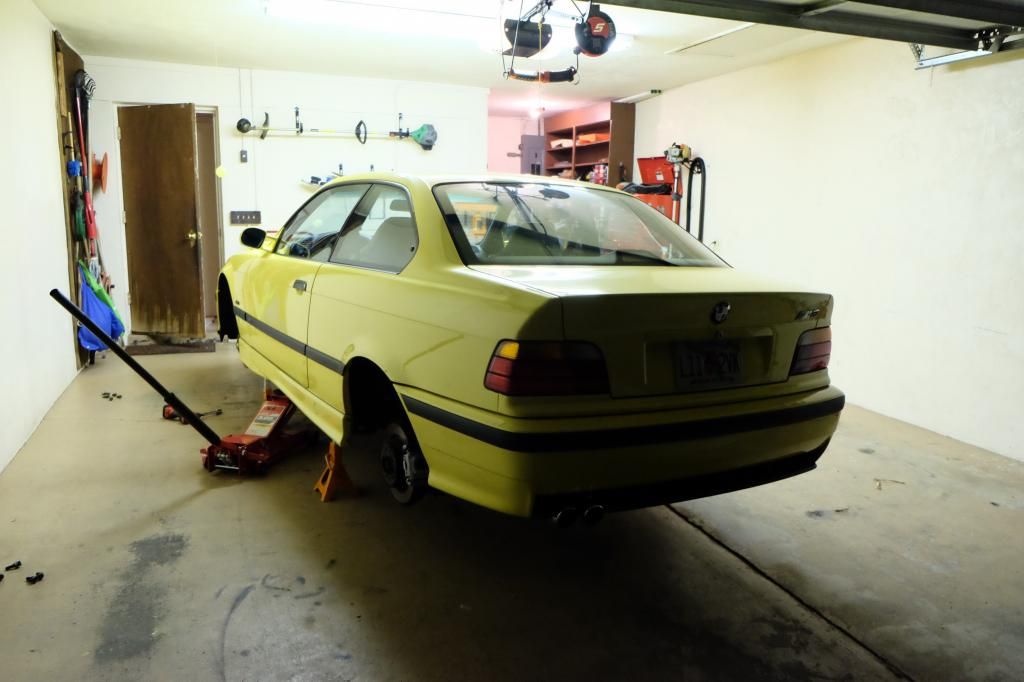
Did some small stuff today:
Replaced some less than beautiful bolts:
Took the wheels off in preparation for some OEM wheels:
C'est la vie
How much you looking for the wheels?
C'est la vie
What's wrong with the exhaust?Originally Posted by Sharocks

Member
Traded them for contours and $150 bucks.
You can get a new set from the awesome folks at ECS for 530.
http://www.ecstuning.com/BMW-E36-M3-...oys/ES2695657/
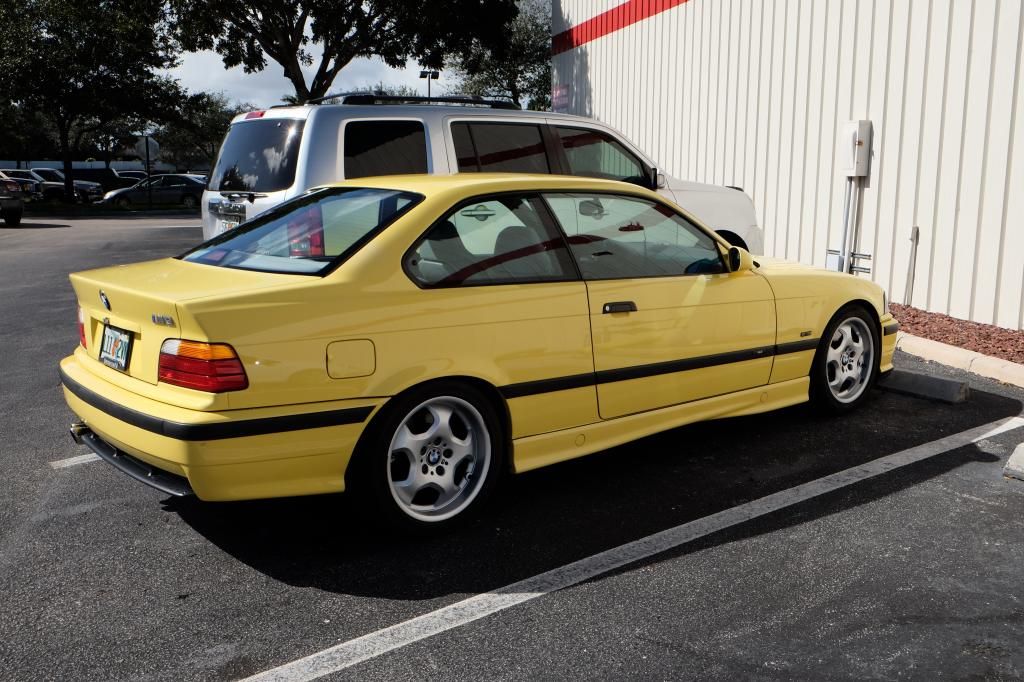
Got the contours cleaned and on the car
Last edited by Grant318is; 12-04-2014 at 01:33 PM.
Member
Had a day off today, decided to tackle some of the big stuff:
Pulled all the door panels:
Removed the fabric:
Cleaning in progress:
Laid out to dry:
FedEx also showed up with some goodies:
Member
Did some more cleaning today:
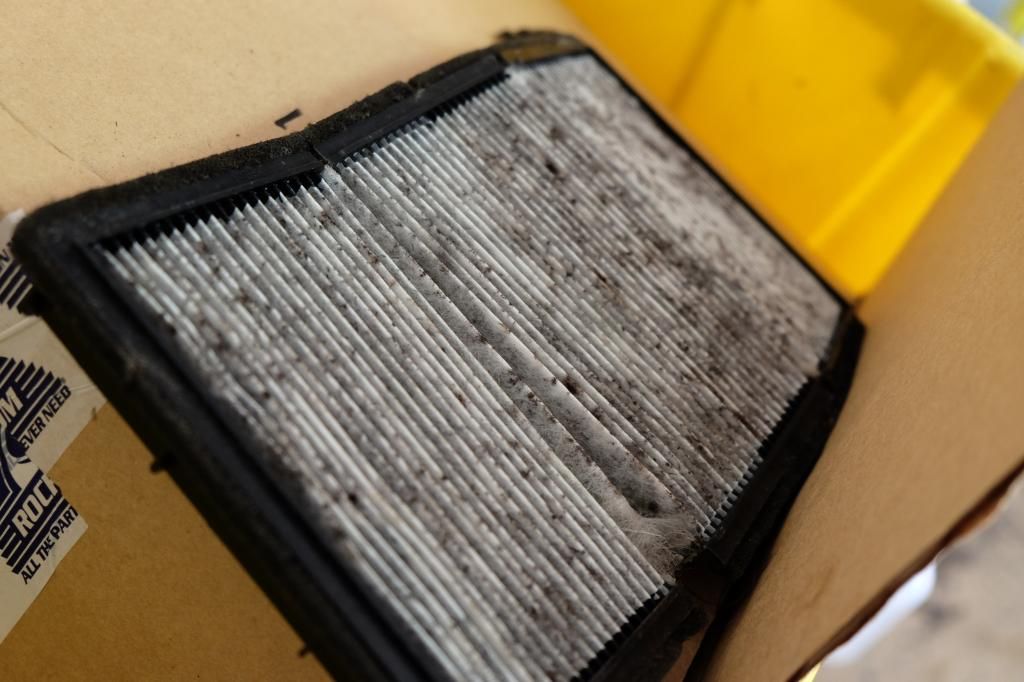
FYI Check your cabin air filter.This is possibly the worst one I've seen! I made sure to clean the condenser and everything. I now have a nice smelling AC system.
Sim Simma
Moderator
Pretty ballsy to rip that unobtanium M cloth fabric off the door panels imo!
Going into my TENTH YEAR of providing high quality reproduction BMW fabrics!
PRICE CUT on ALL FABRICS
Offering the best prices on the best quality reproduction fabrics!
Member
Well, it was coming a bit loose, so I don't think there was another choice. The panels need to come off for other stuff anyway. They need the typical E36 fixes.
Member
Love what you are doing man. Cleaning it up to its finest!
- 98 m3, techno/anthrazit cloth, 124k and officially worthless - 89 m3, alpine/black 143k and officially old - 2000 323it, tiag/grey, 169k and officially boring
isturning over a new leaf
how did the "after" look on the door panel inserts?
-M3J0N
Member
The pics of them drying is them cleaned. They look perfect. They are at the shop now getting attached to the panels.
A small, but important update;
THE CAR HAS A BUG IN THE CLUSTER. Every time I would drive, I would stare at it. Drove me nuts.
No problem right? Just take the cluster out.
Except...PO WHY U STRIP EVER SCREW?
Anyway, I spent 45 mins trying to get the bug to come out of the hole for the reset button. Also decided to polish the cluster face to remove any swirls.
All done:
Sometimes its the little things in life...
Last edited by Grant318is; 12-08-2014 at 05:13 PM.
isturning over a new leaf
lol. awesome.
-M3J0N
Member
Finally found a new wheel that met my standards:
Scored the wheel and CD43 for 400 bucks from a local guy.

Last edited by Grant318is; 12-09-2014 at 04:29 PM.
Member
Wheel and cd43 for $400 is quite the steal. Coming along real well, keep up the good work.
Member
BMW E36 M3 Expert
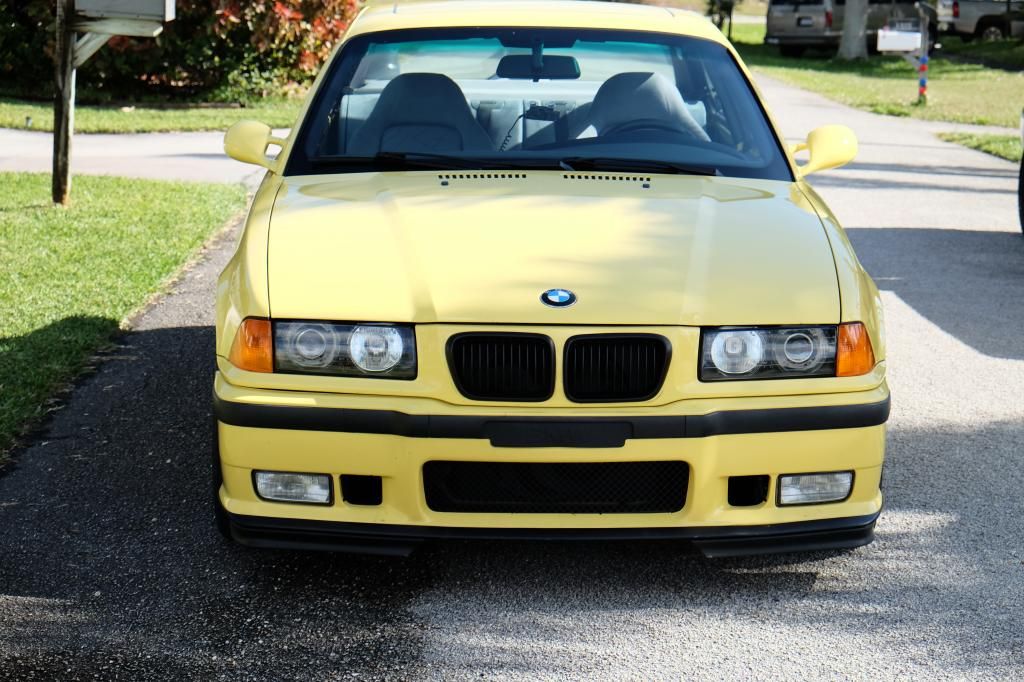
What a great find. That car is 1 of 1 ever made in that combo! You're a lucky dude.. glad to see you're giving it proper care and a good home. Would have hated to see it fall into the clutches of some young idiot who would drive it into the ground.
'99 Estoril Blue + Dove Grey ///M3 coupe
'04 Jet Black + Cinnamon ///M3 coupe
Member
.
Last edited by FSUhorizon; 12-10-2014 at 11:13 PM. Reason: Moderation please?
Wow:http://forums.bimmerforums.com/forum...d.php?t=971063
Just say no to cheap reps. Go real or go home.
OZ bolt tools for $41 shipped:
http://www.ebay.com/itm/OZ-FUTURAS-S...item51a0a55203
Member
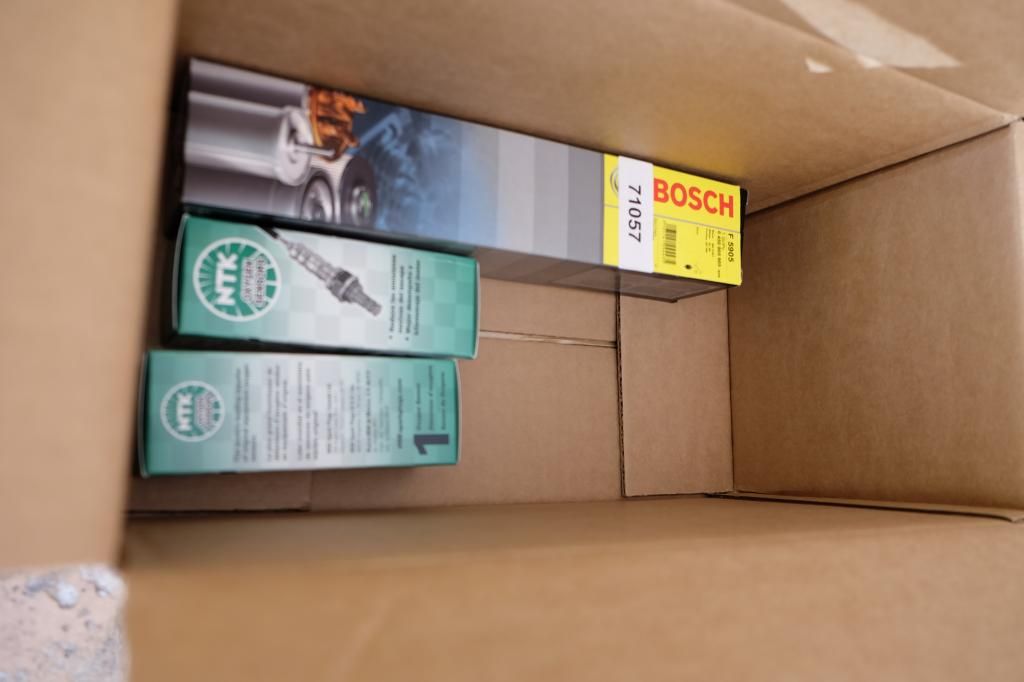
More stuff still arriving today:
New mats. Huge difference in the way the interior feels with them:
I also got a chance to take care of another nagging issue. It looks like someone replaced the badge on the back, but left it all crooked as seen here:
First step was to get the old badge off. Used a plastic razor, but I was left with this nastiness:
Busted out my handy adhesive removal wheel from my detailing days. It's basically a big rubber eraser like wheel for the drill.
All nice and cleaned with some acetone:
Applied new badge using factory specs (a MUST) and used a level to make sure it was straight:
All finished:
Some other goodies arriving later today...
Last edited by Grant318is; 12-11-2014 at 10:13 AM.
Member
Very nice, my favorite color and it looks uber clean! I might have missed it, but what is the make/model of the wheels that came off the car? They look pretty nice, but I see why you took them off.
Member
I believe these are the wheels that were on the car:
http://www.ecstuning.com/BMW-E36-M3-...oys/ES2628658/
Some other goodies just arrived!
A little hint:
Last edited by Grant318is; 12-11-2014 at 11:27 AM.
Member
Finally got my TRS E36 FXR Quick retro kit. Wasnt too hard to do, but the brackets needed to be ground down on the bench grinder to fit my depos.
Setting up the bracket. Install the screws with the non locking nuts:
Grinding down the brackets:
Remove the old projector from the lights:
New projector, modified bracket and housing. Note the order of the spacers on the bracket:
'
For the wiring harness, I decided to retain the factory halogen high beams as well as the Bi-Xenon beams. For this, you must make a wiring harness that activates both the Bi-Xenon Solenoid and the halogen beams:
Red wires are the Bi-Xenon Solenoid, white is the connector for the high beam and the other white is the positive lead on the connector
All soldered up. The other red wire from the Bixenon solenoid (they are not polarity specific), the halogen ground connector (clips to the inside metal of the light) and the negative lead of the connector.
Installed along with some nice new amber markers.
Last edited by Grant318is; 12-15-2014 at 11:19 AM.
M3 on a budget.
wow looks great man! makes me miss my m3
Member
Love what you're doing so far! Really great work.
Except... did you simply clean the cabin filter, rather than replace it? When I did mine, it was all I could do not to look at it. Just yuk.
Member
Nope, I replaced it with a charcoal one from Rockauto. They are once time use.
Some updates from today:
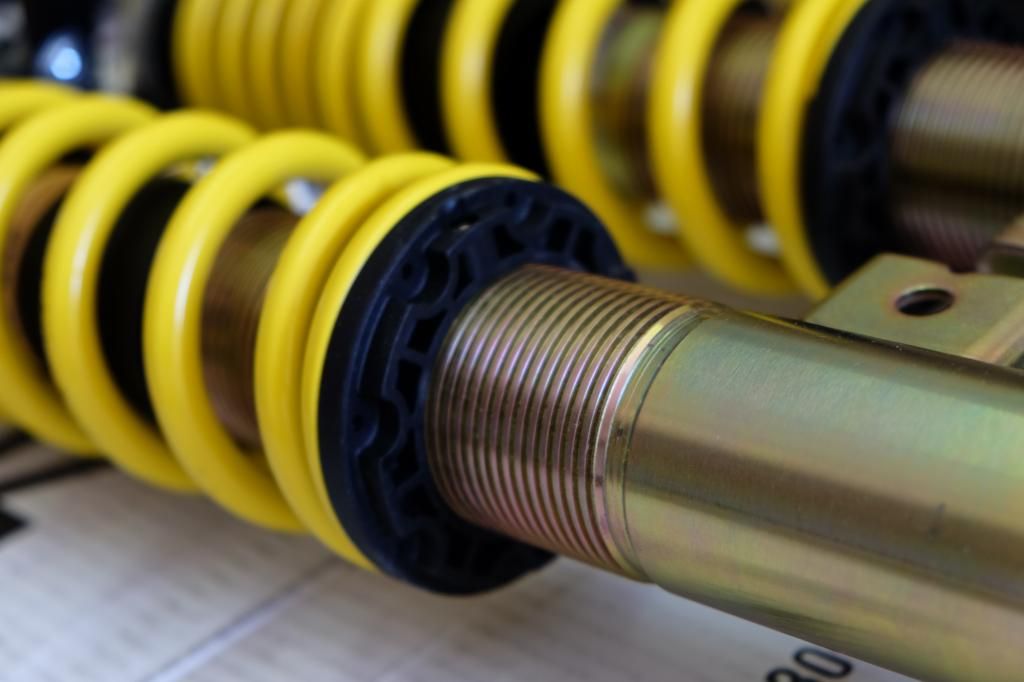
Decided to go with AKG once again for my suspension stuff. The last couple cars I have had have used their red bushings. This time I decided to tone it down a bit and go with the softer poly stuff:
Removing the RTAB bracket:
Drilled and punched out the center...
Sawing the metal out:
All ready:
New AKG Poly RTAB in:
Also did the FCABS:
One last shot of her up on the lift
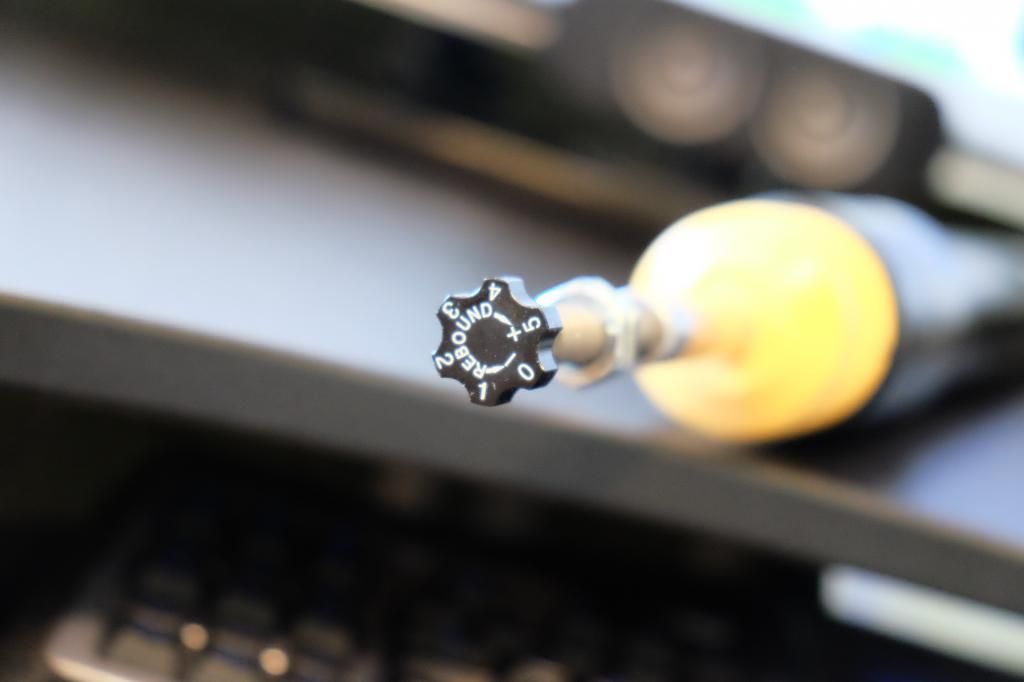
Also, two previews for tomorrow:
Last edited by Grant318is; 12-16-2014 at 09:12 PM.
 Posting Permissions


 Reply With Quote


Bookmarks