
 Member
Dashboard project continues:
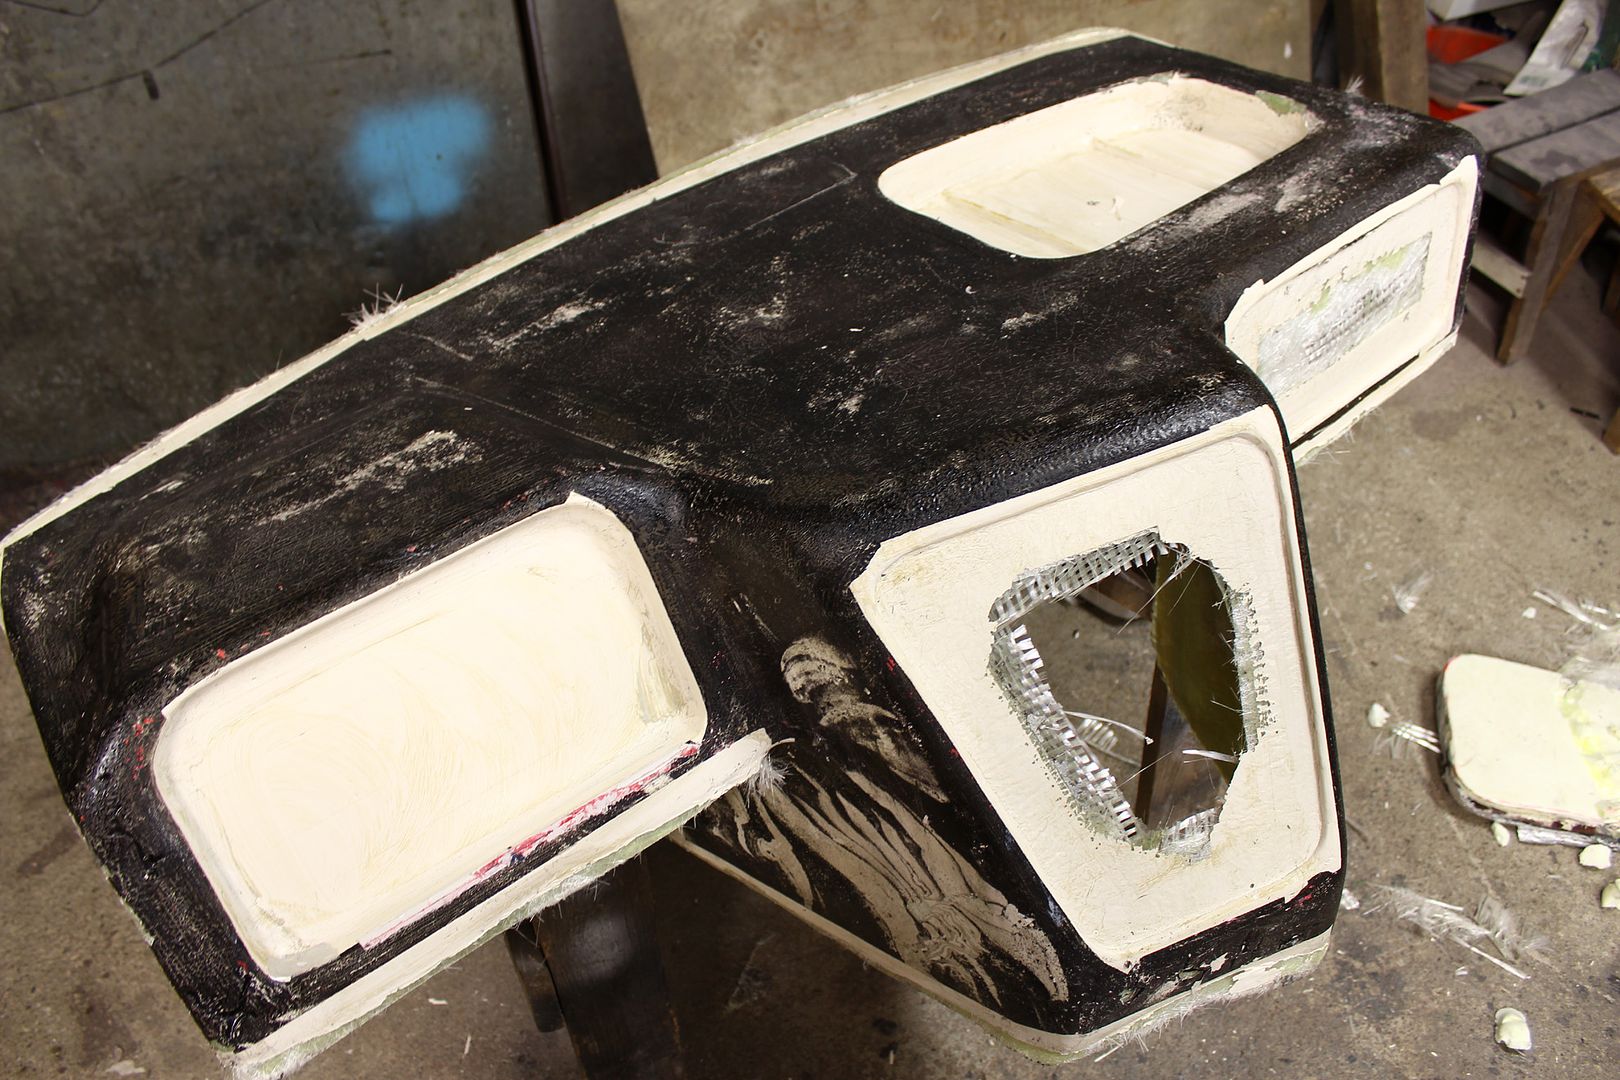
Finished mold:
http://s187.photobucket.com/user/mic...lt5k7.jpg.html
Thick layer of gelcoat into the mold:
http://s187.photobucket.com/user/mic...eh14a.jpg.html
One layer of chopped type fiberglass and one layer of braid type as reinforcement:
http://s187.photobucket.com/user/mic...kub6j.jpg.html
Aaand the product right from the mold. Gelcoat had melted the paint which made the surface look strangeBut the result otherwise is decent, little bit of sanding and grinding.. Weight was 3kg.
Follow us on Facebook or Instagram:
https://www.facebook.com/magnusracingteam
https://instagram.com/miugemrt
Member
Nice looking dash.
If you find it not stiff enough you could skip the chopped fiber and used 3 or 4 plies of woven fabric. If you go that route you'd want to use a 45 degree ply (i.e. take a ply and lay it across the mold on a 45 degree angle) followed by a ply on the 0 degree or 90 degree (straight up or straight across) followed by a 45 degree ply again. That will give you more stiffness than what you currently laid up. But be sure to be balanced in your layup otherwise your part could warp.
Member
Thanks for the tips! I might find use for that when making the outer panels, I also thought I could add foam strips between the fiber layers when extra stiffness is needed, it wouldn't add as much weight as multiple fiber layers.
Anyhow next pieces should turn out better than the first one
Follow us on Facebook or Instagram:
https://www.facebook.com/magnusracingteam
https://instagram.com/miugemrt
Member
subscribed for updates and awesome work.
Member
Happy to help...before I moved into management I was an aerospace engineer and I work at a company that mostly does carbon fiber aircraft structures.Originally Posted by Miuge

Yes, foam is far superior to using a lot of plies especially from a weight standpoint, and also cost depending on your core material of choice. There are a lot of options for core materials...you can use home insulation foam (the heavy closed cell blue stuff), you can also use balsa wood (end grain works best), or buy honeycomb core (pricey). The downside of foam is you can't put fasteners thru it without crushing the foam, same with honeycomb core. The alternative if you want to use foam is put pucks of balsa in areas where you plan to put fasteners. That's essentially what we do in aviation but we use either SEG (solid epoxy graphite) or potting called epicast into the core cells to prevent crushing. But that's overkill for this I think.
The important things really are:
Using 45 degree plies - that gives the stiffness. And if your part is too wide you can splice them by overlapping them when laying up.
Always keep your layup balanced about the theoretical mid-plane. Typical aircraft structures are what we call 3-core-3 meaning 3 plies, core, 3 plies. And a typical balanced layup would be 45/0/45-core-45/0/45. So the core is the mid plane and the plies are symmetric. 45 degree plies also tend to lay down better over complex geometry so it's usually the ideal first ply down on your tool.
Not sure what you have for suppliers over in Finland, but FiberGlast is a great place here stateside and maybe they ship internationally...not sure.
Sorry, that was a bit of a brain dump and maybe more than you wanted to know.
Member
Okay, sounds interesting!
I bought a couple of sheets socalled finnfoam for the mold reinforcements, but found out polyester resin will melt it. I read epoxy would work though.. Probably I'll be using some kind of foam (or different resin) as it is very easy to cut in shape, cheap and available nearby.
My fiberglass panels are more like visual, they don't carry such big loads.. 3 plies would be very thick with the braid type I have, I got the fiberglass supplies very cheap via my friend and that's only sort they got...
Never too much knowledge!
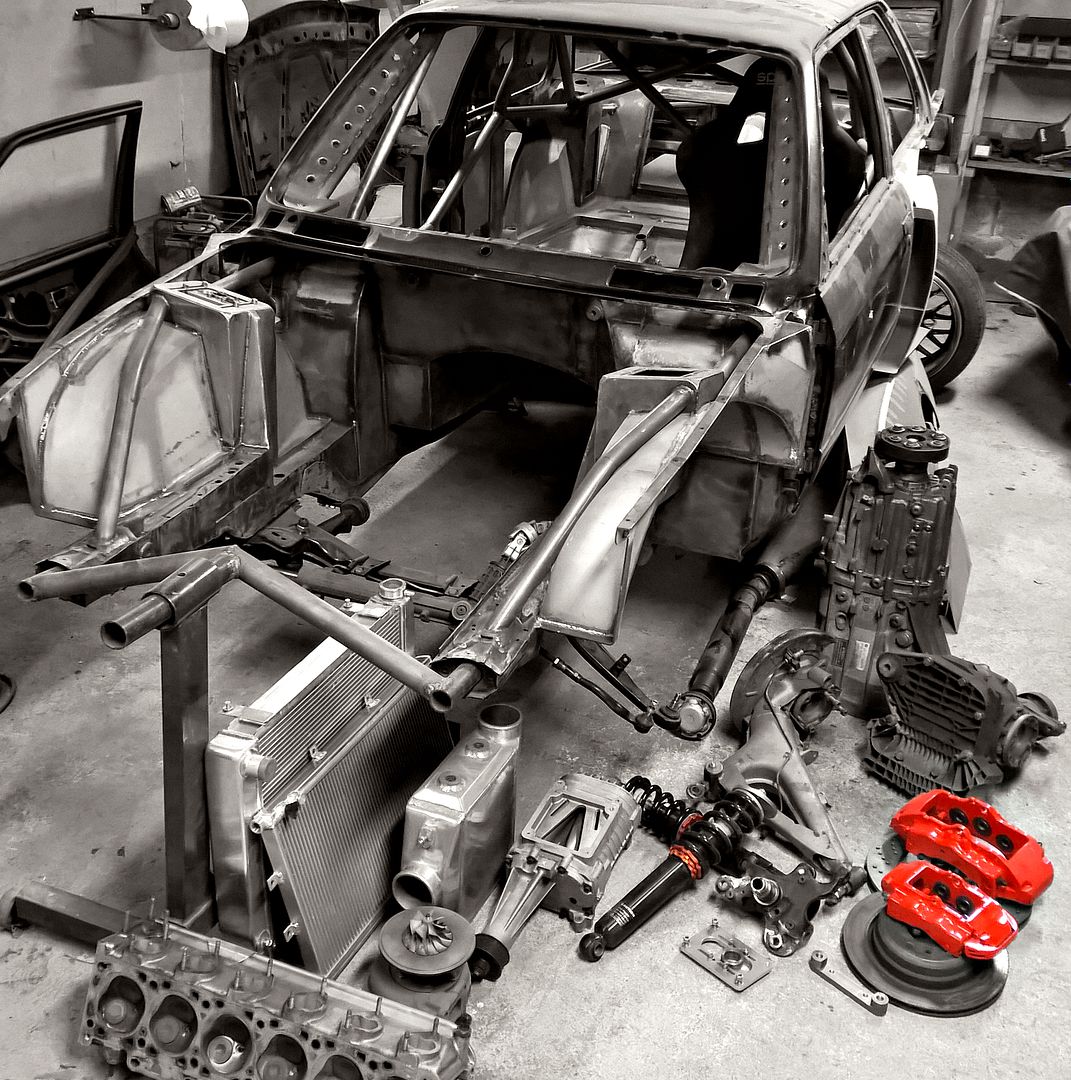
Took a picture of current progress, almost every part in this picture is already fitted but all the other tasks take a lot of time...
Follow us on Facebook or Instagram:
https://www.facebook.com/magnusracingteam
https://instagram.com/miugemrt
Member
This is an impressive build. Nicely done.
Member
holy shit ton of brakes
Member
Thanks!
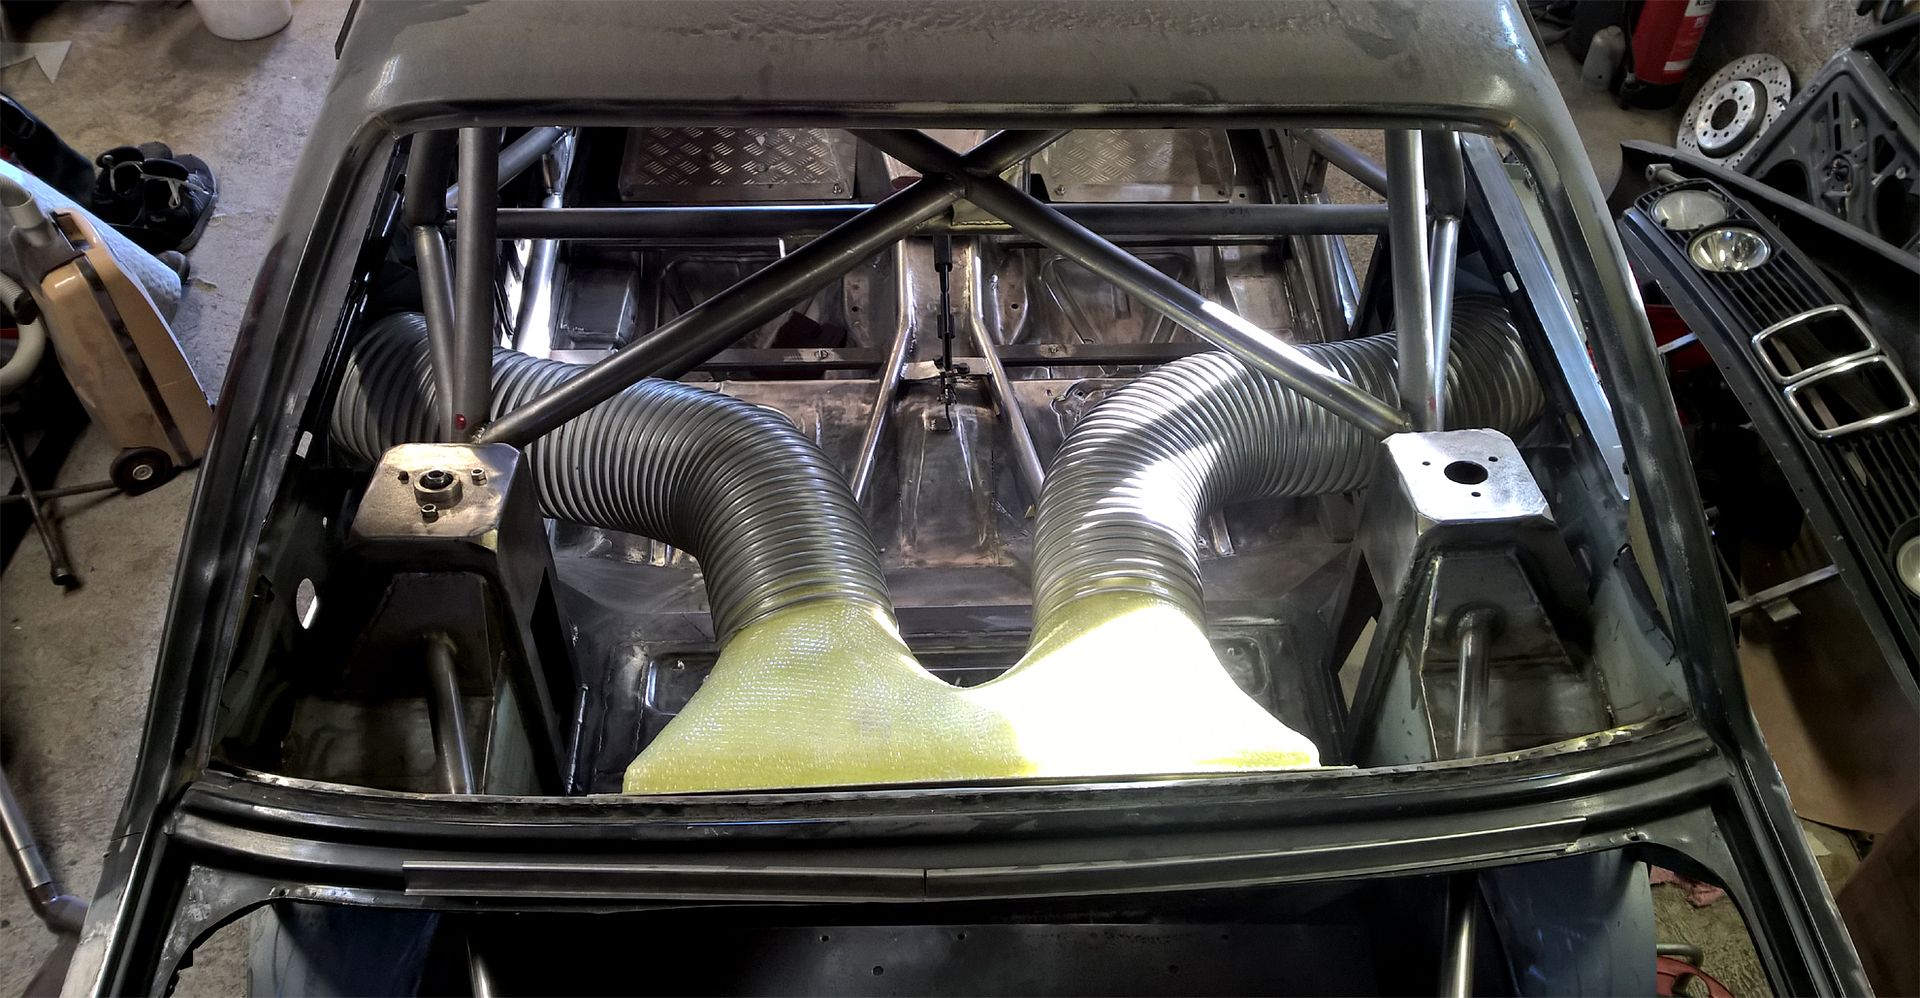
Horizontal tube for the seatbelts:
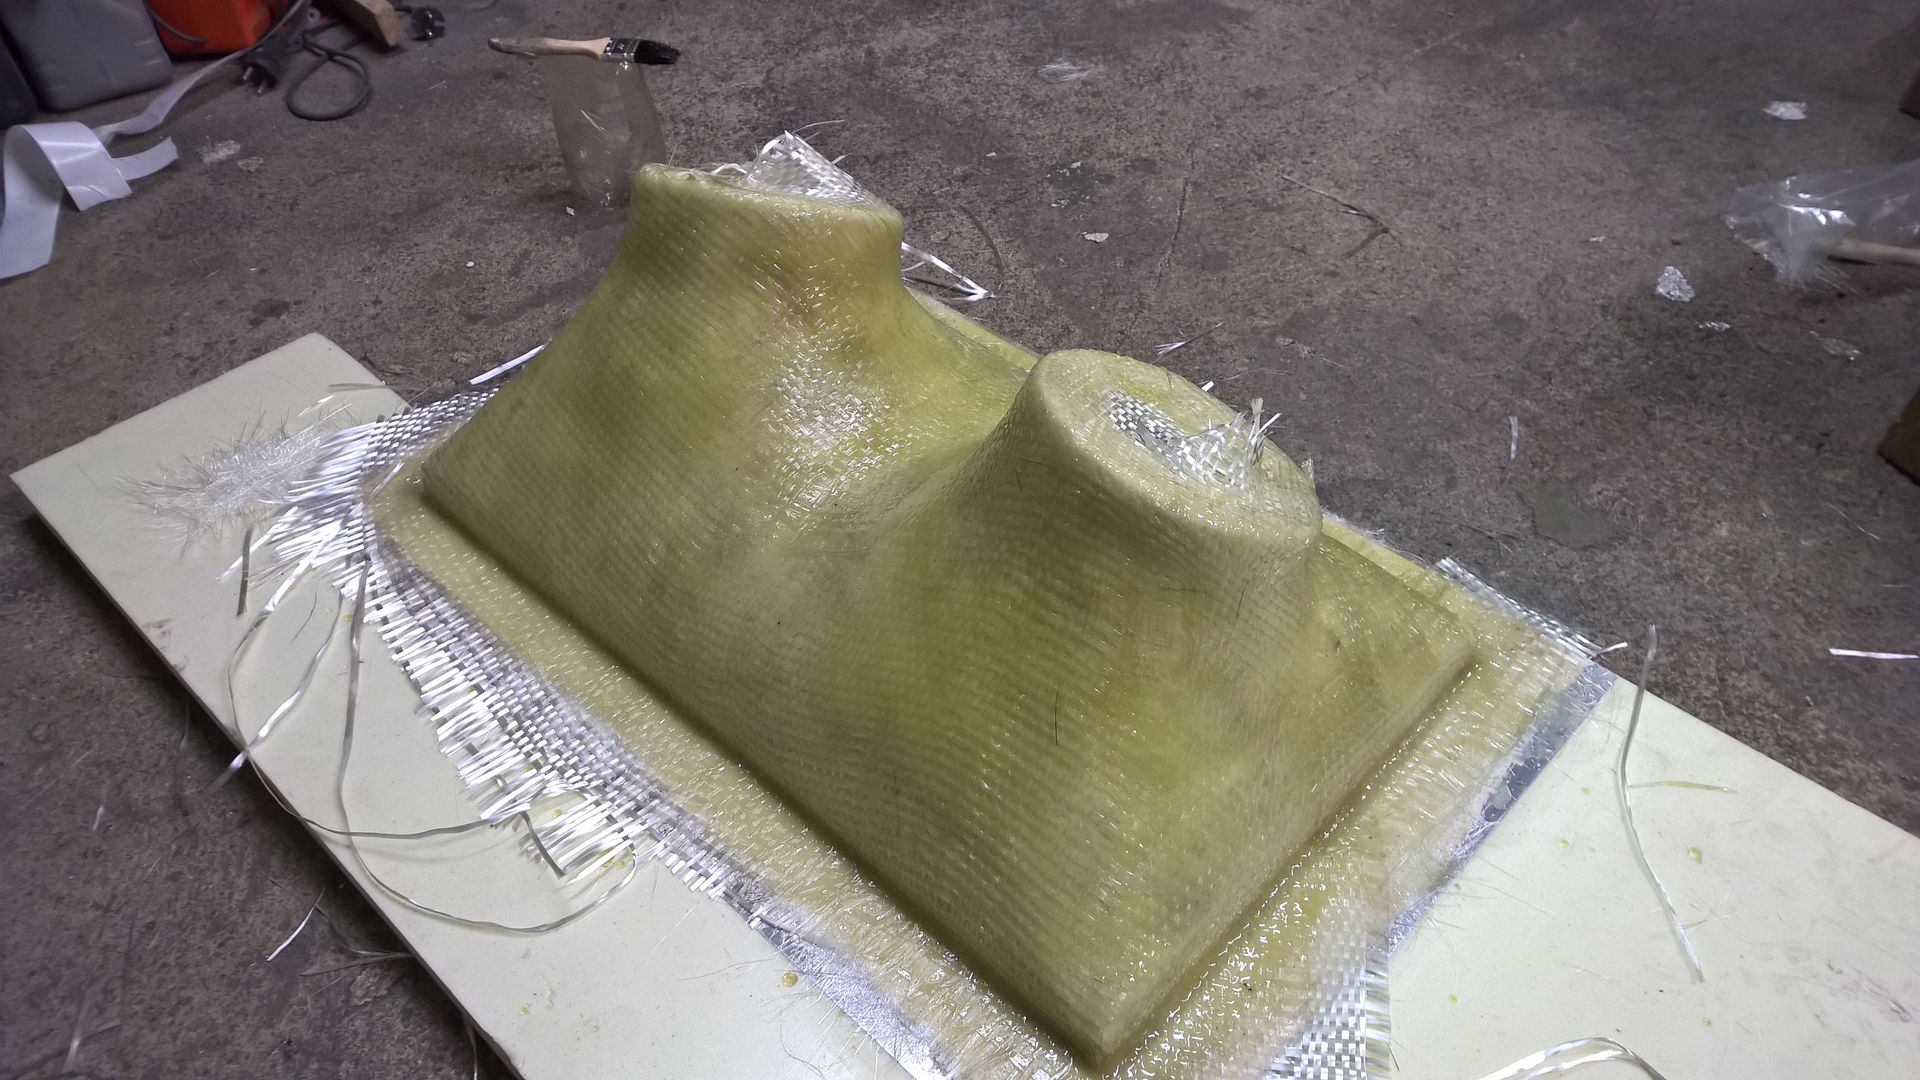
IC radiator air duct, didn't have patience to make a mold so I stacked the fiberglass over the foam model:
Follow us on Facebook or Instagram:
https://www.facebook.com/magnusracingteam
https://instagram.com/miugemrt
Member
Cool inlet ducts.
If you go the route of laying up fiberglass over foam rather than make a mold, and you didn't use release film, I will say the gasoline eats that foam away pretty easily. Just be careful with the jellied foam/gas mix you have...it's just a tad flammable.
Member
I've used aluminium tape + wax as a release film, works pretty good
Test fitting, should breath good enough:
Follow us on Facebook or Instagram:
https://www.facebook.com/magnusracingteam
https://instagram.com/miugemrt
HandPlant Sensei
Damn, dude, you've got some talent. This looks great!
2001 540i 6-Speed / 1989 325i M20 / 1994 Suburban 2500
"You gotta fix the nut behind the wheel before you fix the bolts on the car"
LoveClub Member #23
be seen, not scene
I love everything about this!
Member
Thank you so much!
Let's continue after a little break.
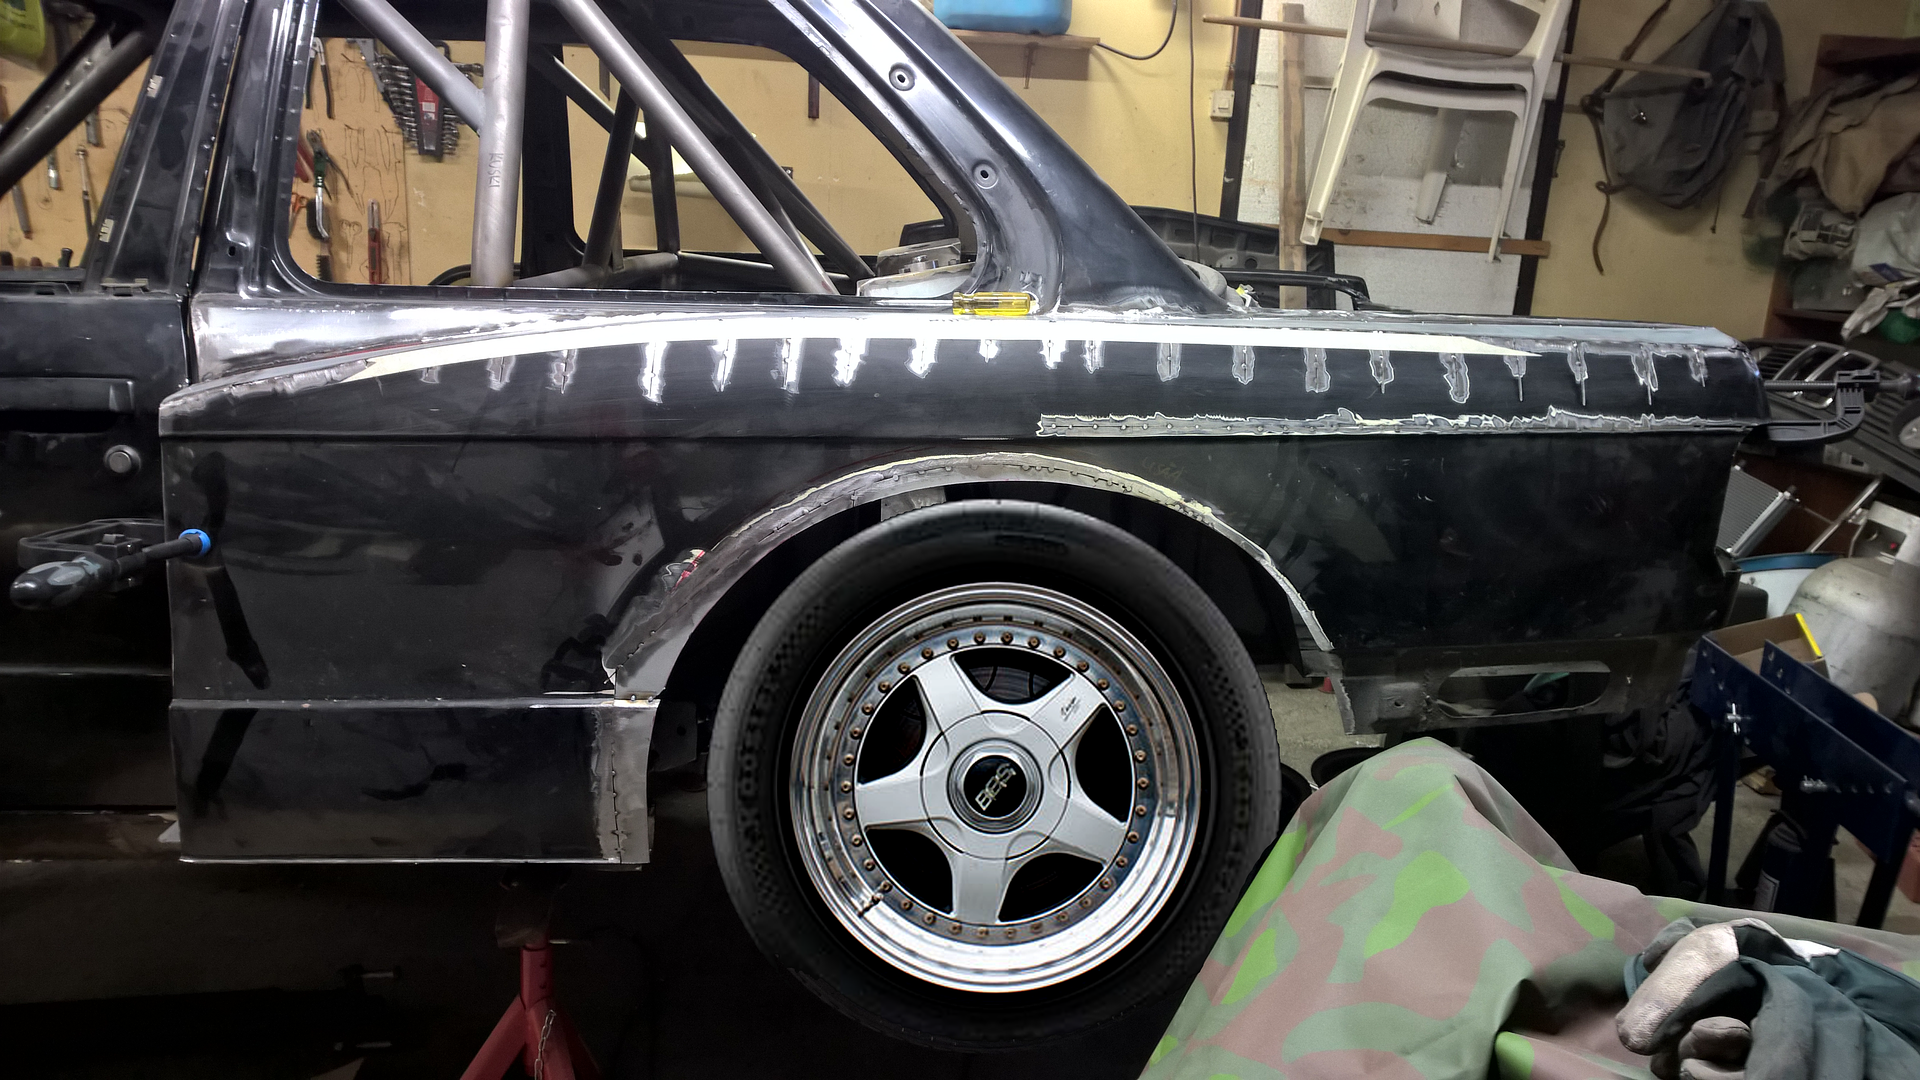
Made an inner fender for 650mm tire but it also allows me to use even bigger and wider tire if necessary:
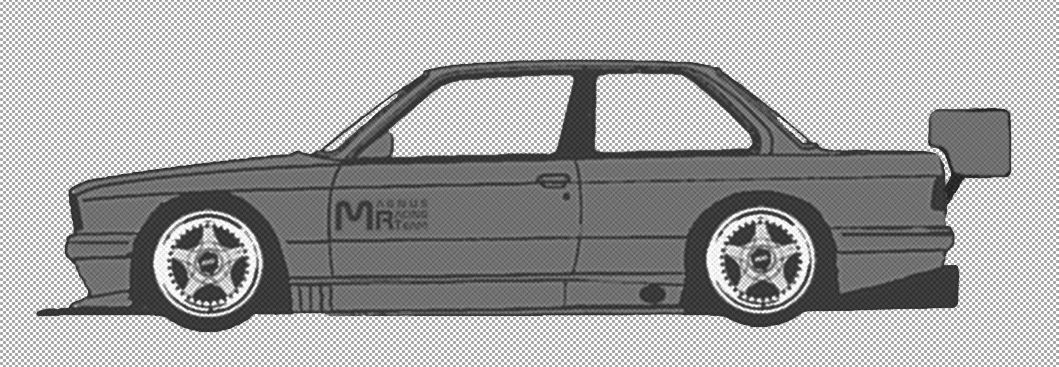
Side panel's wheel gap also found it's shape. This 615mm diameter wheel looks a bit tiny with stretched tyre...
I had to photoshop a picture which demonstrates upcoming wheel setup
Follow us on Facebook or Instagram:
https://www.facebook.com/magnusracingteam
https://instagram.com/miugemrt
Member
Sidepanels still need some finishing with filler before taking a mold:
Trunk picture, IC water tank on the left, battery on the right side:
Intercooler water tank and fuel surge tank pretty much completely welded:
Radiator air outlet location:
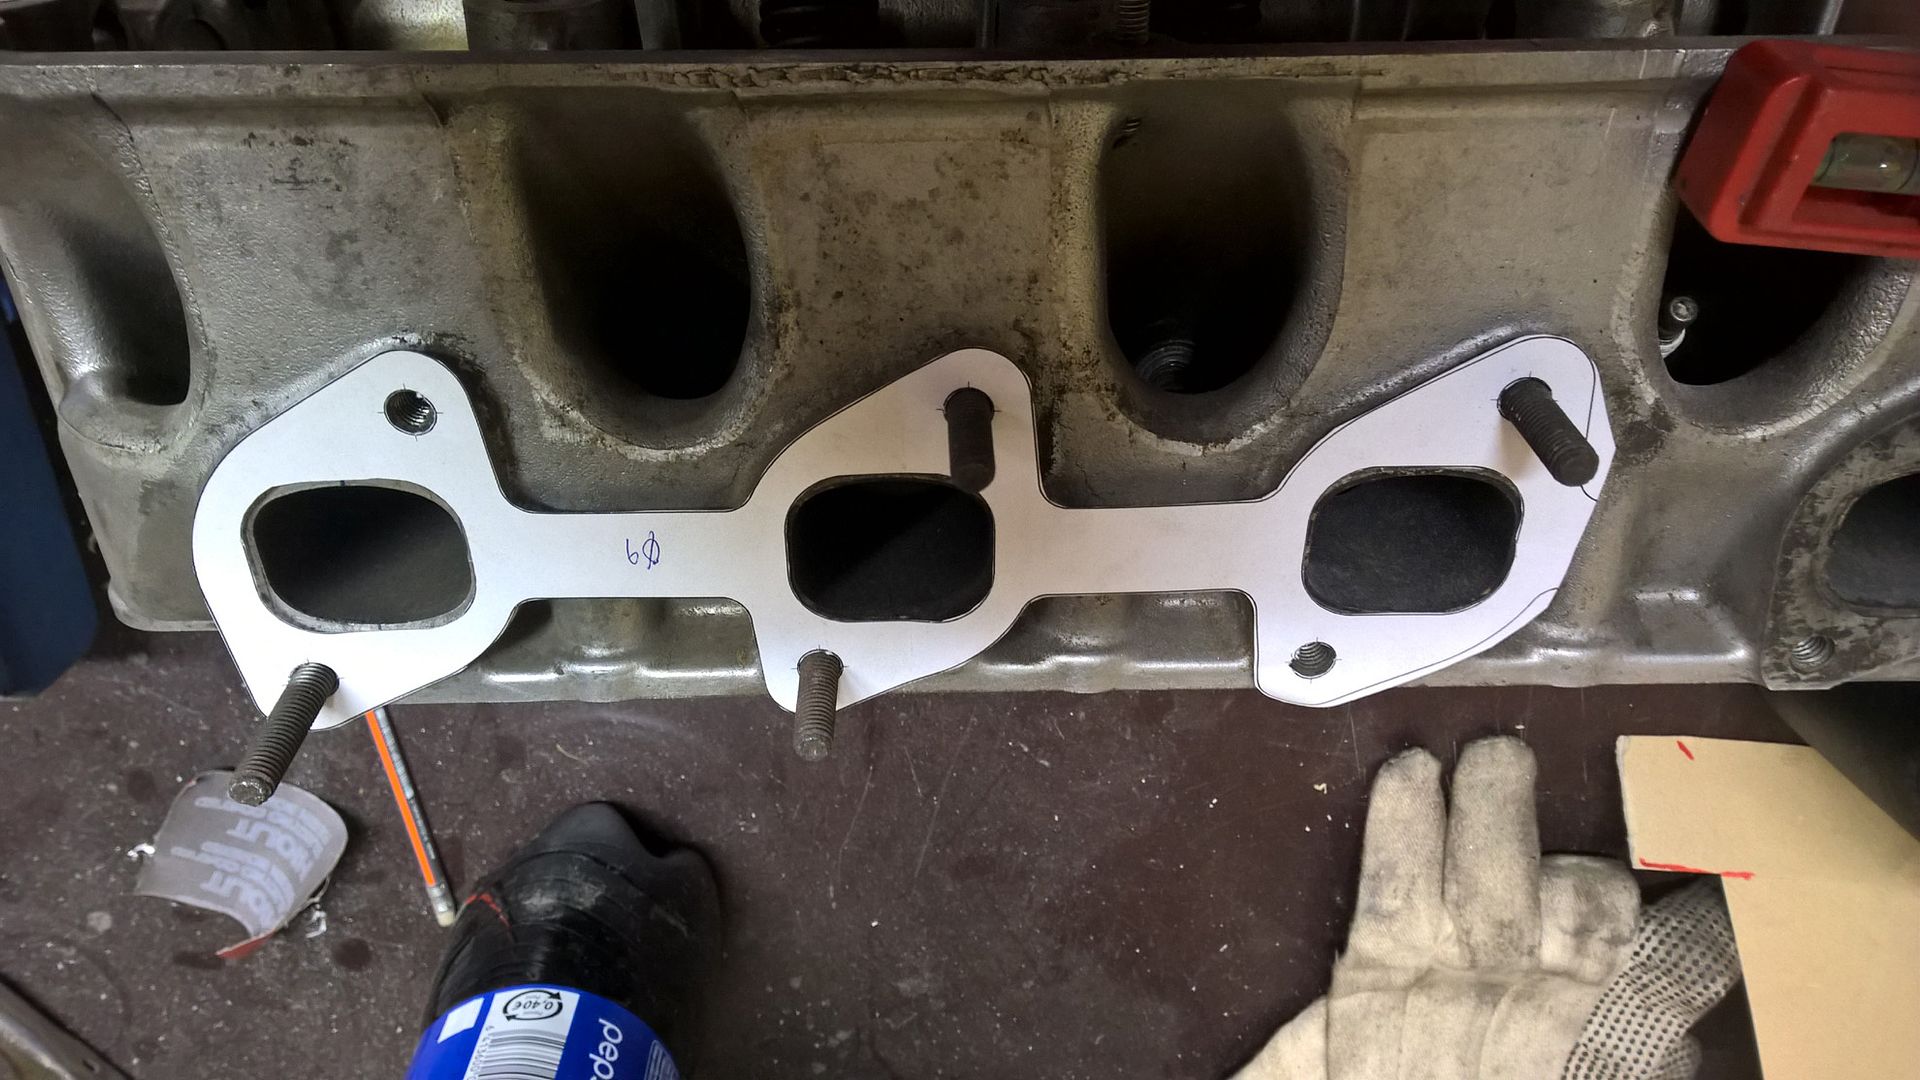
Spent few moments measuring M30 head:
Good fit, afterwards I decreased the port size a little bit. I think it's ready for cutting:
Follow us on Facebook or Instagram:
https://www.facebook.com/magnusracingteam
https://instagram.com/miugemrt
Did someone say racetrack
BMW CCA Member
Wow looking good! Interesting set up.
Gary Gray
If you can take it apart you can make it faster!
Member
Thank you
Last week I visited at a local paint store and bought 3liters of primer, days are getting warm enough that I can paint the car outdoors.
Today I tested some kind of special grinding wheel which seemed to remove paint nicely
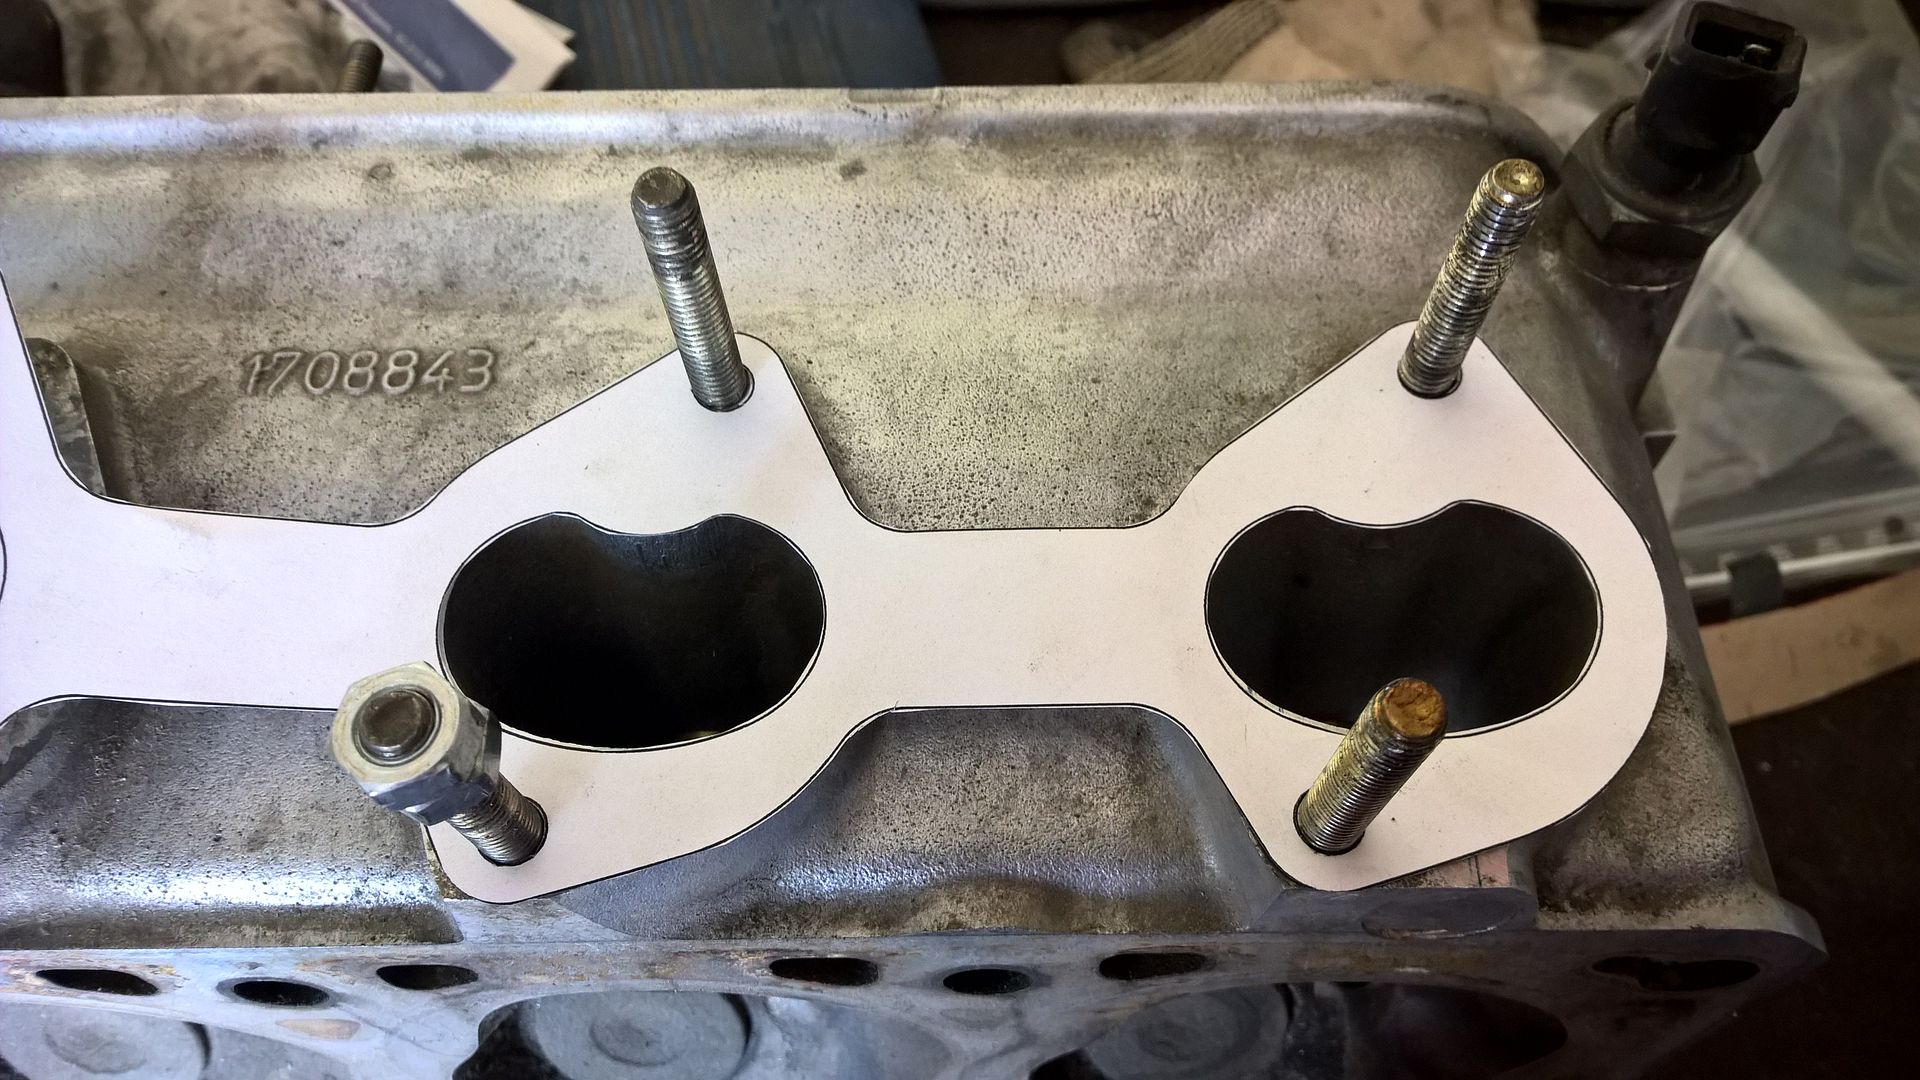
Aaand then I also made an intake flange model, I'll order both IN and EX flanges at the same time:
Follow us on Facebook or Instagram:
https://www.facebook.com/magnusracingteam
https://instagram.com/miugemrt
Member
Hmm, it seems that the chassis is getting ready for the primer! Last weekend we cleaned the rest of the chassis (excl. doorposts and the roof). Found just a couple of small rusty spots which I already fixed.
I'll post pictures by the end of the week
Follow us on Facebook or Instagram:
https://www.facebook.com/magnusracingteam
https://instagram.com/miugemrt
Member
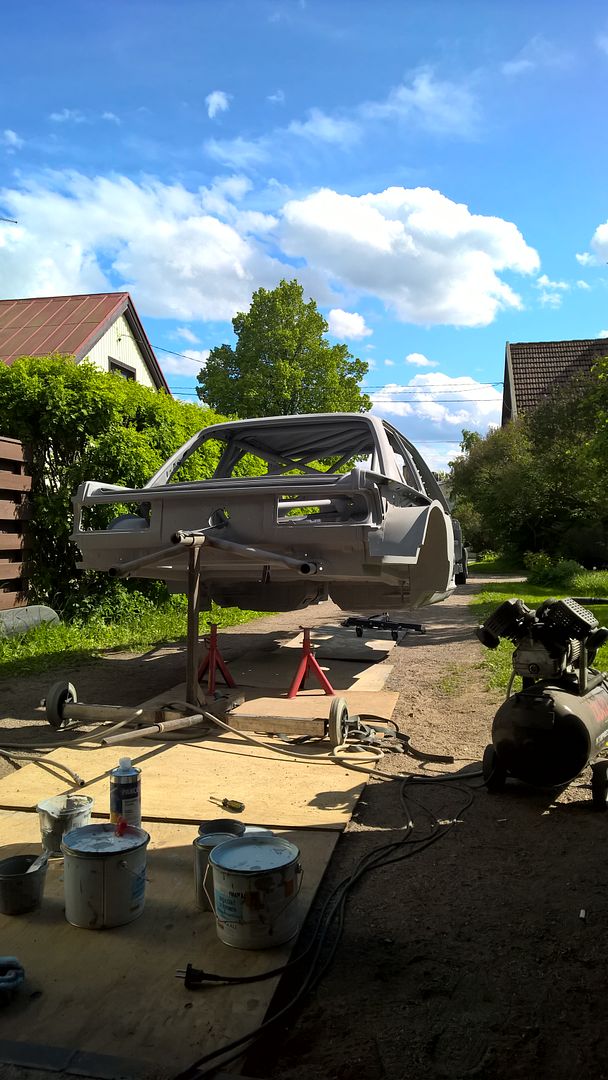
The pics I promised, it was a great weather to paint outdoors, sunny, warm and no wind:
Follow us on Facebook or Instagram:
https://www.facebook.com/magnusracingteam
https://instagram.com/miugemrt
I use my turn signal
So awesome
Member
WOW! And I consider it a huge success if I fab up a battery box. Great work, and fun to watch!
Member
Thanks!
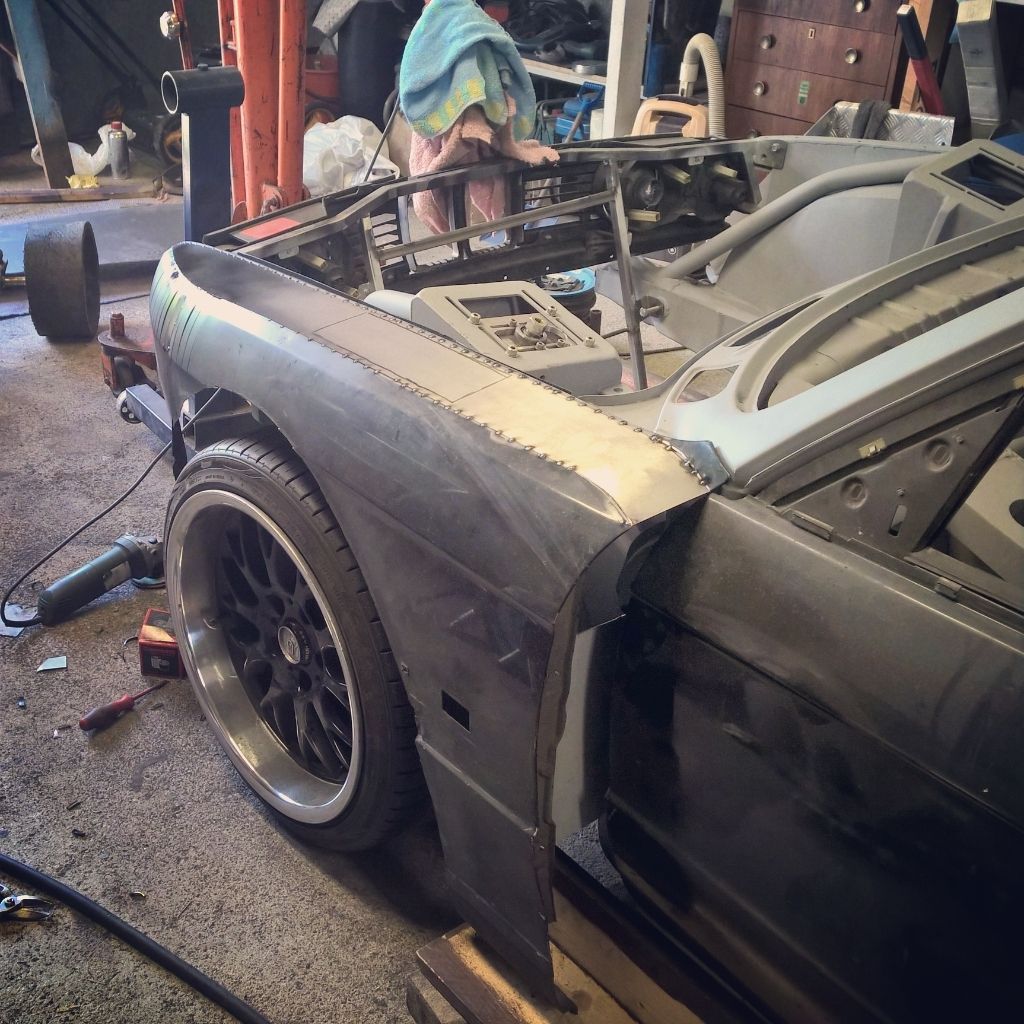
Just a temporary solution to get the wheel in right place:
Then I was able to start work the front fenders:
Front fender has a couple of functions; hot air comes out of the engine bay and wheel well from the back, also air from the front splitter/diffusor will be vented on top of the fender:
Follow us on Facebook or Instagram:
https://www.facebook.com/magnusracingteam
https://instagram.com/miugemrt
Member
No new updates lately, been working with the front fenders just a little bit and designed functional/imo good looking side skirts.. I'll try to get some plywood for the mockup this week.
Custom front control arms have been on pause, prototypes are pretty much ready and I have material and accessories for a couple of sets
I spent few moments with the sketch, this is how things should come out during winter:
Follow us on Facebook or Instagram:
https://www.facebook.com/magnusracingteam
https://instagram.com/miugemrt
Member
Glad that control arm setup is temporary. You'll be lucky if it doesn't crack when you've got weight-on-wheels.
Member
Haha, it's a little rude even for a temporary solution
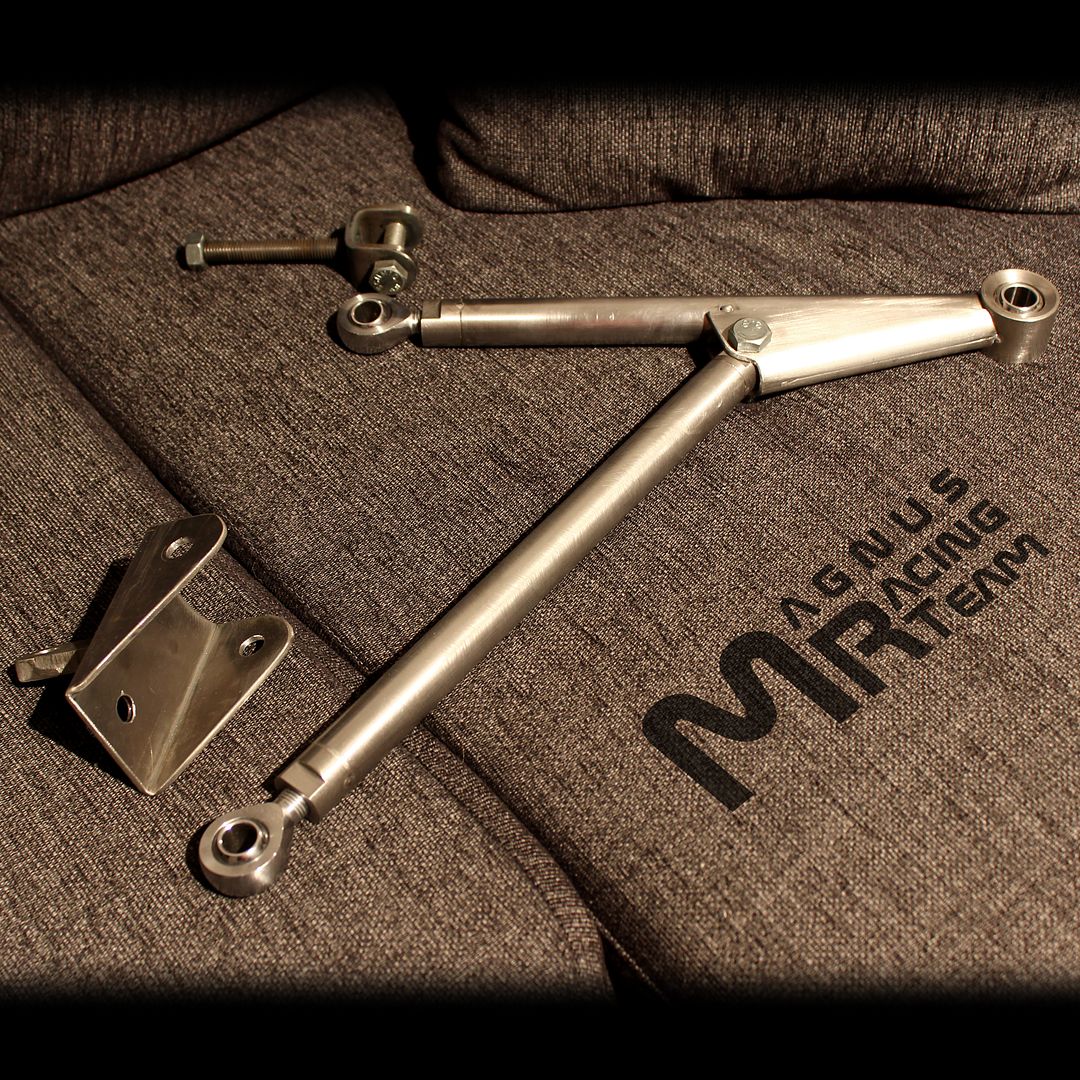
But maybe this will do better:
Got the first fully adjustable CrMo control arm prototype "assembled", missing a couple of bushing and a spacer. Complete kit weighs less than half of the orginal setup, but has the same rigidity.
There will be an upcoming contest at our facebook page where you might win one set for free, so make sure to like the page so you won't miss it
Control arm pricing will be published by the end of November.
Follow us on Facebook or Instagram:
https://www.facebook.com/magnusracingteam
https://instagram.com/miugemrt
 Posting Permissions


 Reply With Quote


Bookmarks