
 License Revoked
Can you give me the cad files and the exact materiel used please? give me all the details I need, size, materiel color etc. i have never printed 3D before, so trying to get an estimate locally and then I can get a quote to make them..
its the am yet? yes it is, 2am. time for more!...waiting....
Last edited by WikerMan; 03-25-2014 at 03:08 AM.
Member
Good fabrication skills man. I like the finished product.
Life is like a car wash and I'm on a bicycle.
License Revoked
a small contribution, I think that adding a side sheet or groove would be the best thing to do, that way it will eat / sit over covering the existing "rib" and add some more stability to the overall design. Forget about the 3rd sketchup design, it does look more aggressive idea however doesn't feel right with the e36 M3 shape and curves .
Something like the carbon fiber looking one(3rd in the pictures) that has a grove to sit over the existing diffuser rib, would be the best and look most OEM.

Last edited by WikerMan; 03-25-2014 at 05:51 AM.
Member
Bhahaha I almost spat coffee on my school book when I read thatOriginally Posted by WikerMan

Cant wait to see them on the car, looks better than I imagined beforehand
Member
Would this work for the rep m3 diffusers that are made for non m3 cars? If so then I'll buy some from you...like now
Member
BMW CCA Member
Ok guys, I'll finally update(Wikerman I'll pm you later).
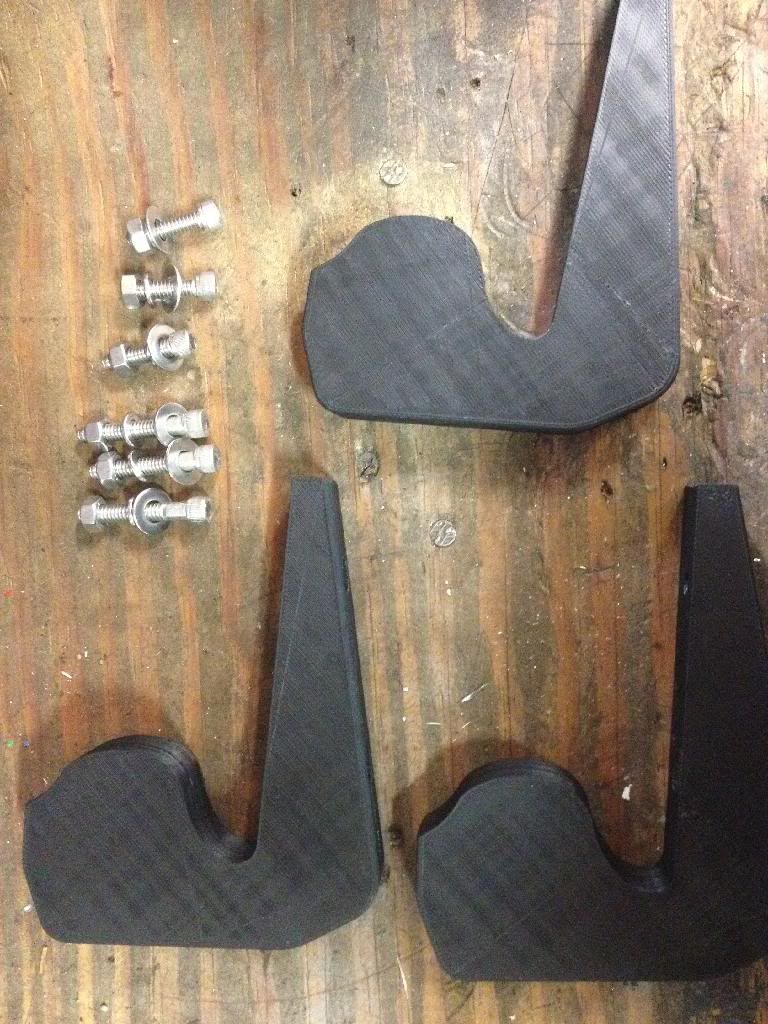
First let me mention the problems:
1. Surface finish isn't great. The heat plate the parts sit on makes that face pretty rough. Supposedly, acetone will lightly melt the surface and smooth it out (will test after Thursday).
2. Profile isn't perfect to the diffuser.
-I put too much angle on the bottom (opens up too much on the horizontal surface), will adjust with some washers and see how it improves)
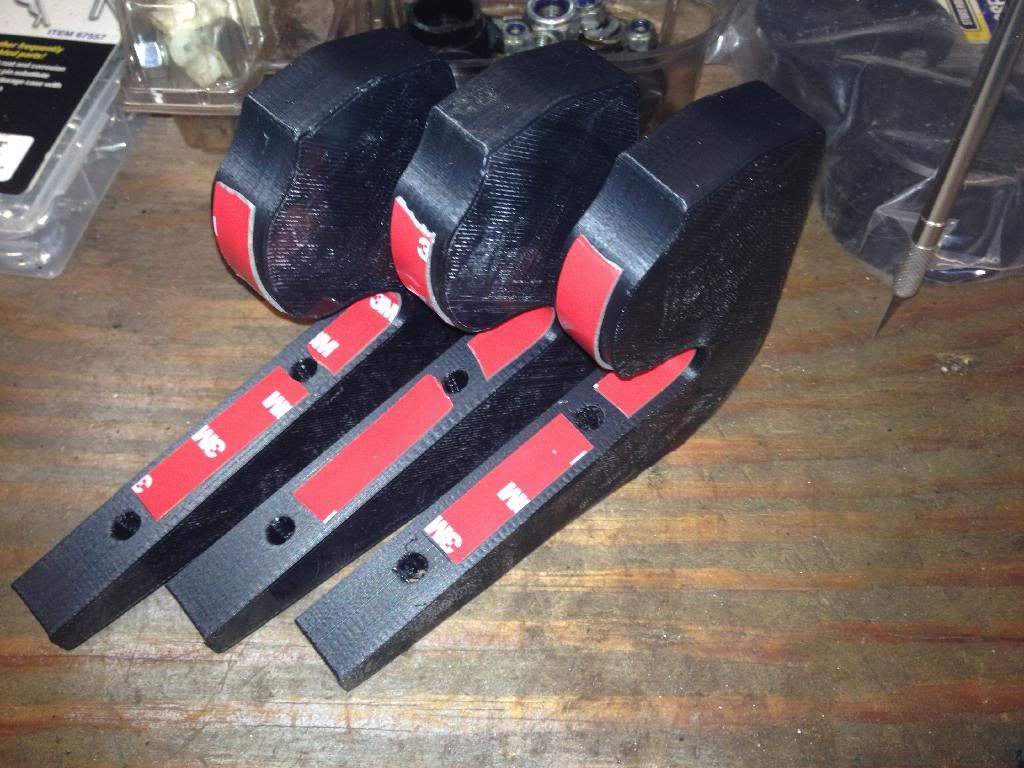
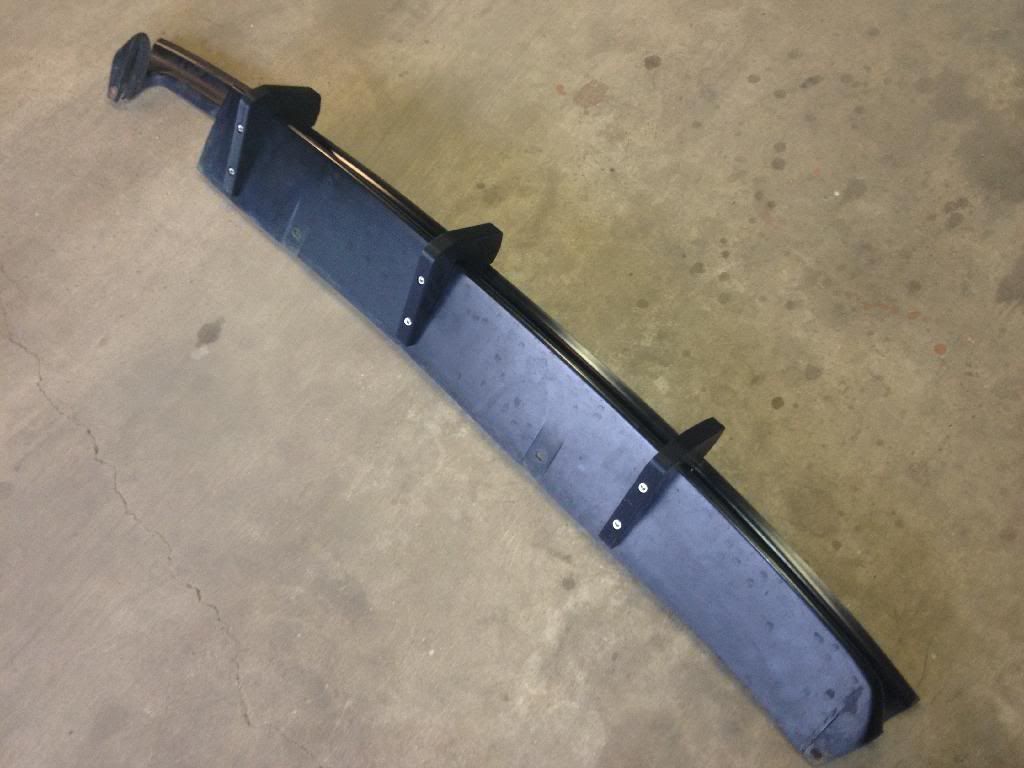
3. One of the three parts is warped, not sure why (the guy said he could make a new one if needed). It's the far left in the bottom pictures.
4. I designed the parts for M6 hardware...but I need to change it to 1/4". The hardware store locally only has english in this aspect ratio.
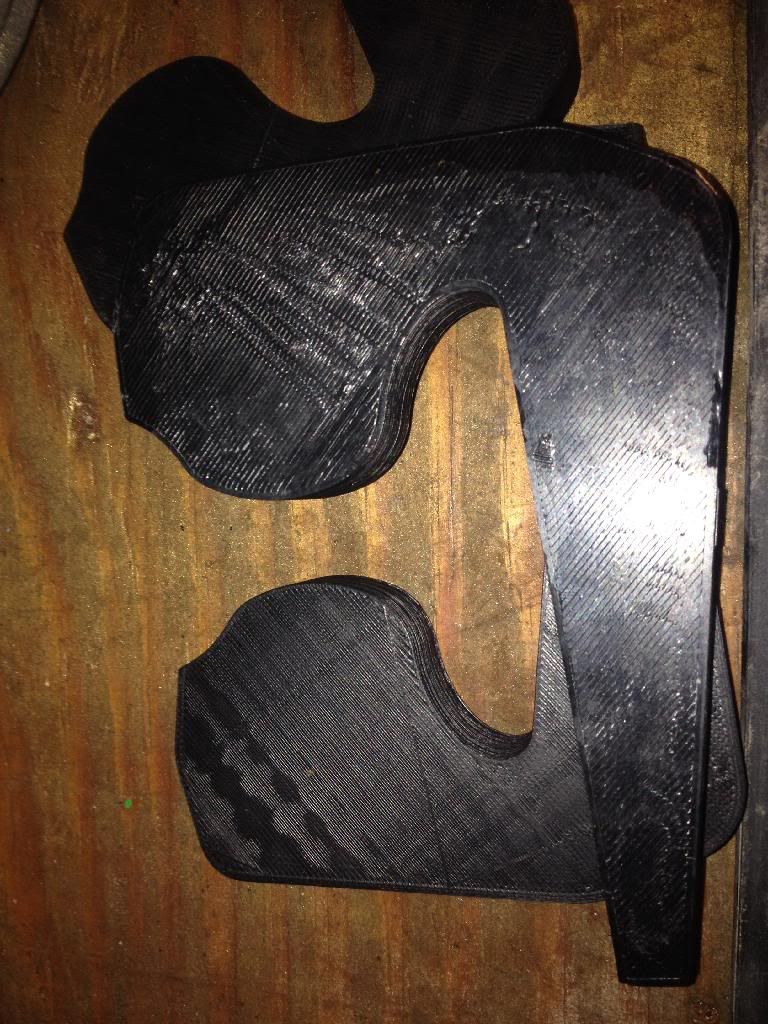
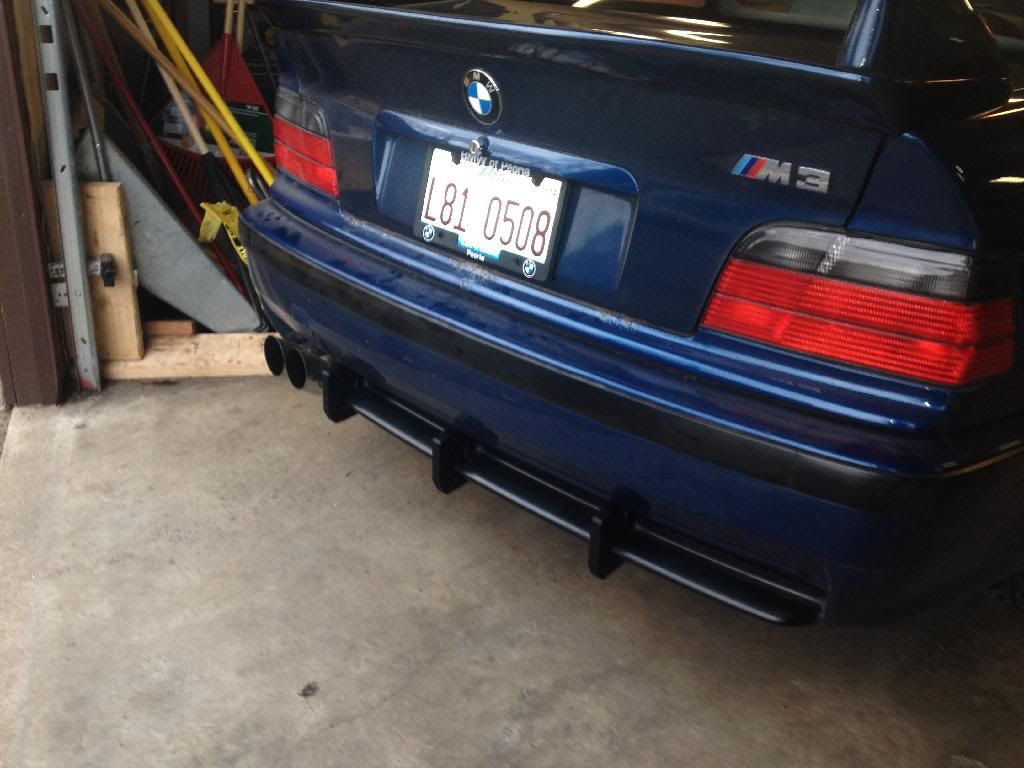
Now onto pics. I'll even include bad pics that show the problems above
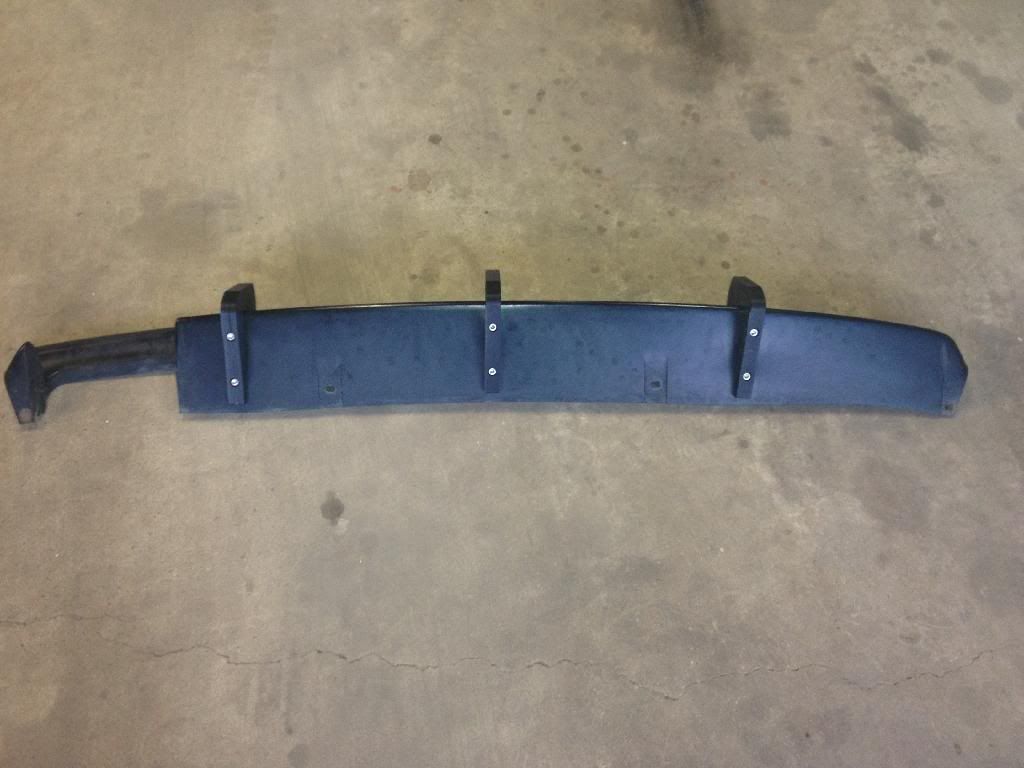
This is the top 'good' side.
Here you can see the 'bad' side on top.
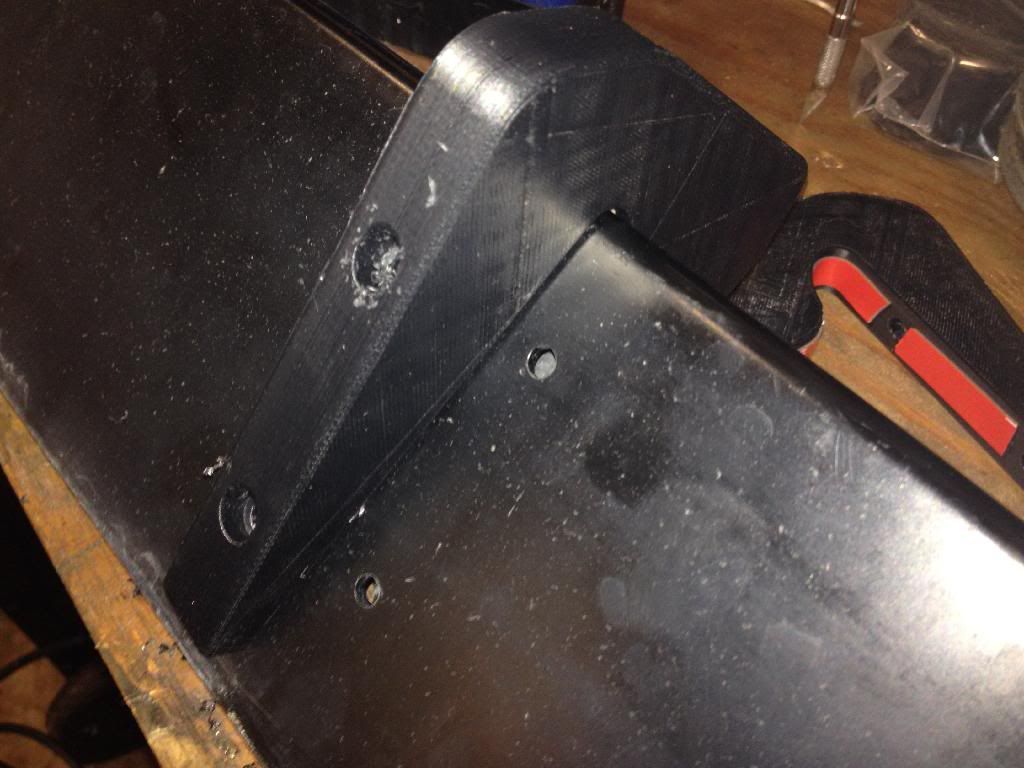
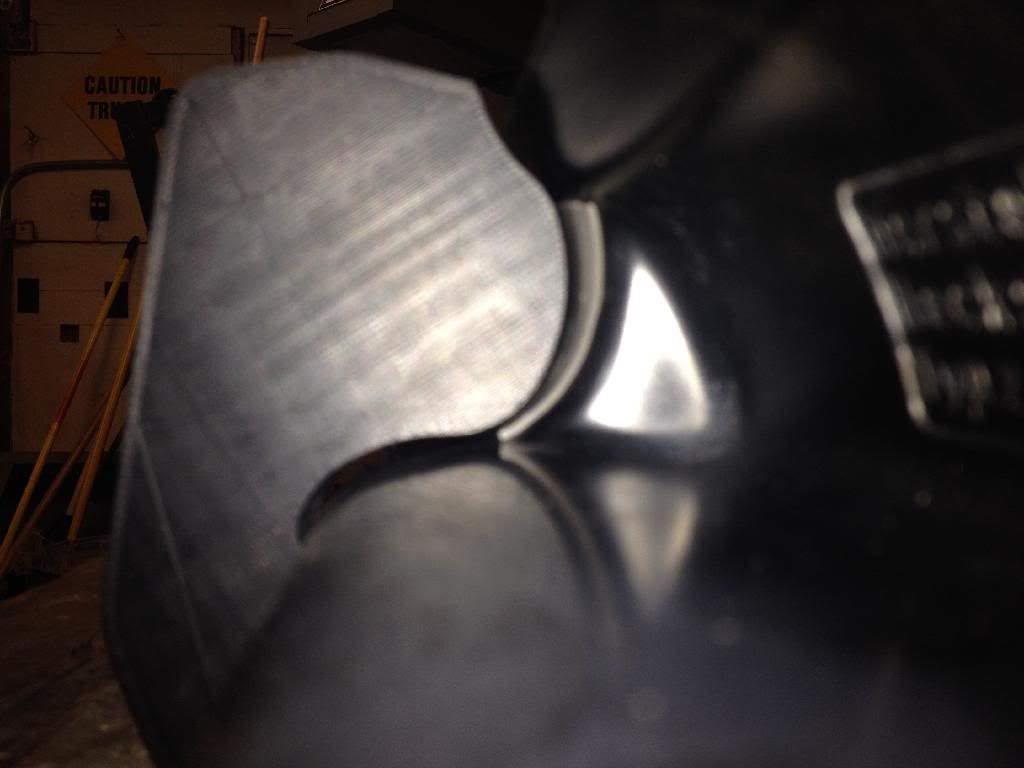
Here you can see the missmatched profile. This is because the horizontal surface on the bottom where the bolts are is at the wrong angle, pulling this profile away from the diffuser.
Last edited by Moron95M3; 03-25-2014 at 10:03 AM.
License Revoked
i already saw those pictures earlier
I have a solution, you need to scrap this design which "sits" and touches the ribs and you need to use your 3rd design, this one below.
final product diffuser.png
See how it eats up your ribs, which the current design only touches? thats what you want and essentially your diffuser becomes one with your ribs and bumper. And unlike the old design, not only this new one will pass the 5 feet test but the 1 foot one as well as look more nice and oem/professional that way as well. So use that design after you get the measurements and fitting right, make the ends a bit longer and have a groove cut in the middle.
I edited this in paint to clearly show what I mean. Observe this picture for better understanding. The Blue portion is estimated where the grove will be cut to sit over the ribs. notice my points in white writing and the small illustration in the box. See the Blues are your Diffusers, and the Black are the M3 Bumper ribs. See how the ribs go inside the diffuser. thats whats needed.
Also maybe ditch the 3m tape and get some black silicone that they use to attach your windshield glass and stuff like that, just a small portion on the diffuser will create a rubber like attachment to the bumper and ribs and reduce any vibration as well as being easily removable if needed.
Now let me address some of the other issues.
Maybe a different materiel or printer but to be honest it could be sanded down smooth with a belt sander and painted or just sanded up to 1500 - 2000 grit and it should be enough. My rear diffuser looks faded anyway so I wouldn't mind having it painted along with these.
I think you are really close perhaps 3 more prototypes at best to perfection, next time only have 1 printed at a time, that way you can test its fitment profile and if you dont like it you can adjust and reprint another one. that way you save on time/costs/wasted resources and save the planet and the bees and bs like that. once you got the perfect snug fitment, work on using better materiel/printer and give me (and the other guys) the file so we can try and make some locally.
Last edited by WikerMan; 03-25-2014 at 10:46 AM.
Member
BMW CCA Member
Wikerman, I like that idea however I want these to be able to be cut from a 2D CNC laser, so they can't have the groove the rib. The best idea is to add a sidesheet, however I honestly don't think they look that bad as is. I will probably cut some side sheets out to test that idea and glue them to the sides, in essence doing the same thing
I also like the idea of silicone, but I want these somewhat removable. Honestly the tape is probably overkill as the bolts hold the part on very tight.
Thanks for all the feedback!
For the future:
1. print out 6 side sheets to test on current proto parts.
2. Fix profile and print out 3 more proto parts (I will use the other more aggressive style for these). Also print out 6 side sheets pending results of #1.
3. Profit
Last edited by Moron95M3; 03-25-2014 at 10:43 AM.
License Revoked
Good point, But I wanna 3D printed optionI found a company locally and they have the 3d equipment, with the grove and all it would look so much better the gluing stuff around lol. Maybe we could cut the grove with some hand tools like a hand held rotary drill set..
But to be honest using sheets is not a bad idea either. It could really work and solve the rough edges/surface issue. Okay man, I think your should incorporate the usage of the sheets however you must use somewhat thick enough, maybe 2 - 3mm thick sheets on each side and precision cut on the 3d/2d mill. So they appear to be one piece like it came that way from the factory and not something some ricer kid has been going around gluing on to his car.
After you get it all measured up and when I get the final product I personally would use black silicone as it will dampen the vibrations, its not really permanent, just rubberized adhesive, I installed some rear 3rd brake lights with it, and it can be pulled right off the rear windshield. Just the idea of tape makes me go yuk.
Print a set of the normal ones too,
Last edited by WikerMan; 03-25-2014 at 11:08 AM.
Member
BMW CCA Member
I just sent my printer the STL file for the side sheets. We'll see how those look.
License Revoked
Thanks man
a little off topic, ever thought of making something for the front of the m3/m tech e36 bumpers? I have been thinking of getting a velocity splitter or making something out of the whats called the "HD Garden Lip(?)" or designing my own from a sheet of dibond and a jigsaw but never got around to it.
Last edited by WikerMan; 03-25-2014 at 11:18 AM.
(oOO\(||||)(||||)/OOo)
Man the detail, good job. What did you use for the 3D modeling? C4D?
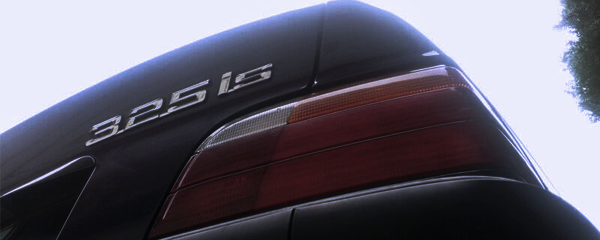
1993 325is 5speed mauritiusblau-metallic(in project mode)
Member
I didn't know how far you were going to develop it. I was just thinking of using materials that's similar to the oem plastic piece. Is it ABS? Need some tape? I have a semi roll of 3M VHB I can ship you if your willing to PayPal me back the ship cost!
Another E36 Addiction
Man i have some ideas that might make it look better ish. I just don't know how to explain it on the computer.....lol I think they look a little long and a little thick if you know what i mean. Hopefully we will meet sometime this year so i can explain a little better.
License Revoked
Updates Please
Member
BMW CCA Member
Thanks! Creo 2 (used to be ProE)
- - - Updated - - -
Sorry! Been busy, waiting to get the side sheets from the guy. After that, I'll have him do another set or two with some changes as mentioned
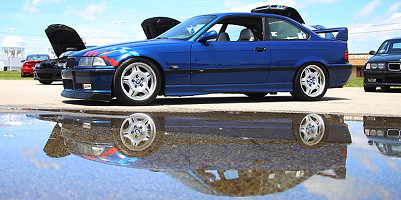
I'll post pics when I get stuff, the car is filthy (had a bmw meet on a rainy day).
Last edited by Moron95M3; 04-03-2014 at 02:42 PM.
License Revoked
Have been waiting the whole week for something, I know adding this to my car will give me the ultimate reps, aero drag and drif powar and makes girls attracted to me +2 which would make my attractiveness back to Positive 1!
rain makes my car look more glossy and shiny. when you finish it make me that model please that makes it one part with the sheets and everything for 3d printing
Last edited by WikerMan; 04-03-2014 at 08:58 PM.
Member
BMW CCA Member
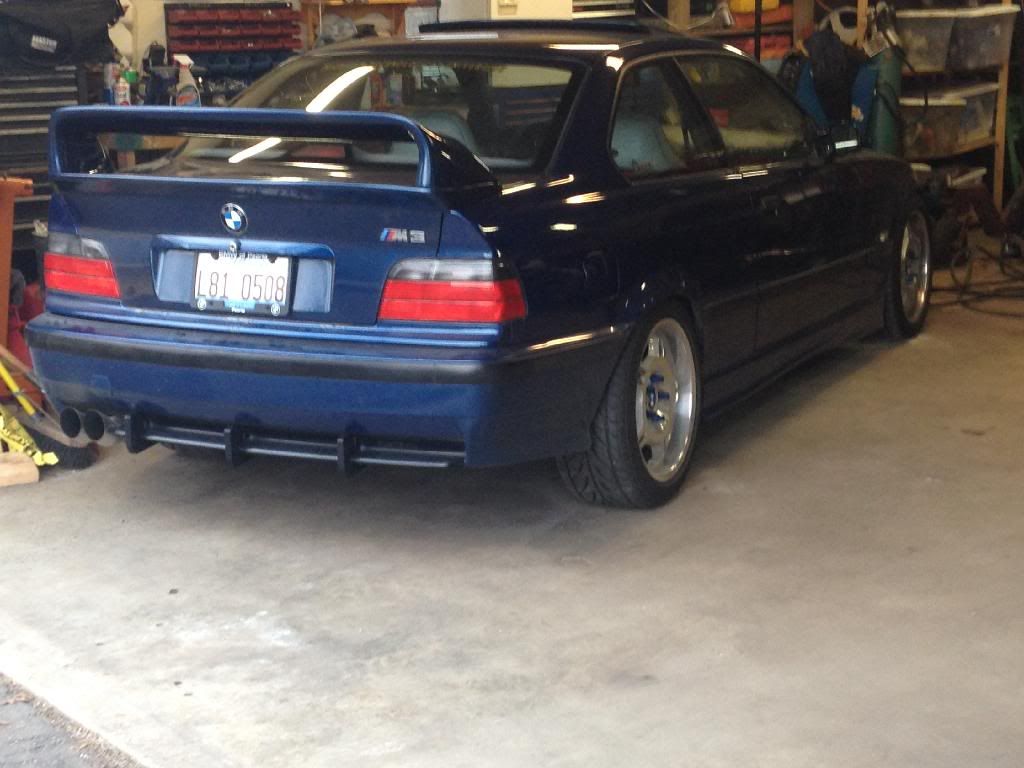
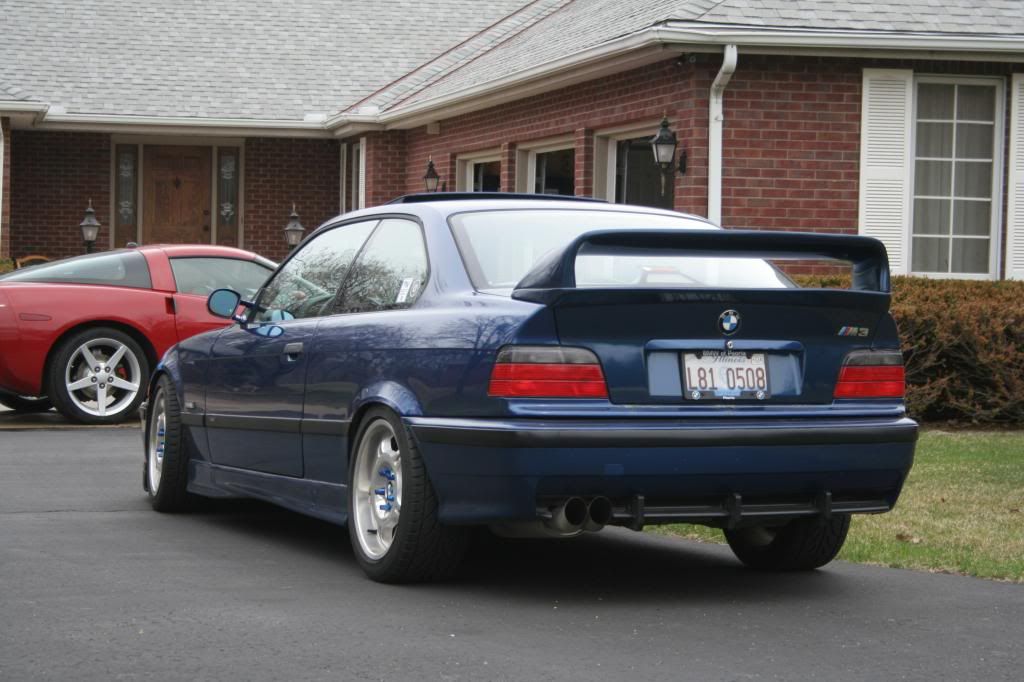
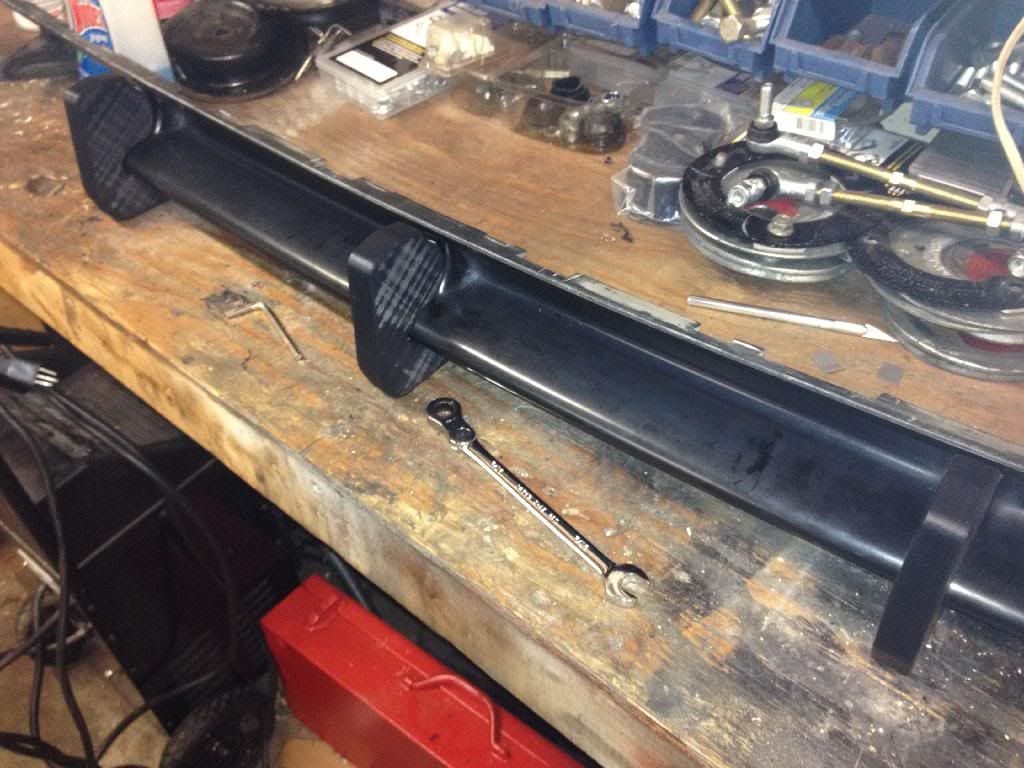
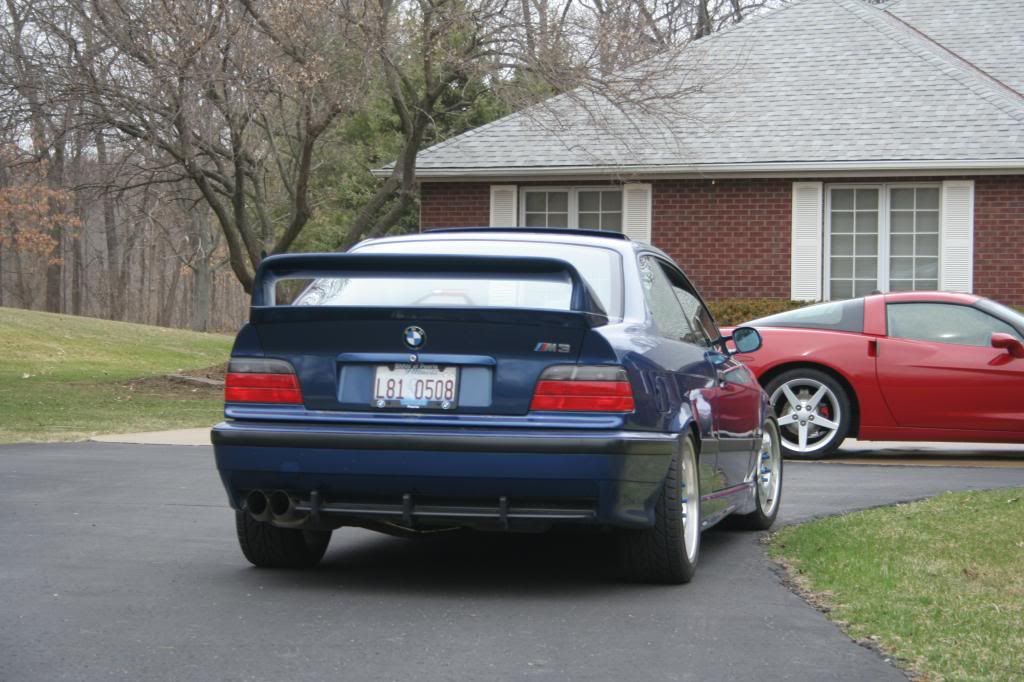
still waiting...but more pics of the first proto.
Member
Lookin good and subtle. Wish I had a M rear bumper.
License Revoked
Not bad looking even the first protos... nice work. actually they look kinda oem, would be nicer when you have the sides to make them look flush with the rest of the diffuser.
whats the hold up? why is it taking this long? I was hoping it would be all done by now.
its never too late for things like this you know.
Member
You just had to think of this when I finally feel satisfied with my AC-S diffuser.. When I see the final product I might just buy the M-tech styled officer for non-m if it fits haha.
Member
When can I buy this?
Member
BMW CCA Member
soon
Member
I can't imagine this will have any aero benefits, you're not creating any more of a "reverse wing" down there. So this is a "just for looks" thing right?
I have no problem with that, just trying to understand if I'm missing something
Jeff | '94 BMW Alpina B3 | '06 BMW 325XI Wagon
Member
I wouldn't think this is made for down drag or aerodynamics. these are street cars... not race cars bro.
Alright. I'll buy a set for my 318ti. I hv the M - tech rear bumper
 Posting Permissions


 Reply With Quote


Bookmarks