
 Member
Originally Posted by bimerok
 Oh man...now I have to live up to the expectation of "greatly improved!" I'll be happy with "those don't look nearly as bad."
Tipsy
Member
I hated doing mine. Every time I finished one, there was something I wasn't happy about. That is why I used braided lines with fittings.
Member
I can't win. I played around with the Eastwood tool. It seems to work very well. But I need to flare three lines on the car, and I can't use the Eastwood tool for that.
So, I figured give the Cal-Van 156 a whirl. It's a Metric/ISO kit and the smallest die is 4.75mm, which is the basically same as 3/16". But of the three line clamps included in the 156 kit, the smallest is too large for 3/16". So then I have a brainstorm. Advance carries the Cal-Van 161, which is a double flare tool, but it's sized for 4.75mm - 3 1/16" line. I figured I could use the line clamp from the 161 with the 4.75mm die from the 156 kit. So, off to Advance to pick up the Cal-Van 161.
Obviously, I wanted to give it a try with some scrap line. The line clamp form the 161 kit worked but my first attempt resulted in a really ugly, lopsided flare. The second attempt? The threads on the damn line clamp stripped!
So now I'm stuck because I really need to make three flares on the car and I think the only way I'm going to get that done at this point is to get my hands on a Mastercool hydraulic flaring tool. I just spent $200 on the Eastwood tool and and I'm not about to spend $300 on another tool to make three flares. Somehow, I need to track one down.
Tipsy
Last edited by TipsyMcStagger; 12-12-2014 at 09:43 PM.
Member
Why not just remake the line? Or pull the line off the car and make the flare you need?
Member
I'm not too keen on making new lines running all the way to the rear. Maybe if I had a lift. But you're right, I'm just going to have to remove the lines from the car and flare them on the bench.
Unfortunately, I'm back on the road this afternoon for two+ weeks. Oh well, it'll be here when I get back.
Tipsy
Last edited by TipsyMcStagger; 12-13-2014 at 12:29 PM.
БМВ Фанат!
Where is the progress on this?
- 96 328is 6.0L. (LS1 to LS2 build thread: http://forums.bimmerforums.com/forum...ad.php?2098938)
- 96 328is 5.7L. (LS1 build thread: http://forums.bimmerforums.com/forum....php?t=1289987)
- 95 ///M3 6.0L. (LS2 build thread: http://forums.bimmerforums.com/forum....php?t=1619249)
- 97 ///M3. (e46 Fender Flares/track car build thread: http://forums.bimmerforums.com/forum....php?t=1727098)
- 96 328is (Dual Fuel Pump to Surge Tank thread: http://www.bimmerforums.com/forum/sh...ad.php?1964025)
Member
I'm out of the country for the next week. I've only been in FL one week of the past six and the GF was down from NYC, so I hardly stepped foot in the garage. Hope to get back at it next week!
I really want to get those brake lines squared away. I've been thinking the only way I can properly cut and flare the rear lines is to remove them from the car. I'm wondering if I'll have to drop the entire rear suspension to have access to do so?
Tipsy
Member
Great Friday read, thanks
Member
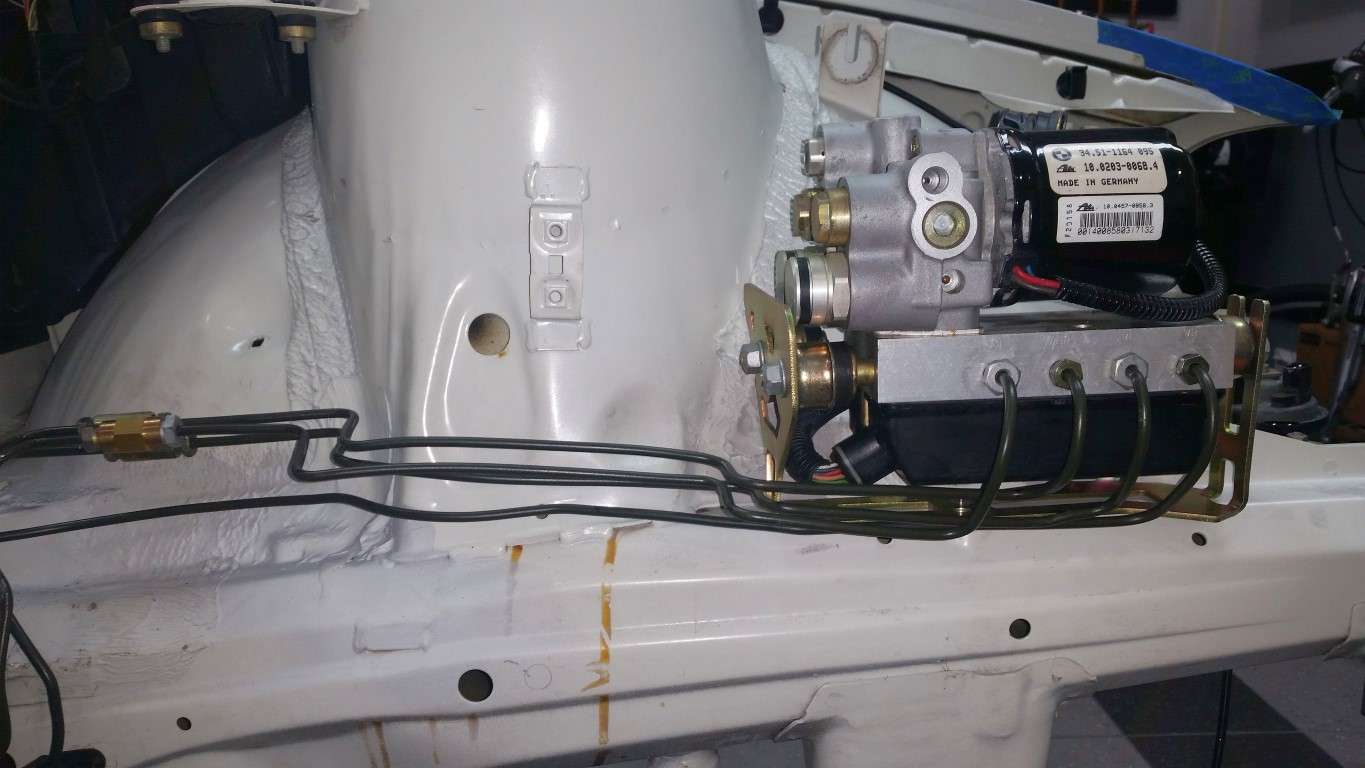
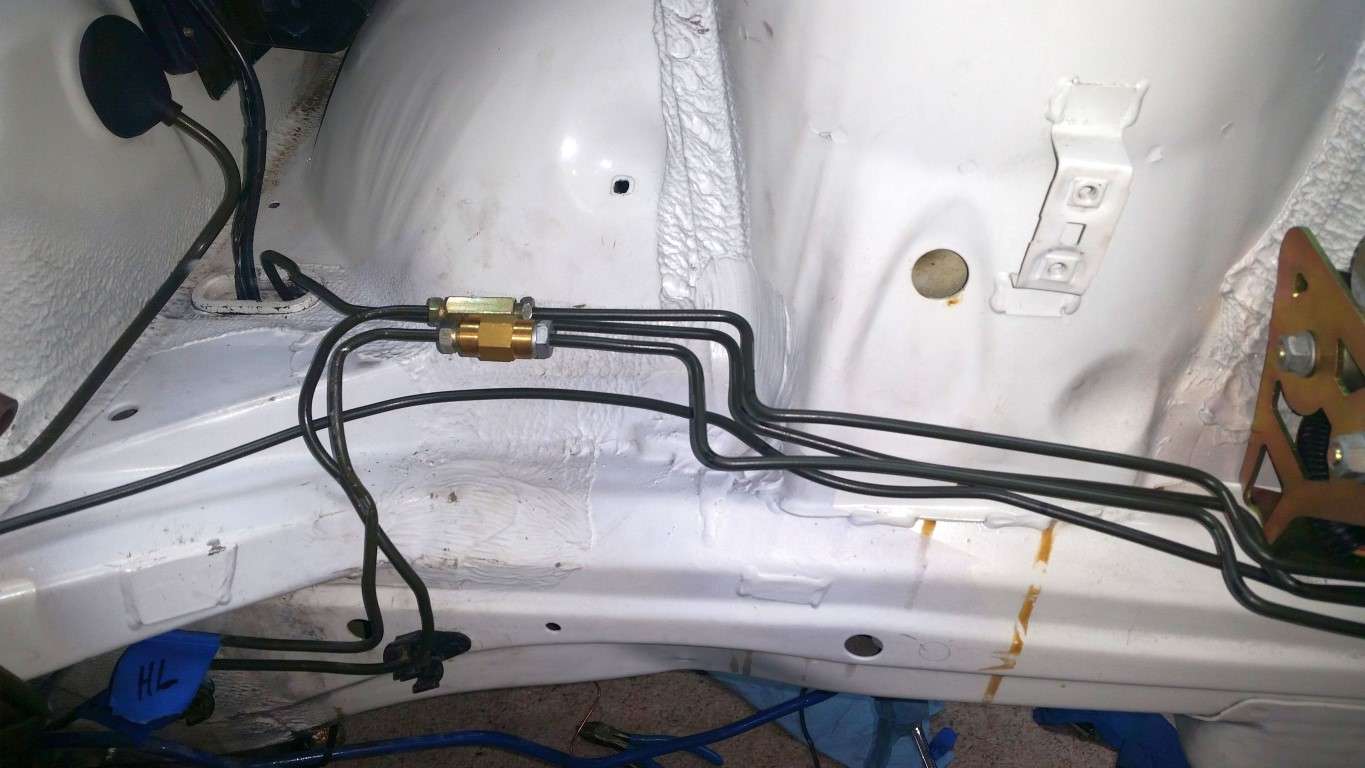
Back in FL for a bit. Rolled under the car today. There's no way I'm removing the rear lines from the car. At a minimum, the fuel tank needs to come out. And possibly the entire rear suspension. While I do want to/need to remove the rear at some point to replace all the bushings, it's not something I want to tackle right now while the car is 16" off the ground.
So, I did the best I could and connected the existing lines to the new lines. It's not going to win any awards but I think/hope it will do the trick. I replaced all of the lines I'd previously made, with the exception of one. I used the new Eastwood flaring tool. It's SO much better than the auto store Chinese crap I used the first time. There are a couple a very slight kinks from wrestling with the rear lines, but I don't think they'll be an issue. Right now, I'm really anxious to get the hydroboost and master cylinder installed so I can get fluid in the system and check for leaks.
Pics:
Last edited by TipsyMcStagger; 06-23-2016 at 10:07 PM.
Member
The brake lines turned out nice. I don't see any reason to change them based on how they look. Keep up the good work!
БМВ Фанат!
Nice! Only couple more lines and you're all done with them. Just don't forget H stands for rear and V for front
- 96 328is 6.0L. (LS1 to LS2 build thread: http://forums.bimmerforums.com/forum...ad.php?2098938)
- 96 328is 5.7L. (LS1 build thread: http://forums.bimmerforums.com/forum....php?t=1289987)
- 95 ///M3 6.0L. (LS2 build thread: http://forums.bimmerforums.com/forum....php?t=1619249)
- 97 ///M3. (e46 Fender Flares/track car build thread: http://forums.bimmerforums.com/forum....php?t=1727098)
- 96 328is (Dual Fuel Pump to Surge Tank thread: http://www.bimmerforums.com/forum/sh...ad.php?1964025)
Member
Yeah, I've got that covered. One of the side benefits of visiting Germany 20 times a year.
Trying to decide whether to install the sound/heat shielding on the firewall and trans tunnel now, or if I should wait and test fit the engine/trans first. If I end up having to "persuade" the tunnel, I'm afraid I'd mess up the heat shield material banging on it with a BFH.
Thoughts?
Tipsy
БМВ Фанат!
If you plan on test fitting first, then I would leave insulation until final install.
- 96 328is 6.0L. (LS1 to LS2 build thread: http://forums.bimmerforums.com/forum...ad.php?2098938)
- 96 328is 5.7L. (LS1 build thread: http://forums.bimmerforums.com/forum....php?t=1289987)
- 95 ///M3 6.0L. (LS2 build thread: http://forums.bimmerforums.com/forum....php?t=1619249)
- 97 ///M3. (e46 Fender Flares/track car build thread: http://forums.bimmerforums.com/forum....php?t=1727098)
- 96 328is (Dual Fuel Pump to Surge Tank thread: http://www.bimmerforums.com/forum/sh...ad.php?1964025)
Member
I'd like to just install the engine once and be done with it but I don't think that's a realistic plan. I'll wait to install the heat shield. Better safe than sorry.
Tipsy
Member
Removing the engine+transmission is seriously a 1hr job at the very most, if you have everything unhooked. The easiest part of this whole swap is putting the motor in on the mounts. This is of course with a friend. Not sure I'd want to attempt it on my own.
Member
Good to know. Thanks!
Tipsy
Member
And so the EVAP plot thickens. Just when I though the GTO fuel level sender values presented a problem too complicated to overcome on my own, a brain storm and a possible solution has presented itself. A very simple solution. Quick recap; the E36 double sump fuel tank has two fuel level senders in series each generating 10 ohms when Empty and 250 ohms when Full for a combined nominal value of 20 ohms Empty and 500 ohms Full (low ohms when empty and high ohms when full). The fuel level sender in GTO (from which my LS2 and E40 PCM were pulled) has more or less opposite values; 240 ohms when Empty and 40 ohms when Full. Short of getting into an Arduino type solution, which is really above my pay grade, it seemed that ditching EVAP was the only solution.
Then yesterday, I had a thought. My plan all along has been to have my E40 PCM flashed from the 2006 GTO OS to the 2005 SSR OS. The reason being that on the GTO, the E40 does not have cruise control functionality on its own. GTO cruise is handled by the Powertrain Interface Module (PIM). But on the 2005-2006 SSR (which is also an LS2 with an E40 PCM), cruise control is handled directly by the E40 PCM. I don't know why this hadn't occurred to me earlier but yesterday it hit me; the problem all along has been that the E40 EVAP logic will be based on the the GTO fuel level sender values. But with an SSR flash, I assume the E40 EVAP logic will be based on the values of the SSR's fuel level sender. After a little digging, (I'm still not positive) it appears the 2005 SSR fuel level sender values are 30-70 ohms Empty and 210-245 ohms Full! In other words, low ohms when empty and high ohms when full, very similar to what the E36's fuel level sender generates!
I still need to verify this information but it seems like a relatively simple solution might be within reach!
Tipsy
Member
Do you know what the pin outs are for cruise control with the ssr flash? I like this thought versus getting a different module.
Member
Here's a thread I have bookmarked. Read the whole thread but I believe post #17 has the info you need.
The only caveat is you can't use your GTO pedal. You need a pedal from a SSR/Trailblazer SS. I bought pedal #15145758 from a GM dealer on eBay. I bought a genuine GM part. RockAuto sells an aftermarket unit; Dorman I think? I didn't want to mess with aftermarket.
Tipsy
Member
Thanks! This is a great alternative, toobad they use different pedals. But I wonder if the actual signal values from the pedal are the same.
Member
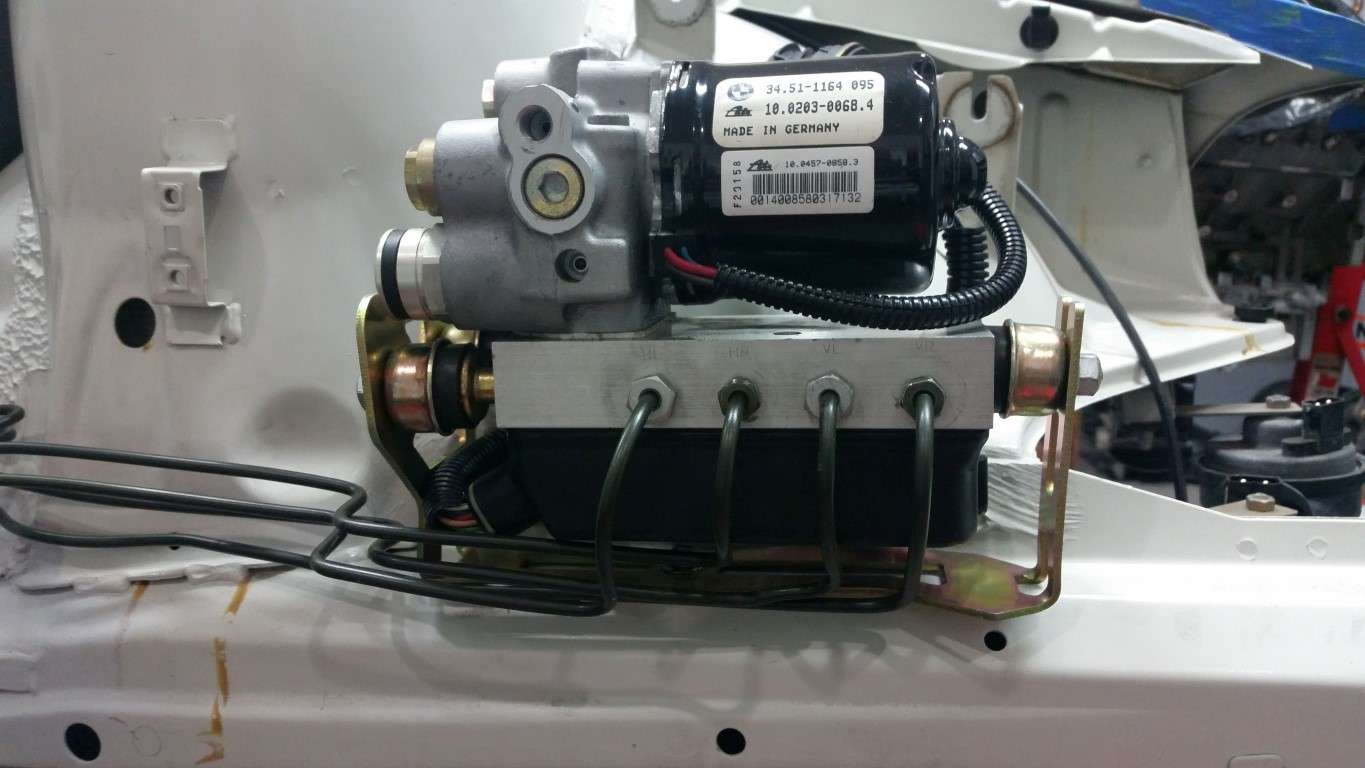
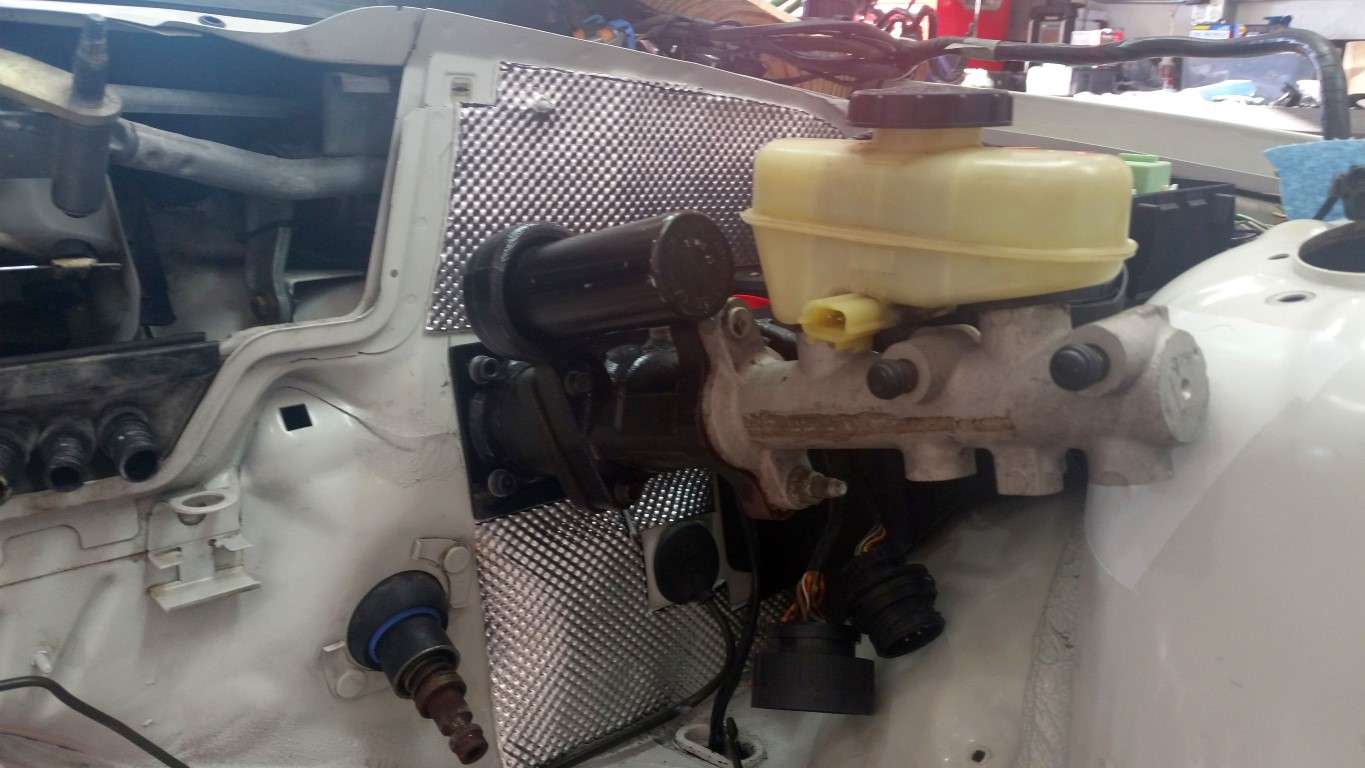
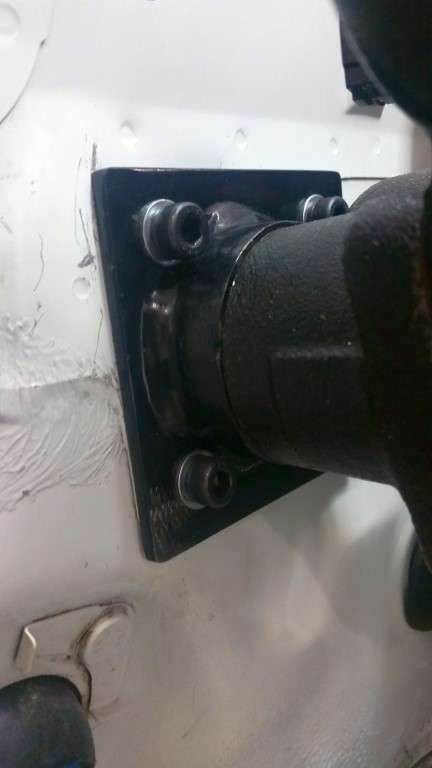
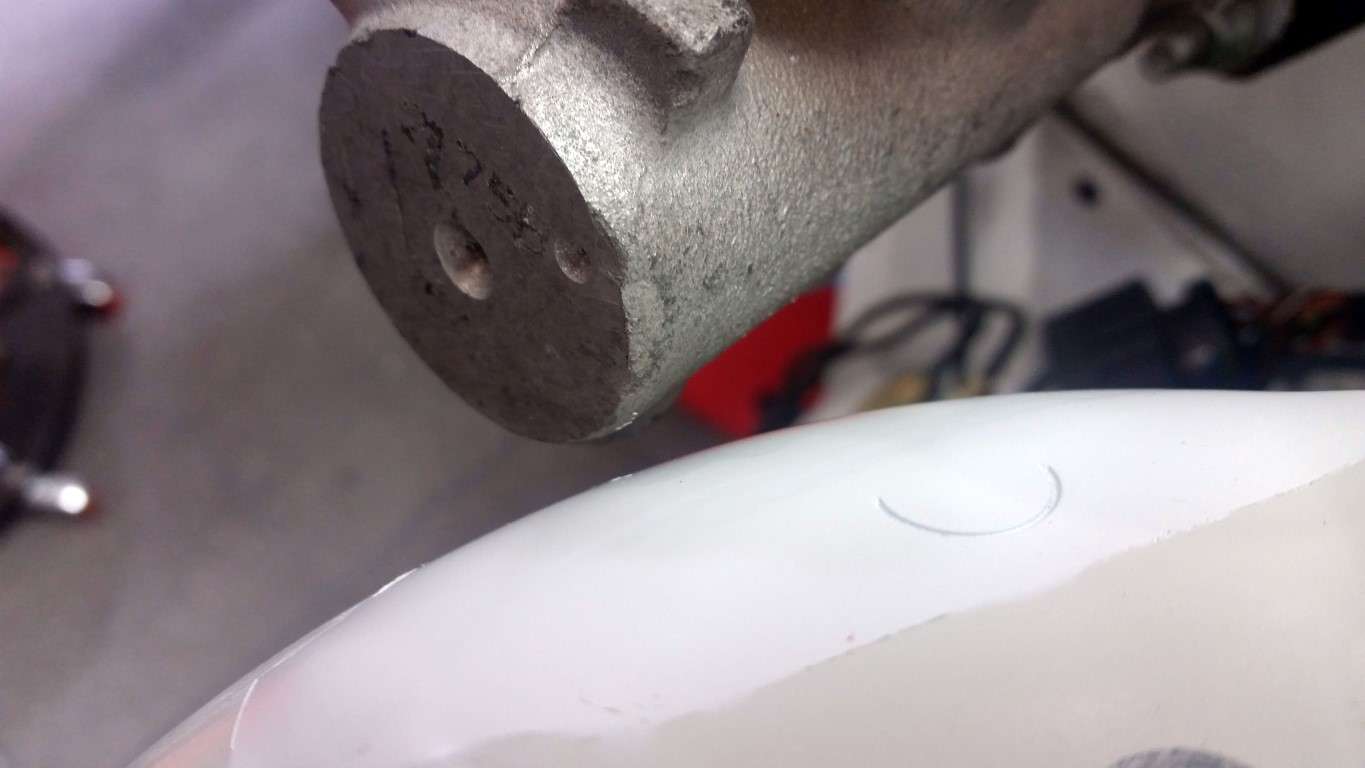
Minor forward momentum; the hydroboost is bolted in. It clears the strut tower by nearly 1/4"! However, I have serious doubts that I'd be able to remove the master cylinder from the booster without removing the entire assembly from the car. I could be wrong, but it looks like one of the two bolts that secures the master to the booster stays in place, which would necessitate sliding the master forward at least a couple of inches to separate it from the booster. That's not going to happen with the strut tower there. Hopefully, this used eBay hydroboost/master cylinder (2004 Mustang) will work as desired and it won't be an issue.
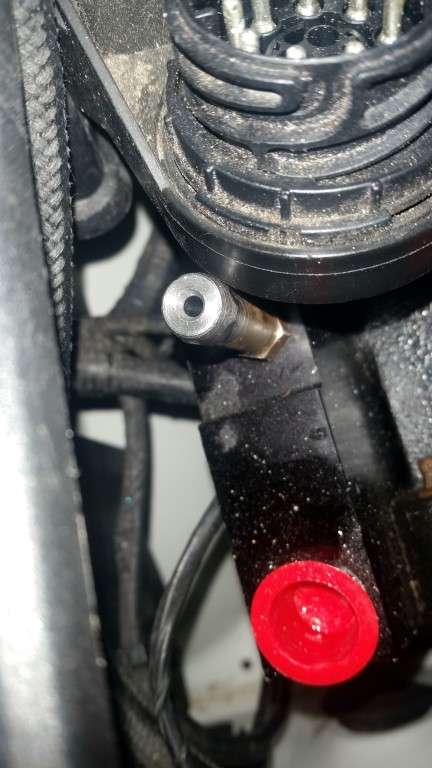
The with electrical connectors snapped into place on the fuse box, the x6031 connector is in contact with the a low pressure fitting on the hydroboost. I guess I'll just have to let the connectors "float."
Booster Installed
Booster Bracket
Strut Tower Clearance
Low Pressure Fitting & X6031 Connector
Last edited by TipsyMcStagger; 11-15-2015 at 09:00 PM.
Member
Looking good Tipsy! It's crazy how we did the same conversion and had different clearance problems. Mine was not going to fit at all without clearance at the shock tower, but I don't hit any connectors. My car was originally a 5 speed though, I don't think that connector exists on the manual trans cars.
Member
I know you cut the clevis off of the vacuum booster and welded it to the hydroboost. I'm using a shoulder bold along side of the pedal, so that small offset is probably the difference that provided the clearance for the strut tower.
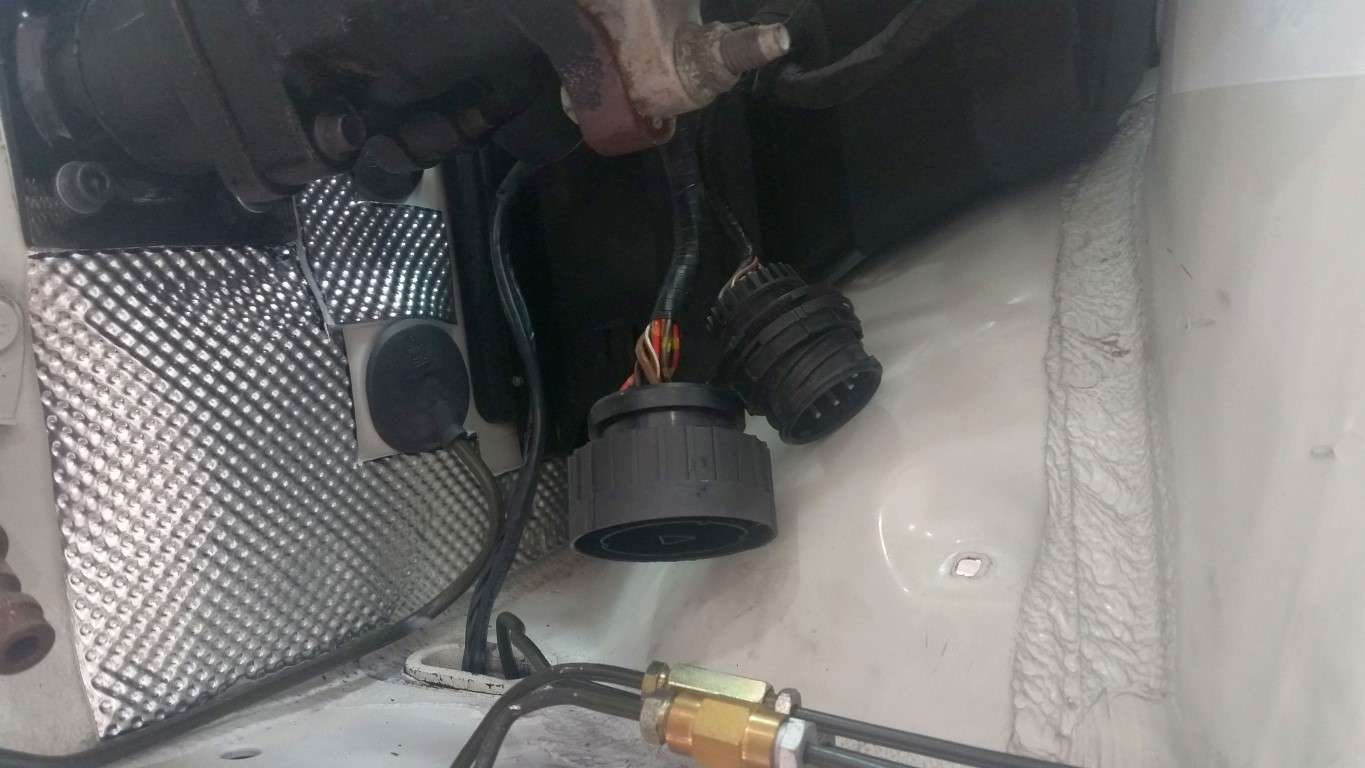
This was originally a five speed too. But it's a '98, so it's OBD2, hence the three connectors. I can't recall what year yours is but if it's OBD1, it probably won't have all three connectors. I decided to cut the bracket that secures the harness connectors to the fuse box. I'm not 100% sure but I don't think there are many wires in the x6031 connector that I'll be using, if any. It's just hanging below the hydroboost and I don't see any problem with leaving it there.
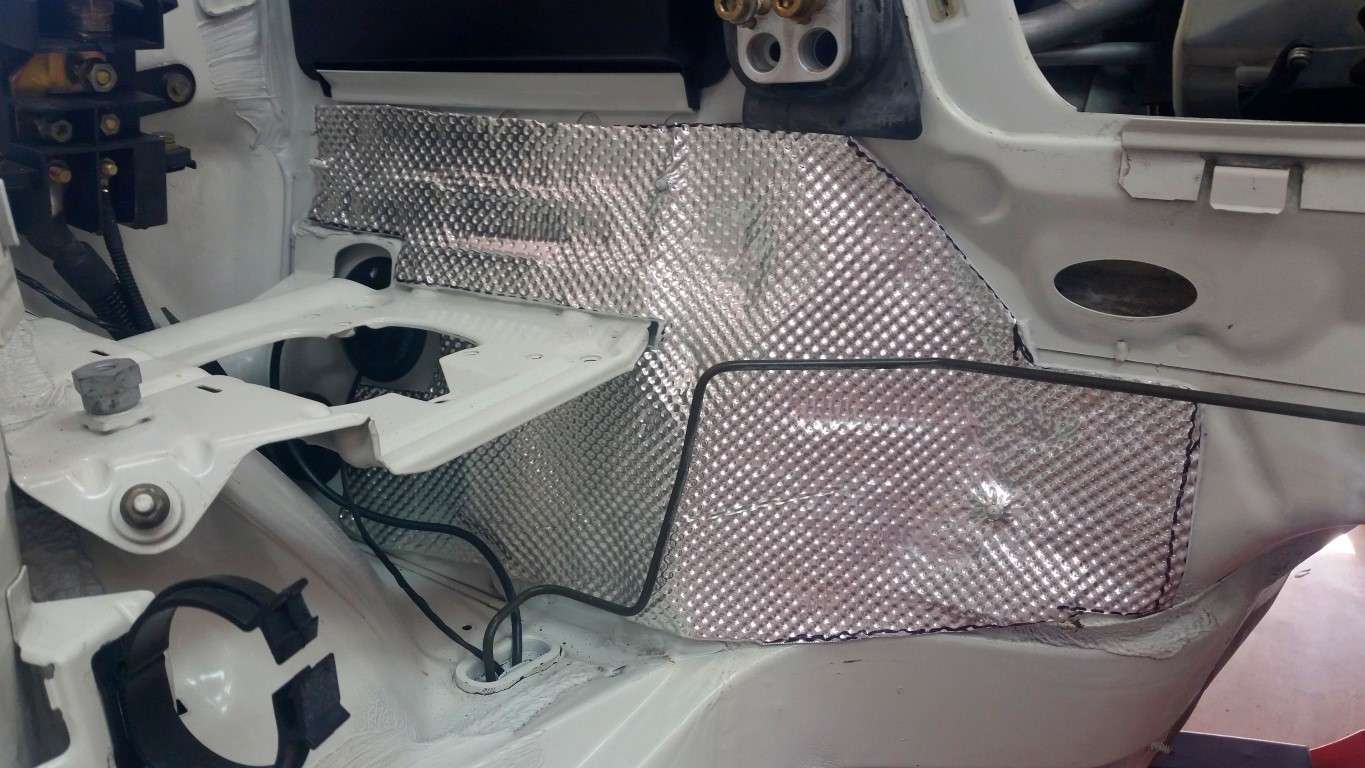
I started to get the DEI heat shield on the firewall. It's definitely time consuming making the templates. I ended up making the piece by the brake booster out of several small pieces. There are seams, but I don't think it's a big deal. I'll probably put more heat shield at the top of the tunnel and around the steering column tomorrow, but I'm going to hold off applying it to the tunnel until I've had a chance to test fit the engine.
I went to the pick-n-pull today to get some harness scraps to make the ABS extension. The strange things is that the connector on the ABS pump appears to only have two wires that are heavier gauge than the rest. But the chassis side ABS connector appears to have at least four, maybe five wires that appear to be heavier gauge. I definitely don't want to under spec the harness extension and risk a fire. I need to look more closely at it tomorrow.
Tipsy
x6031 Cut From Bracket
x6031 and ABS Connector
Heat Shield
More Heat Shield
Last edited by TipsyMcStagger; 11-15-2015 at 09:15 PM.
Member
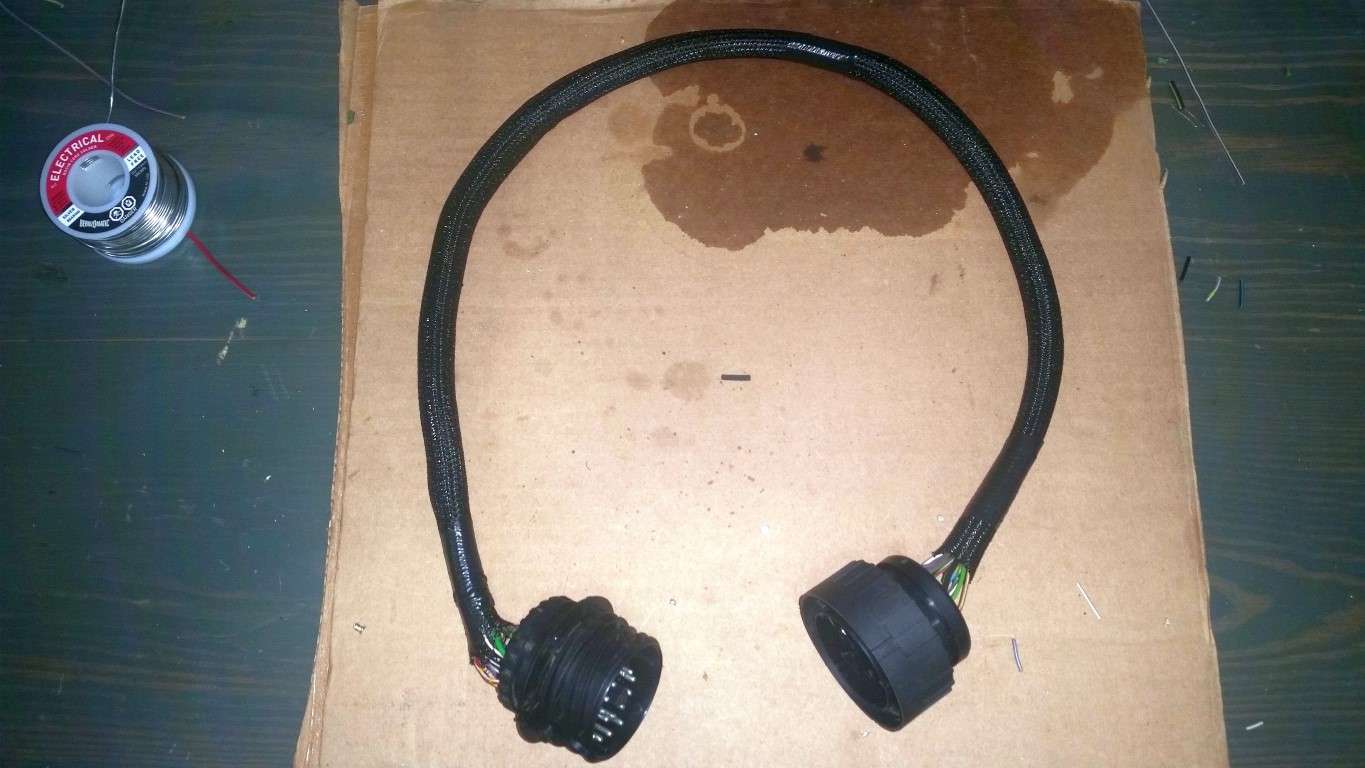
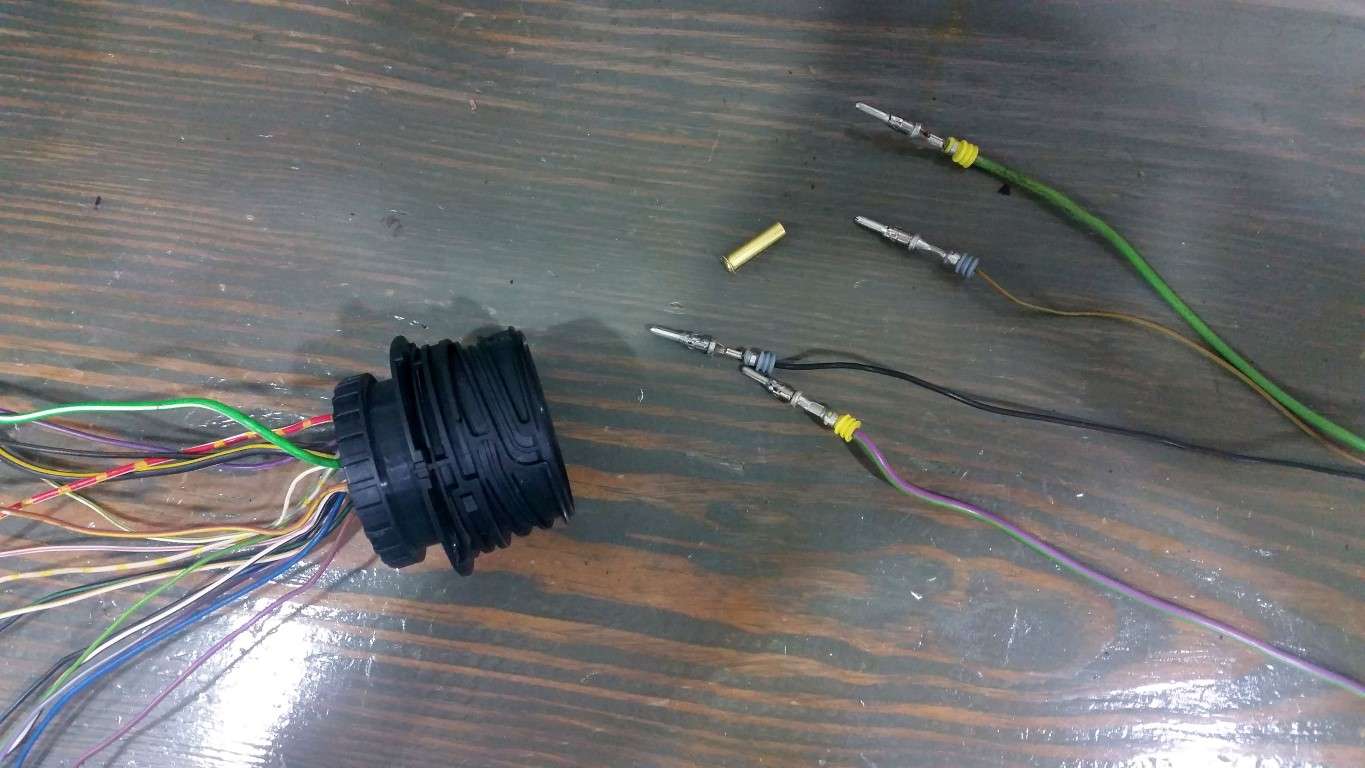
We all know I don't work very fast and I'm not ashamed to say I spent most of today making an ABS extension harness (along with two visits to Home Depot). I'm glad I bought a bunch of extra harness connectors at the pick-n-pull. Having extras allowed me to pilfer heavier gauge wiring from several connectors as well as those little rubber plugs for the unused pin positions.
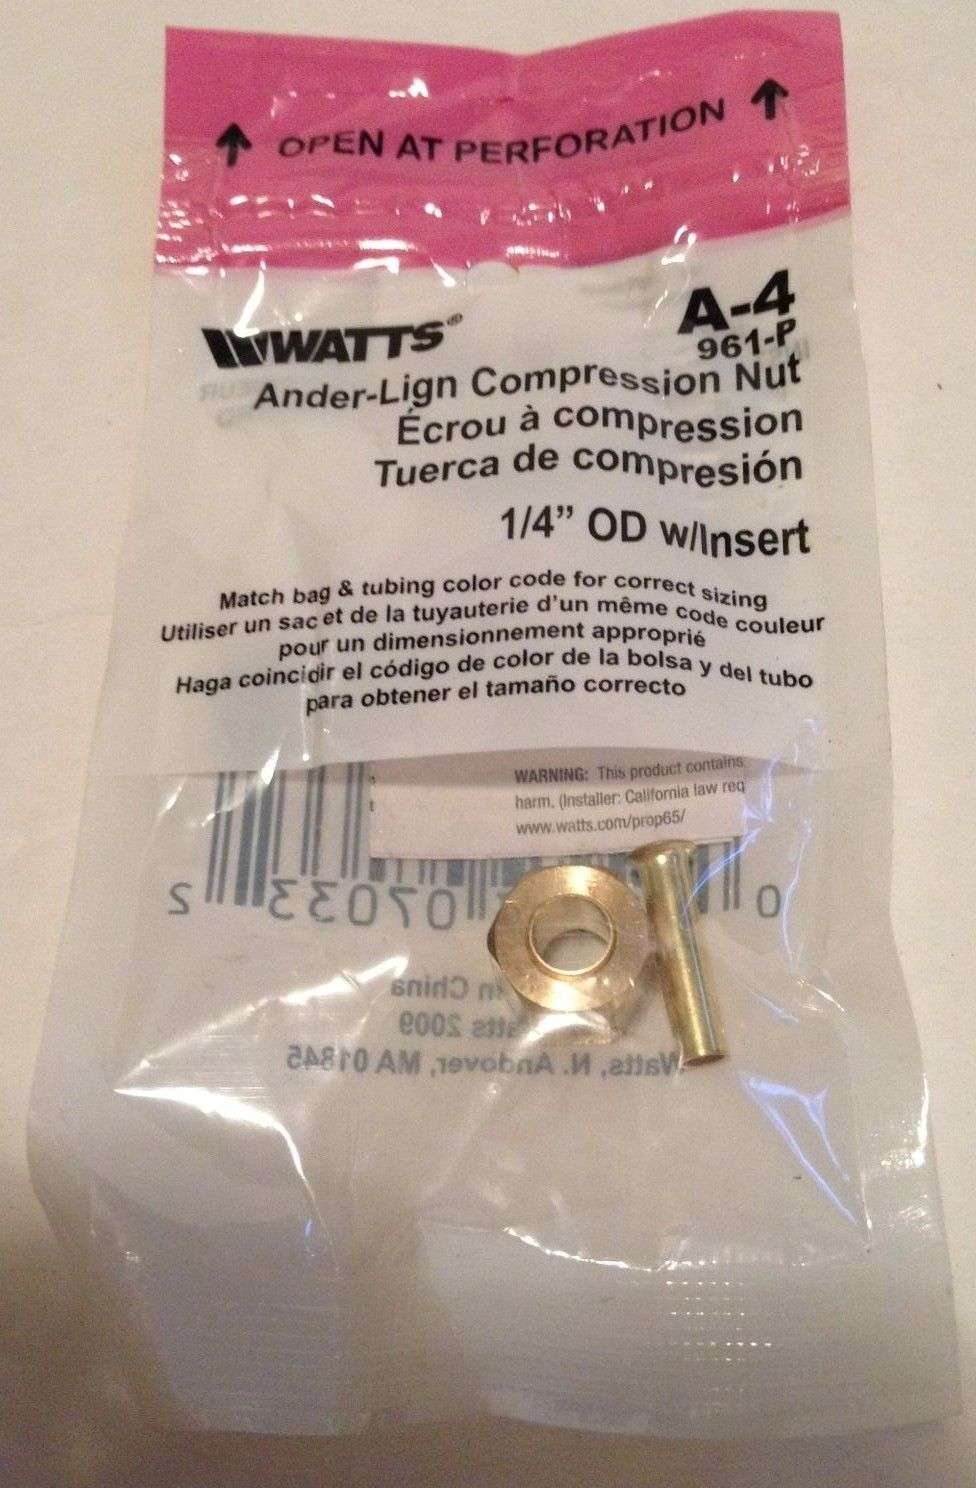
Thanks to those who have gone before me, I headed to the plumbing aisle and picked up a Watts 1/4” OD compression fitting (A-4 961-P) to use as a pin removal tool, in lieu of the $70+ tool BMW sells. It worked perfectly.
Watts A-4 961-P
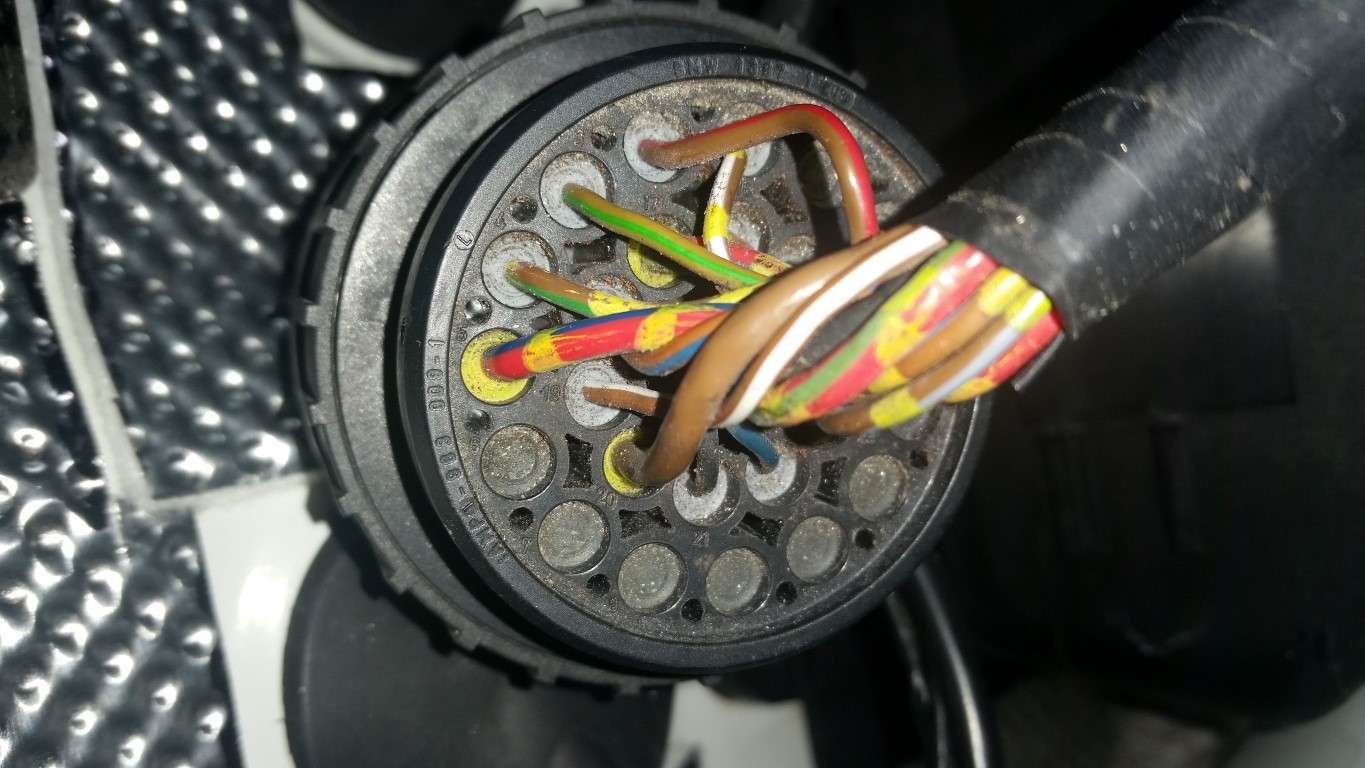
There was some mention of needing to sand the fitting for better fitment, but I didn't see the need. Here are a few tips I'll add. Firstly, there is a locking ring in both the male and female connectors that needs to be, well, unlocked. It spins about 1/4” or less using a small screwdriver or awl. Most of these rings are black but here's a connector with a grey ring, which is easier to decipher:
Locking Ring
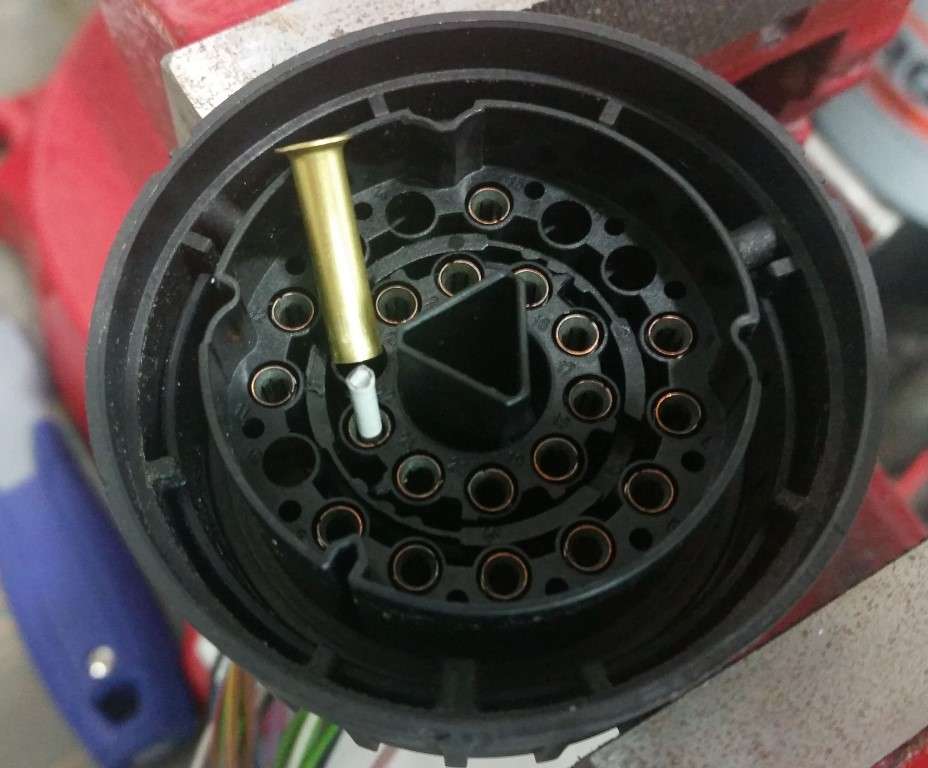
The male pins are a no-brainer. Slip the little compression fitting over the pin and (after making sure you've unlocked the retaining ring) push against something, like your workbench, and Presto! The pin will pop right out!
Pins Removed
The female pins were a bit more of a challenge initially because it's difficult to hold the compression fitting against the “face” of the female pin (they are both effectively the same diameter). But that was quickly overcome by simply inserting a small piece of wire coat hanger into the pin. The compression fitting now has something to hold onto while you press against your work bench.
Wire hanger in female pin:
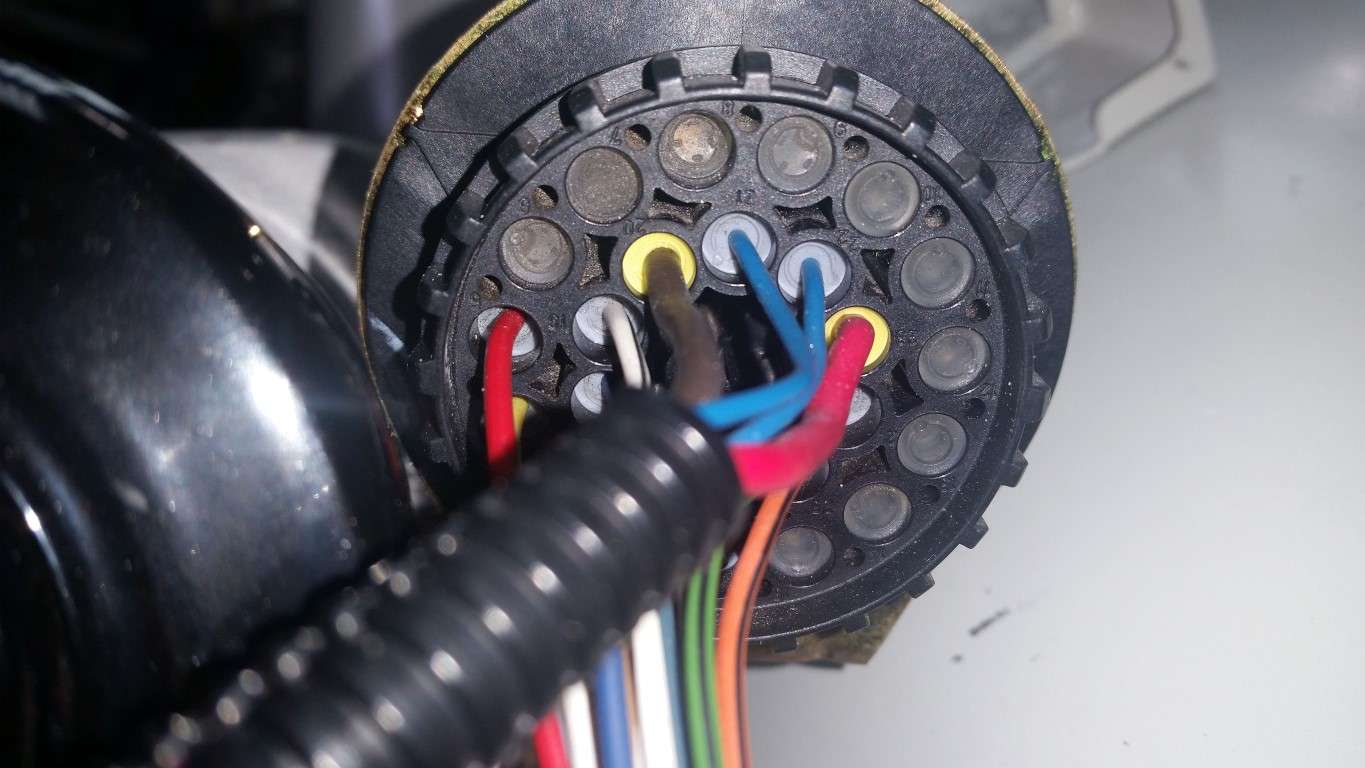
The yellow grommets are definitely used on wires of a heavier gauge. What's strange is that the chassis side connector has four “heavier” wires (four yellow grommets) while the connector on the ABS pump only has two. You'd think the wire gauge would be consistent from the chassis to the pump, no? At any rate, I removed pins from my spare x20 connectors, eliminated unneeded wires and inserted heavier gauge (yellow grommet) wires where needed.
Chassis Side Connector
ABS Connector
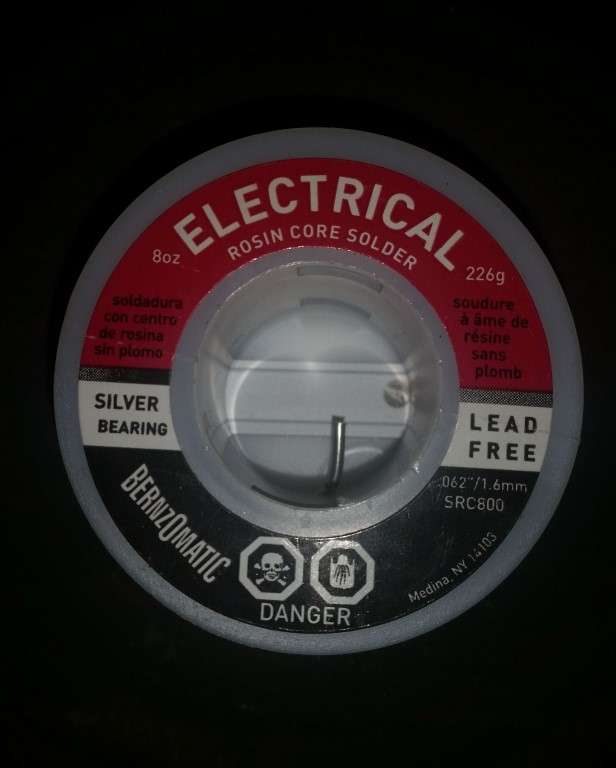
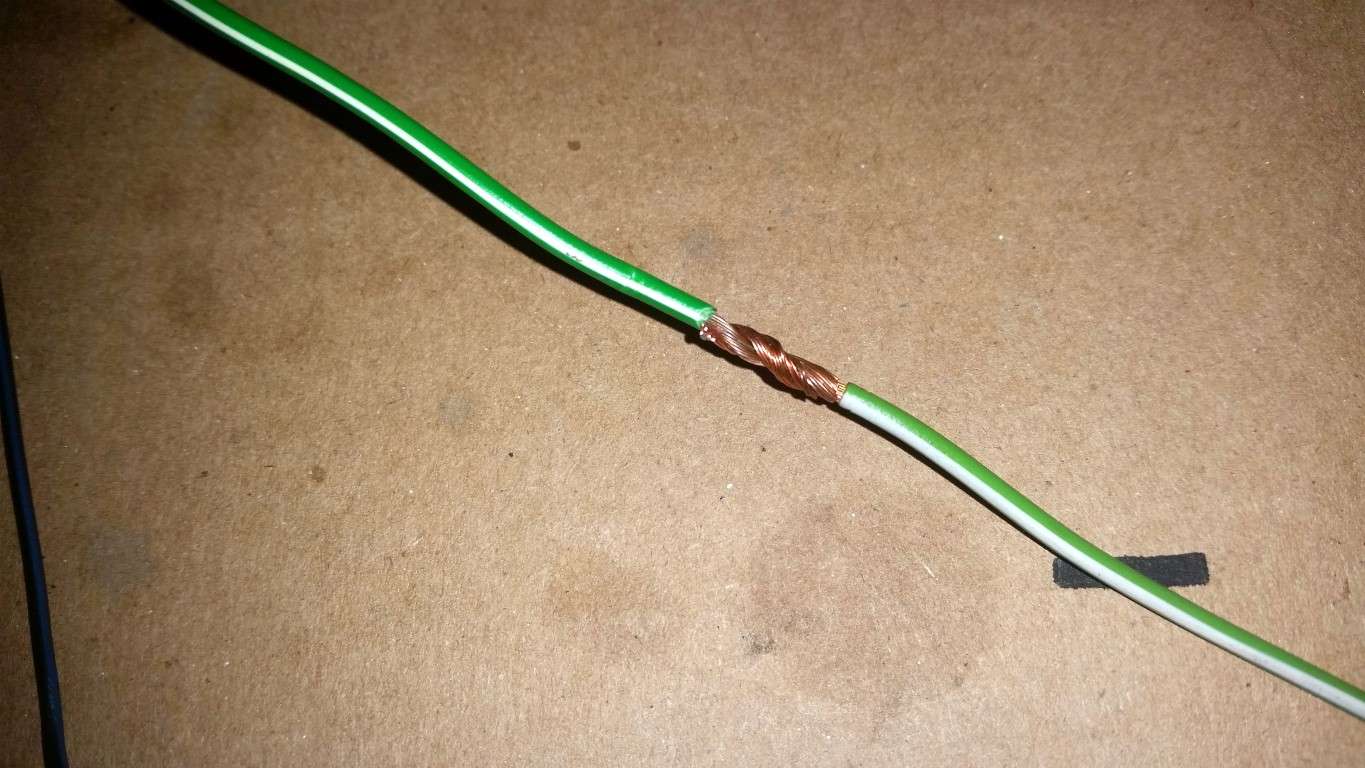
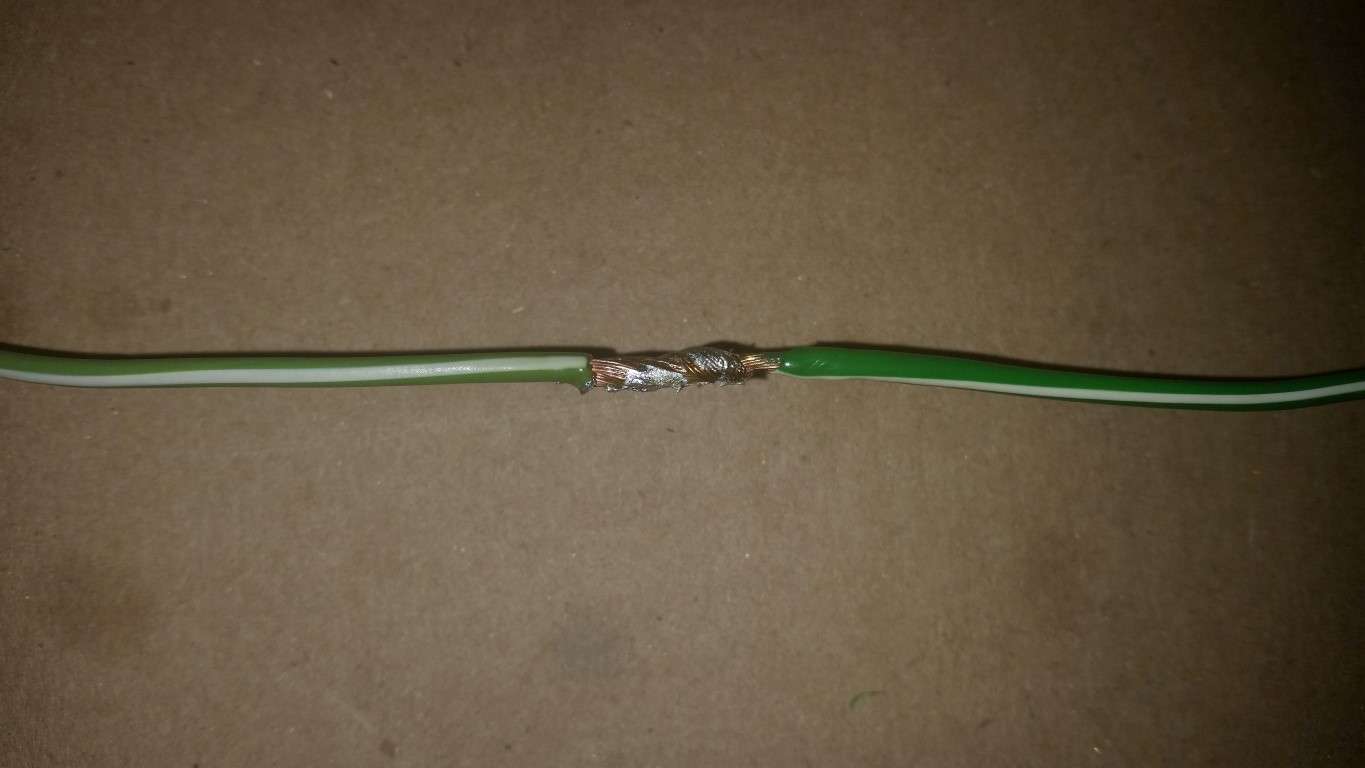
Once that was done, it was time to solder. And that's where I ran into some problems. I have no idea why, but I just couldn't get the solder to flow - at all. I used a quality Weller 100+ watt soldering gun, keeping the tip clean and tinned. I heated the wire and tried to apply the solder to the hot wire (not to the gun) but it simply wouldn't flow. And when it would melt, it would just glob up. Needless to say, I'm not too happy with the solder joints but they should be good enough. I tested all of the pins for continuity during and after.
I don't know what's up with the solder. Have you guys ever had issues getting solder to flow on OEM BMW wire?
Tipsy
Solder
Splice
Ugly Soldered Splice
All soldered with marine adhesive heat shrink
Wrapped in 1/2" Techflex F6
Last edited by TipsyMcStagger; 11-15-2015 at 09:27 PM.
Member
Nice, I make prototype wire harnesses at work... pain in the ass!
 Posting Permissions


 Reply With Quote
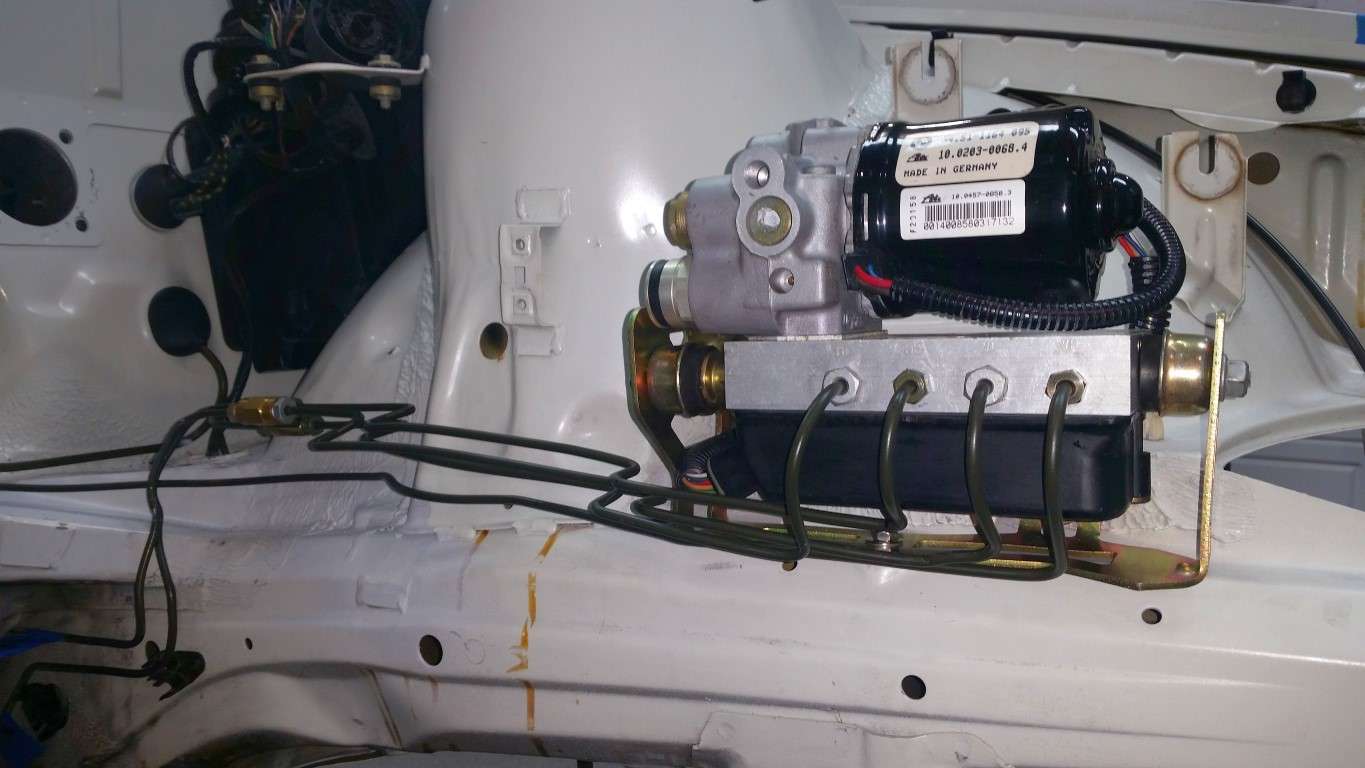


Bookmarks