
 Member
Thank you.Originally Posted by E39540V8

Thank you. Not sure if just wiping will be enough, will probably need a pretty strong solvent like carb cleaner and a brush to loosen the stuff. I also worry about what such a solvent will do to the valve stem seals. Also I had just changed the oil before taking the covers off, so wasn't looking at fouling up brand new oil.
That said I could see small signs in both the heads and in the sump of the sludge and thick varnishing starting to come off...so hopefully it will continue to do so slowly but surely.
Thank you. I have to say I am not expecting miracles by changing the intake the the throttle, as the motor is a bit on the tired side, but I will be changing all the gaskets and the PCV valve at the back of the intake so hopefully will run a bit better. In the end the motor will have to be redone at some point, but hopefully I can extend its life until that happens.
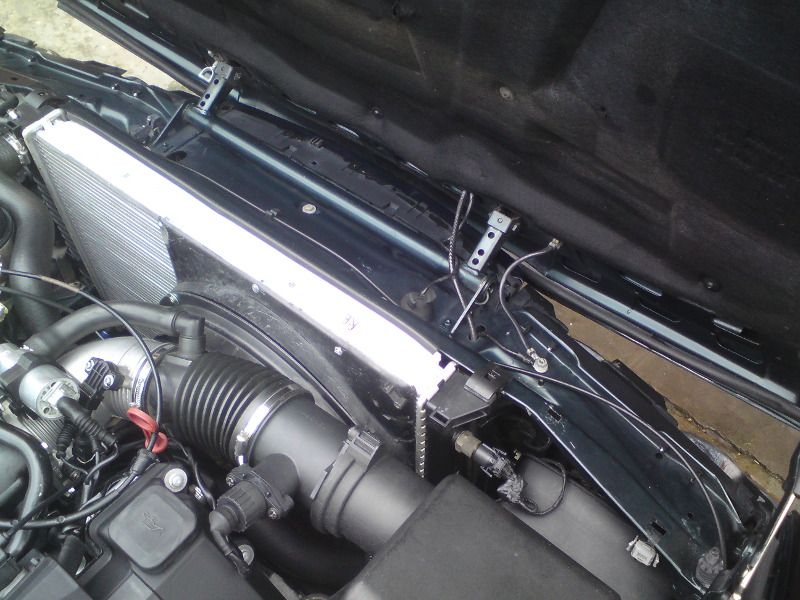
Over the weekend I trimmed and re-installed the small overflow hose on the radiator as it had started to leak a bit about two weeks ago.
Stay tuned in for more updates.....or at least I will update with pics once I have internet at home again.
Member
Some more:
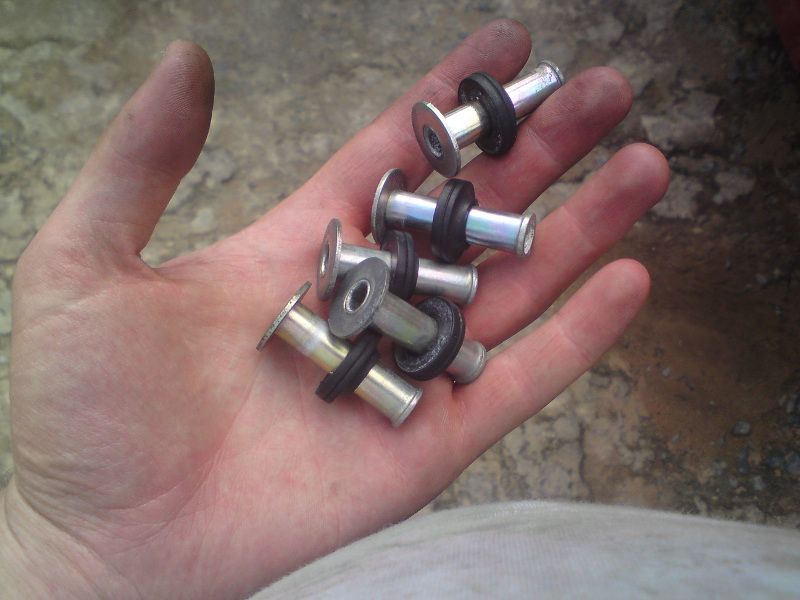
So after waiting almost a month I finally got this service kit for some newer injectors that I got.
9x filters, 9x pintle camps, 8x spacers, 16x o-rings and 1x self tapper to remove the filters with.
Injectors readied for installation:
Got this thanks to Uber soldat:
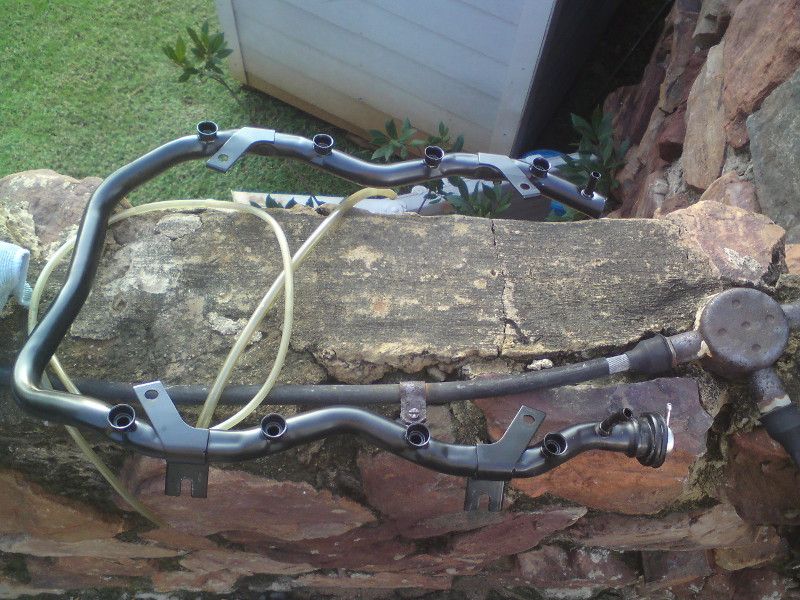
This is a 4 bolt fuel rail that goes with the early four bolt M60 intakes (not that it is really needed as the 5 bolt one will fit just fine, I just wanted to do this)
Gave the fuel rail a good clean:
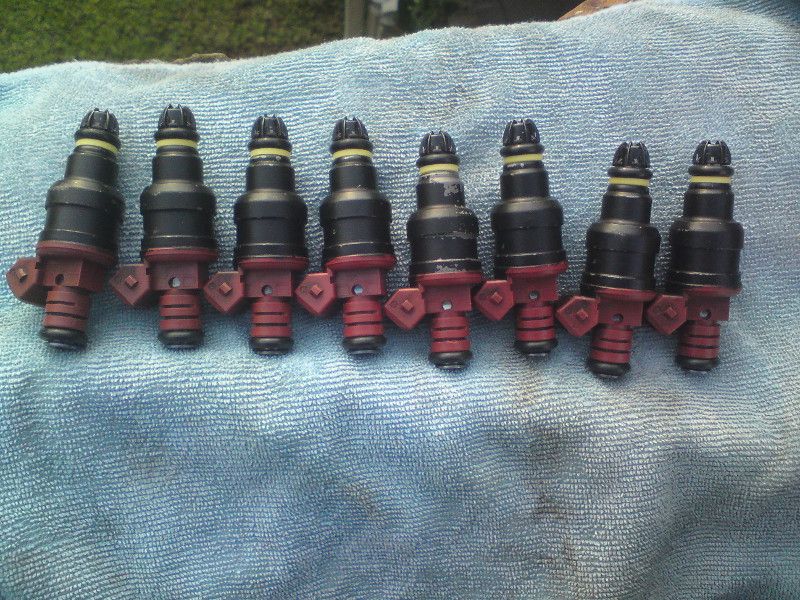
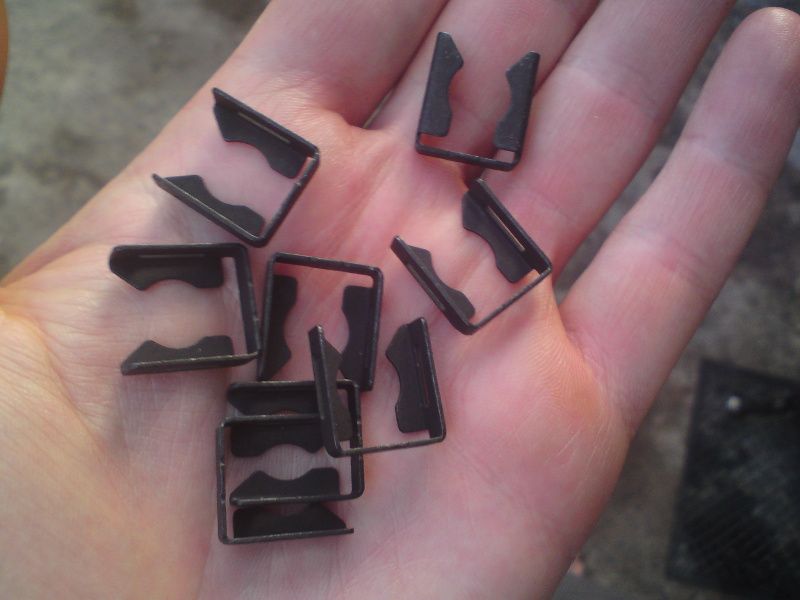
Installed the injectors with new clips:
The new clips:
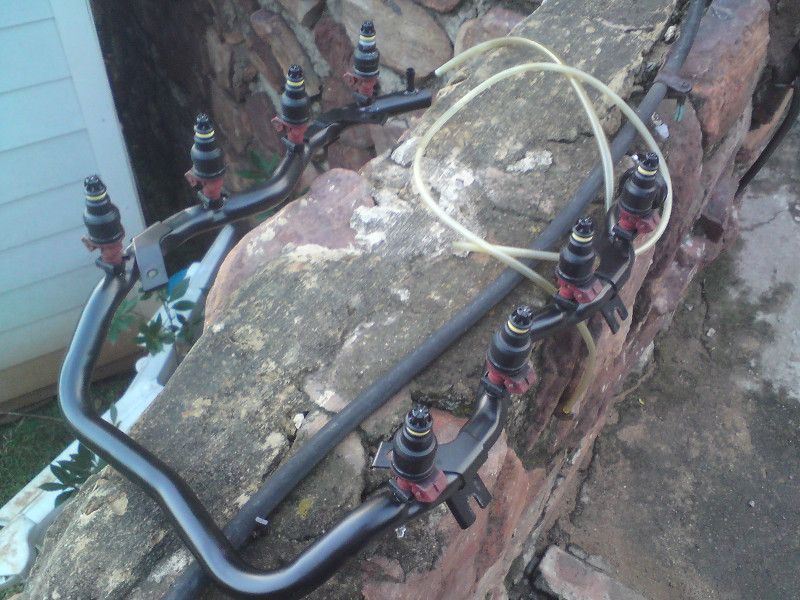
And the injectors installed:
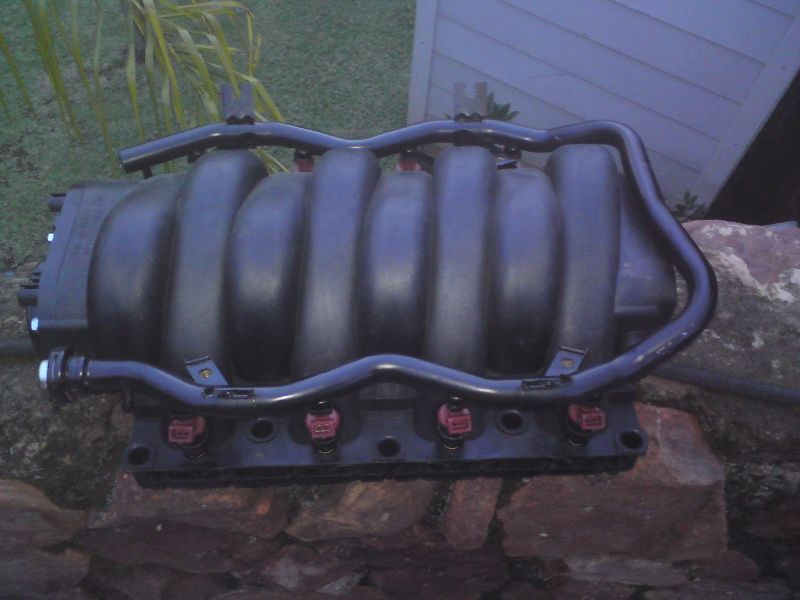
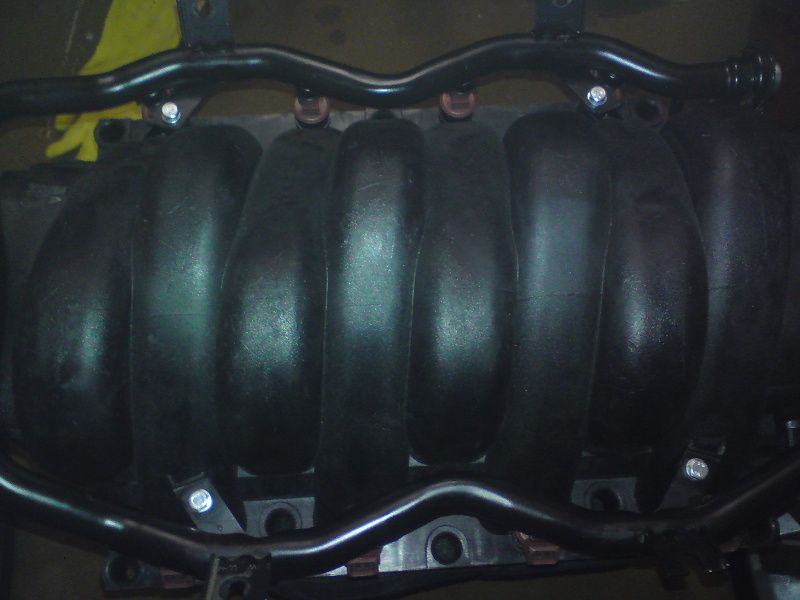
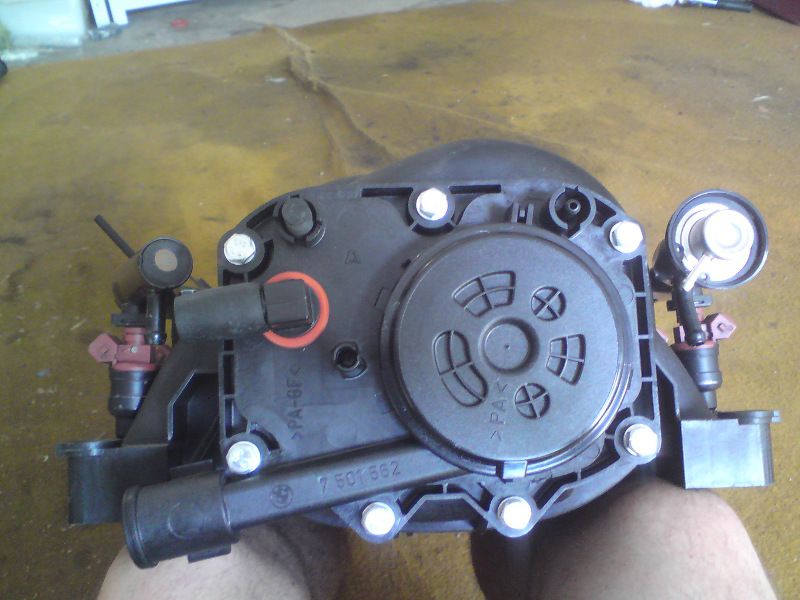
Installed the fuel rail and injectors into my new intake:
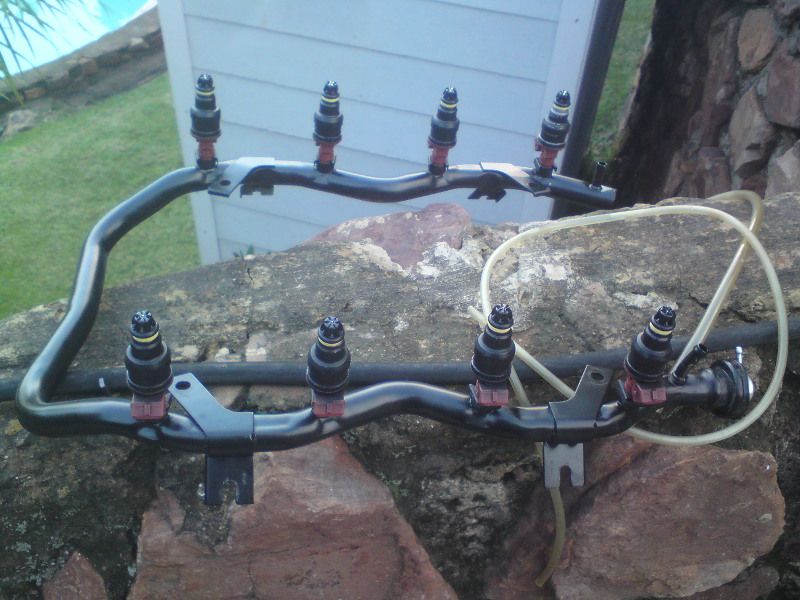
And bolted the rail down with new bolts:
I have to say the mounting method of the injectors just slipping into place does not really fill me with confidence....but will see if it actually works.
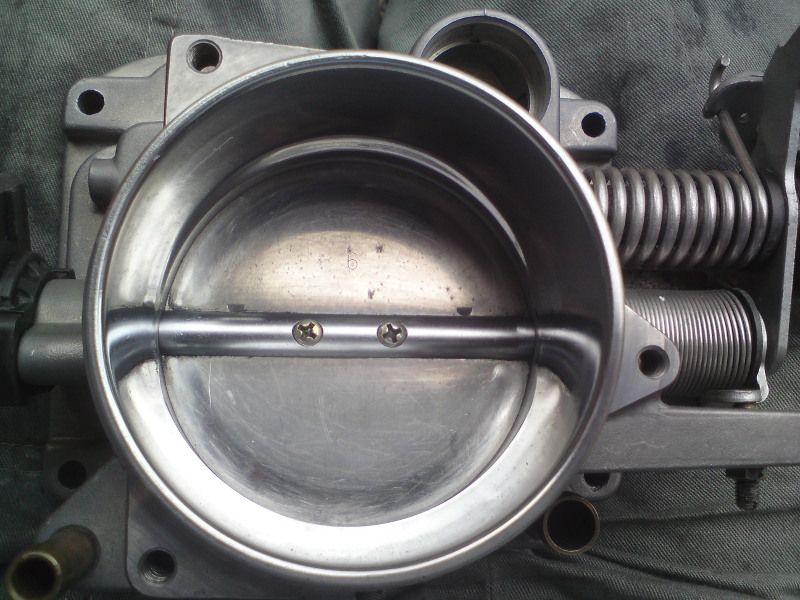
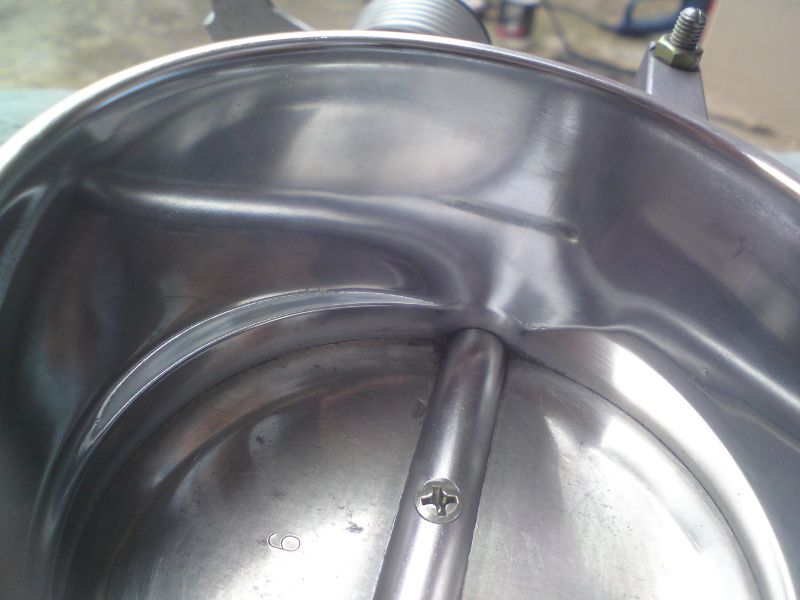
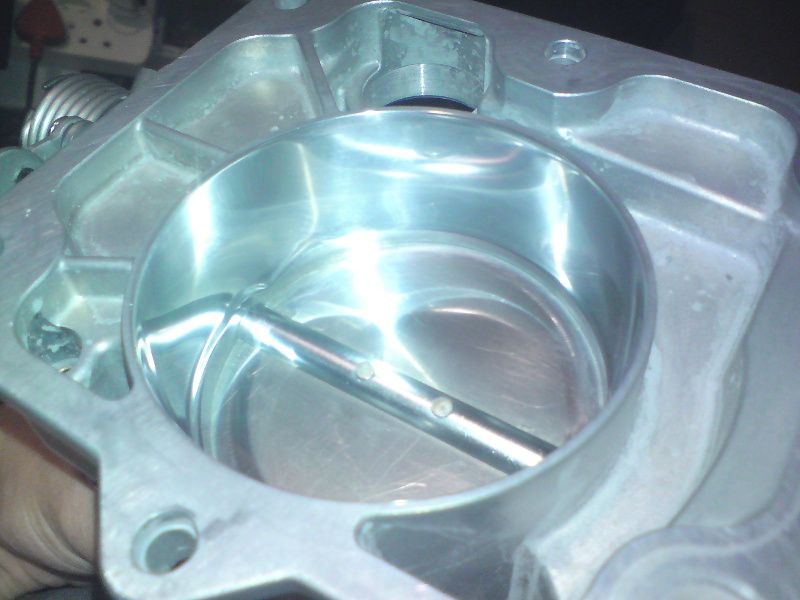
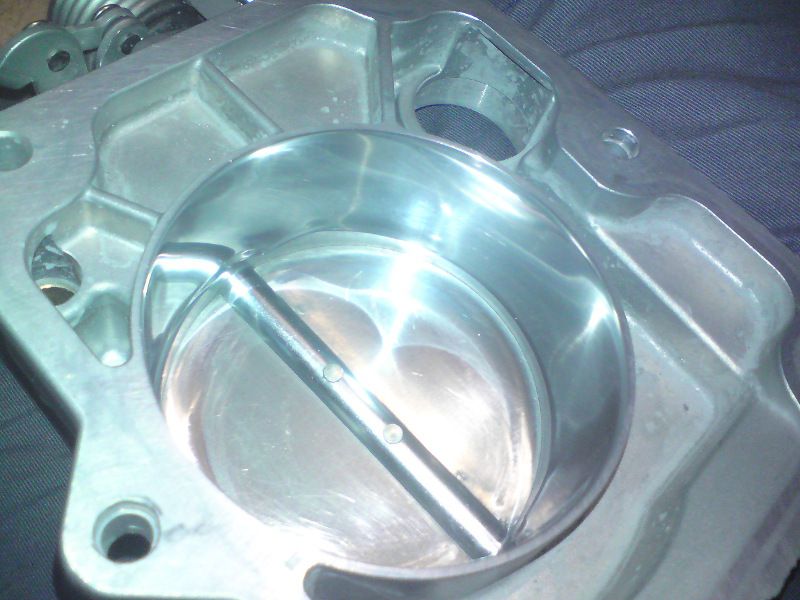
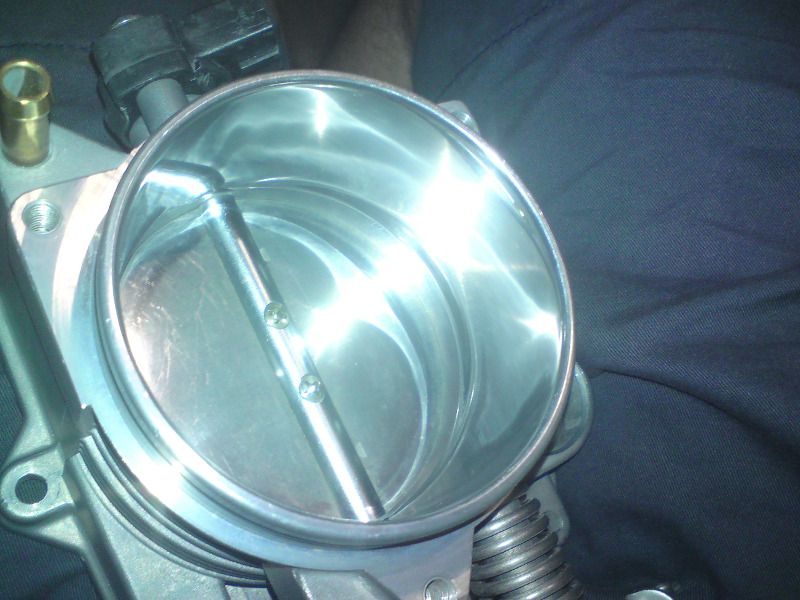
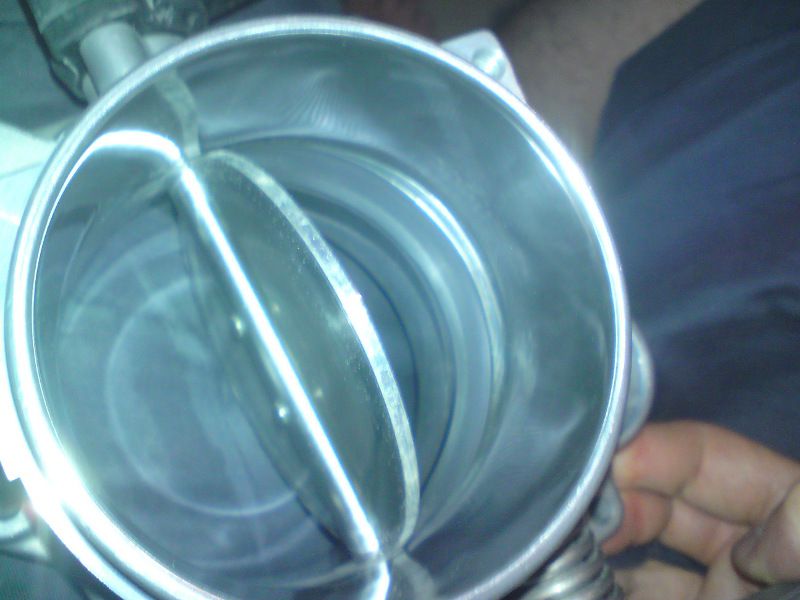
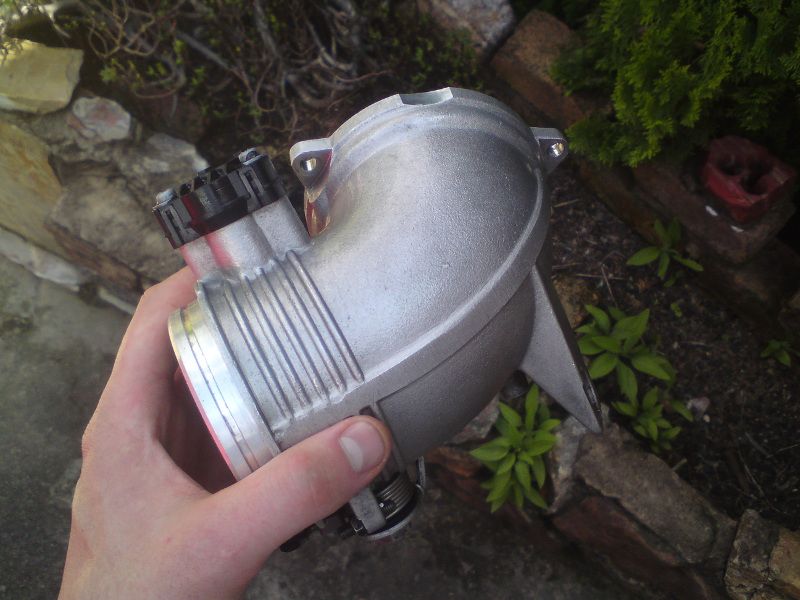
Also gave my M62 throttle body a polish:
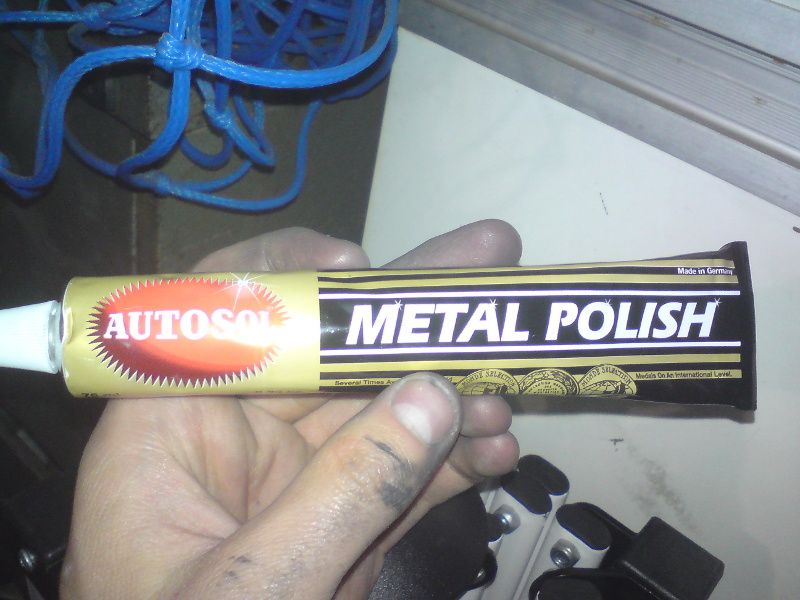
In part I used this stuff that I discovered at a local parts dealer:
Works really well.
Member
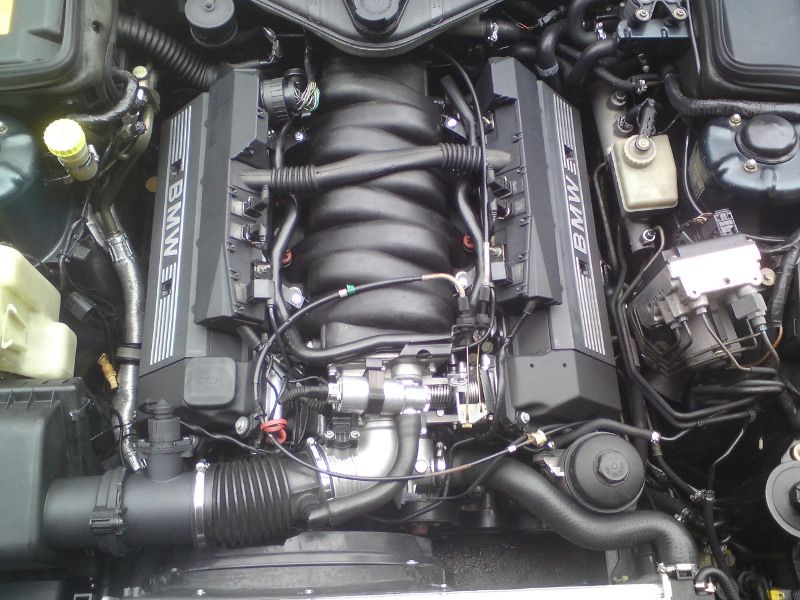
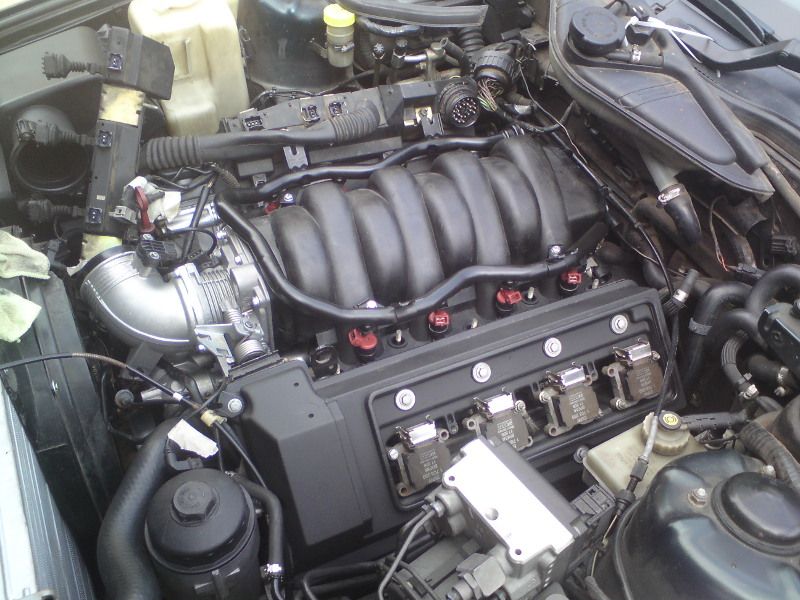
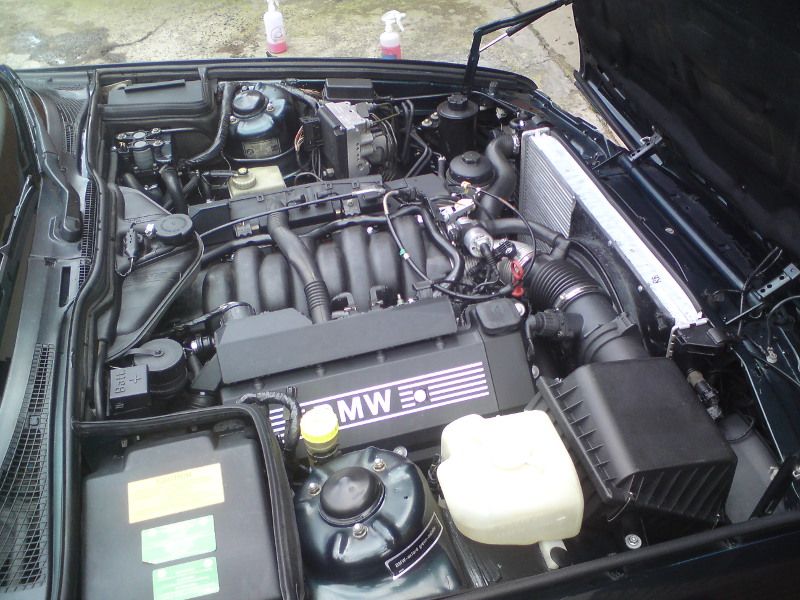
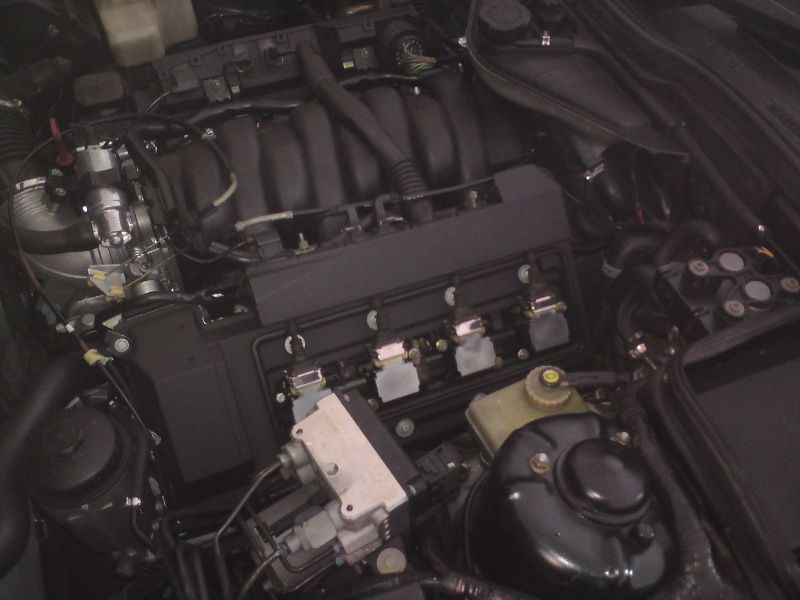
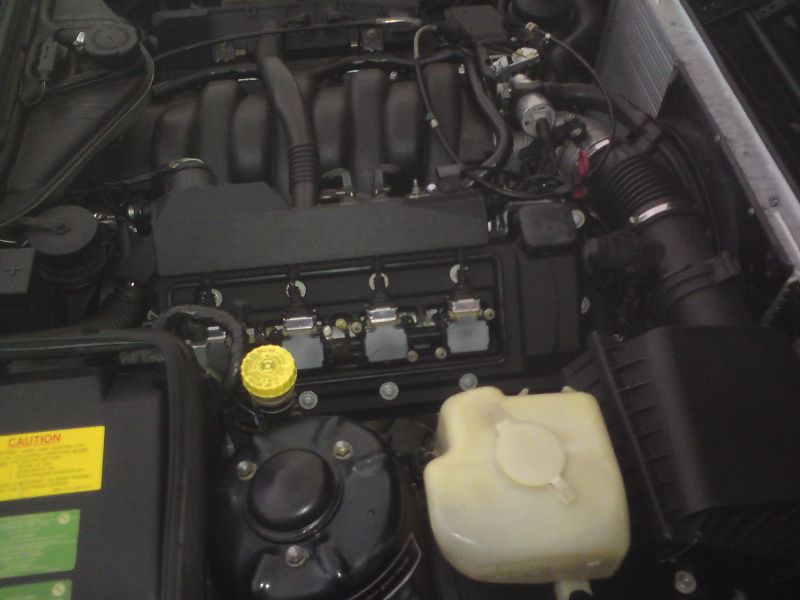
So this weekend I decided to tackle the intake, as I had received the last parts needed during the week.
(Although had to do some emergency shopping this morning as well as there were things that I needed that I did not know I needed, until I started stripping)
So off we go.
Some reference shots for myself to know how things are supposed to look.
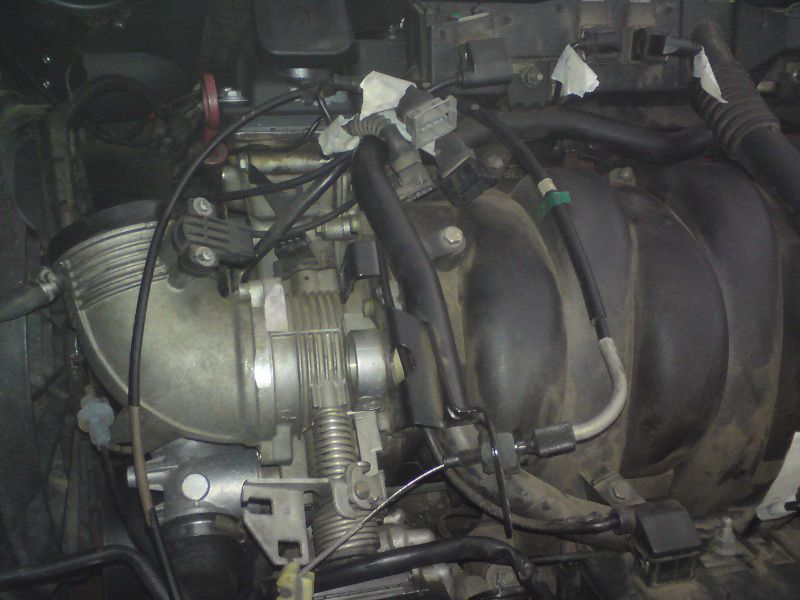
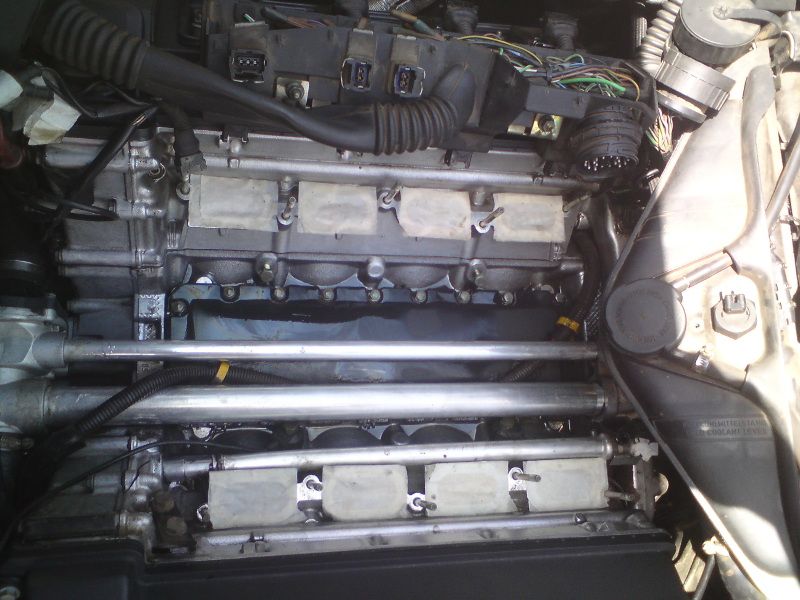
The work is basically the same as when doing the tappet covers except the all the wires and pipes have to be disconnected from the intake instead. The expansion tank also has to be loosened so it can be moved out of the way to gain some more room to work in.
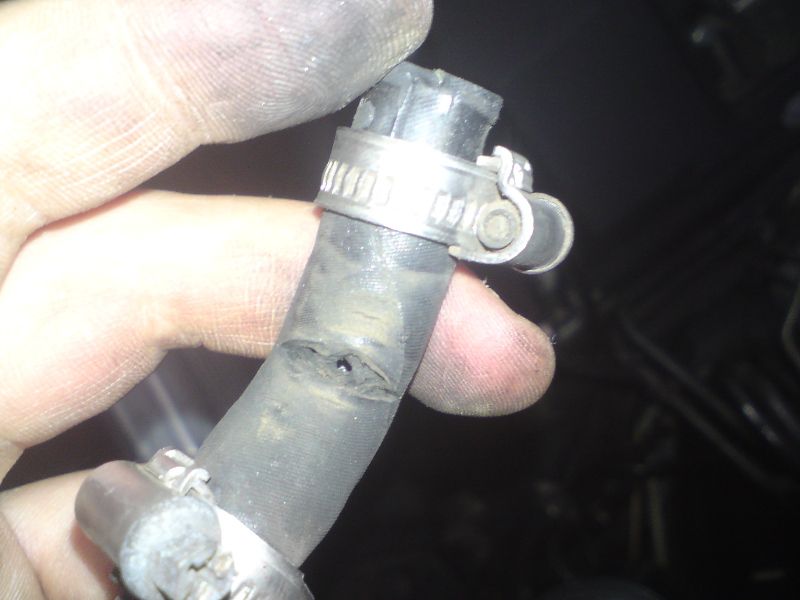
When removing the pipes from the throttle found my first problem
Pipe would probably be better without a big hole in it.
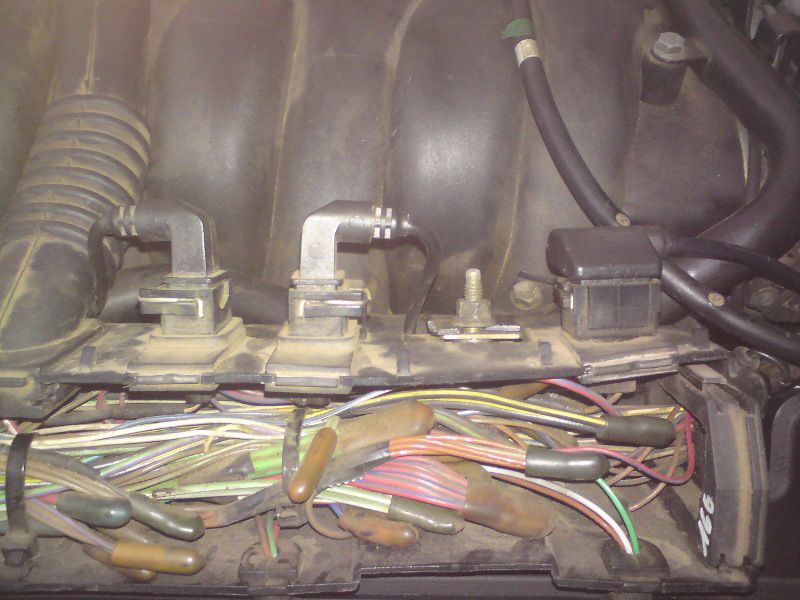
Other than all the wires and pipes it is just a question of removing the wire boxes from the injectors, moving them out of the way and unbolting and removing the intake.
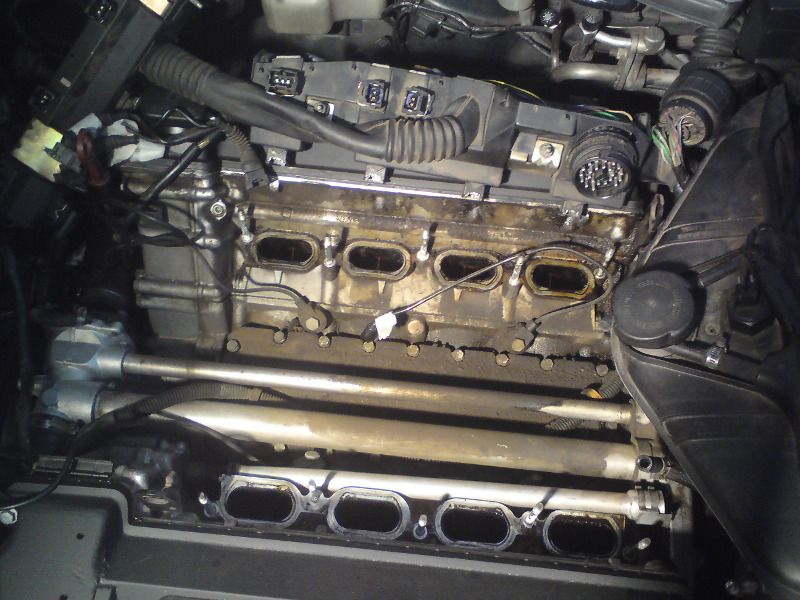
And the intake it out
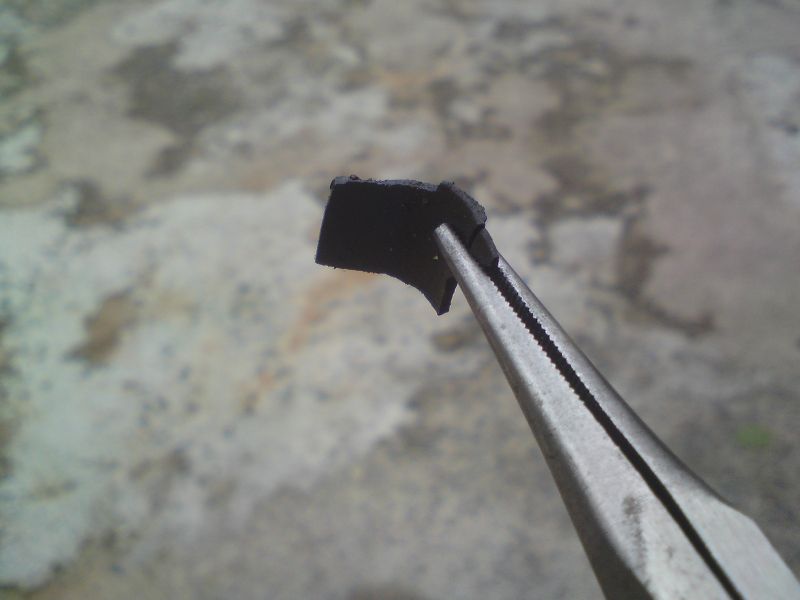
Had the distinct pleasure of fishing this out of one of the ports
Not sure how it got there but it sure as heck should not be in the port. (You don't have to go home but you can't stay here)
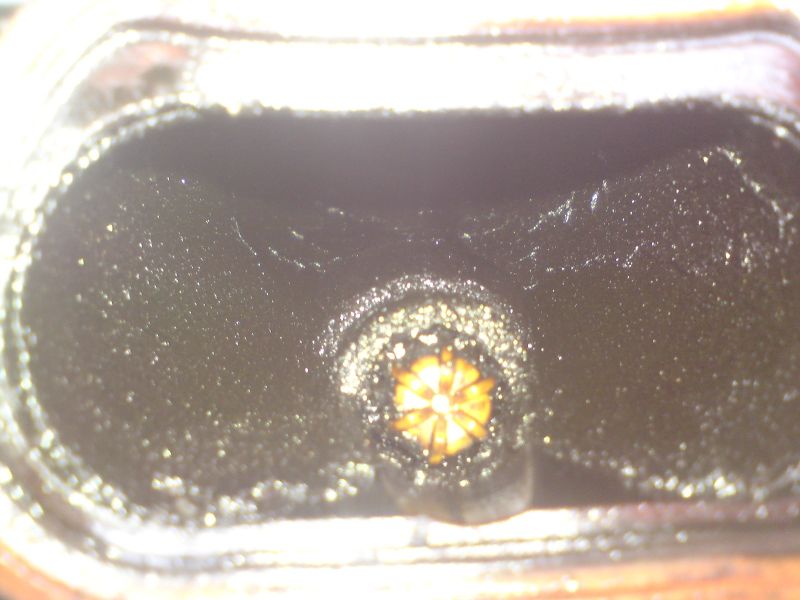
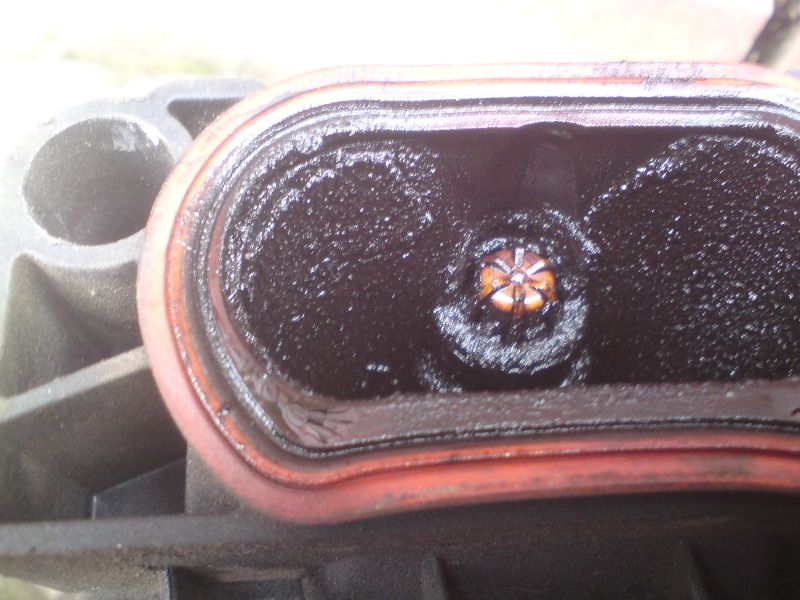
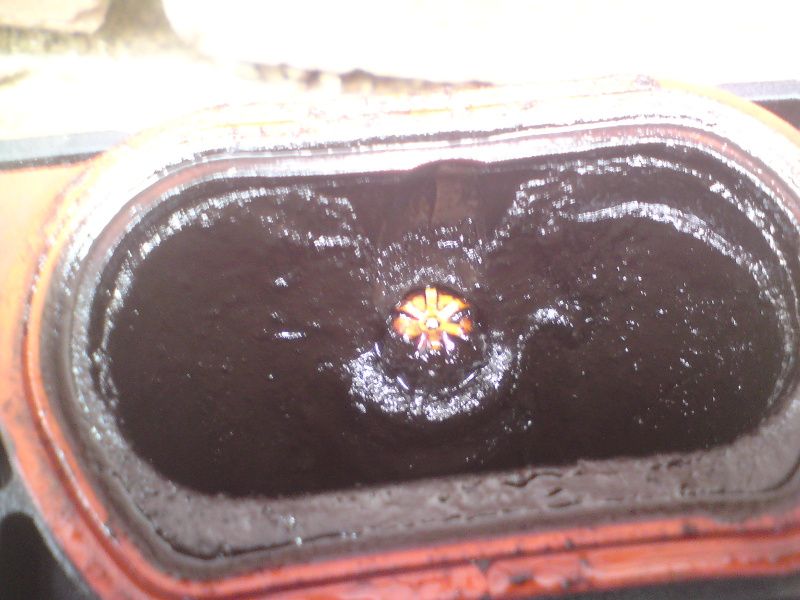
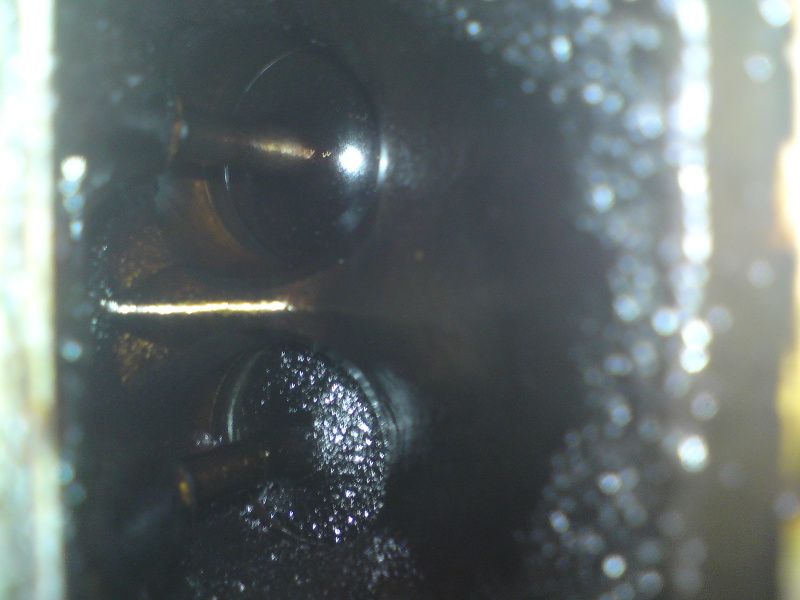
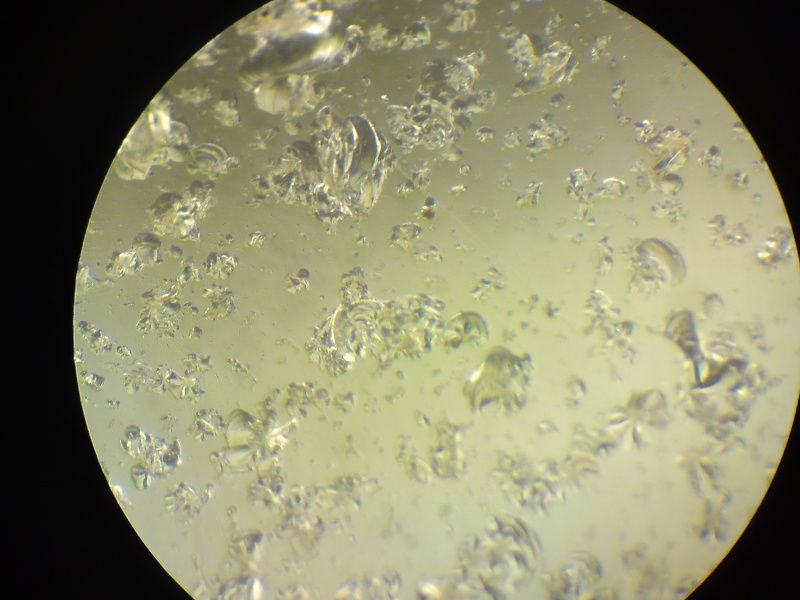
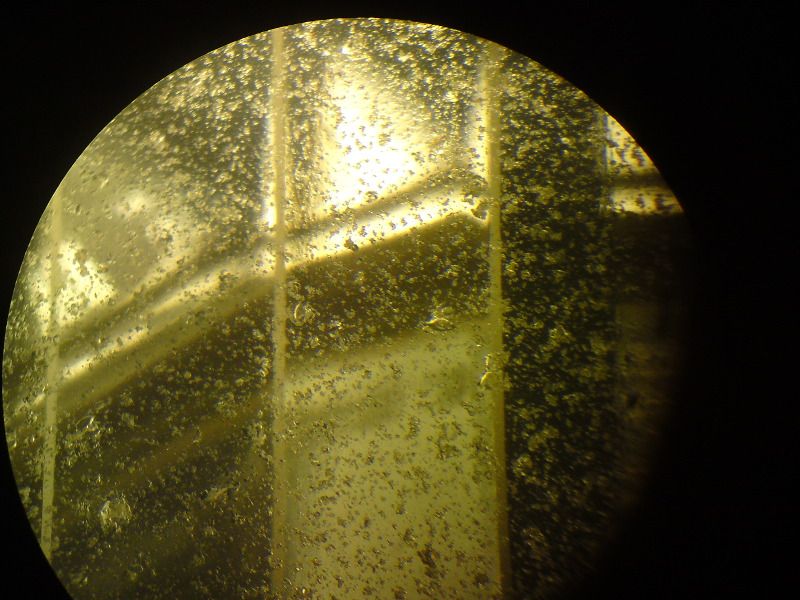
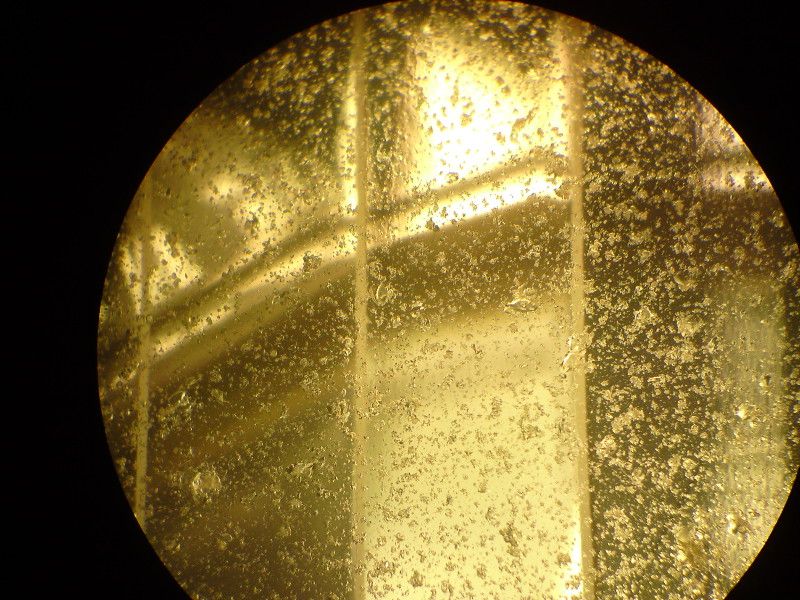
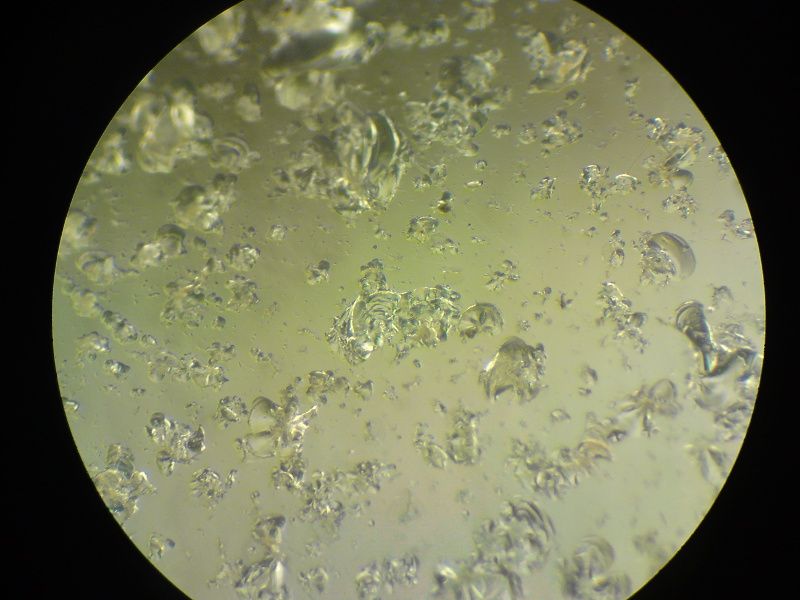
The ports on the intake side are a bit on the grizzly side....and gross.
It is clear from these pics that it was the yellow pintle caps that were killing the car's performance.....red or black is the way you want to go.
I took pics of all the ports on the head side, just for reference sake, and will not bore you by posting all of them of them, they pretty much all look like this:
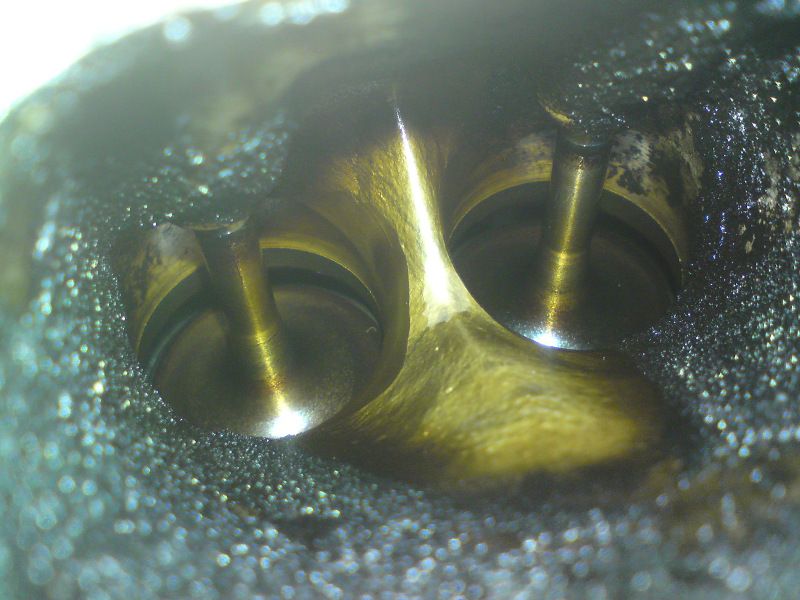
The port itself being pretty dirty but the valves actually look pretty good for a car with this kind of mileage.
The one exception being the valve closest to the firewall on the passenger side:
Not sure why this is the case, but me and a friend did discuss some possibilities.
If I am not mistaken it was also the plug in this cylinder that has been fouled the most.
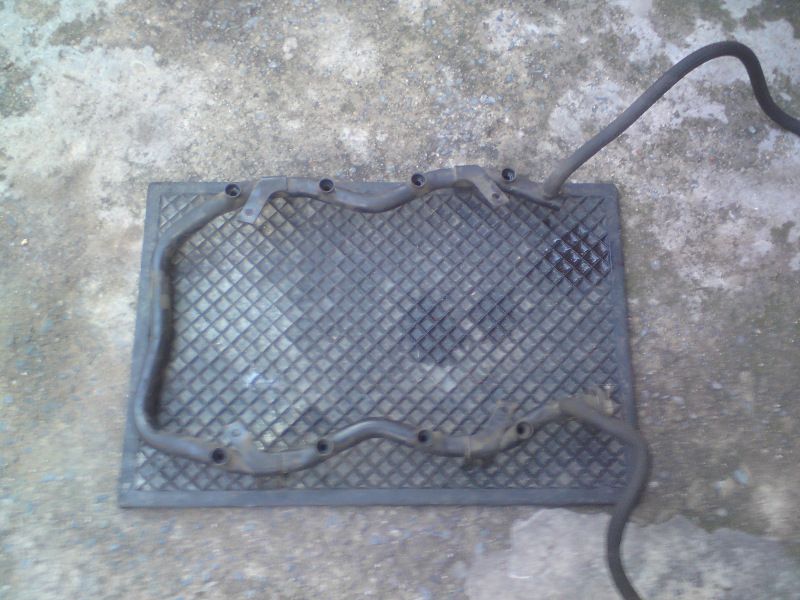
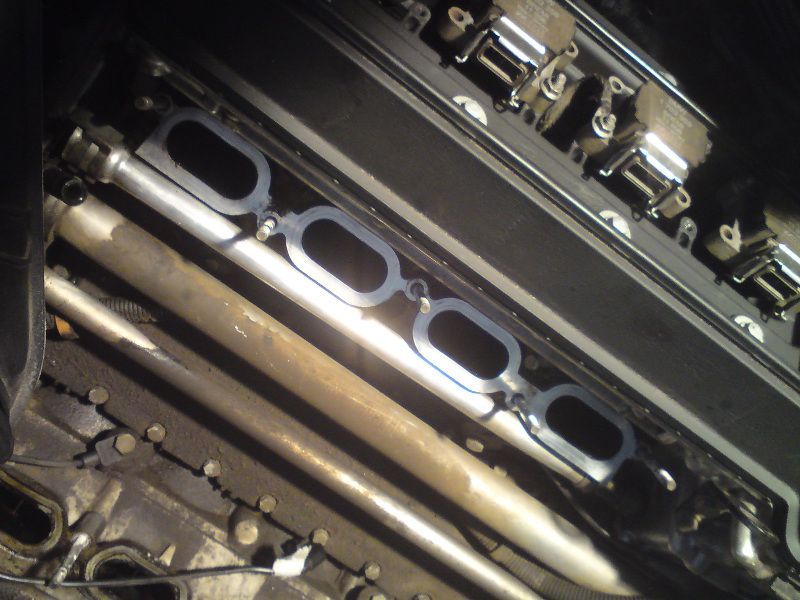
Cleaned intake manifold mating surface
And closed up the ports:
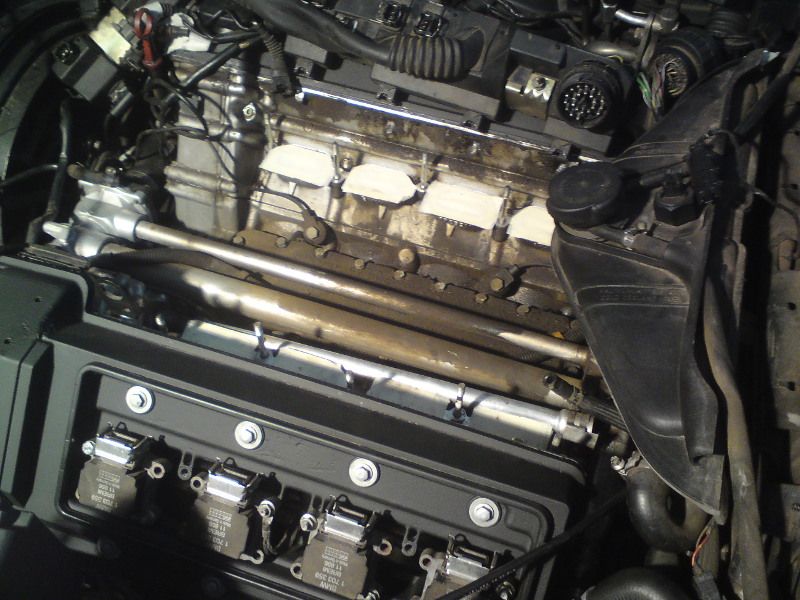
Then I started to clean everything else, progress was painfully slow and this was how far I got before calling it a day
Woul seem that the tappet covers have been leaking for ages, as they had made an appalling mess of everything in the V....this and the fact that the V is not sealed off and the constant heat made for very nicely baked on oil deposits.
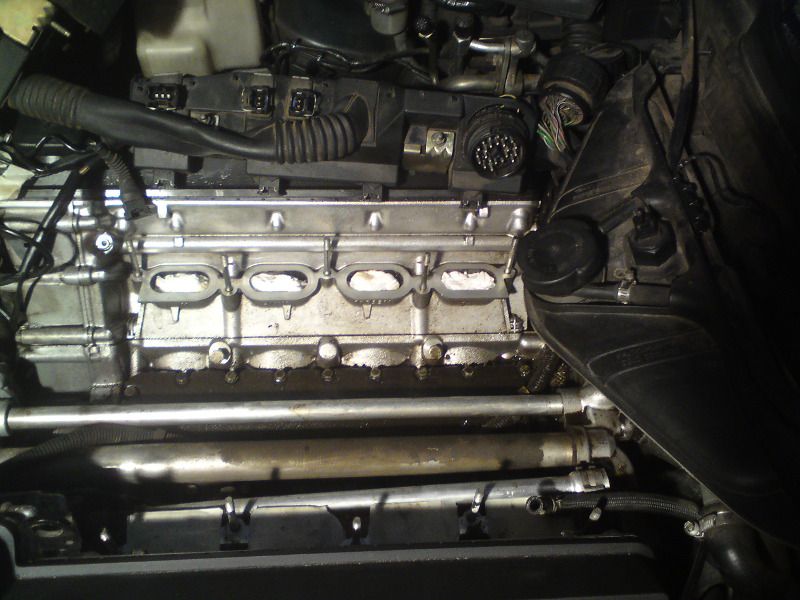
This morning after doing some shopping I rolled the car out of the garage for the final clean....though the results are not as good as my normal standards for cleanliness, it is a massive improvement....and it would probably have taken a week and more parts being stripped off to get it properly clean. Some pics of after cleaning:
Out of interest the V8 actually has two drain holes in the back of the V for water and other grime to drain from.
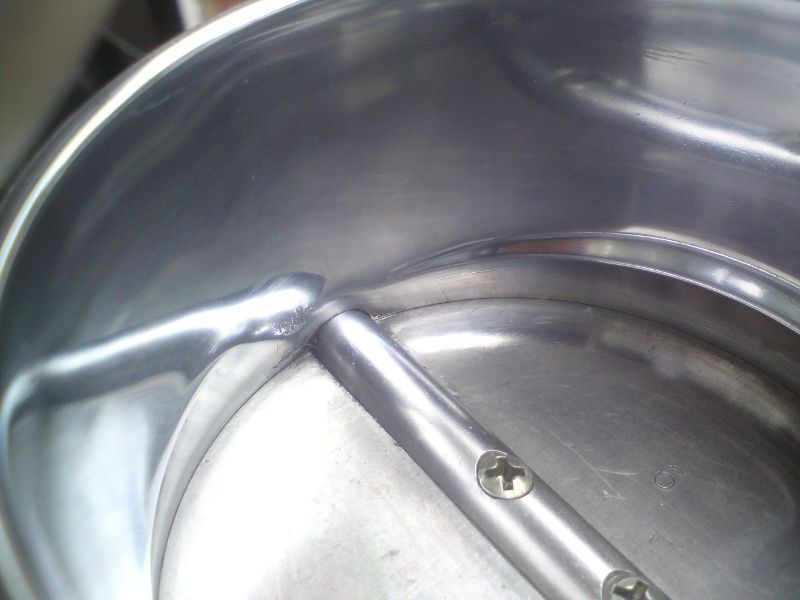
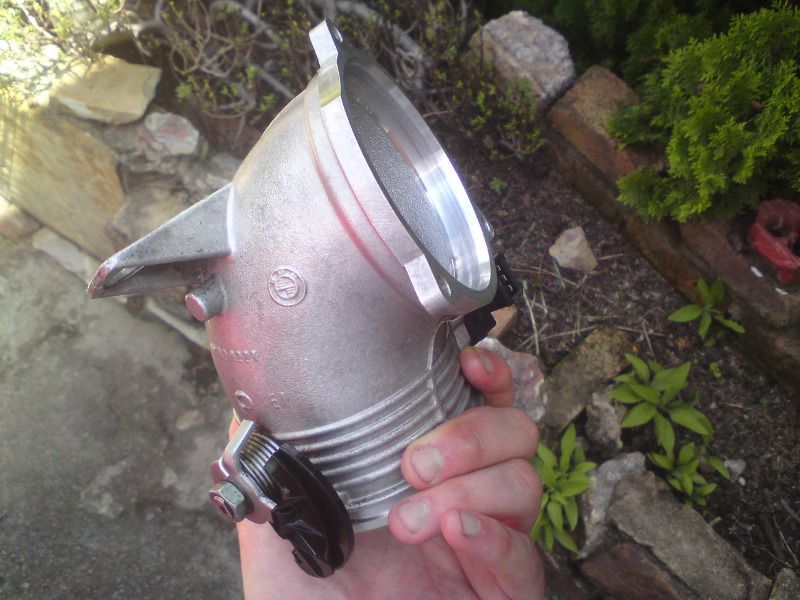
Cleaned the secondary throttle body
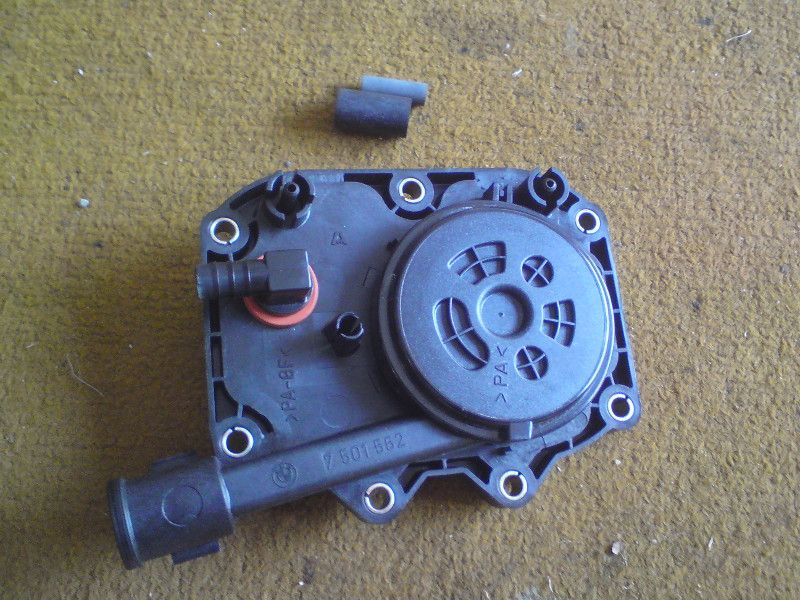
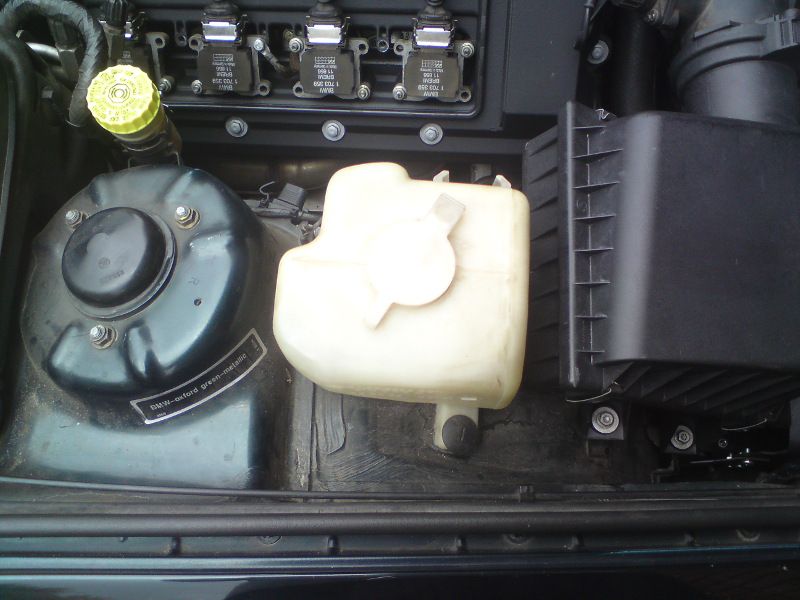
New PCV plate and blanking plug ready to be fitted to the new intake
[hr]
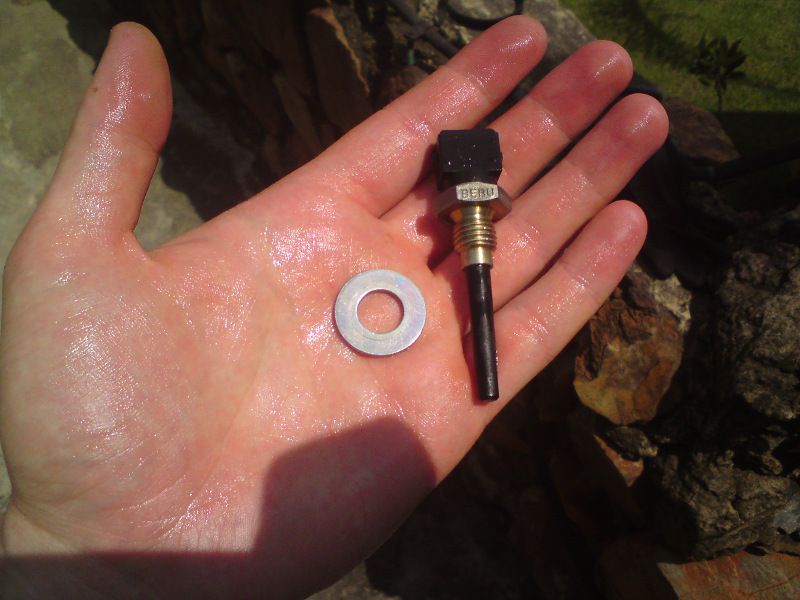
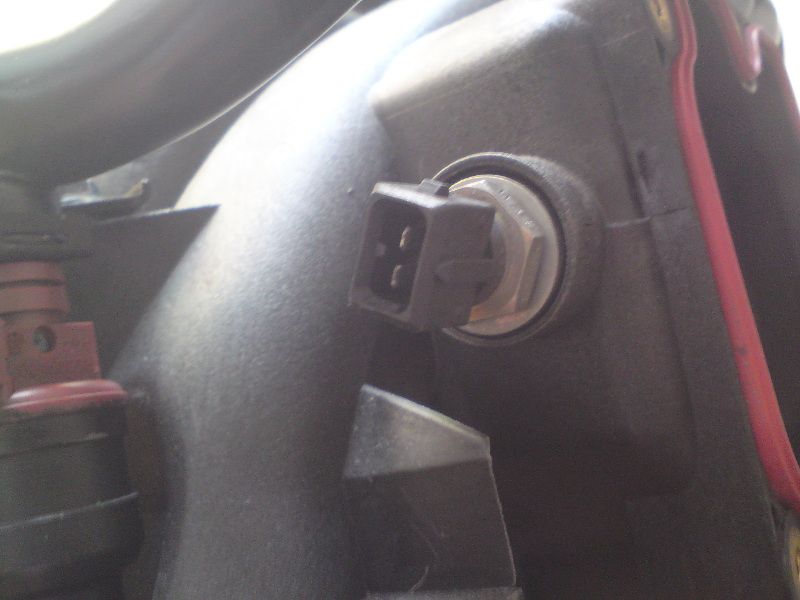
New gaskets for the front and rear of the intake and for the intake air temperature sensor
Removed and cleaned the intake air temperature sensor from my old intake:
Fitted the PCV plate to the back of the new intake (note that hex bolts have been used instead of the standard "strips so easy" torx garbage)
Fitted the temperature sensor
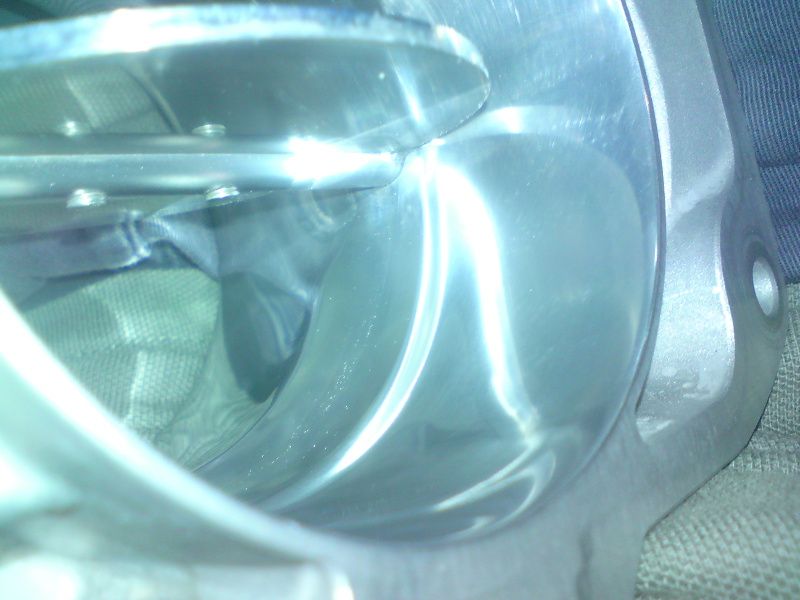
Fitted the throttle body
Fitted the secondary throttle body:
For both throttle hex bolts were used
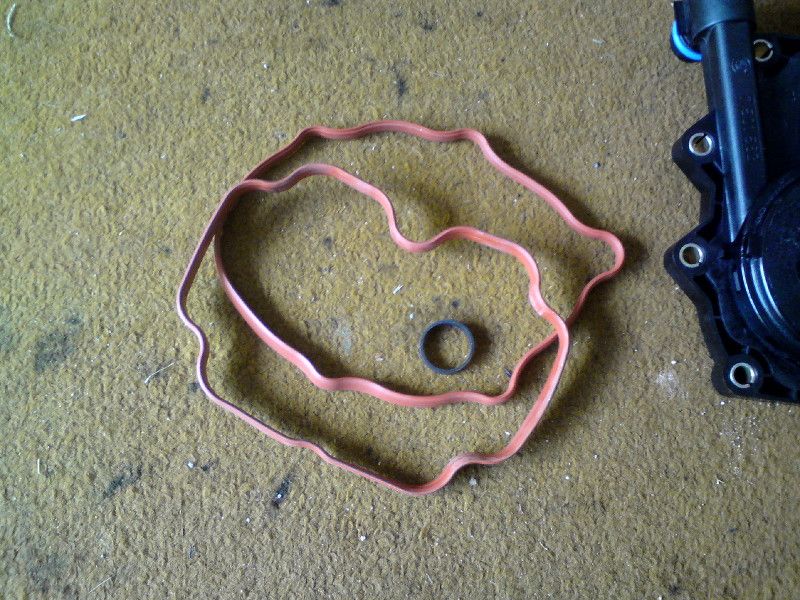
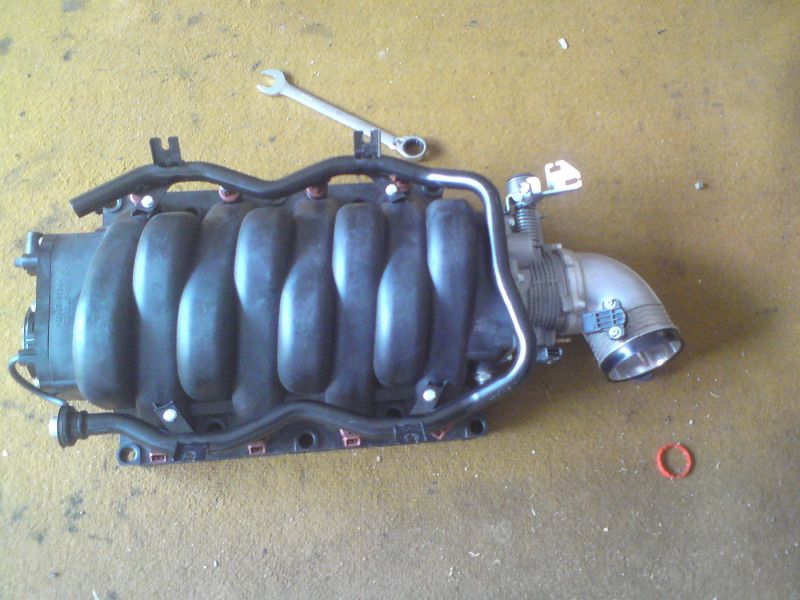
New intake manifold gaskets:
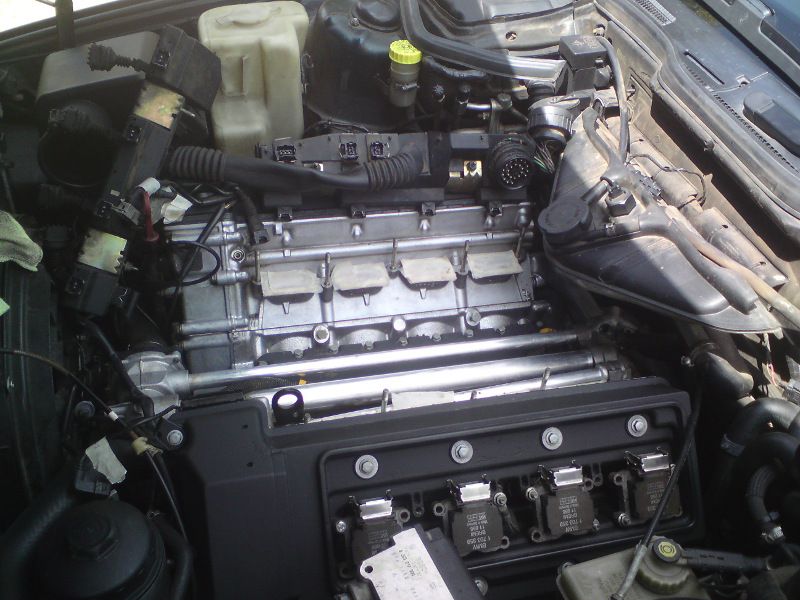
The new intake with fresh gaskets and PCV in place
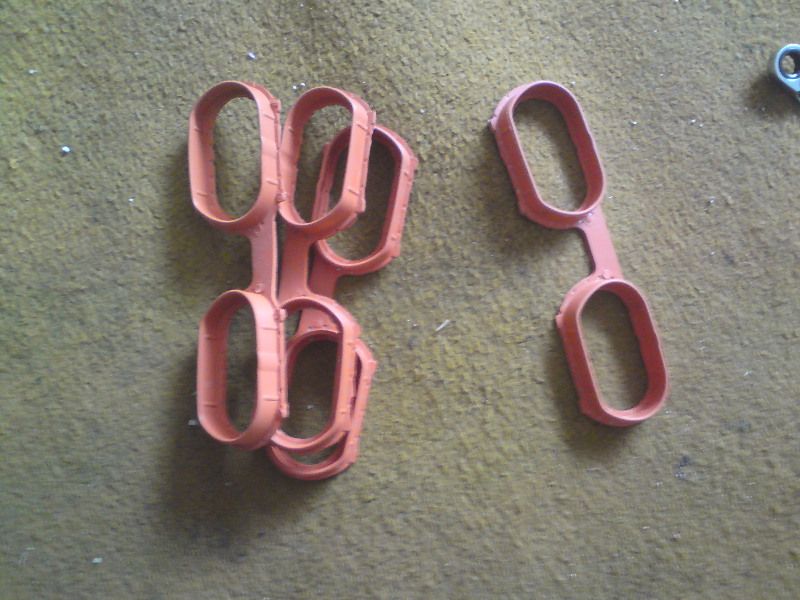
Intake manifold spacers cleaned
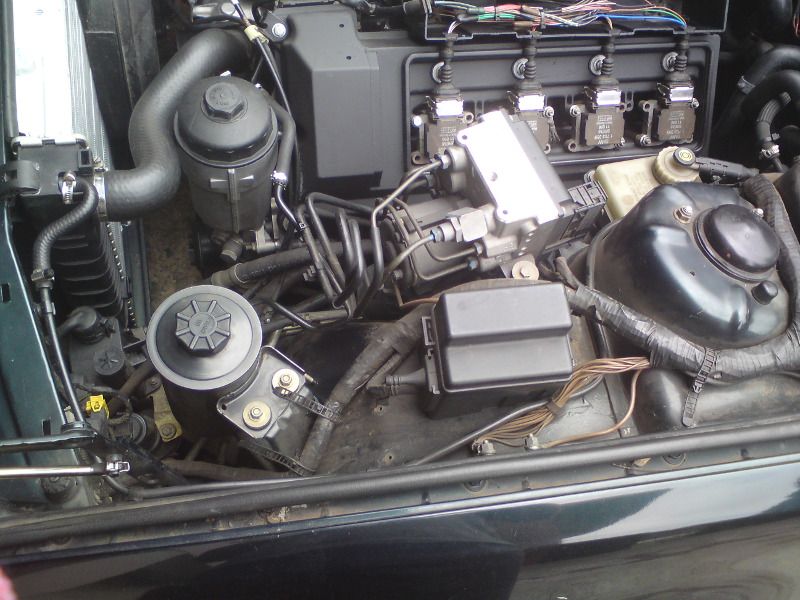
The in is just a question of connecting everything again and bolting down the intake, and all is done
Thanks for watching.
My name is Wes
Nice work! What did you clean with? Scrubbed to the high heavens id imagine.
BMW Fanatic/Enthusiast
Nice work and attention to detail!
Best engine detail ever while the engine is still in the car!
Last edited by gixxerboy63; 03-17-2014 at 10:39 AM.
Gone but not forgotten:
'95 540i/6 M-Sport. GA65474. Alpineweiss/Parchment.
Supercharger project
Member
Thank you for the kind words. My normal procedure is to use a solvent based cleaner followed by a water based cleaner then rinse with water. In this case I used paraffin as the solvent. The official reason being that it is slightly oily and it is actually a "fuel" so I am not too worried if a little bit gets in the ports. (The unofficial reason being that I actually forgot to buy solvent cleaner so the paraffin was the best I had around)
Yes a crap load of scrubbing was needed, it seems that before I replaced the valve cover gaskets they had been leaking for a long time, that combined with the heat of the engine and the fact that the V is not sealed off made for some nicely baked on deposits.
The water based cleaner I used was Prepsol, it is a local brand of cleaner...it is probably the best cleaner around (well locally at least)
Member
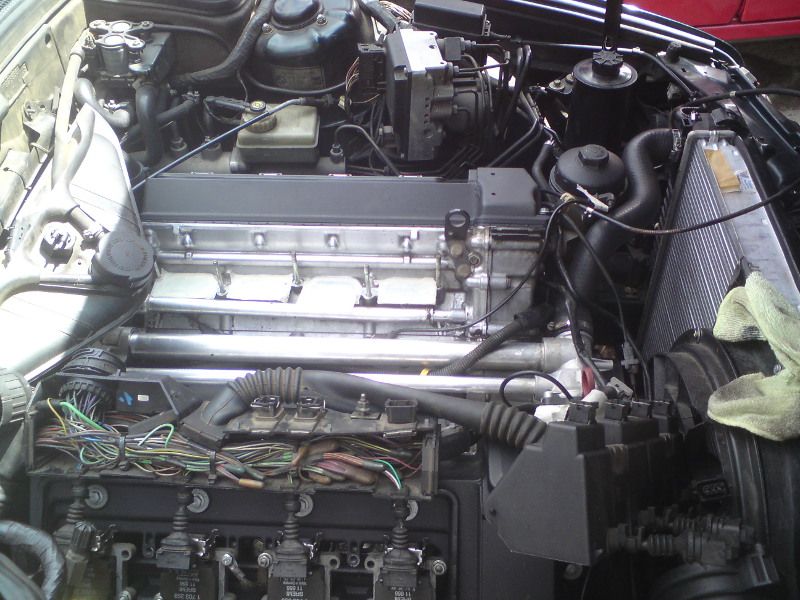
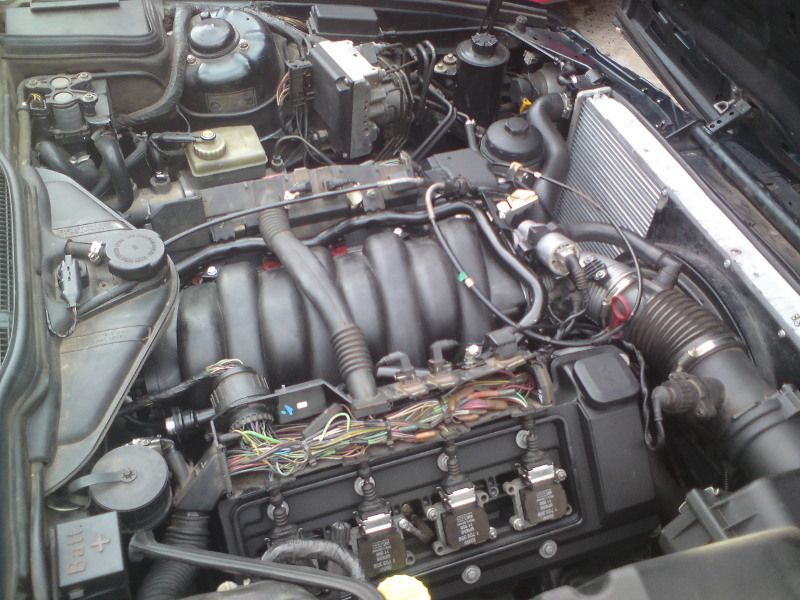
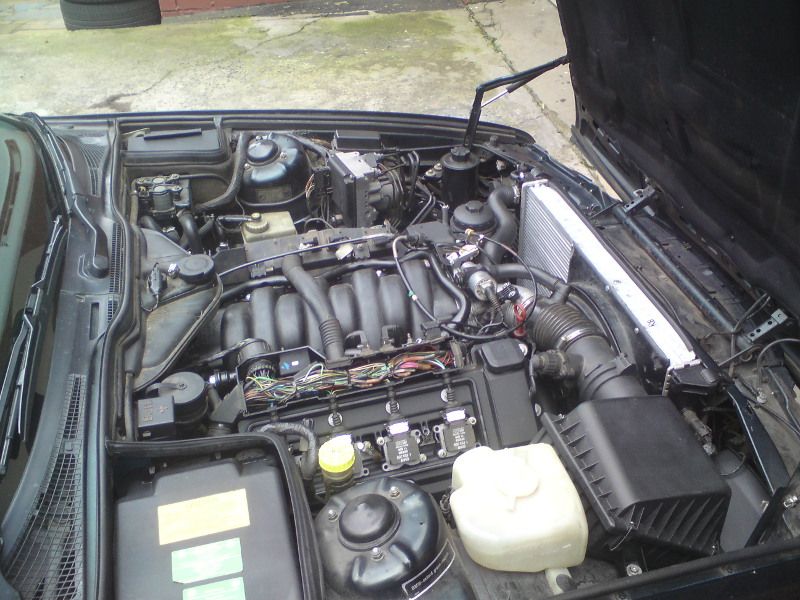
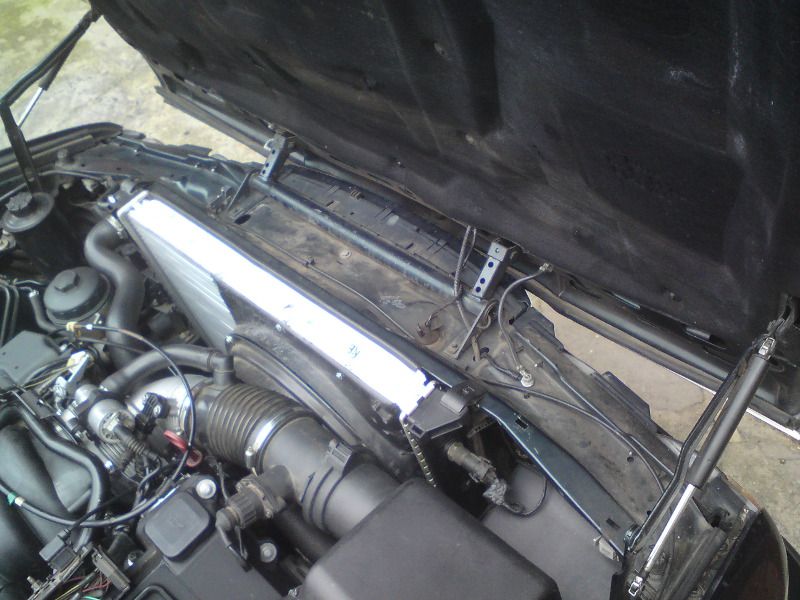
Gave the engine bay a long awaited and much needed clean today:
Before:
After
Member
Wow. Looks great.
Also, you have a completely different brake booster location than I do on my 540...
E34 540i/A, in progress of becoming a 6-speed - DD
M-Technic and moar!
'95 Exploder - Winter Beater
BMW Fanatic/Enthusiast
Yes! Yes!
Looks pristine!
Great job!

Gone but not forgotten:
'95 540i/6 M-Sport. GA65474. Alpineweiss/Parchment.
Supercharger project
Member
Run an oil that's packed with detergents. It'll help with your sludge issue. Either add ATF to the oil or use diesel oil. Should clean things up a lot.
Member
Thank you guys.
Regarding the brake booster....the 540i's we got locally don't have vacuum assisted brakes, so it doesn't have the traditional vacuum booster, instead it uses the powersteering pump to assist the brakes - Hydro-crap'o'matic braking system :P
For the moment I am using the ATF trick to try and get the motor a bit cleaner on the inside, that combined with very frequent oil changes.
Member
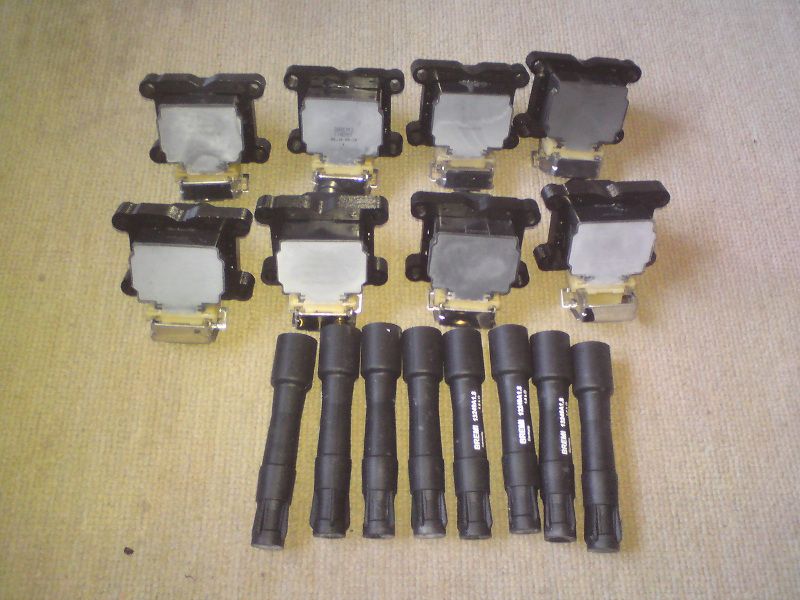
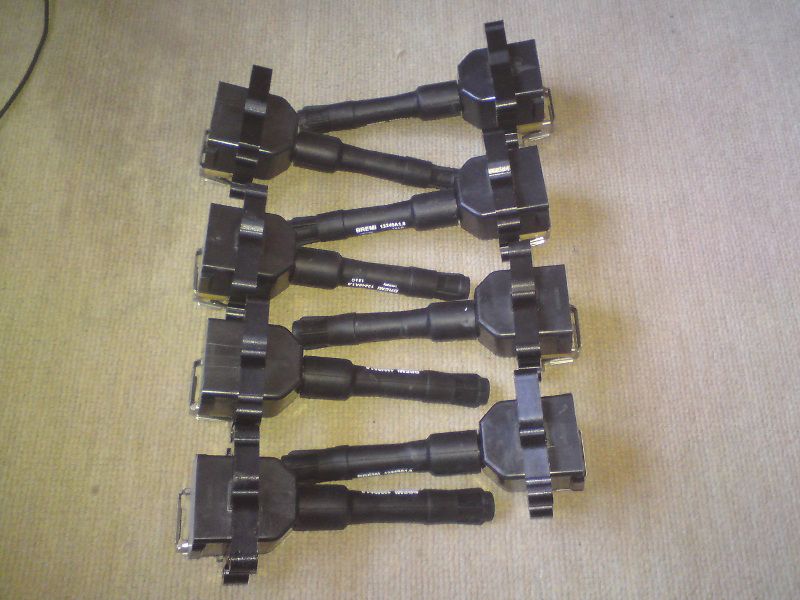
Over the weekend replaced all the coils and suppressors:
This as really improved the idle smoothness, though I have noticed that the idle does become a bit more lumpy after the car has been driven in stop and go traffic.
Member
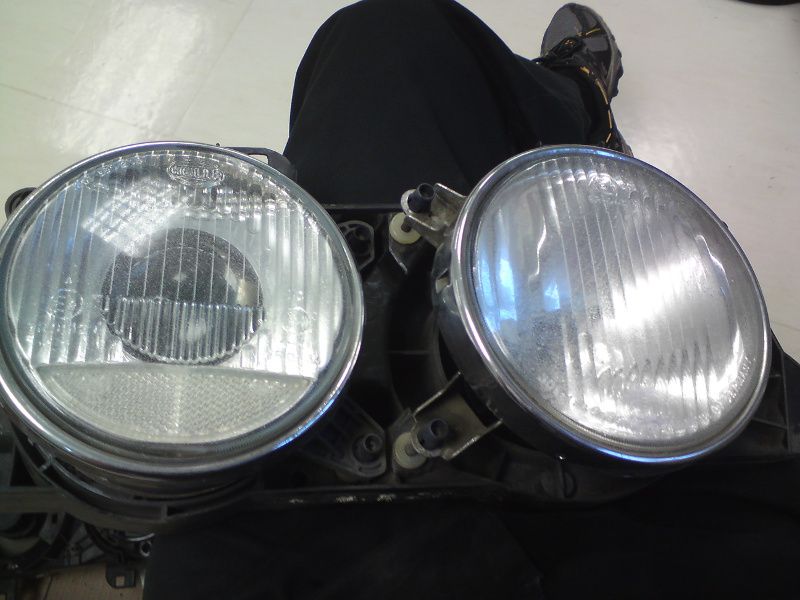
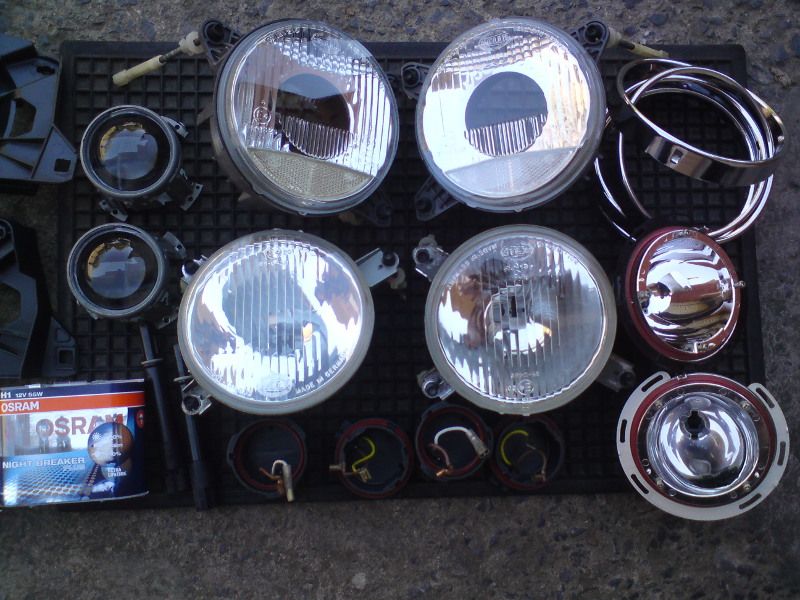
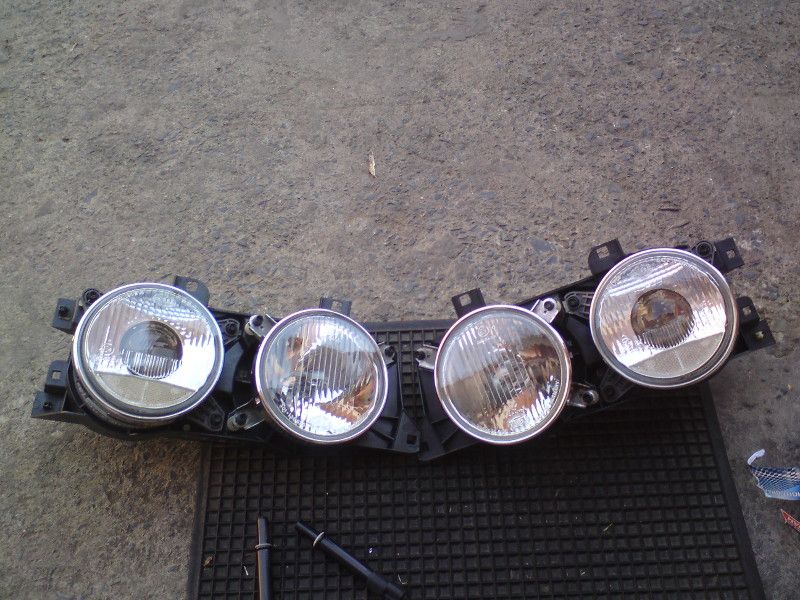
A while back I got a set of intact e32 750iL headlights, originally came from the 750iL that I got my 3.15 LSD from, but it took me a bit of a roundabout path to get these. Although I would rather prefer smileys, the lack of adjuster motors is a big plus.
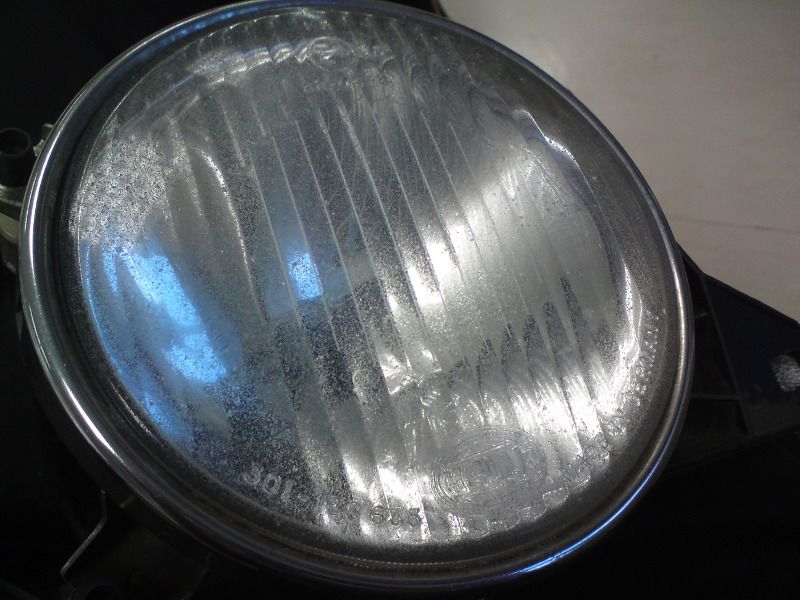
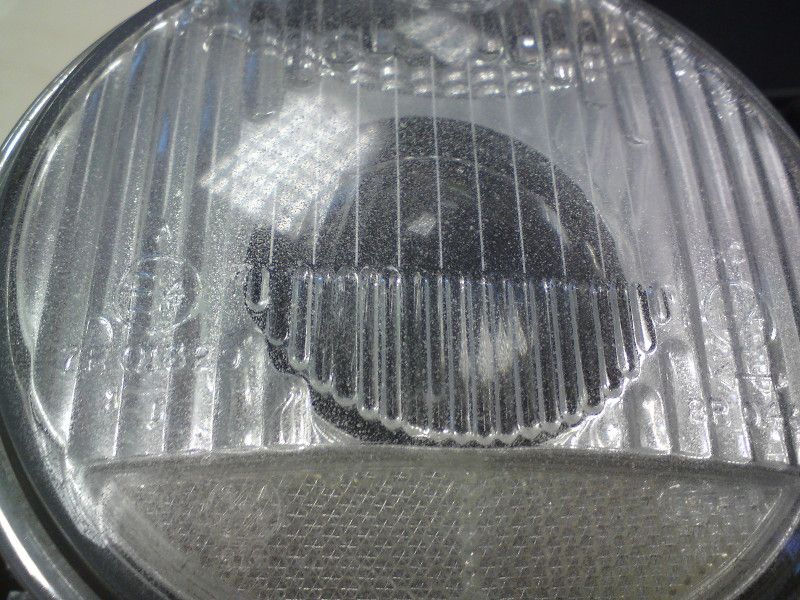
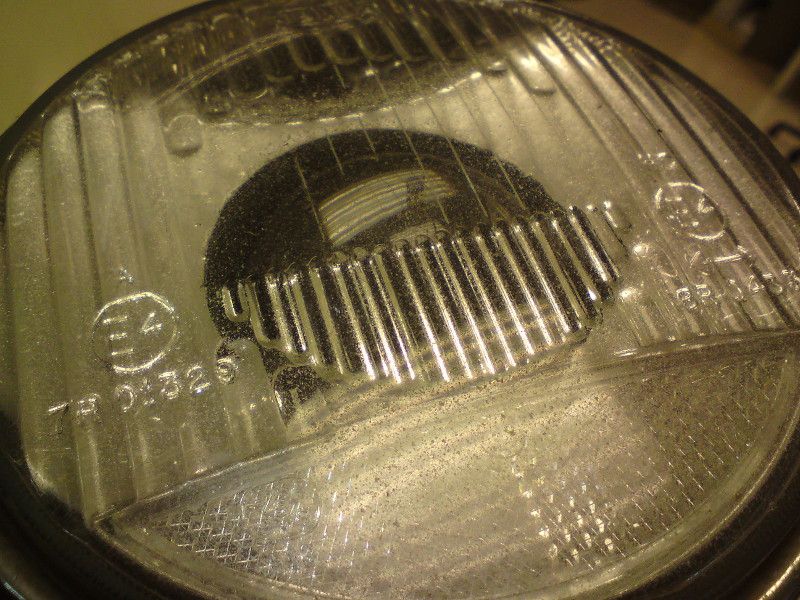
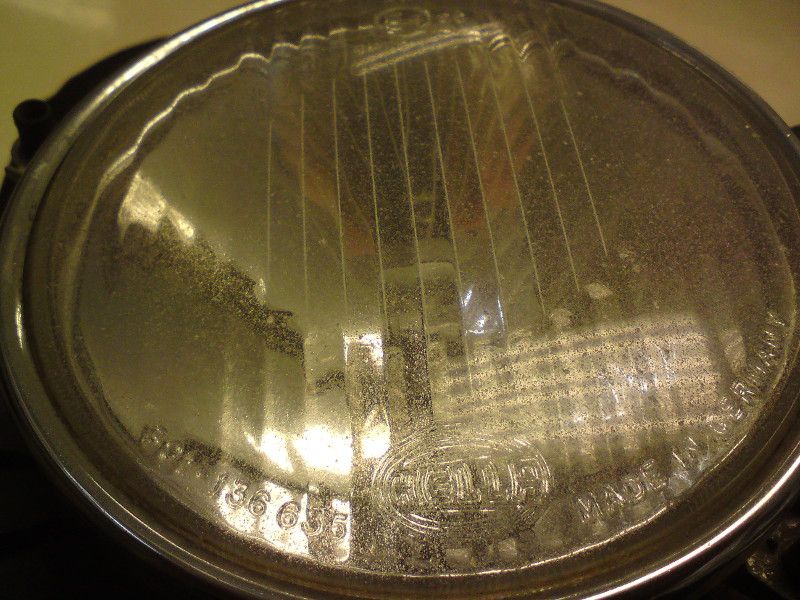
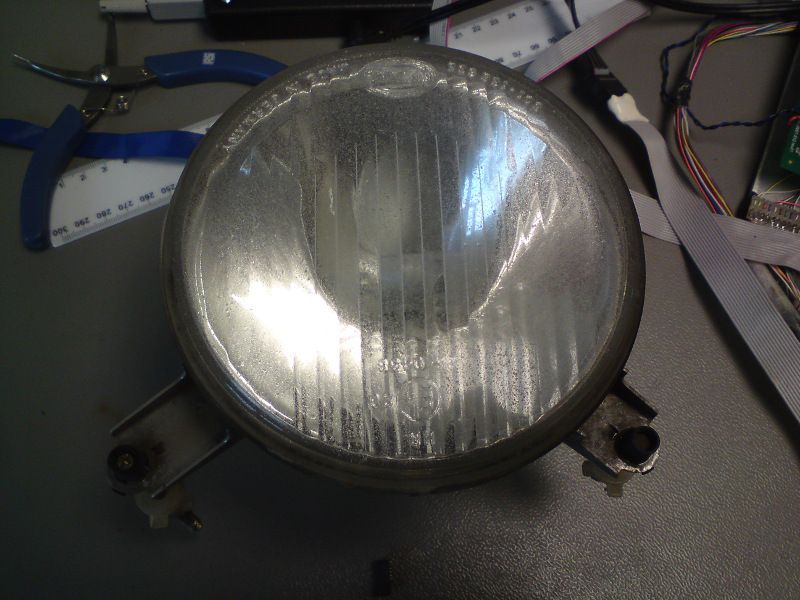
Even though the mileage on the original car was pretty low the light are pretty badly sandblasted.
Some "close-ups" of the damage:
Even though the damage is pretty bad none of the lenses are cracked.
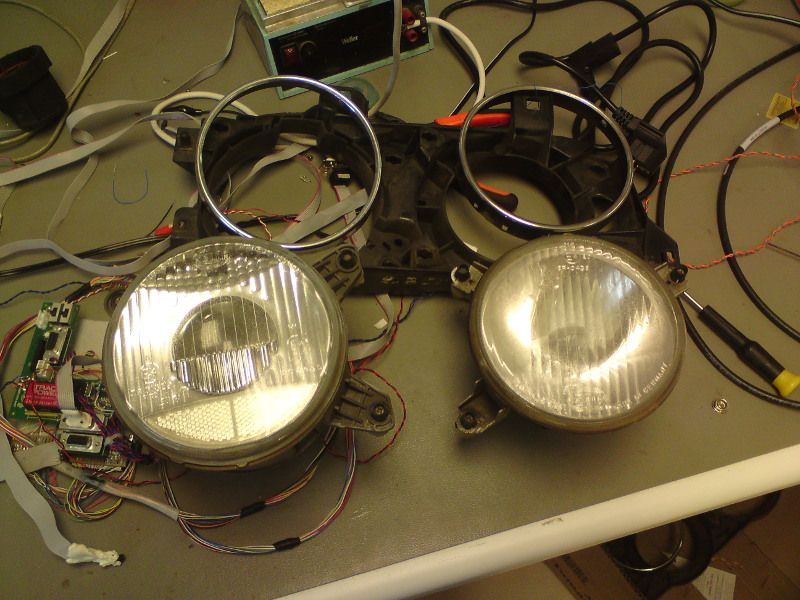
Stripped the lights out of the brackets:
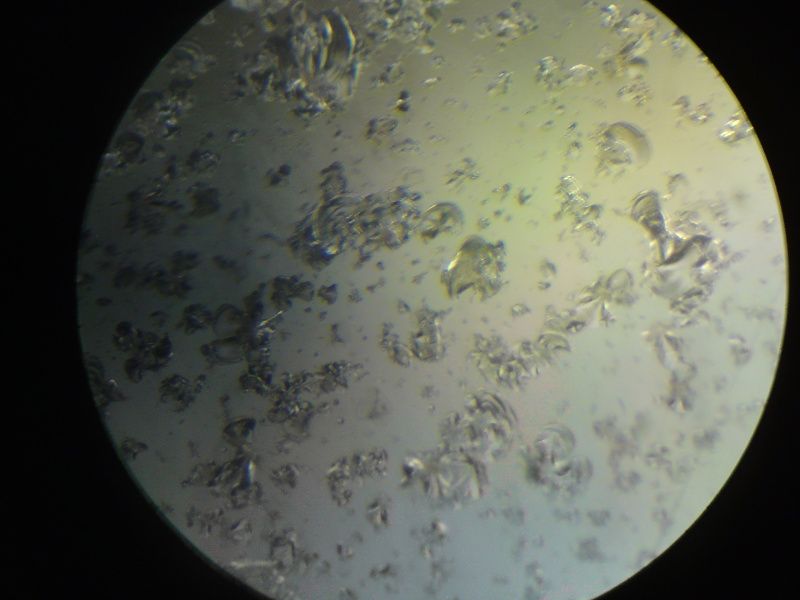
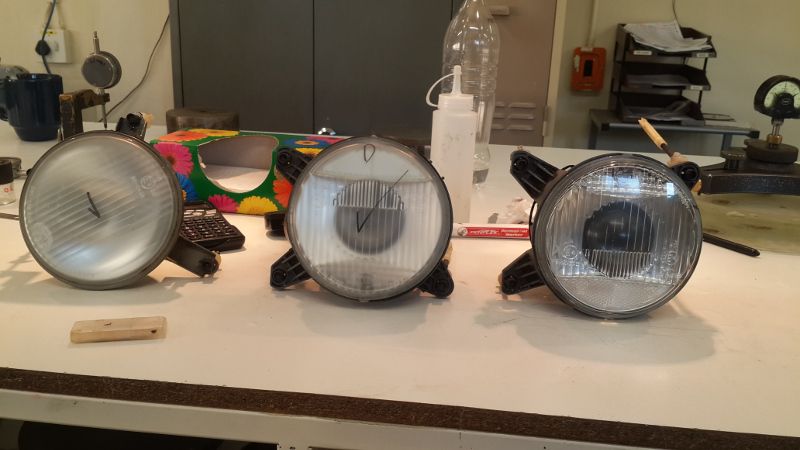
Normally it would be pretty hard to get rid of sandblasting on glass lenses, but I am in the lucky position that the guys downstairs from us specialise in making lenses, so they have all the facilities to grind and polish glass. I had a chat with them, and they said they should be able to fix the lenses for me. Although the tools differ slightly they process it pretty much the same as with plastic lenses or when flatting and polishing anything else for that matter. The use a course grit grinding paste to get rid of the sandblasting, and then go gradually finer. Followed by polishing.
A in progress pic:
The left two lenses have been ground down and the right hand one is after polishing.
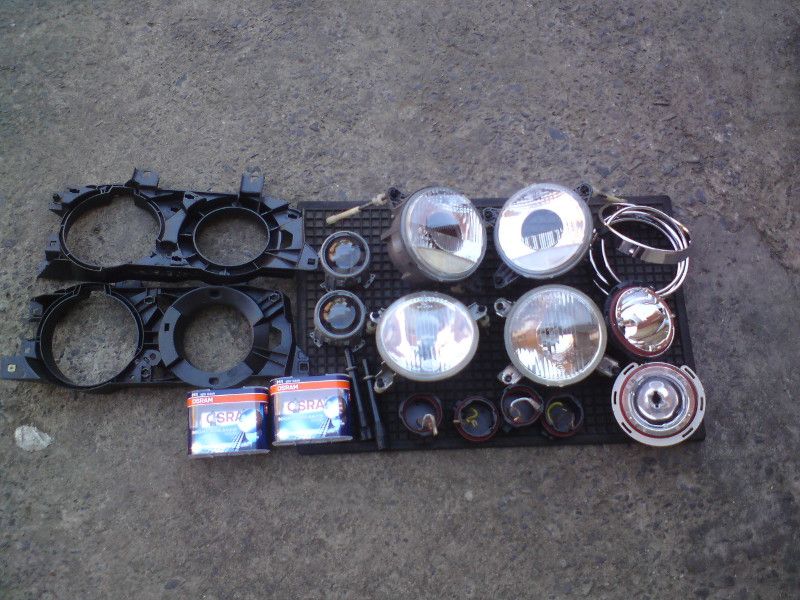
Everything after cleaning and polishing, ready for reassembly:
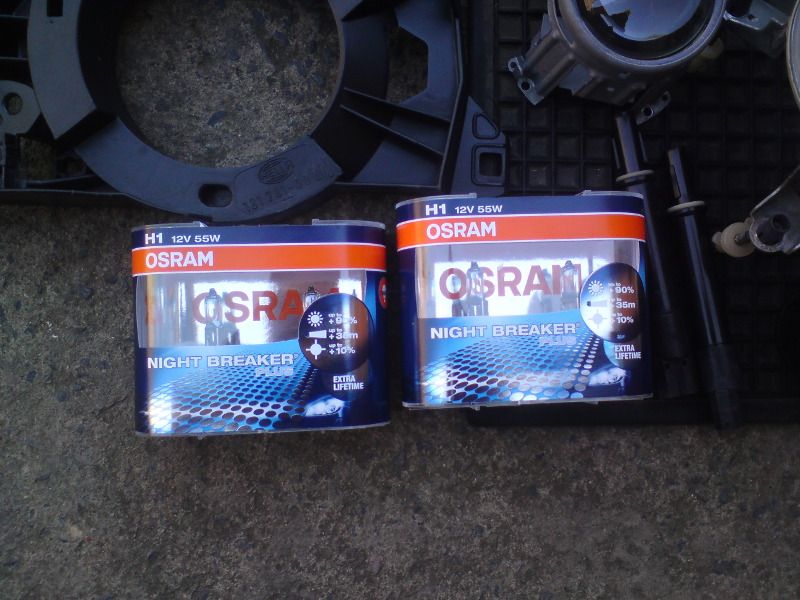
New bulbs for the lights:
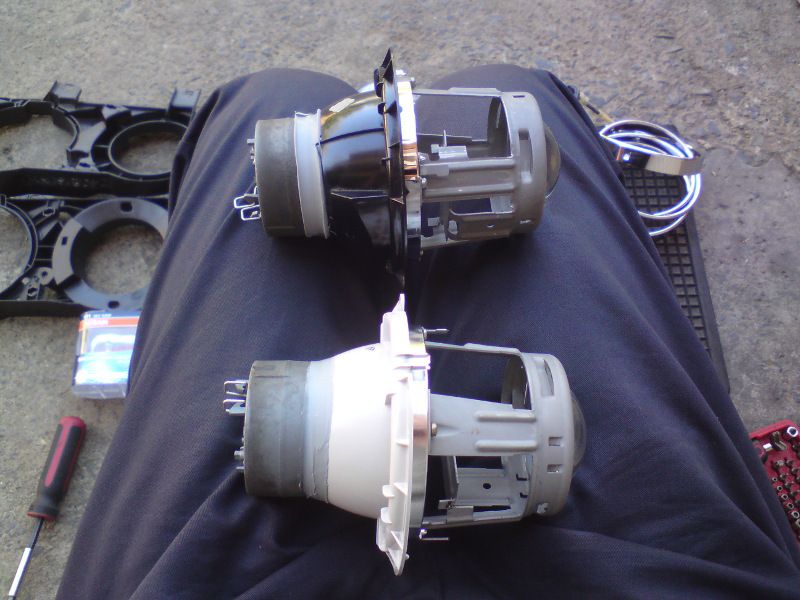
Projectors reassembled:
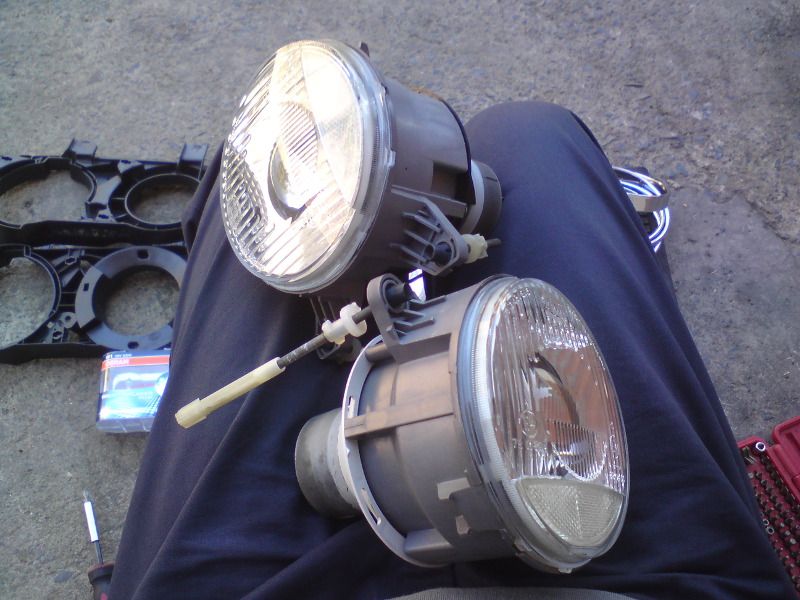
Low beams reassembled:
And everything reassembled, and with clear lamin x on the lenses, hopefully this will preserve them a bit:
Now I need to start stripping the front end to see what is missing so I can order then necessary part to fit the lights properly, though might have to wait for a couple of things I want to do first.
Thanks for watching.
Last edited by Sankekur; 06-01-2014 at 01:10 PM.
Member
Really good work. It is amazing what some of you here can do by cleaning and refurbishing the original parts.
Current Fleet:
E34 1991 M5 Macaoblau on Complete (ruined)Leather Champagne - http://forums.bimmerforums.com/forum....php?t=1705166
Past:
E34 1989 535i 5-Speed AlpineweissII on Natur - Parted
E34 1992 525i 5-Speed Islandgrun on Pergament - Parted
E34 1995 540i 6-Speed ShwarzII on Shwarz - Sold to Sneezy.
E34 1995 525i 5-Speed Calypso Red on Parchment - http://forums.bimmerforums.com/forum....php?t=1748143 - Sold locally.
E39 1998 528i 5-Speed Black on Black - Sold locally.
E34 1993 M5 Alpinweiss on Black - http://forums.bimmerforums.com/forum...lpinweissII-M5 - Parted
Member
Thank you.
It is surprising how dirty headlights get on the the inside even though they are sealed, personally I like things being clean, but in the case of headlight it at least serves a purpose as dust on the reflectors will really hurt light output.
Member
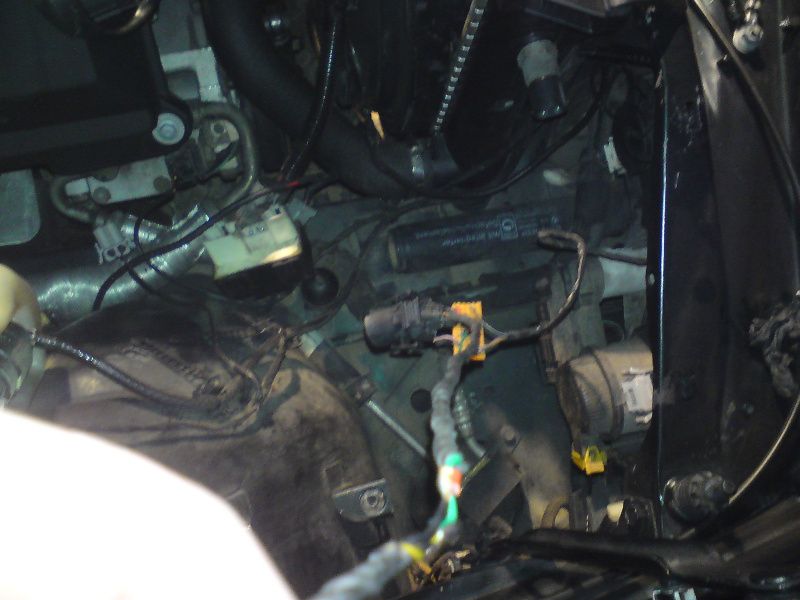
Over the past week I have been putting in a couple of late nights to sort out some small niggles on the car that have the parts for but just put off to do later.
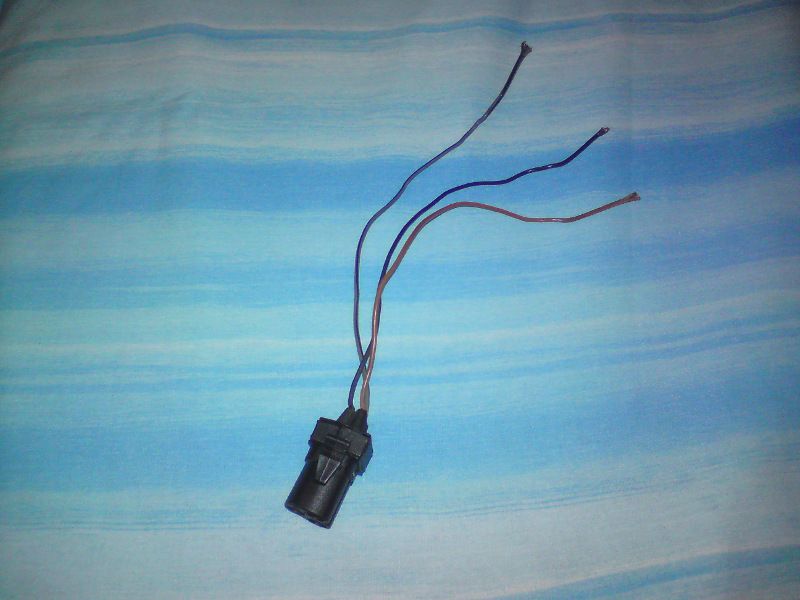
First was to redo the wiring that goes to the fan switch for my electric fan conversion. The wiring was a bit on the shoddy side, and not very robust I'll admit.
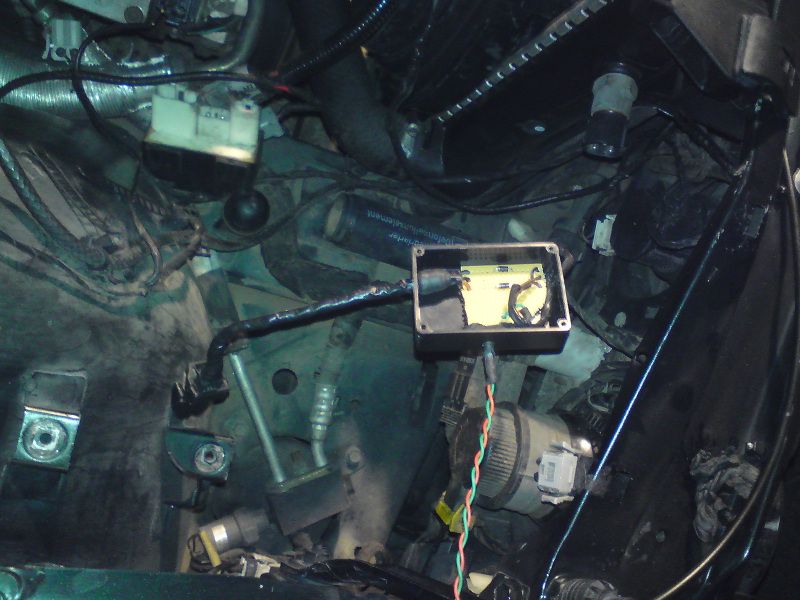
Picked up a connector with some harness still on it for the fan switch from a breaker, I made a bit of a cock-up with the old connector so this allow me to replace and at the same time have some extra length on the harness to work with.
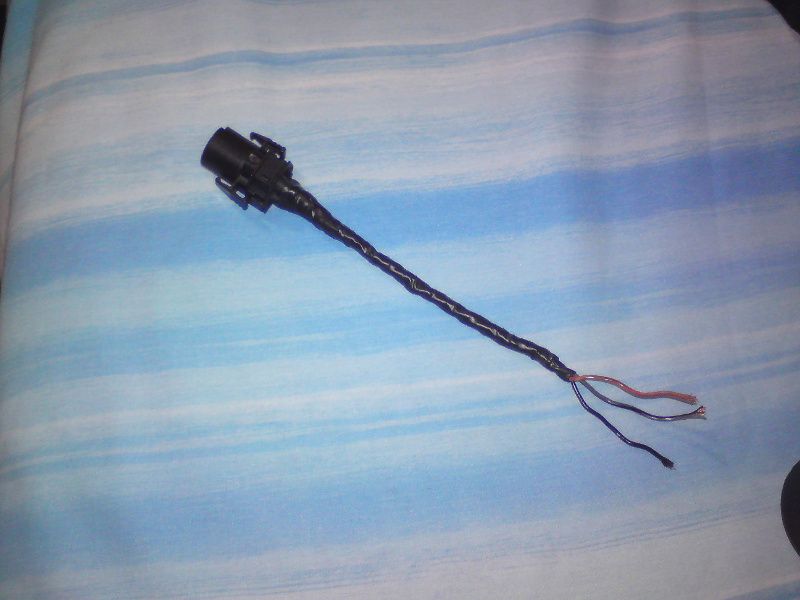
Neatened up the wiring:
Will still be sticking to the same setup as before using both my electric fan and the aux fan, so to more diodes:
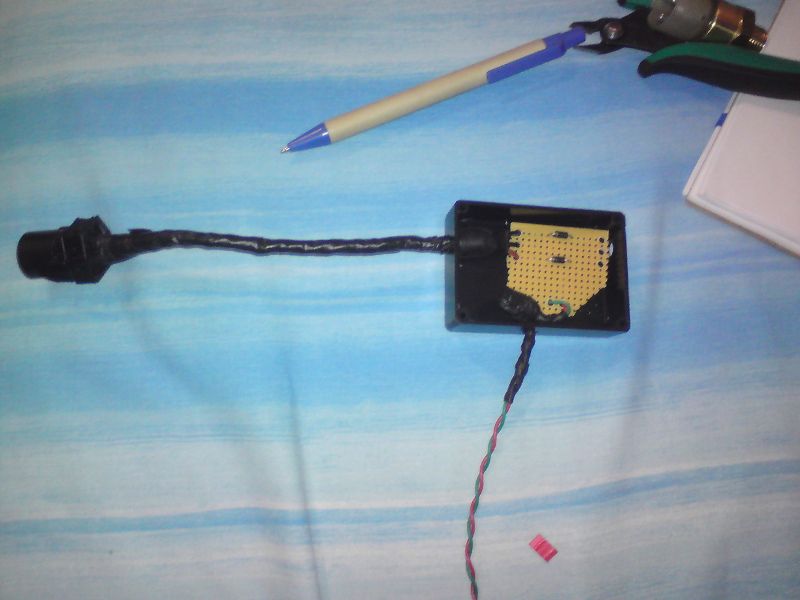
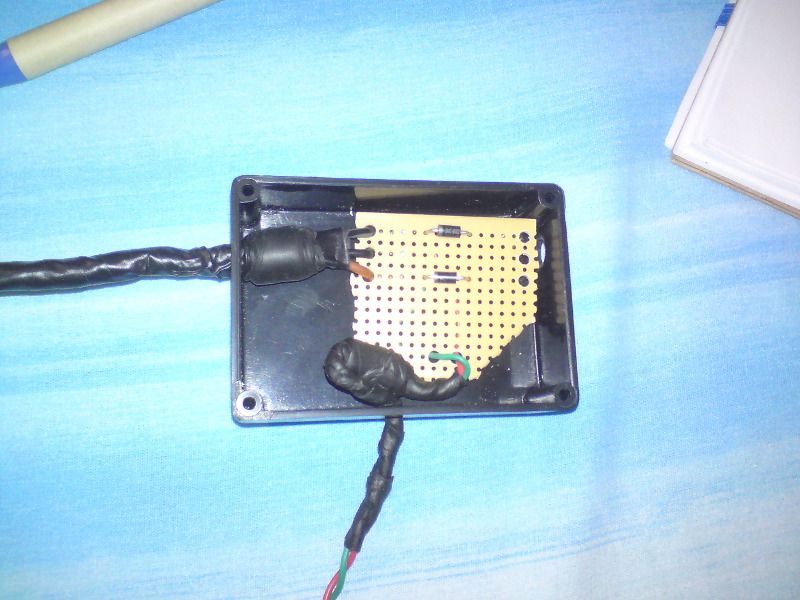
This time for some extra robustness I am mounting everything in a little box:
Old wiring coming out:
New wiring going in:
And closed up:
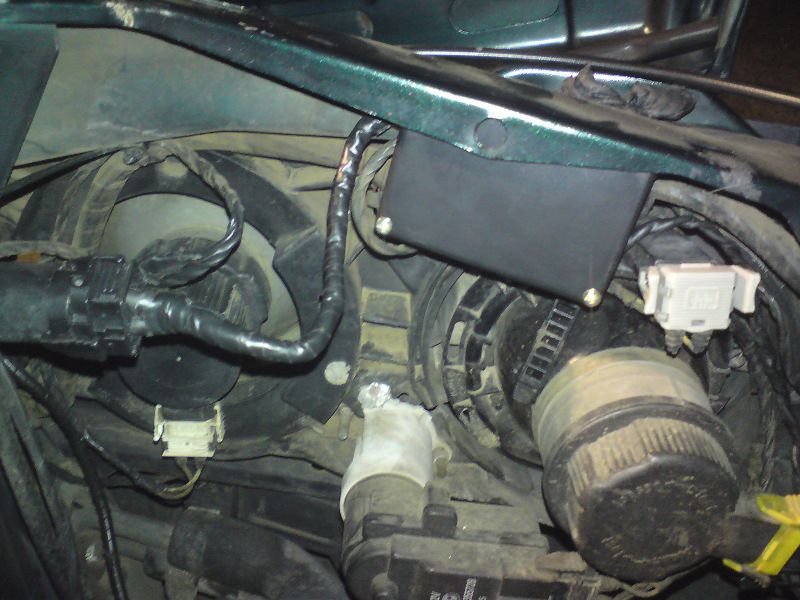
While I was at it replaced the fan switch with the 80/88C one that I have had for a while but never fitted:
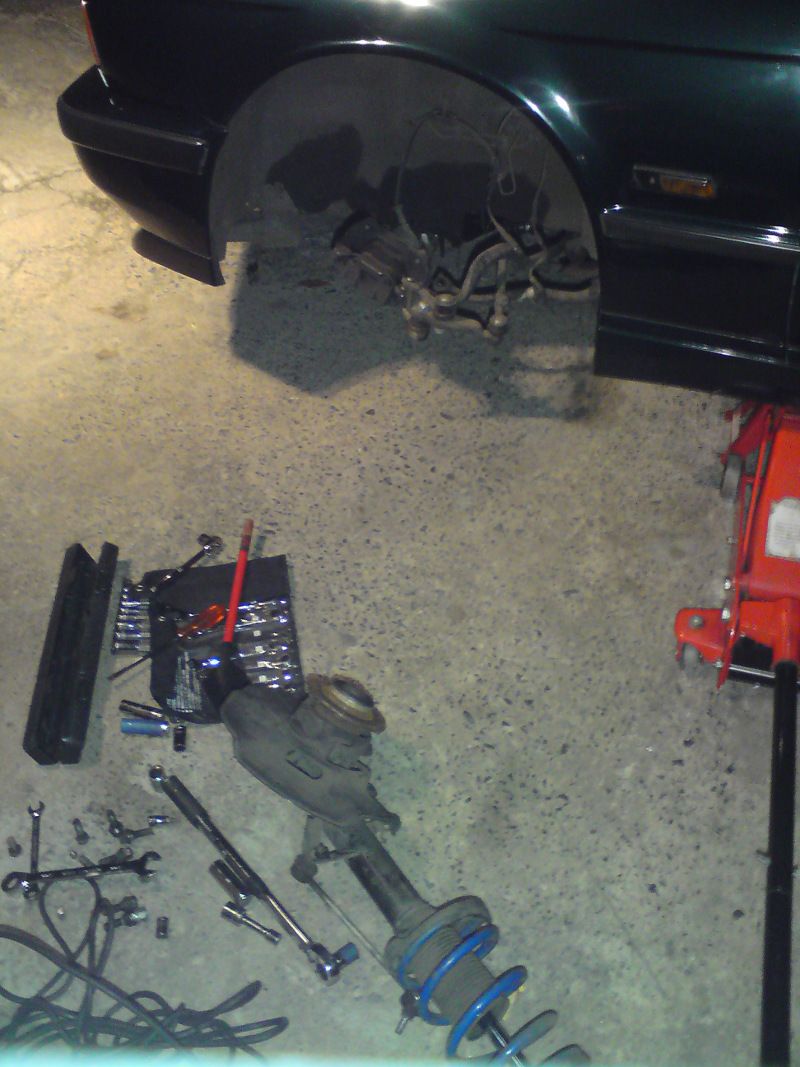
Next job was a clunking noise coming from the left front suspension. I have had this before, and it was solved by re-tightening the cap that holds the shock in strut. However this was done with the strut still in the car. To do it properly the strut has to come out. So removed the strut:
Removed the spring from the strut:
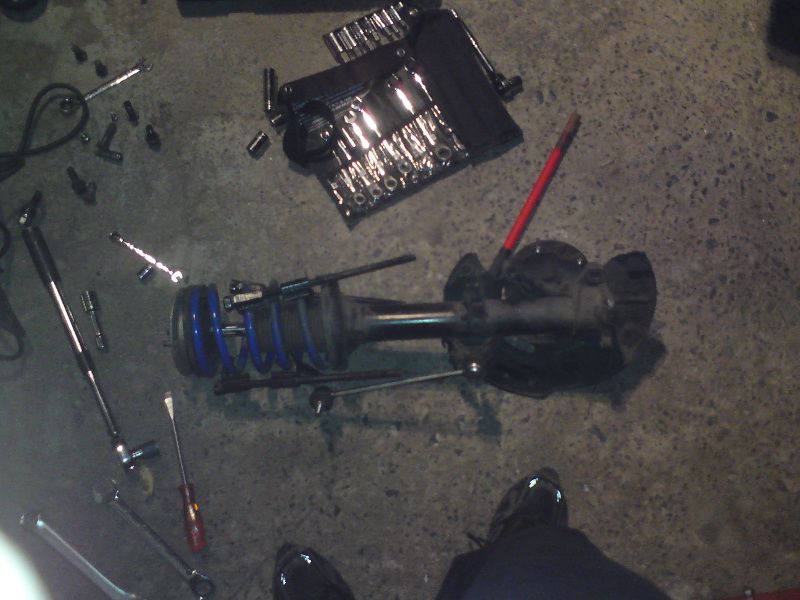
Then removed the cap that held the shock in cleaned the thread re-installed the cap as tight as it could go with my 24'' wrench.
This seems to have solved my clunking issue.
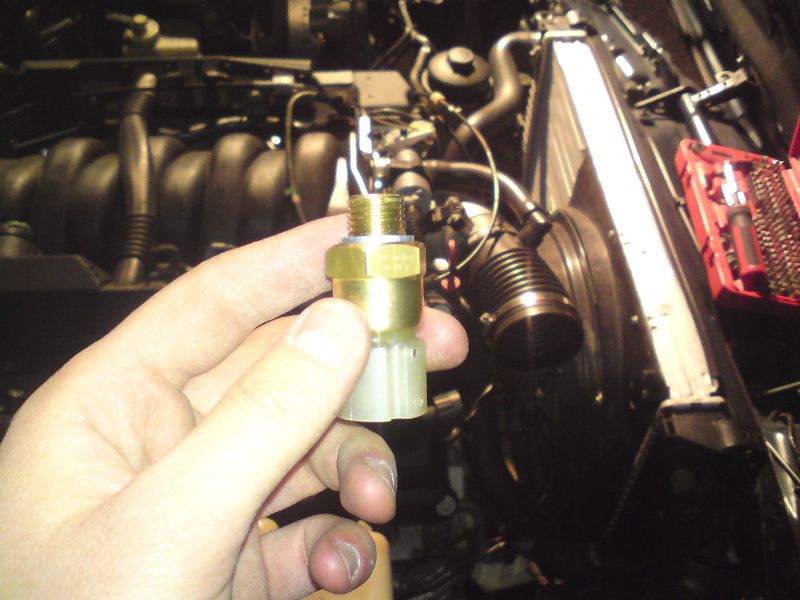
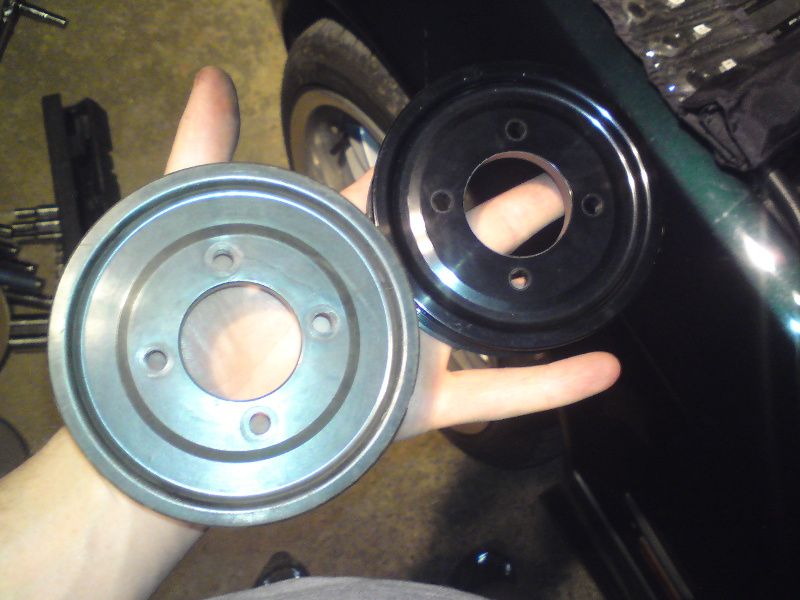
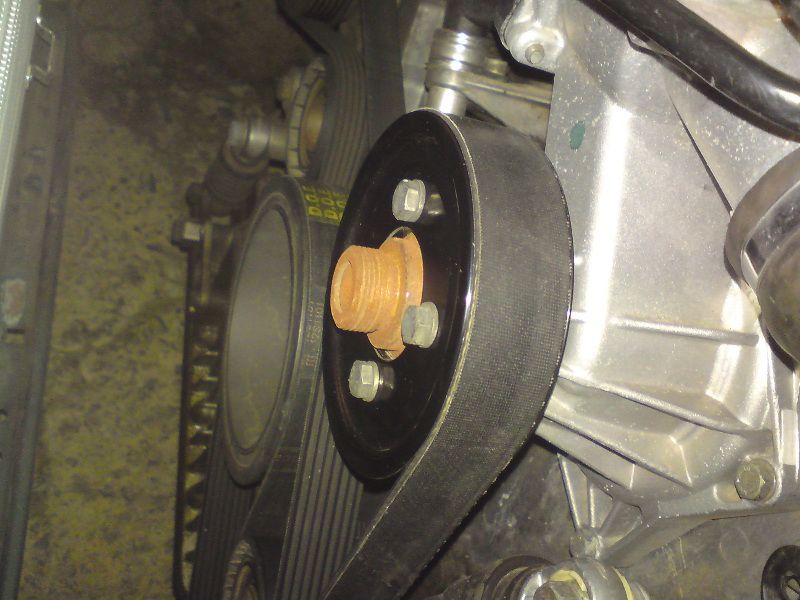
Next was the waterpump pulley that I had found to be cracked way back when I did the waterpump and thermostat gaskets.
Some searching showed that there are two different types of pulleys a normal one and a smaller one for the hot-climate version.
At the dealers they told be that they had only ever sold the latter here in SA, so I bought the smaller one.
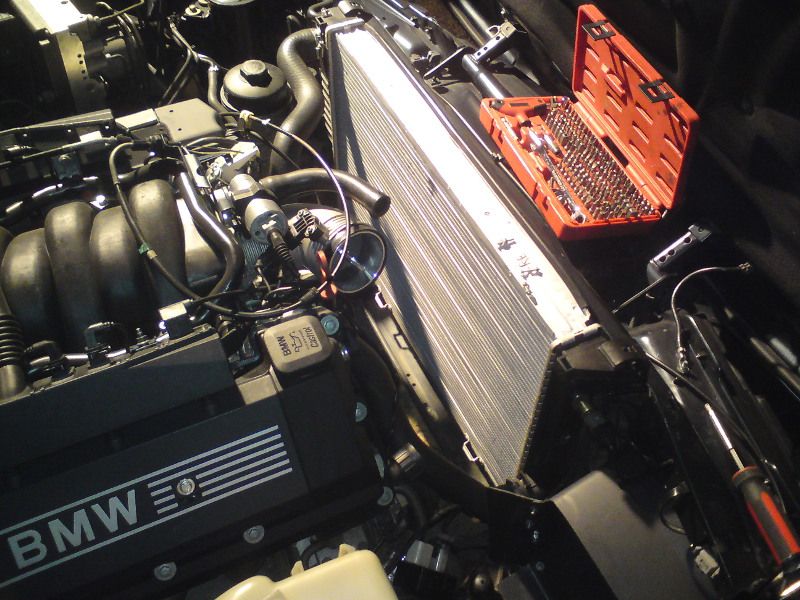
Removed the intake piping and fan:
When I removed the old pulley I found this:
The old one is clearly larger than the new one.
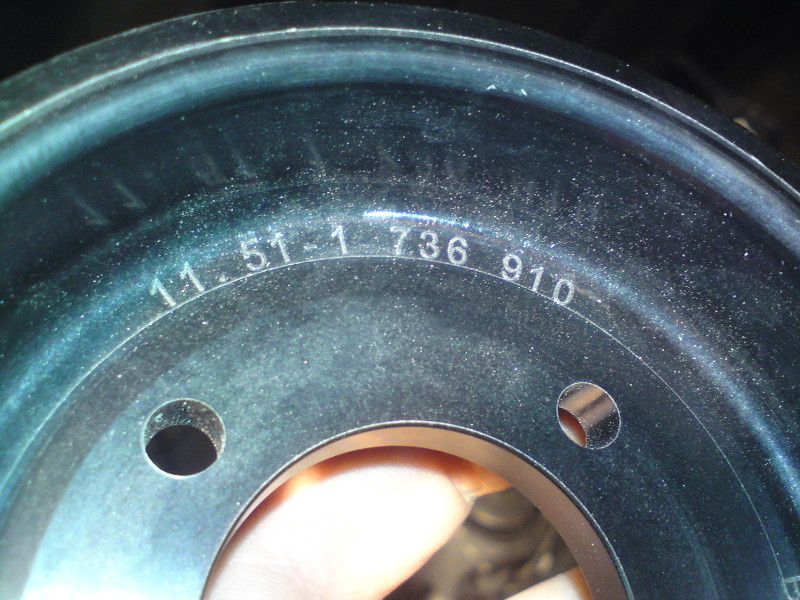
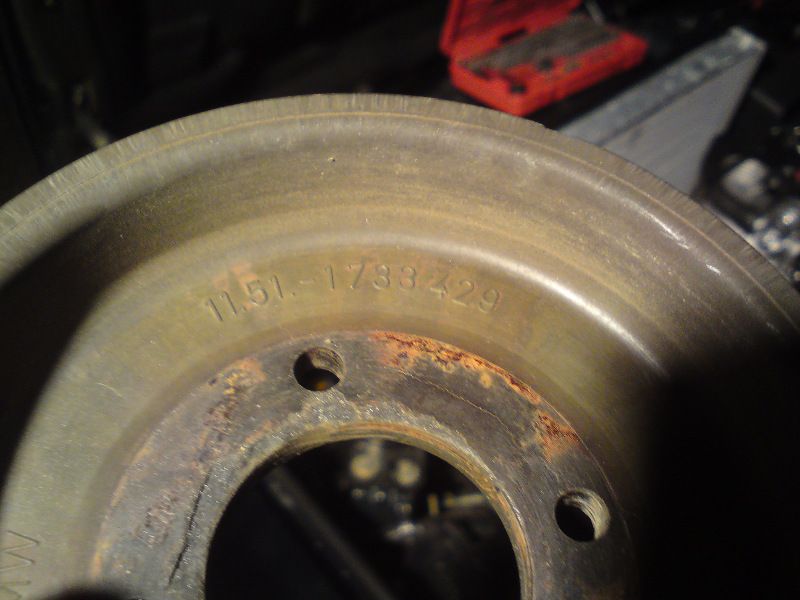
Part numbers:
For some reason the old one is the standard pulley, but the one that gets sold as a replacement in SA is the hot climate version smaller one.
http://www.realoem.com/bmw/showparts...49&hg=11&fg=35
My biggest concern was whether my belt would still work. I found that the tensioner adjustment was only through half of is possible travel so decide to give it a try.
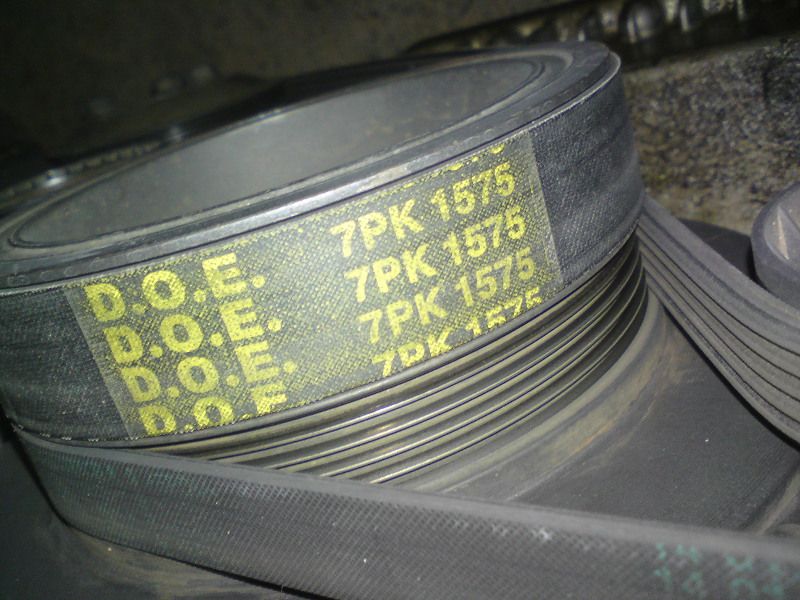
Also two different belts are listed a standard and a shorter hot climate version, the one being 1605mm long and the other 1580mm long. The one on my car was 1575mm long for whatever reason:
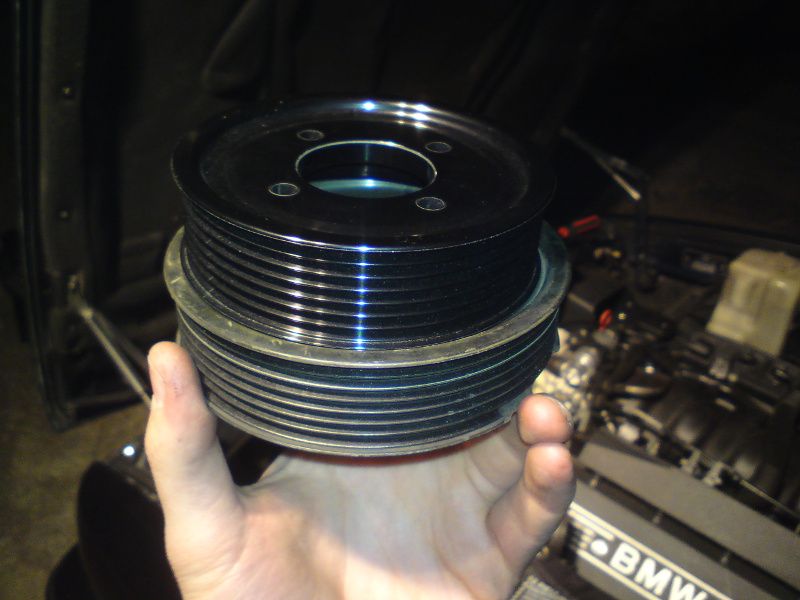
And pulley fitted:
It seems like the tensioner is able to tension the belt properly and the extra half travel on the adjustment is enough, as the belt has not slipped at all so far.
Thanks for watching.
Member
I had time to check up on your progress this morning. I like what you have done and admire your attention to detail. Great job!
Cheers,
Jim
1990 M3
1995 E34 540/6
1992 525it
Member
Thank you Jim
I had through your thread as well, some really great work that you have done to your cars.
Member
What's the speed difference at say redline for that water pump now. For us with chips that have higher shift points id be concerned with bearing longevity in the pump. The extra cooling is awesome, but it wouldn't be worth it if you're replacing a $150+ wp every other year.
E34 540i/A, in progress of becoming a 6-speed - DD
M-Technic and moar!
'95 Exploder - Winter Beater
Member
If my calculations are correct that it should be around 12.5% increase in rpm. I don't have the radius of the crank pulley so I can't calculate any absolute numbers.
Note that I did not intend to fit a smaller pulley, this is just what BMW supplied me with, if I had know that I had the larger one I would just have stuck with that.
Member
My rev limiter is 7000 and made same size (104mm) pulley but i dont think bearings longevity is issue. Earlier my rev limiter was 7200 and this is same old pump.
Nice work Sankekur
Member
Thank you.
Out of interest what kind of changes did you make to be able to rev the motor to 7000rpm? I assume fueling was changed through mapping, other injectors. Changed or re-profiled cams? Changes to the heads? Different intake or exhaust manifolds? changes to the oil pump? As I know these motor tend fall flat a bit after 5500 rpm so I am interested in seeing what you have do to get it to 7000 rpm.
dirty paws...
Chip it. They do fall off a little up near 5500 to 6000, but that seems to be a lot to do with ignition timing, as the chips available for the M60 wake them up pretty well. Other than that, you don't need to do anything else - all the physical parts are fine (injectors, cams, ect). There is a thread or two on re-timing the cams to adjust the powerband, and you can look into that, but it's not required nor even a guarantee of better power yet. The one thing you can do is to find one of the E32 740's from the earlier years - they have an intake manifold that has small velocity stacks on each runner. This should allow for better high rpm breathing, so it should help with the rev-ability of the engine, especially with a chip.
And while I know you're on a different continent, look into our forum friend DudMD - he makes chips for the M60 cars that are very good. There's a thread or two somewhere, but he's got good stuff. Find and talk to him here - you won't regret it.
Fox
P.S. The best thing you can do to help the engine rev if it's topping out - basic maintenance. MAke sure your fuel filters are fresh, good oil, healthy ignition system (meaning the coil boots and plugs), ect. If you have any weaknesses there, they'll affect you more at high rpm's than anywhere else, especially the fueling system.
Member
I can't agree with Fox more. I replaced my fuel filter, did injectors (Bosch design 3s I believe), NGK plugs (BKR6EK Iirc, correct me if I'm wrong), DUDMD chip, good oil, And a good old fashioned seafoaming...
What a difference a few hundred bux and a retune will do for these motors. I just picked up another 540 that I plan to replicate what I did to the other car.
E34 540i/A, in progress of becoming a 6-speed - DD
M-Technic and moar!
'95 Exploder - Winter Beater
Member
Hey clay, good to see you again.. Been a while how is your project?
If you want to rev quicker look at a LWFW... More power then i support the chip idea
1995 540i /6 speed, Black on black, VF m62 S/C kit v3 6psi - Cold air intake/ SSSquid Tune/racing exhuast, Vortech 8:1 RRFPR ,545 SSK /3.15 with LSD / rev-shift motor mounts/stage 4, 6 puck clutch/ K Sport coil overs / suede sparco 368 steering wheel, Recaro seats, N2O, M/T drag slicks
"Skill can only get you so far, then comes money!"
R . I . P Paul Walker - 1973 - 2013
 Posting Permissions


 .
.
 Reply With Quote
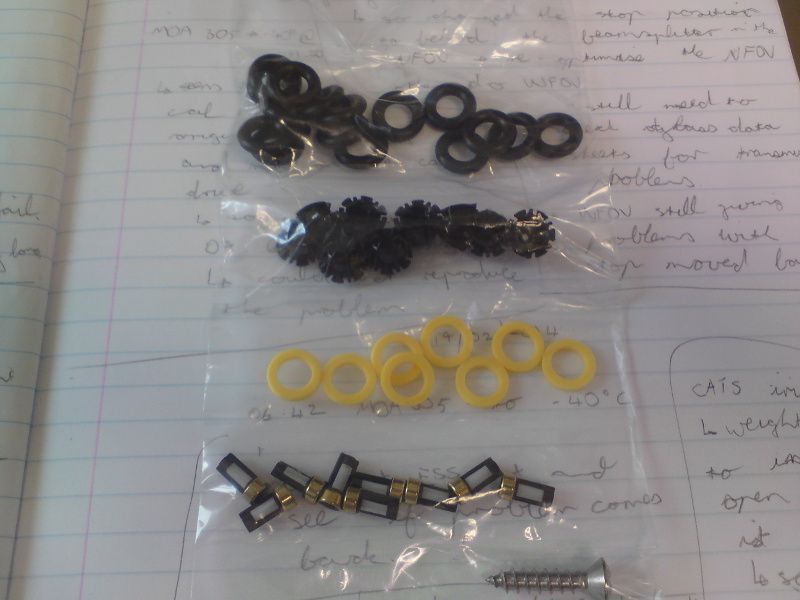


Bookmarks