
 Buildmaster v2.1
Here is where my projects, and in particular my force inducted moneypit, are documented. Latest updates on last pages. Enjoy!
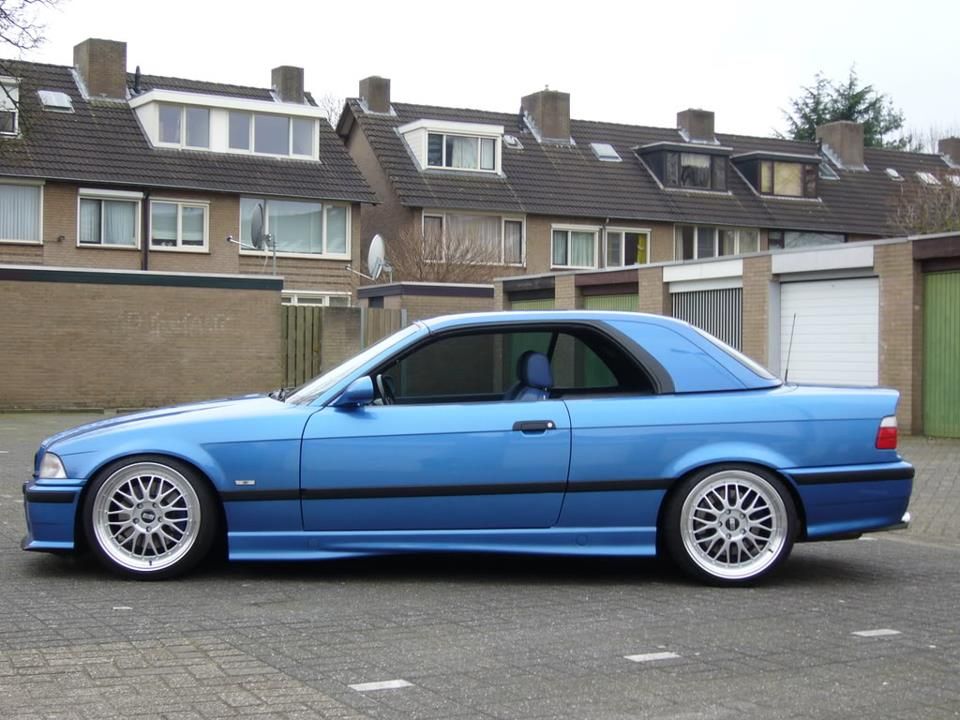
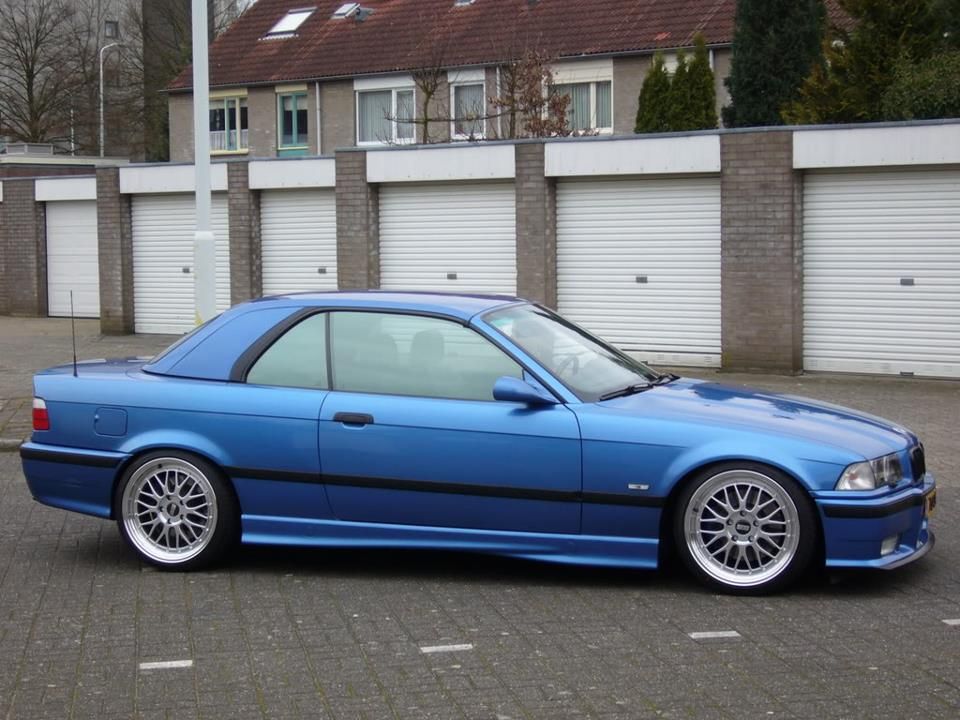
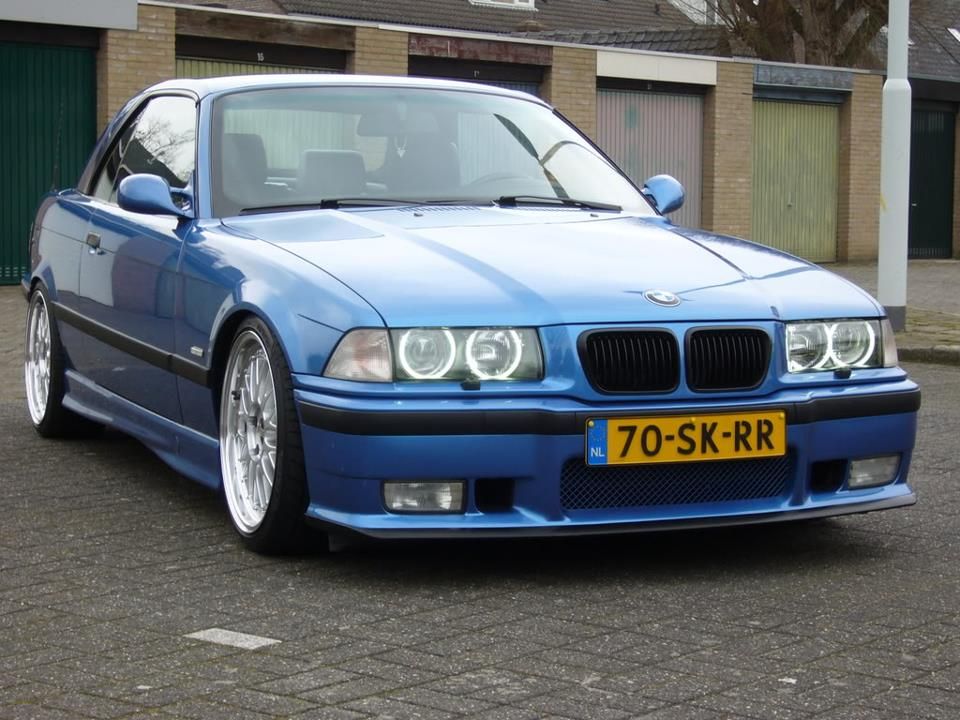
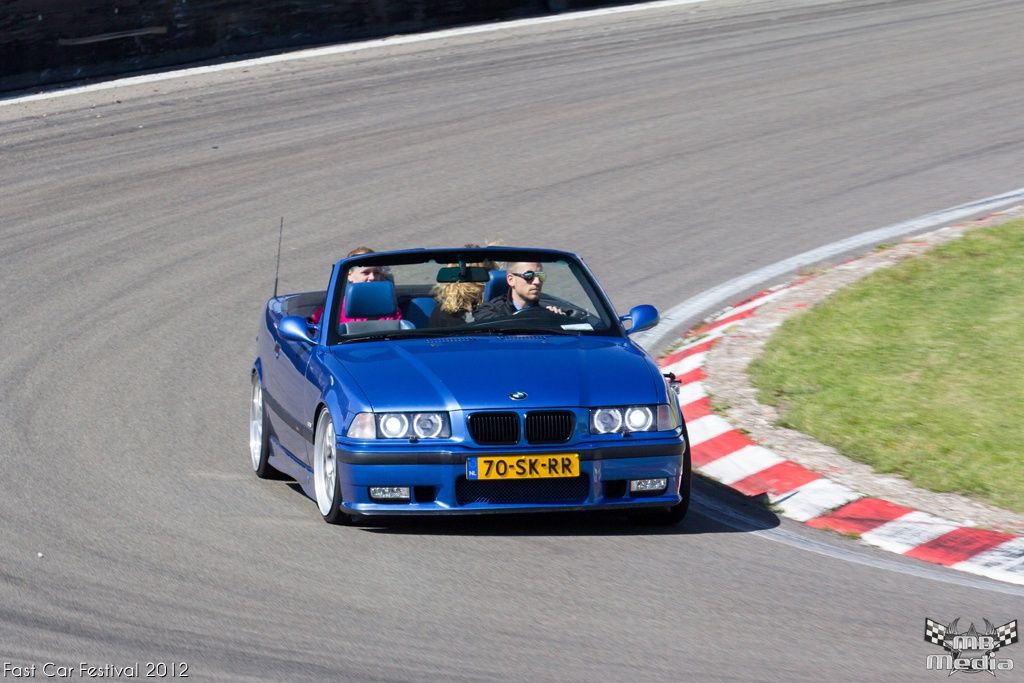
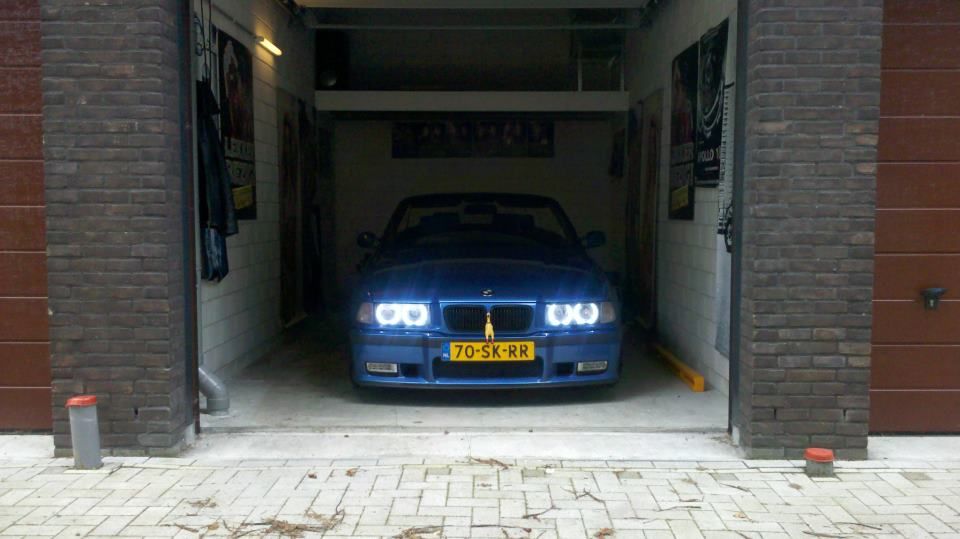
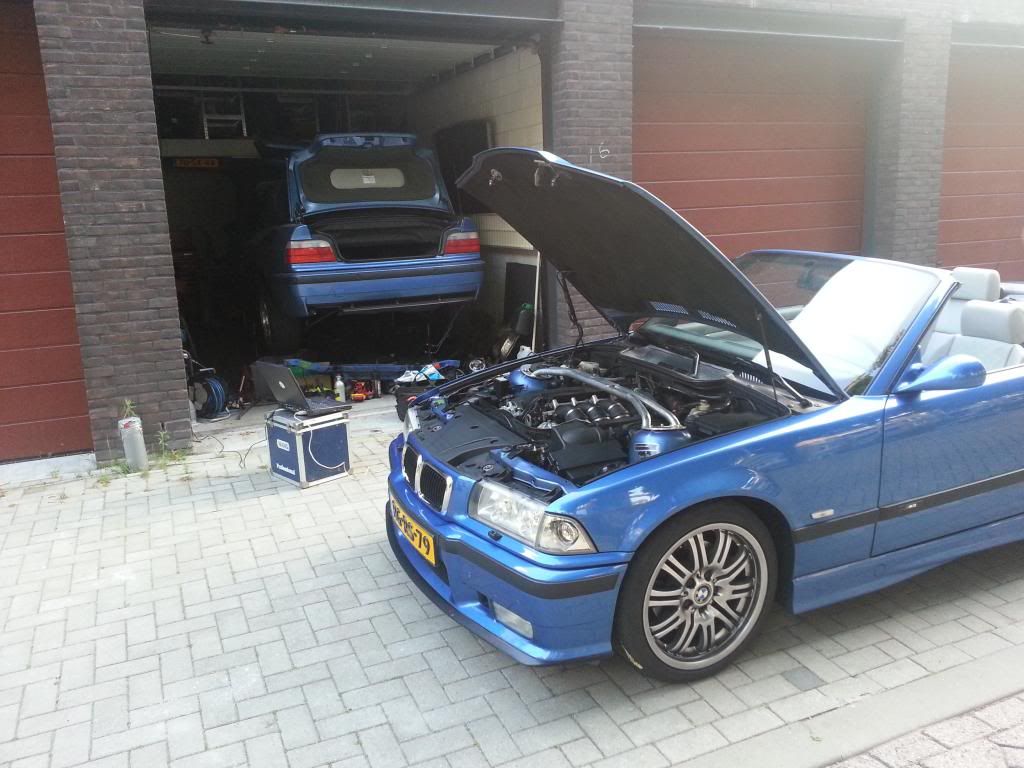
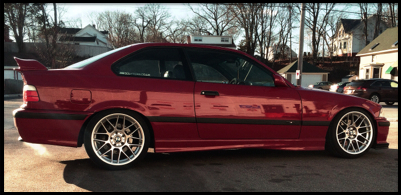
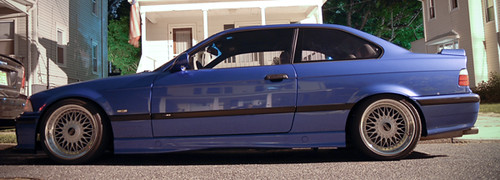
The car; an e36 M3 evo convertible, SMG.
When I picked it up:
Then there was some crap going on with the SMG which I fixed and now fully understand (see my topic in the top section) but the pictures are on my old phone. Will upload them!
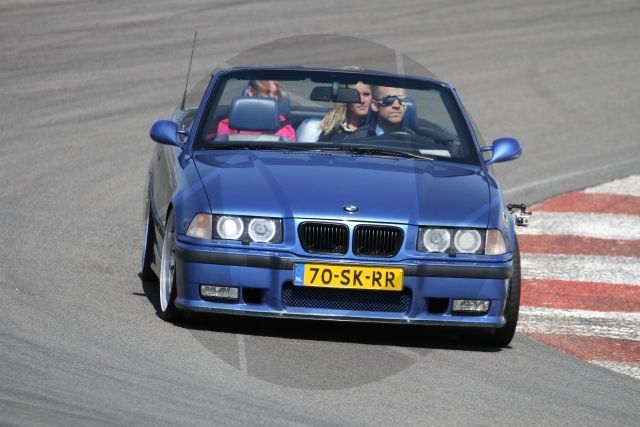
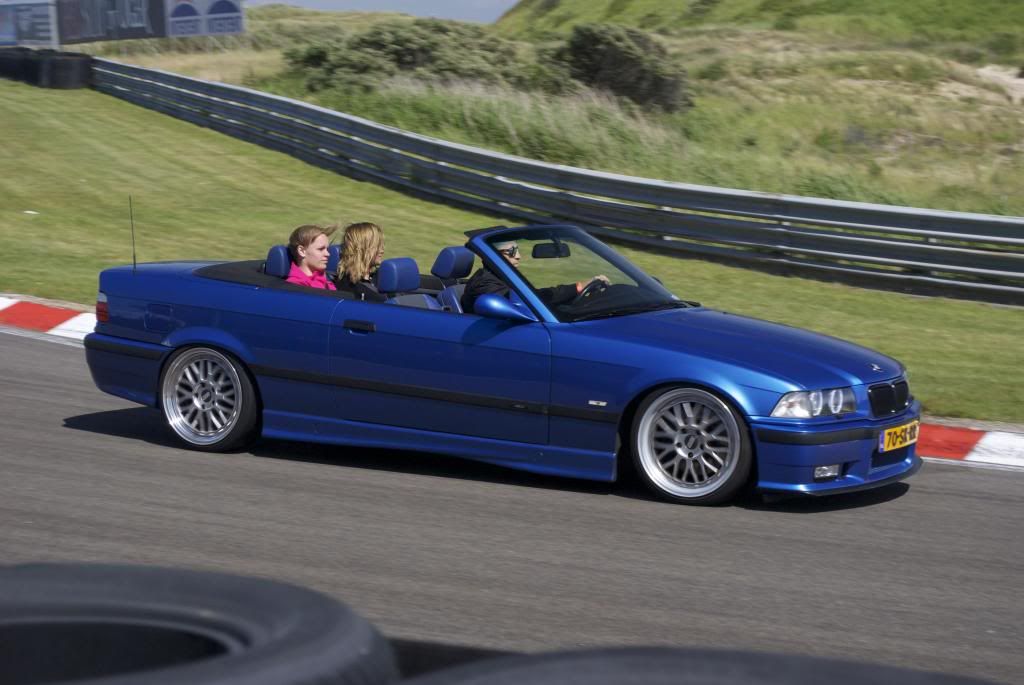
Done some track-driving:
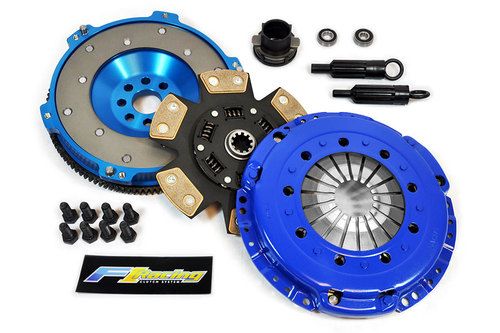
After quite some miles of commuting, the clutch was finally dead, so I bought one of these F1 racing kits and installed it in my old garage, fine piece of kit, stage three it's called which has a sintered and sprung hub clutch plate and a Sachs pressure plate. Caused no problems or noises;
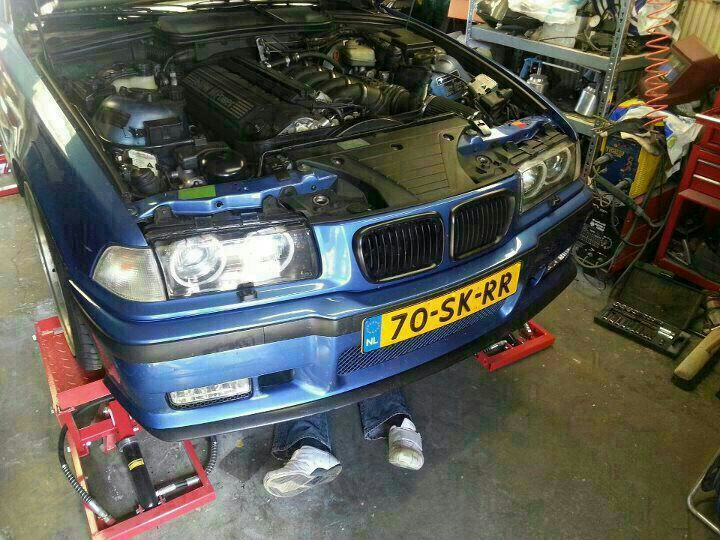
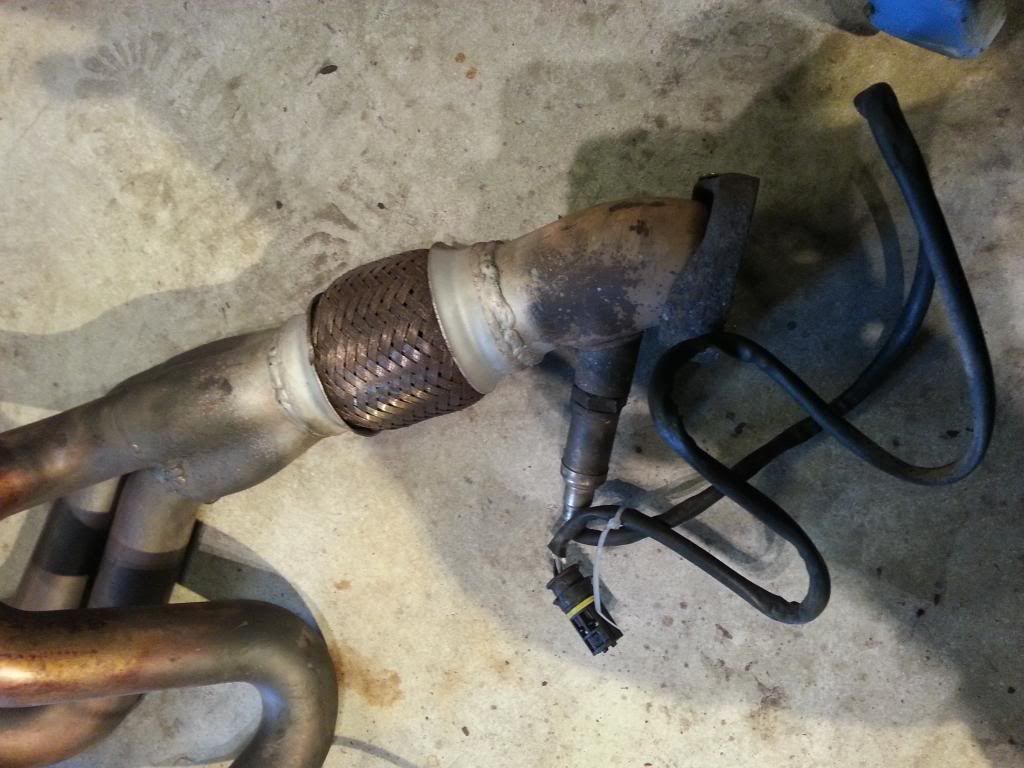
Also changed a manifold that was leaking on the flexi bit with an 'upgraded' manifold from ebay. And blocked off the aux air pump with the part from the south african M3's. Oh and replaced the entire 1 bar valve that had the famous leaking O-ring. The previous owner or BMW garage (full dealer service history!) smeared the entire block on that area full of epoxy filler!!! what a B*itch to get off, and a ****ty repair. Changed the manifold studs aswell to the e46 M3 type with torx heads on them.
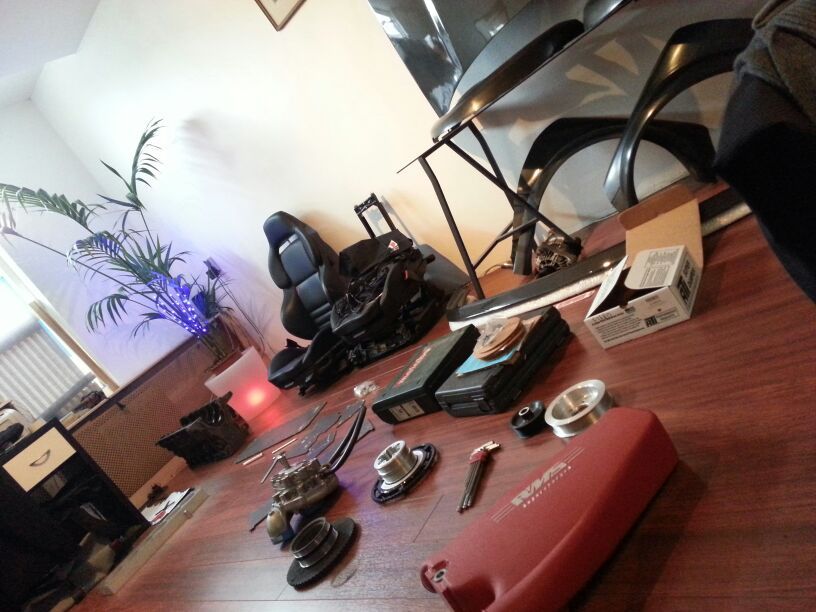
Garage I'm renting to work on it, note the essential chicken:
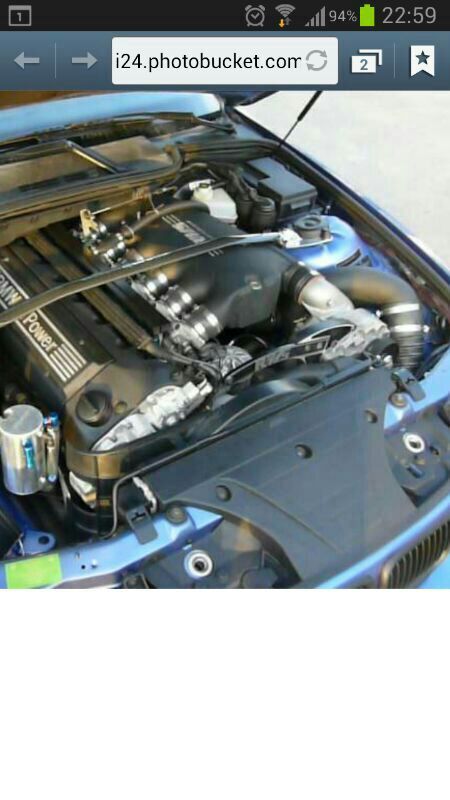
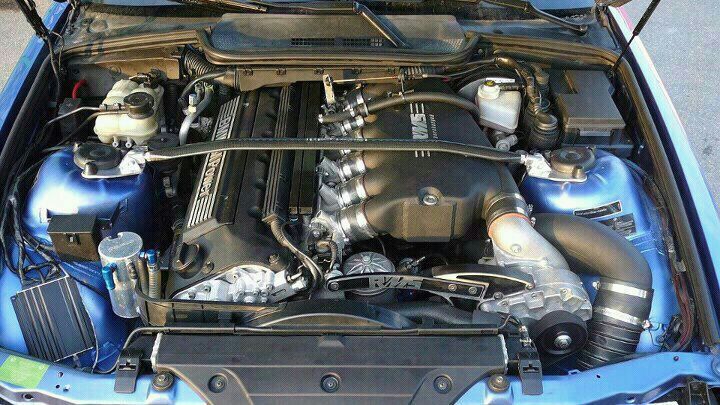
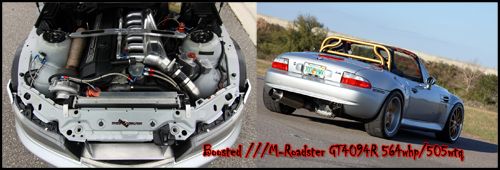
Purchased this kit (new, not my car on the picture) from Racemarque (RMS) in the USA. Which is a complete **** firm to get hold of, deal with and lack tech support, but the hardware is really good stuff. My bracket is a later type version like on the second and third picture. After months and months they finally shipped (they said they had everything on stock) even though I paid immediately. The software is still to be received, a year after. Doesn't matter, I will get it tuned myself anyways on a rolling road.
Didn't install it immediately as the kit lacks a lot of parts, and I decided I wanted to do it very thourough, including an engine rebuild etc.
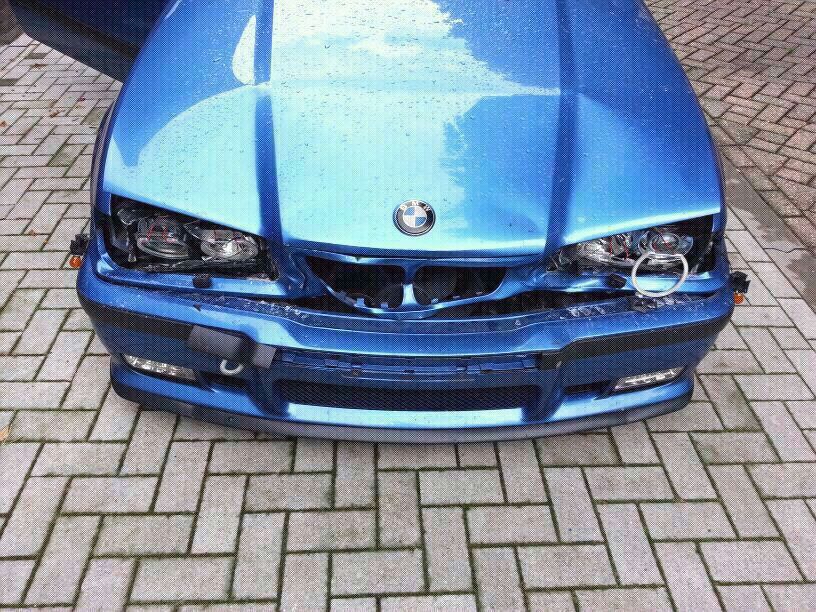
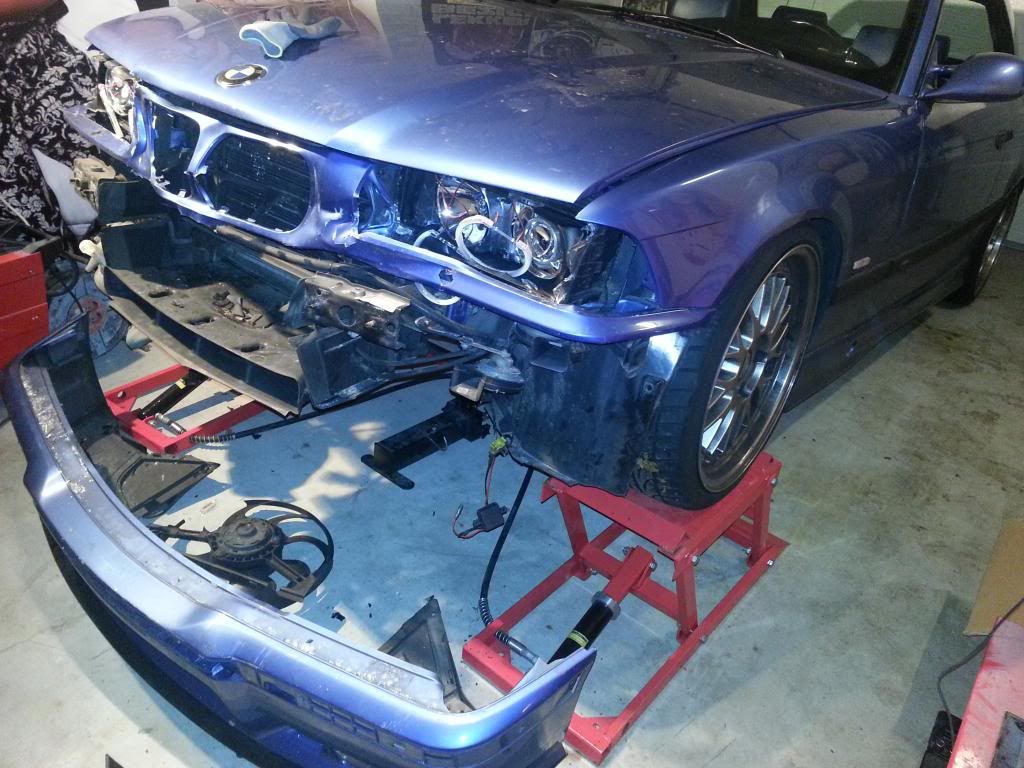
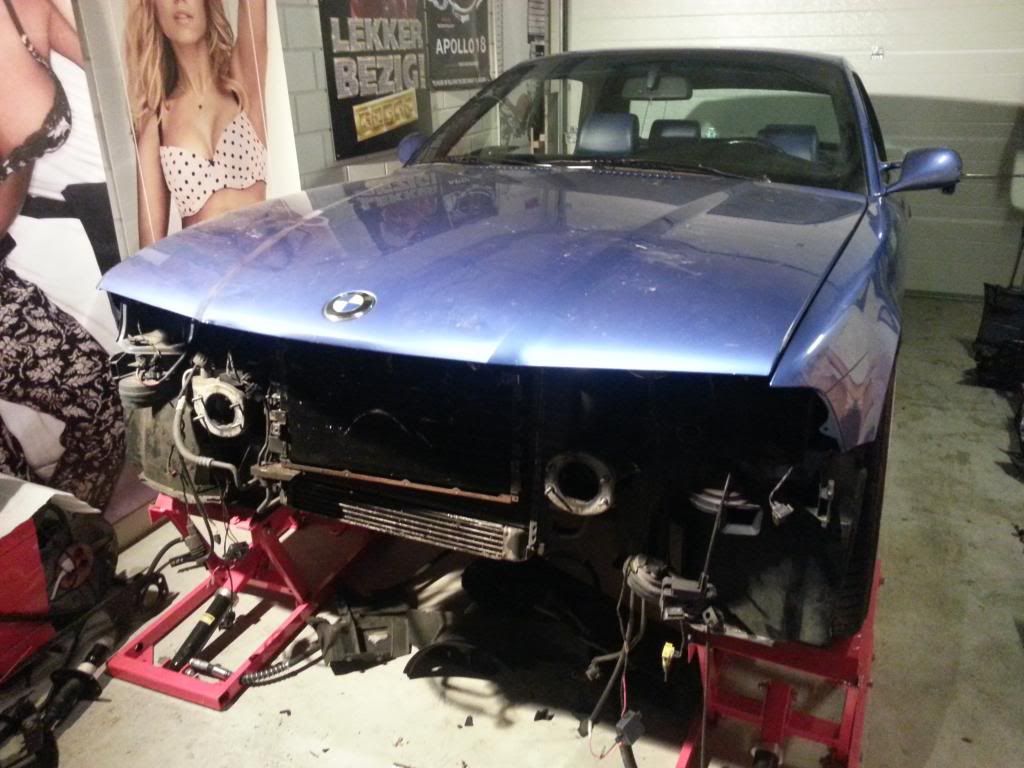
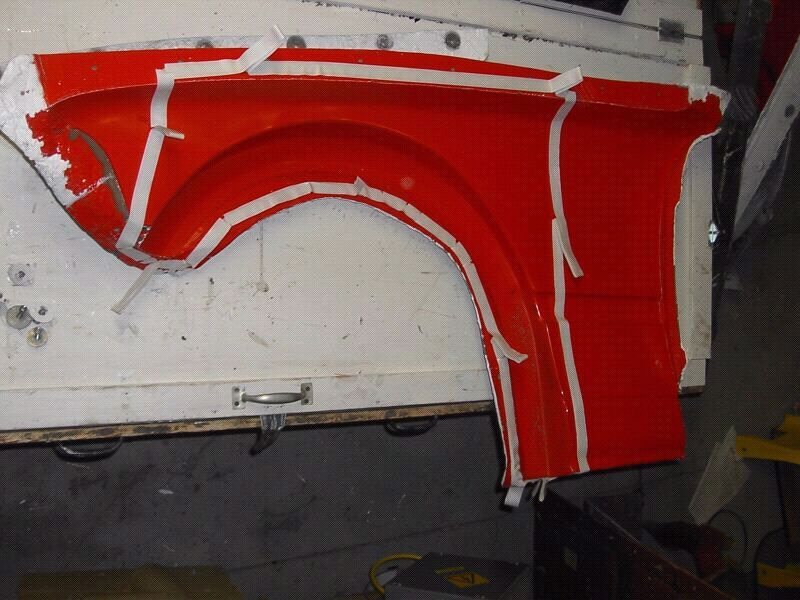
Then on a rainy day some *****er stomped his brakes for nothing and this was the result:
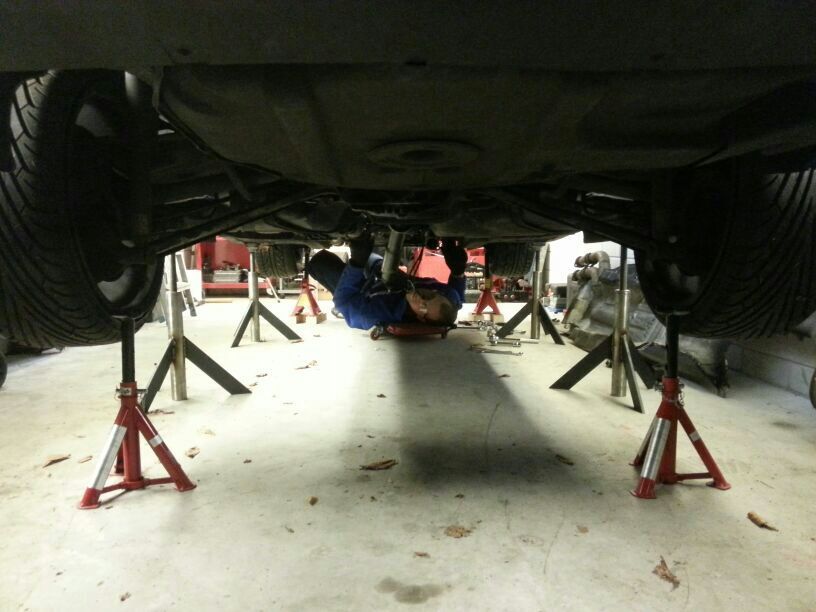
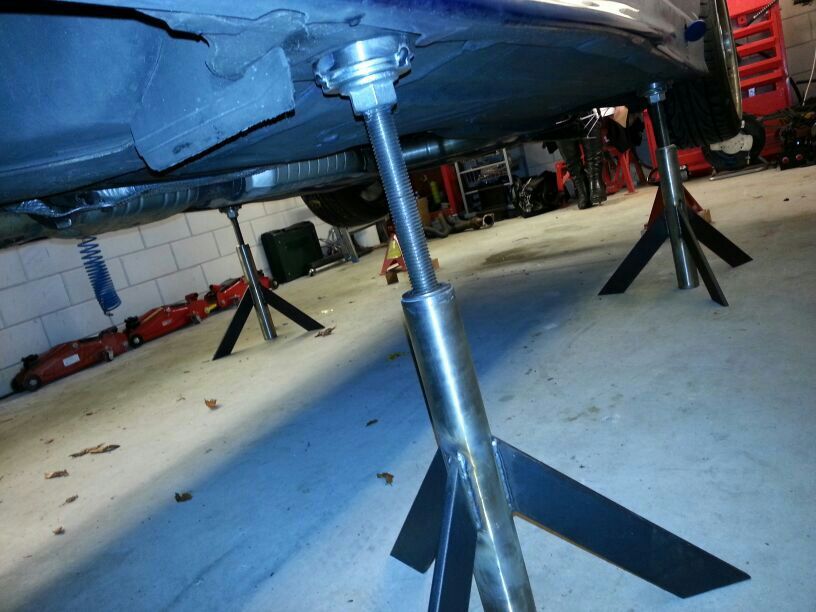
Didn't like working under the car with the hydraulic ramps in place, and the normal axle stands are too low, plus I dont trust them and they do not provide the stability I want and compatibility with the jack pads under the e36 so made these which have a loose cup that holds the jack pad and a separate threaded shaft that is very stable:
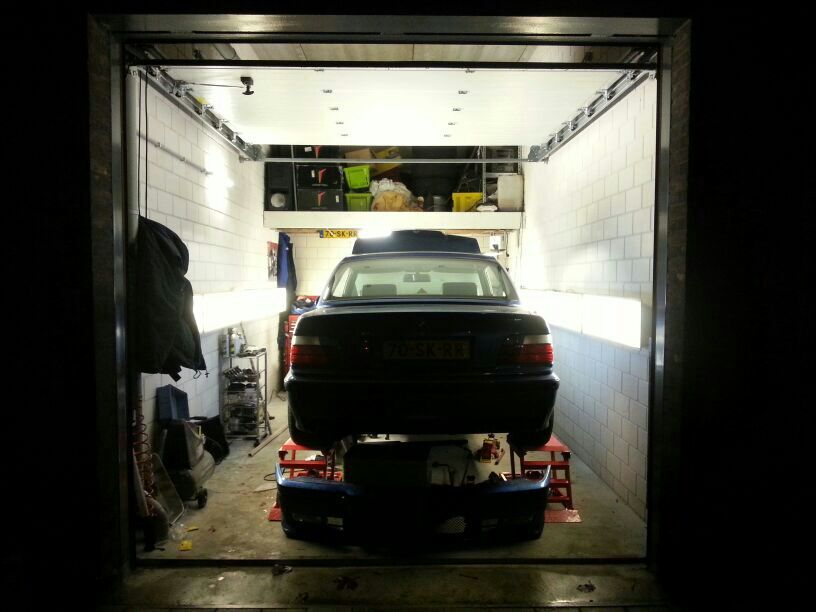
Installed good lighting in the garage, unfortunately the supermodels had to leave:
Well the positive side is that the crash made me more motivated to get sh*t done and start ordering all the parts I needed for the conversion etc.
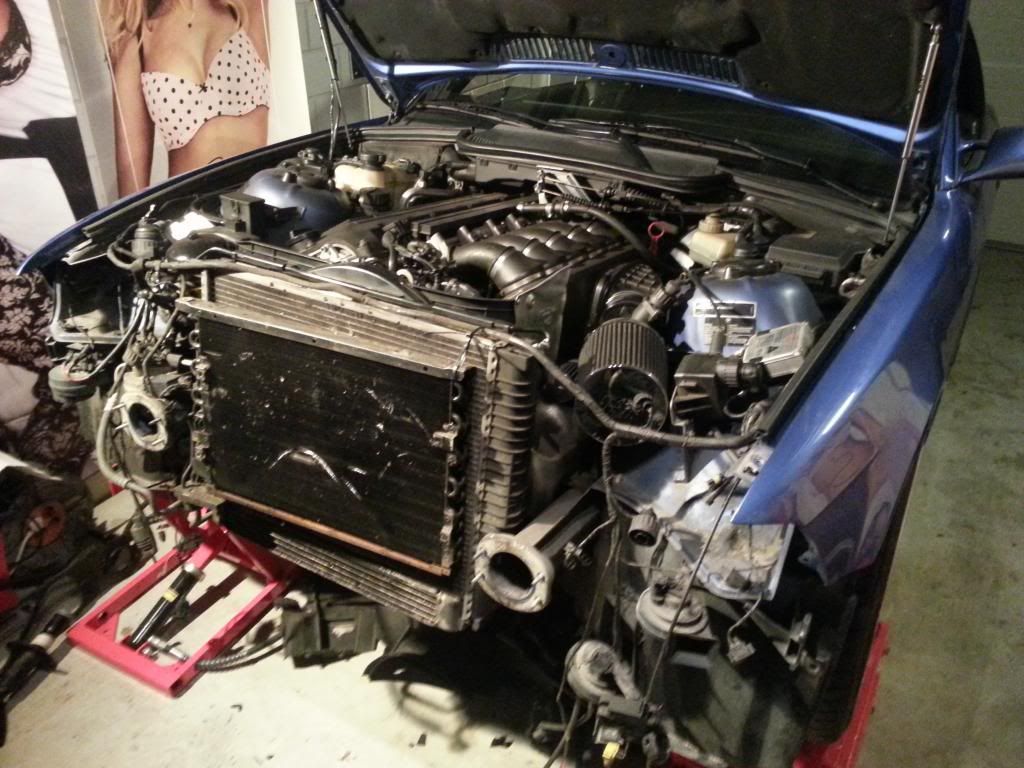
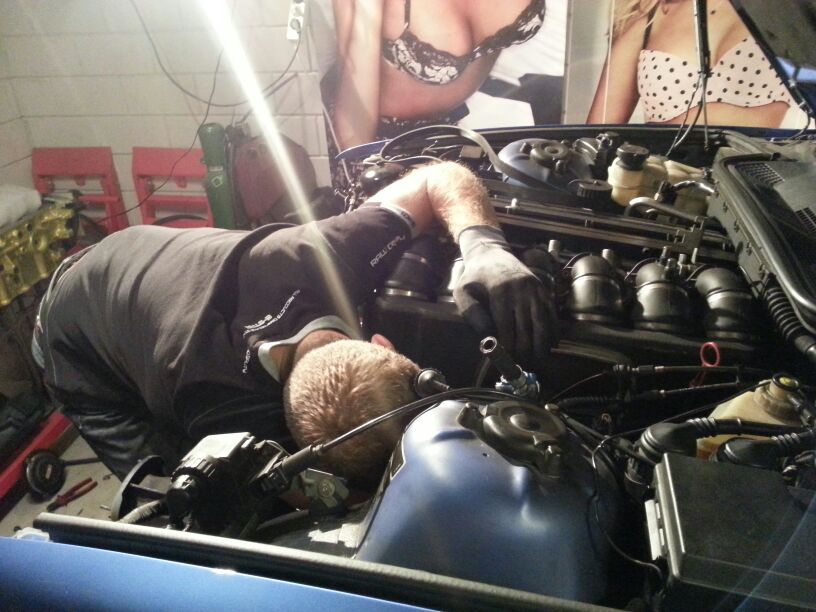
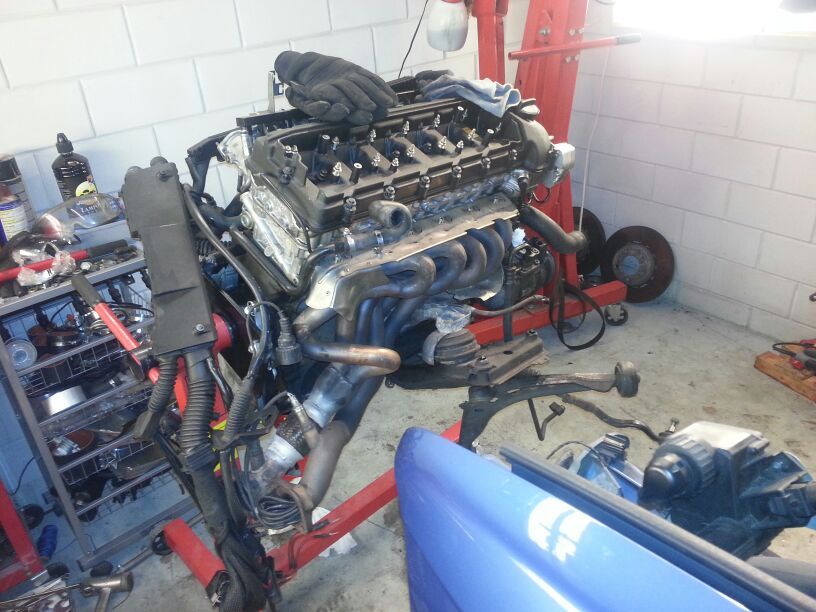
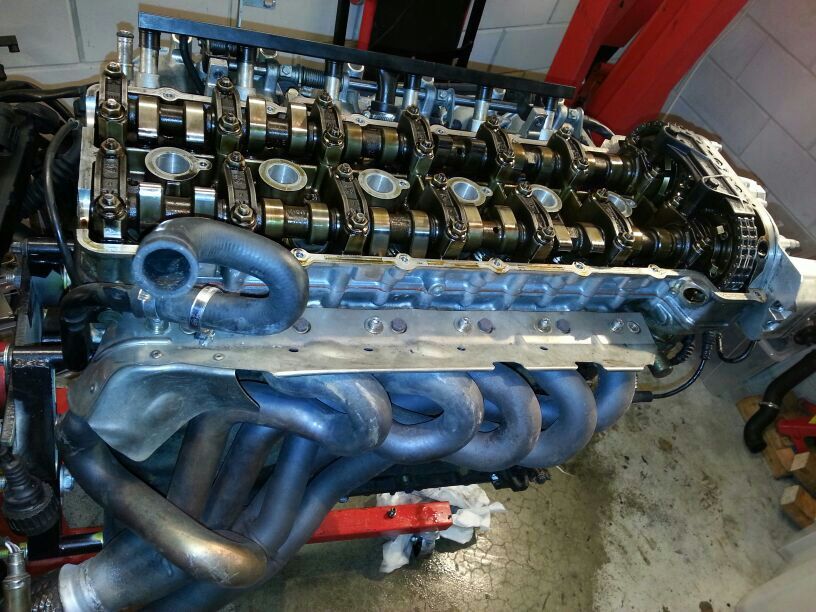
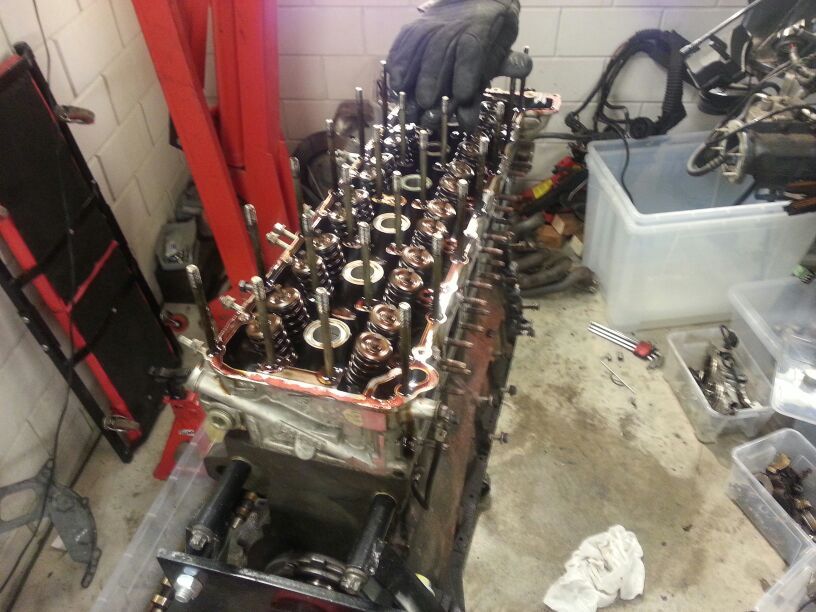
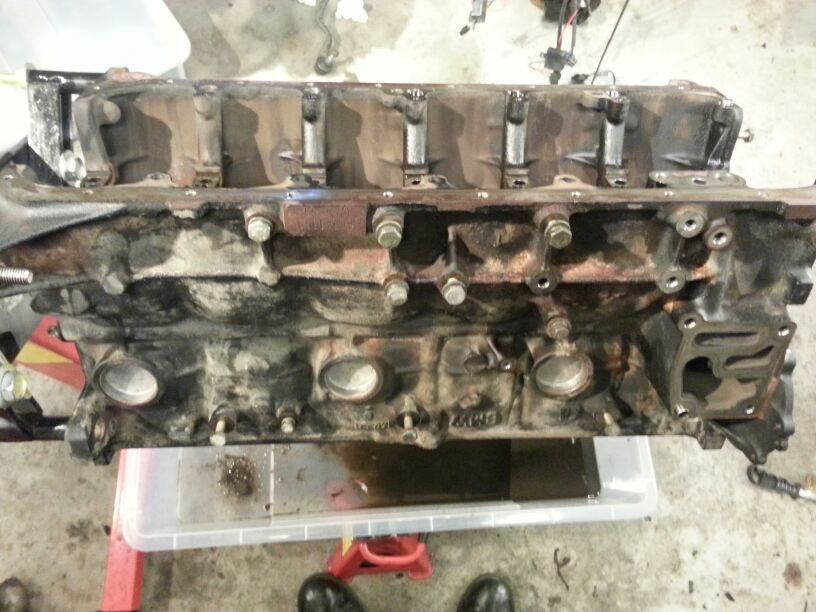
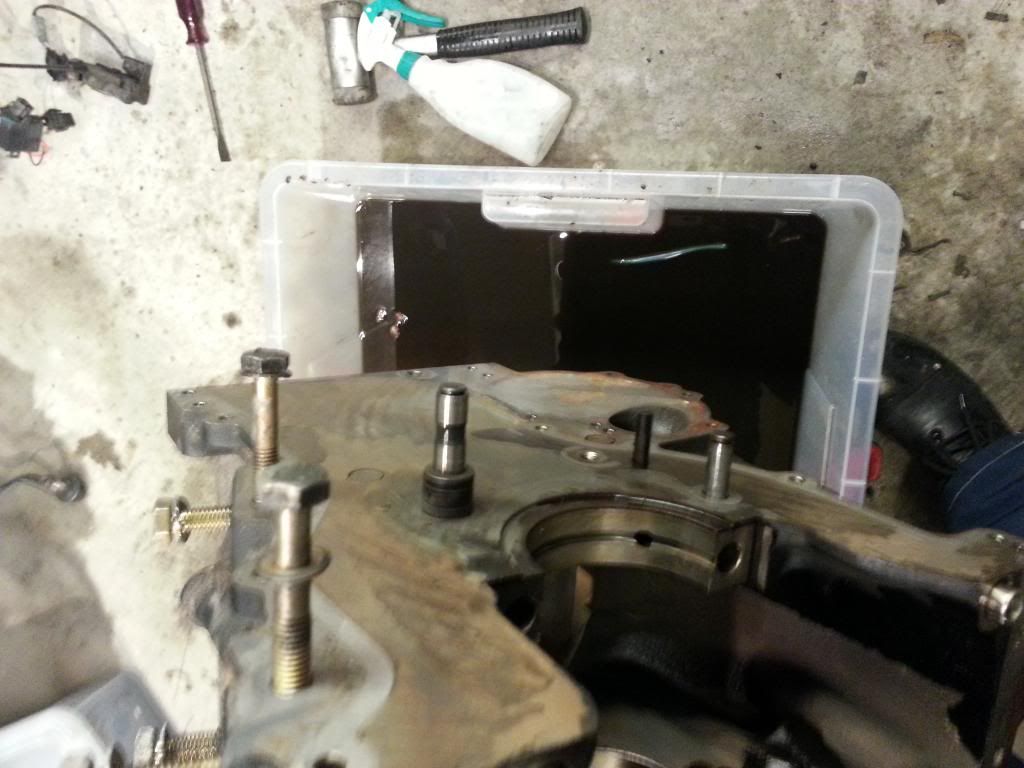
Started pulling the engine, what a horrible job.
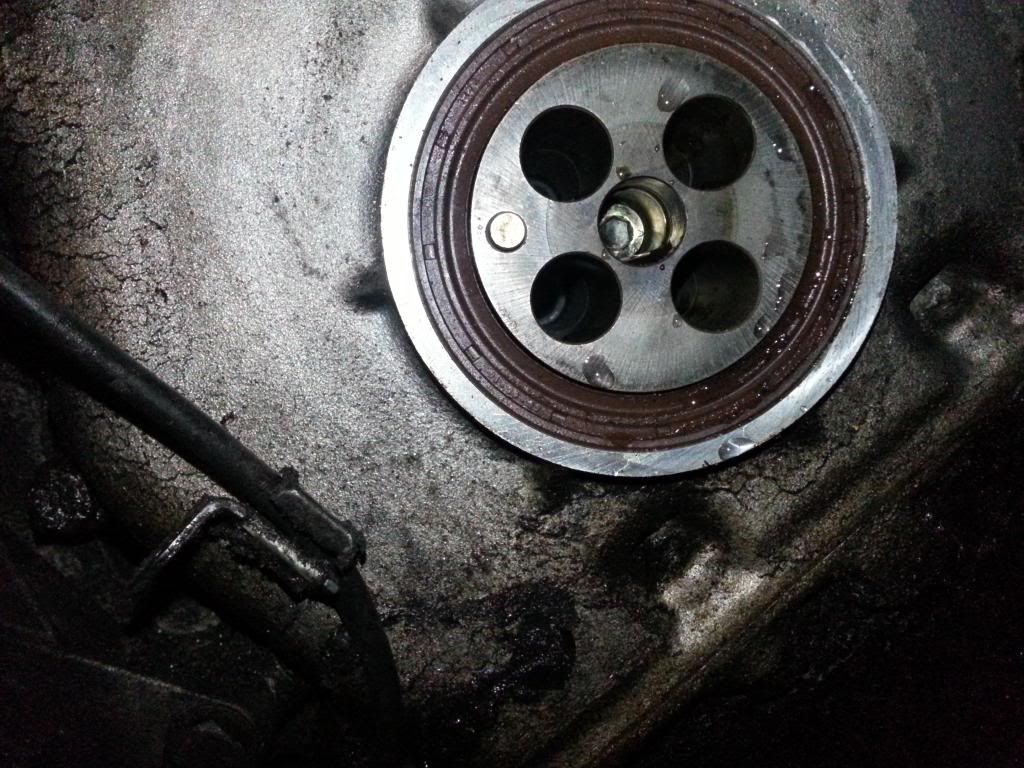
Found out why the front of the engine was a complete mess:
Oil seal became dry enough to actually get a larger inner diameter.
Drain that sh1t right out yeah
Absolutely no idea why I was making these pictures;
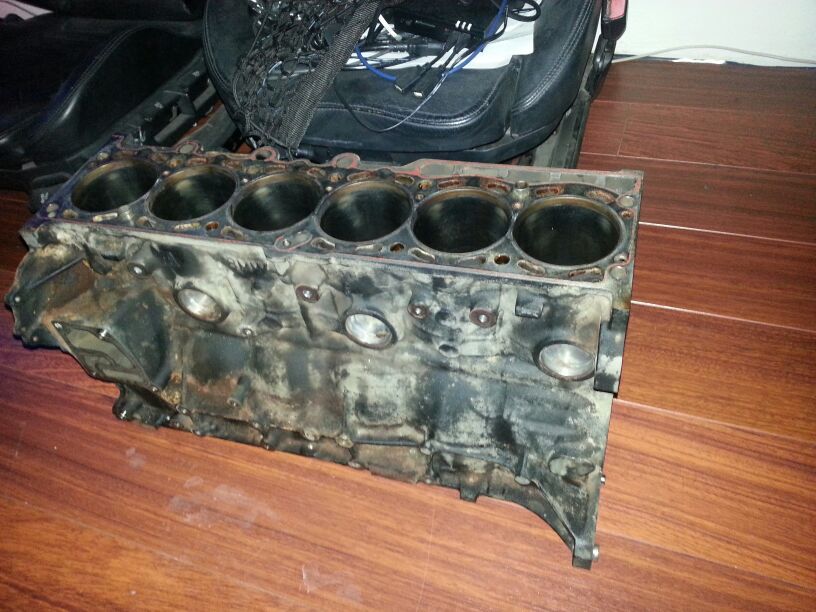
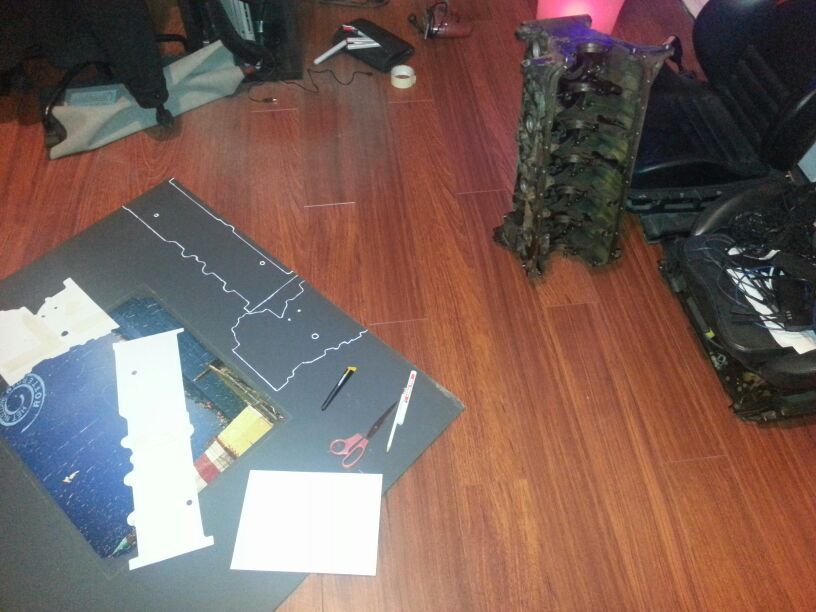
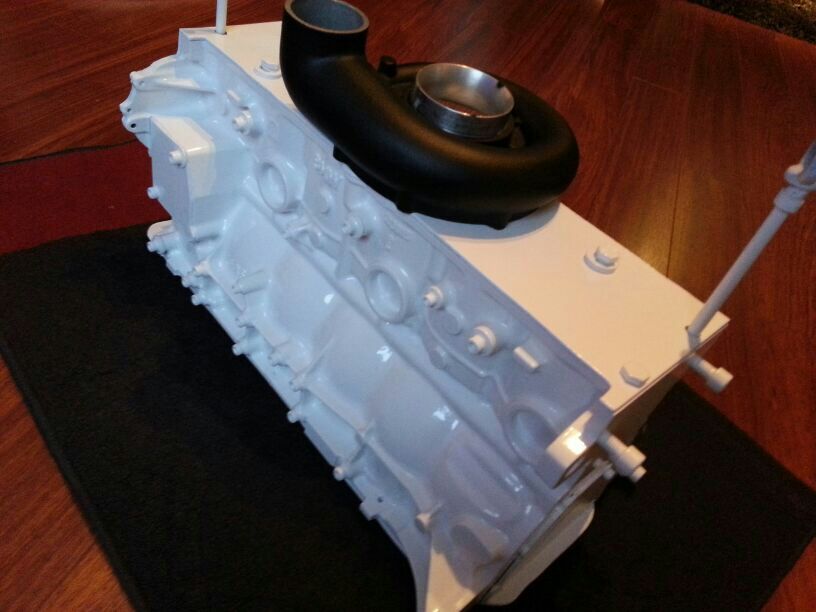
Decided that when I was going to do it, to do it propperly, so started cutting templates from pressed woodfibre, to block the openings and gasket surfaces. Mediablasting and powdercoating followed. White because it gives best visibility on leaks and reflects light so that it is not so dark when you shine down with a light.
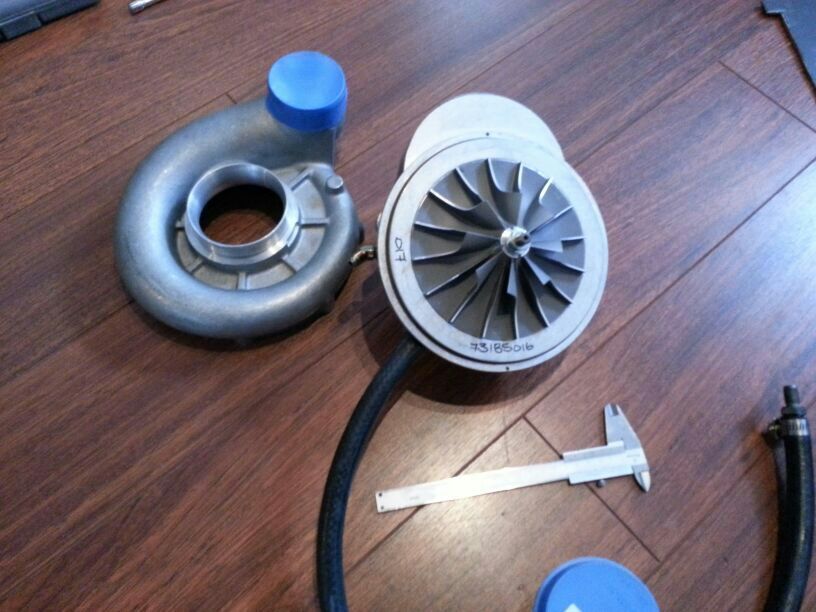
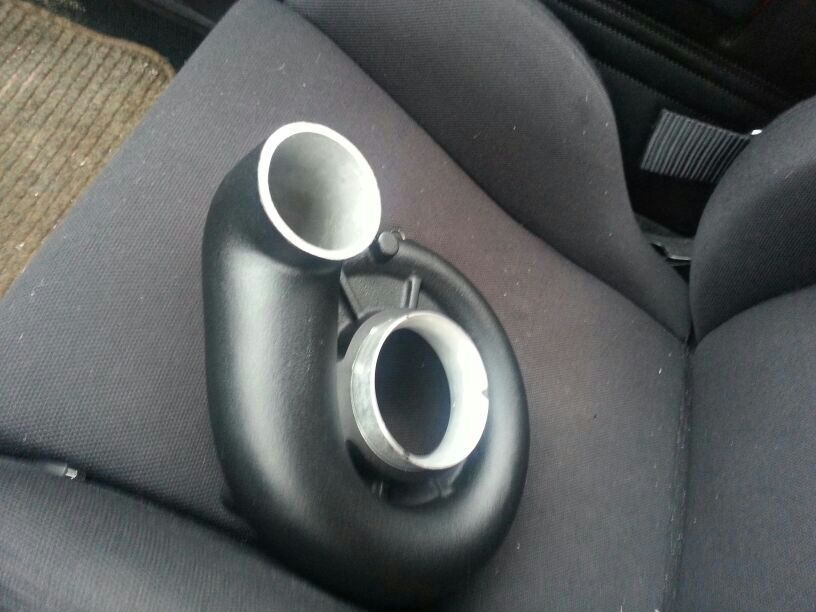
Wanted to get the blower housing done aswell
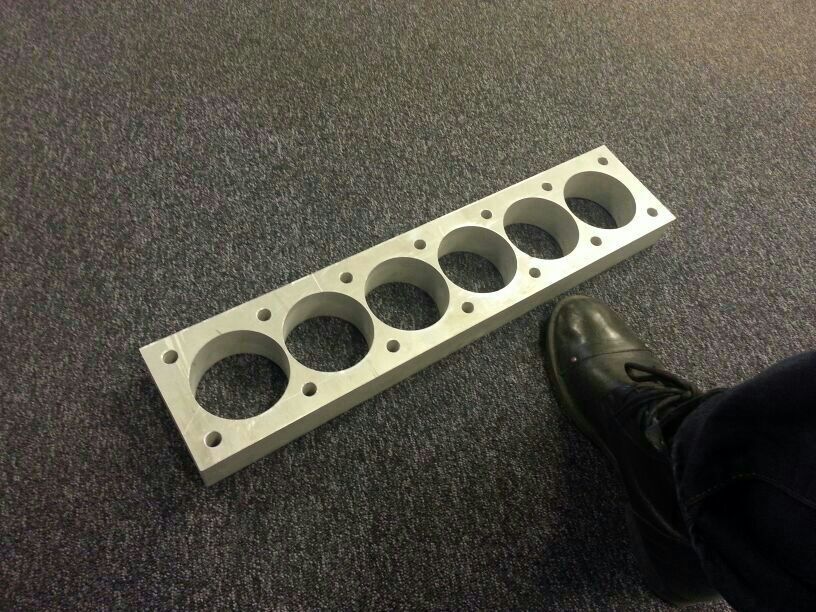
Aaaand in the meantime my self-designed torque/honing plate came from the waterjet cutter:
Stuff back from coater!
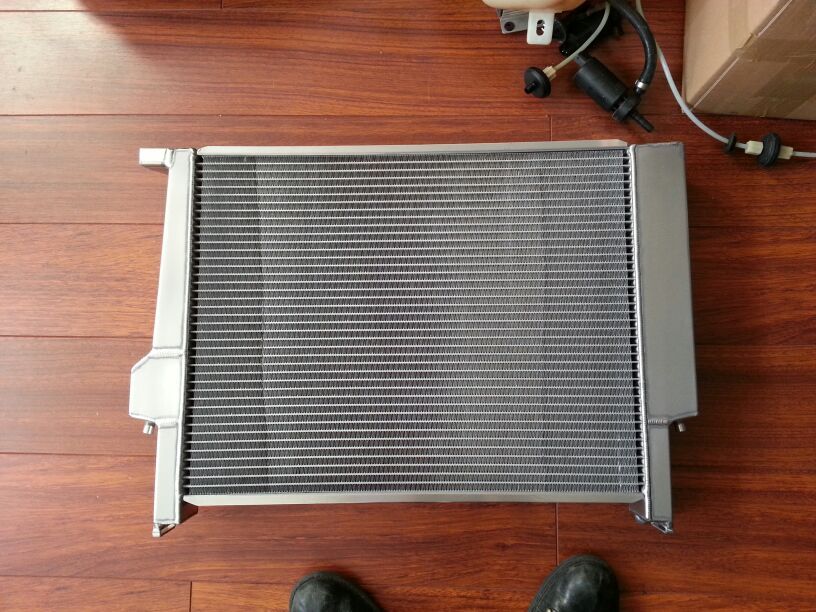
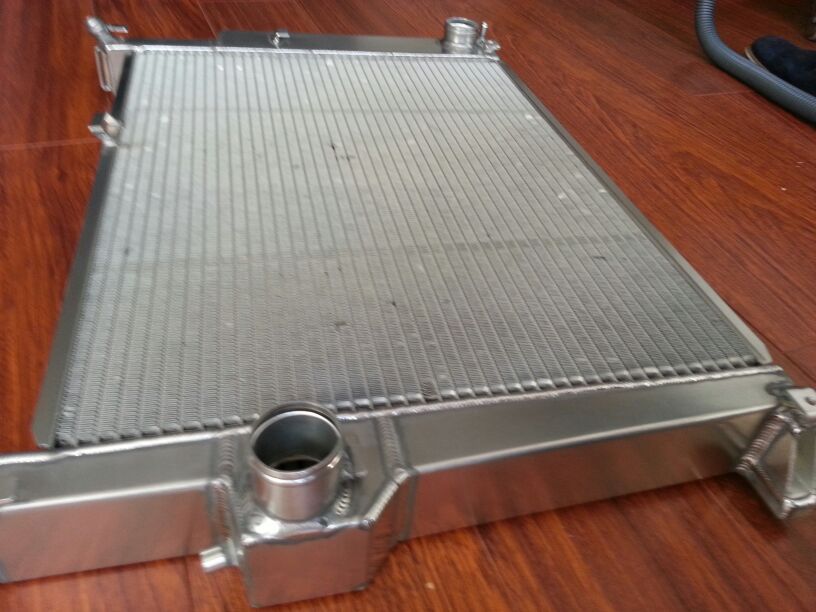
Well one of the things that were most damaged was the radiator, due to the fan hitting it so I bought this from RadTec. By the way, do not buy one of the mishimoto or other USA radiators, they lack the supports for the oil cooler (I wanted to keep that OEM)
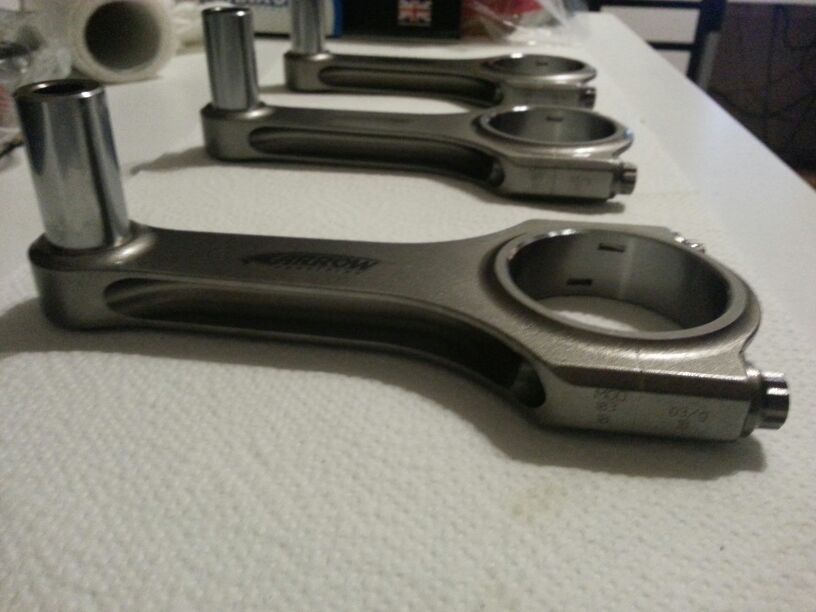
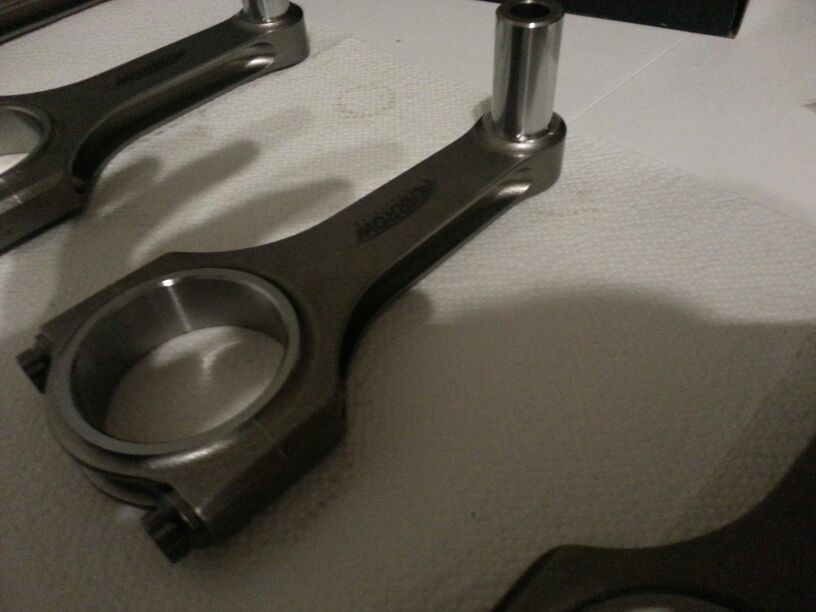
As I wanted to go full out with the boost the Vortech V2 can handle I decided to upgrade the internals propperly.
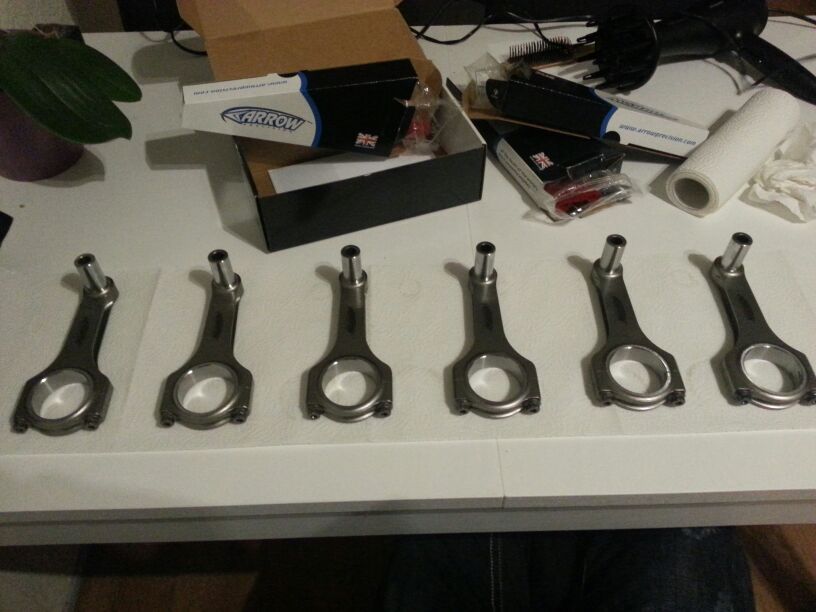
Bought Arrow Precision conrods with CuBe small-end bearings, of which the dust is radioactive (lol) so had them hone it to size for me.
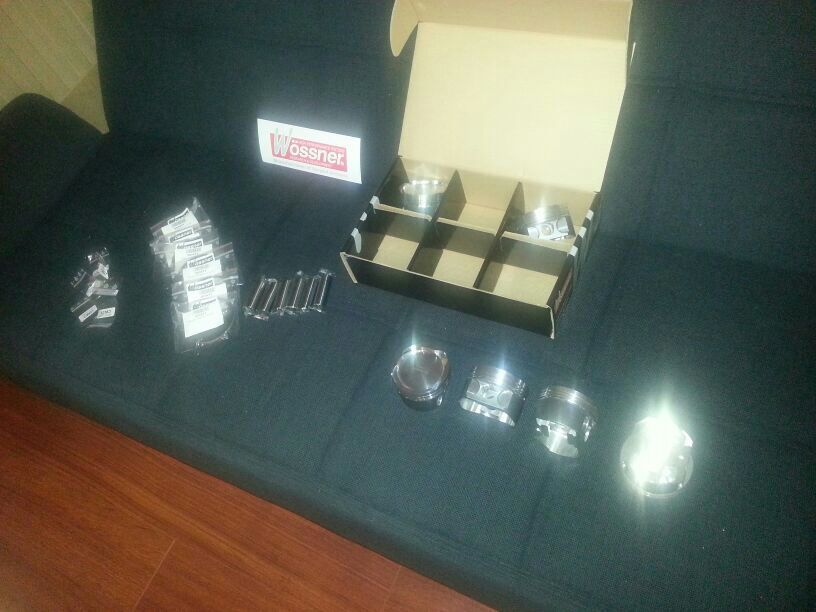
Low CR +forged pistons from wössner, nice pieces but they still need the sharp edges chamfered, and Squish band modified anyways:
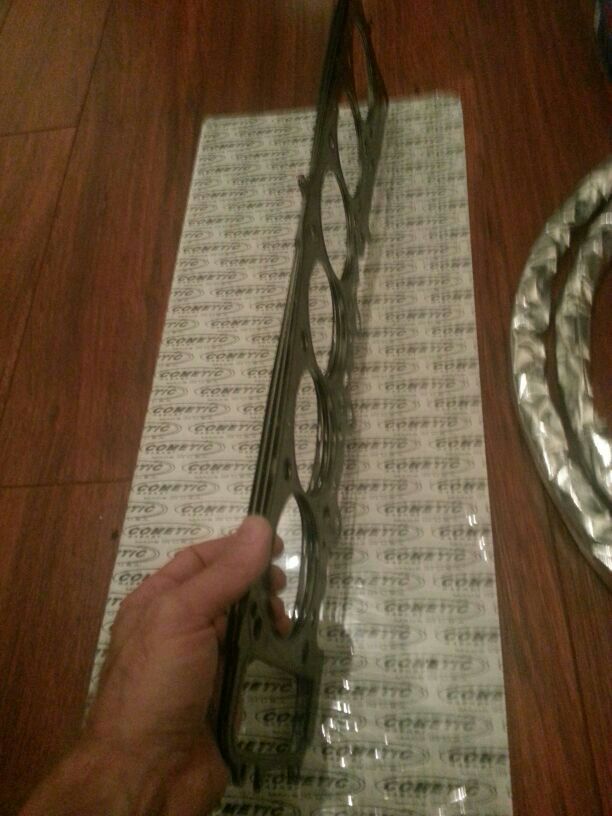
Cometic ML gasket, I purchased it with original gasket thickness, as I wanted to blueprint the squish clearance so had to modify the piston crowns individually. Usually people measure the height of the pistons above the deck and then decide for the propper gasket thickness. Not precise enough :p
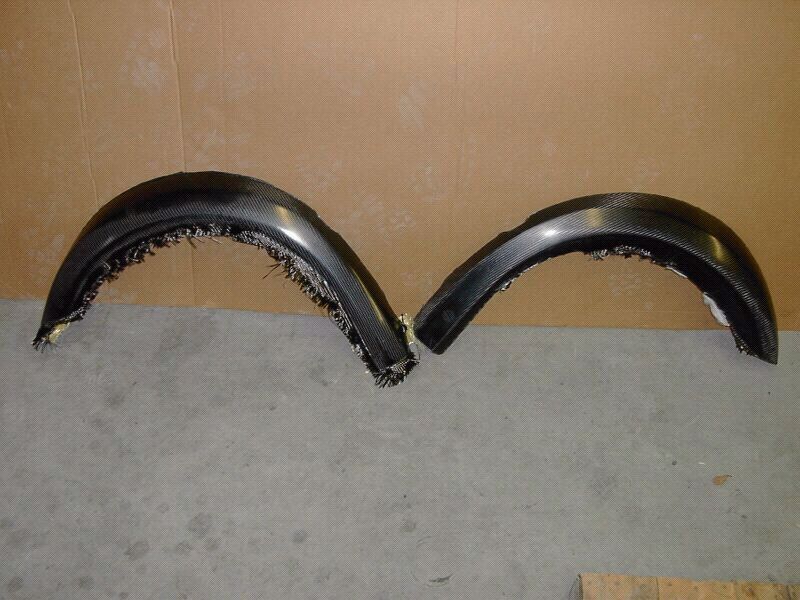
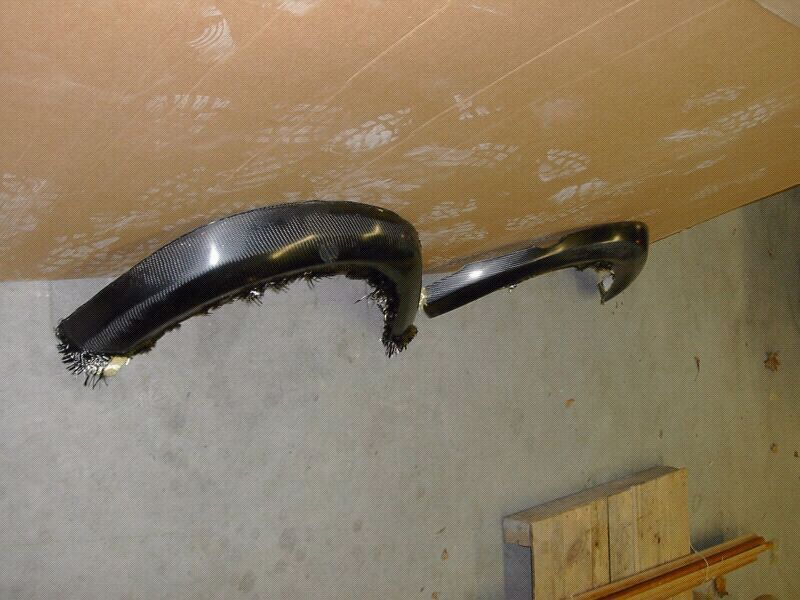
In the meantime I got an update from Steve at CCE Composites (USA), who now owns the Pennon widebody moulds, about my custom carbon-kevlar arches:
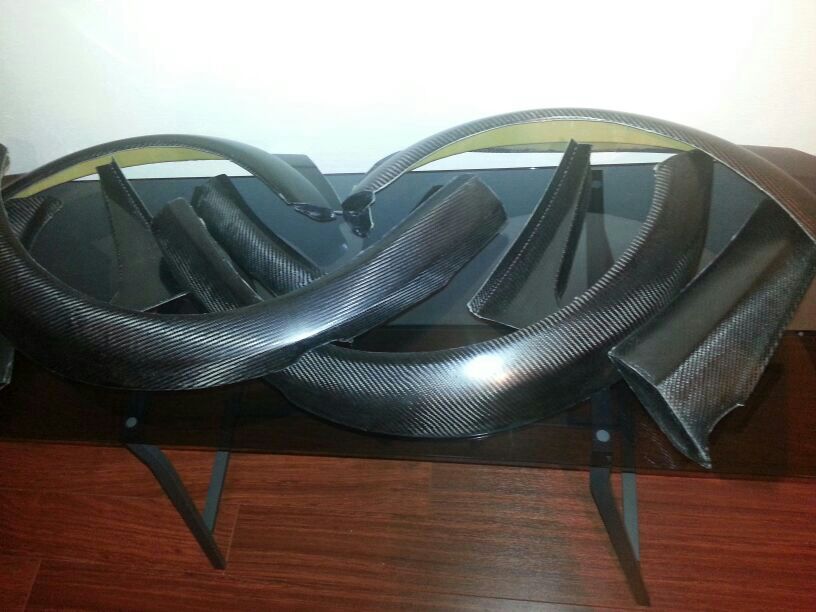
And the kit completely done:
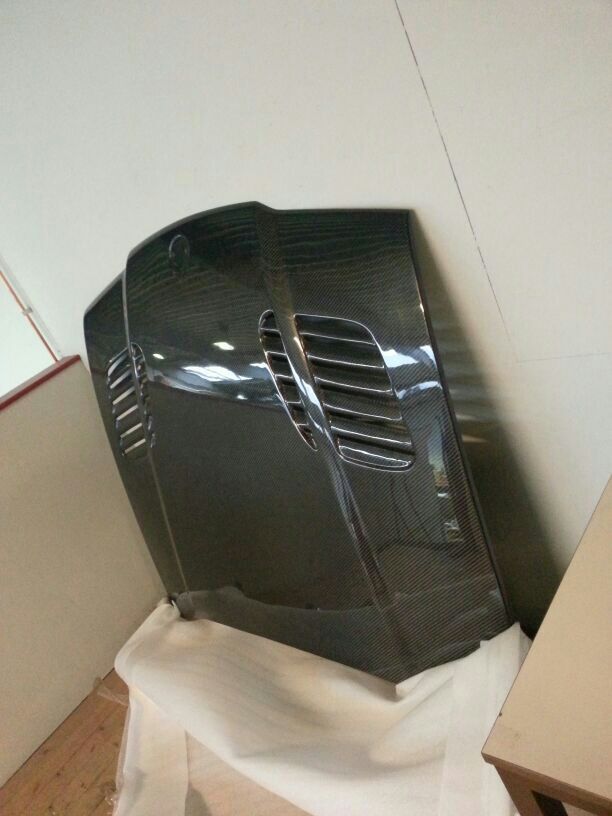
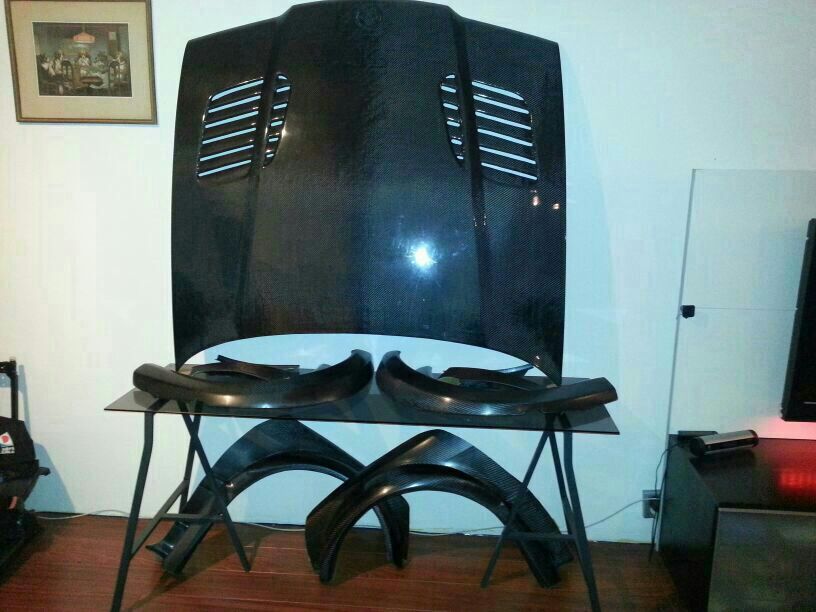
Also my bonnet came in from the USA, made by DTMFiberwerkz. Looks mean and will help with the under bonnet temperatures. The louvres will stay CF but the rest will be estoril blue eventually.
Some CF porn:
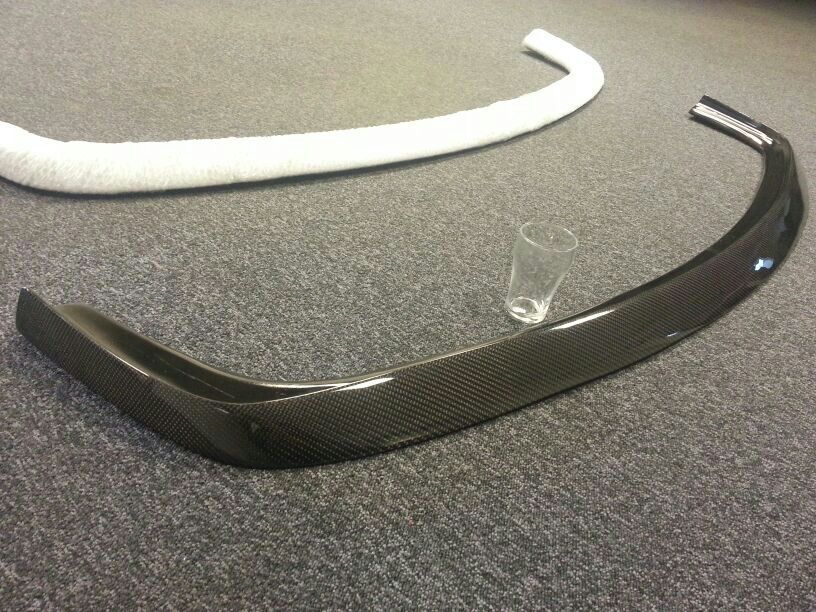
Lower CF lip from taiwan, with a spare :muttley::
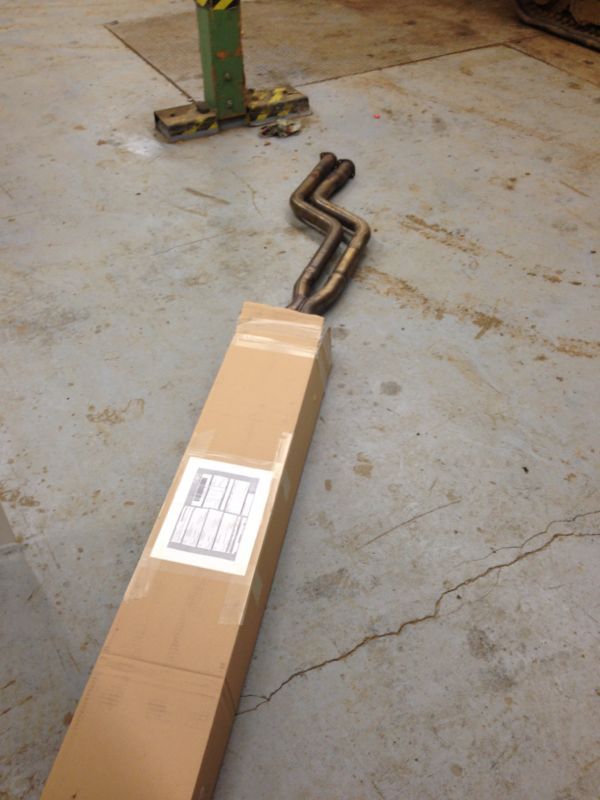
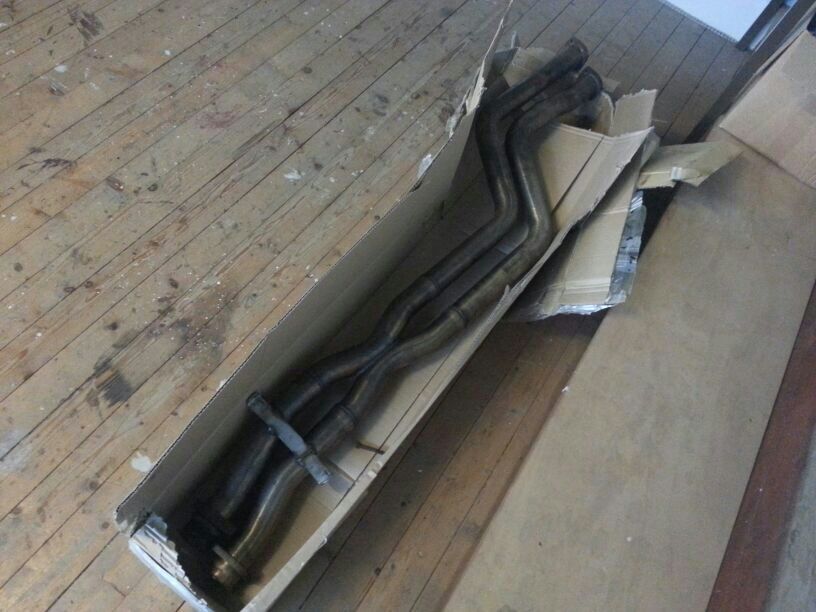
Bring the noise! To compliment the (also Supersprint) backbox:
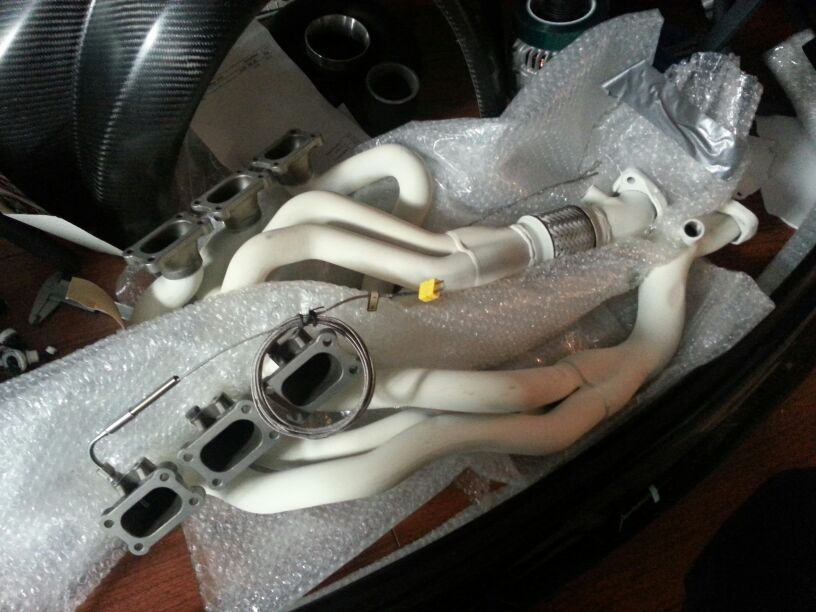
To get the underbonnet temperatures further down and the exhaust gas velocity up, I've let the manifolds (one with new flexjoint) get coated with zirconium oxide. Which is a standard (not cheap) industrial coating which is now also marketed as something very fancy by the company zircotec. Which asks 3 times the price for the same treatment. The stuff conducts heat so bad that half a minute after shutting down the engine, you can actually touch the manifolds:
FROM
TO
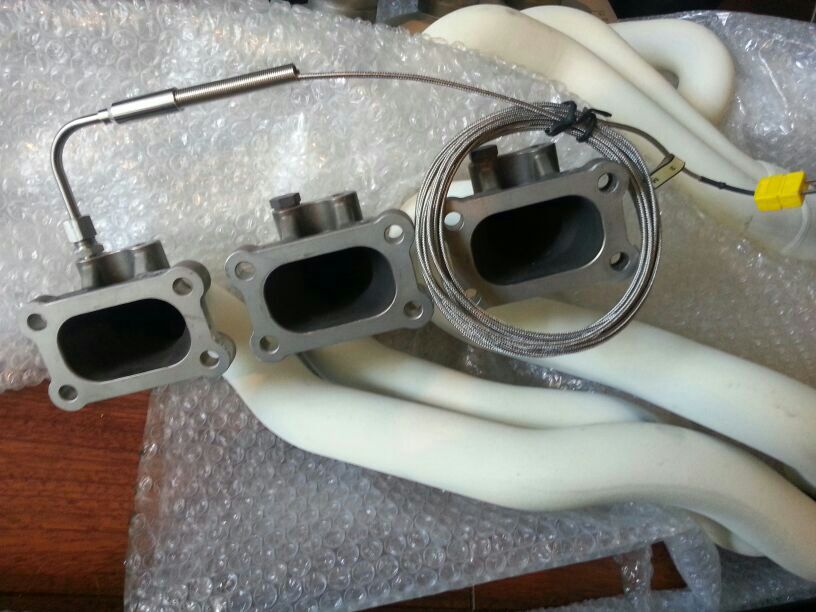
Also, to monitor the EGT's I've purchased 6 open tipped exhaust gas probes, and a USB powered 8 channel logger which will be connected to the car computer (later on). It is nice that the holes are allready there, M8x1 is the thread.
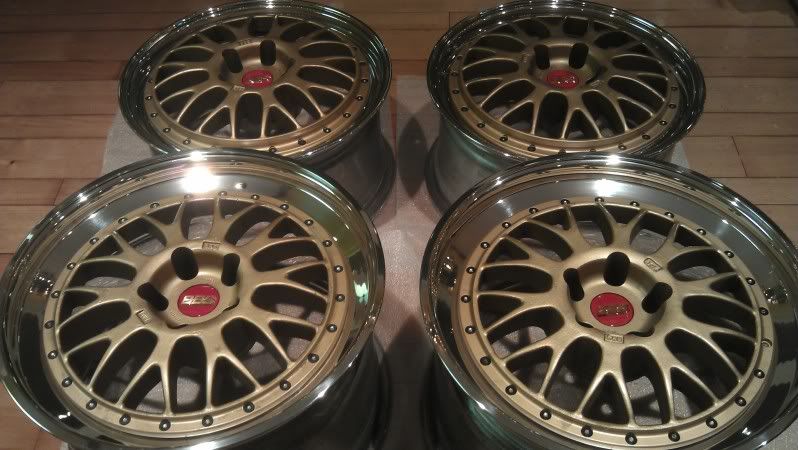
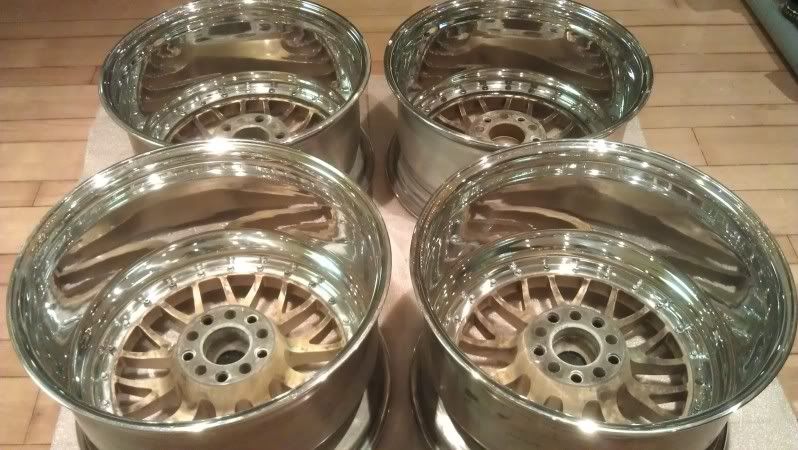
Well, then it was time for the right shoes, so bought these E28's aswell. Again from the USA. They are 18x9j and 19x11.5j now. I will convert them to rear mounted center, as that looks way better, and hope for the best regarding fitment. Colour will also change and I'll chrome the barrels as this is polished naked aluminium which won't last long outside California. This will have to wait till the car drives and the kit is installed.
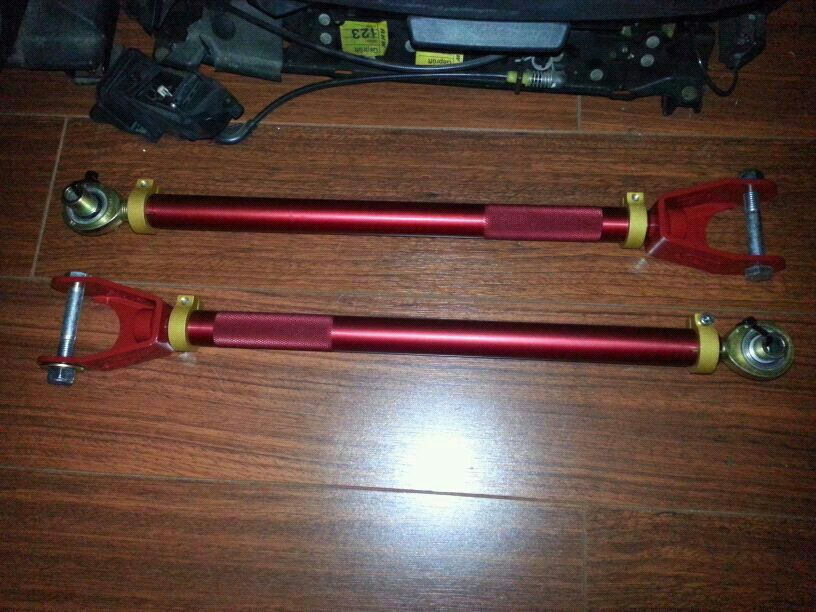
To get some adjustability, ground control race arms:
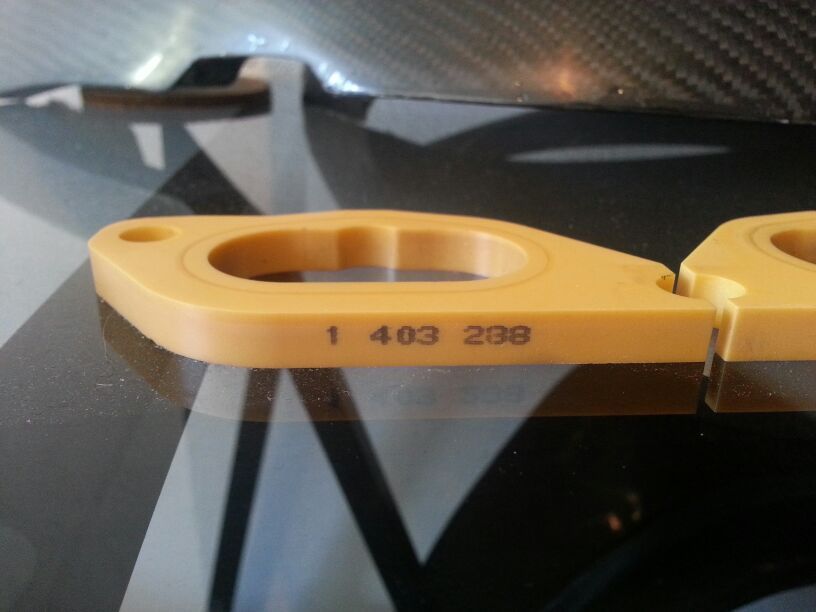
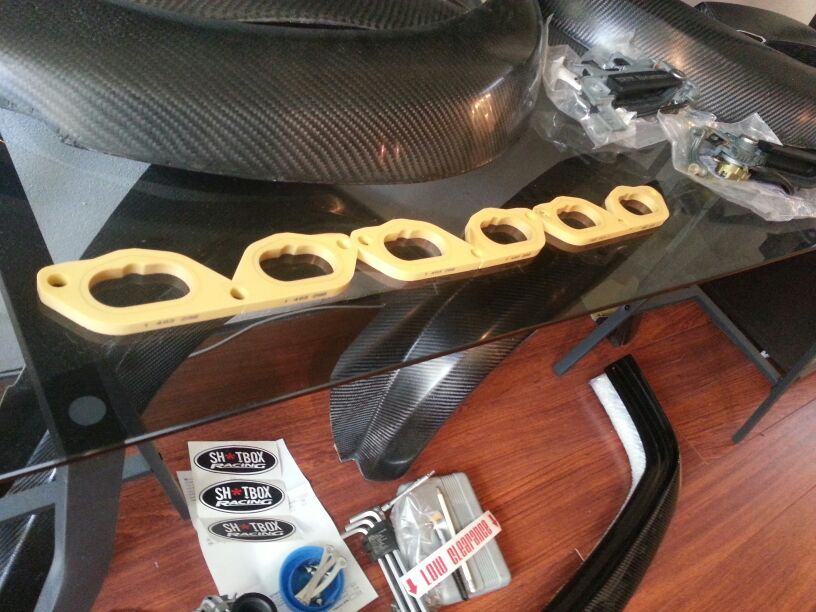
To prevent more heat-soak into the throttle bodies, some 3.0 ceramic spacers, will need a tiny bit of modifying;
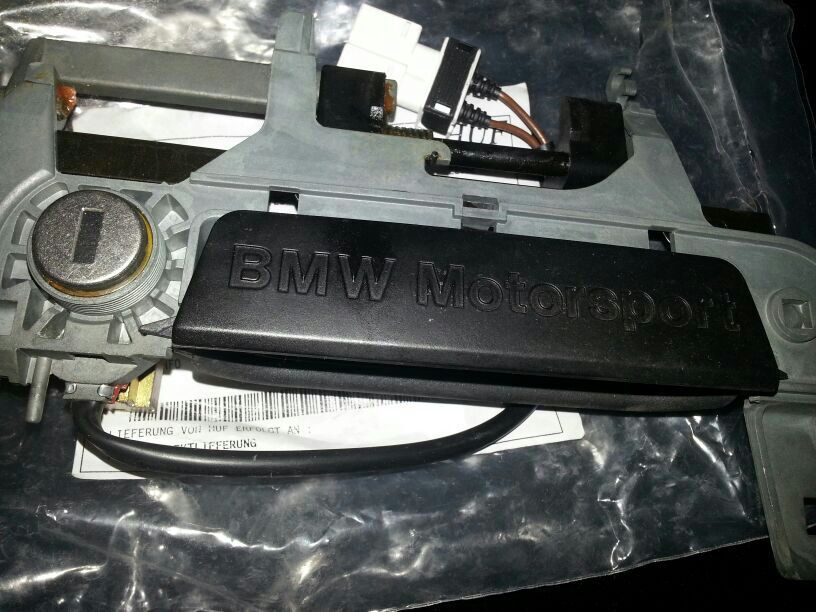
And because I could get my hands on a pair of new ones finally:
A mood-shot:
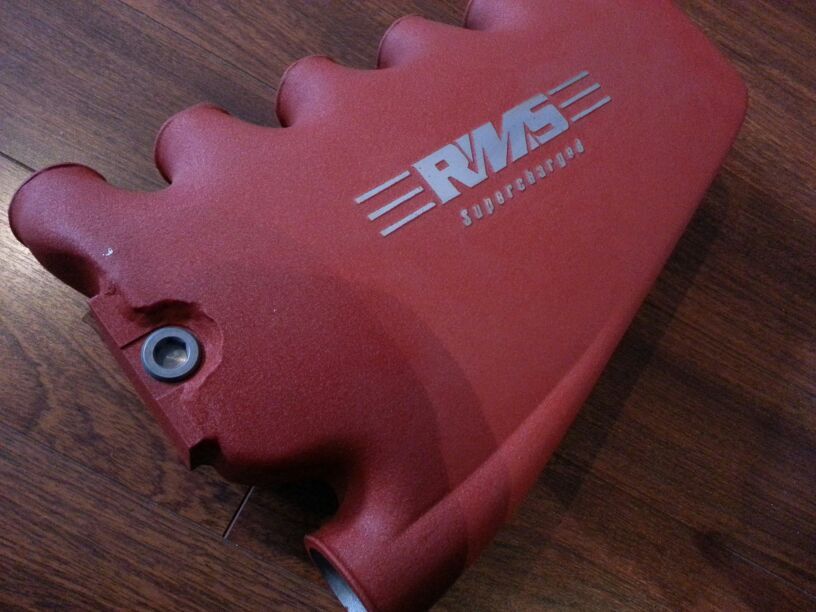
Inlet manifold with chargecooler in it:
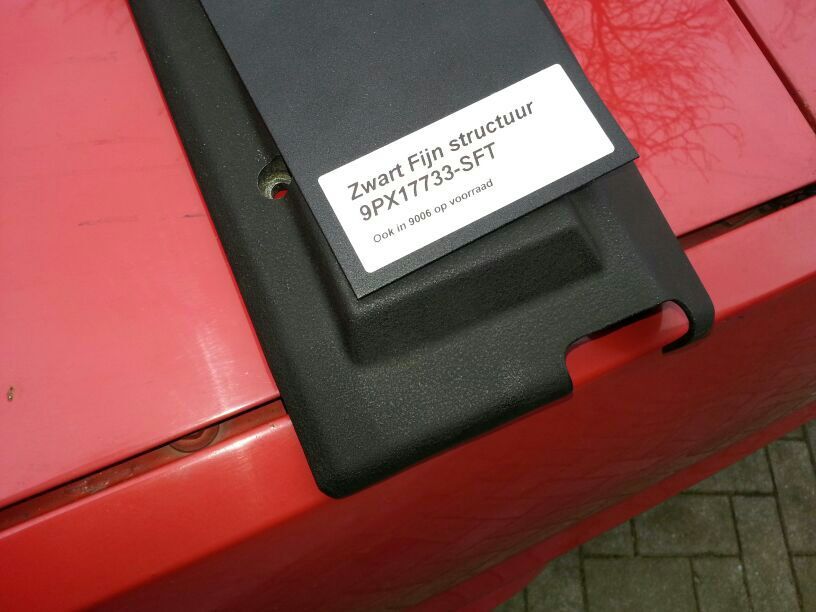
Don't like the red, nor the lettering, so it will be structure-powdercoated satin black aswell (like the blower) and I'll cut some aluminium "Motorsport" letters in the same size and font as the "BMW M POWER" on the rocker cover. OEM+ baby.
Will probably do the rocker cover too, to get a good match:
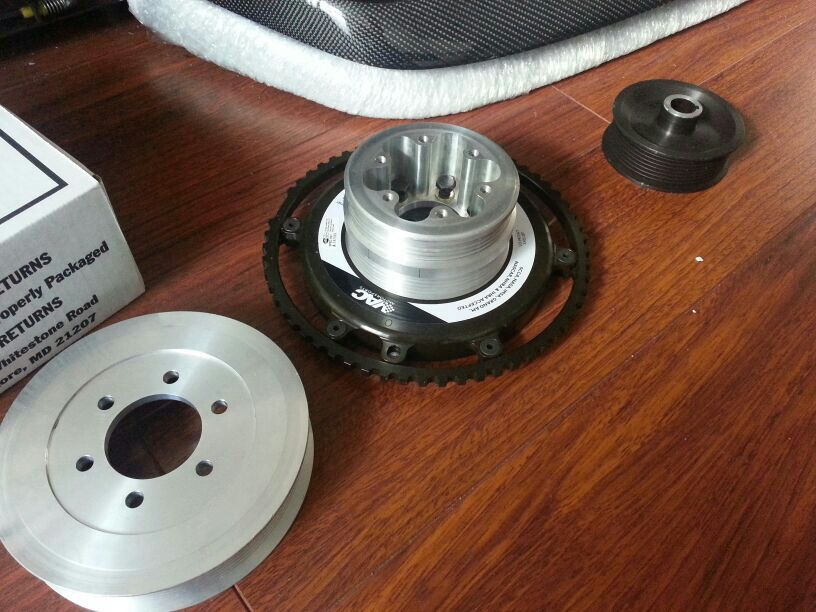
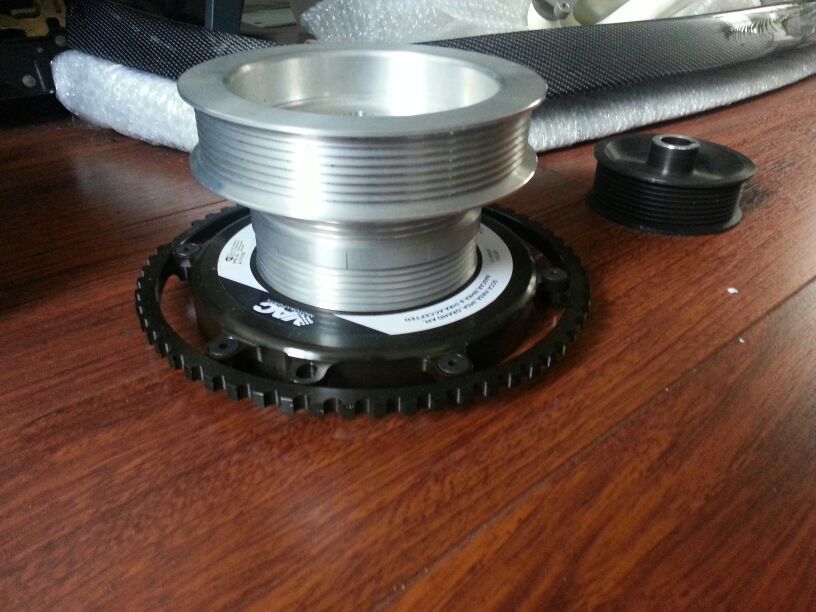
The pulleys from RMS, which I had to modify as they stuck out too much with the new harmonic balancer from ATI/VAC beneath it (expensive! but I'd like to protect the crankshaft at the higher RPM limits)
The large pulley will power the supercharger
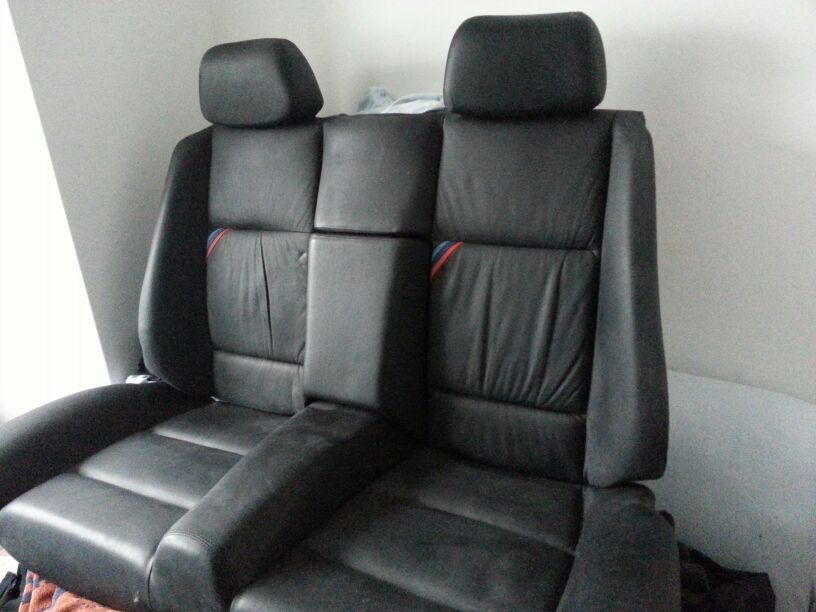
Now, as you probably saw in the other pictures, I've got some new-like condition black M3 coupe (vader) seats. Installing/dyeing a black rear convertible seat is easy, but in my eyes that would look like sh*t. They lack the 3 coloured M bands/stripes. I think, really, that this is THE rarest e36 part in the universe, original BMW individual convertible M3 item, in new condition:
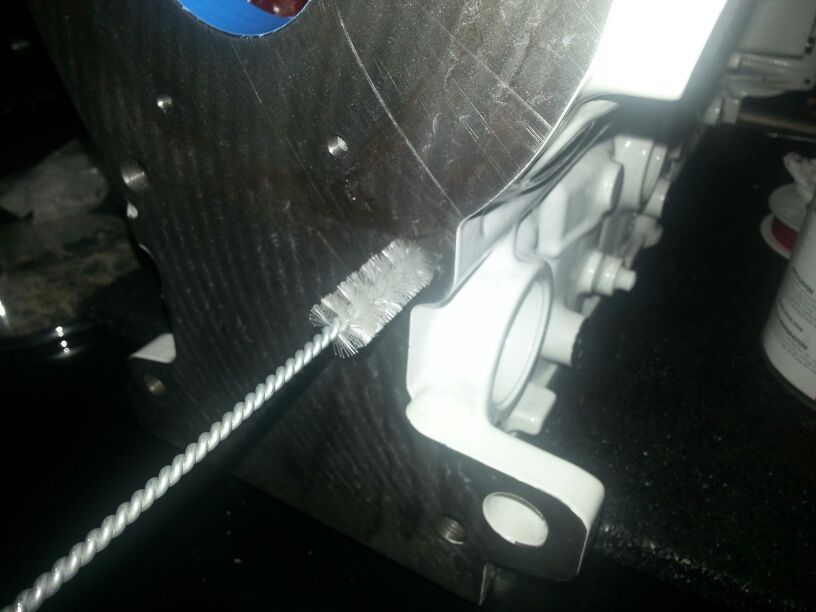
Even after washing in a machine and having it in an ultrasonic cleaner, there was some residu in the galleys (which are opened and now have threaded end caps)
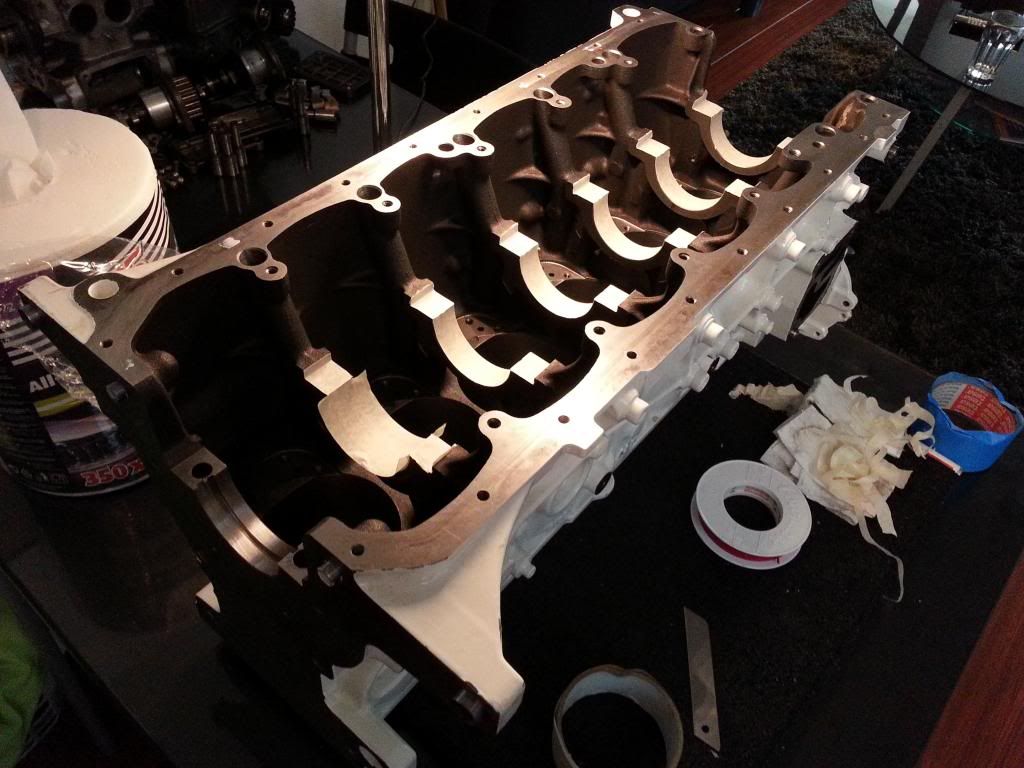
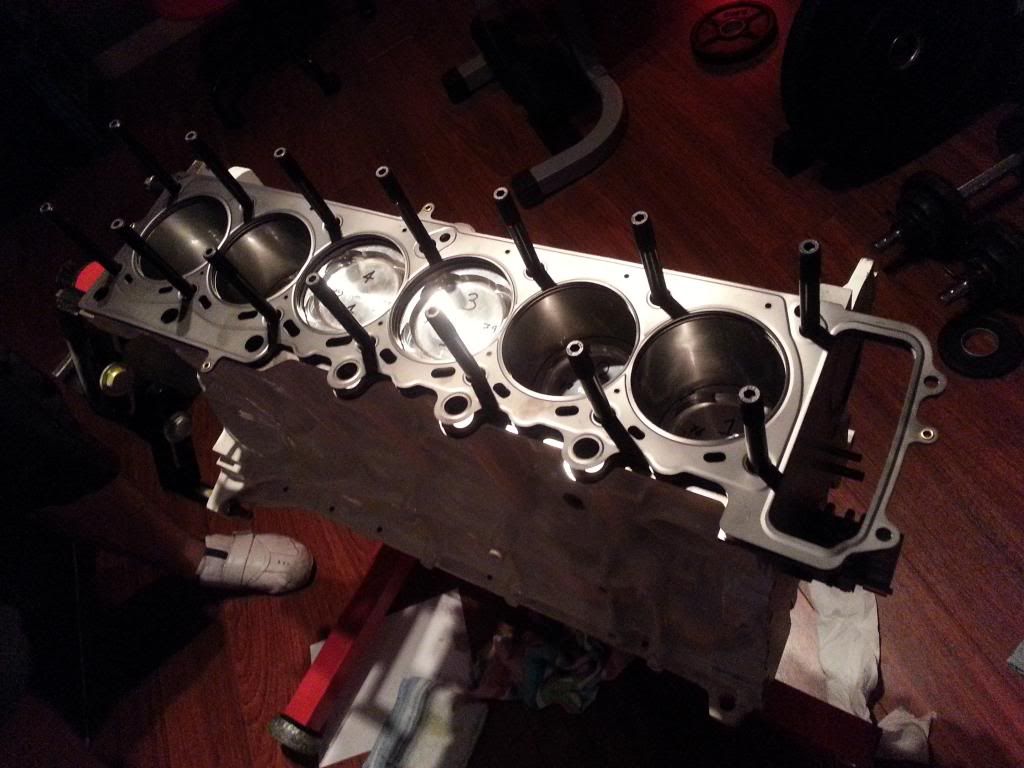
Started cleaning and masking:
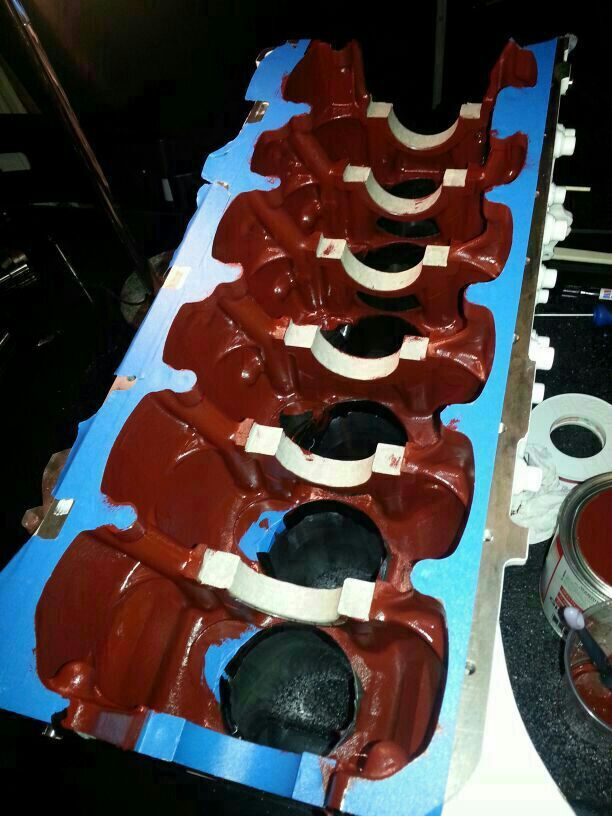
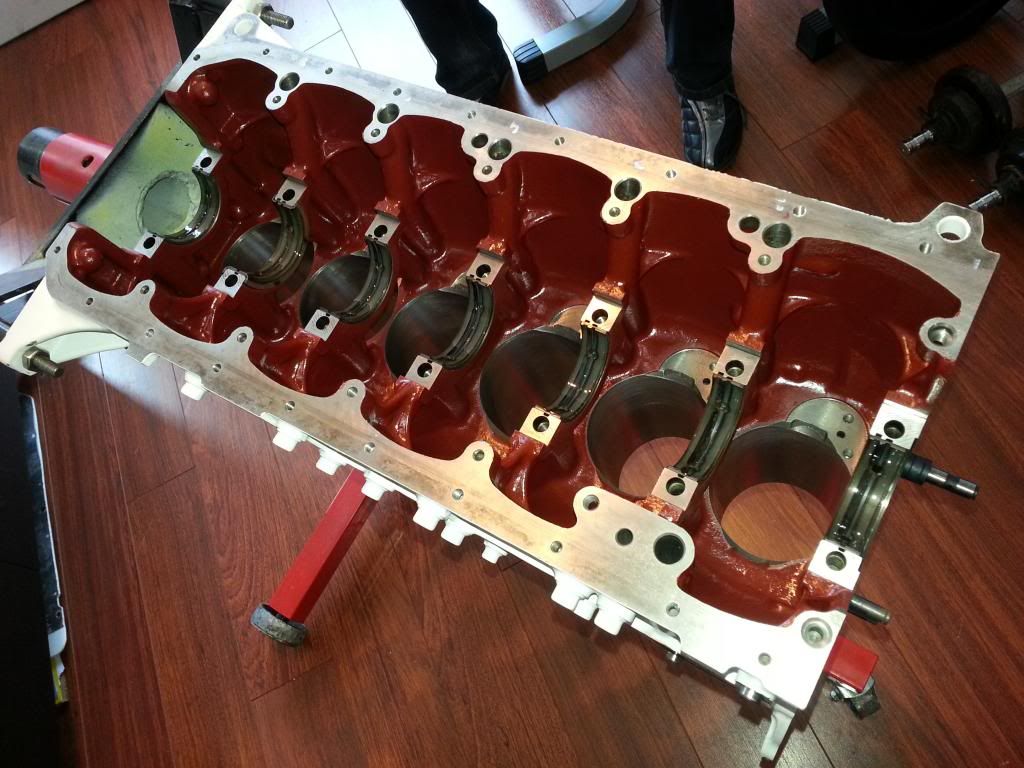
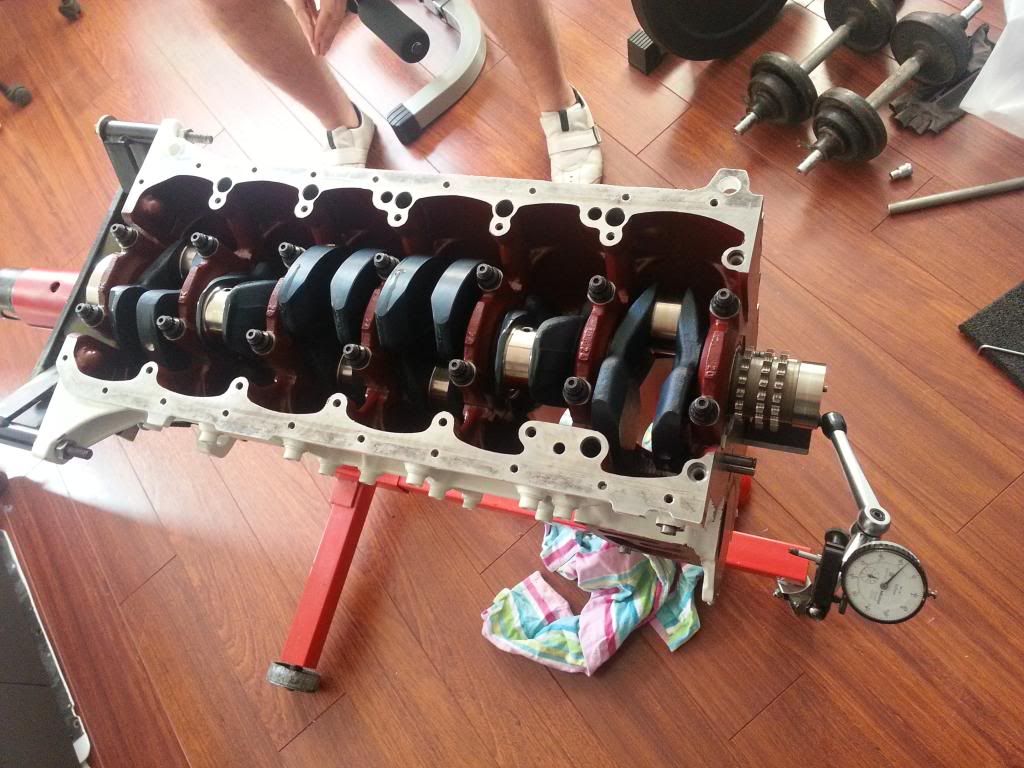
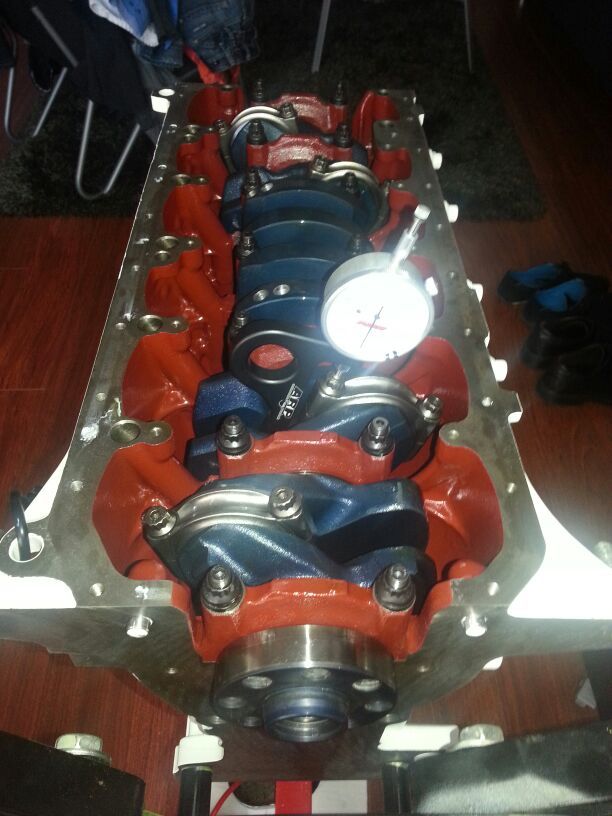
And after many hours of prepping and painting and cleaning:
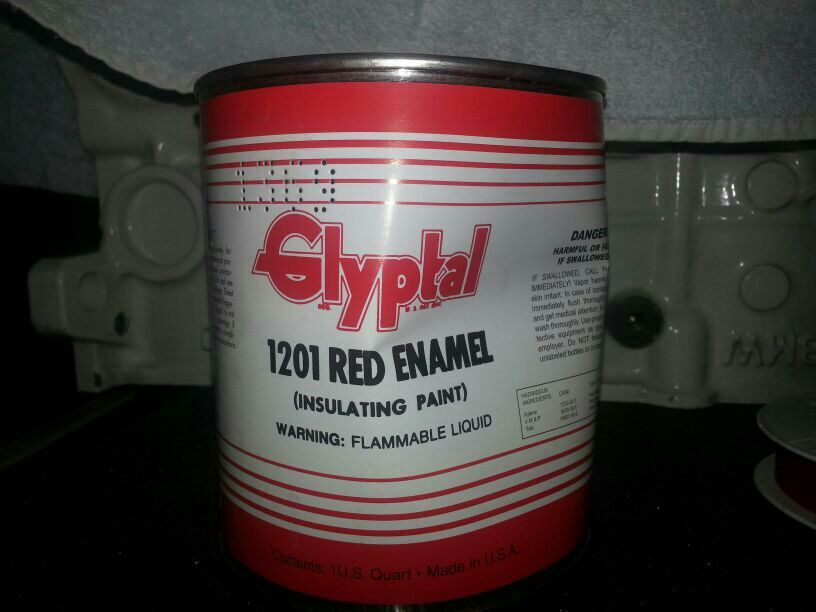
I used the oldscool insulating paint from the usa; Glyptal. Has proven itself over many many years so...
Inserted are ACL race H bearings.
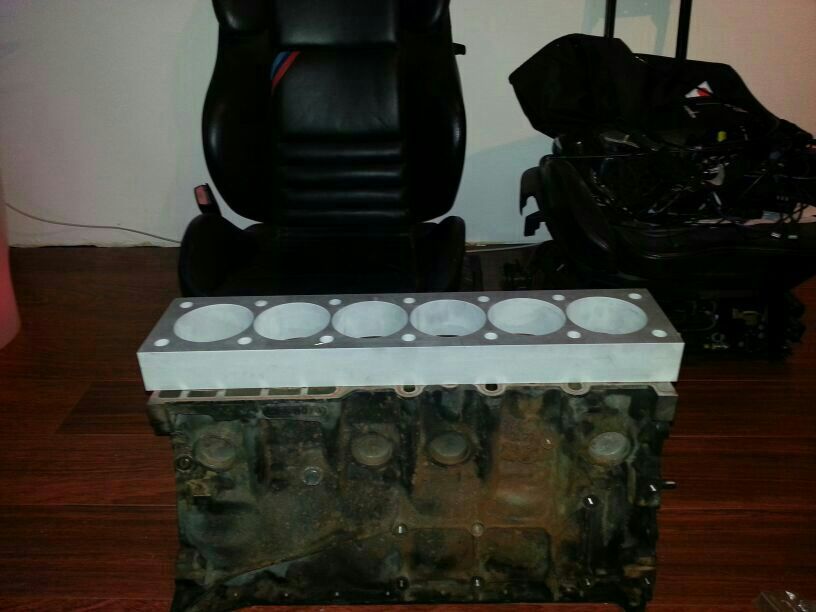
The entire engine block is honed with a torque plate, the bearing locations are line-honed to spec with the ACL bearing thickness in mind, oil gallerys drilled open and threaded, everything ultrasonic cleaned.
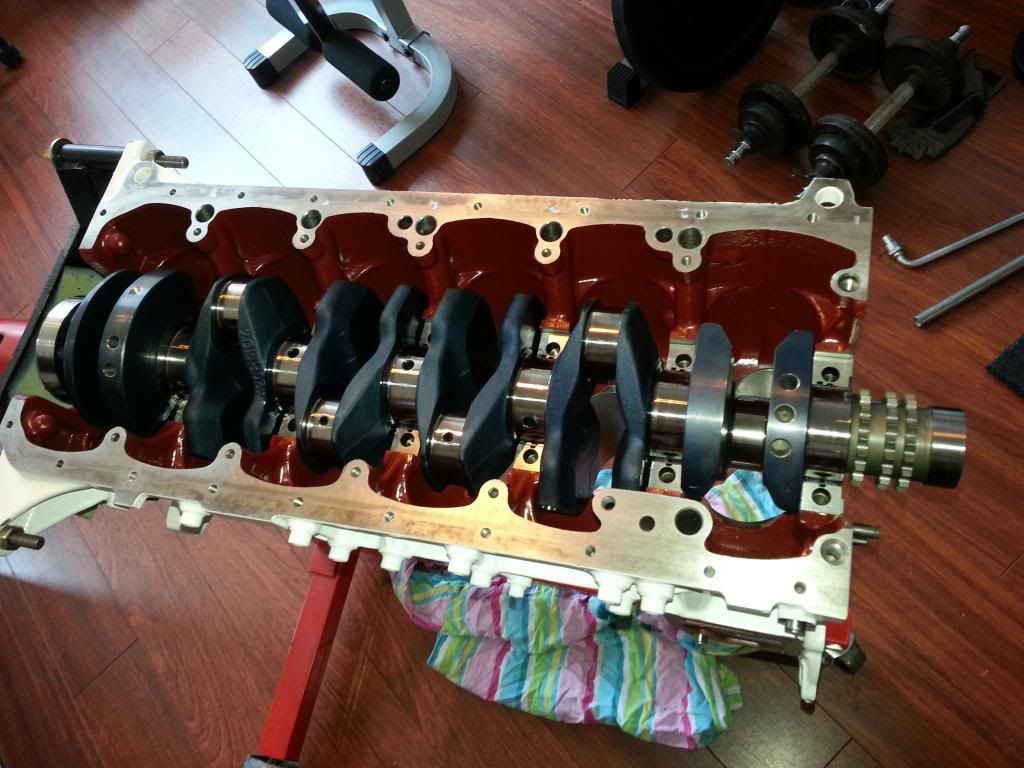
The crank has been dynamically balanced to a very high standard, bmw did a nice job but not good enough for a furthermore blueprinted block.
Also did a good job on microfinishing (sort of polishjob) on the journals.
Cracktested OK!
Installed main end cap of the axial bearing:
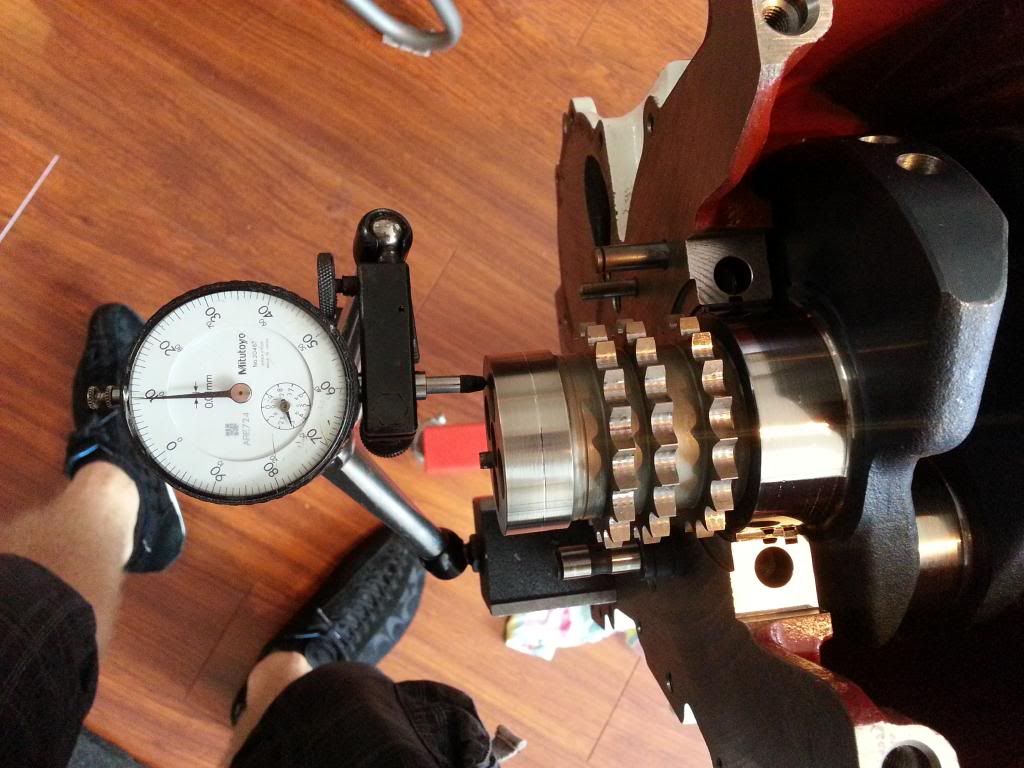
Measuring axial play, dead center in the tolerance with the new bearing installed.
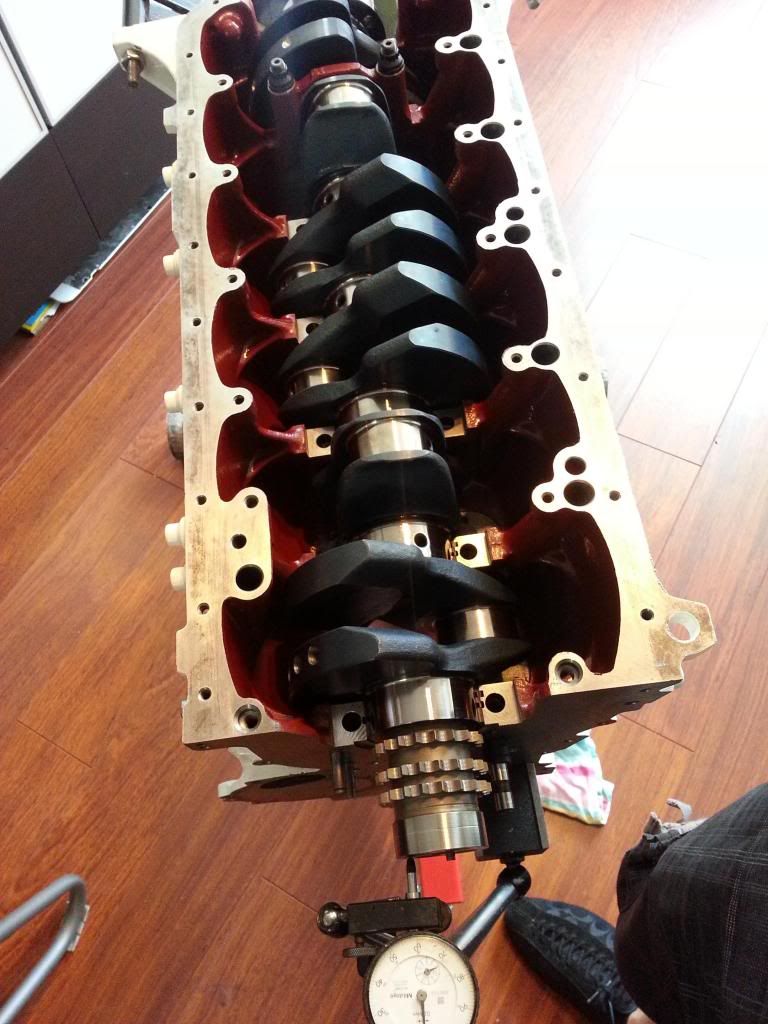
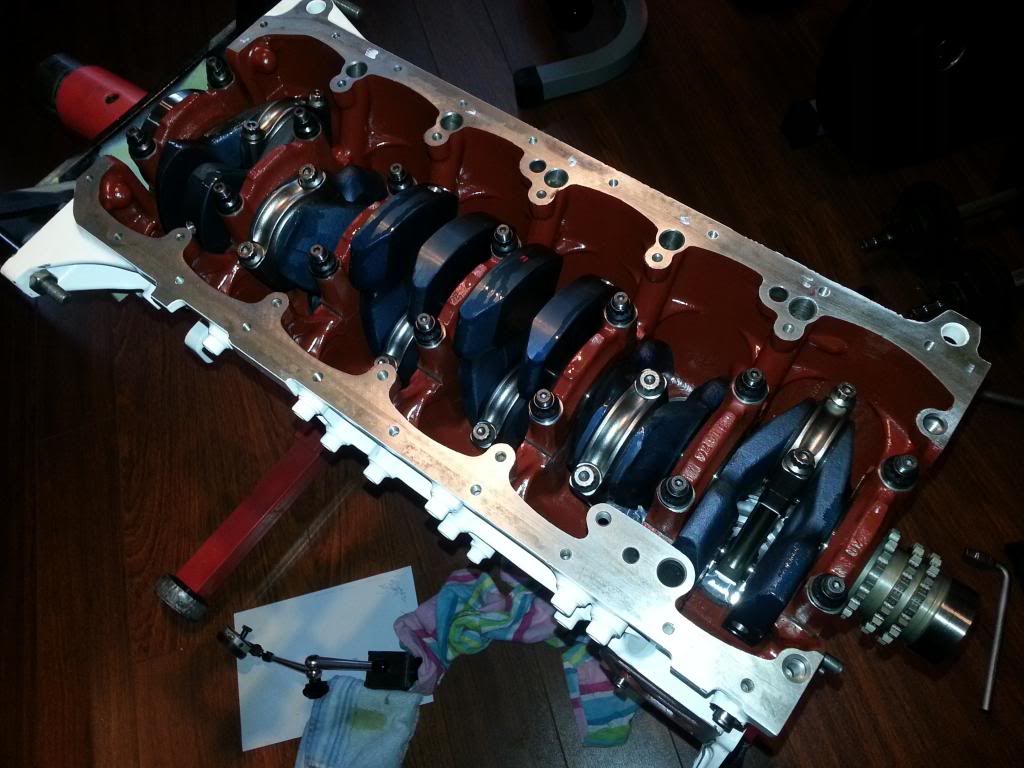
Installing all caps for the next phase of the build;
Added rods (also the ACL bearings installed) and ring-less pistons with the pins loose;
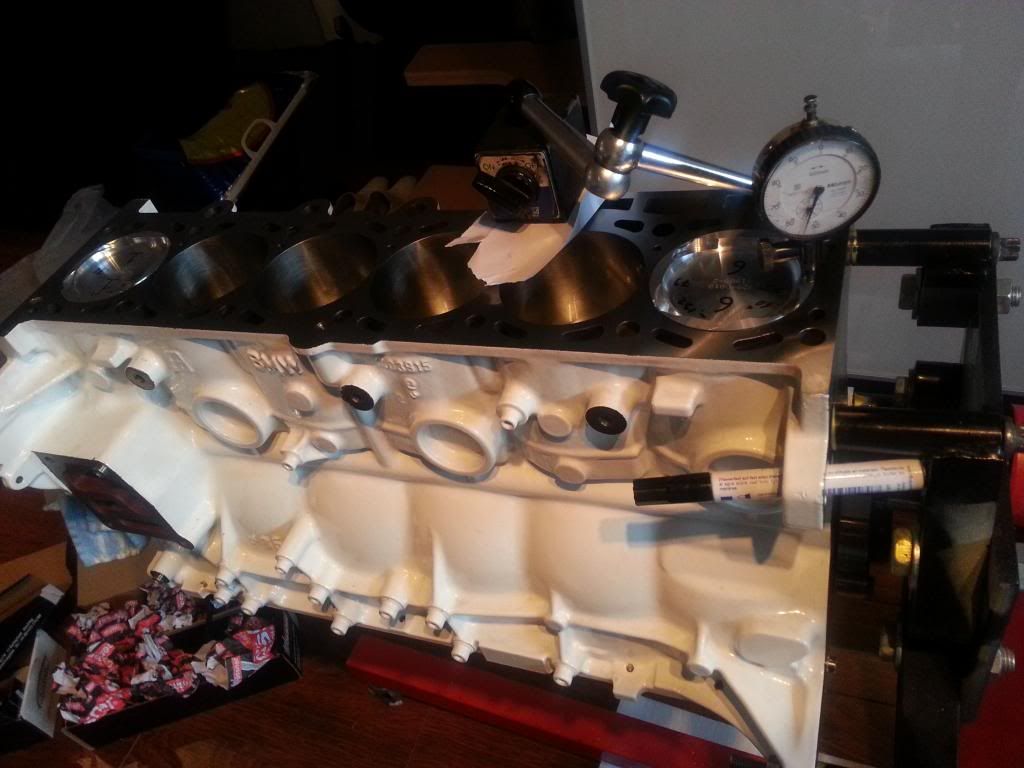
Measuring how much the squish band clearance would become:
Measured on both sides above the pin:
Just some trial fitting, couldn't resist:
Lathing down the squish band just a couple of microns:
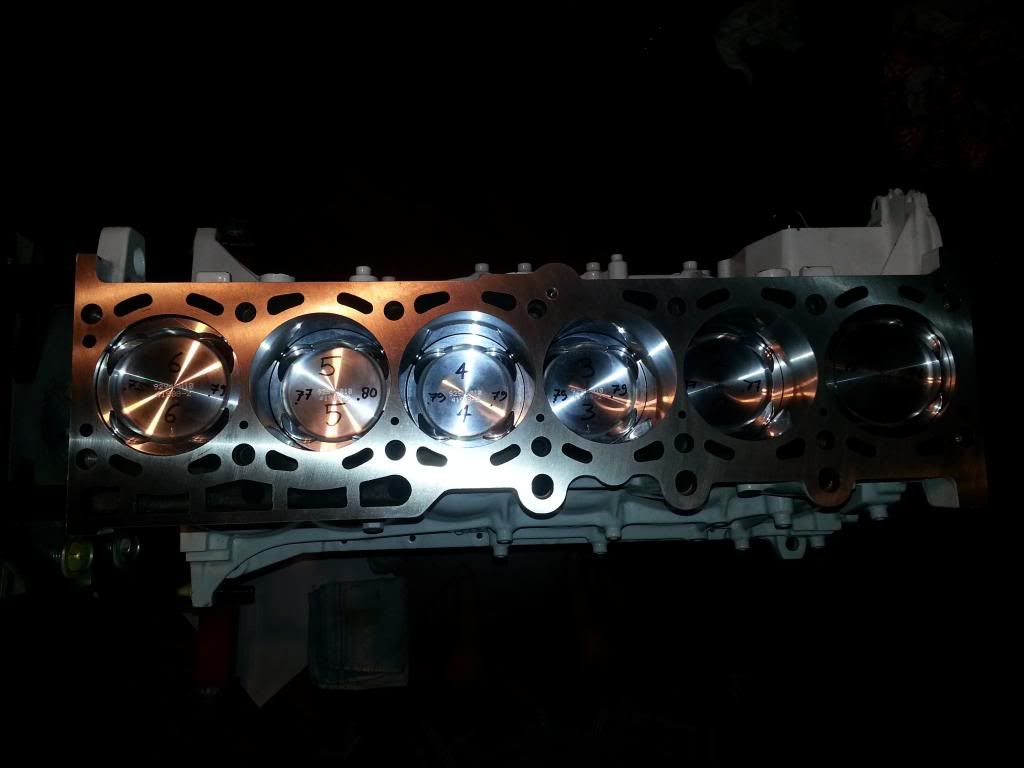
Assembled everything, remeasured and all squish clearances were spot on! in one takedidn't even have to switch over pistons or rods.
What I forgot to mention is that the small end bearings are Berillium bronze and already honed to size. Normally you would need to get these honed aswell.
What needs to be done now is taking everything apart, smoothing all sharp edges on the piston crowns, installing the rings (they are already gapped), clean all bearing surfaces, install the bearings dry and assemble!
Helped out a friend who bought basically the same car aswell
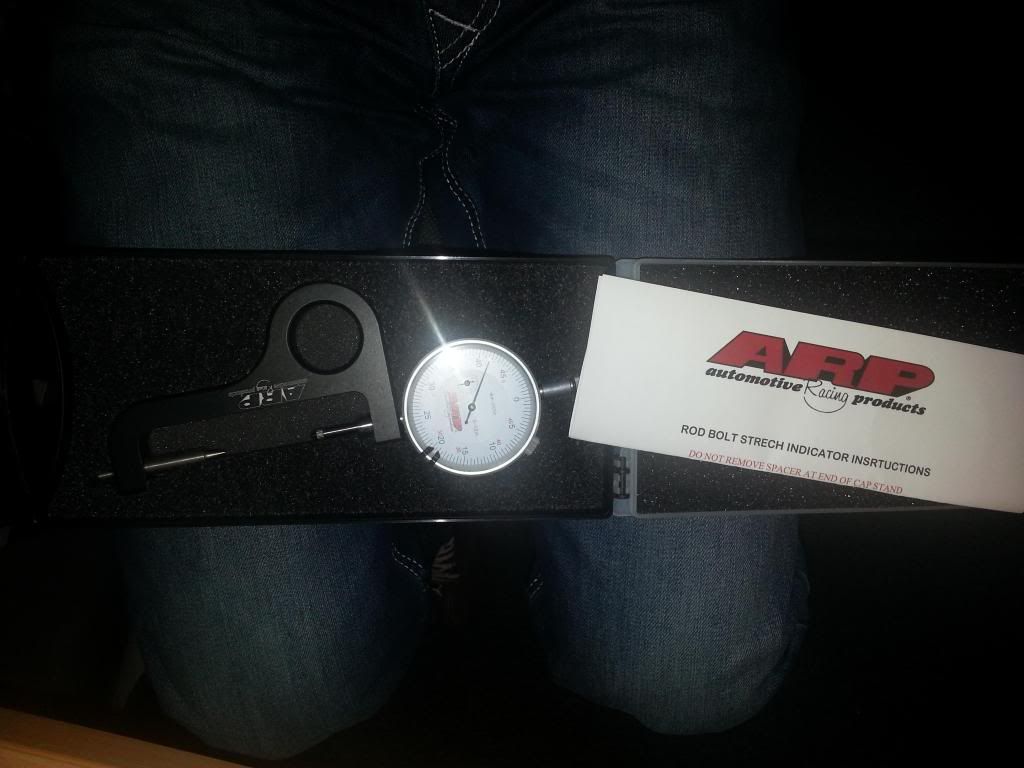
Also got my bolt stretch meter from the USA, bought it together with the owner of that other M3 convertible, he'll be installing ARP's aswell:
Fits like a glove.
enjoy
Last edited by daandaman; 10-22-2014 at 11:50 AM.
Moderater
Wow! Impressive...
Custom Dyno-tuned Eurocharged| Eurocharged Headers |Filthy Habits Mid-Pipe | Filthy Habits Intake | PLM | BWK | 010 | KW | Meisterschaft
showers with Gojo
Loved it, thanks!
Active Autowerke C38 stage 2 on 95 dakar yellow M3, 30k miles
.080 mls headgasket, ARP headstuds and obd2 valve retainers; Stewart water pump; Dunlop Z1's on staggered CSL's.
387whp, 296wtrq --- girls dig dakar
Member
Good lord, that bottom end looks like a piece of art.
Keep it up!
Member
Ubergasm!
Member
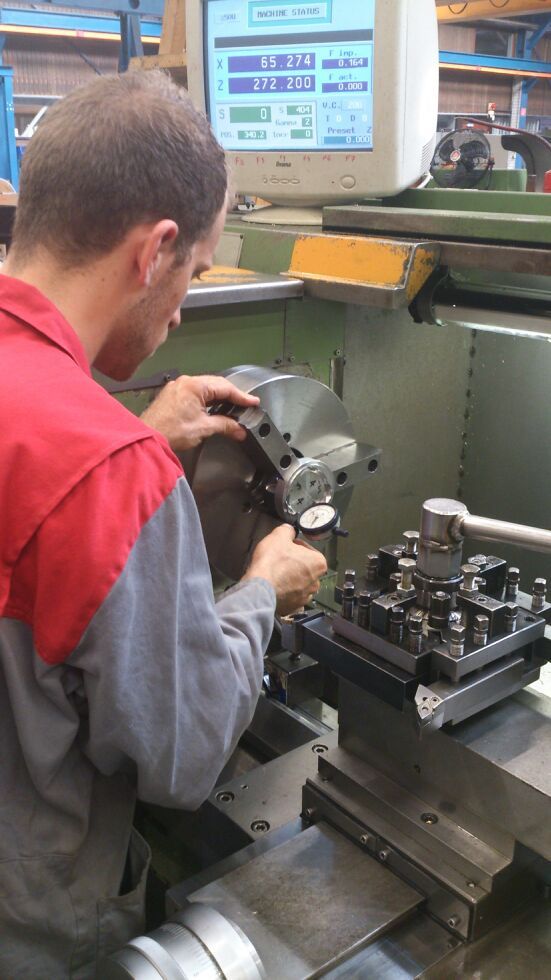
Holy crap I thought I was over ridiculous in some of the things I do. Very well done! Are you a machinist by trade or just for fun? =)
-Shawn-
Godbless our soldiers!
You could drive on the track without anyone wearing helmets?!
Love the build, I think this is one of the first Euro motors taken apart I've seen
1997 Arctic Silver/Black M3
CES Stage IV (651rwhp/615rwtq @ 24 psi)
1999 Techno Violet/Dove M3
Auto/Convertible and staying stock!
Senior Member
Supporting Vendor
Love the build so far, can't wait to see it finished up!
Member
Awesome work!!!
Member
never seen anyone coat the inside of the crankcase like that....benefits?
Andrew:
1995: Avus
///Supercharged 95 Club
isturning over a new leaf
really awesome! thanks for sharing
-M3J0N
On the mic with rasMG
Member
Here's a guy who's under rebuilding his car and used that Glyptal coating stuff.Originally Posted by camdinans3

http://forums.bimmerforums.com/forum...-painted-parts
VF Super Charged 9psi
BMW CCA Member
Wow what a build and deep pockets seems like the pics are full of amazing goodies !!
Member
I have never seen a living room decorated so well!
Buildmaster v2.1
Well my profession is manager of engineering and production, so I know/can do a thing or two, but this is purely hobby!
Yes sometimes they have open track days where you can drive without safety gear. The car however has the spring loaded rollover protection braces, which should help. And we were not racing!
Thanks for all the compliments
Well he is using teflon paint, which is a good surface for oil to glide off. I however do not see the benefits of it in his particular engine refresh/build.
The reason I did the coating is because, even though the bmw casting is reaaally nice, I do not want to risk a single grain of casting sand getting dislodged and ruining all the work! Plus it should sort-of 'help' the oil flowing back down.
It's basically just for my state of mind as the cost and effort of glyptal painting the inside of the crankcase is really easily outweighed by the costs of all the other things.
Yeah the stuff is sexy as hell
Member
Nice! The attention to detail is great. Keep up the good work and pictures!
Did someone say racetrack
BMW CCA Member
Looks good. nice work!
Gary Gray
If you can take it apart you can make it faster!
Zack Morris
Damn Lovely build. You sure as hell know what you are doing. I rear ended someone in my civic back in the day and I did nothing but blame the elderly lady driving the vehicle in front of me. At the end of the day I had to assume responsibility and now I make sure I stay a few car lengths back, especially on drizzly days. Great pics and info though!!
Member
Beautiful car and build to say the least!!! Can't wait to see more and the finished product!
92 325is S50 swapped... More to follow
BMW STEPchild- Level 1 technition
Member
you sir are a madman, and I like it. I would have been content with the s50b32 alone. Great work buddy
Buildmaster v2.1
I must say the comments are highly motivating! Unfortunately for you guys at this moment I'm spending most of my free time on my bike. I will however get things going soon again. In the mean time I'd like to spam a bit, as it is for the greater good (and my own)
Please visit and like and recommend: http://www.facebook.com/OpenOBC a bimmerforums initiative!
Member
Awesome build. Im very interested in seeing this come together especially the widebody!
Member
Very impressive!
Luchador
Its fairly common in other communities. That stuff has been around for a looooong time. It helps with oil draining.
 Posting Permissions


 Reply With Quote
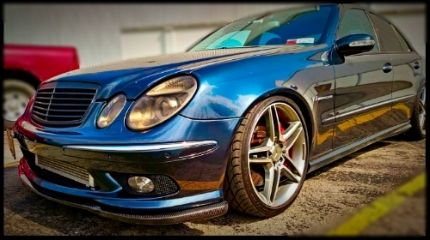


Bookmarks