
 Member
looks good
Member
Thought I would update this a bit, I haven't done much to the car, but I went drifting in cordele, GA at Yolo Drift, and ran Deals Gap a couple times with the car. Pics!
Member
Annnndddd from h20i
Member
Birthday gift from my girlfriend! having a bracket made by a local machine shop. Should be in and working next week!
Also im moving back to NH mid-January, so ill be at the seaon opener at LRP.
Last edited by blake261; 12-04-2013 at 06:28 PM.
Member
your gonna love it my gf got me it for x mas lol!
Member
dam i wish my gf got me a hydro lol
Member
What brand fender flares are those? ZG?
Member
Took a trip to Summit Racing today to get all the lines and fittings for my ASD hydro. Finally got the bracket back from the machine shop, and thought I would share the parts I bought so everyone doesn't have to go thought the trouble that I did to find out the fittings.
Thanks to bennyfizzle for posting the 7/16 -20 thread for the inlet.
Keep in mind, this should all work without leaking, but I haven't plumbed it yet, i'll confirm it when its in and working. This is to go from the OEM master Cylinder to the .625 Wilwood Master cylinder that comes with the ASD, and from the handbrake to the "T" in your rear brake lines. If you are '96+ you can use the split in the ABS module and go OEM master>handbrake>ABS module, if you go this route, you could get away with shorter lines, I wanted to have routing options. The kit from Driftworks (that says it works on e36's) comes with a 70 in and a 60in line, but is $201 to get here in the US. This all cost about 85 bucks.
(2) EAR-63010170ERL BRAKE HYDRAULIC LINE --- 70" braided -3an hydraulic lines
(1) FRA-650113 BANJO ADAPTER STEEL --- For the Inlet on the Handbrake
(1) HDT-LK-010 BANJO BOLT KIT --- 7/16 -20 bolt for the banjo
(1) RUS-660330 UNION FLARE --- male to male -3an union for handbrake outlet to hydraulic line.
(1) EAR-592032ERL CALIPER ADAPTOR -3 to 10mm --- -3 to M10x1.0 adaptors for hydraulic lines to OEM master and rear brake "T", comes as a pair
Note: I did not use the adapter that was Shipped with the ASD, The .625 Wilwoods outlet is -3an. If the male to male -3an union bottoms out on the cylinder rather than the flare on the inside, Ill have to use it and figure something else out for the outlet.
Hard MotorsportOriginally Posted by corbs09

Member
blake its jared I love you come home buddy!!!!
Member
lol, I am! Jan 12th!
Member
Got the handbrake all plumbed up and bled, Easy peezyy. I read all types of stories where people couldn't get their handbrake to bleed completely, or were bleeding it for hours. Took me about an hour and a half to install and route all the lines, remove the old line, and bleed everything. No leaks, no issues. Everyone can use the above list for their ebrake. I did not use the adaptor that came installed with the ASD brake.
Member
Thought I would take a minute to update this. I moved back to MA and rapidly developed rod knock. I'm now rebuilding the bottom end, and started build the cage for the car. I've only really got some of the mounts done for the cage (plinth boxes and downbars/subframe mounts) and the only really upgrade to the block is some arp main studs. Gotta get this done because I'm going back to deals gap the first week in April, and I'll be at lime rock the week after that.
Member
Where in mass are you from?
Member
Merrimac
Member
Sick. I'm not too far away
Member
Time for an update.
I didn't do any drifting last year, my engine was too far gone to just slap new bearings in. Didnt even last a mile before I got noises. I just travelled and put the car on the back burner. But this winter I've been doing a ton!
Engine:
11:1 JE 86.5mm Pistons
Eagle Rods
Block cleaned and honed for pistons and paint
New Crank, micropolished
new main bearings
new rod bearings
new oil pump
new timing chains and guides
Pretty much a new bottom end.
Car:
Stitch welded engine bay
Cut out all brackets, wheel wells and spare tire well
Deleted fuse box and ALL unnecessary wiring.
deleted heater core
made block off plates for dash and firewall
new floor plate (motion Motorsports)
New side mounts for Seat
UUC rear camber arms replacing my TCklines
The wiring is by far the hardest part. I separated and labeled every circuit that was going to be reused. Got rid of every module (including EWS) save for the ABS and wiper mod. ABS is on a switch, wiper mod allows the wipers to settle back at the bottom of the windshield when turned off. the car is now keyless, and has switches and relays for every function it needs, ie, ign, main, start,lights, blinkers, wipers, abs, etc. bare bones. The only stock wiring kept is the abs harness, wiper mod harness, and the lighting circuits (highly modified) and I used a 10 circuit fuse box from Jeg's.
I'm also going to attempt to reuse the stock cluster. If I can't, I will just buy gauges.
Right now I am in the process of building the engine, and in the downtime from that, adding the circuits back into the car. Hope to finish in time for my Deals Gap trip 4/17. Ill post pictures as soon as theres something new done to show, right now everything is bare and uncoated.
Last edited by blake261; 03-10-2015 at 04:24 PM.
Member
wild build dude.
i'll be at Deal's Gap that weekend with the WITW group. (although i'm in an e36M these days.)
hope to see you there.
Member
I go with witw! I've been going for about 5 years now. I was with the group that towed the r32 that blew up back to Washington, then came back down and towed lyles car back to Connecticut. I didn't do any of the towing, but I was with them lol. You may know Joel, with the BMP turbo r. He got me into going to it. Last year I had my Triumph (red) Daytona 675
Member
i missed last year. i was in an E30 and it wasn't gonna be witw safe.
Joel doesn't sound familiar, but i know a fair number of R32 dudes.
two years ago i was in the absurdly low DPB turbo R on machine finished tarmacs. i actually went off of 28 on a night run after dude hit a raccoon in his BMP. but i was able to drive back onto the road and home at the end of the weekend. hoping to not do that this year.
provided my felony form kit shows up, i'll be the only felony form e36M there this year that i know of. if you see me, hit me up!
Member
some progress as of last week, got the crank in, plastigauged the mains and came right in at .038. .020-.055 allowable. also got the delete panels powdercoated (DIY eastwood kit) and the switches mounted and a bit of the wiring sorted. I also gave up on the stock cluster due to time constraints, and mine would shut off randomly when it was in the car before, so i ordered a VDO tach that will go where the cluster was.

Last edited by blake261; 03-24-2015 at 02:19 PM.
Member
Got more of the wiring done this week, switches are wired to ign and relays, relays and fuse box are wired, grounds for the kill and relays are done. Finally, I can start adding stock circuits back in. Ill either start with the lighting or windshield wipers first, then onto the X20 plug, etc.
Also had time to get my rings gapped, and installed them and the rods onto the pistons. Put 1-3 in the block, and then decided I should probably get them bolted around the crank before I continue so they don't scratch anything when I move the crank and flip the block over on the stand. A Quick trip to Turner this morning for the rob bearings, and an order for a headgasket from eeuroparts and I will hopefully have the motor ready to go in the car on sunday. I've allotted the whole weekend, so progress should be much quicker, and of course, I take some decent pics along the way and post up.
Member
Welp, I made it to TOD with witw. Aside from some rain and water issues, car ran well. I focused on cornering, rather than winding my motor out, although I can say I didn't do it once, its just so intoxicating. Finished the block, threw the head on, tossed it in the car, made a cluster, finished my lighting harnesses, put it on a trailer and brought It to NC.
Member
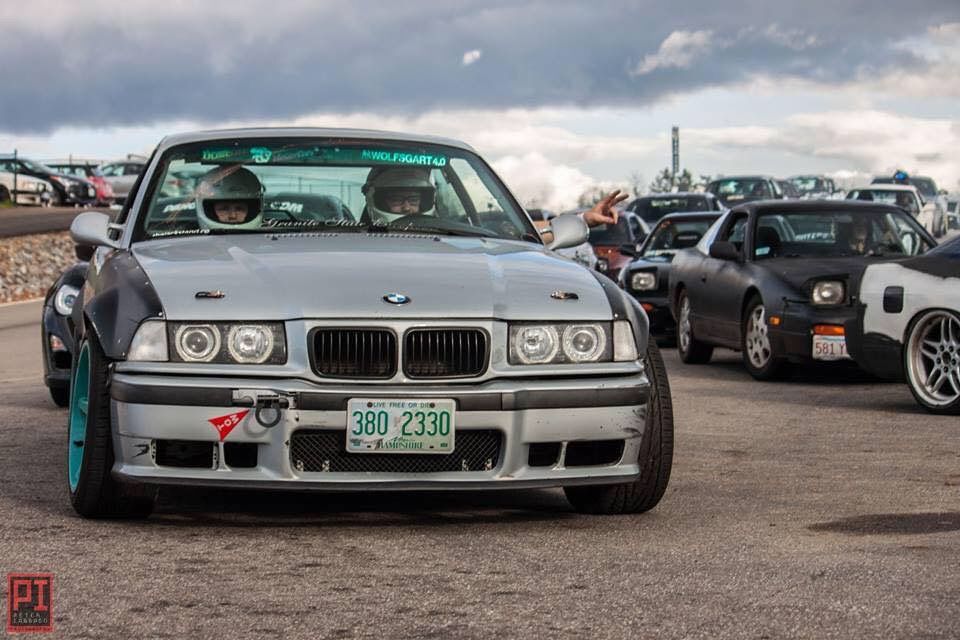
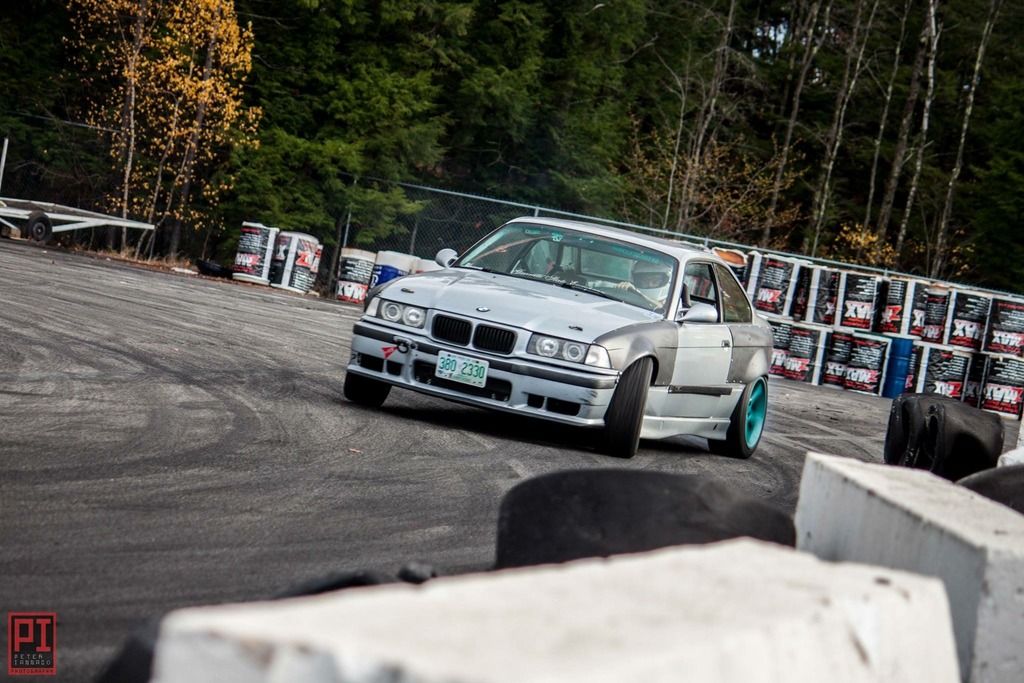
Some proof I made it out! The alternator, of all things, ended up dying on the dragon. This was the only time I actually made it on the dragon, but I did the other mountain roads (mostly hellbender) closer to fontana with a jump pack in the back. Car handled, sounded, and felt insane. Having low horsepower, but equal torque, in a now extremely light car felt so raw, and fun. Very go-kart-esk.
Yesterday I completely gutted the doors, and made brackets so my windows now bolt onto the doors. I was trying to keep the sliders and manually close the windows when it rained, but they always fell down or off the track. Now they're either on or off, two bolts hold them in. I'll post some pics up later this week
Member
Thread revival time.
I've been doing a lot of work to the car since I finished the motor and finished college. I moved back down to GA, got a job (EE), and have been getting the car to where I want it to be for some reasonable monthly tandem drifting and to make it look better overall. Motor is running strong and is making the car pour a good amount of smoke. Also I changed my IG name to @blakevanthof, if you want better than yearly updates. Right now, I just dropped the cage and welded the top, tonight it should go back onto the plinth blocks and get welded in permanently. I'll get some pics once it's primed, with the GA humidity, it just looks like a bunch of rusty tubes in a very dirty mess of a car.
Changes:
Big Duck Club Overfenders
Tube Rear
Full Cage
Front Bash Bar
Lexan Windows
Aluminum Rear Bulkhead
Custom Center exit exhaust
More weight loss
More wheels
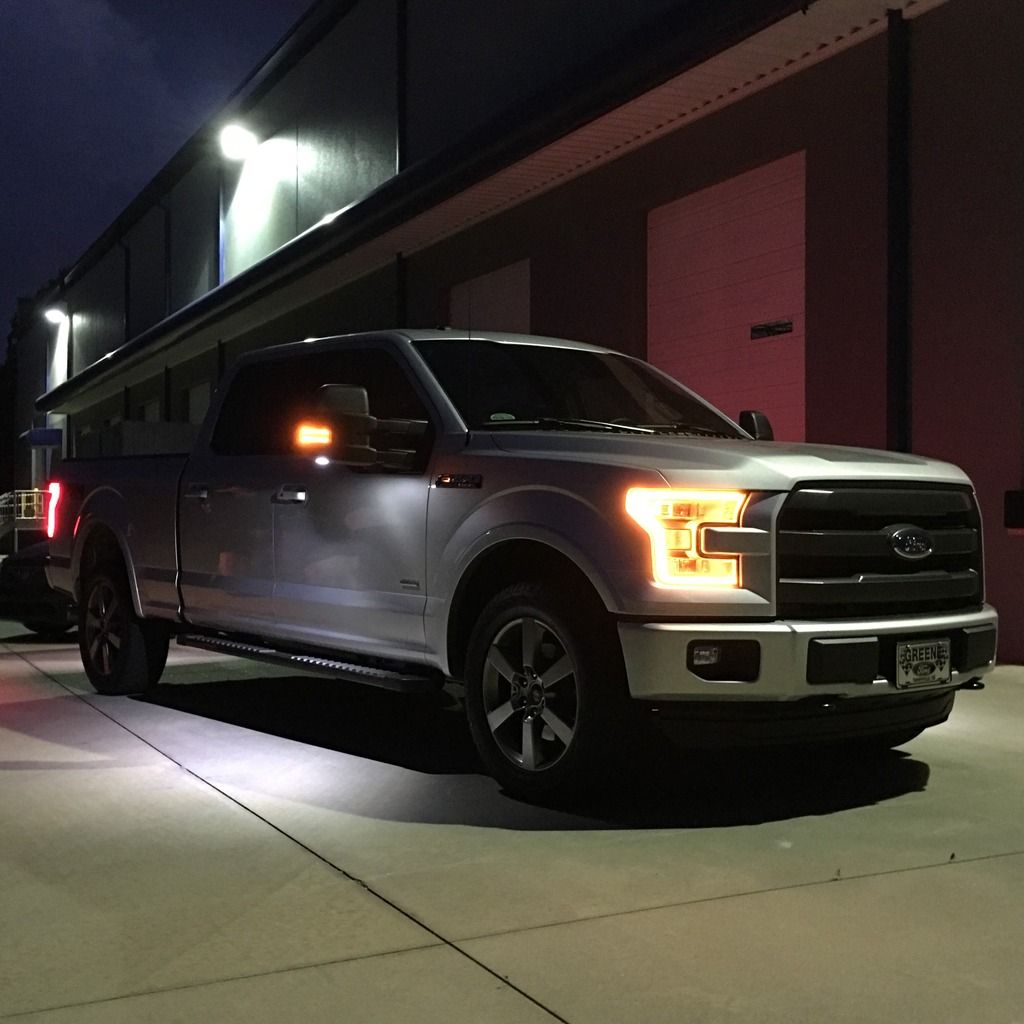
and I bought a F-150 to haul the car around. No more driving to/from events.
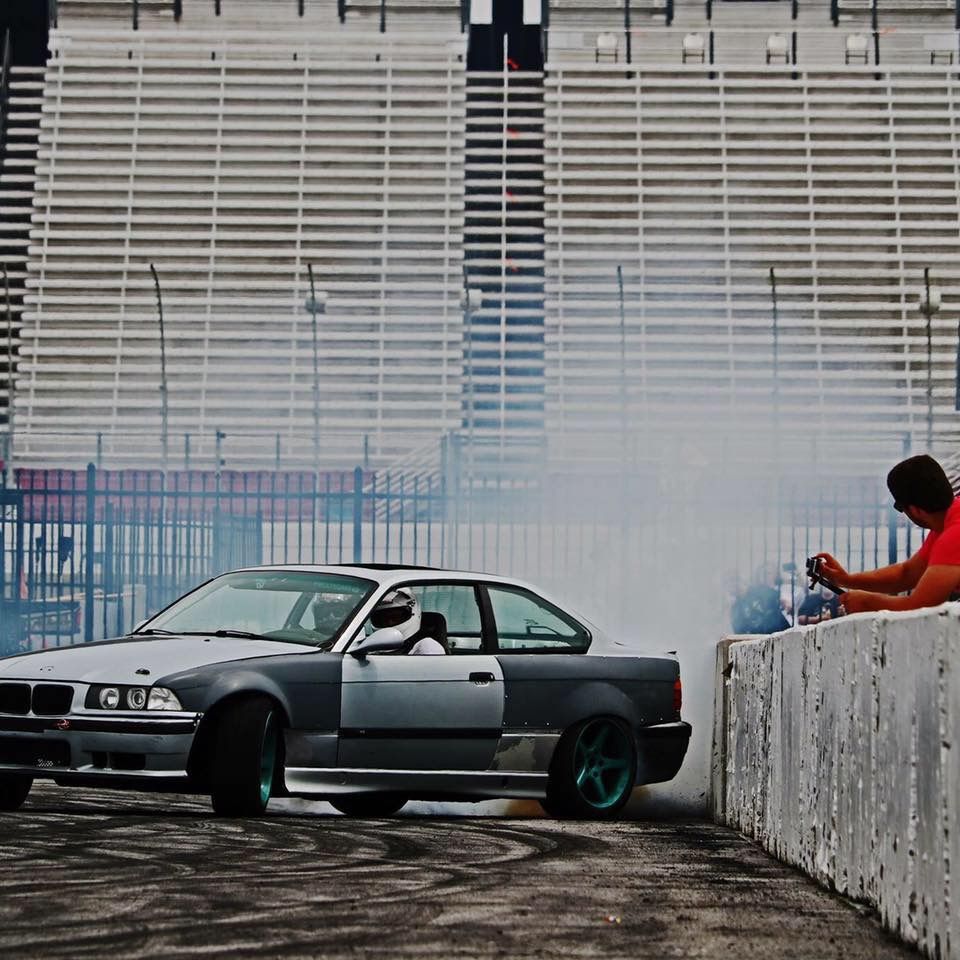
I tried to wrap the car red, bought some cheap wrap off amazon, and paid for it dearly. wrap was perfect, spent tons of time and did it right. As soon as it hit the sun. BAM! shrunk to shit and looked terrible. went to Tail of the Dragon anyway.
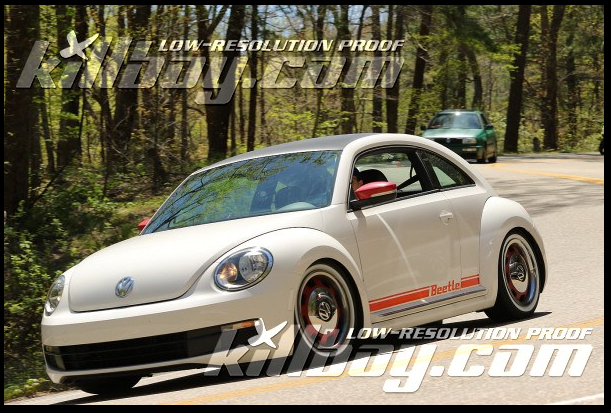
My girlfriend came in her beetle too!
A couple pics from Clubloose north before I moved:
One from AMS for a FastStunts private drift day
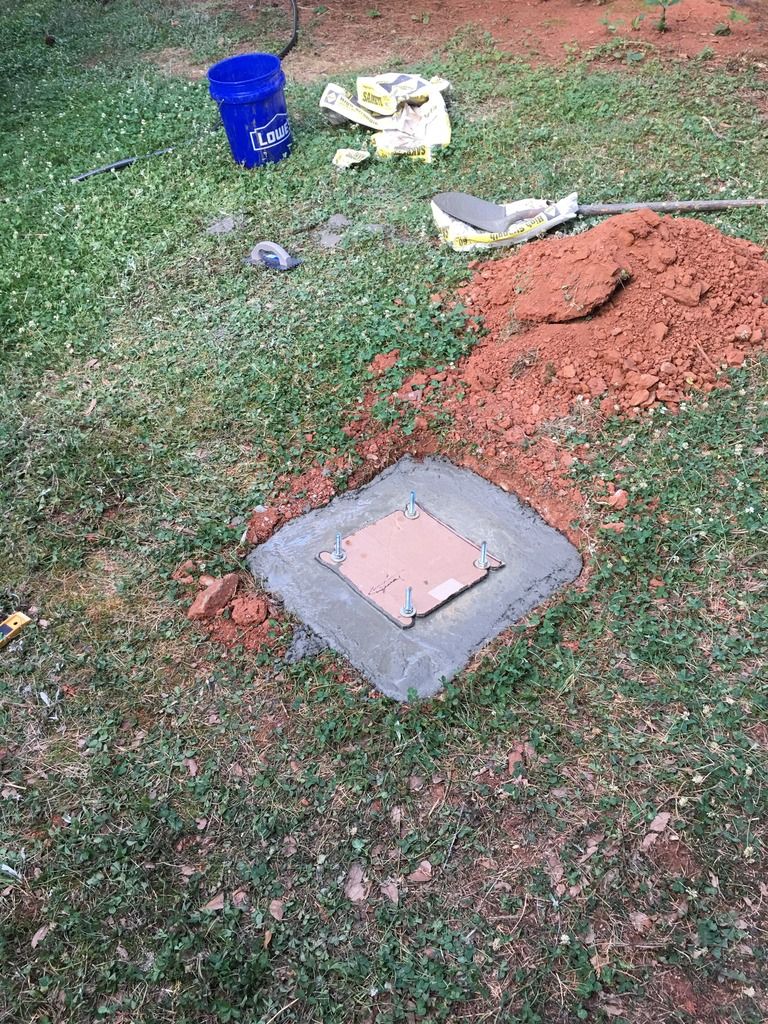
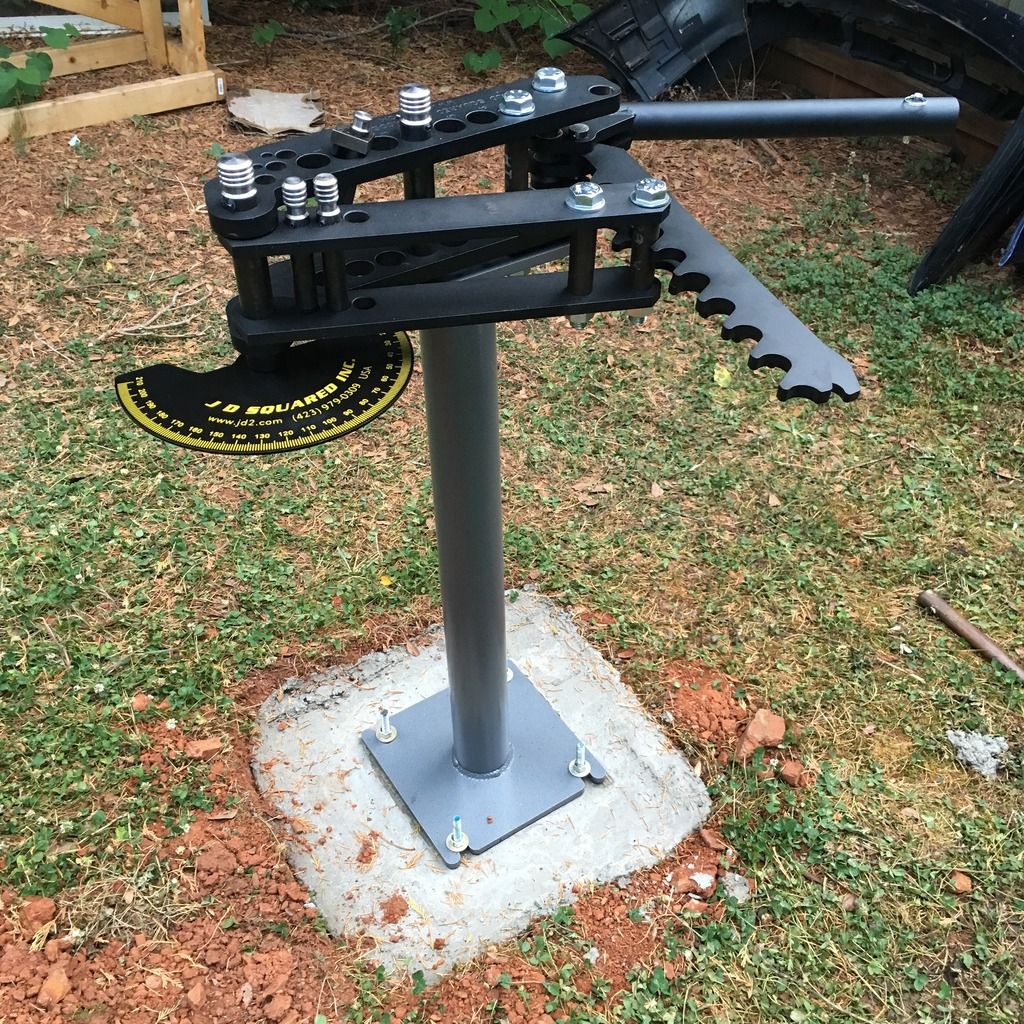
After this event, I realized it's time to step my game up and get a cage to start running tandem. I bought A JD2 tube bender, and since I rent my house, I poured a smal slab in the yard instead of drilling thru the garage floor.
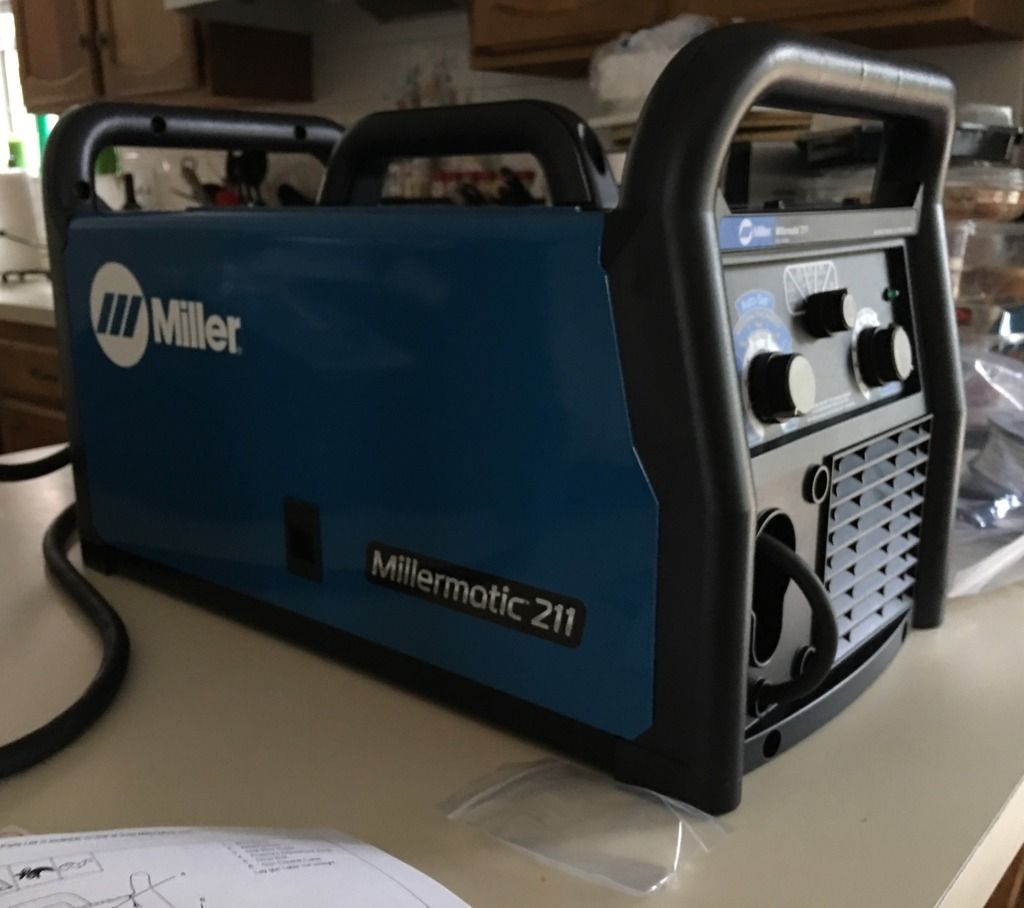
Then, I needed to upgrade my cheap welder to something a little better. Bought a NotchMaster too.
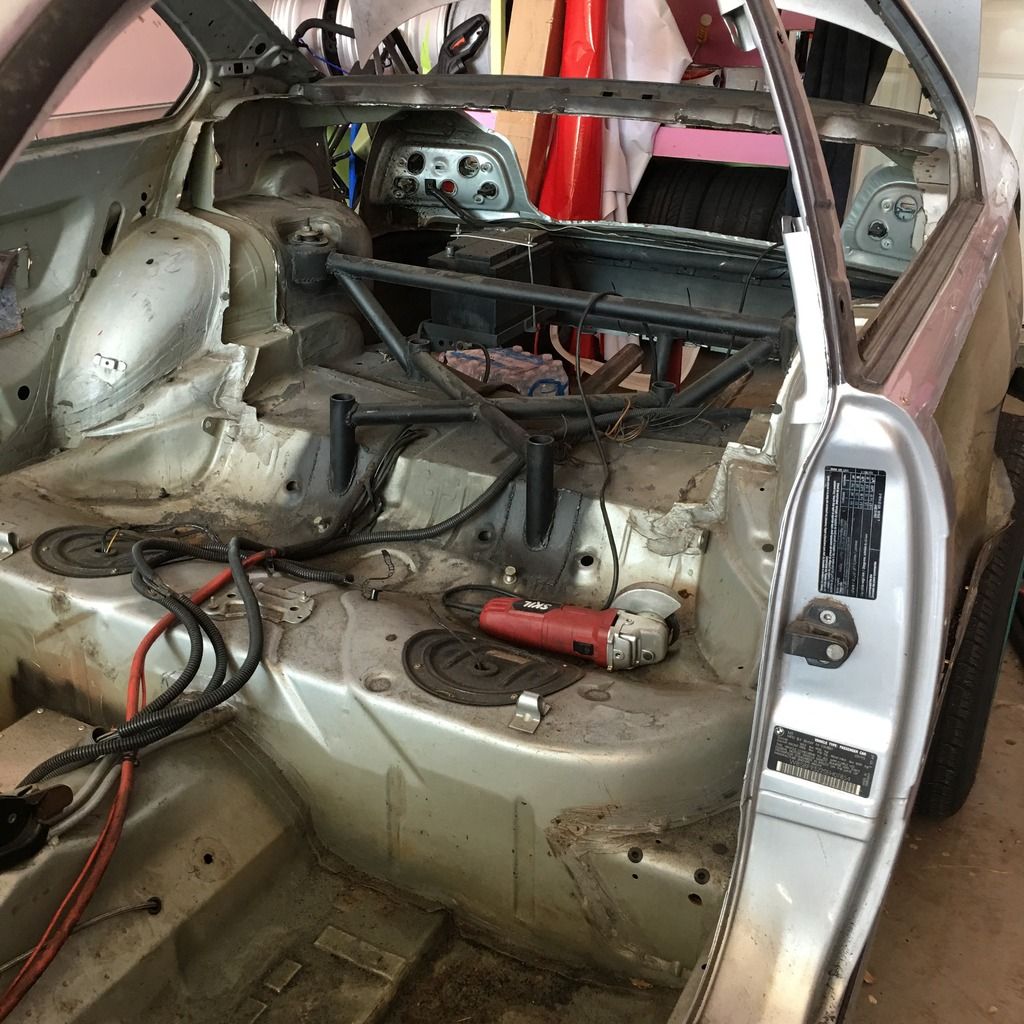
I started by diving right in an cutting the rear bulkhead/deck out. Then promptly stopped taking pictures for some reason
I'll get some more pics tonight, the cage should be up and ready to add additional bars to. but as you may have noticed, my promises for pictures can sometimes be untimely, or completely empty.
Last edited by blake261; 08-05-2016 at 03:17 PM. Reason: No one like attachments
Member
Rear subframe tubing looks great. I wish I did that before I welded my cage in.
 Posting Permissions


 Reply With Quote


Bookmarks