
 Member
Searched the forum, and didn't find a DIY on this topic, so decided to post it.
This is my first time making pictures while working on my car, so the photos might not be of best quality.
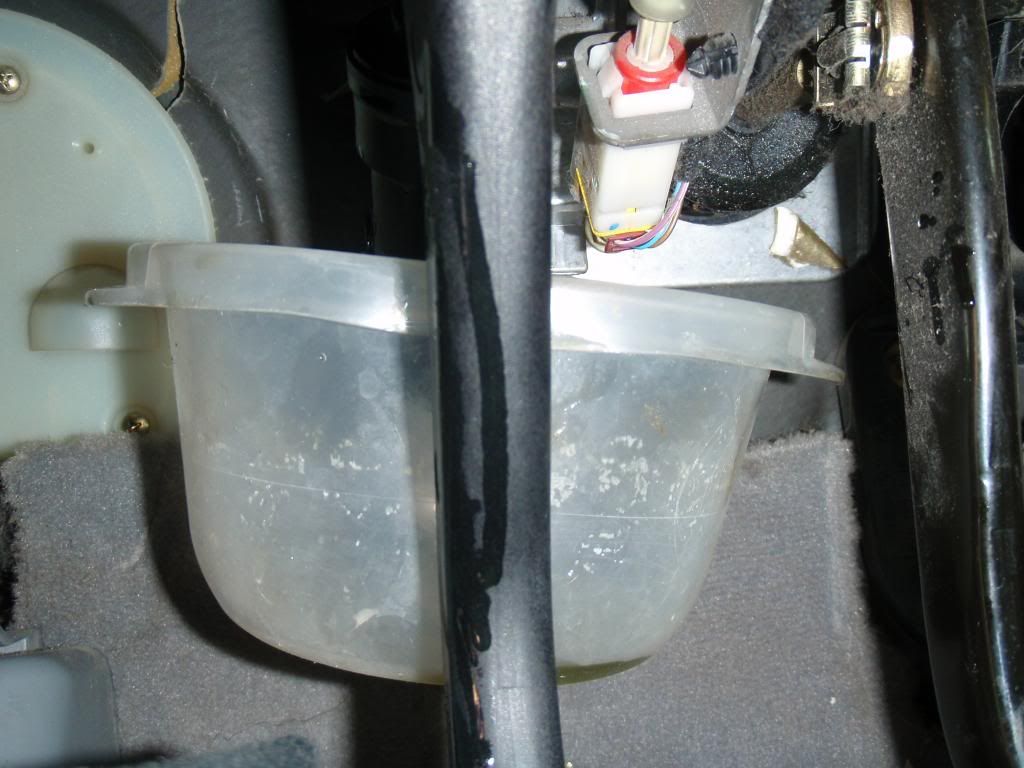
So, I noticed this on my floor mat:
took a closer look, and found the problem:
Replacing the cylinder and bleeding the clutch took me about 2 hours (was taking my time). I would rate the difficulty of this job 4 out of 10 (did it in the parking lot). As a guide used the Bentley manual.
PART I: Clutch master cylinder replacement
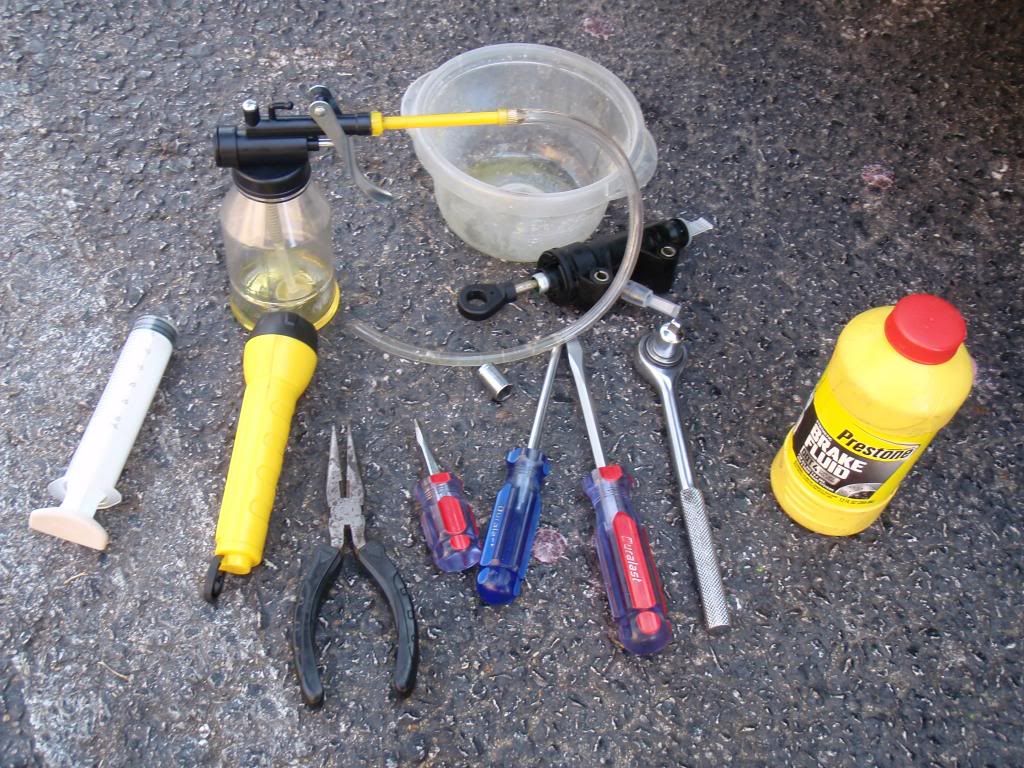
Tools and parts needed:
Flat screw driver
Phillips screw driver
10 mm socket
Syringe
Flash light
Some kind of container (plastic or glass- to catch the oil)
New clutch master cylinder
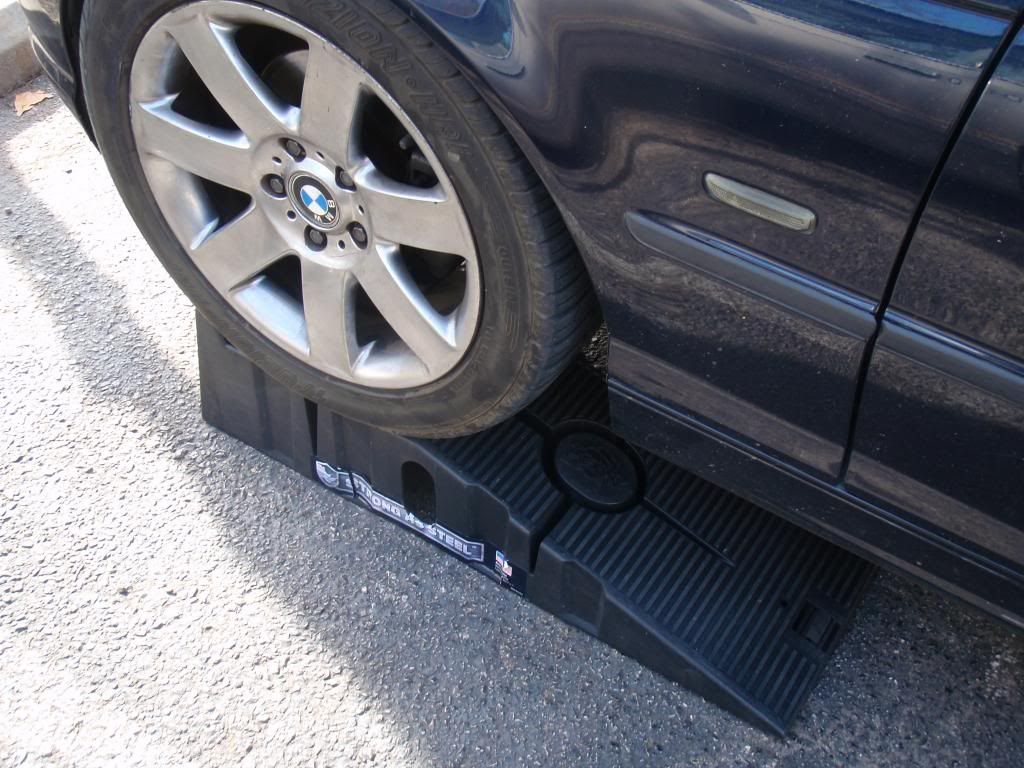
1. Lift the car using either the ramps or jack stands
2. Disconnect the negative terminal of the battery, might not be necessary, but I always do while working on my car.
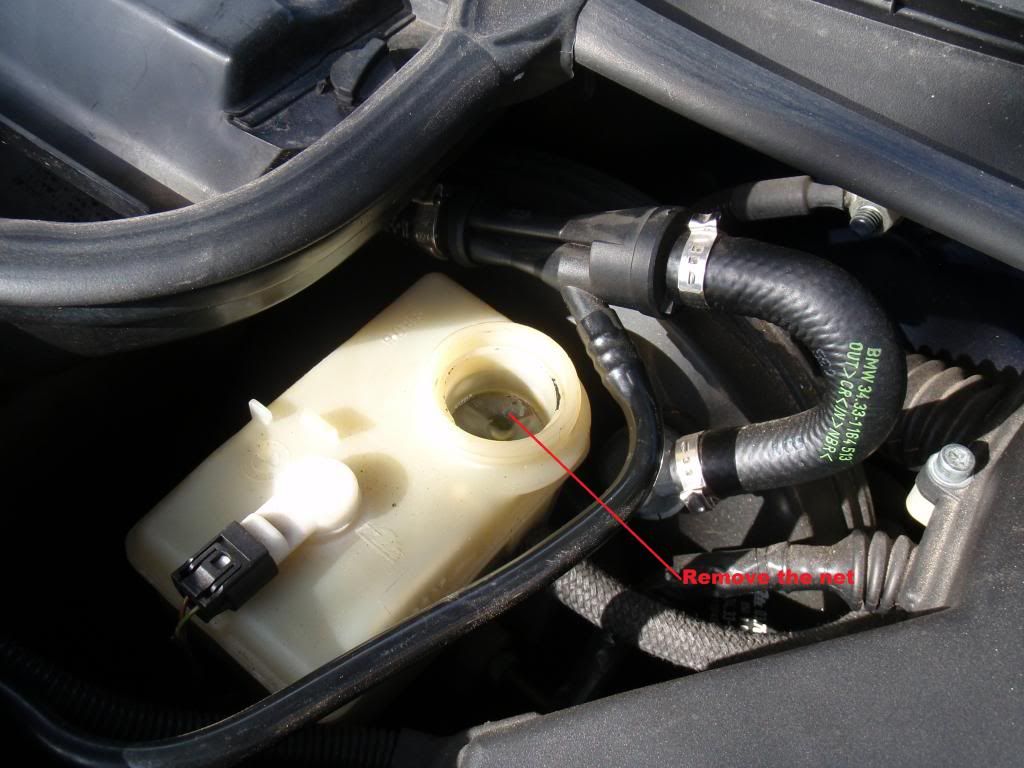
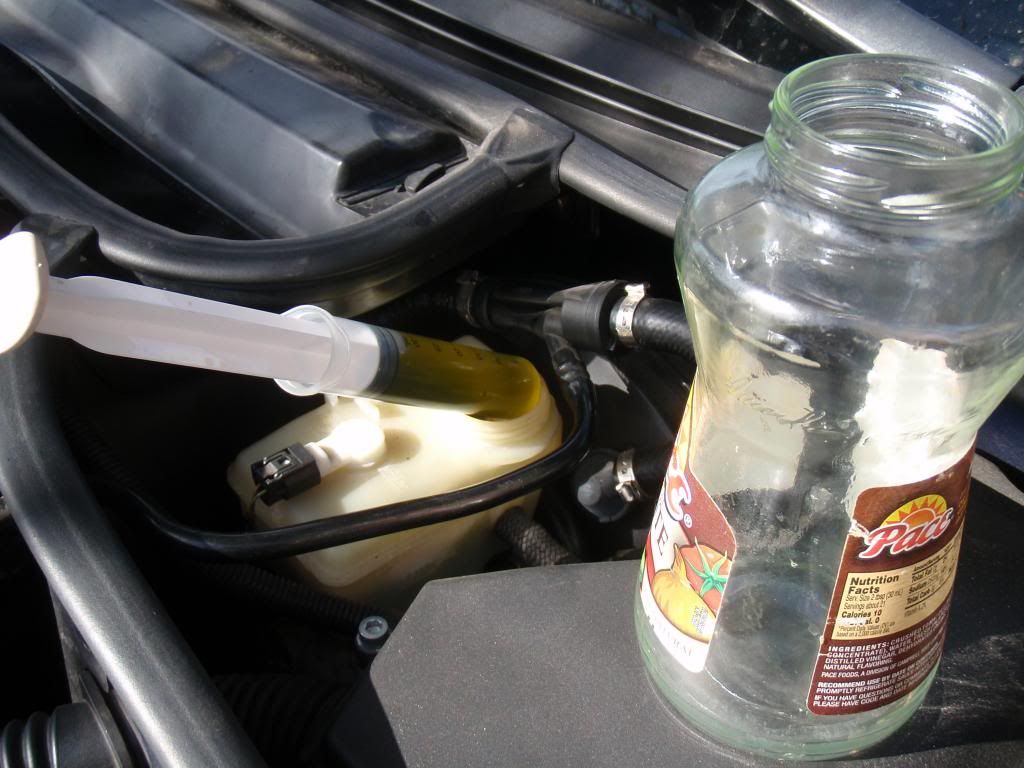
3. Empty the brake fluid reservoir using the syringe:
(I used a flat screw driver to pry out the net)
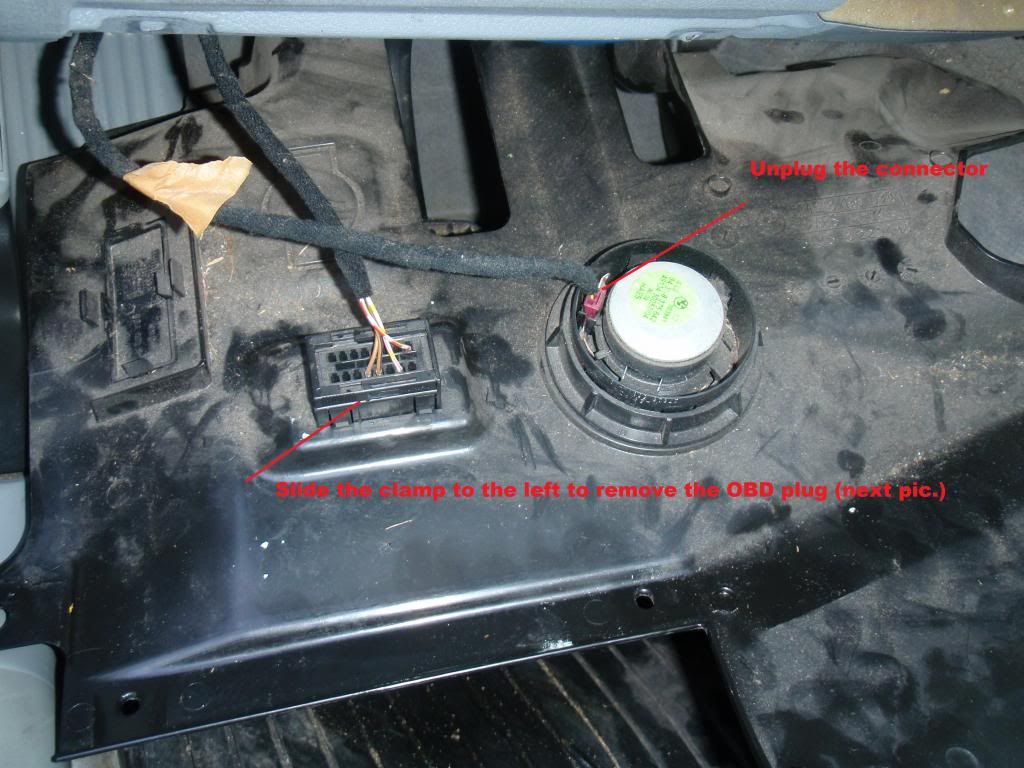
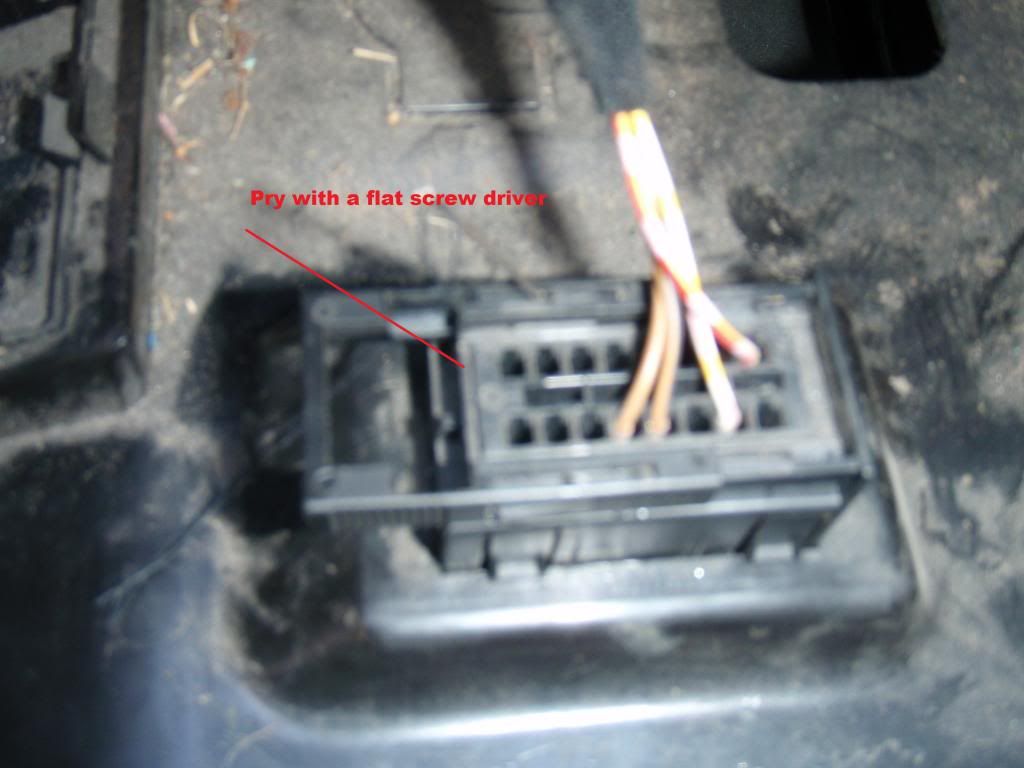
4. Remove the plastic guard under the steering wheel
(I know, it could be done in one picture)
There are 2 clamps, I used the flat screw driver to release the pressure from the clamps
5. Master cylinder removing
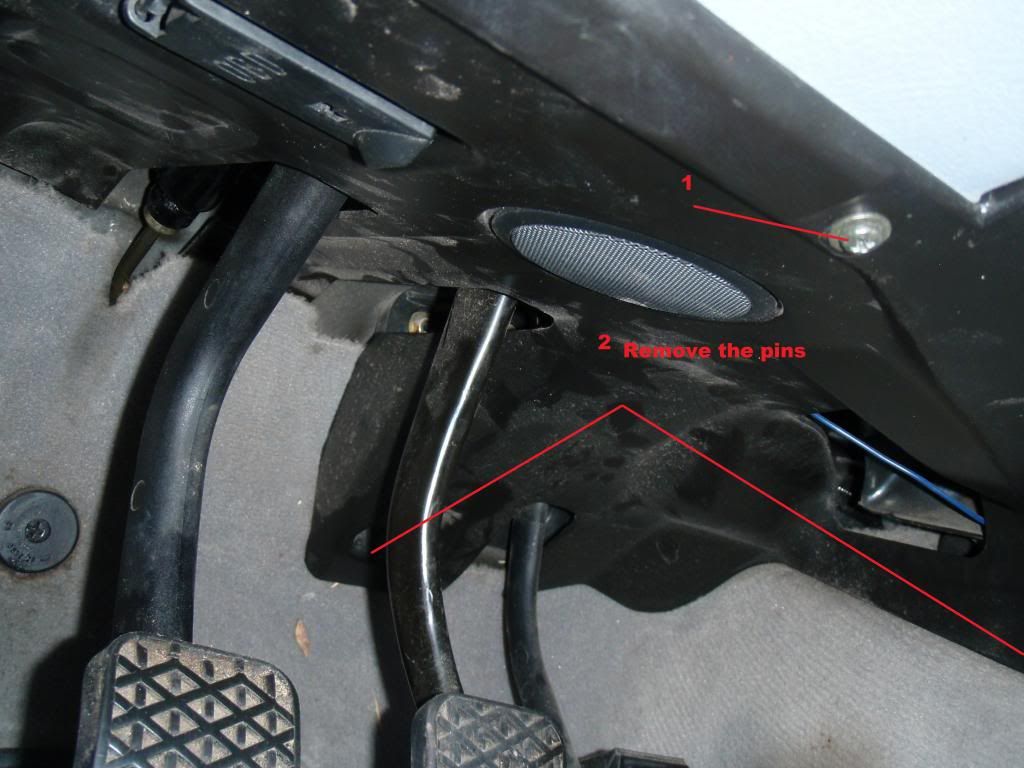
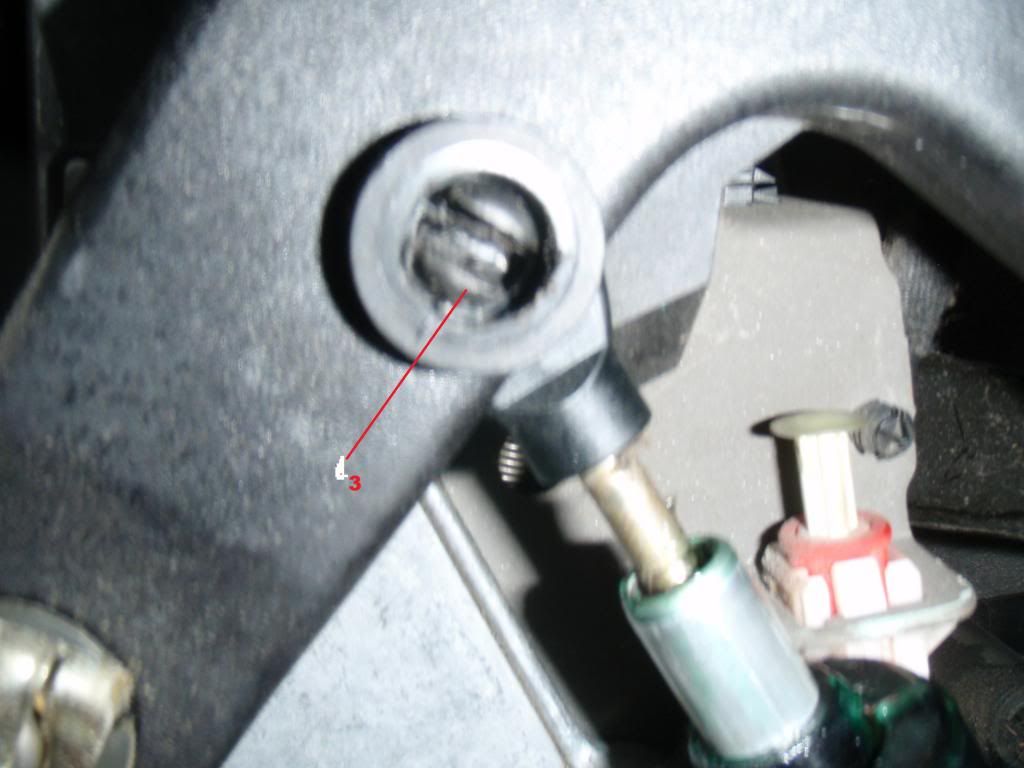
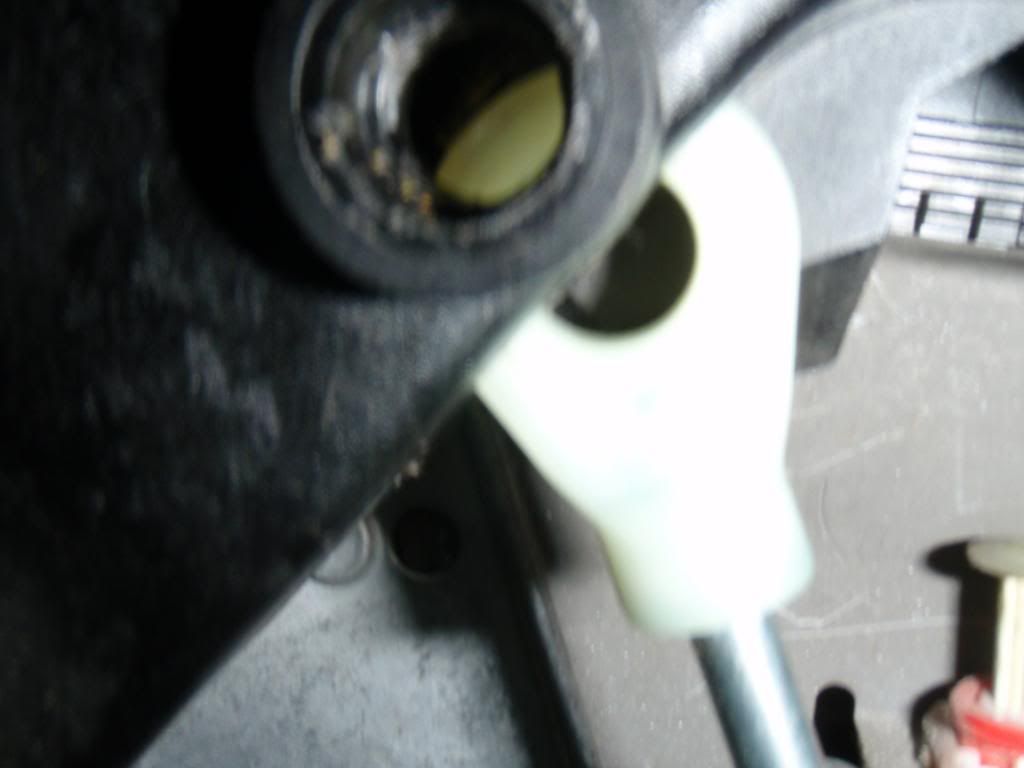
To detach pedal from cylinder we have to remove securing pin.
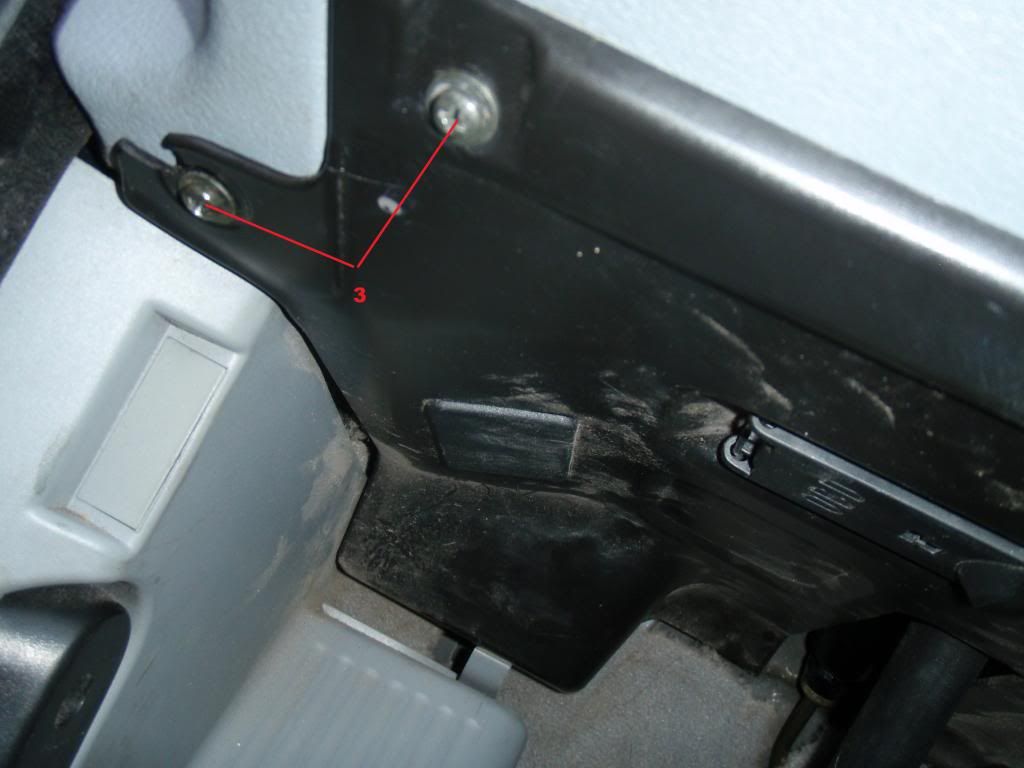
In order to remove the securing pin, we'll have to remove a switch (1) first from our way (I guess it's a cruise control switch), the switch (1) is in a metal bracket, it pops out easily (pressed it with my fingers), sorry for the picture quality. Also removed the tensioner spring (2) ( not necessary, but made it easier for me to work)
Now, when the right side is clear ( where the switch is located) we can remove the pin 3 by pushing it from left to right (it won't go conversely)
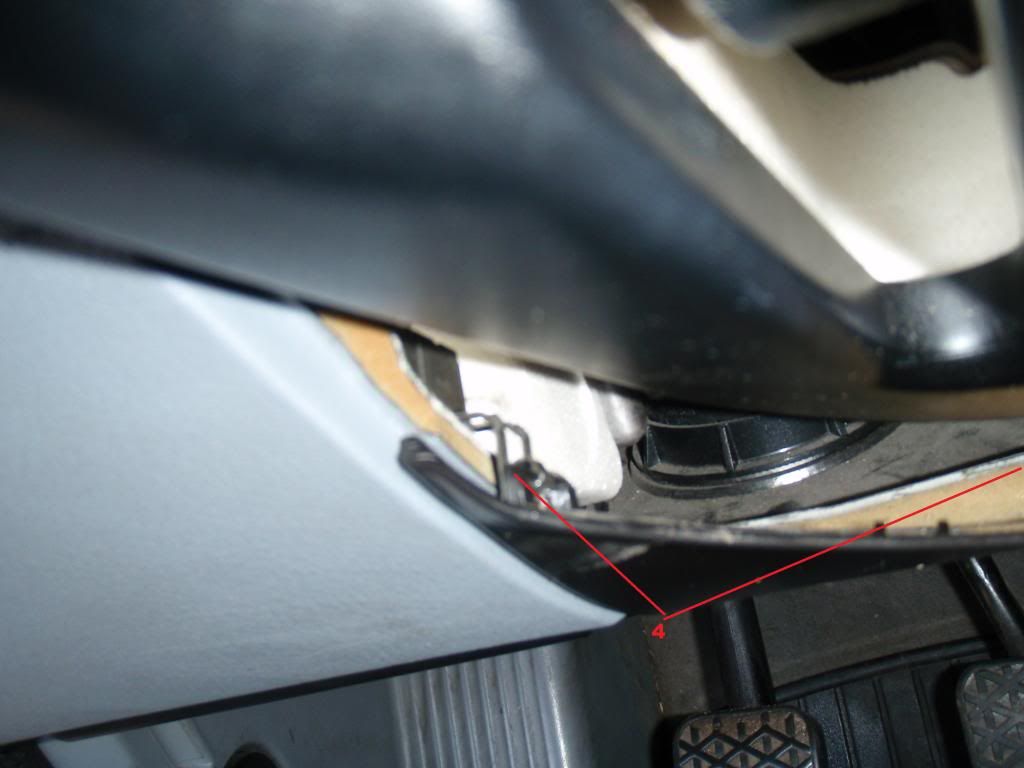
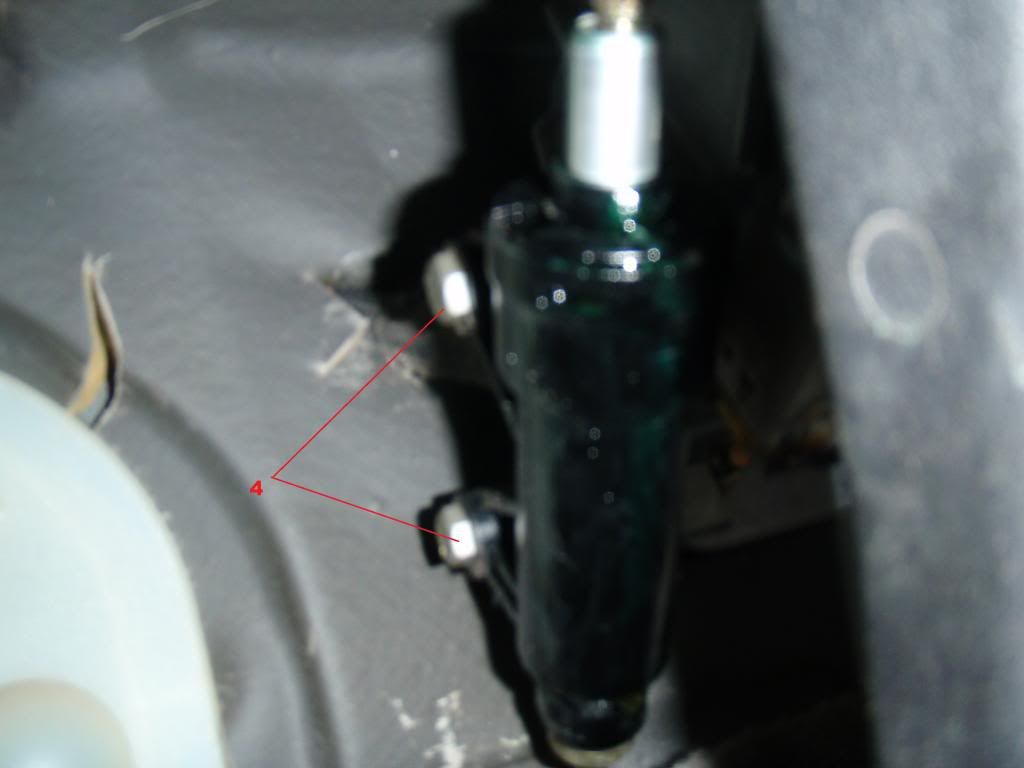
Next step is to remove two bolts (4) -10 mm socket
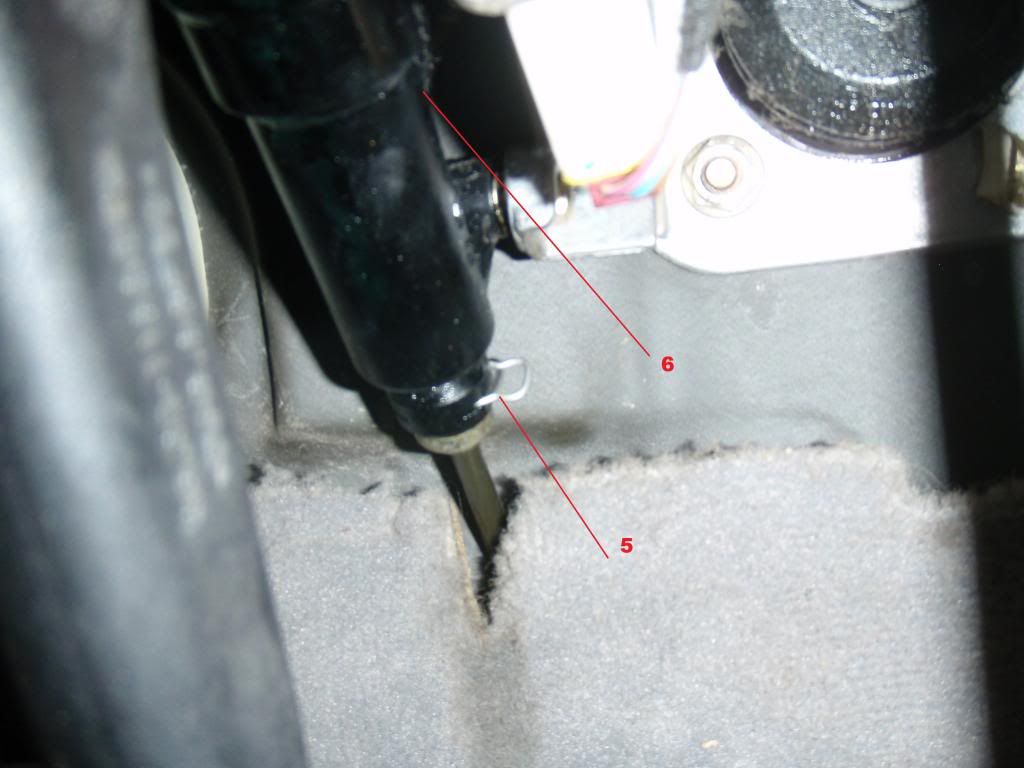
After the mounting bolts are removed, remove clip 5 retaining hydraulic
line to master cylinder. Be prepared to catch any excess brake fluid remaining
in hydraulic line. Pull hydraulic line from master cylinder. Remove master cylinder with supply hose 6. Twist the cylinder and the supply braided hose will come off, so will the master cylinder
Installation is reverse of removal.
PART II: Clutch bleeding
Tools needed:
Brake/clutch bleeder
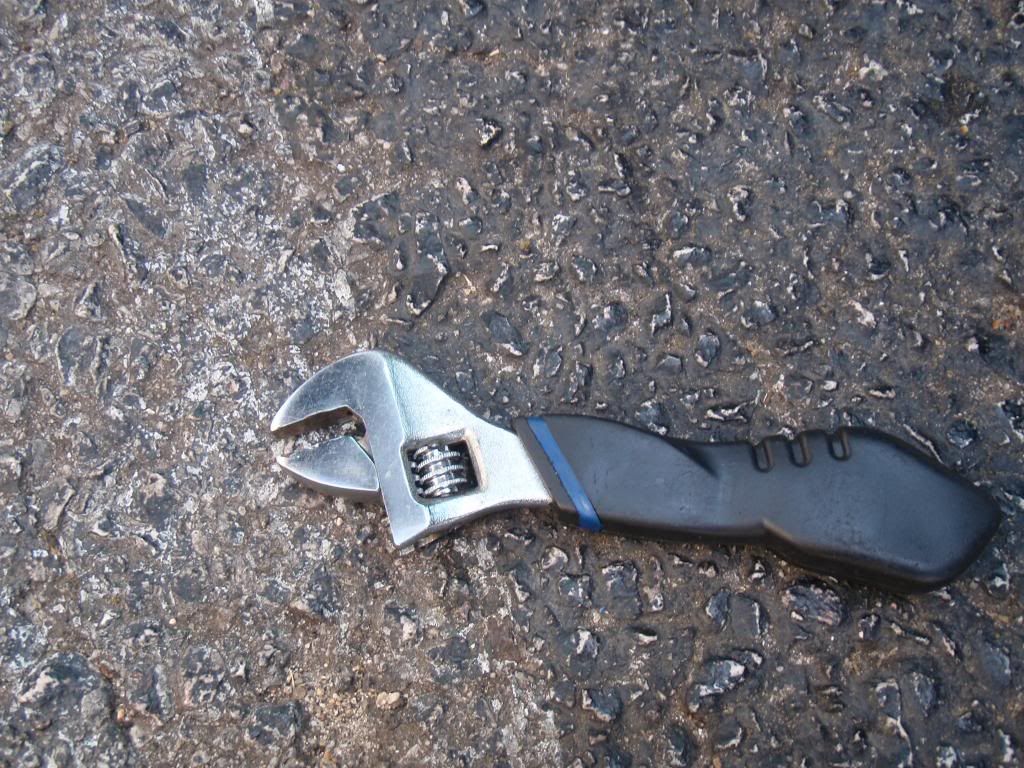
7 mm open wrench
Brake fluid DOT 4
I didn't have a 7 mm open wrench (used to open the bleeder screw on a slave cylinder), so I used an adjustable wrench.
As a guide on bleeding I used this video on youtube: [ame]http://www.youtube.com/watch?v=wdf--suwqw0[/ame]
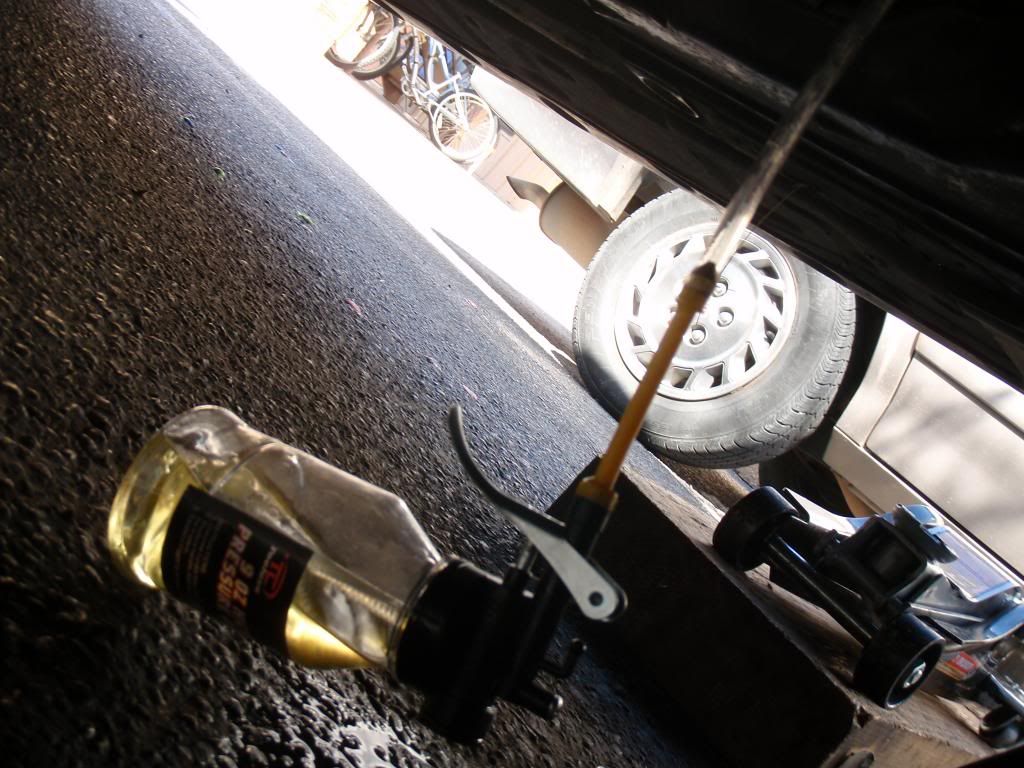
I decided to use the same pump style oil can as shown in this link, which I purchased on ebay for $23 shipped.
Fill the oil can with brake fluid, 2/3 of the can (the volume of the can is 9 oz) it's more than enough. Pump the fluid to the end of the line to remove the air and squeeze the pipe at the end, after that attach the pipe to the slave cylinder bleeder screw
Open the bleeder screw with a 7 mm wrench and start pumping until no more bubbles are seen in the brake fluid reservoir (got my friend watching while I was pumping under the car), once you're done, close the bleeder screw
The bleeding took just a few minutes, tested the clutch and it works fine from the first attempt of bleeding.
Any comments or suggestions on how to do this easier and faster are welcomed.
Member
Old Thread but, Good Work!
I love this car.
DIY Videos and Help
Member
Extremely helpful! I am super glad I found this. Great write up!
Member
Reviving an old thread, but a couple useful tips to add:
-the little red collar in the cruise control clutch switch has to be pulled out to allow the switch to be removed (the collar while engaged prevents the retaining tabs from being pressed in to release the switch, I struggled for a while before I figured this out)
-one of the retaining tabs on the switch broke for me, and these switches are cheap, may as well have one on hand to avoid going back in to replace the switch if you plan to use the cruise control again
-push a 5/16" socket into the pivot pin on the clutch pedal to disengage (depending on your socket wall thickness, you may need a different size, the idea is that the rounded pin head halves will push to the centre when pushing the socket in). I struggled for a bit with a screw driver and pliers before coming up with this
-consider replacing the reservoir hose, mine was stuck pretty good and it would be easier to cut it off the reservoir and pull the old one through rather than trying to pull it off in the confines of the footwell
Member
Great DIY. The above poster helped me out as well. It was a pain to get the switch out since I didn't know what I was doing till I read the above post. Just move the collar out of the way then the pins can be removed. Putting the spring back in was a real pain for me. Also definitely do get a new reservoir hose. Mine old master cylinder broke off its nipple inside. I got another generic cloth braided hose that was slightly smaller. All was well for about 2 months and 2k miles. Now I have a leak again but I think its probably the hose since it wouldn't go on all the way only just past the barb on the master cylinder but it could be the master cylinder so in an effort not to do this job 2 more times I ordered a new OEM part number hose and yet another new master cylinder. Replacing the new-old one just to be safe since I have to take it out again anyway.
2001 Z3 M Coupe Phoenix Yellow/Black
2001 M3 Titanium Silver/Gray
1997 M3 Coupe Dakar Yellow/Gray M-Cross
1989 M3 Zinnobarrot/Gray
2001 E46 330Ci Sport Package Manual Schwarz/Black
Member
Hy there,
Can anyone repost the pictures? They are not available any more and that would be a great help. Or a complete PDF?
Thanks/
 Posting Permissions


 Reply With Quote

Bookmarks