

 Kings Auto Body Shop
Like it, nice job man
very much so...
Looks awesome man, great build!
One thing you might consider:
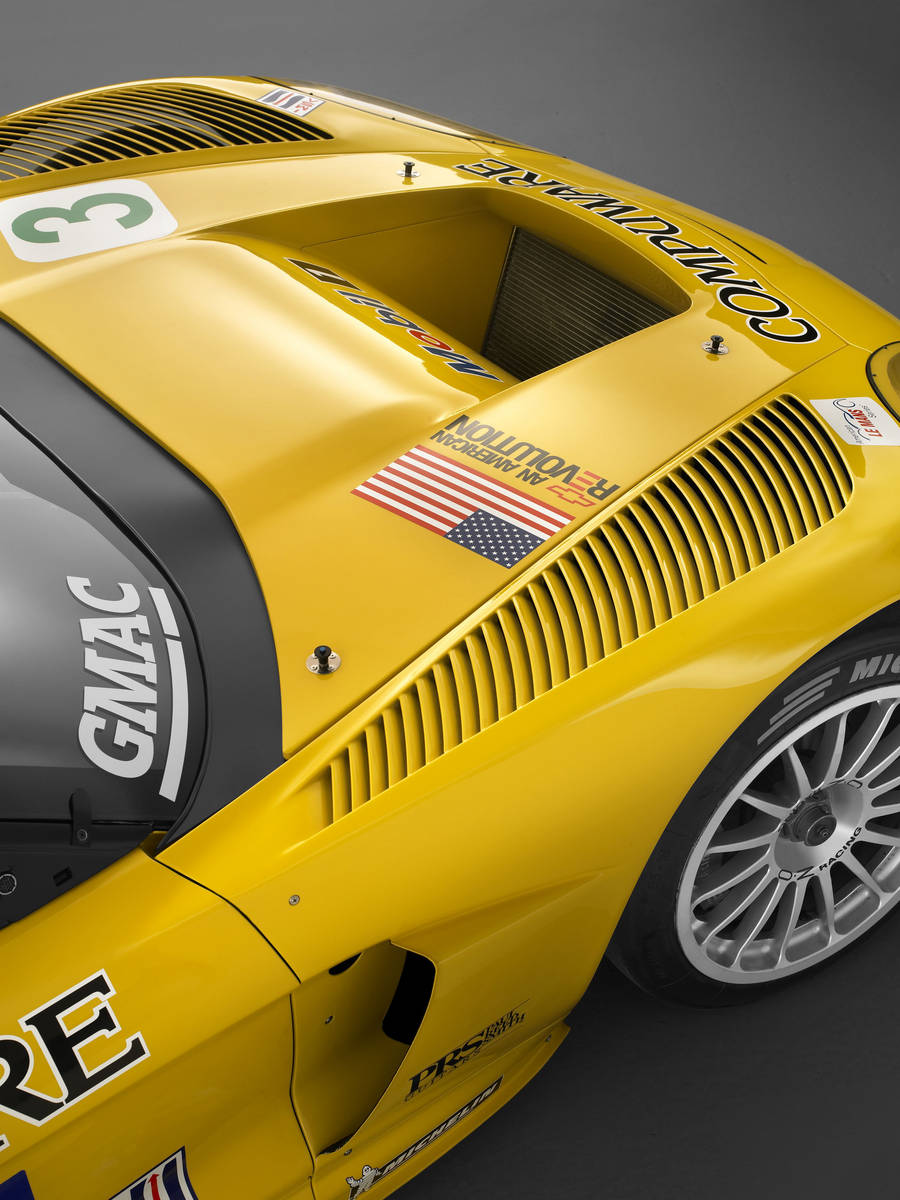
The flared rear edges of the back bumper can catch air, causing more issues than they help. You might consider trimming the backside of the rear flares closer to the car (this shaping is becoming common practice in many race series).
Just a small input, take it or leave it.
Your work is really impressive, I can't wait to see the finished product.
Member
Very impressed with this build...can't wait to see the finished product!
LONG GONE:2003 330i ZHP Imola Red/Black - Turner Motorsports Slotted rotors/ Axxis Ultimate pads, Stainless brake lines, CDV removal/ UUC stainless Clutch line, DIY Clutch Stop, GC Coilovers 500#F 550#R, Vorshlag Camber Plates, TC Kline RSM's, TC Kline Pro Studs, Custom Intake, Powerflex RTAB's and FCAB's, 10mm H&R spacers F+R, H&R 27mm Front Sway, Mason Engineering Race Bar, Williams Engineering 3" Stainless Mandrel Race Exhaust, 255/35/18 Square RE01R's.
Member
BMW CCA Member
One of the cleaner brake duct ideas I've seen was to put the inlet for the duct inside the same area as the radiator. (Red circles) Effectively hides it behind the rad screen. It will leave the lower front clean and make it simpler to install vanes for down force later.Originally Posted by Calaway16

Will you make the splitter a separate part as it can get damaged?
Awesome project BTW
Last edited by osborni; 01-17-2013 at 11:38 AM.
- Ian
2000 M Coupe, stripped and DE prepped
46mm wheel bearing socket for rent - $30 deposit + $10 fee. PM for details.
Member
Good idea. I was thinking about cutting vents but I may end up going your suggested route.
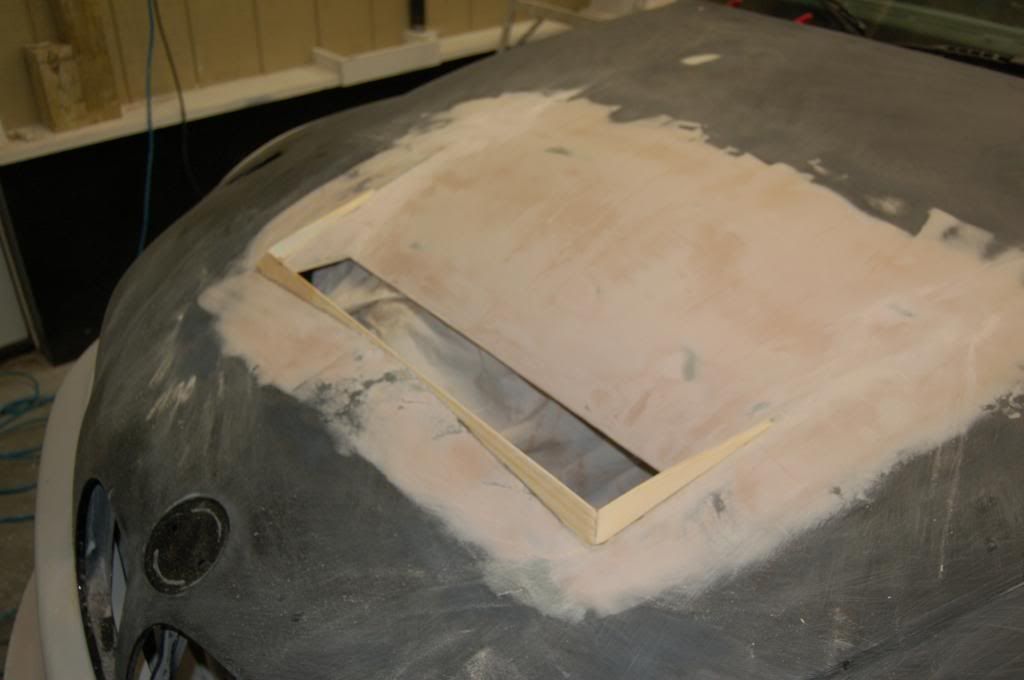
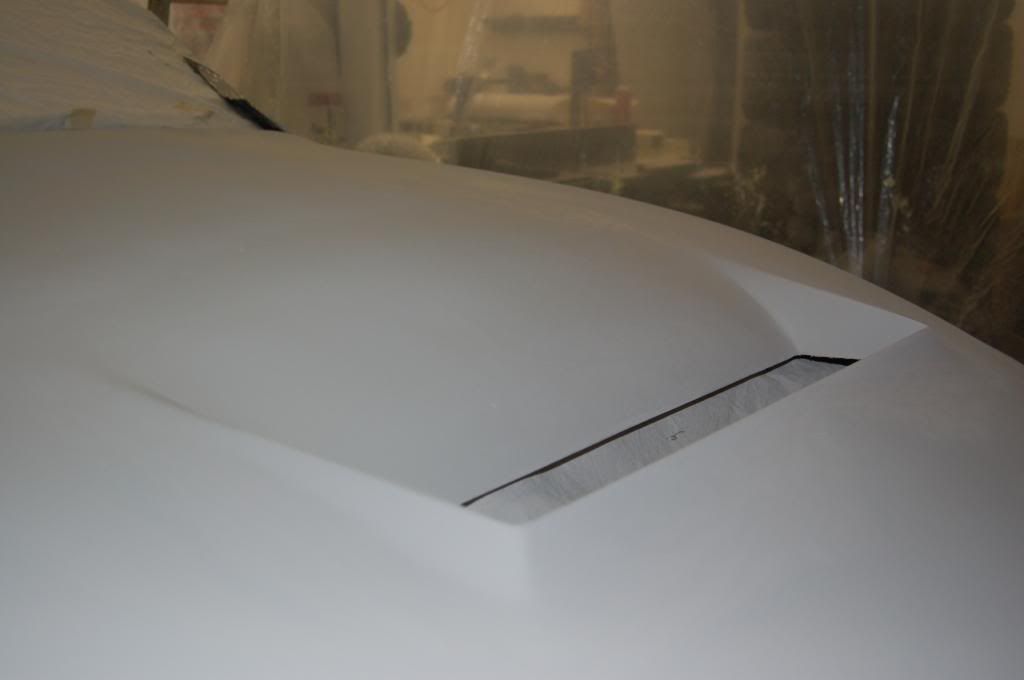
More photos and more work:
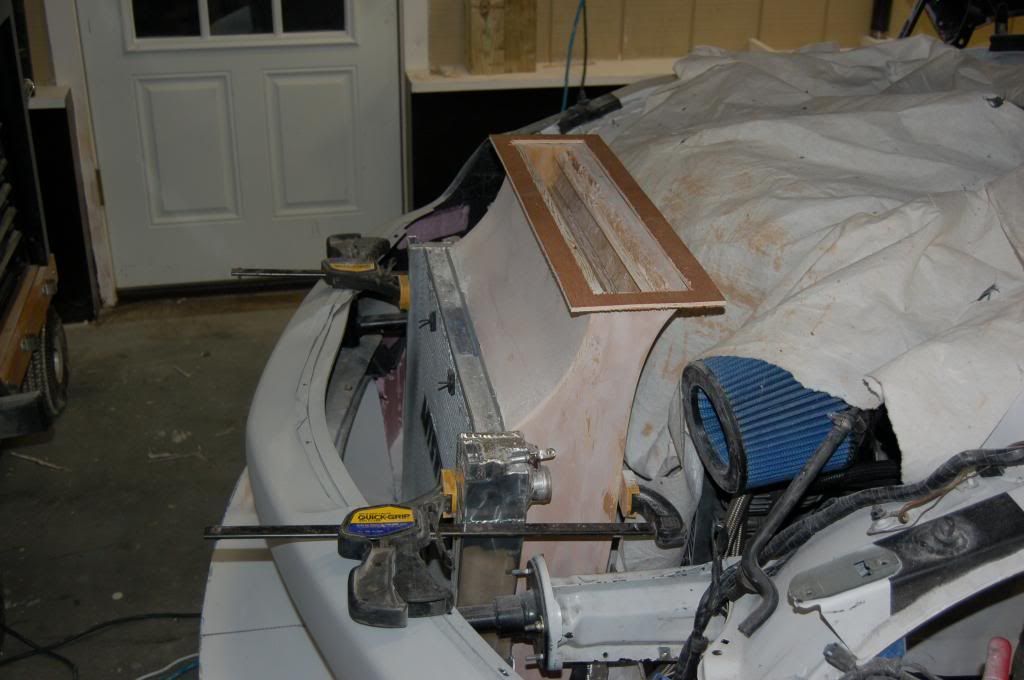
Hood is taking shape. I clamped the radiator vent mold to the radiator to work on the union between the vent and the hood. I sanded the hood surface smooth and glued the piece of wood shown resting on the vent to the underside to define the final elevation and shape of the hole in the hood.
Now I have a hard surface to work to.
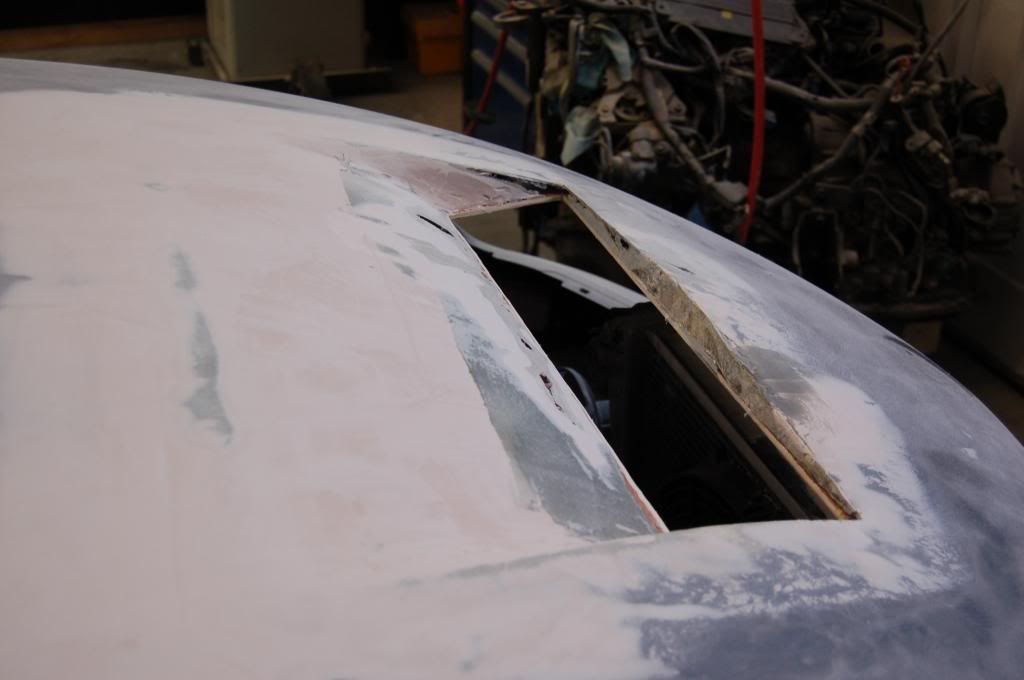
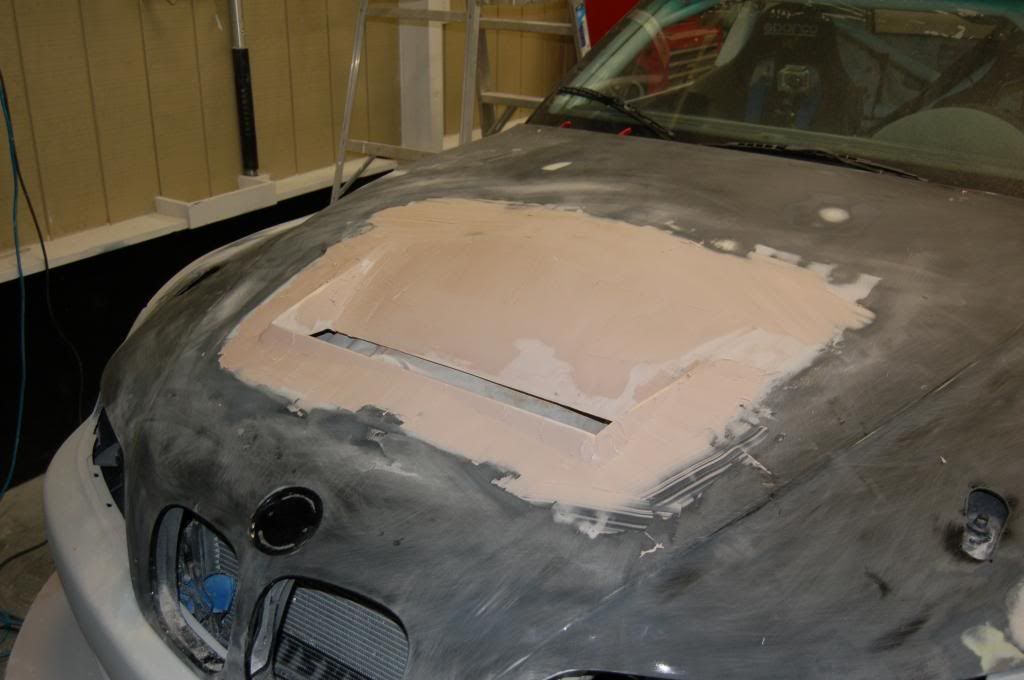
Installing a lip at the front to encourage an area of low pressure behind the vent.
Blending in.
Hmmm. That's an interesting idea. I don't really need big brake ducts since the car is pretty light and has big brakes, so that might work.
Yes the splitter will be a separate piece.
Last edited by Calaway16; 01-17-2013 at 11:41 AM. Reason: Automerged Doublepost
______________________________
Nick Large
Member
I love this build.
Tenured Automotive Service Professional - Avid BMW Enthusiast
Member
...really looking good....fantastic work.
I think cutting away some of the rear flare is a worthy point..like in the Porsche pic.....even DTM is doing it....
Member
Awesome job man! Subbed for finished work!
Member
Get back to your own wide body project!
Senior Member
Supporting Vendor
Amazing build! I can't wait to see more!!!
Member
Member
Love and hate this thread.
Love: because its the coolest thing I've ever seen.
Hate: because now I have to get a coupe
Anyways hope everything works out great for you.
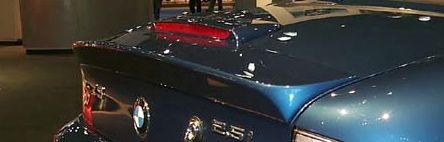
WTB: Factory OEM Rear Spoiler (See Pic)
Member
That's very high-quality work you're doing.
It's hard to tell from the photos - will the radiator vent send a column of air straight up as it exits the vent, or will the exiting air be aimed so that it merges smoothly into the air flowing over the hood, thereby disturbing the boundary layer as little as possible? I've seen shots like yours of factory cars, but have never seen exactly how they channel the air coming out of the vent.
Member
I havent seen this! But this build is awesome! love the hood/radiator vent! Did you do research on it to know exactly what you wanted or did you just design it freely. Im really liking the whole thing!
1995 M3 Vortech Supercharged
Facebook.com/LUXFAB
very much so...
Ideally the vent would be larger and angled farther back, but as he said, there's not much room in front of the engine.
Most factory cars have the engine moved down and back significantly, but he's keeping the engine in the stock location.
There's a gereally a pretty large area of low pressure on top of the hood, especially one as big as the Z3s. I don't think it will be too much of an issue.
Member
This is what you want:
But obviously that engine is very very low and far back. I'm going with the "it has to be better than it was before" mantra. Before I had the air coming through the kidneys and the small opening above the splitter and doing nothing else. Presumably it swam around the engine bay getting hot before finally exiting out the bottom of the car.
I installed those trips in front of the opening to hopefully encourage some low pressure at the exit of the vent. Time will tell. I'll let everybody know how it works after the Summit Point club race in July. That one's a scorcher.
I was hoping to prime the hood today, but it seems we're having a winter storm of apocalyptic proportions. So i've relegated myself to more sanding. I got some single stage urethane paint to paint the plugs.
Wow. I'm honored. Seriously. That is an incredible resource. I wish I had that a couple years ago.
Last edited by Calaway16; 01-17-2013 at 04:22 PM. Reason: Automerged Doublepost
______________________________
Nick Large
Member
My sense of it is that this will work. The vent box looks deep enough, you've got a venturi leading to the exit, and there should be sufficient low-pressure after the exit. It's a shame there aren't just a few more inches of room to work with in these cars' engine bays - it would be terrific to implement a solution like the Corvette(?) you've shown.
Once you've got it all together, will you be using wool tufts or flow visualization fluid or something else so that you can see what the air is doing in this or any of the other new aero regions you're creating?
As far as heat goes, my engine bay became dramatically less hot after installing the MA Shaw louver-vented hood & coating the headers with Swaintech's White Lightning ceramic product. It made a significant difference in the driver's chair, too. I'd put Swaintech on any header where underhood heat is an issue.
Last edited by dradernh; 01-19-2013 at 06:31 PM.
Member
This looks amazing! Keep it up, looking forward to updates!
Best Regards, Chris
Coupe Cartel Forever!
BMW CCA Member
OMG I want rear fenders like that!
This is an amazing project, I will definitely be following as it moves forward.
Great work thus far, if you ever feel like widening another coupe in a more street fashion.... I'd be possibly interested on day.
~Ken~ '99 M coupe THE "original" TT Stage 3 - HTA3586R; 701 whp 672 wtq @ 26.5 psi ; NeverSell - CoupeCartel
Member
I'm hoping it will all work out. Using the tufts is a great idea.
I've heard great things about those ceramic coatings. Did you have to send your headers straight to Swaintech?
Maybe some day. I really am enjoying this process, so another project in the future is not out of the question.
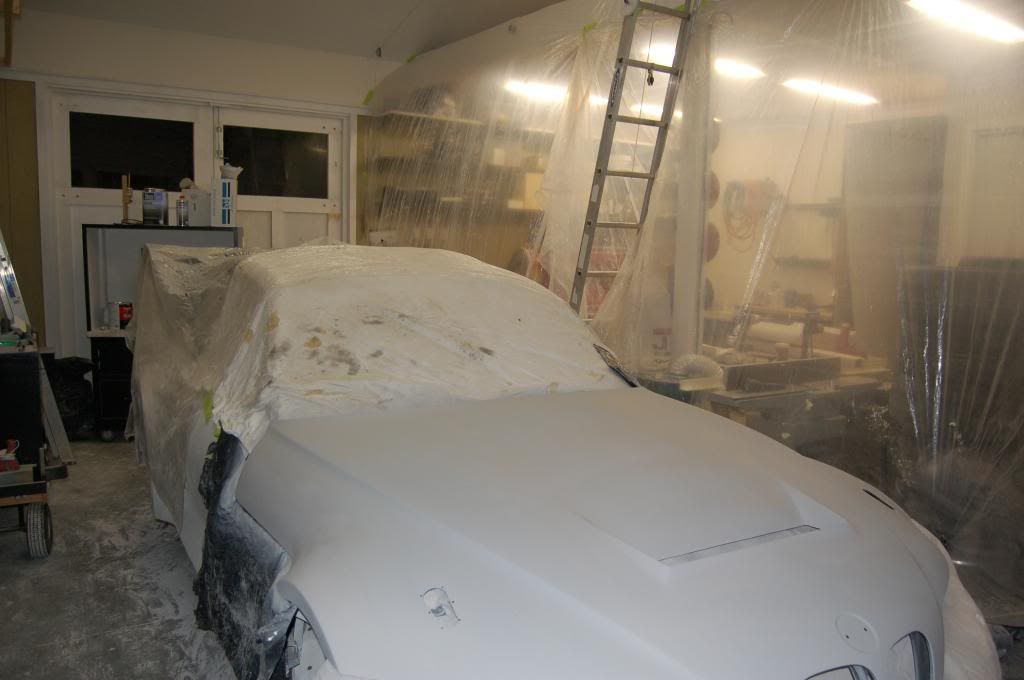
Primed the hood this evening. I normally just do my painting outside but since there is snow on the ground and the hood weighs 85 lbs, I left it on the car and turned half the shop into a spray booth. I may do the rest of the spraying in the shop, although the cleanliness of the shop after using the primer is a bit deceiving since it's so heavy that it tends not to be airborne like the urethane top coats. Here are some pictures:
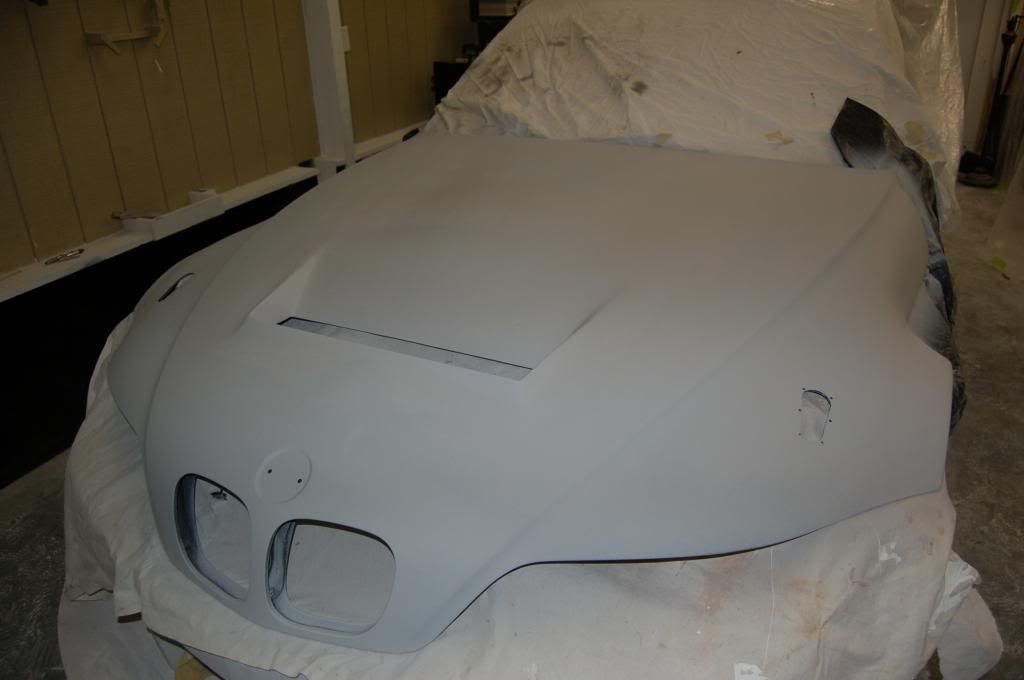
Last edited by Calaway16; 01-18-2013 at 11:39 PM.
______________________________
Nick Large
Facebook.com/LUXFAB
Member
More more more please!
Member
As of a couple of years ago, you still did. Their turnaround is likely to be much faster in the winter than it will be once the season gets going.
Member
Wow, that's a great project you have going!
I'm impressed with the speed and quality of everything that you're doing with the car. Good luck on the rest of the build and thank you for documenting the whole process.
 Posting Permissions


 Reply With Quote


Bookmarks