
 Member
Well, first and foremost. im not responsible for any damage done to your vehicle by doing this, it worked for me, this is how i did it. (i used plati-dip, its a temporary fix till i go vinyl, but this diy is for how to remove/install trim)
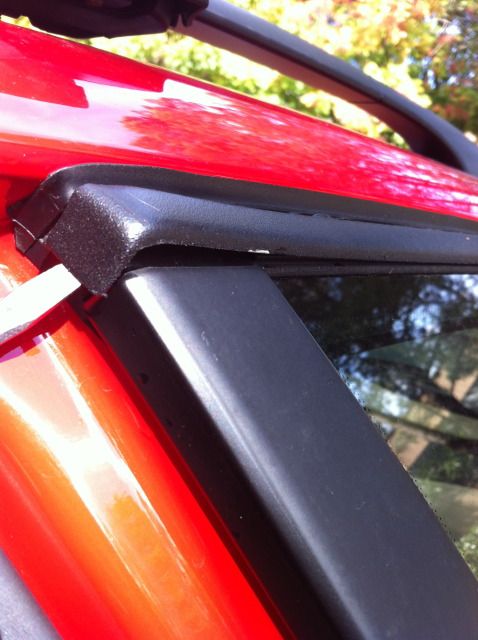
Front Door. Upper Trim.
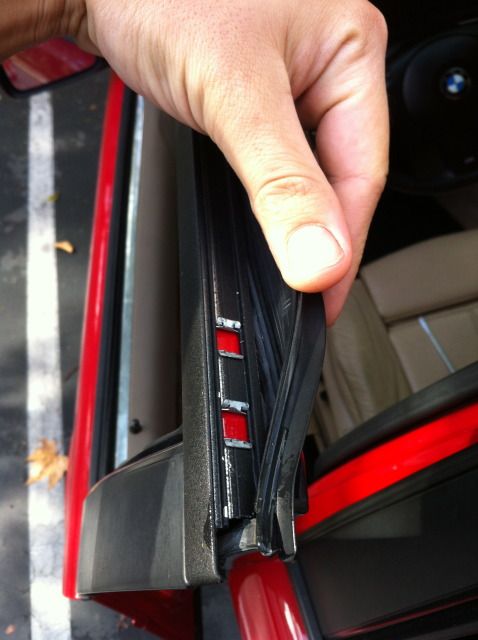
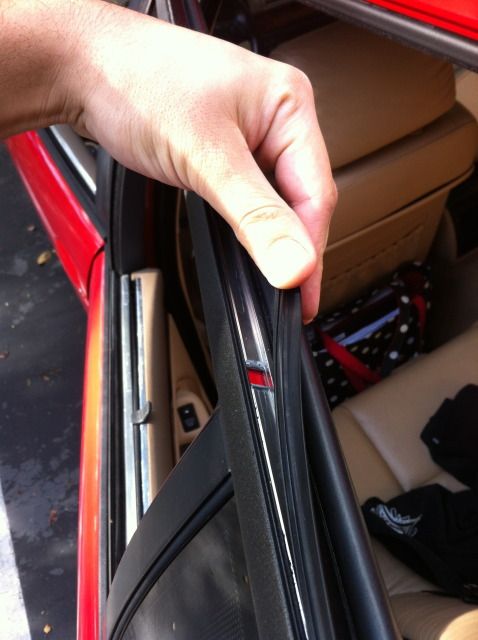
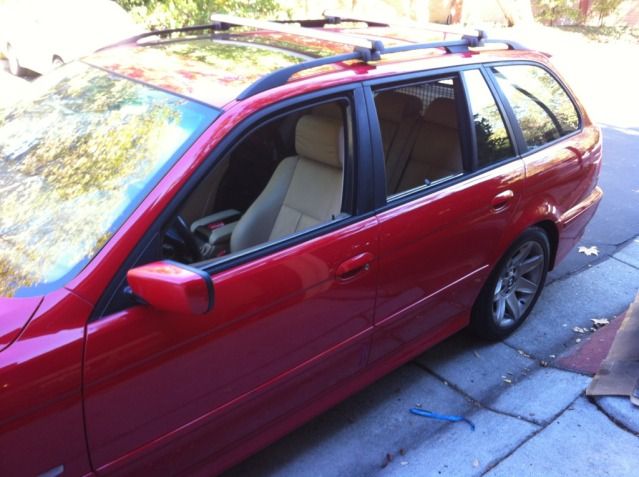
1) Pull off rubber seal that goes on front door
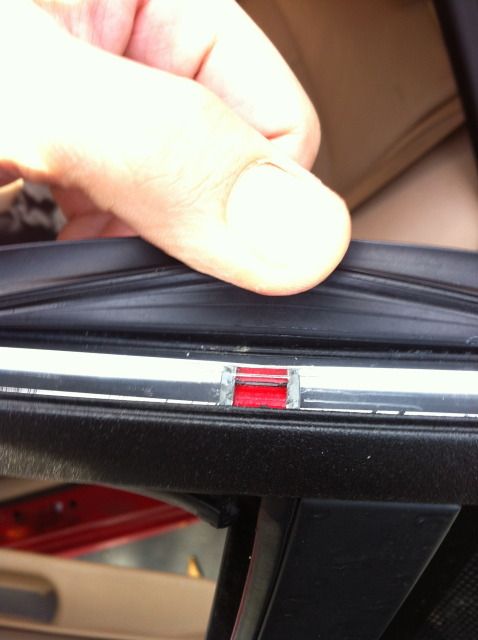
2) unbend the "tabs", i used need nose pliers to unbend them. (they are fragile, dont bend them more than needed to slip trim off.)
3) after removing all the little tabs, the trim should pop right off, now onto the lower trim
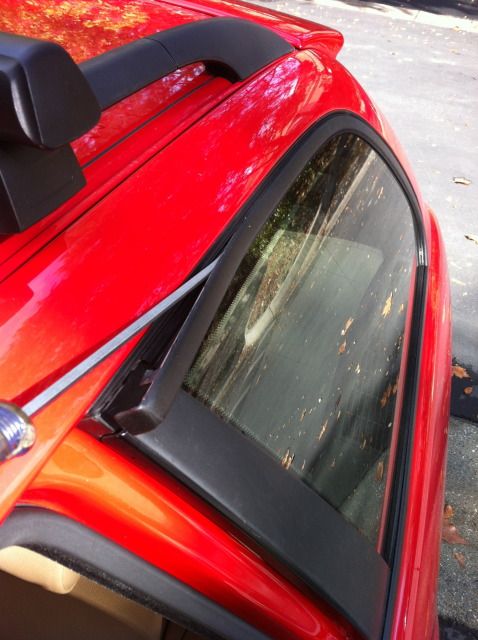
Front door Lower trim
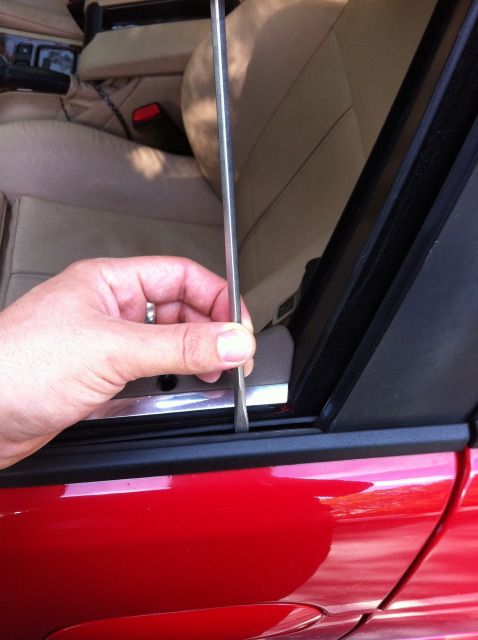
1) tape up a flat head screw driver, (so you dont scratch anything up)
2) roll the window down, from the inside of the car, pry up on the trim. its just seated on the body of the car. becareful to not apply to much force as the screwdriver sits on the window. work your way slowly from front to back or back/front. the trim does bend easily, so dont apply to much force on just one end.
(the process really is simple, when you pull of the rubber seals its very self explanitory.)
Rear Doors
Upper Trim :
1) Pull up the rubber seal around the doors. you will see 3 phillips screws holding the black vertical trim. Remove 3 screws. (not necessary to remove this trim, but its so simple to remove/install & it makes finish product a little better.)
2) Repeat steps 1-3 of front door.
Rear doors lower trim:
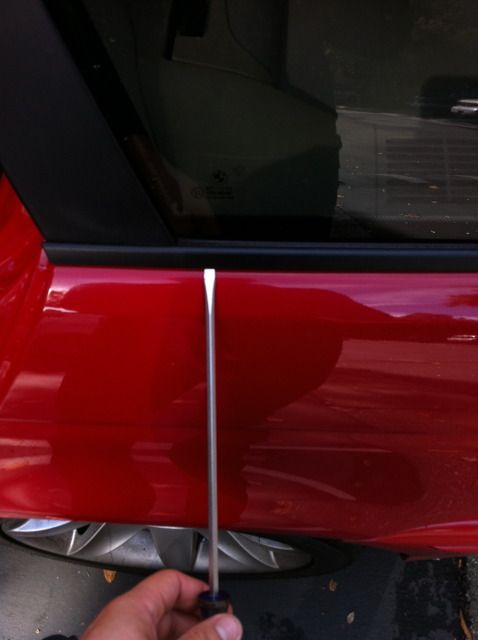
1) Repeat steps front front door trim removal. only diference is the rear part of the door has the glass in way, so when doing this, i started from front of the car and worked my way back prying up the trim, since i was using a long screw driver, i kinda used it to leverage the trim so as to not bend it.
** caution. ** if you go from the door side of the trim and try to pry it up, it will most likely bend the actual trim piece, (ask me how i know), if you try to pull the entire trim up as one piece by trying to flip it upwards from the front of the car, you could scratch the paint at the rear part of the door. hence why i say to use caution and work your way all the way to the back one little section at a time, you'll see exactly what i mean when removing it.
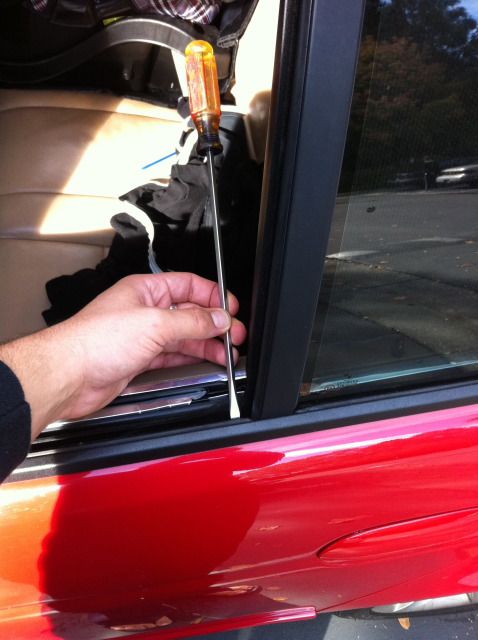
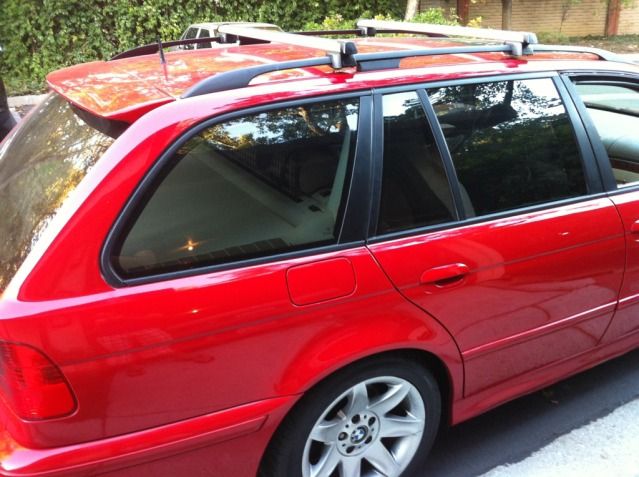
Rear Quarter trim removal! (upper) ** Caution** do not remove the black vertical trim, big PITA to reinstall, not worth the extra work in my opinion.
1) pry from the inside of the car, (slowly but surely you will see it pry up.)
2) I used a long driver for a reason: to give leverage between all the clips. like so :
Rear Quarter Lower Trims :
1) from the bottom side of the trim, i used the flat head and kinda pryed the trim upwards, towards the inside of the car, (if that makes sense?) the lower trims are sorta spring loaded, you will see when remove them.
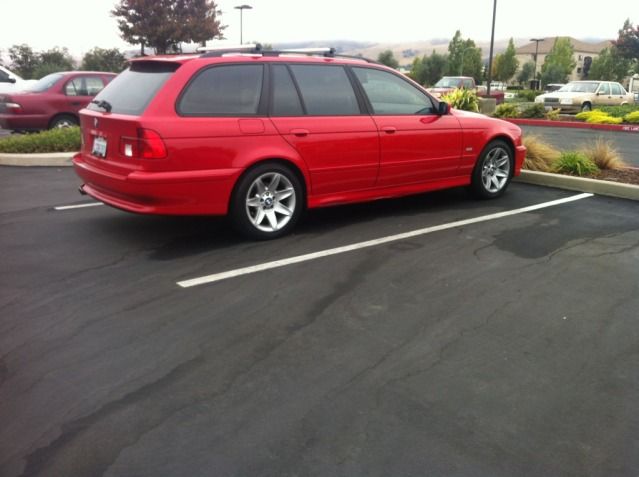
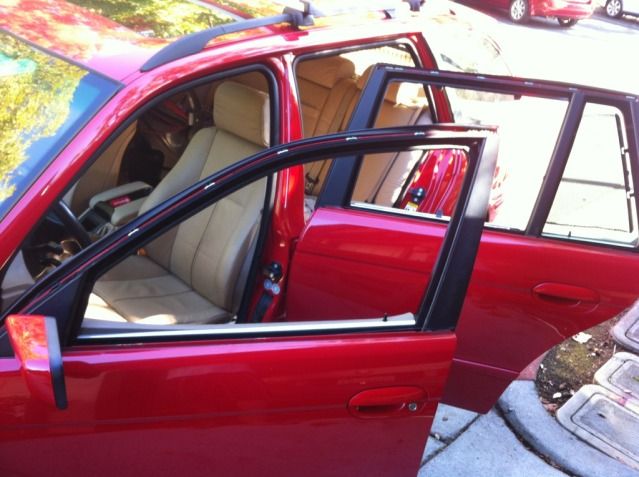
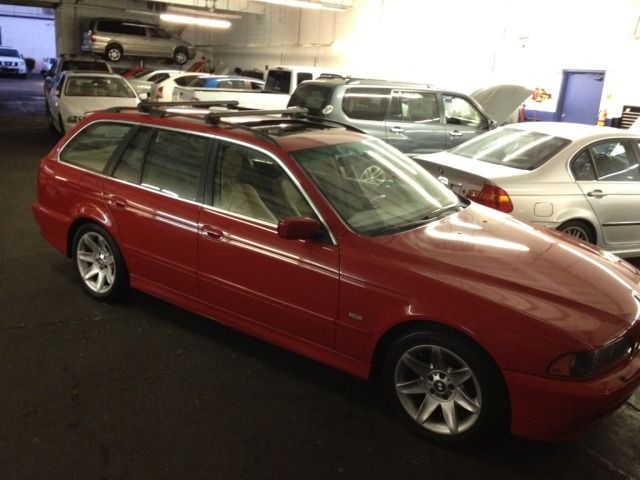
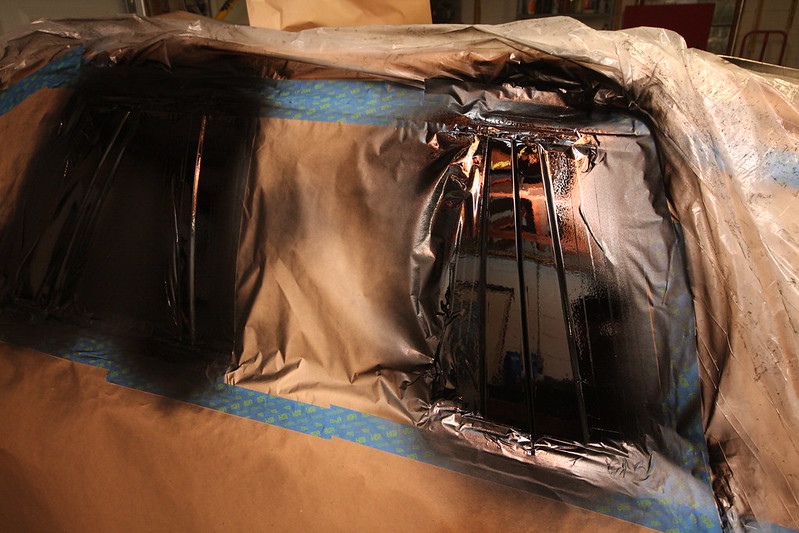
Your car will now look like this,
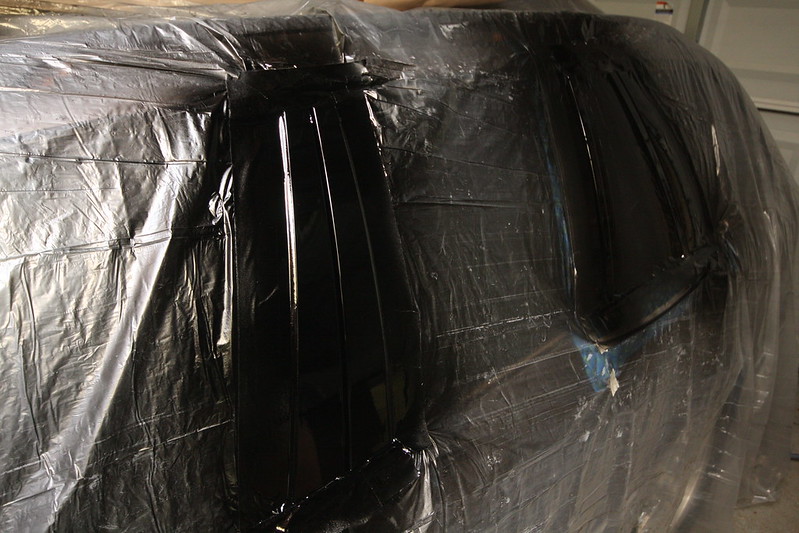
if your using platidip, just wash with soap/water and go have fun spraying them down, make sure you do multiple coats to really get the area covered, (i used 4 cans total for both sides) i would wait a few hours before reinstall so that it doesnt peel up when put pressure on it.
Re-Install is the backwards of removal. the rear quarter lower ones your going to "press" onto the rubber seal, the upper quarter just snaps in place, and all the rest go right back on, for the upper doors just make sure to be careful when rebending the clips down, and make sure that all the rubber seals are full pressed back into the trims,
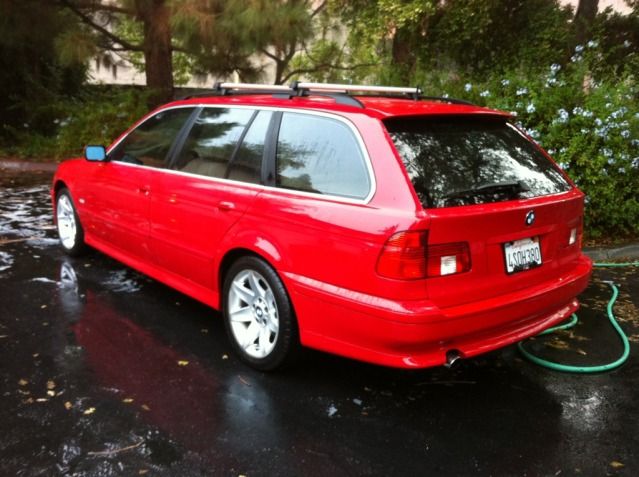
Before :
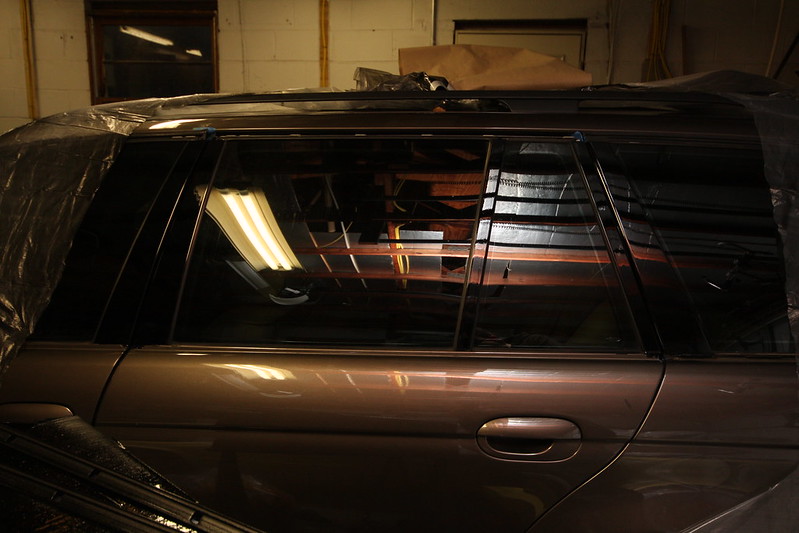
After:
Swagon
Awesome!! Thanks so much for this. Might knock this out this coming weekend while the weather is still nice.
Member
nice...very nice
I never look for trouble. If it looks for me, I'm usually around
Member
Thank you for posting this. Looks great. Mine were done at one point and need re doing. This comes at a good time
I would like to recommend though, that you dont use a screwdriver. I am sure it can be safely done but if you are not comfortable doing these things and get a little heavy handed it could damage your car.
Harbor Freight,Northern Tool, ect carry a trim removal kit. Small plastic pry bars and spoon shape tools. Sometimes blue or orange. Cost about $10-20$
My wife used a screwdriver on our E46 trim unbeknownst to me while I was at work. Now there are a few tiny indentations along one side of the quarter panel You cant see it unless you really look but It bugs the hell out of me knowing its there.
Sorry and please not trying to speak out of turn or disrespect the OP DIY. Just hoping to add from my experience for the benefit of others.
Last edited by sublimeM3; 10-23-2012 at 05:35 PM.
i<3urgirlM5
I will have to refinish my shadowline, but thats a project for another month
Current
2008 E70 4.8 BSM/Black - 100% Options2007 335i SG/Coral Red - 6MT - Ets, Spec, BMS, VRSF, Broadway Static
2004 325i AW/Black
Past
2000 M5 Silverstone/Silverstone - ST Coilovers
1998 E36 M3 - Tiag, Bride Gias, RK Tunes, M50, AA Track Pipe..
Member
Originally Posted by sublimeM3

no worries at all. i at first tried using a few plastic trim tools i had, but i think that these trims have never been removed or touched for 10yrs, they were stuck on there pretty darn well, hence why i moved onto a flat head, i definitely recommend wrapping it in tape or something though, i too had a few places where it made indents. the pictures were only for the diy after i had already done everything... good luck to doing it for whoever plans this, it really wasnt a hard project. longest time was probably waiting for paint to dry/ trying to apply evenly/ all around.
Member
Also note that with the removal of the trim windows rubber can be inspected and replaced if needed at this time.
Member
nice DIY will be doing it in couple of weeks
Member
I notice the the PD trim appears to have a textured look and not as smooth as paint?
Member
i would highly recommend this if your doing it, might as well kill 2 birds with 1 stone.
glad i could help.
yeah, it depends how thick you do the coats. plasti-dip is a rubber coating, i wouldnt expect it to come out paint textured, but on something like the trim you really dont notice it unless come up really close. especially with the roof rack and so much other stuff to catch your eyes...
Swagon
I will post some photos when I do mine in piano black this weekend. Picking up some PPG paint and clear this afternoon.
Member
^^ I'm looking forward to seeing pics of how it comes out. I'm liking the black trim so much that I want to do it more permanently so that it stays that way for good...
Member
The black trim transforms the car. If trim is faded or scratched? Spend a weekend to black it out.
Silver trim work depending on exterior color and theme of car upgrades.
Swagon
Thanks for the tips! Just removed my passenger side in no time and I agree, a flat head is needed for a good bit of the procedure. Just be careful and you shouldn't have any problems.
Member
^ that looks absolutely fantastic! that color combo is starting to grow on me...
Swagon
Thanks!! Hoping I can paint the trim today but we are supposed to start getting hit with that storm this afternoon
Doneskees

Last edited by RVAE34; 10-28-2012 at 05:29 PM.
Member
BMW CCA Member
Thought this was an interesting possibility, but when I looked at my car, it was already done. Part of the M Sport package in '99?
C.R. Krieger #53302
Swagon
Finished product

Member
RVAE34 - I know you had fun spraying gloss black.
Swagon
Wetsanded and buffed the rear driver side pillars and window trim.

Member
^^^
Crazy Cracker
BMW CCA Member
Nice job on the diy
Member
flat black just doesn't look good, nice work on the gloss
Member
RVAE34--that mojave wagon is unreal!! wow!!
Member
Nice! What type of gloss black paint/brand did you use? Did we have to primer? Thanks in advance!
 Posting Permissions


 Reply With Quote


Bookmarks