
 Member
Heya guys,
This is 2nd version of my E39 HVAC Button Repair DIY.
Two of my HVAC Buttons were repaired this way and 1st one stays there already 3 years.
Tools & Materials Needed:
- Broken Button
- Piece of Plastic
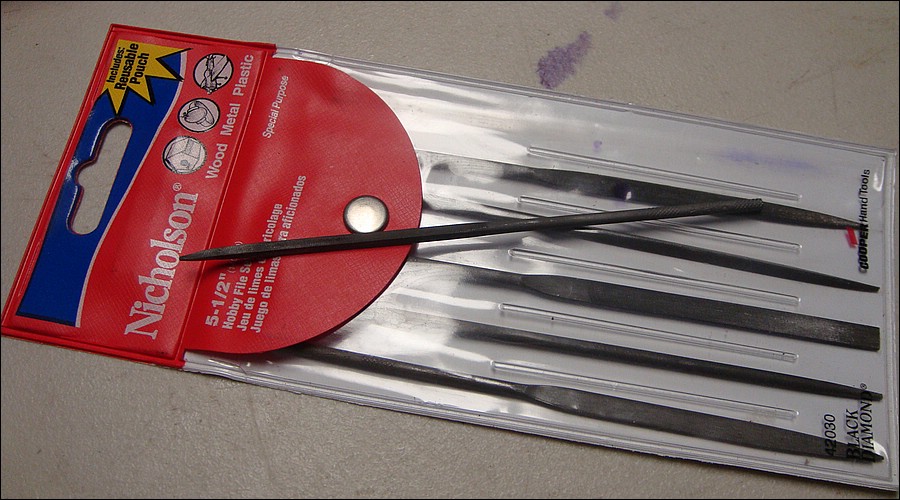
- Nicholson Hobby File Set (HomeDepot)
- Crazy Glue (not a gel!) OR, better yet, Plastic Modeling Glue (as suggested by Luftpost)
- Sharpie
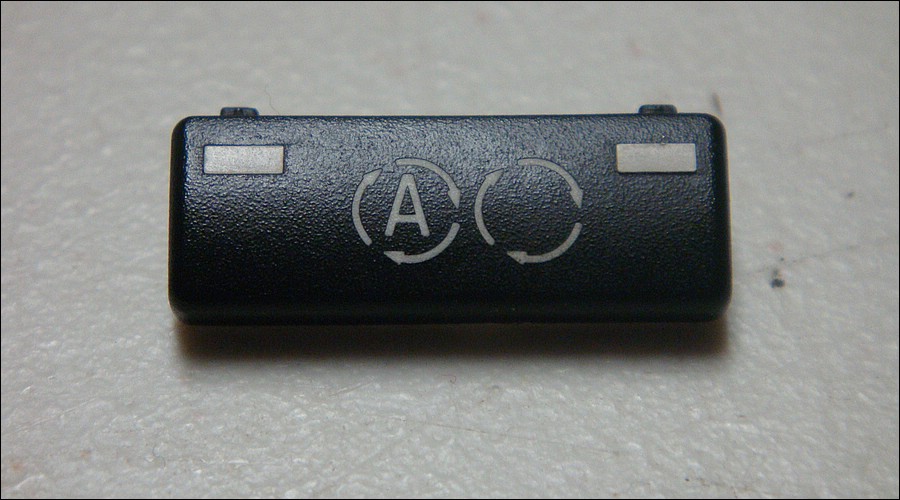
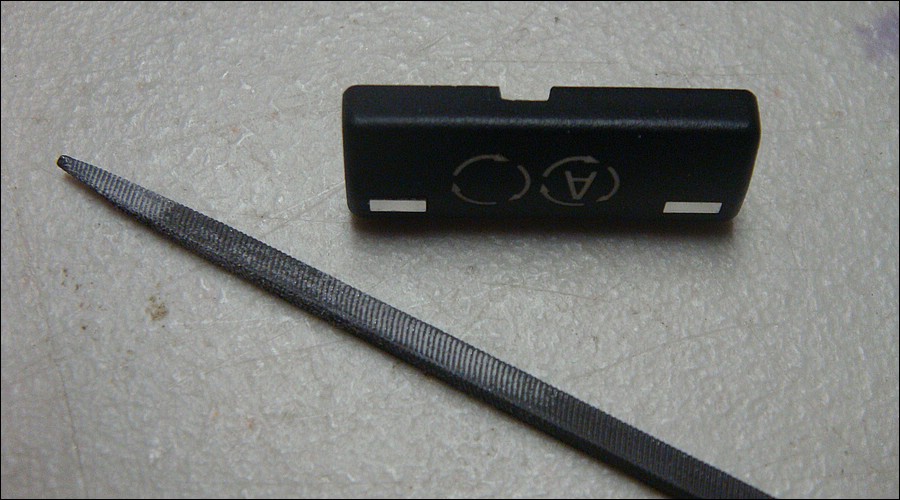
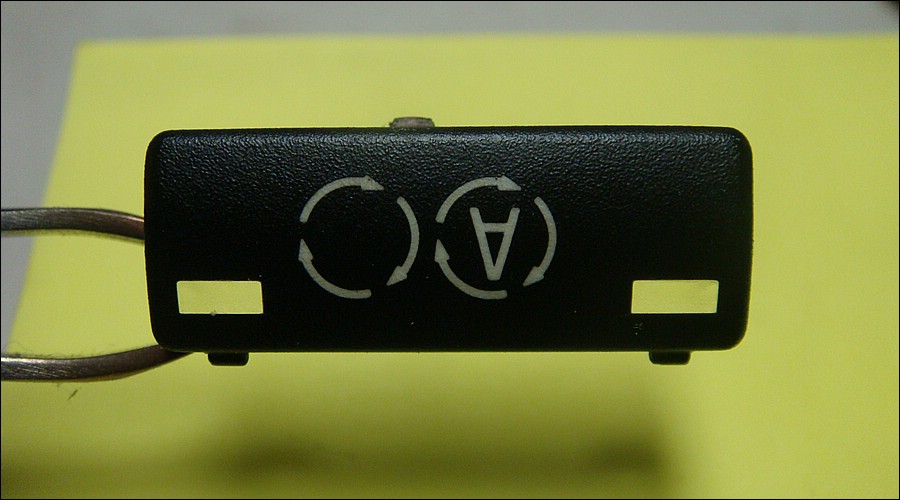
1. My 2nd button came off HVAC Control Panel...
... most likely due to broken pin that held it in place:
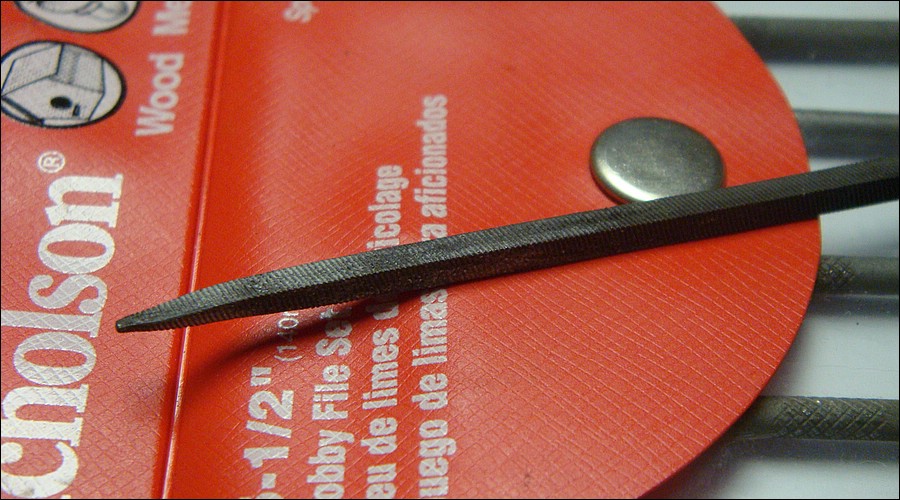
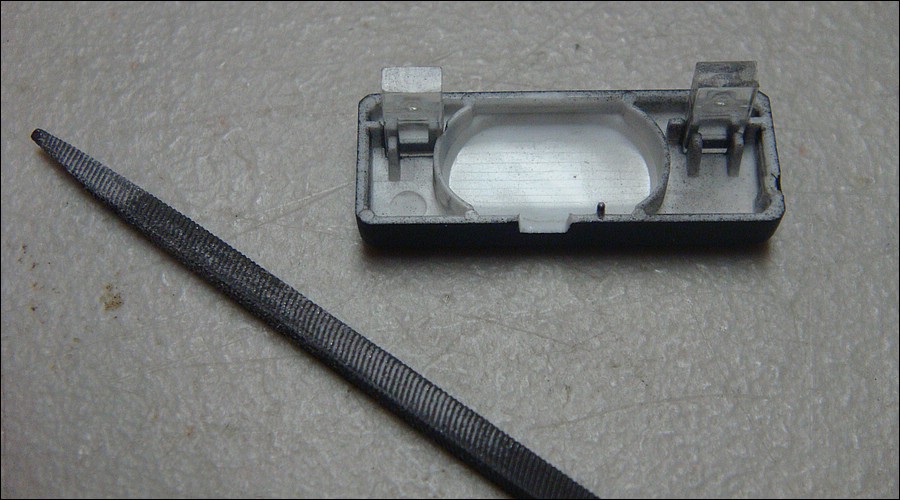
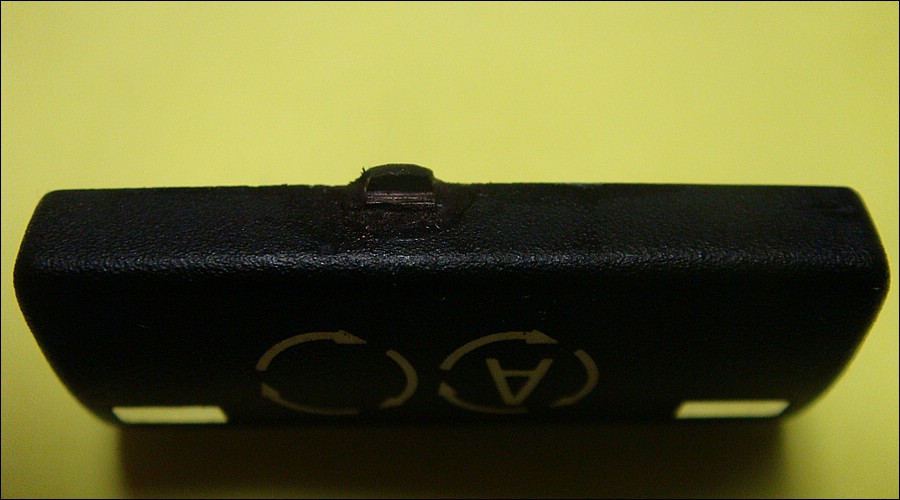
2. So I used SQUARE file from Nicholson Hobby File Set (HomeDepot):
And made a small rectangular cut (approx 4mm x 2mm):
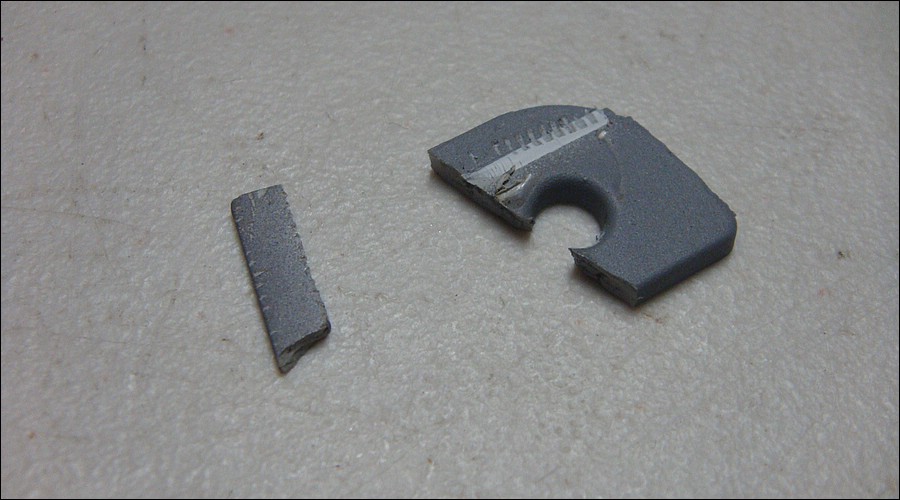
3.I found a small piece of plastic. In my case it was a piece from old Outer Seat Cover I recently replaced:
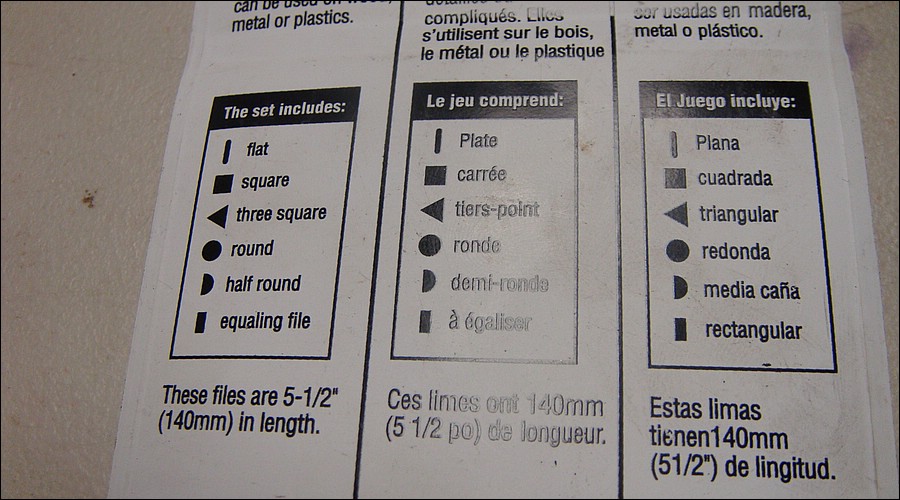
4. Grind it with FLAT file to fit into rectangual cut-out. Once fit there, carefully glue it with Krazy Glue (or Plastic Modeling Glue).
Dont put too much. Only on touching surfaces:
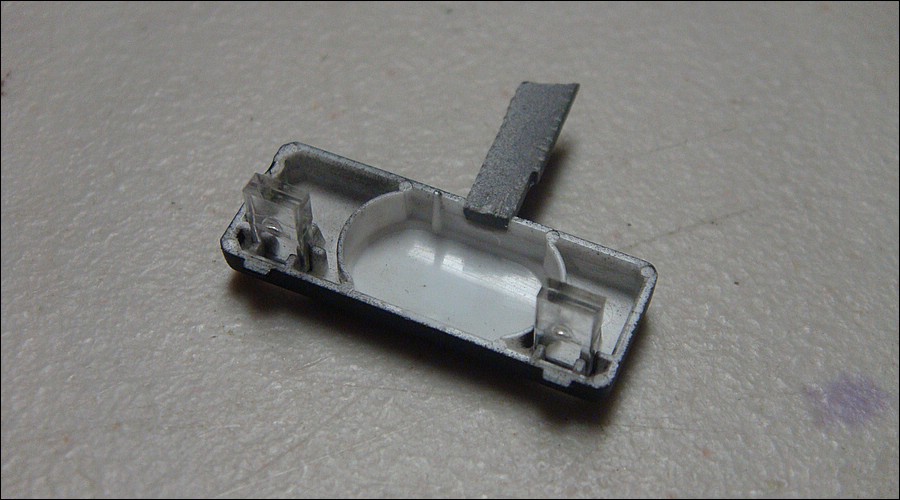
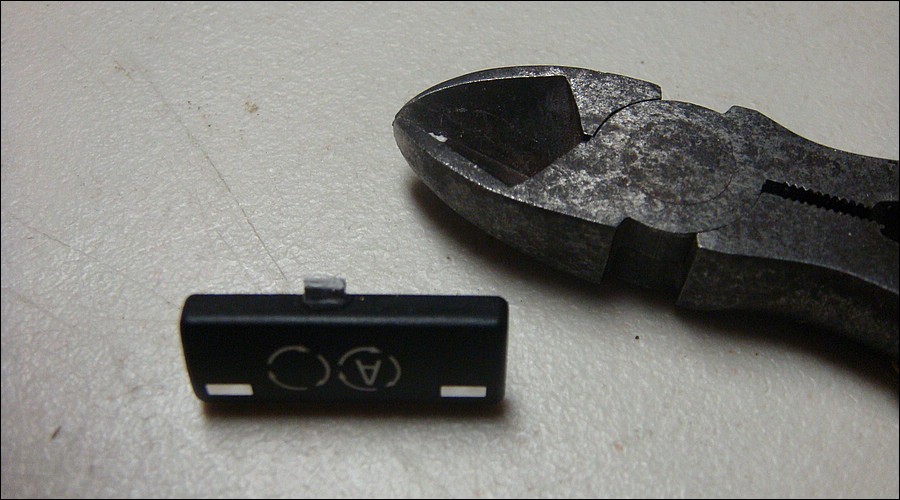
5. Clipped plastic with Pliers to approx 1/16 inch:
6.Grind it to approx 1mm:
7. Slightly touch-up with Sharpie:
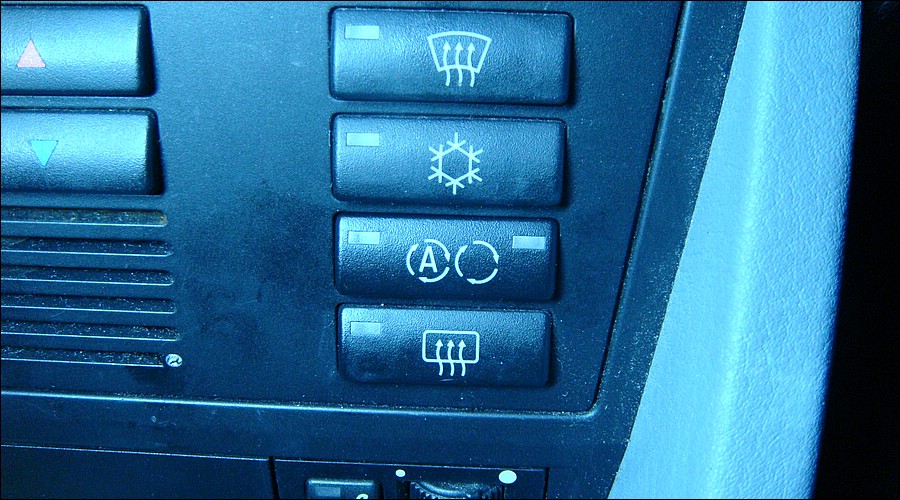
8. Carefully pushed it in Control Panel.
Voila!
Last edited by siny528i; 01-17-2013 at 10:10 PM.
BMW CCA 434493
Member
Nice!
My Life Is Your Vacation
ALL my HVAC buttons come right off. Thought they were designed that way..lol. Great fix!
[IMG][/IMG]
Member
Very clever indeed! I wonder if plastic modeling glue might be better than super glue since it will fuse/melt the two plastic parts together. Time will tell.
This is how I have skinned the cat.......
My approach is with a "spot" of high quality silicon caulk available at any home store (in my case the fan speed button) in the center of the button, re-install button while still wet, wait 2 hours,.......done.
That was 2 years ago, on a frequently used button with no additional repairs needed.
L
Membered
Excellent write up.
Sport | M5 Headlights | M5 Style Front | Intake Resonator delete | H&R/Bilstein | Euro Armrest | M5 Rear Sway | Thule | 3-Pedals | Fully Maintained | 190K Daily Driven
Artifically Aspirated
Moderator
Nice fix.
The temp up and down buttons usually crack at the tip of the arrow.
When I replaced mine I put gel super glue on the back side to keep the new buttons from splitting again, so far it's been fine.
Member
Hey Luftpost,Originally Posted by Luftpost

Gee, man, you just read my mind. Plastic modelling glue would be the PERFECT! Since it, yes, melting touching surfaces.
Its supposed to be 1000s times better than Krazy Glue. Even though I thought Krazy Glue is melting something.
I also tried Epoxy, but after all its just a glue and needs time...
I am not sure about silicon caulk though. Sound like a messy approach, but if you tell me you had success, its good and fast fix.
BMW CCA 434493
Member
Good fix, OP. Nice macro pics too.

2000 Dinan S1 //M5 (my DD) --------------- 06 DINAN E53 4.8iS (wife's) -------------- 90 Straman Z32TT (my pride & joy)
Gone, but not forgotten: 01 E39 M5, 01 E53 3.0i, 01 525i Sport, 03 DINAN 540i MSport and 91 Z32 TwinTurbo
Member
Nice!
No current BMWs.
1994 Roadmaster Wagon
1974 Alfa Romeo Berlina
Status Quo!
Thats good work. Patience is key in intricate work like this and a steady hand which seems like the OP has. Kudos!
Another FP5241 Creation
Parting out M54 Engine. Intake and all. Cats avail as well. PM ME!
Member
My dad's 2001 325 had a lot of issues with buttons and knobs falling off. He tried to repair it DIY and actually ripped a hole in his passengers seat with a file similar to the one above! So I not only had the privelege of replacing his buttons, but also stitching up his leather seat.
Old School
Very nice fix. I tried almost the same repair with super glue but it did not hold up when I lent my car to a friend who rebroke the fan button. Your idea of filing to a flat bottomed cutout to match the inserted piece will make for an excellent bond.
Thanks!
Much modified VF Supercharger Kit tuned by Tuning Tech FS, M5 front sports seats, CVV to catch can conversion, Boost Gauge, Schmiedmann header to rear muffler high flow exhaust, Header Ceramic coated inside & out, Exhaust heat wrapped from flanges after header to before CATs, Kicker sub with dedicated 200 watt amp, CCFL angel eyes, CF facelift kidney grills, Quaife LS diff ,Super duty cooling kit, Electric fan controlled by temperature adjustable 2 speed controller (JimLev design)
John
Member
Genius and great detail work! My lame DIY is for the buttons that split in half. About 50% in my case...
'00 540iA Sport w/235k+ Original TCG's, Vanos and transmission.*Trans failure at 244k+...FS Now
Member
Thanks 12CoolDude!
Yours was the inspiration for mine! That's why I called it number 2.
BMW CCA 434493
BMWCCA 484984
siny,
Nice job, and in answer to your question, yes. Done.
Last edited by jamesdc4; 01-17-2013 at 09:50 PM.
Member
Thanks man!
BMW CCA 434493
 Posting Permissions


 Reply With Quote


Bookmarks