
 Member
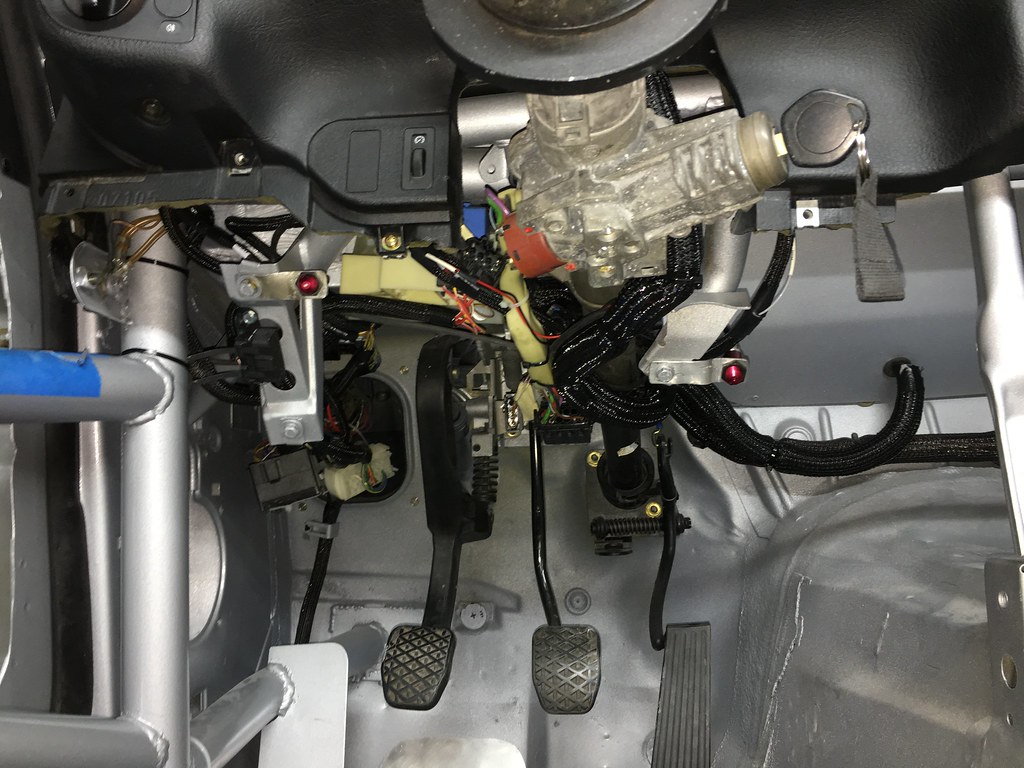
AiM brake pressure sensor installed via tee fitting from Bimmerworld in the front hardline between master cylinder and ABS pumpOriginally Posted by TXBDan

You have to remove the factory safety bolts first. There are several ways to accomplish this such as welding a nut to it, using a Dremel to cut a slot and then flathead screwdriver, or chisel/flathead to start turning it. I chose the last method as it was the quickest and worked easily as the bolt wasn't too tight.
Once removed, you'll need a spacer from McMaster to the length of your choosing. ID is 5/16", OD is 3/4", pick your length anywhere from 0.5" up to 1" or 1.25". You'll also need two M8x1.25 45-50mm long bolts to replace the safety bolts.
Last edited by hoki06; 08-28-2017 at 12:10 PM.
Member
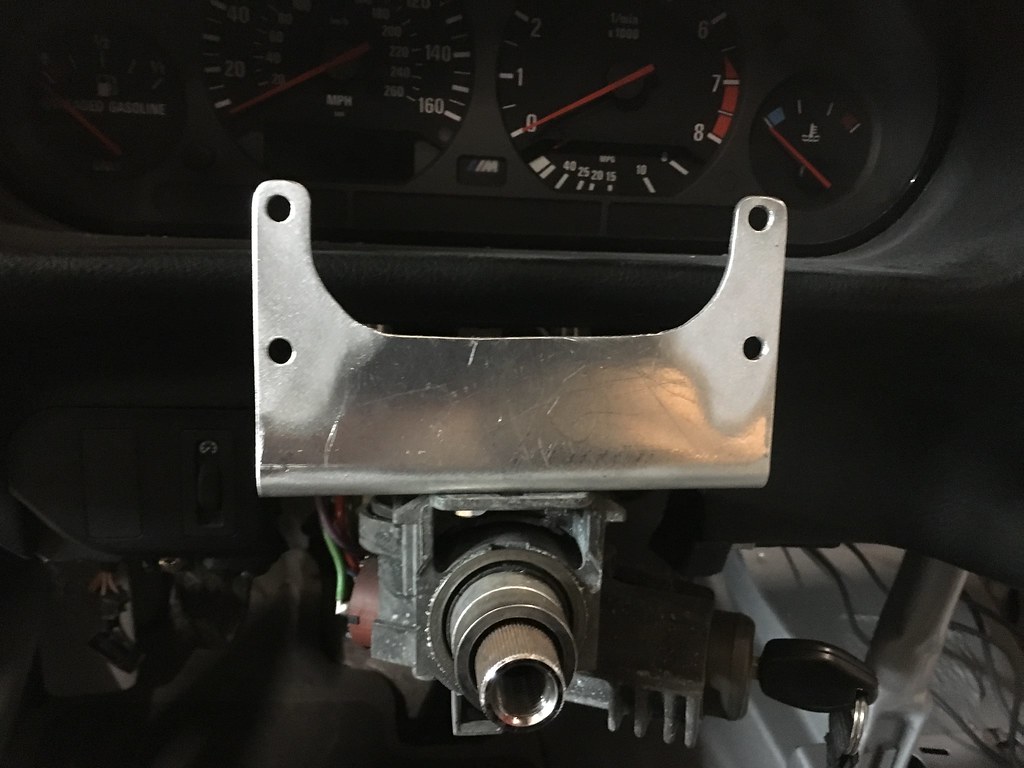
If you have a pre-12/94 production E36 it has tilt steering. I have one.
Dave
'18 RAM 2500 Laramie Cummins
'15 Pure White VW Touareg TDI
///'95 Avus M3 S54B32 Race car -- 2022 ProAutoSports PS1 Champion
///'72 Chamonix 2002 (Restoration project)
Member
Awesome dude.
We have very similar plans for our cars
99 M3 STU/ GTS3 Project
Member
I was under the impression that HD (stock length Shock shaft) don't play well with H&R Race springs.
Your at risk of tearing the rear shock towers.
I believe you need 'Billie' Sports.
Sent from my iPhone using Tapatalk
Last edited by bluptgm3; 09-03-2017 at 01:54 AM.
Member
lol. Keep reading, dude.
Member
Long time no update so here we go....
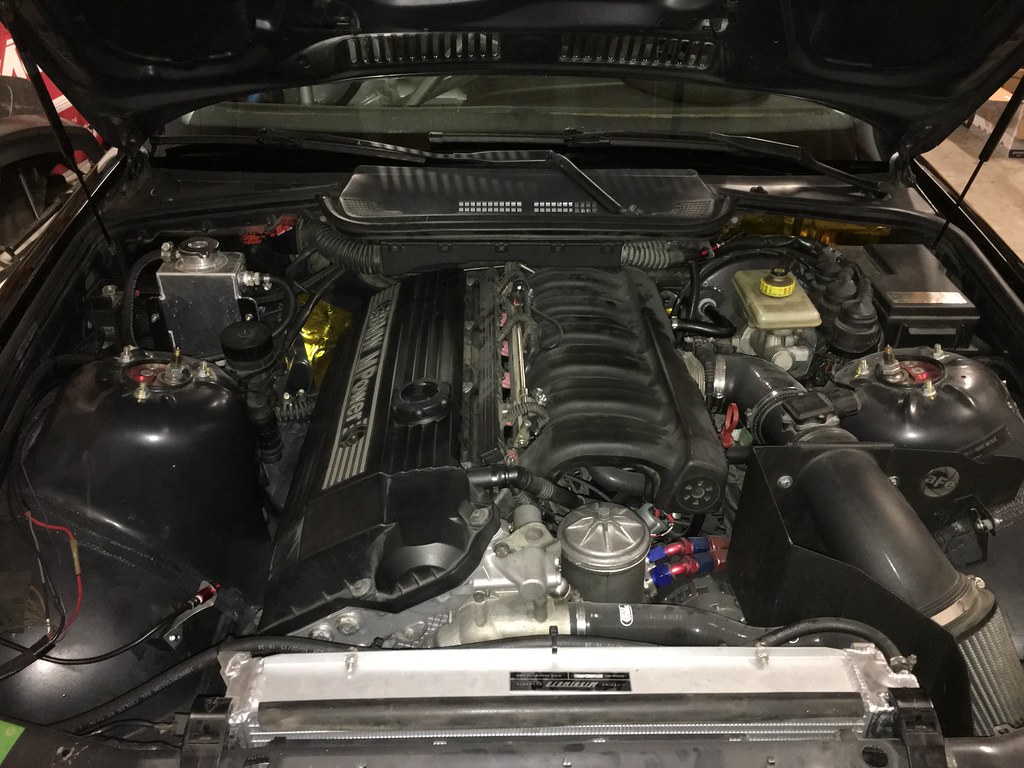
Last update was getting the car running and taking it for a spin at the end of August. I knew the car wasn't running 100% but it was hard to tell with open headers. I found cracks in the idle air control valve hose so I replaced that hose and then took it to get exhaust and fender work. After it had exhaust I could hear it really wasn't running well. I took it home and did a compression check which revealed no compression on cylinder 6. I did a leakdown and you could hear the air coming out the air intake. The car then went to Delta V Motorsports as I was out of time and patience and the head came off diag further.
We figured out that when I put the intake cam back in, the engine was at TDC but the cam was not which pushed the #6 intake valves into the piston and slightly bent them. We also had the #1 fuel injector not firing for some reason. We replaced the #6 intake valves, #1 fuel injector, and it runs perfectly now. Shitty way to learn a lesson but oh well.
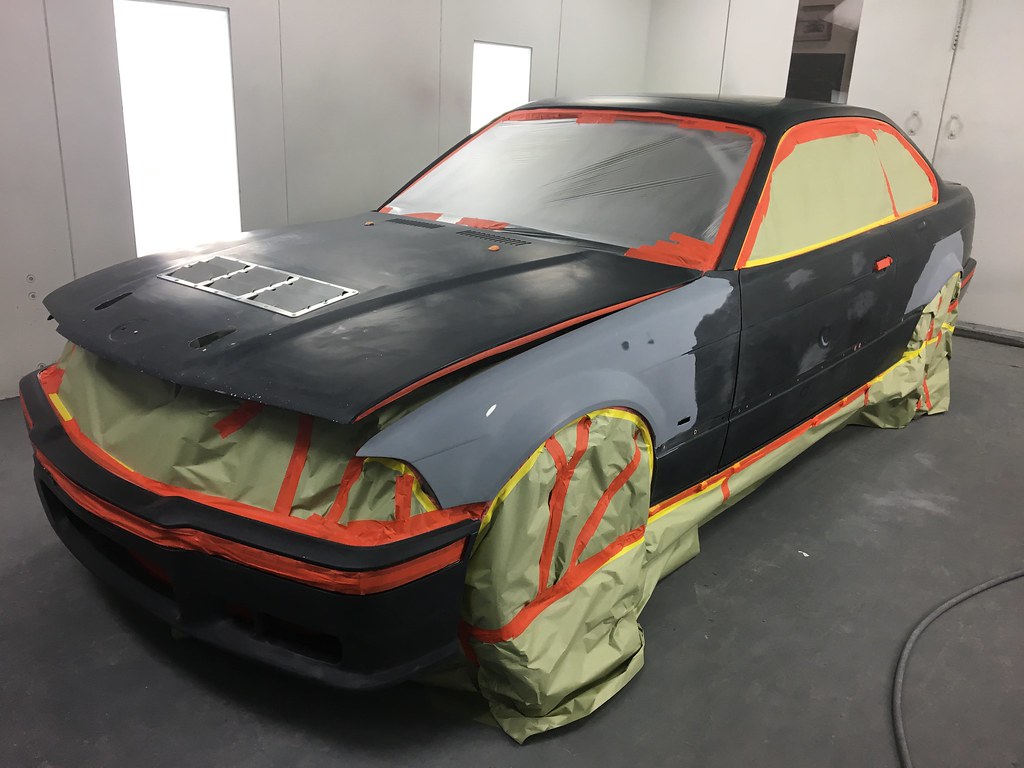
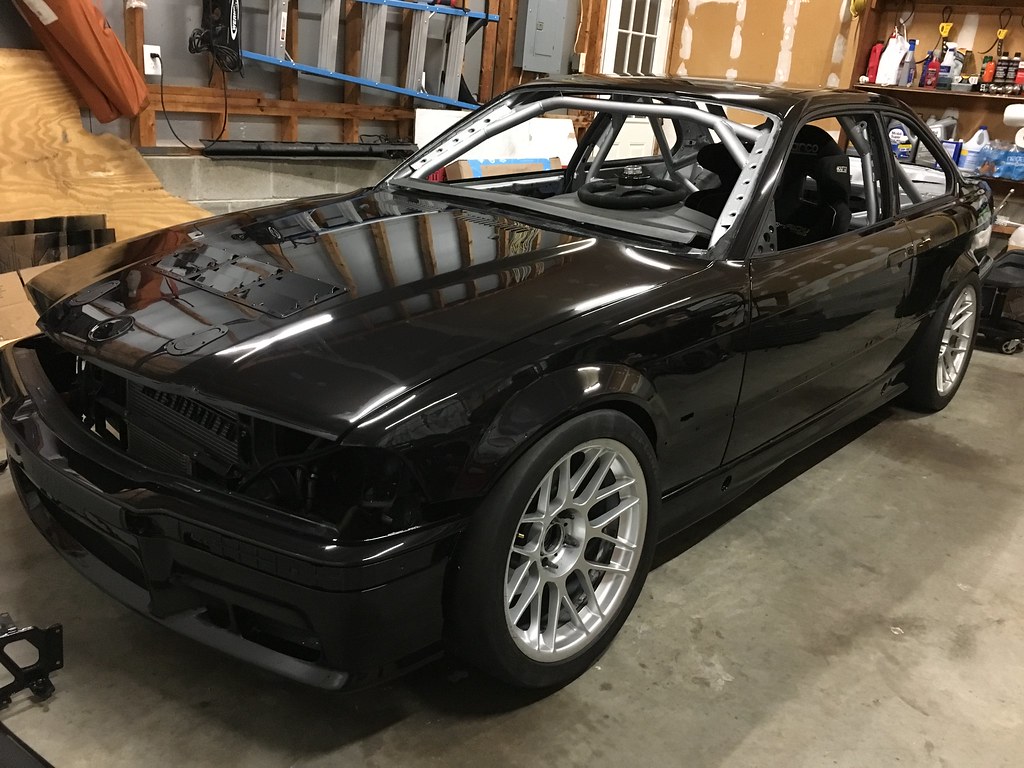
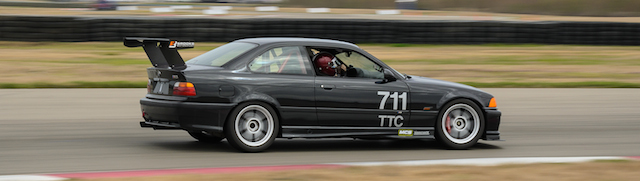
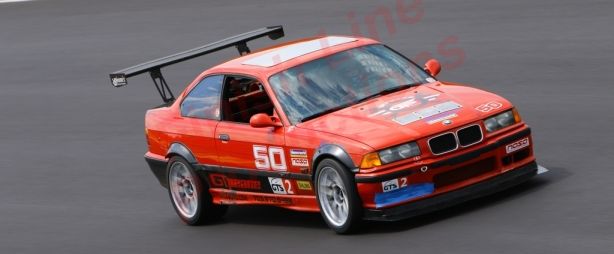
After it was running right, the car went to Concept Color in Richmond for bodywork and a fresh coat of black. For a race car is looks pretty damn good!
Since the race season is over now I'm going to keep making steady progress over the winter and stop stressing about getting it done so much.
Now for the pictures:
Exhaust - eBay headers to a single 3" using Vibrant 1142 resonator and Vibrant 1103 muffler
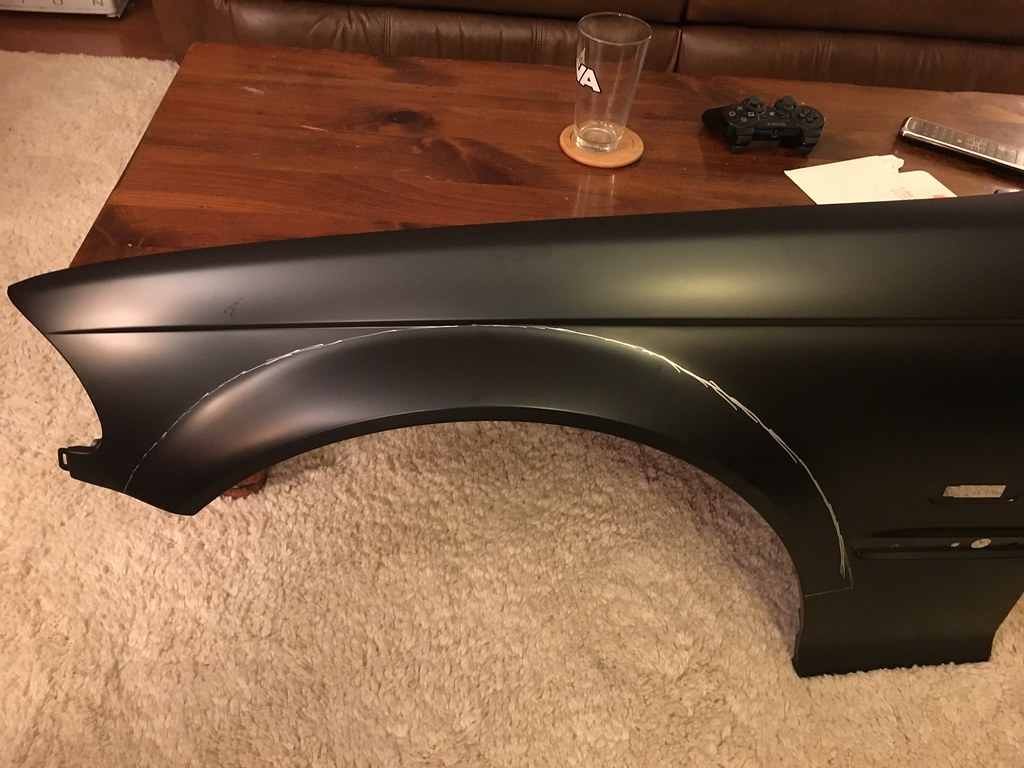
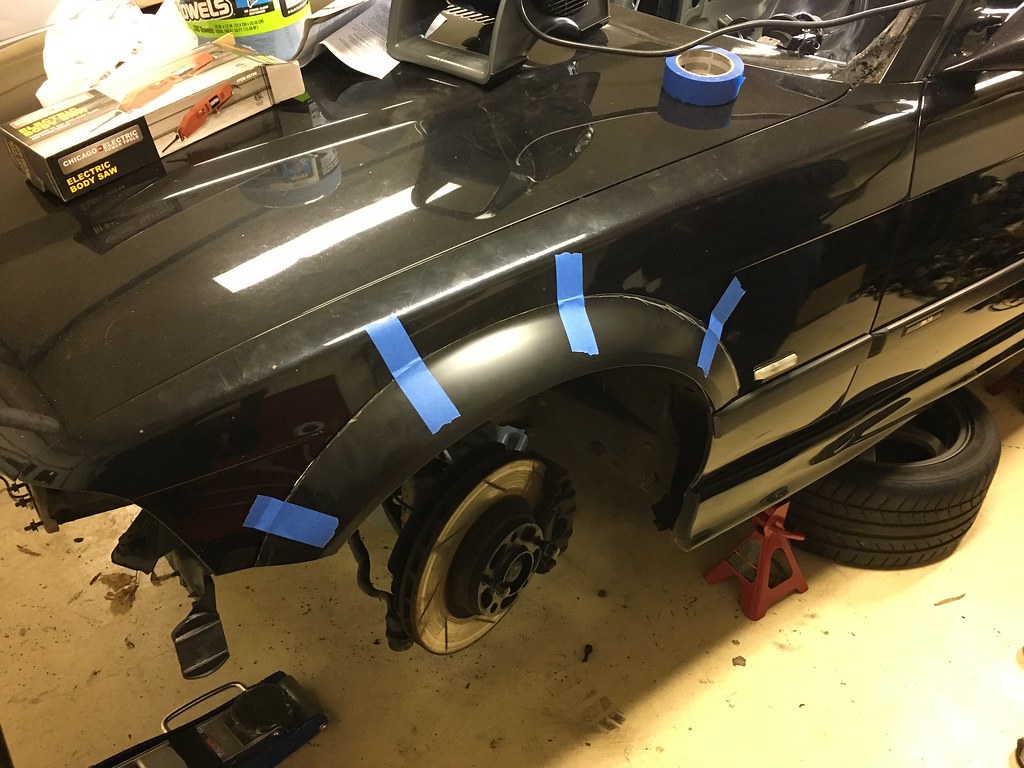
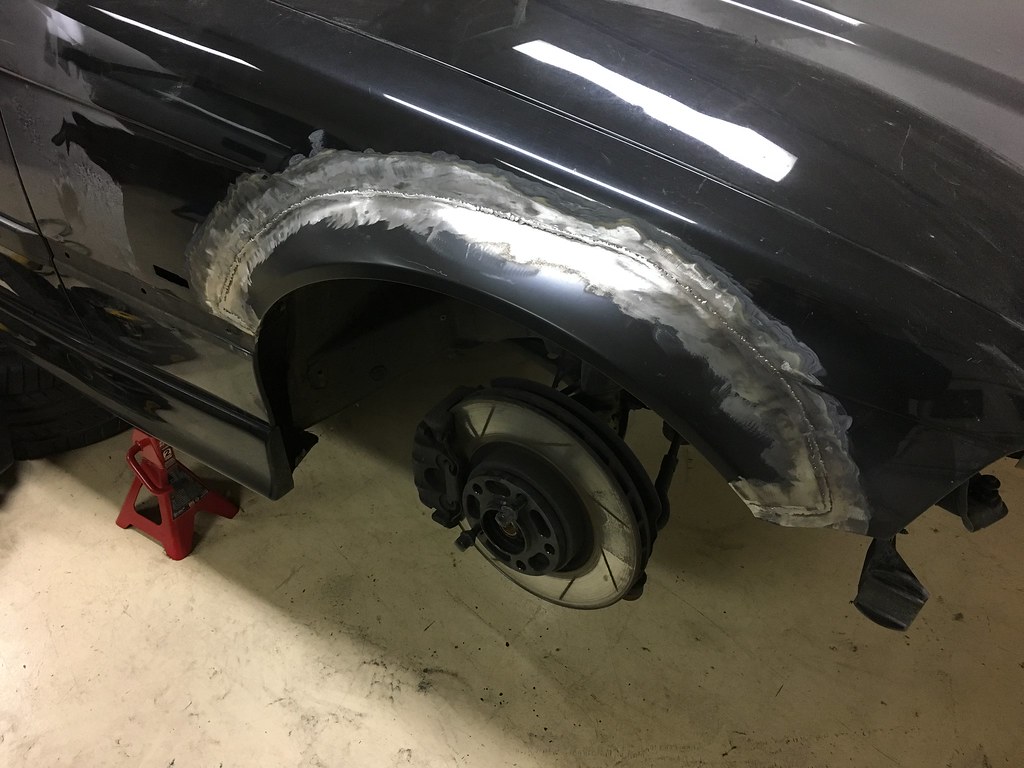
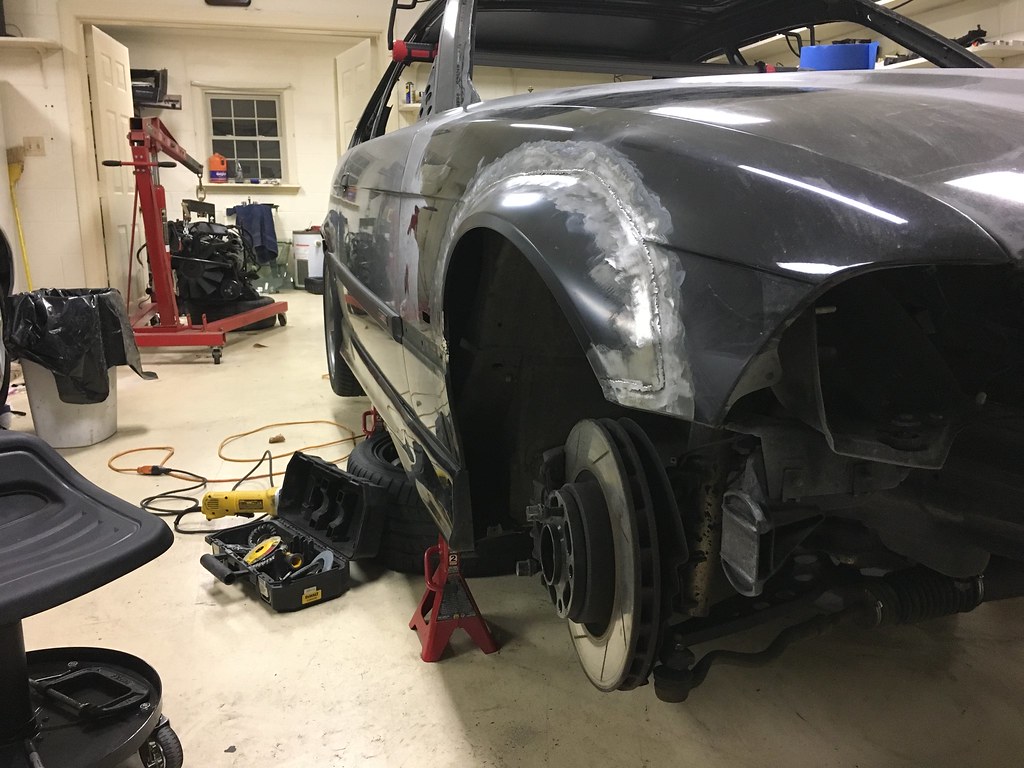
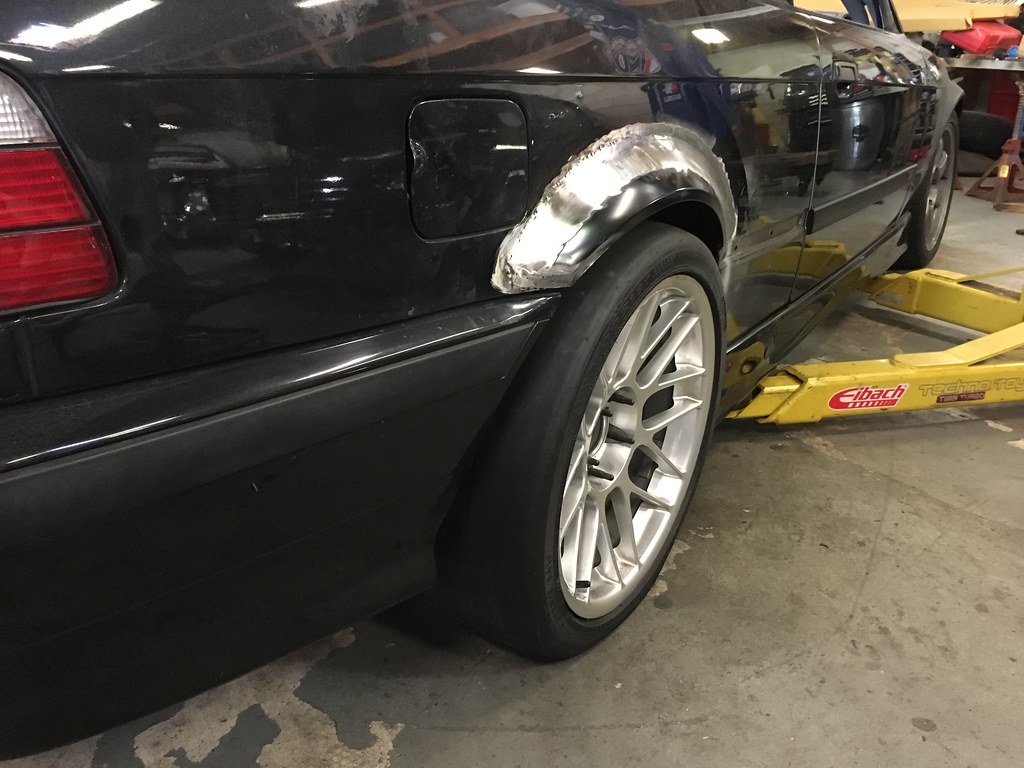
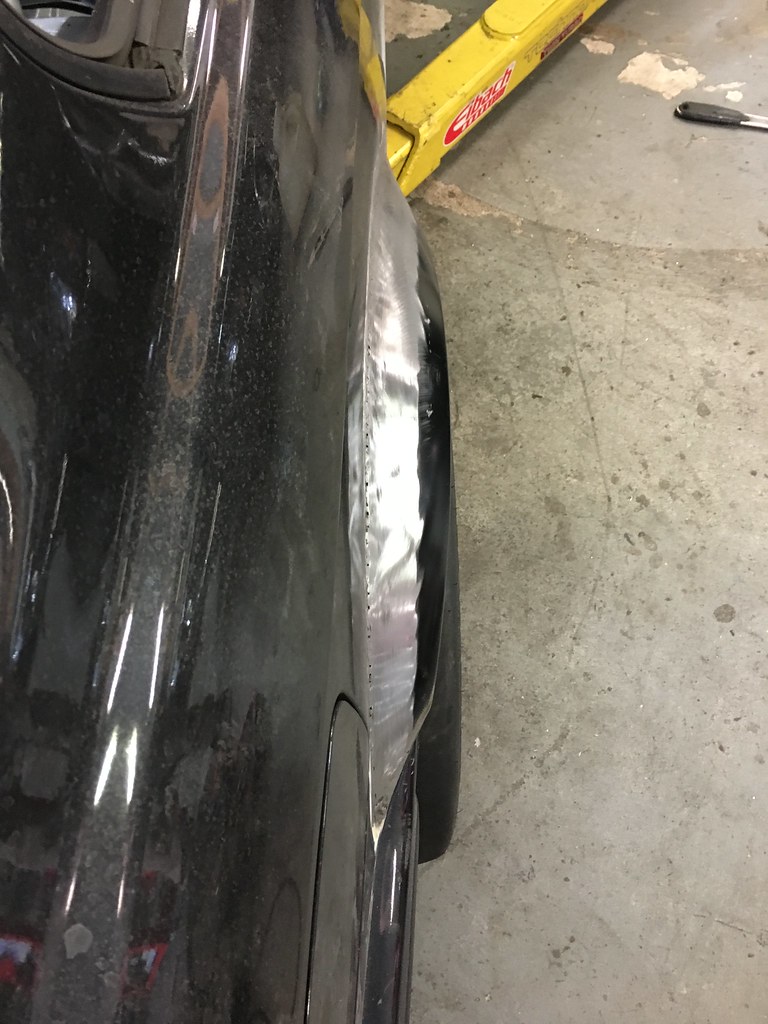
E46 sedan flares grafted onto the stock fenders. I did the fronts myself last fall, River City Speed did the rears recently including tying in the inner sheet metal to the new flare. Test fitment are with a 285 Hooser R7 mounted on a 18x10et25 wheel.
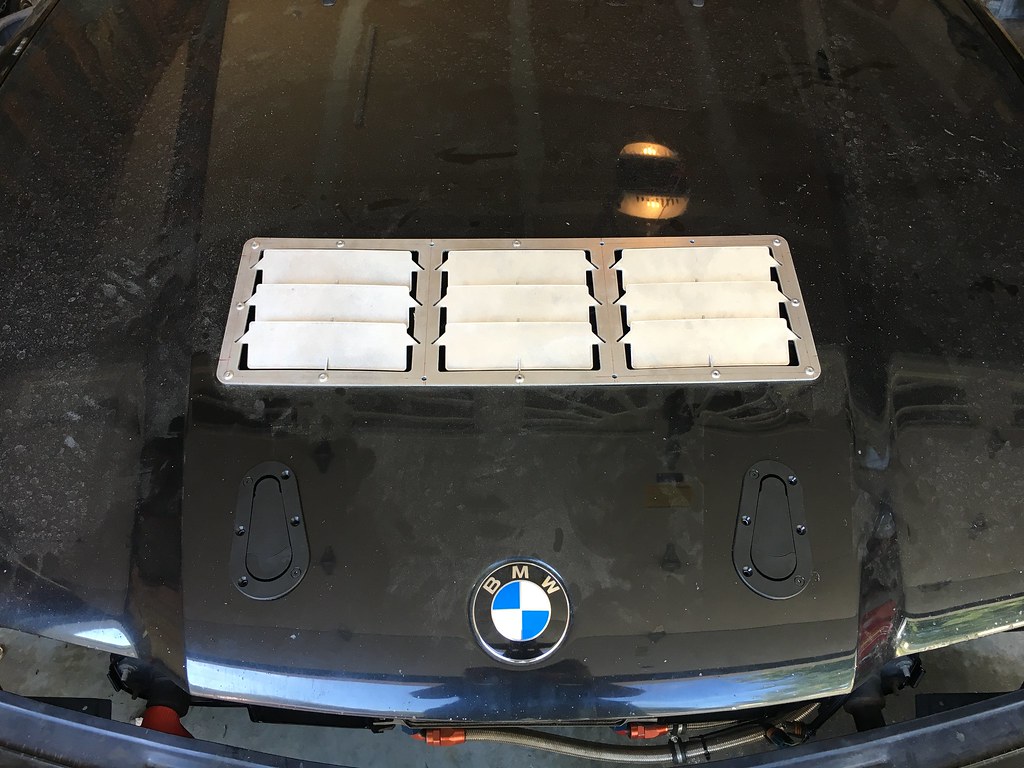
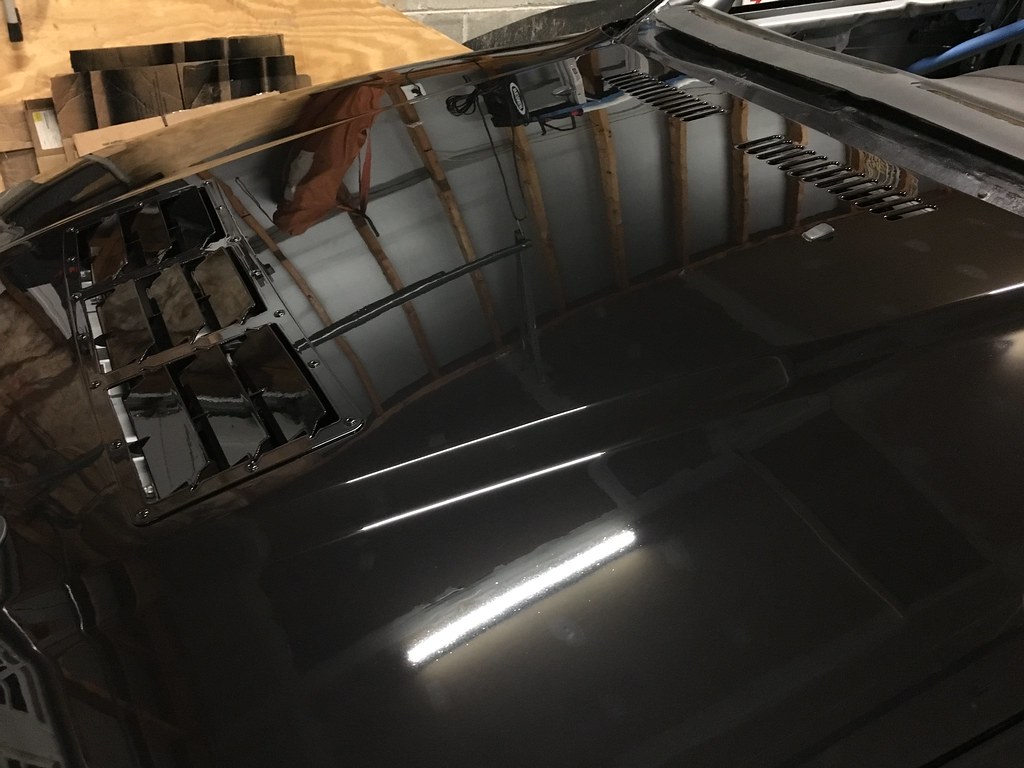
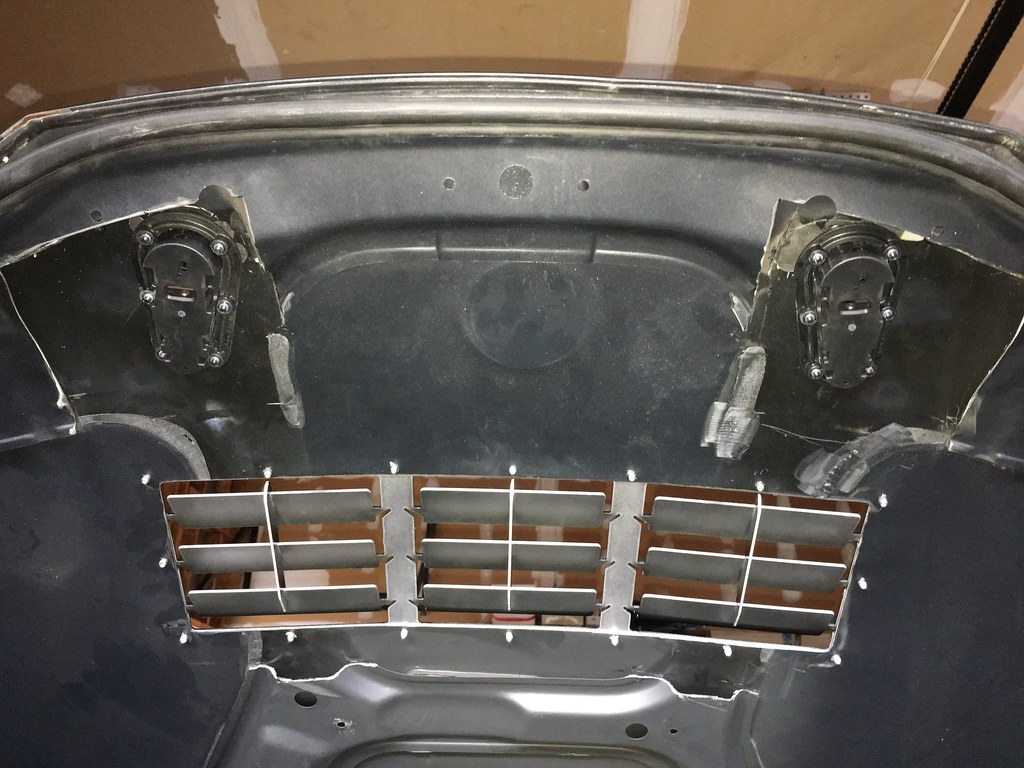
Cut the hood to install the hood vent and latches
Spring latches for the trunk installed
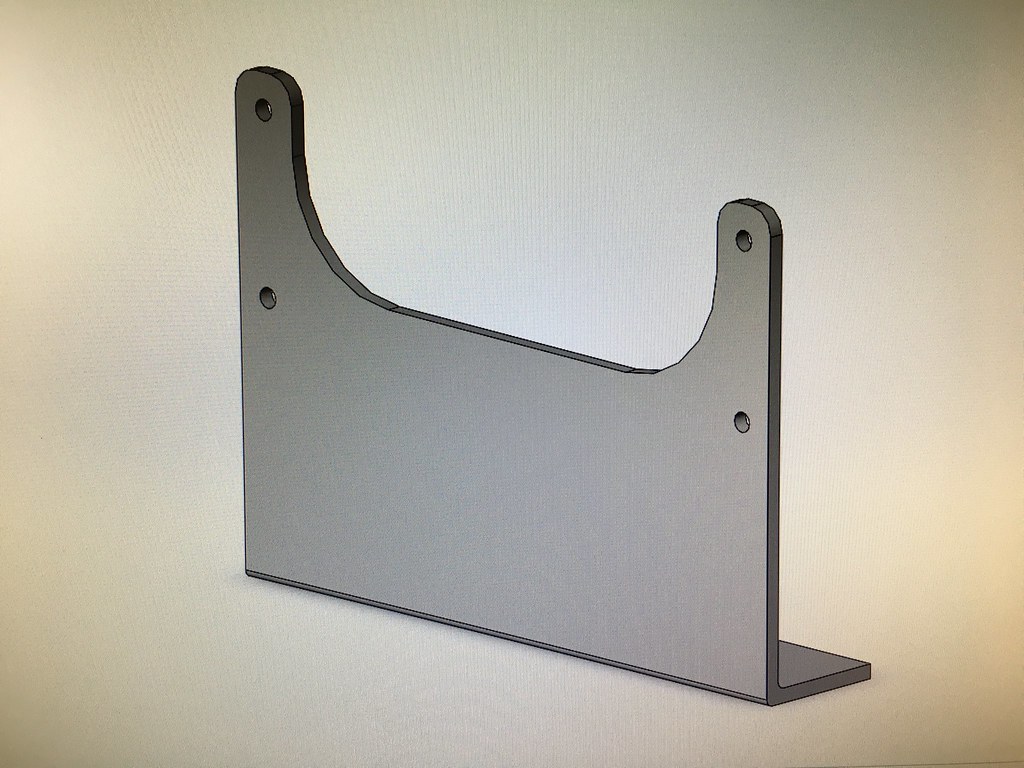
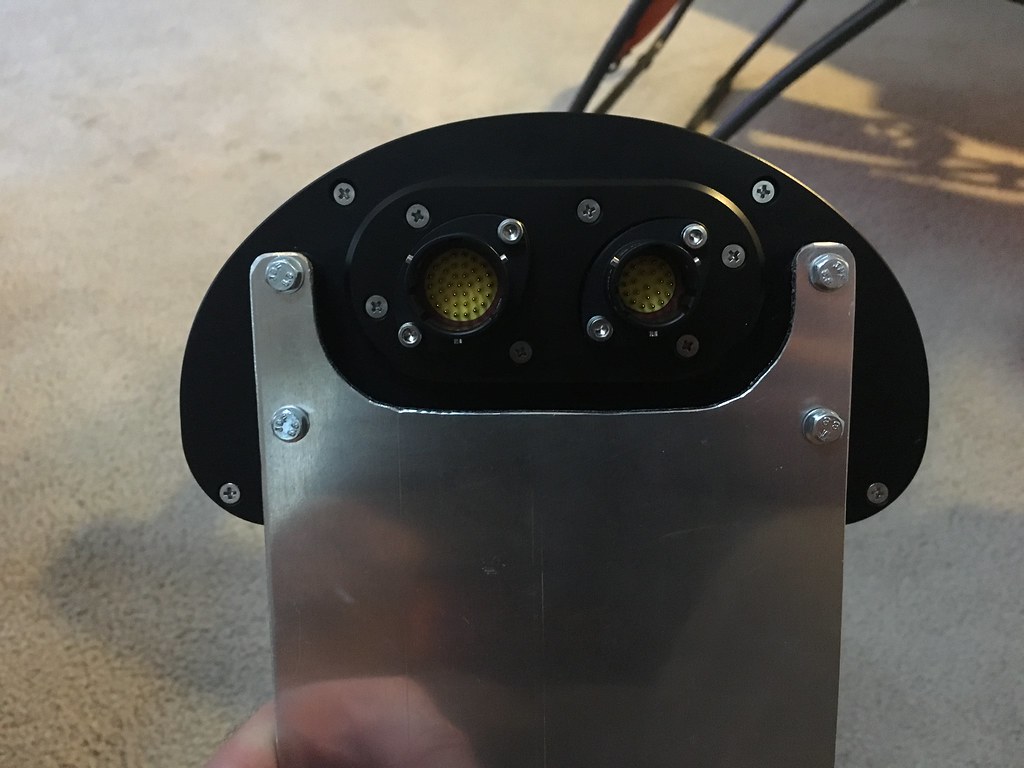
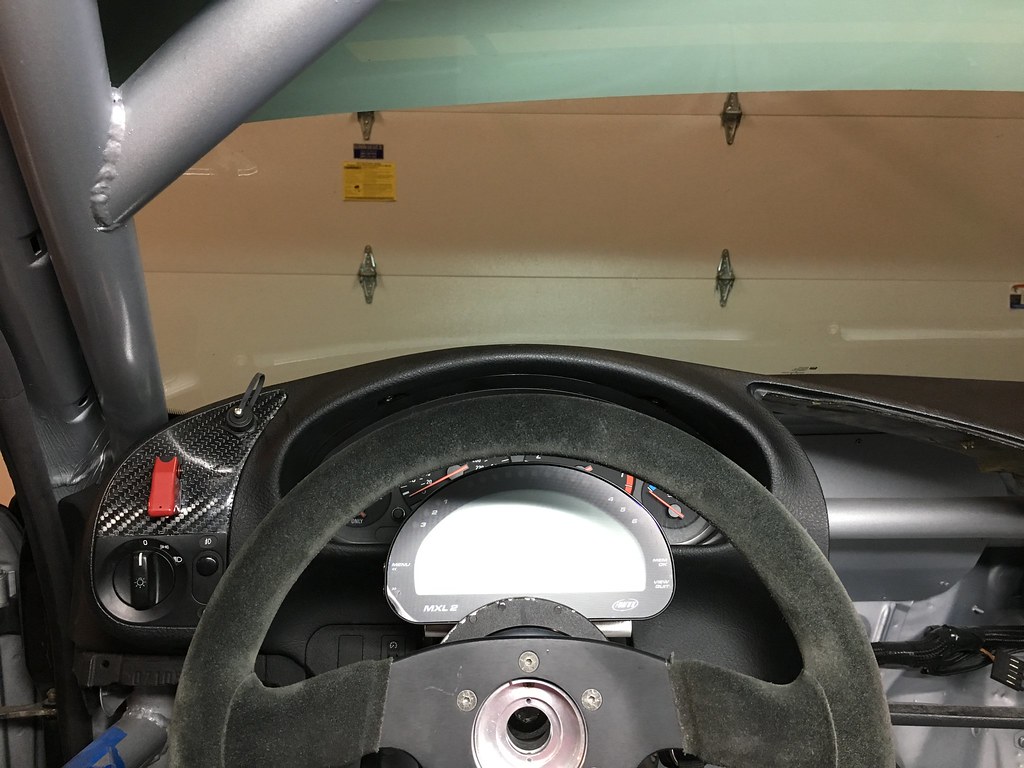
Designed a mount for the AiM MXL2 dash, cut it out, got it all mounted
Bodywork and shiny new paint
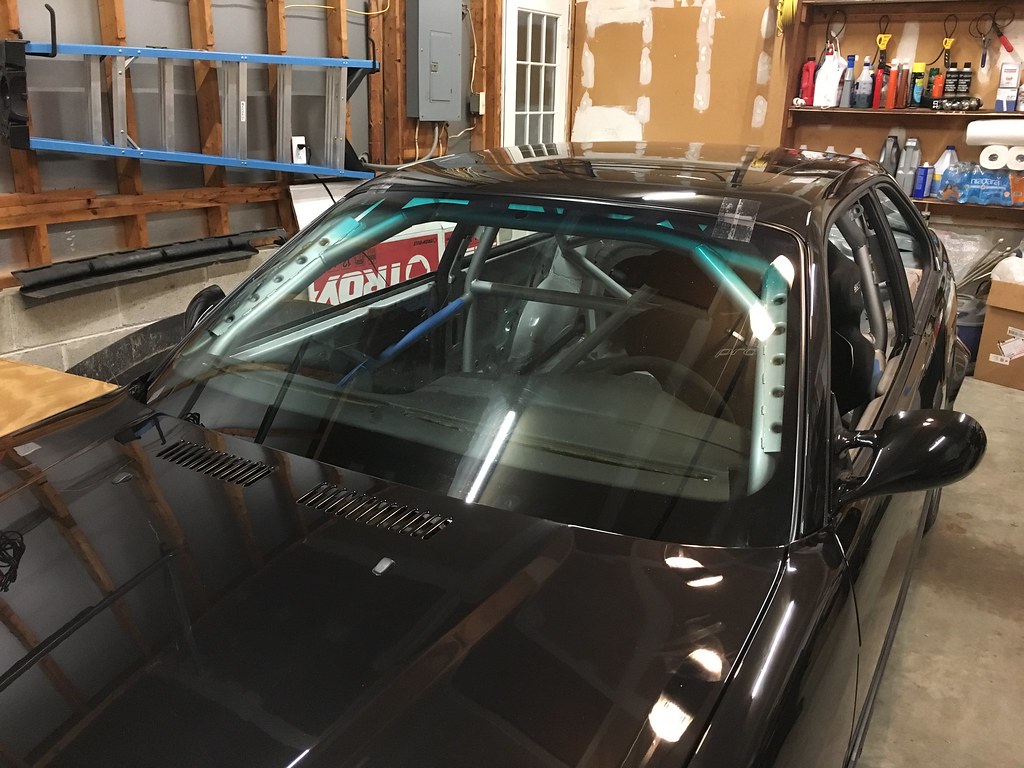
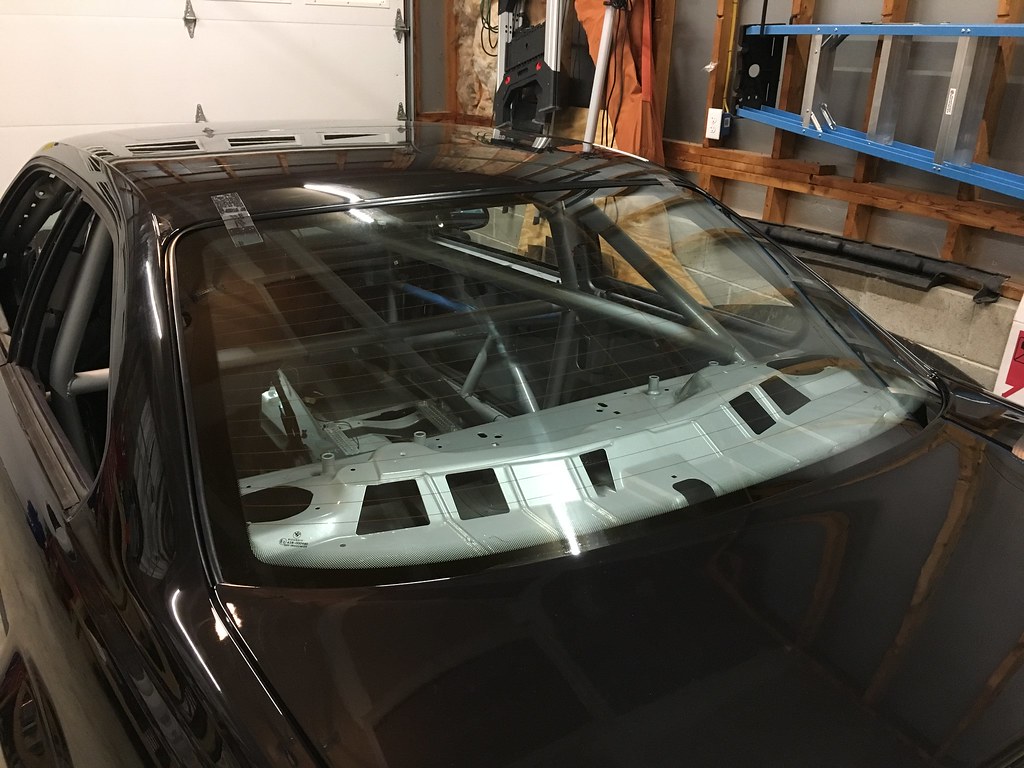
Front and rear glass installed tonight
I'll try to be better about updates this winter as I put the finishing touches on the car.
Member
I just searched for an update from you yesterday
Nice work and good luck with the remainder.
Cone Killer
Where'd you get the hood vent?
'03 911 Turbo 6MT fun car
'18 Toyota Land Cruiser Daily driver/Ski Machine/Off Roader
'15 Cayenne Diesel Wife's DD
'17 KTM 690 "Adv" 2 wheeled Adventurer
Member
Thanks! I follow yours on FB and have been watching progress. Looking good!
http://vraptorspeedworks.com/bmwuniversal-hood-louvers/
Member
Dang, this car will be gorgeous when it's all done. Time to start thinking about aero and livery?
Member
What size wheel spacers are you using?
Member
Aero goes on soon. Livery is still TBD but we have some ideas.
Front is a 12 or 15 mm, can't remember at the moment, and nothing in the rear. Even with the low offset wheels I still need a spacer to clear the strut.
Member
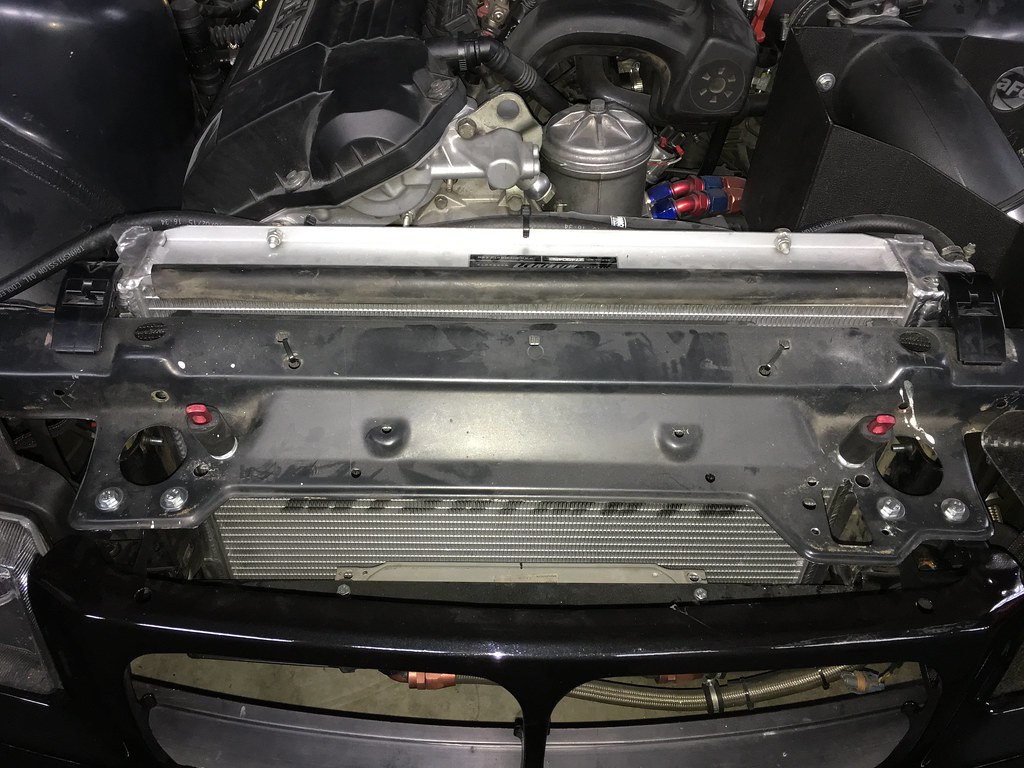
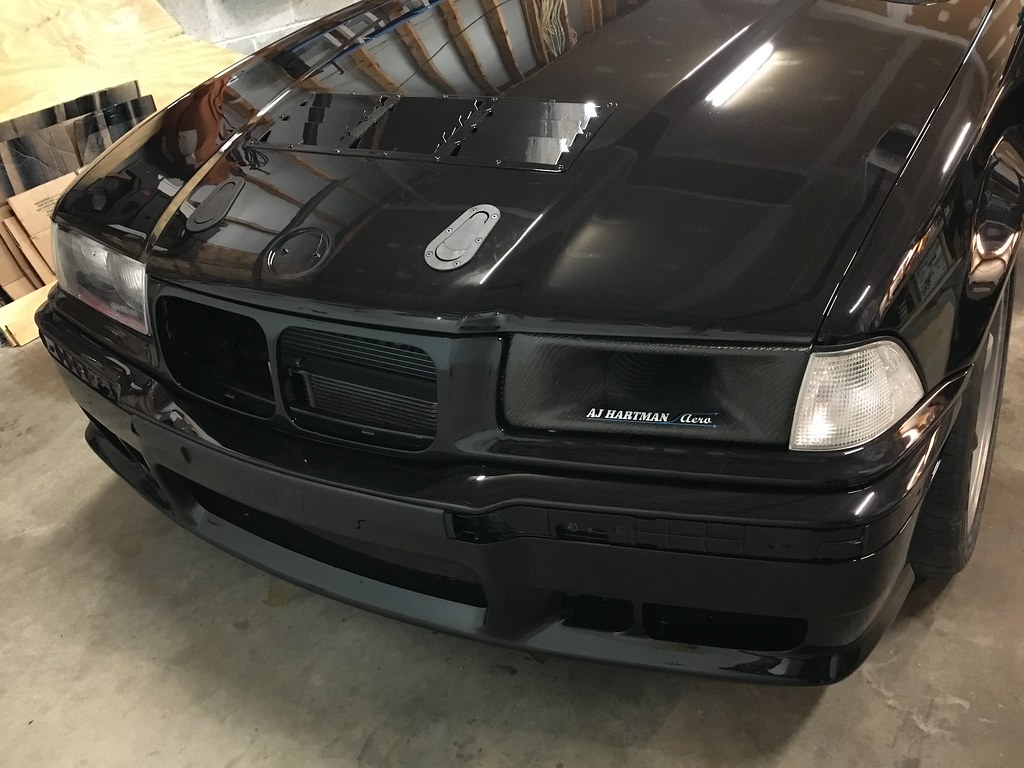
Tonight I got the front end mostly back together. Final mounting of the nose panel, headlight and intake duct, front bumper. I'm holding off on the kidney grills because I need to do some aluminum sheet metal ducting to the radiator/oil cooler and that's good access for that. I also need to fab up some new splitter mounts and get the splitter on.
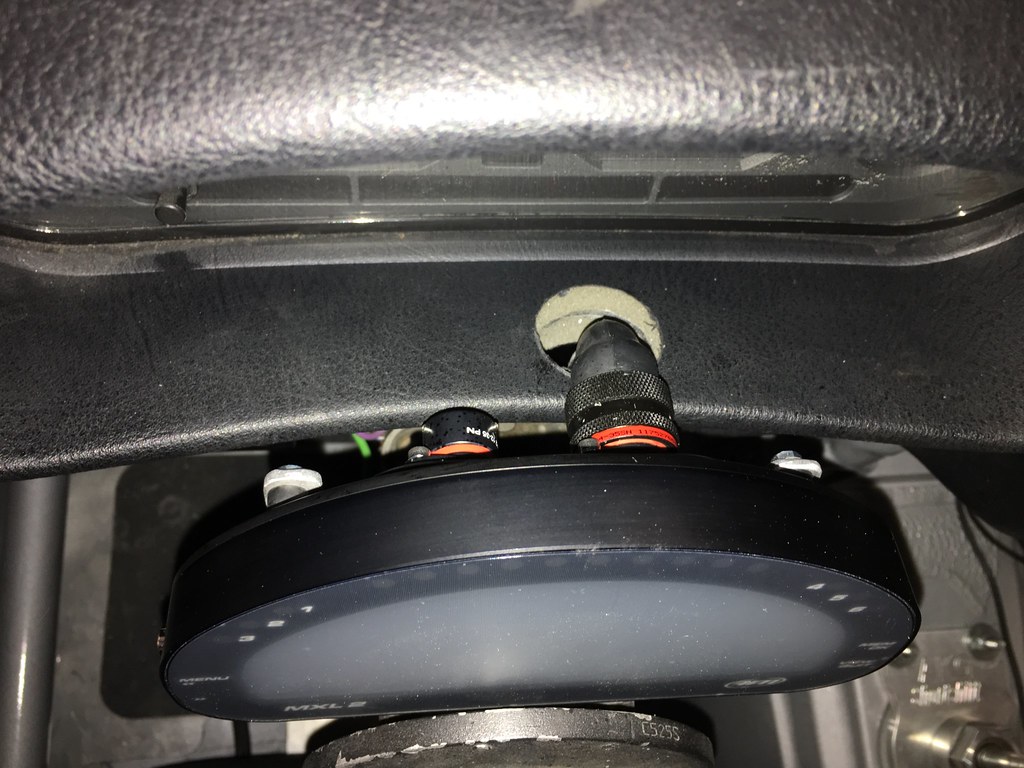
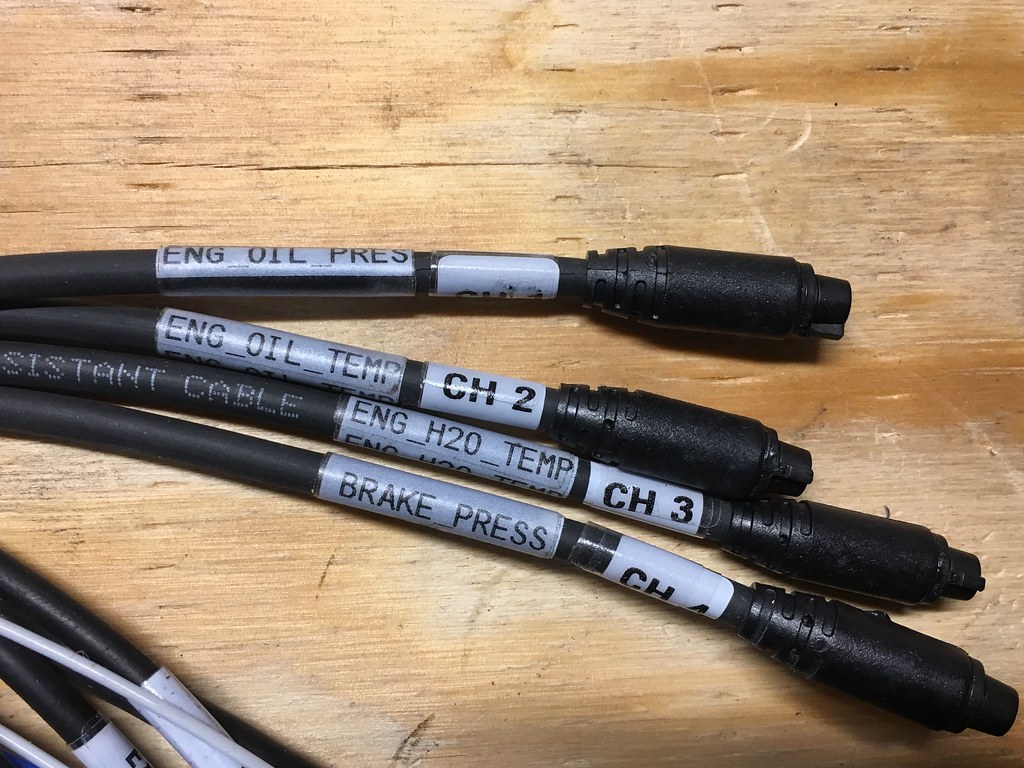
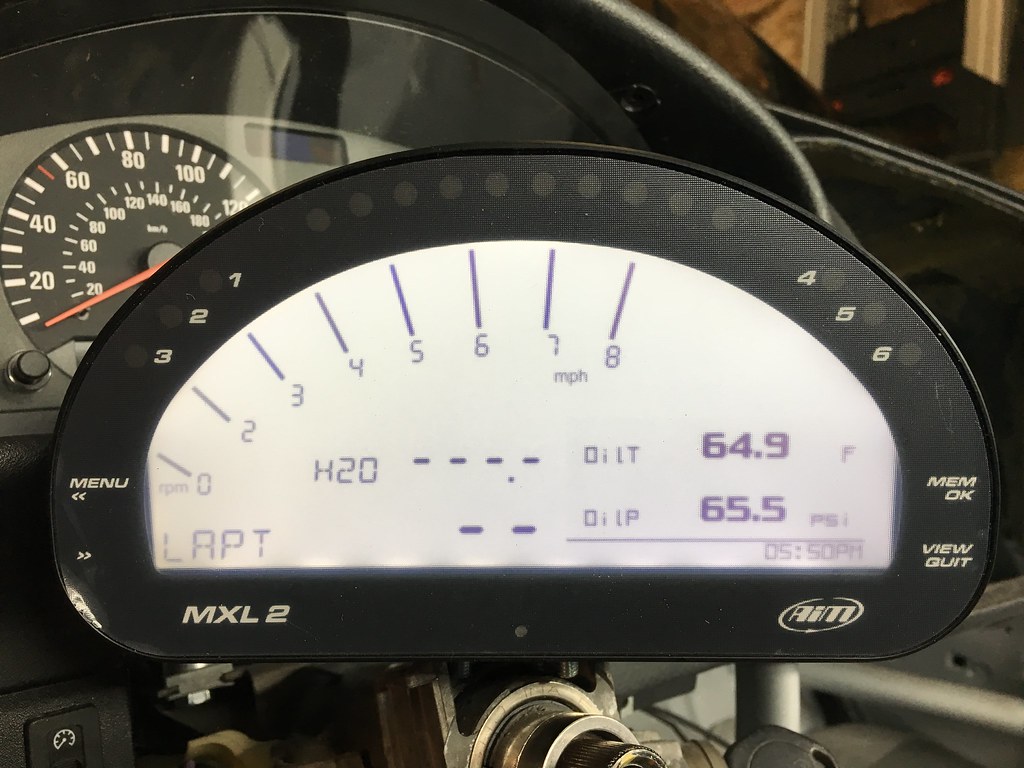
Then I worked on wiring the AiM MXL2. I labeled the sensor connections so it will be impossible to mix them up later. The wiring was pretty simple. I tapped into the instrument cluster wires for power, ground, and rpm signal. Two sensors were switched under the intake manifold so I had to trace those down and get it right. Unfortunately I didn't label both ends of the batch cables so I think water temp and oil pressure got switched during the recent head work.
I was still having issues until I figured out the oil pressure sensor was unplugged under the intake manifold. All is good now after an hour or so of reaching blindly under the manifold.
Ignore the numbers in the dash pictures. That was taken before fixing the sensor wires.
Now I just need to tidy up the wiring under the dash, final mount the AiM, and run the GPS sensor wire and I'll be done with that part.
Member
Any shots of the Aero Catch install? Great build!
Dave
'18 RAM 2500 Laramie Cummins
'15 Pure White VW Touareg TDI
///'95 Avus M3 S54B32 Race car -- 2022 ProAutoSports PS1 Champion
///'72 Chamonix 2002 (Restoration project)
Member
Not at the moment but Ill grab some when Im back in the garage next
Member
looking good
99 M3 STU/ GTS3 Project
Member
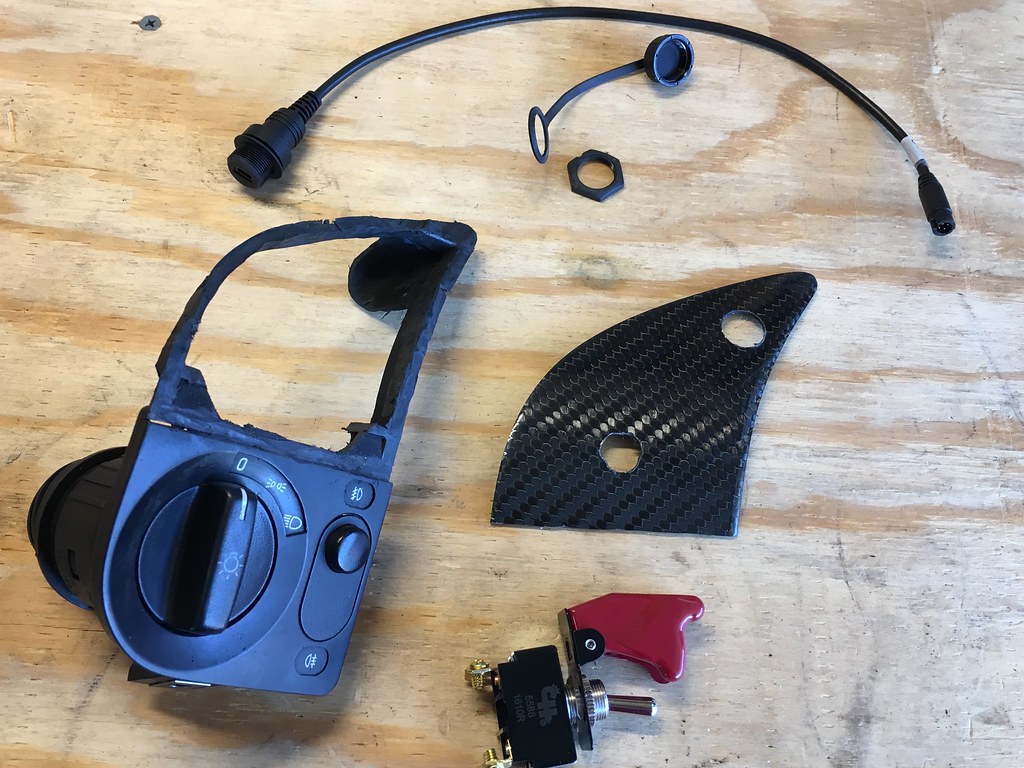
As requested:
Member
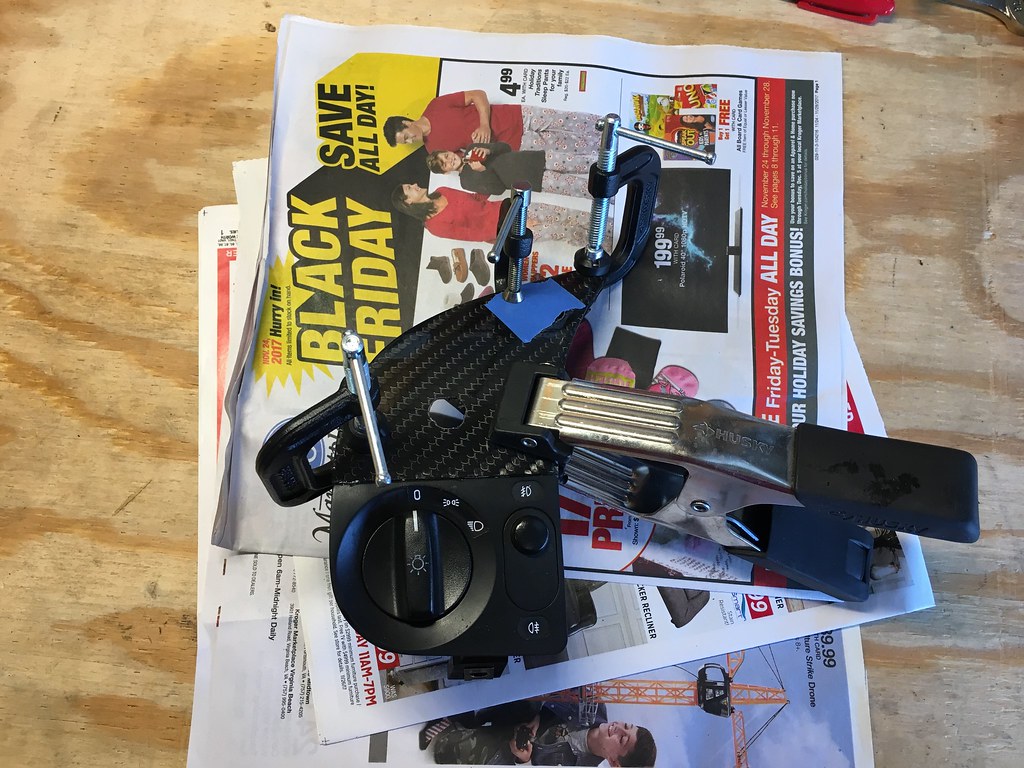
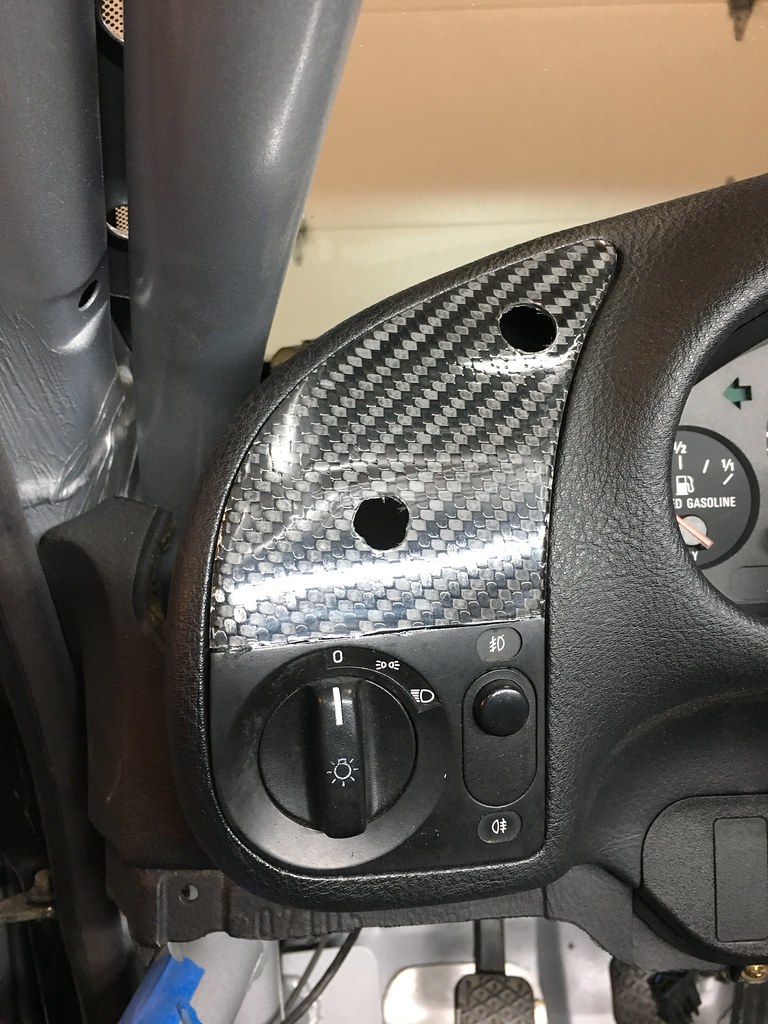
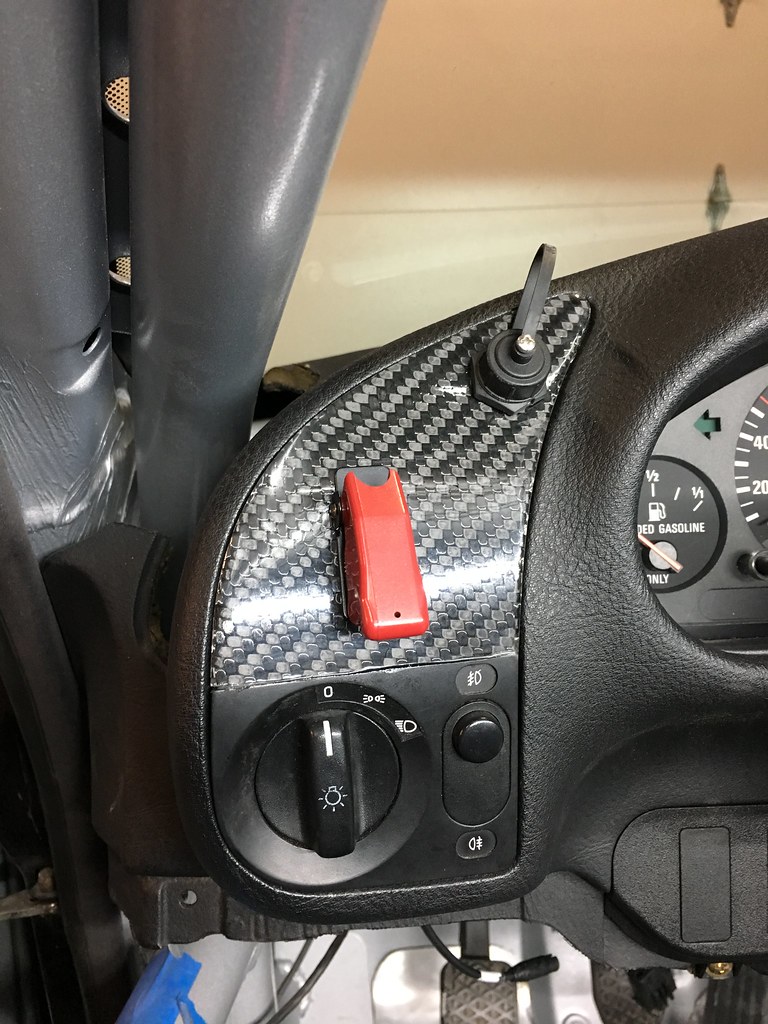
Spent the afternoon in the garage working on finishing touches for the AiM install. Sometime in the past year I bought a carbon blockoff plate for the headlight/vent area and I have always envisioned mounting the electric kill switch in that area. I also wanted to mount the AiM micro USB plug in the same area. I cut/trimmed the vent so I could keep the stock headlight switch, trimmed the carbon plate to fit, drilled holes for the kill switch and USB port, and JB welded the two pieces together. I'm very happy with the final result!
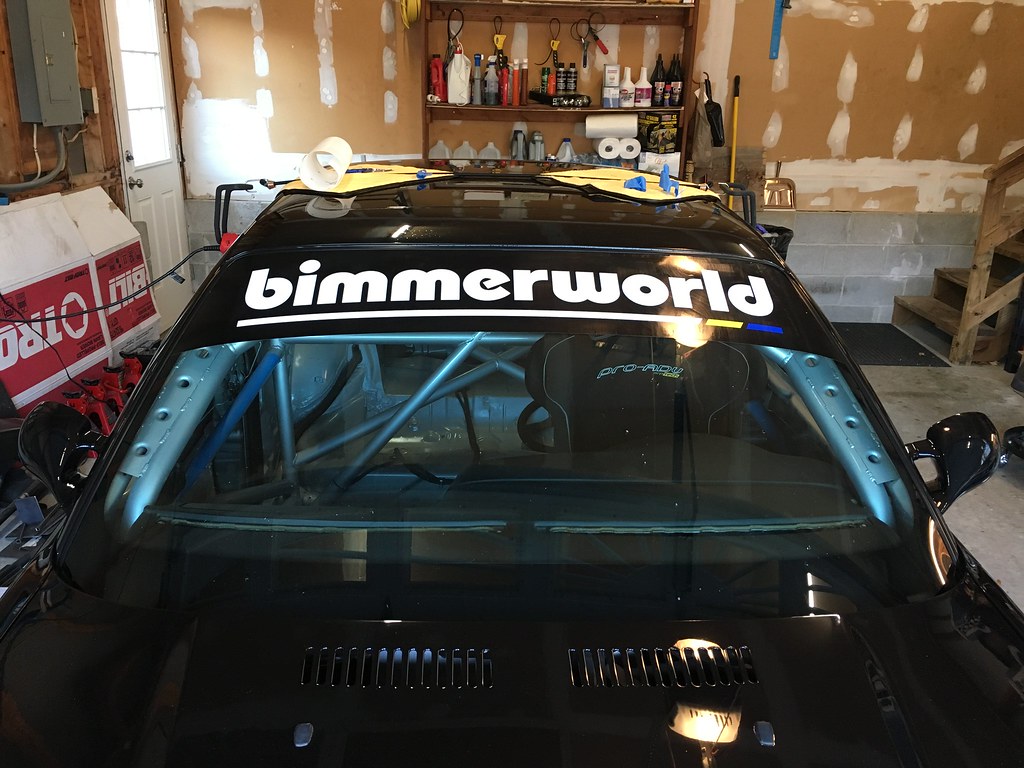
This is the current view that I see after lowering the seat. I might need to trim the bottom of the banner, we'll see later. I'm working on my plan for the center dash area which will contain switches for a couple things mostly.
While the JB weld was curing, I put on the Bimmerworld windshield banner. It's looking more like a race car every day!
Member
Looking good.
Member
Last night I played around with the center net location so I could see where the front strap would need to penetrate the dash to attach to the dash bar. Got that figured out and cut the access hole but forgot to take a picture.
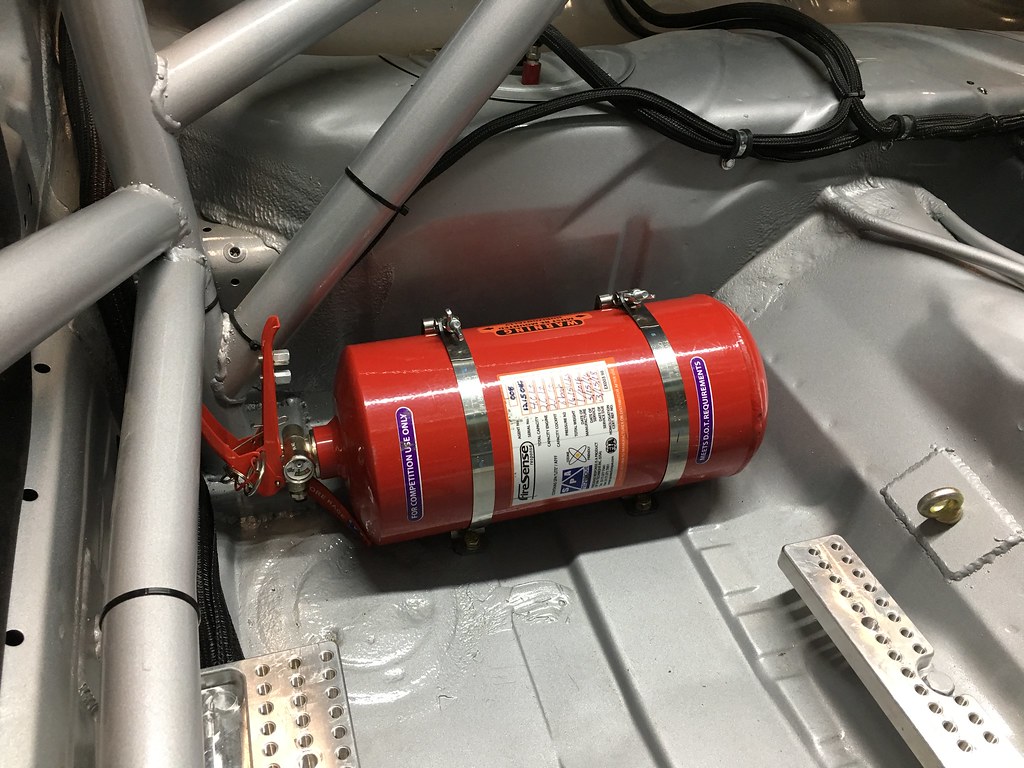
Tonight I got the fire extinguisher mounted behind the passenger seat. I used rivnuts with a new tool I bought. I need to make a spacer plate for the outside mount so it sits level.
Member
This is awesome!
Member
Tonight I got the fire system nozzles mounted in the engine bay and cabin. I also ran the lines for the engine bay, through the firewall, and to the nozzles for the driver. I'm waiting on some more lines so I can run the lines from the firewall back to the bottle and the nozzles by the fuel pumps. I also still need to run the pull cables and then that'll wrap up the fire system.
While I was running the extinguisher lines for the driver I finished cleaning up the wiring for the AiM dash and got it wrapped in the same split loom as the rest of the harness. I also removed the black plastic piece that serves as a mount for several modules behind where the glovebox would be. I only have the wiper module still mounted there so I just zip tied that module to the ABS module mount.
The wipers and windshield cowl are back on also. My parts shelf is slowly looking more and more empty!

Makes Cars Dance
BMW E36 M3 Expert
Damn, Eric. Car is so clean. Can't wait to put some donuts on your car next year!
(JK, I don't hit people, I just get hit
Member
Nice work on the exhaust, similar to what I want to do on mine.
Sent from my iPhone using Tapatalk
Member
Car is incredible. I would be afraid of ankle damage with that foot rest. seems easy to mess yourself up in a accident.
IG: dimitriantoniou
 Posting Permissions


 Reply With Quote
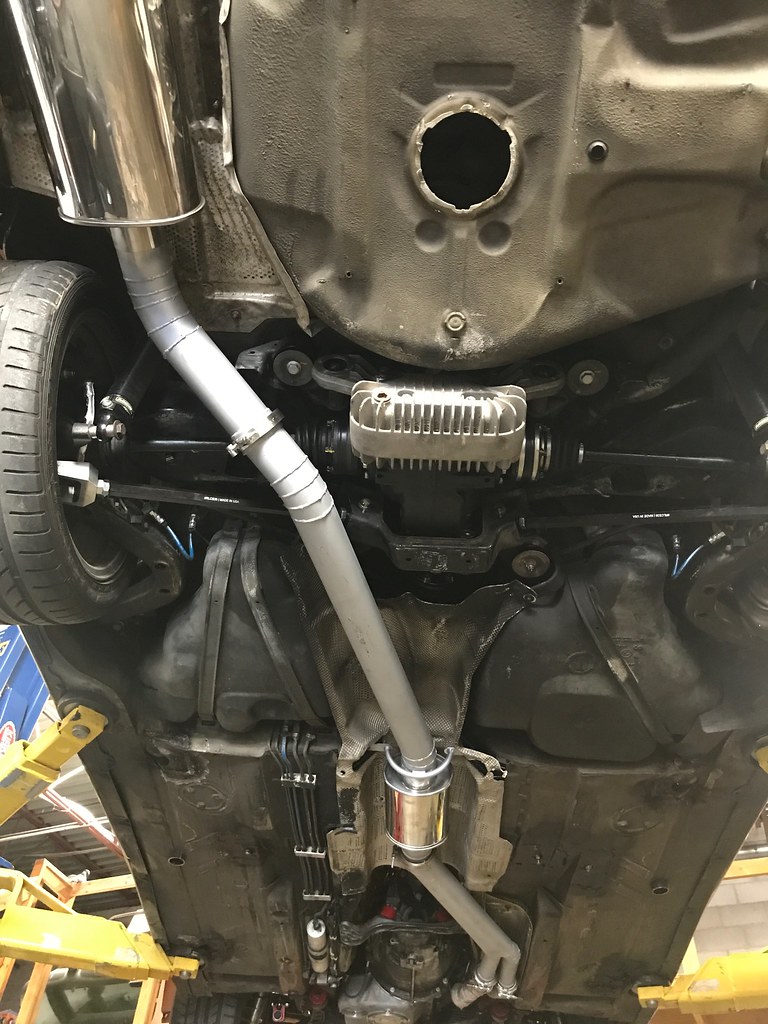


Bookmarks