
 Member
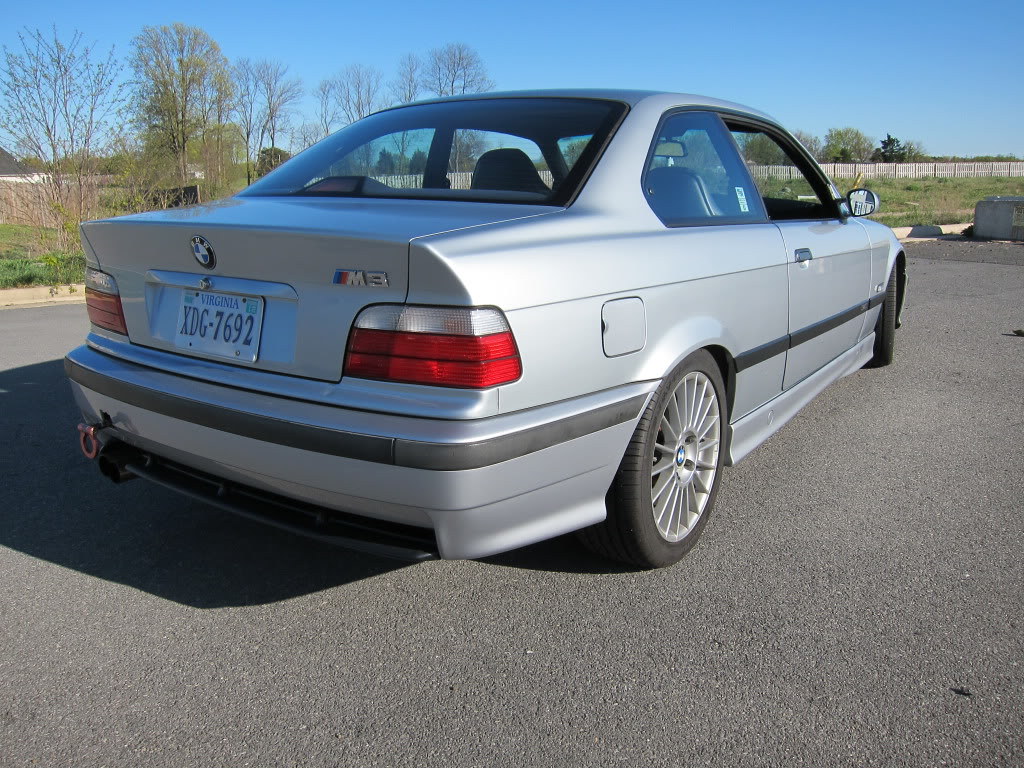
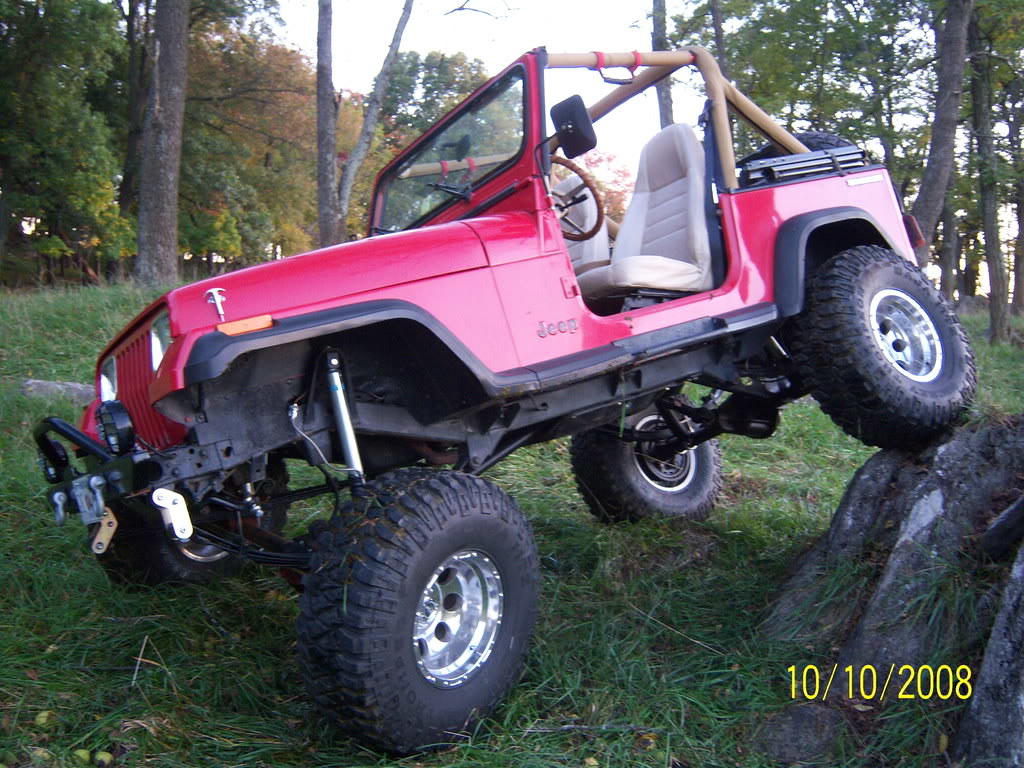
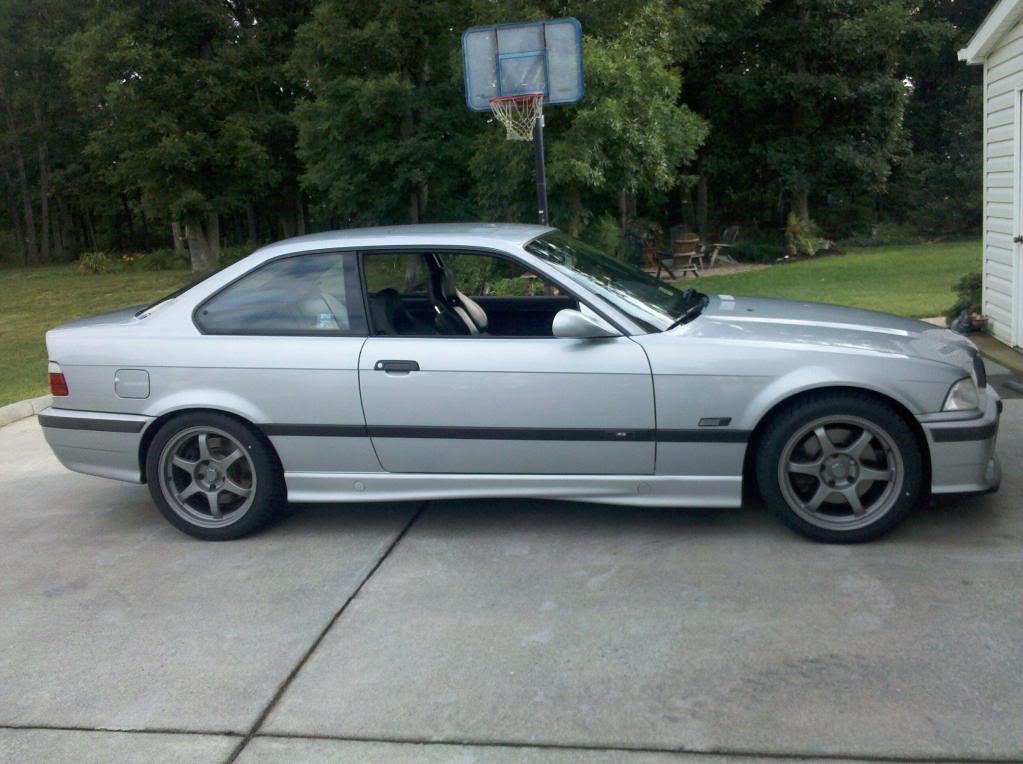
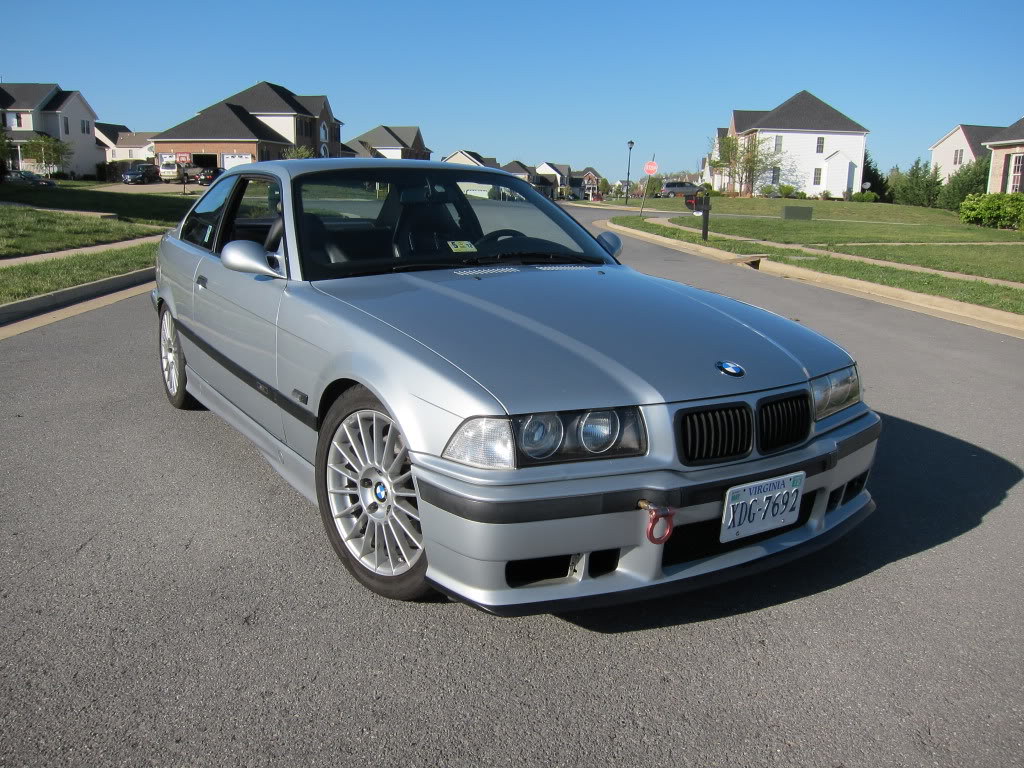
My dad and I bought a 1996 M3 with intentions of both of us doing HPDE and me eventually getting into TT and hopefully racing. This is our second project car, our first one was a 1990 Wrangler. Here's a picture just for the hell of it.
We bought the M3 last spring with 142k miles and about 10 years worth of maintenance files so it's been a good base to start with. We put on some Dunlop SP Sport Maxx tires and DTC-60/HT-10 pads for the track and tried to get some seat time. I'm now in HPDE-3 and he's in HPDE-1.
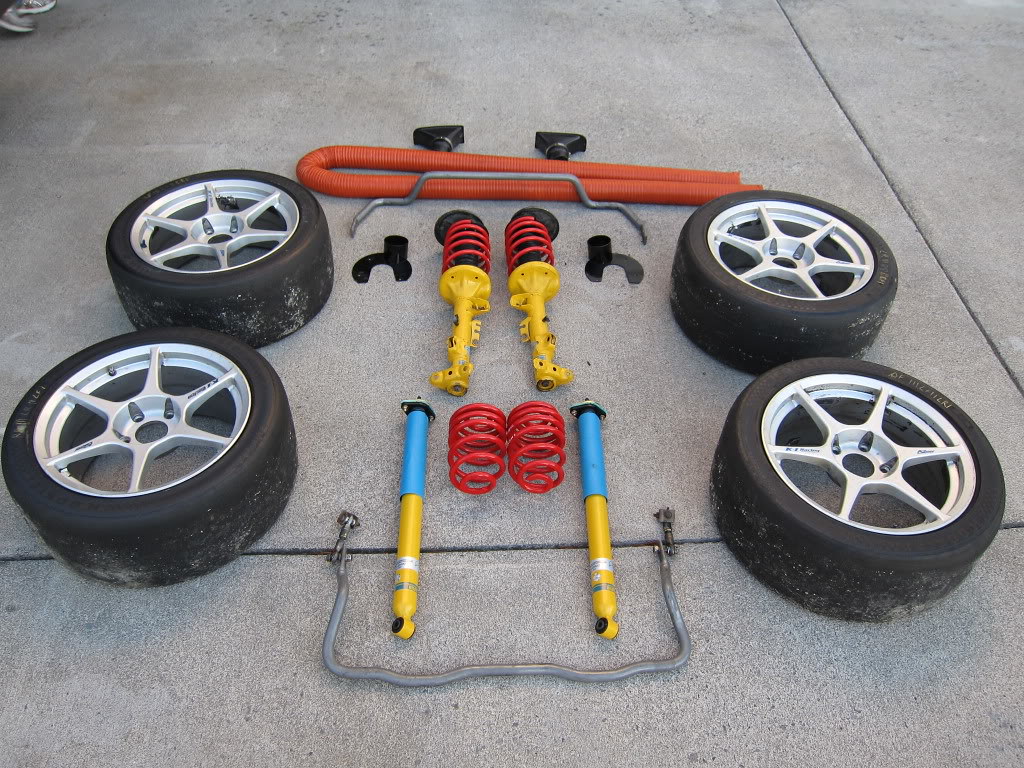
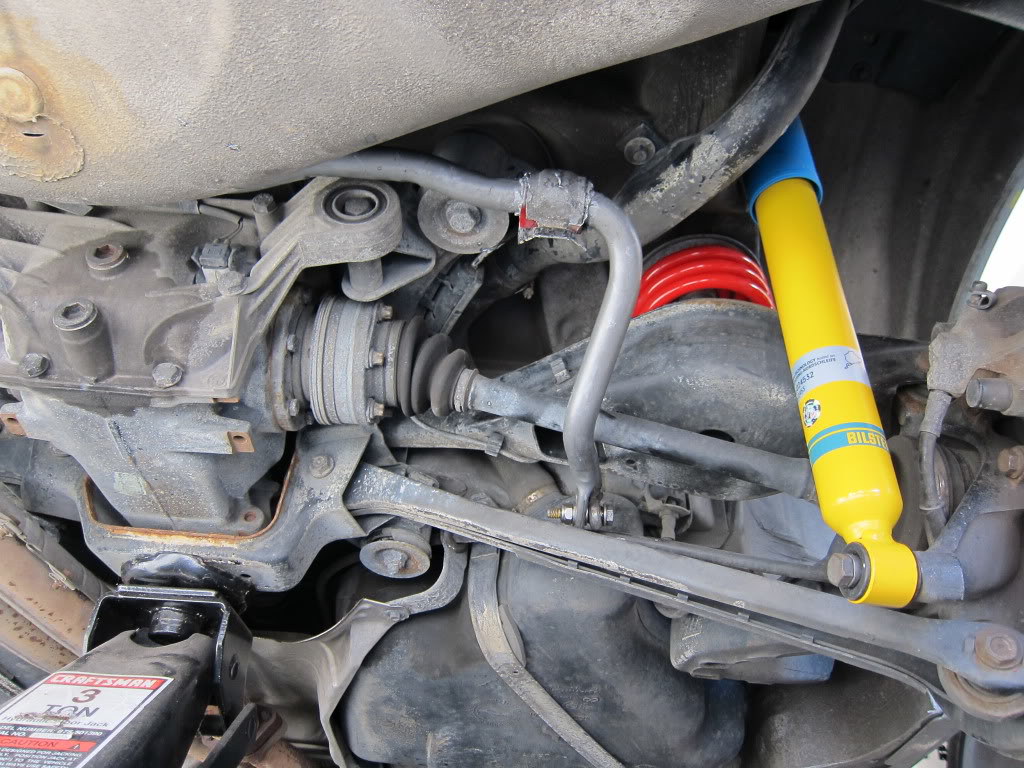
After some research and talking with people at the track, we decided to go with a basic suspension upgrade that we can easily resell later when we decide to go better/more expensive. Here's the list of everything we installed this weekend.
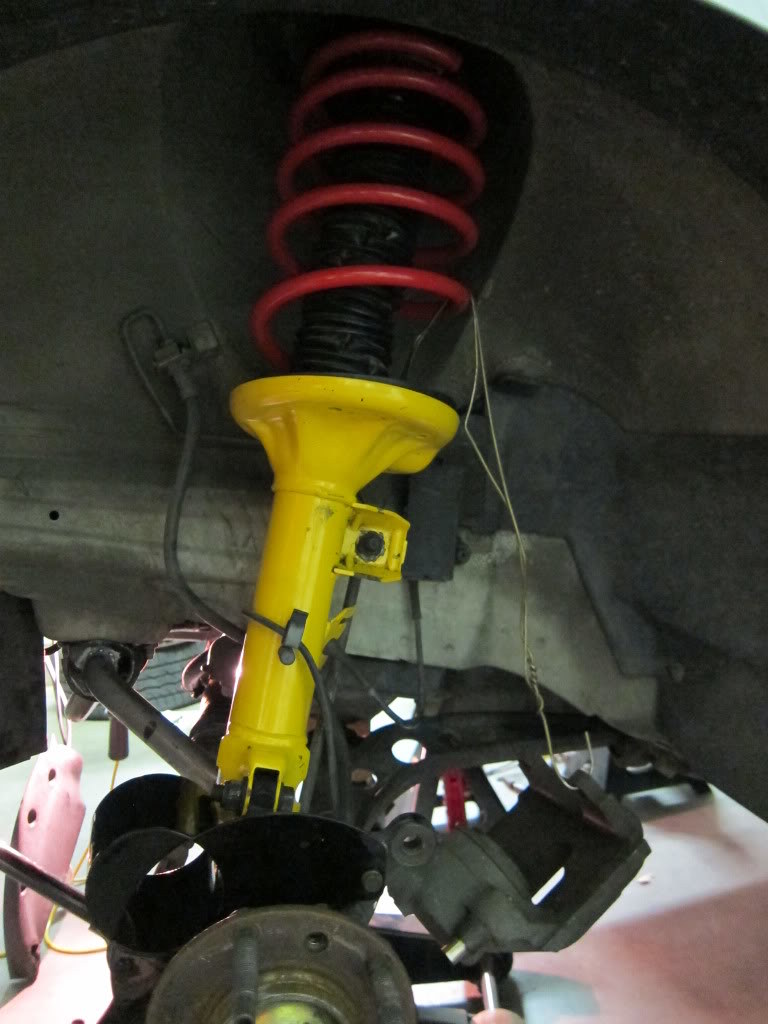
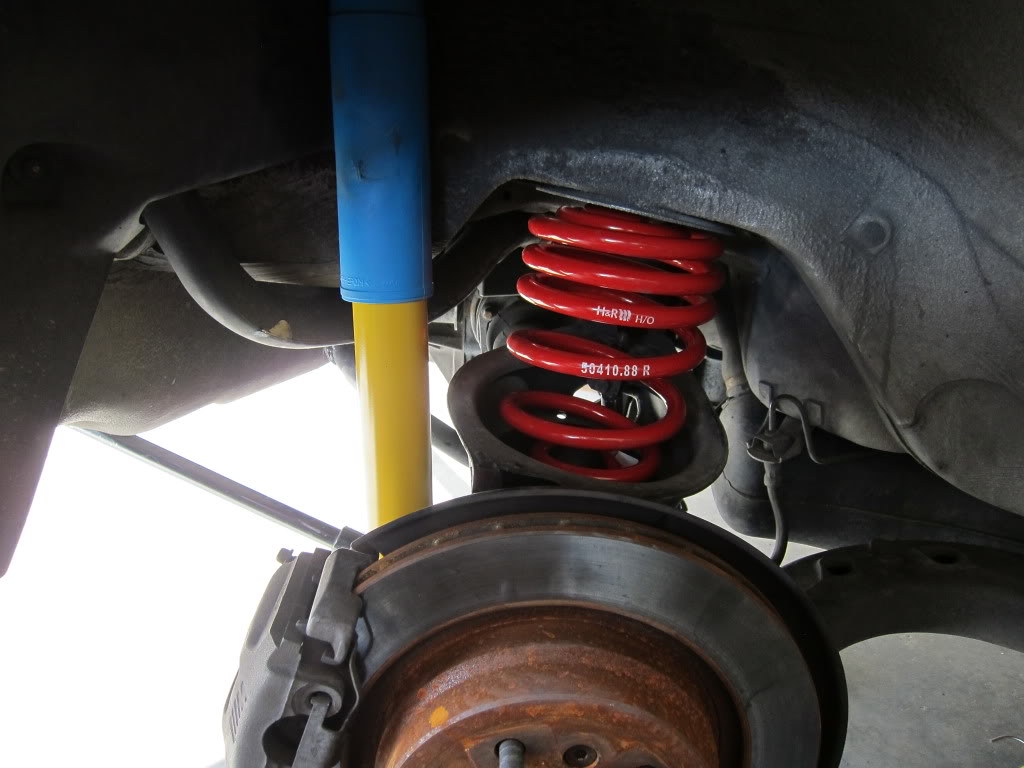
H&R race springs
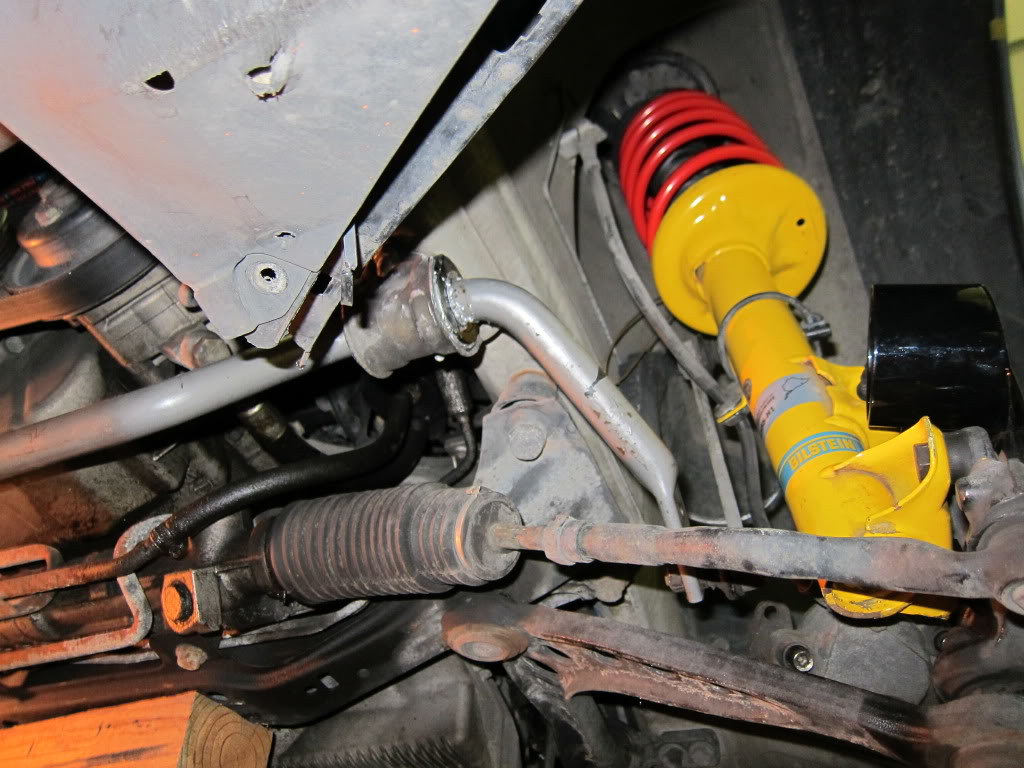
Bilstein HD struts/shocks
UUC Swaybarbarian sway bars
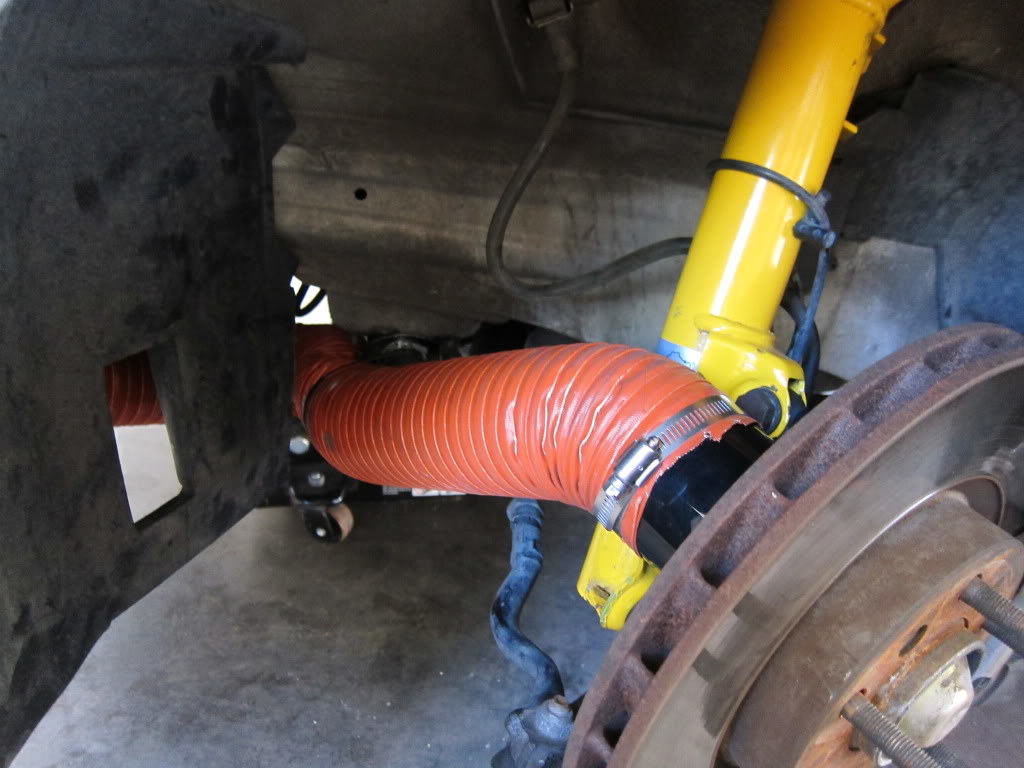
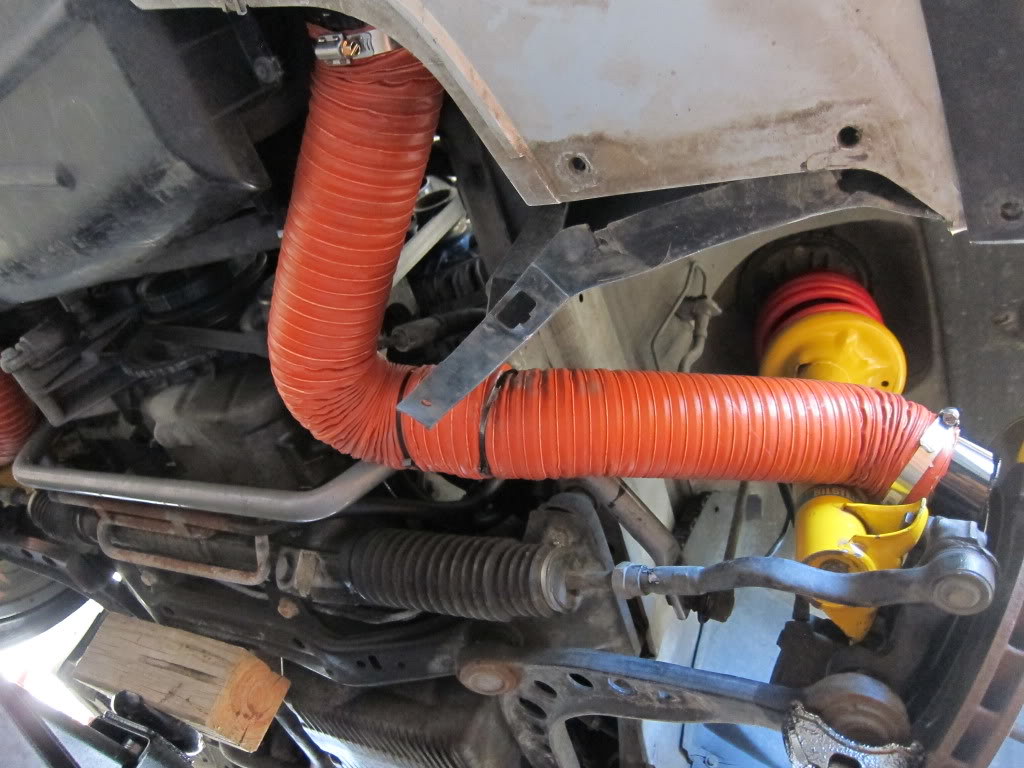
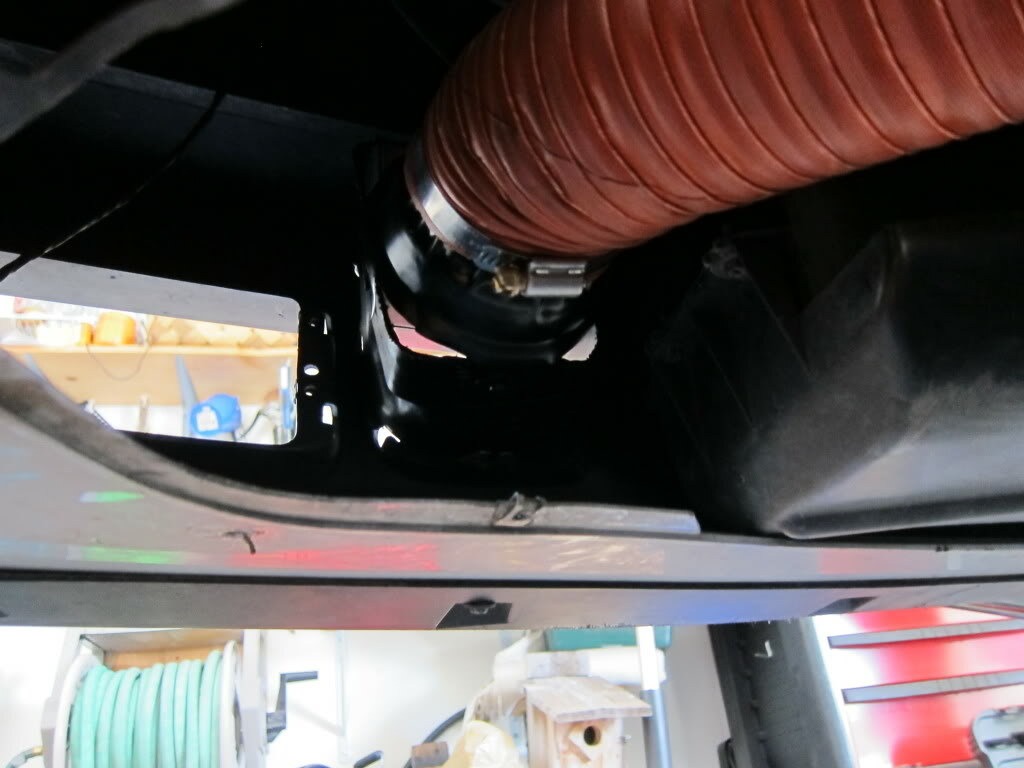
Brake ducting - Gruven backing plates, homemade ducts
Kosei K1s and Hoosier R6s
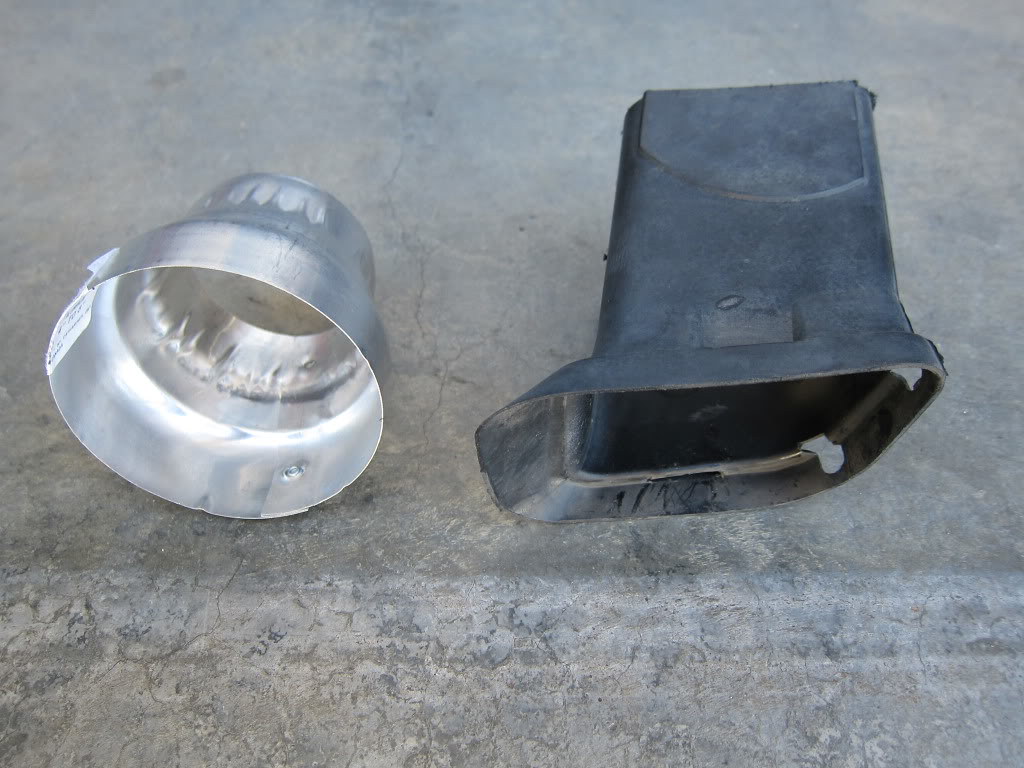
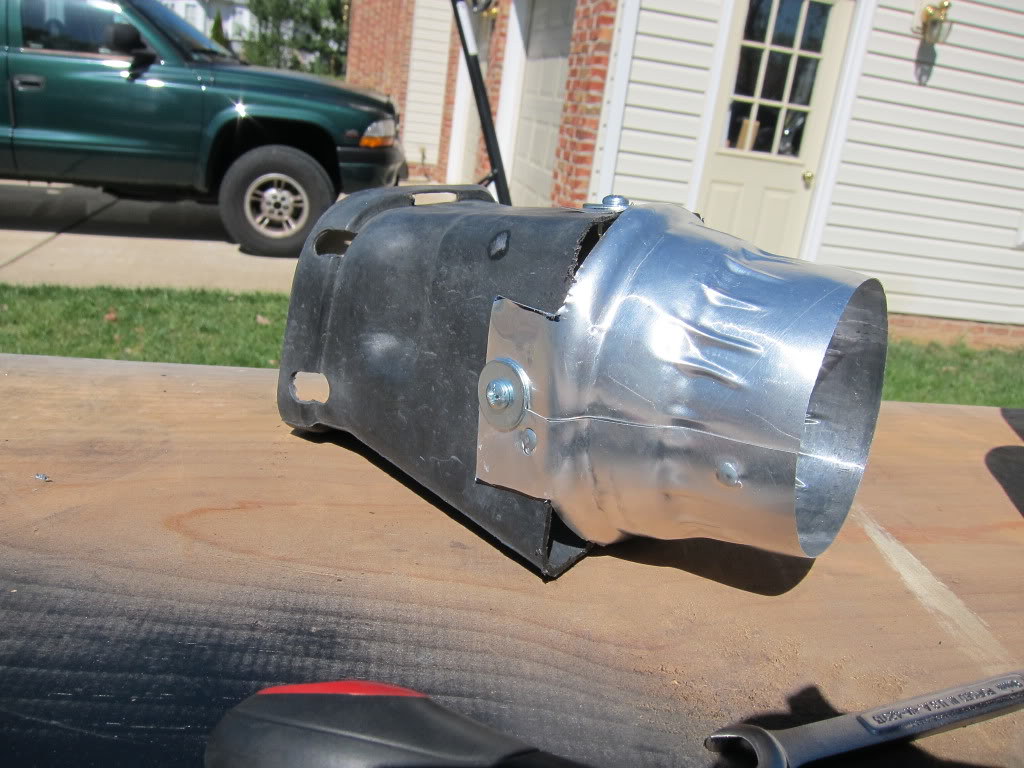
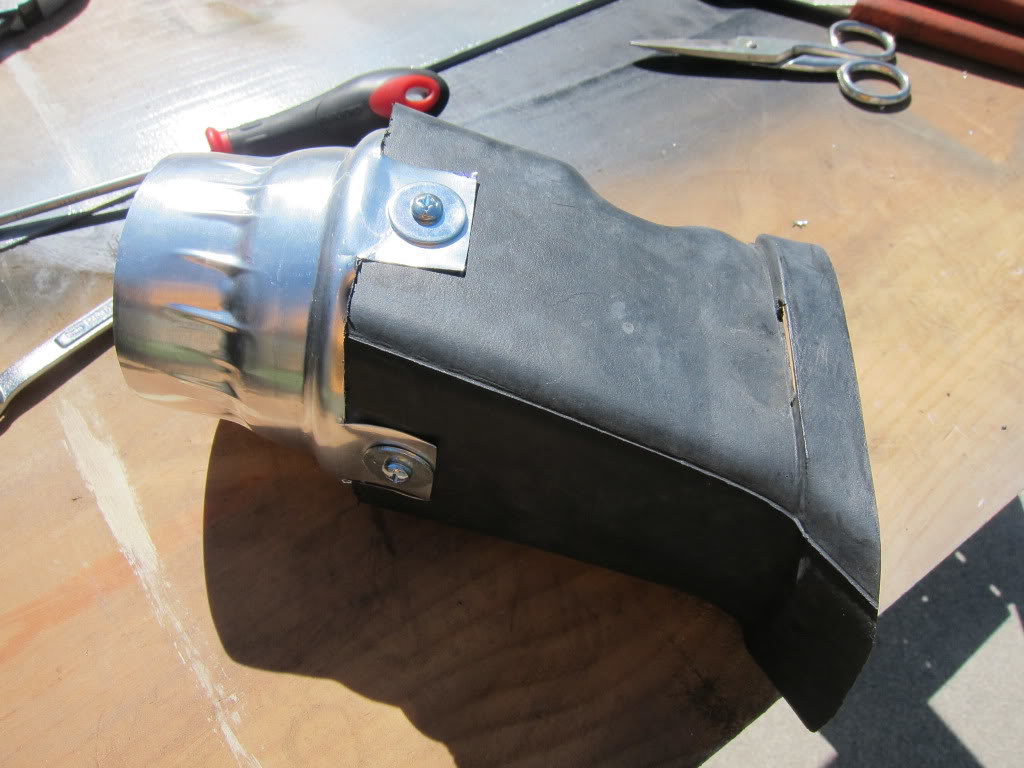
We ordered some ducts that replace the fog lights but I didn't like how they fit so I decided to modify the stock ducts. I started by cutting the stock ducts so they were about 5" long and picked up a couple 4" to 3" aluminum ducting from the local hardware store.
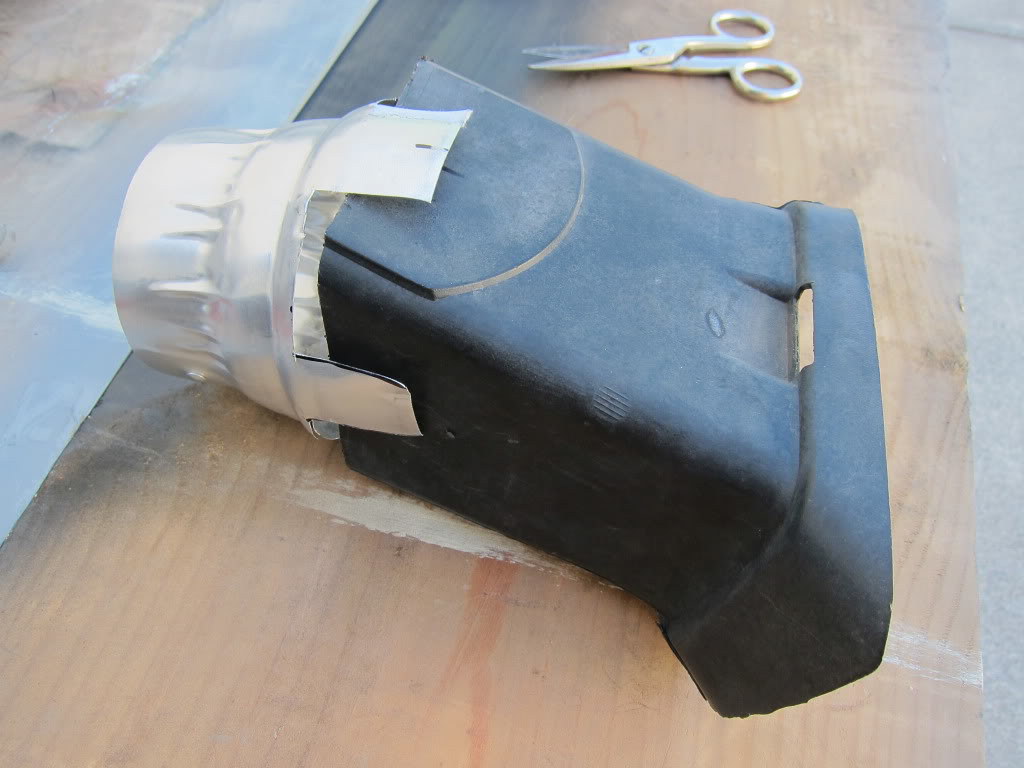
Then I trimmed the aluminum piece so there were 4 tabs
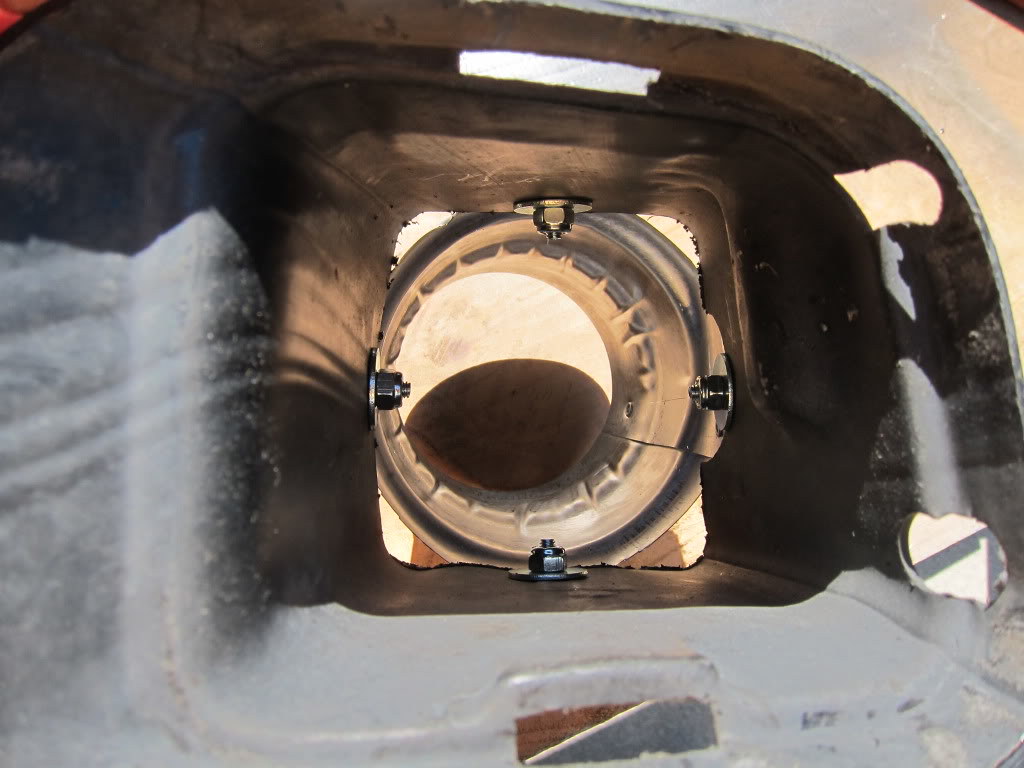
The drilled holes and bolted the aluminum to the stock duct using M8 x 1/2" machine screws with fender washers and nylock nuts
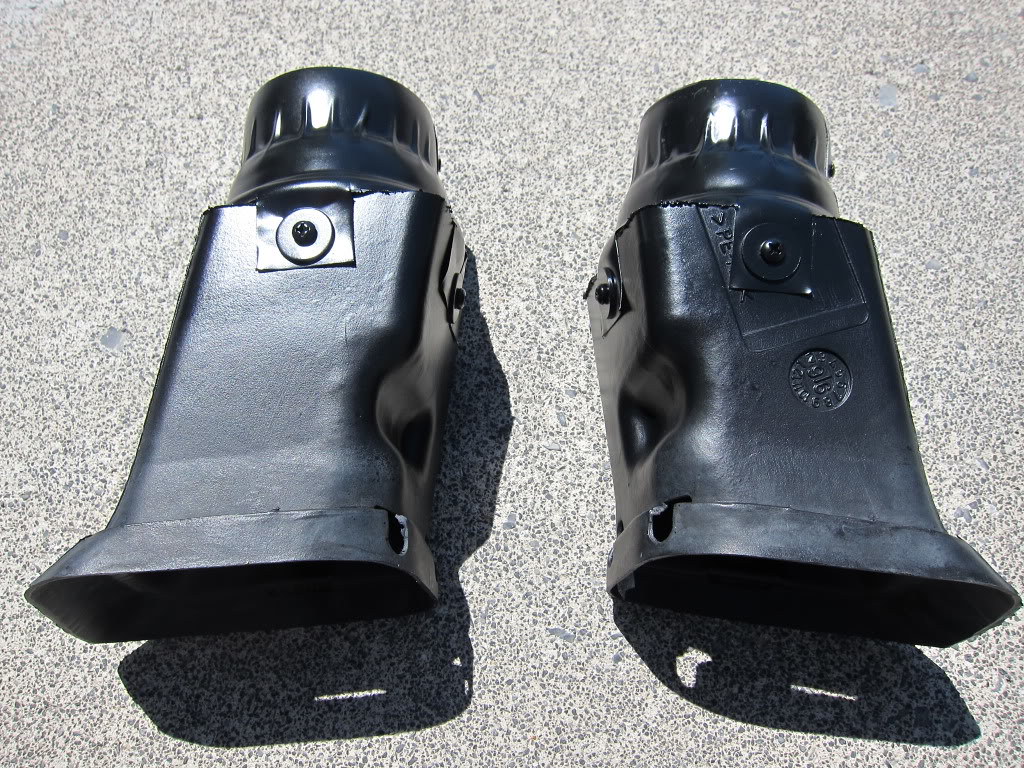
Finish them off with a little paint and I think they look pretty good for about $12
We used Gruven backing plates and ducting to finish the install. I zip tied the ducting to the sway bar and trimmed the inner fender lining to reduce rubbing. The tires still rub at full lock but we have about 90% of steering travel and can leave them on all the time.
Rear suspension installed
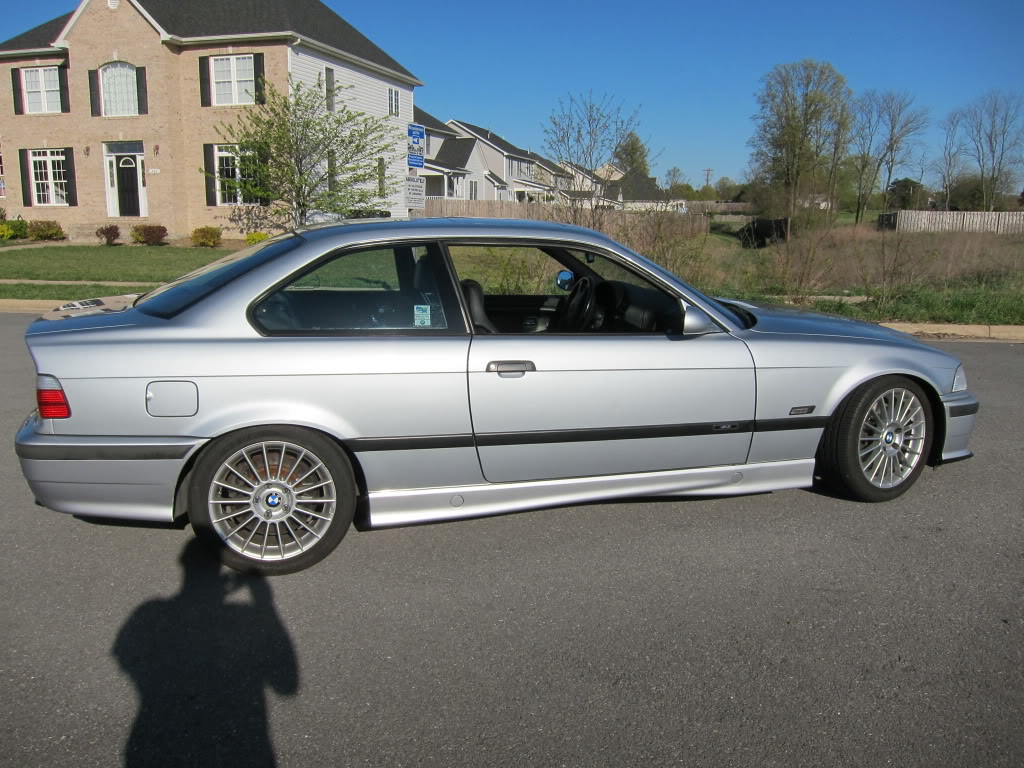
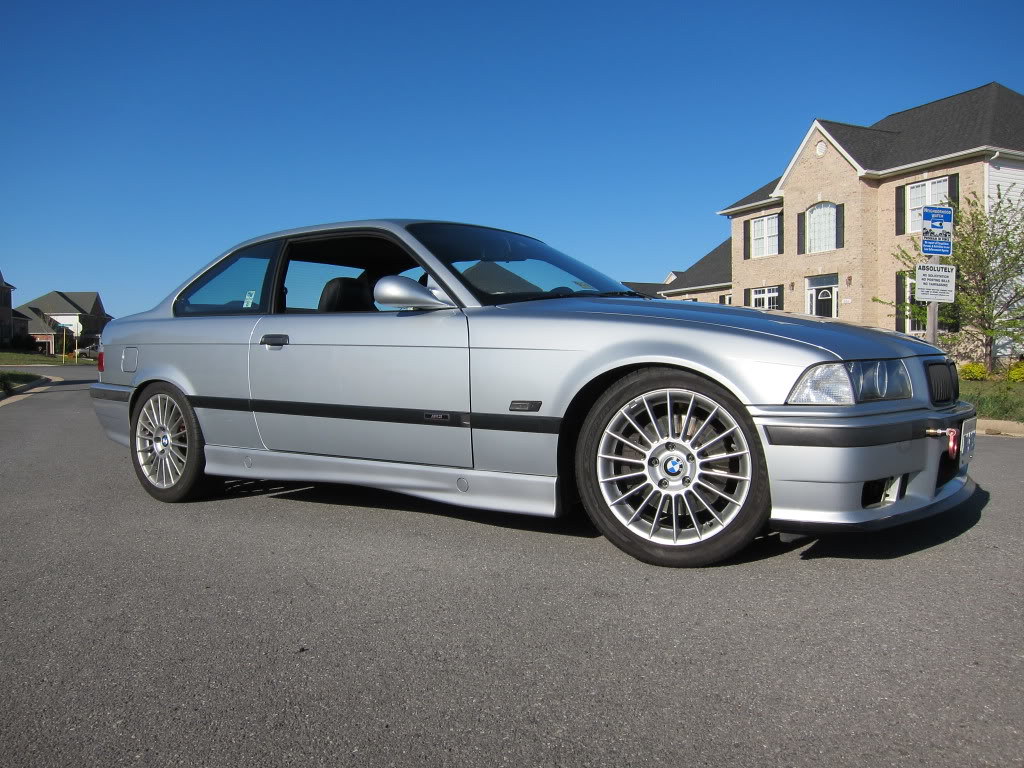
And final pictures. The front dropped about 2" and the rear a little over 1". I expect a little more settling over the next couple days/weeks. The K1s with 245/40 tires rubbed the stuts so we have to wait for some 12mm spacers to arrive for final fitment. A quick shakedown test drive went well. It is much more responsive but not overly rough and definitely still daily driveable.
Before
After
Last edited by hoki06; 04-15-2018 at 04:54 PM.
Member
You are off to a good start - hope you and your dad have as much fun as my son and I have with ours.
The TJ looks like a fun time too.

Always FUN TO DRIVE - Build Thread & Tech info - 79 320/6 track car build thread -- Videos of track car -Adam in car Auto-x video - Start-up video - 4/2011 Adam's TOP BMW time San Diego BMWCCA - 4-5-15 Dyno break-in run new M20B25 - Exhaust Thread - Link
HARDMOTORSPORT.COM
Perfect track car candidate!
Member
That's awesome!
Treasure every moment you guys spend time on it!
Member
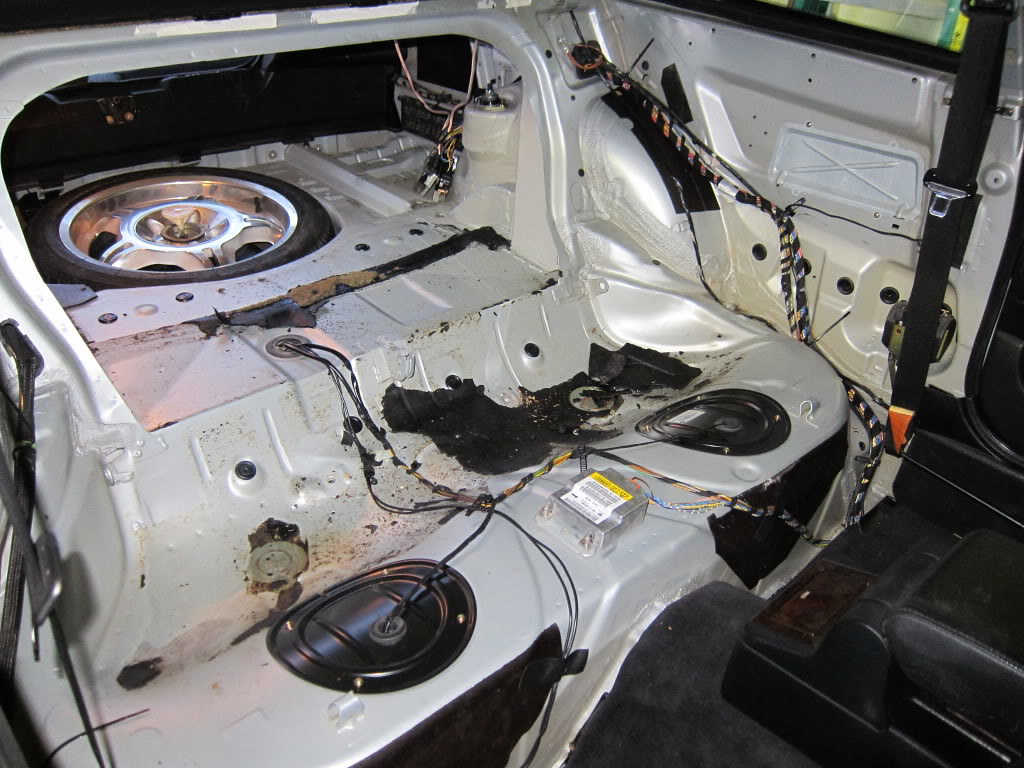
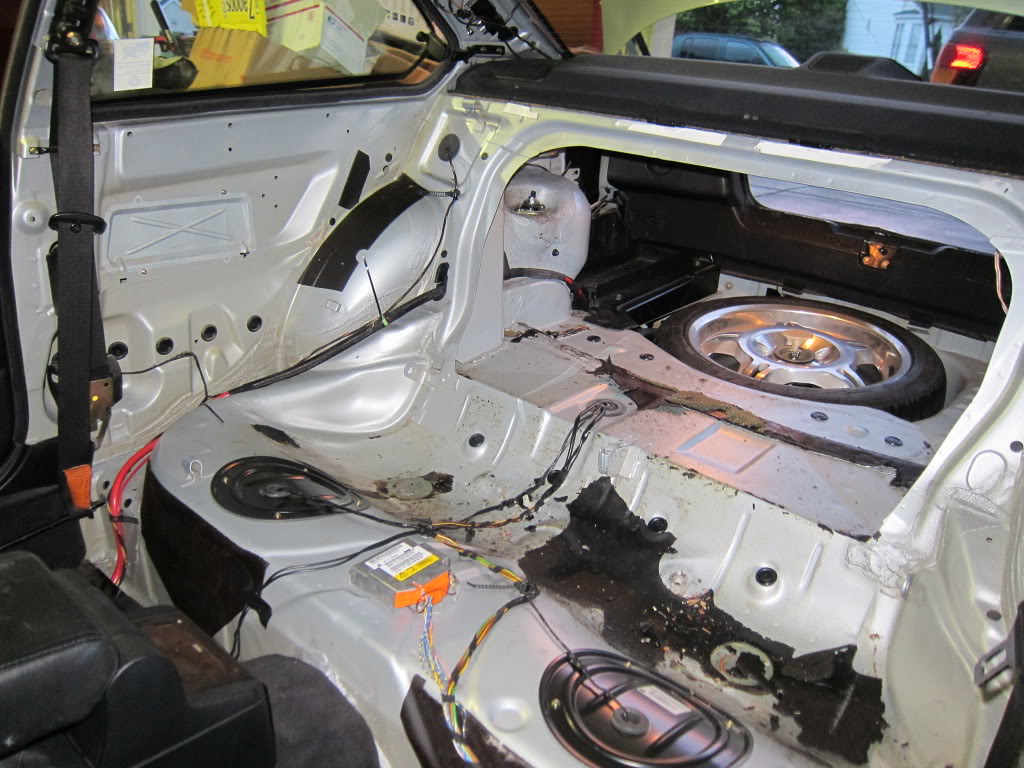
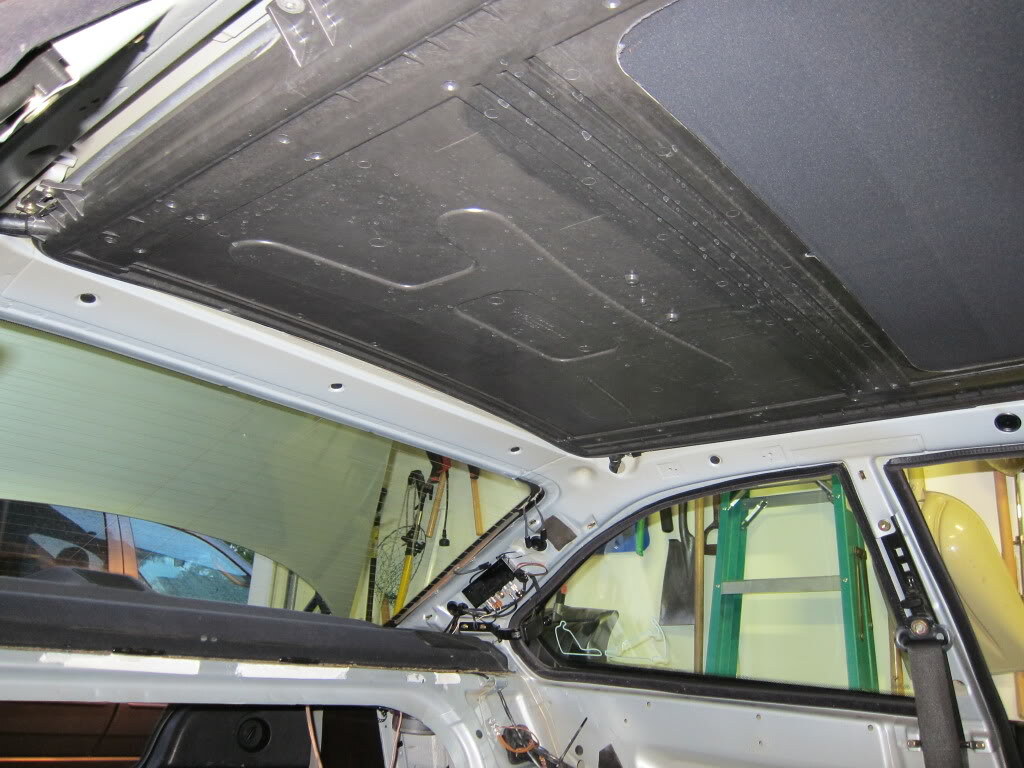
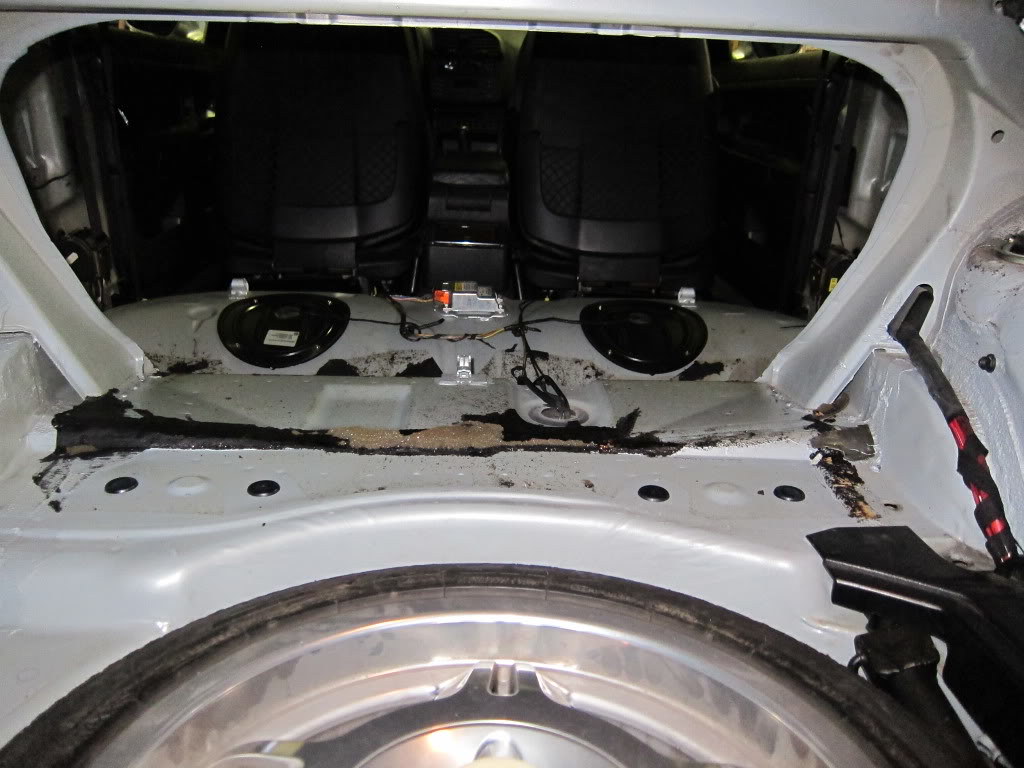
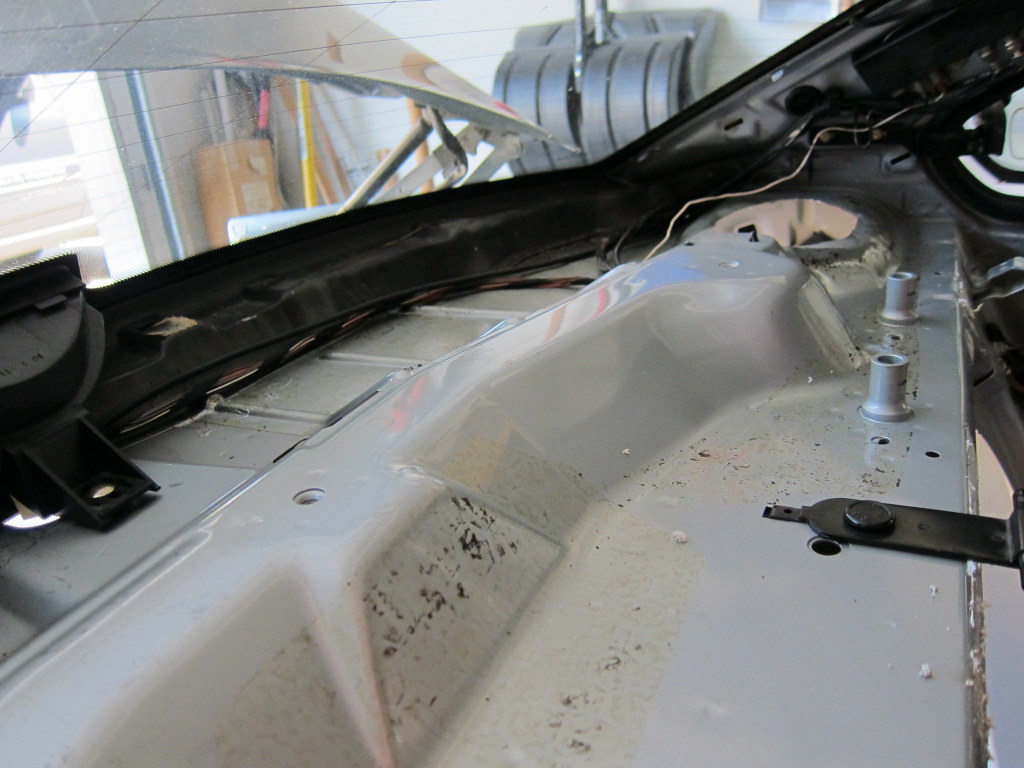
We made some good progress stripping the back half of the car. Rear seats, side bolsters, side panels, some trim pieces, rear/trunk carpet, headliner, and a decent bit of sound deadening material were removed. Since it's still being driven on the street, we're leaving the front interior for now.
Dad will be driving it next weekend at Summit with NASA and then we'll start working on the next step of the build. Between the April event and Hyperfest in June, we'll be doing seats, harnesses, removing the sunroof, and a custom 4 point roll bar built by Carlos of Autodynamix.
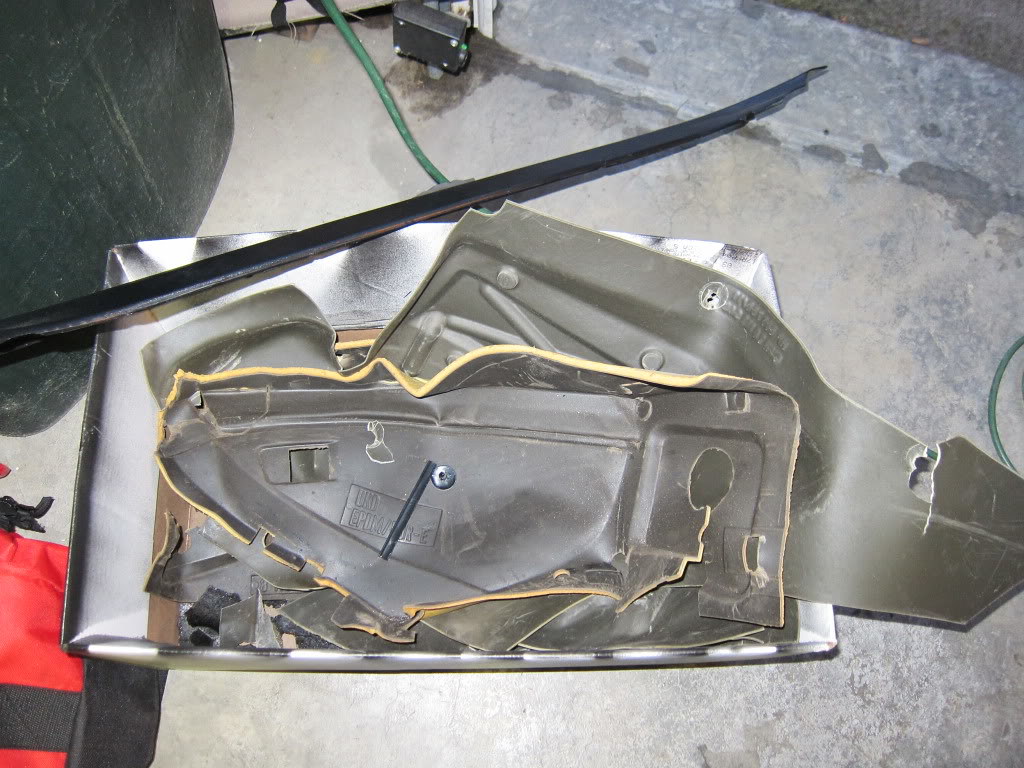
Box of sound deadening that was removed
The car weighed in at 3220 lbs with 1/2 tank of gas on a local landfill scale that is +/-20 lbs. After adding stuff up this morning, we removed roughly 87 lbs yesterday. Once we finish everything next month I'm guessing it will weigh in at 3000-3050 lbs with a half tank.
Last edited by hoki06; 04-15-2018 at 05:15 PM. Reason: Automerged Doublepost
Member
My car is configured similarly, a suggestion I'd make is to keep the upper half of the rear seats. Remove the covers, clean up the shell, cut out the seat belt material then re-install. They do a nice job of reducing noise and a great job of keeping the junk in the trunk while driving on the street (accident?)
Take them out for the track.
Member
I have thought about taking a piece of aluminum sheet and making a block off piece that would close up that hole. Putting the upper seat's back in there until we actually do something like that is a good idea.Originally Posted by checkerboard6

Member
Not sure how often you drive the car on the street, but being able to drop at least one side of the rear panels has some non-track benefits (storage for larger items). I wouldn't design my rollbar around the seatbacks and there range of motion, but it is nice to have full range of motion if it works out. My rollbar - harness bar is set pretty far back and limits the seat backs from lying flat.
If you do construct a panel (aluminum) you may consider making it in 2 pieces so you can remove one side. Another trick that I've heard is to go back to the seatbacks and seperate the metal / lock mechanism side from the plastic / carpet side. Once seperated you can attach the plastic / carpet side to the bulkhead just as you would a panel.
Good luck!
Member
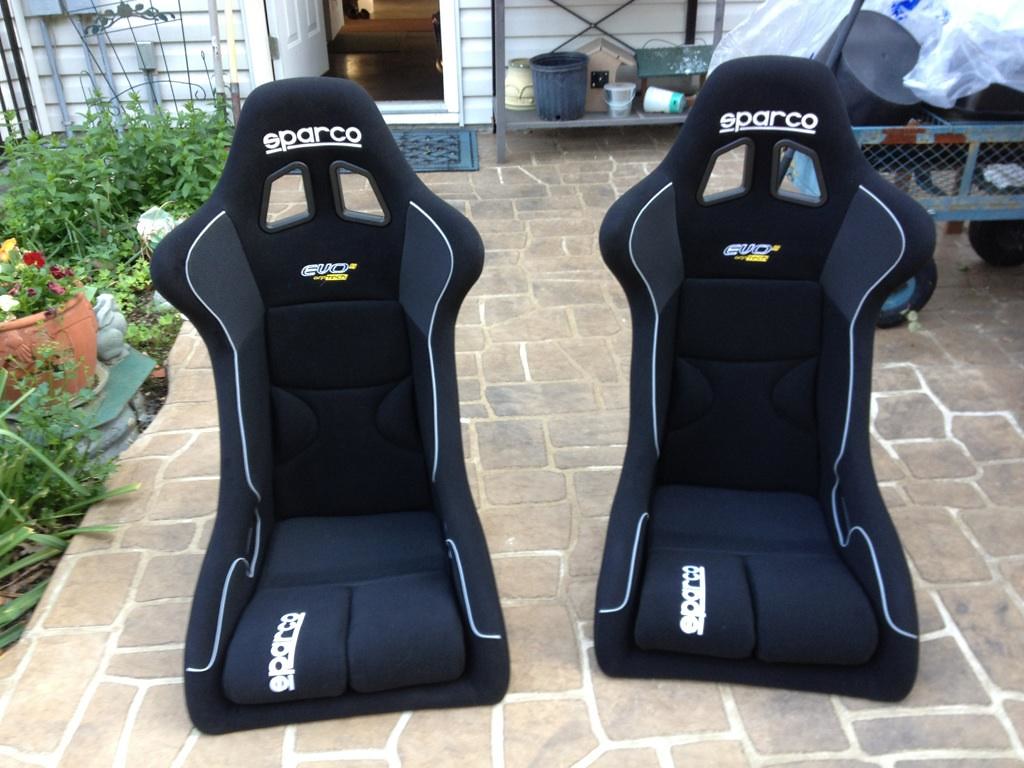
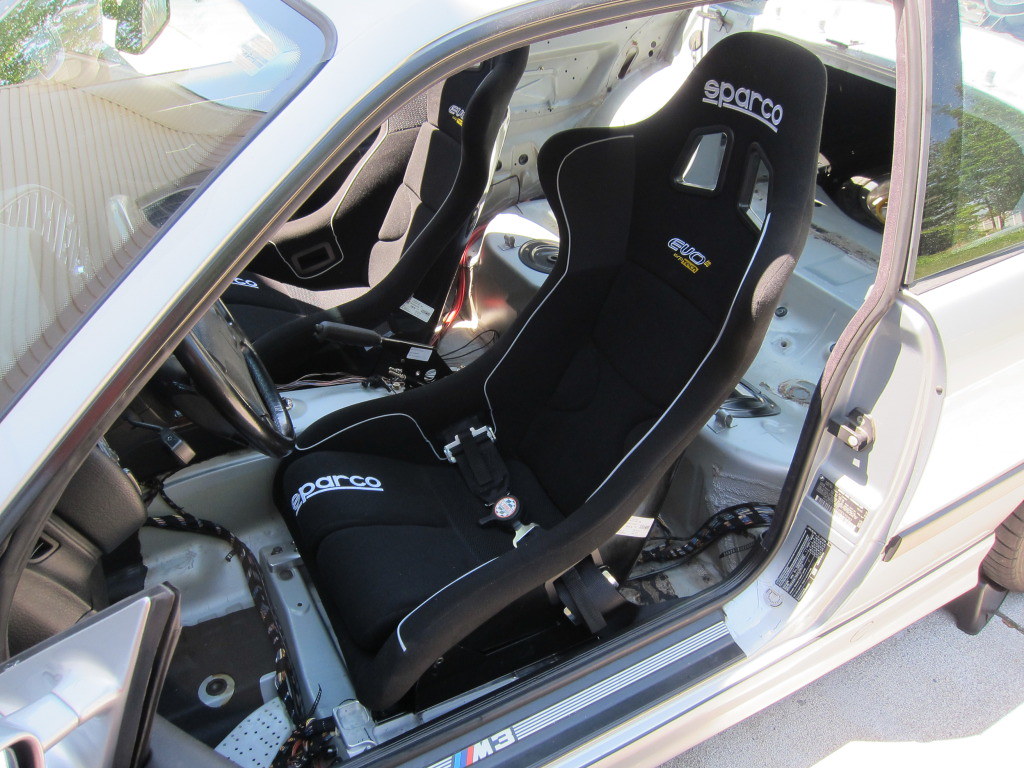
These will be going in this weekend along with some other goodies
Last edited by hoki06; 04-15-2018 at 05:16 PM.
Member
I just received the same seats for my car; how are you liking them?
Member
Interesting idea with the brake ducting. The only thing I would be worried about is the integrity in terms of staying in place since it looks to only be held in place by the front bumper clips. The fender liner on the other end usually helps it stay in tact. Can you turn full lock with that setup? I am trying to figure out a route so I can still turn the wheels lock to lock without rubbing the hose. Nice progess so far.
Member
They're very comfy on the living room floor lol. We're putting them in tomorrow so I'll report back later.
That's still a concern I have as the passenger side clips aren't holding very well. Right now I put a couple zip ties to help support it but I'm still trying to thing of a way to secure it better. They held on pretty well during a full weekend in April so it should be ok until I come up with something better.
And as far as turning, I can turn about 90% before it starts to rub. I have just been extra cautious when coming close to full lock and haven't had any issues yet.
Member
Any more pics of the brake setup? It would be helpful. I am curious how you routed it. Did you have to modify or cut your fender liners in anyway?
Member
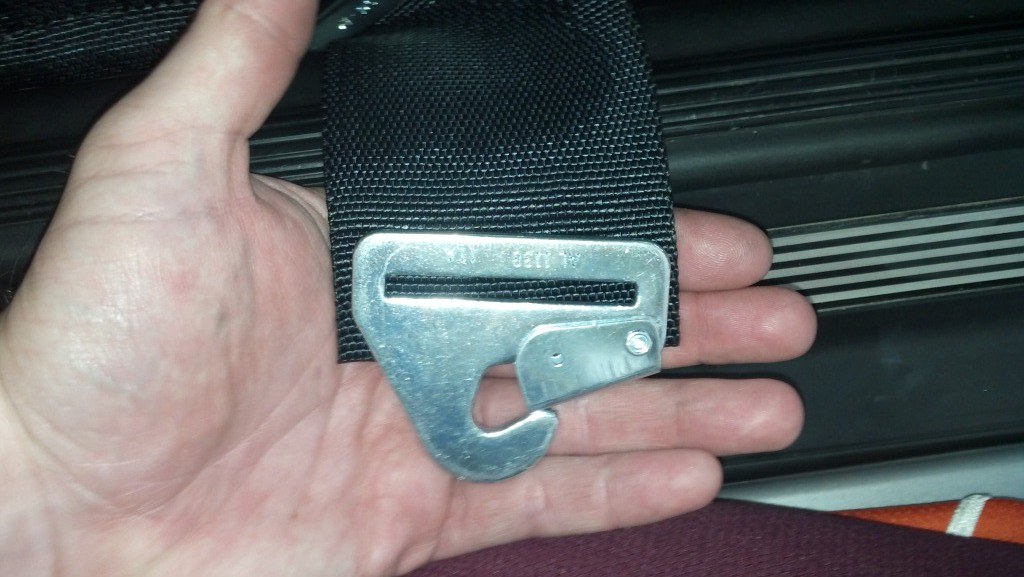
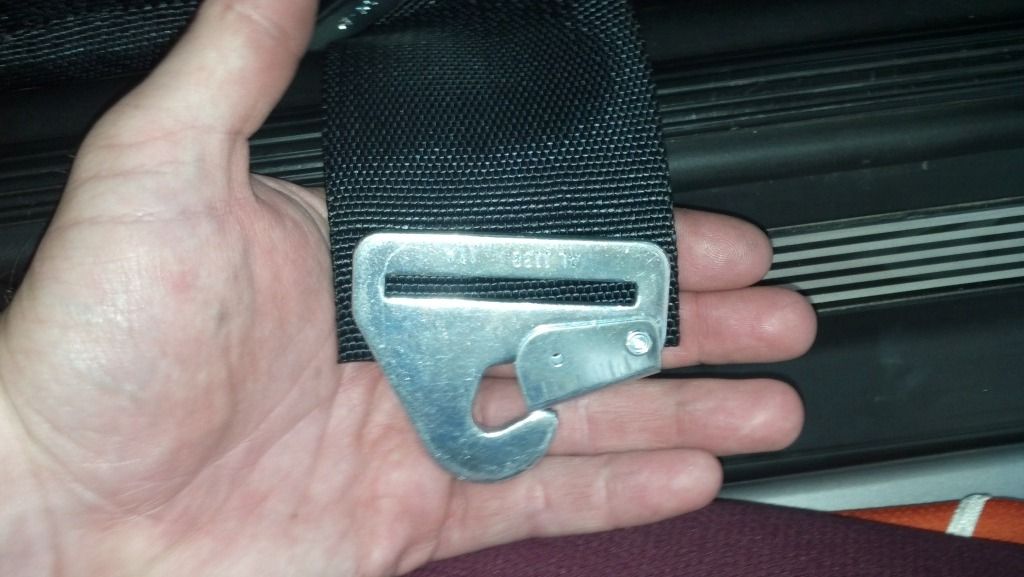
Has anyone used the OG snap in fittings for a harness?
http://www.ogracing.com/snap-in-fitting
On the website it says for 2" or 3" belts. As you can see in the picture below, I'd have to fold the belt to get it to fit through the slot. Is that ok to do?
Last edited by hoki06; 04-15-2018 at 05:17 PM.
Member
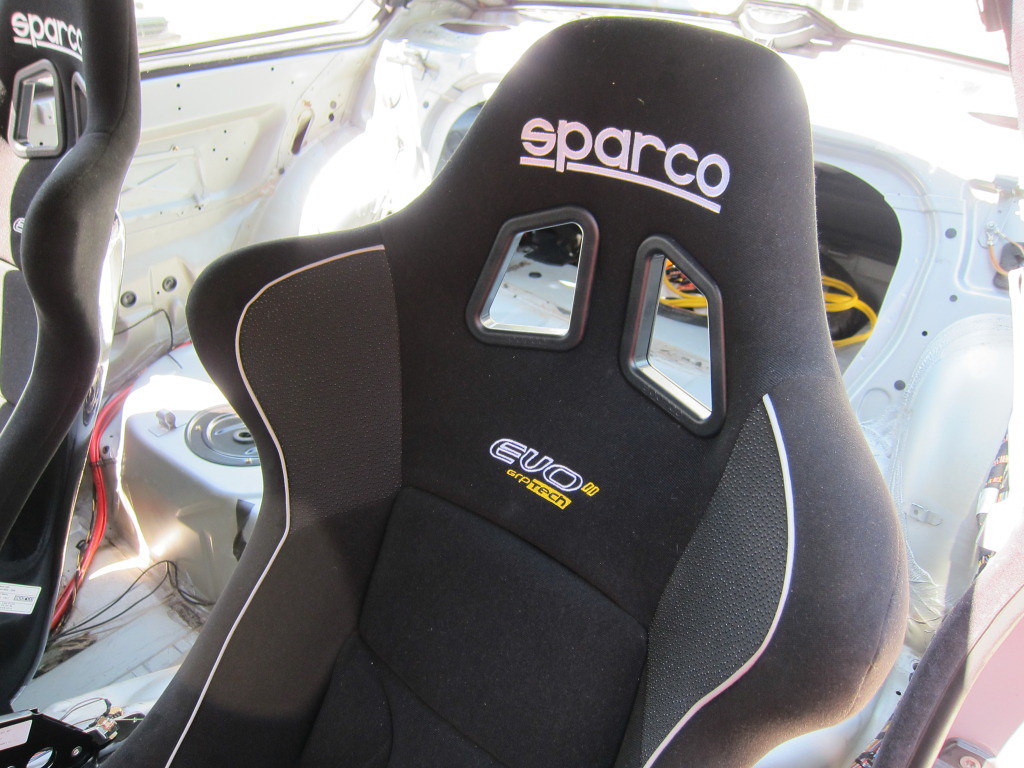
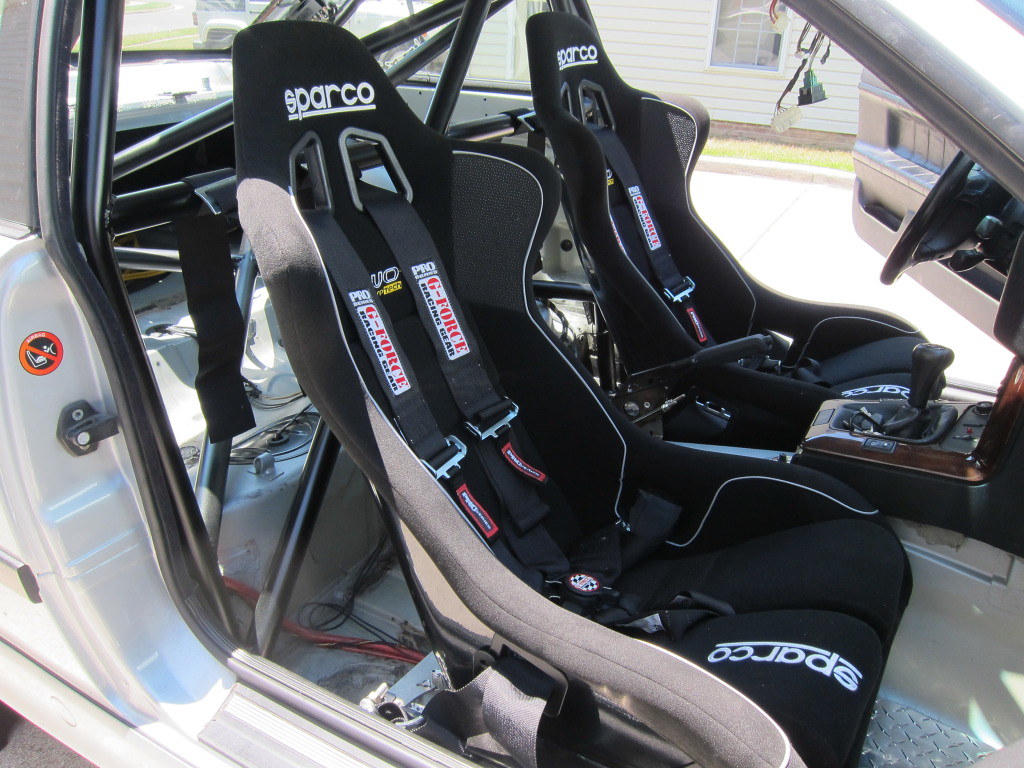
Most of the interior has been stripped except for the dash and the seats are in. Still working on getting all of the pieces of the harnesses mounted.
The sound deadening material is evil. A heat gun and scraper work wonders for getting it off. The residue left over is a pain but we've used mineral spirits in a spray bottle and it's worked fairly well.
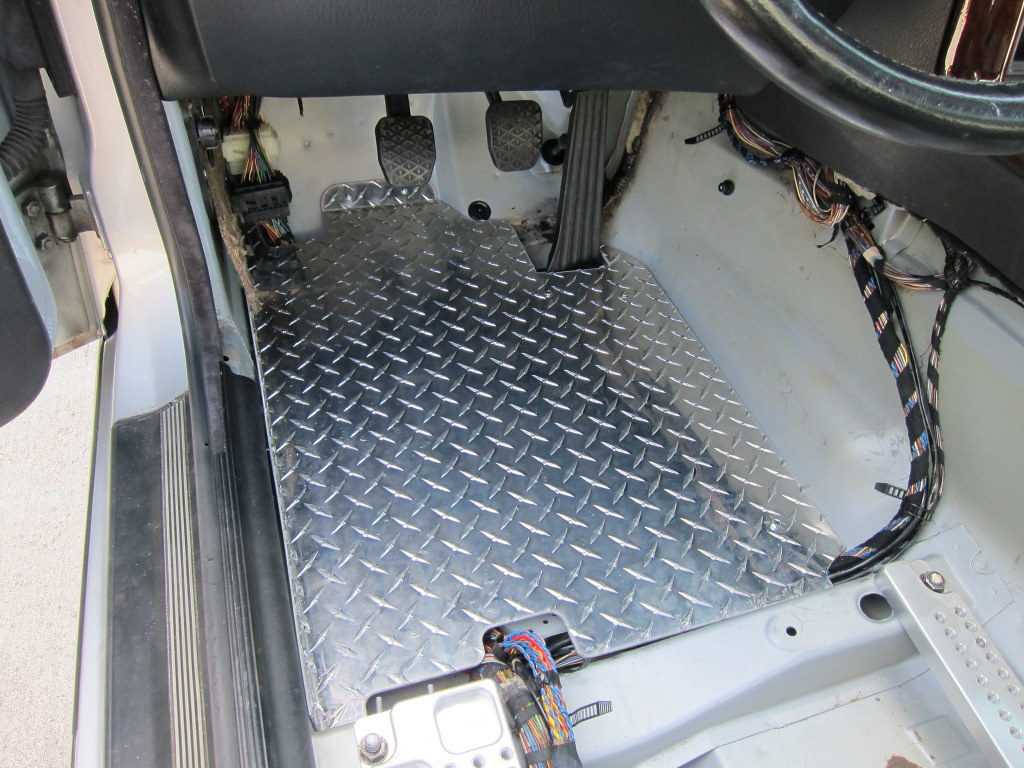
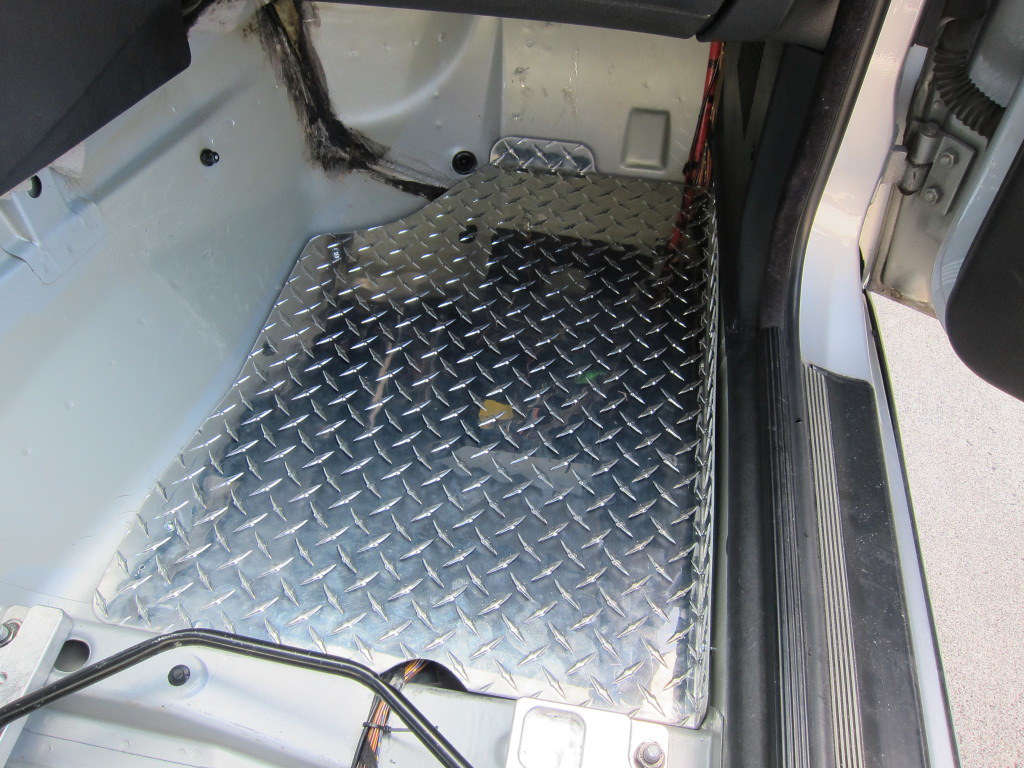
VAC floor mounts on both sides
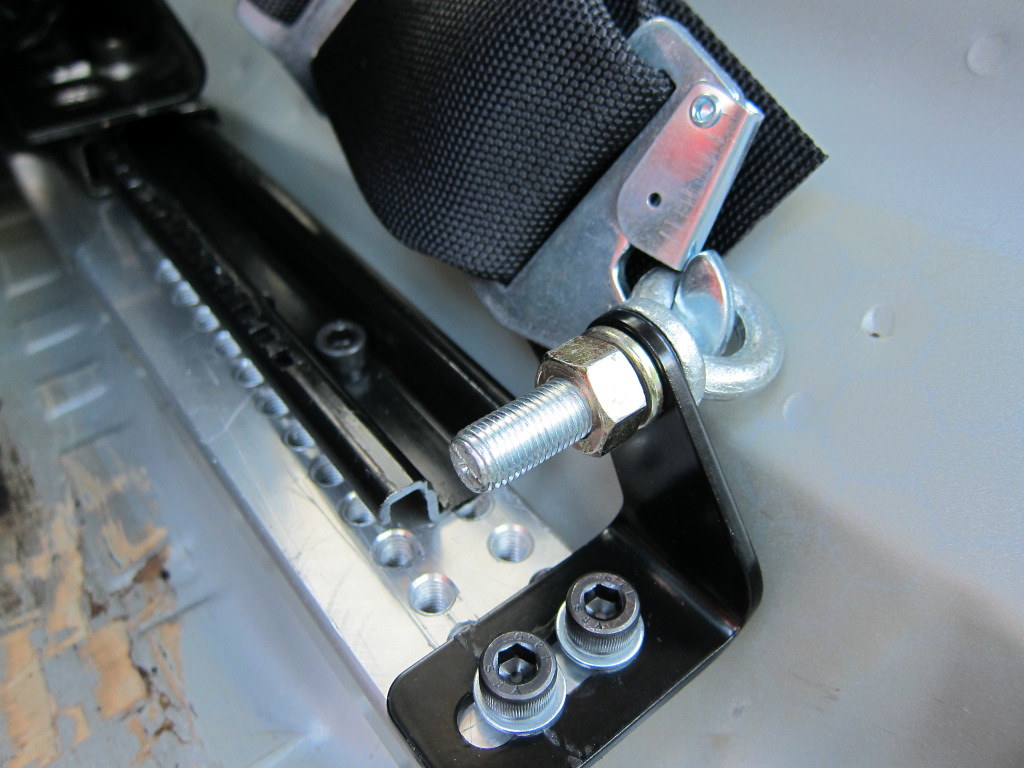
Sparco sliders and side mounts on both seats. When the side mounts are bolted up, they aren't the same width front and rear (front is wider because of the shape of the seat). I had to enlarge one of the slots on the side mounts so they were parallel. That made the sliders parallel and not bind.
VAC lap belt brackets
Everything installed. The seats are very comfy and look great.
Last edited by hoki06; 04-15-2018 at 05:21 PM.
Member
It looks like you figured it out but yes, the 3" belts fit just fine with the edges folded under. It actually holds the belts a bit more secure but makes it stiffer to adjust. Nice progress on the car. Keep us posted. Thanks.
Member
We are getting closer.
Member
Member
Just started my E36 build as well... sub'd for some great ideas
Member
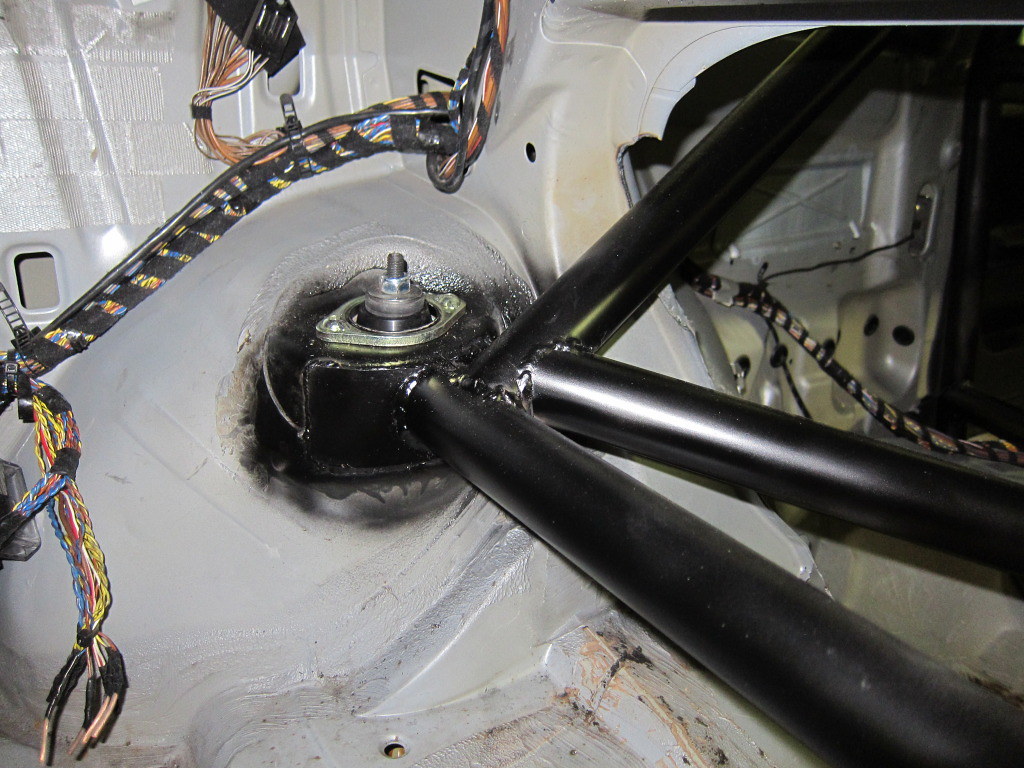
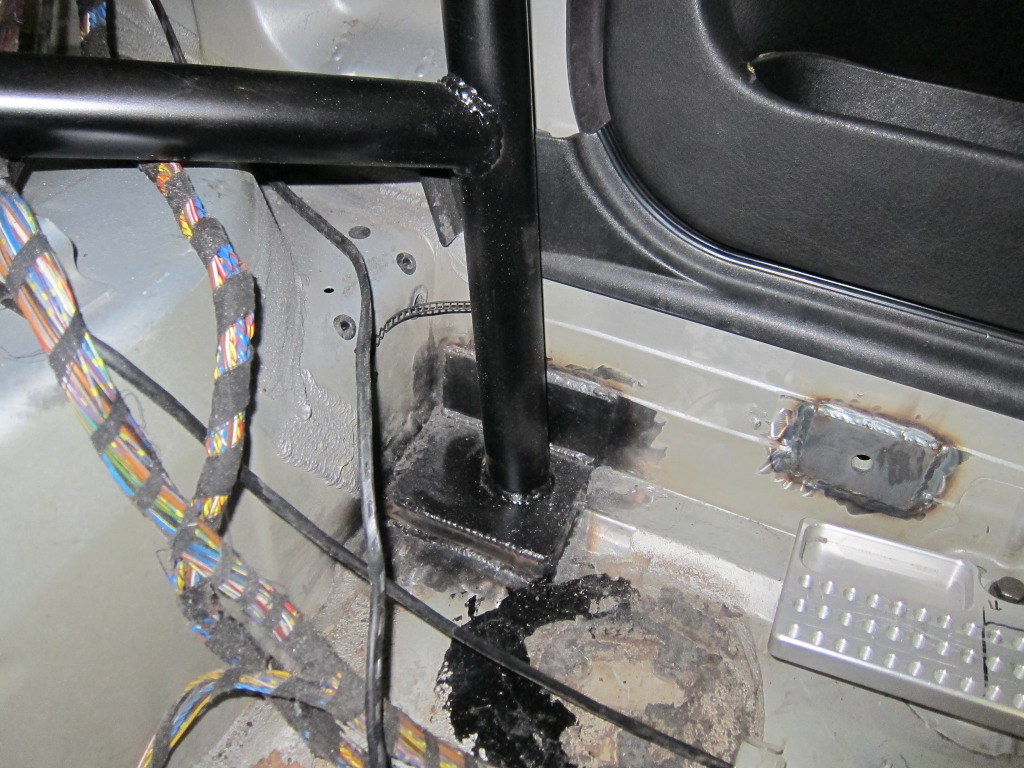
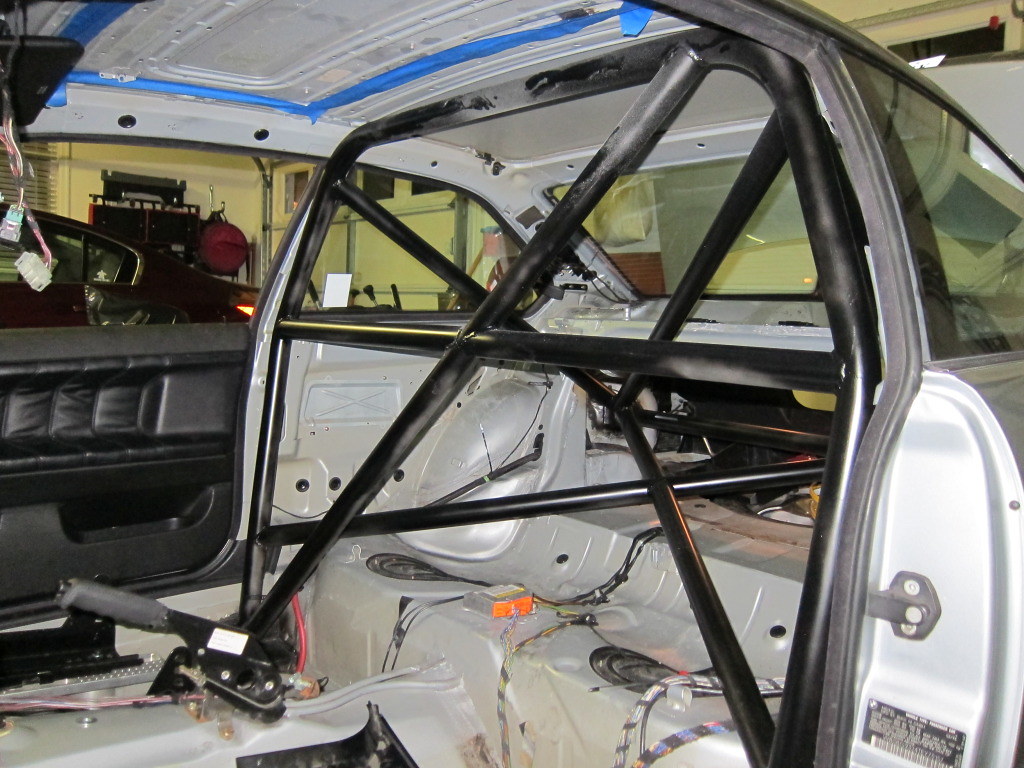
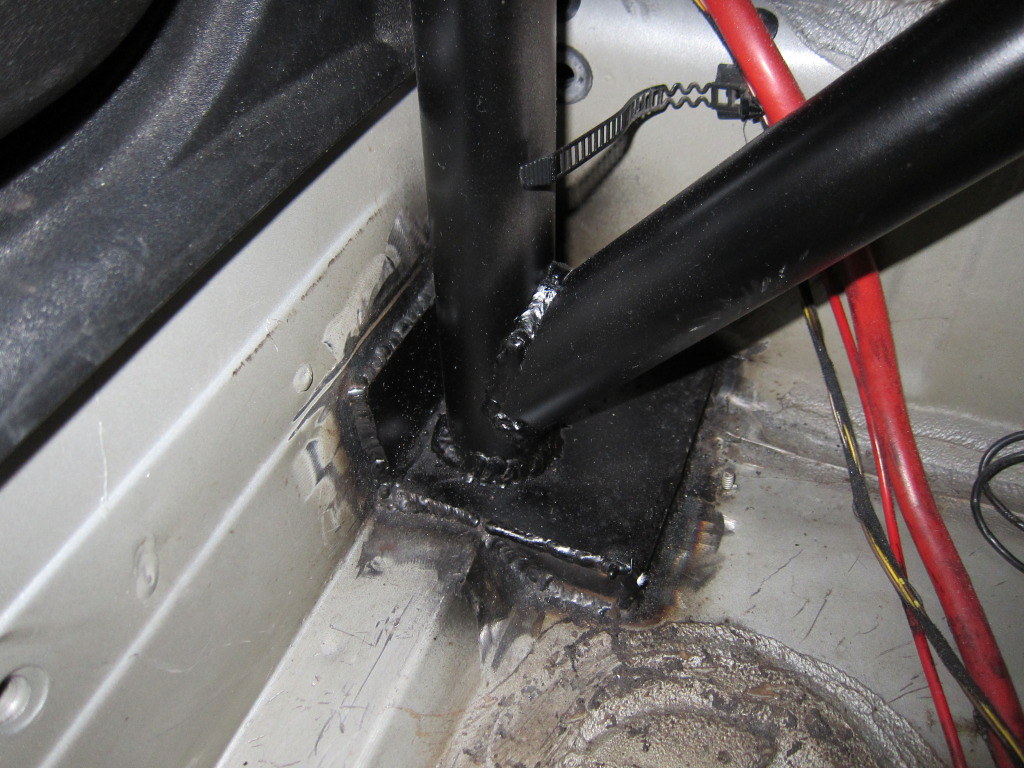
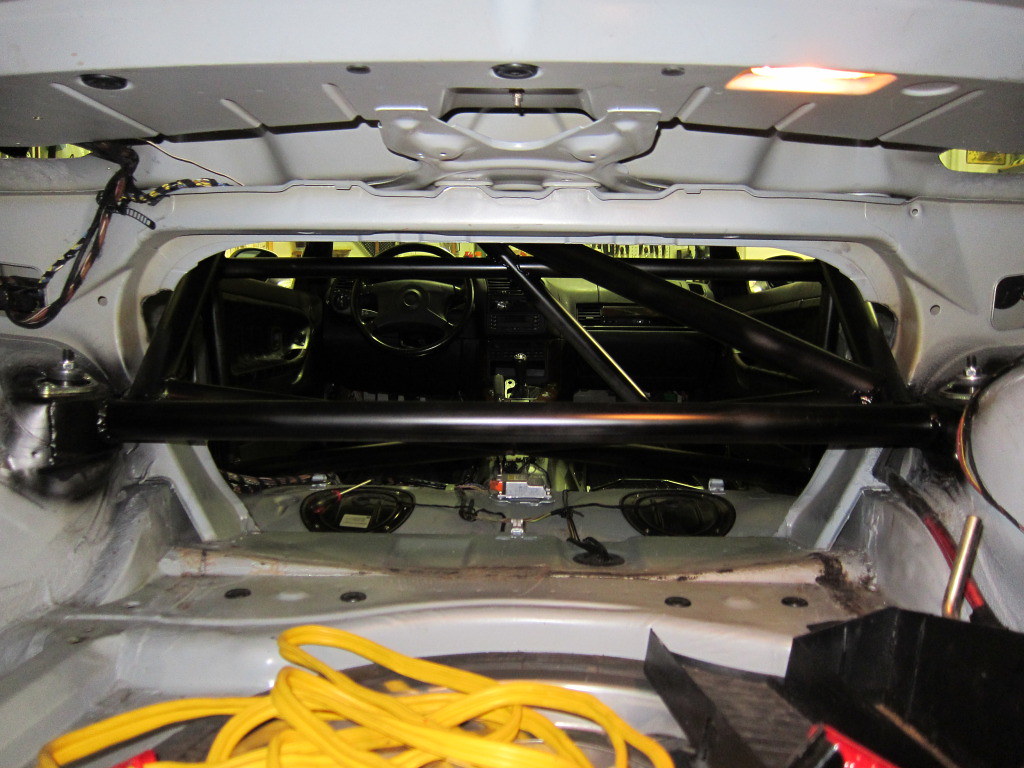
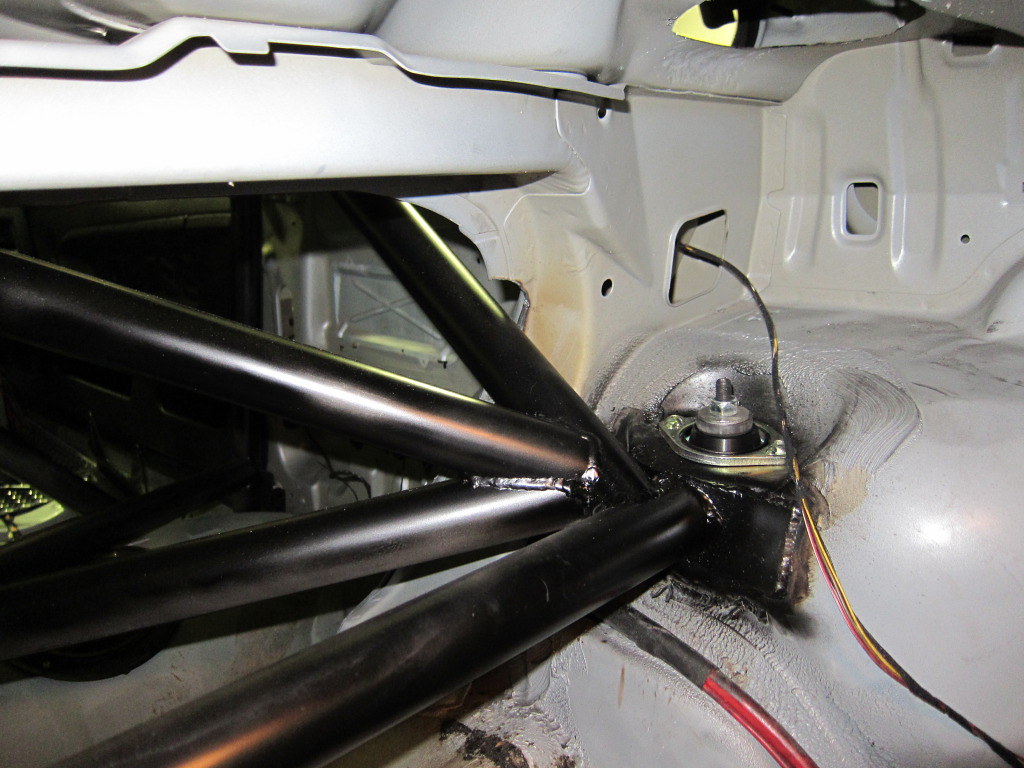
I picked up the car today from getting the 4-point roll bar built. We had it done by Carlos Cardounel in Richmond. Carlos is well known in NASA Mid-Atlantic for his cages and he was a pleasure to work with.
Last edited by hoki06; 04-15-2018 at 05:32 PM.
Member
Roll bar looks great.
Member
VAC floor pans are trimmed and in and the seats and harnesses are back in.
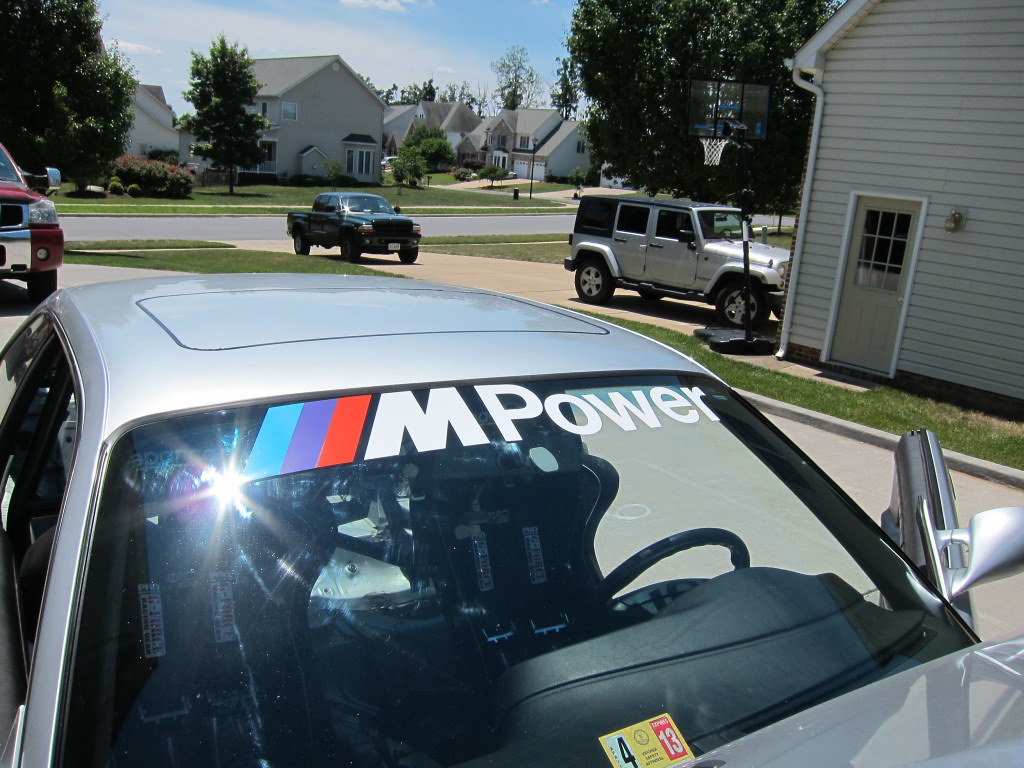
And a windshield sticker
Last edited by hoki06; 04-15-2018 at 05:43 PM.
Member
Where did you get the sticker?
Member
http://item.mobileweb.ebay.com/viewi...d=221025348151
Member
Thanks! Your build looks great! Check mine out, ours are very similar.
 Posting Permissions


 Reply With Quote


Bookmarks