Okay. The cables and latches are fixed and I now know the procedure.
It may be possible to replace the bowden cables from the junction box to the latches without removing the latches, but at this point, I recommend removing them even if you don't plan on replacement. It's much easier to see how the ends of the cables insert into the latch mechanisms with the latches out of that tight space.
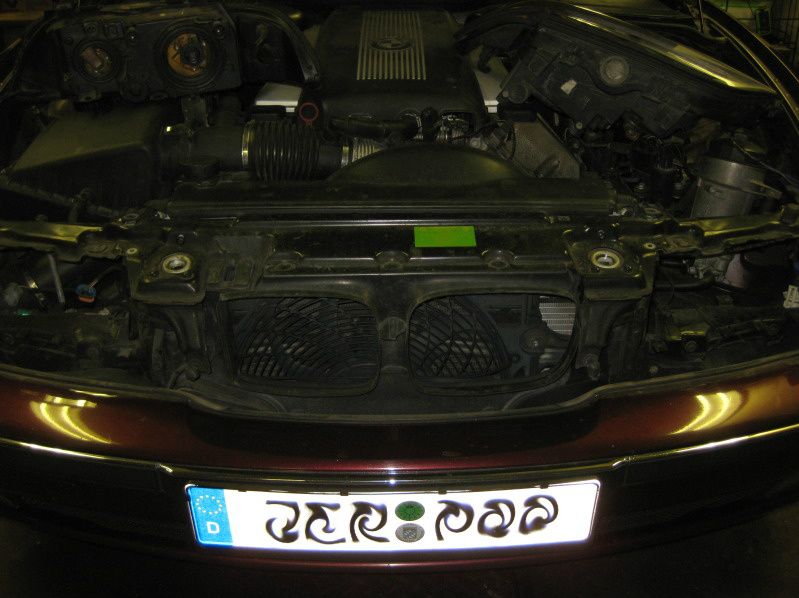
The front panel crossmember doesn't have to be removed, but
the headlights do need to come out. The front panel crossmember has two 10 mm bolts and two phillips head screws on either end, and the two latches have three T30 Torx bolts each, six total that need to be removed.
The radiator doesn't need to be removed, but you do need to release the two tabs anchoring the rad to the crossmember by removing the two 8mm bolts. You can bend the crossmember upwards and outward slightly to access the cables and the latches. The cowling that directs the airflow from the kidney grills is connected to the crossmember with three expansion rivets. It may not be necessary to remove these rivets, but we did it to minimize the risk of cracking the brittle plastic. I'll elaborate on how to remove them later.
I'm going to have some dinner right now and I'll add pics and more info later tonight.

________________
Essentially this procedure included replacing the bowden cable from the hood release cable to the junction box as well as the cables from the box to the latches, but that DIY and the procedure for removing the headlights are already in the DIY section. This post is really for the replacement of the cables from the box to the latches and the latches themselves. I'll include links to them for reference.
Hood Release Cable Replacement (Hood Release Lever to Junction Box)
Headlight Adjusters/Covers Replacement
- Using the DIY linked above, remove the headlights.
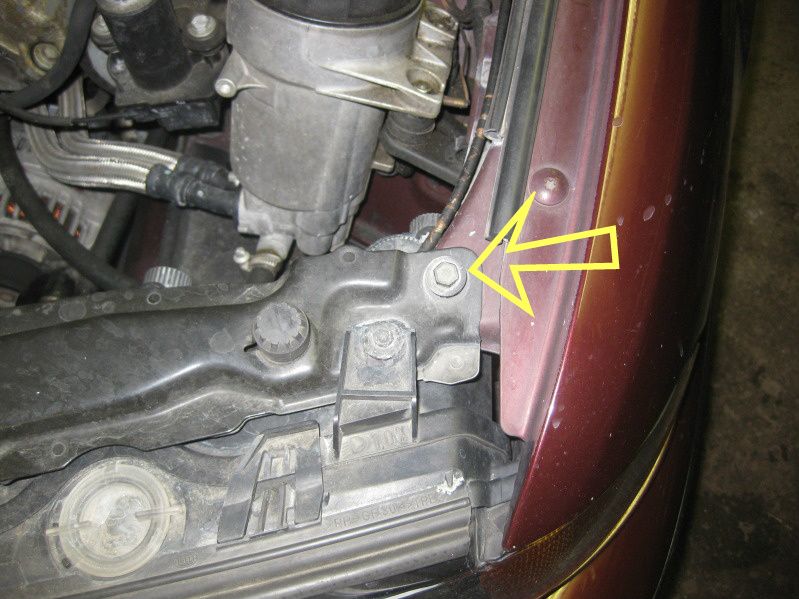
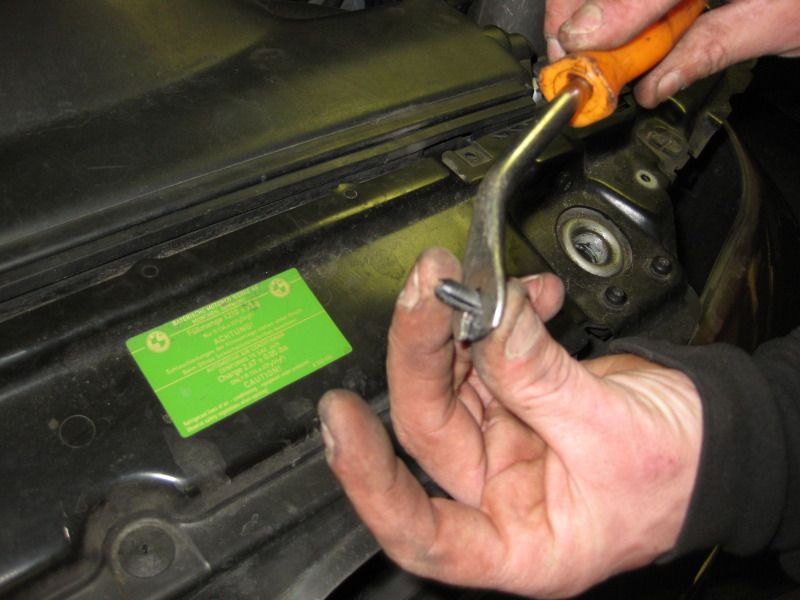
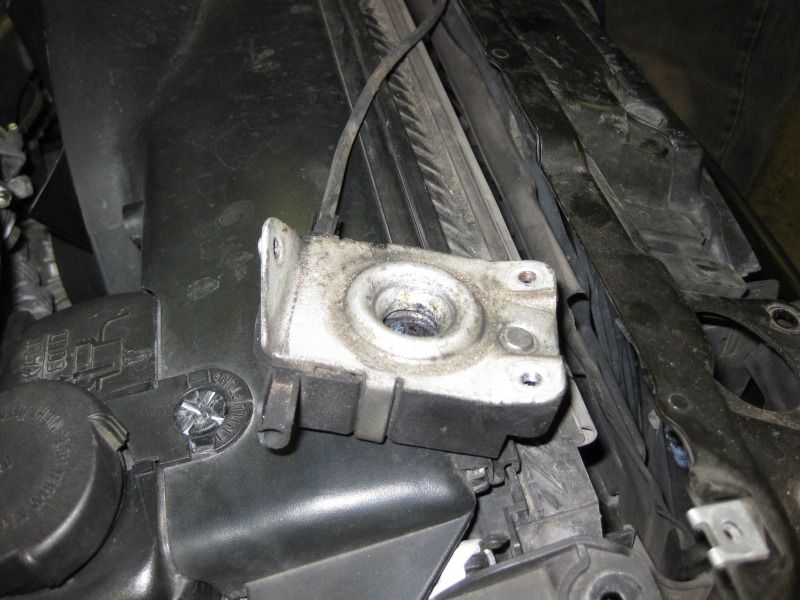
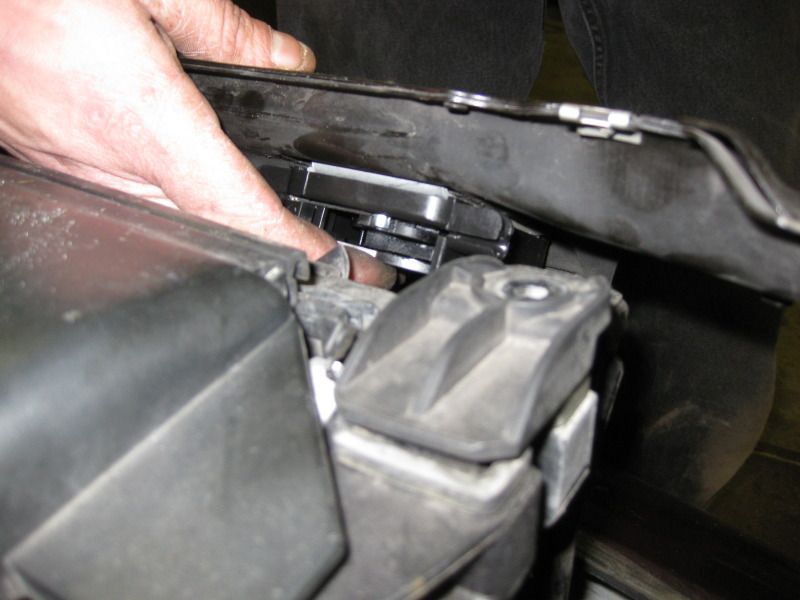
- Unscrew two of the three T30 Torx screws on each latch leaving the one closest to the radiator loose but still attached. This will prevent the latches from falling away from the crossmember. Unscrew the 2 phillips head screws (one one each side) as well and also the 8mm bolts for the radiator tabs. (Driver side latch pictured below).
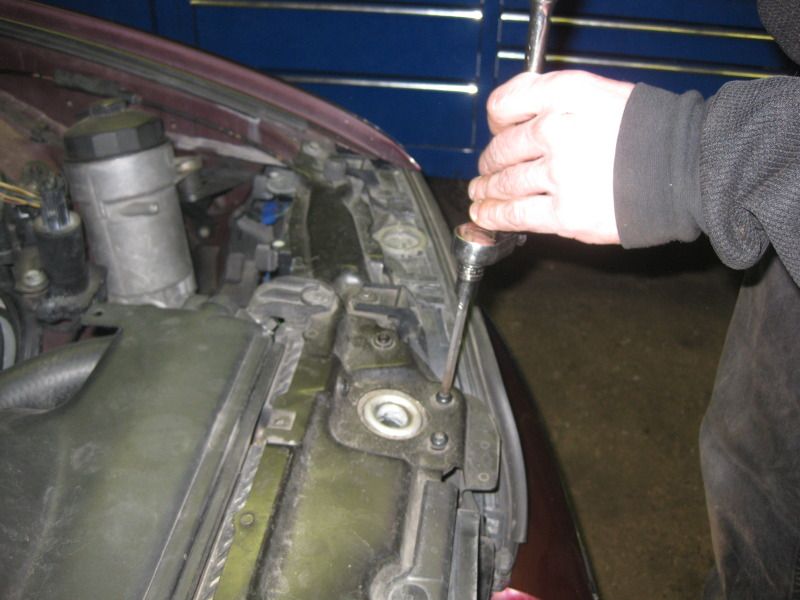
- Two torx screws, one phillips head screw and one 8mm radiator tab bolt removed.
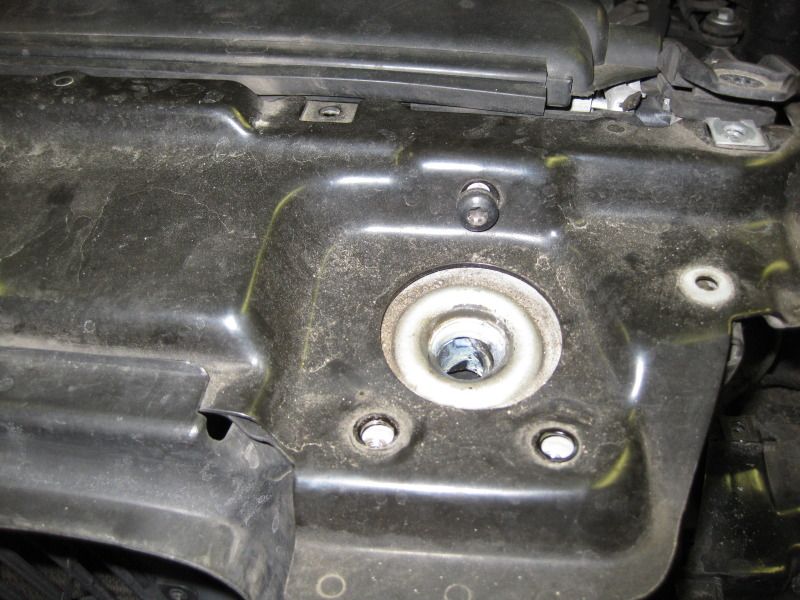
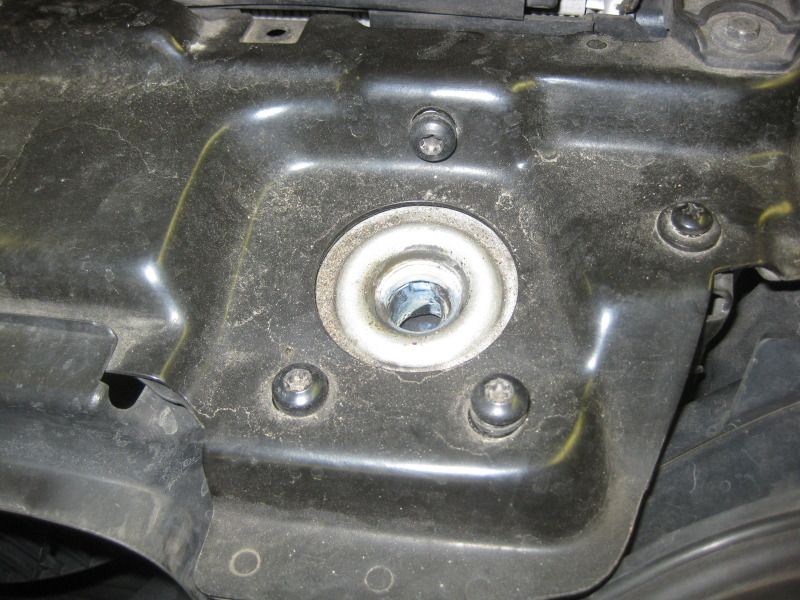
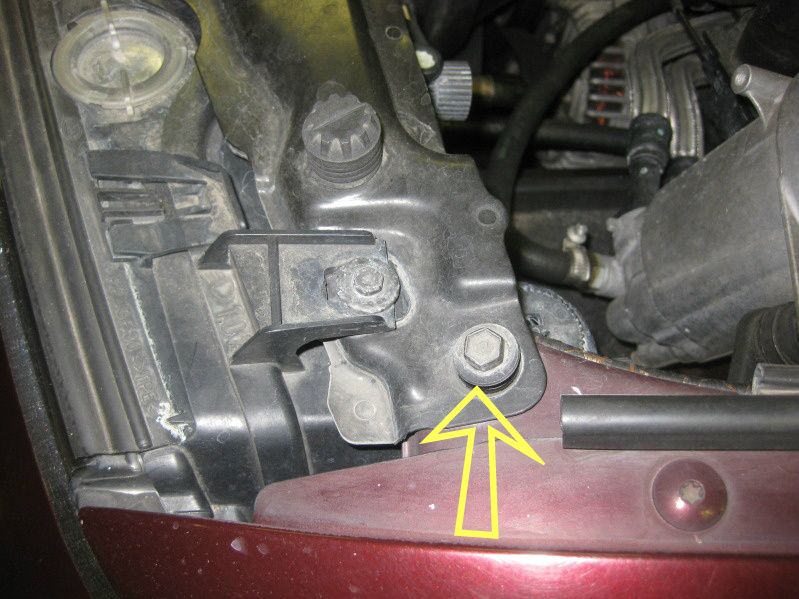
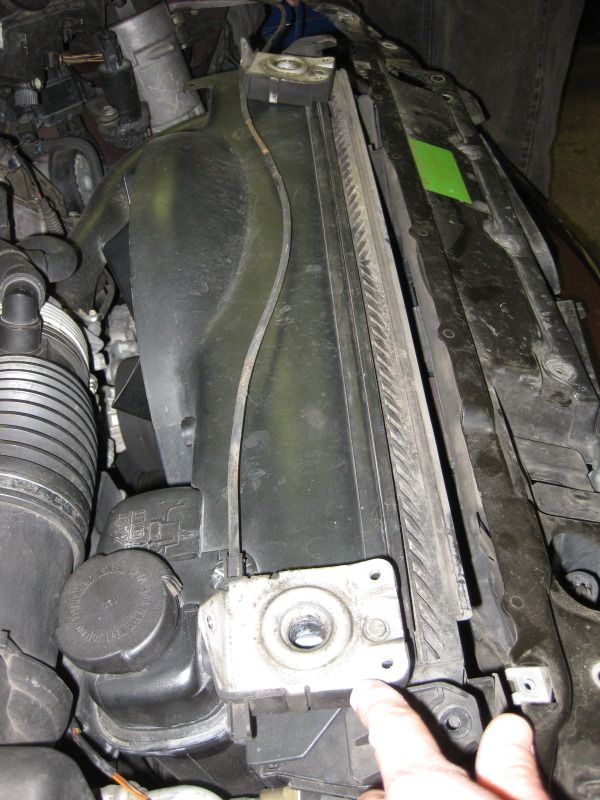
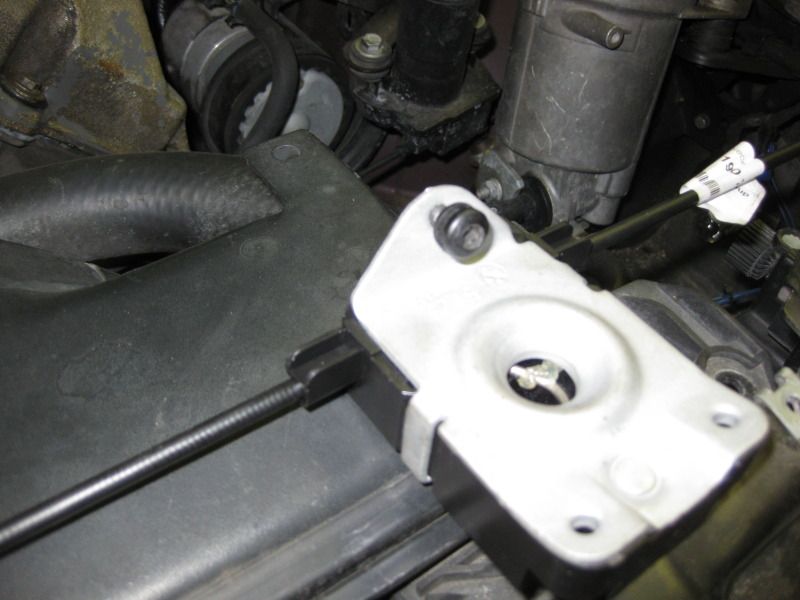
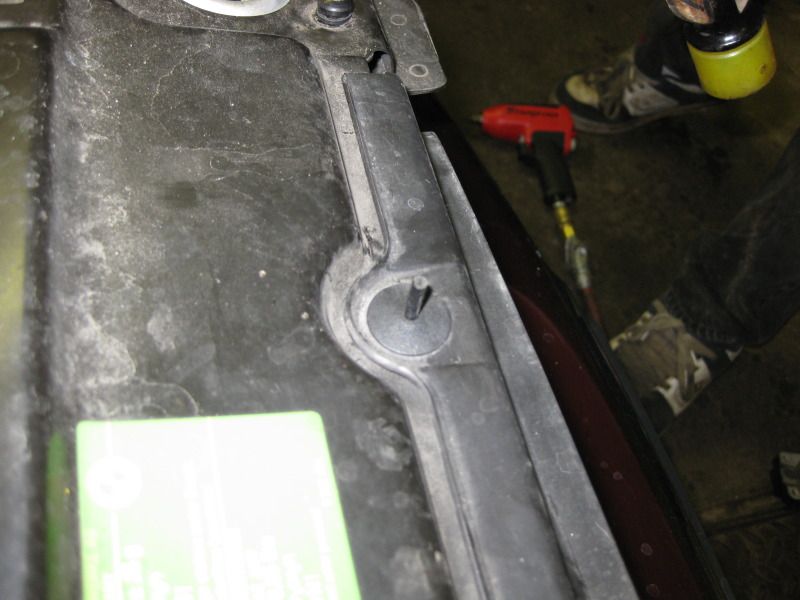
- Remove the 10mm bolt pictured here on the upper right hand side of the crossmember.
- 10mm bolt loosened.
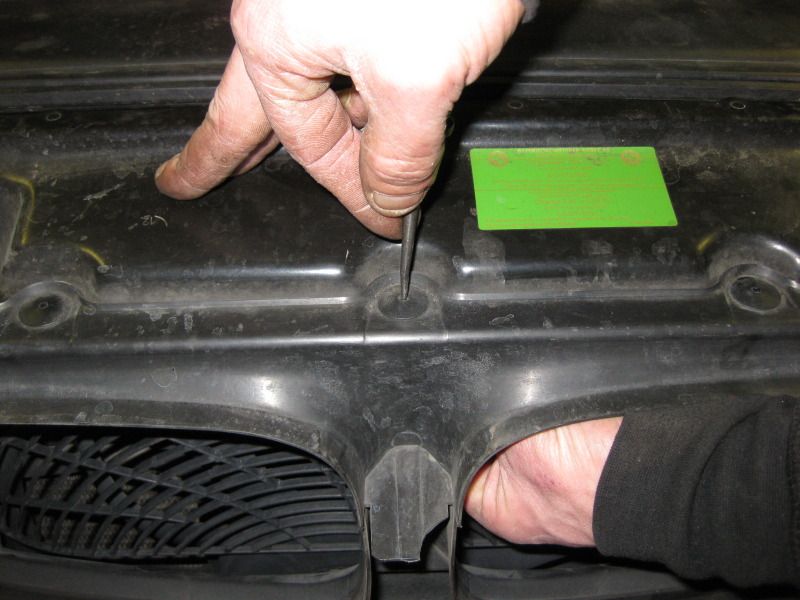
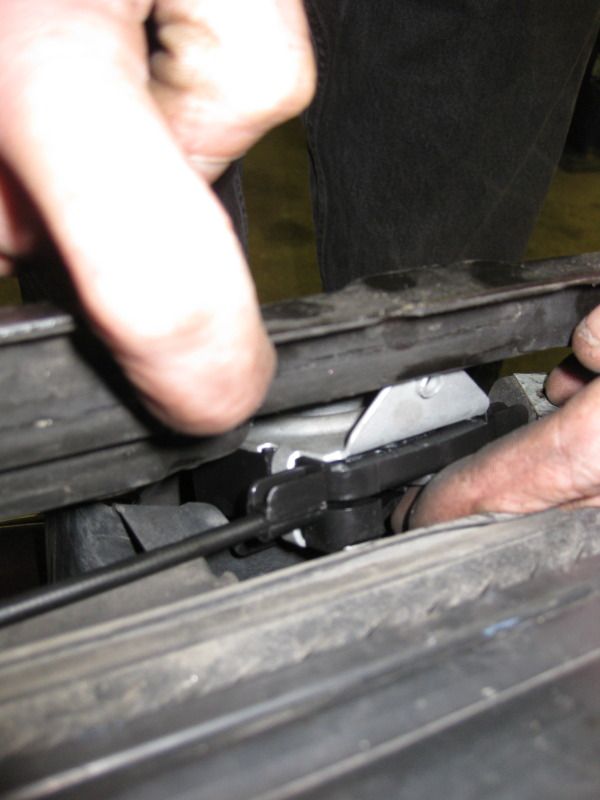
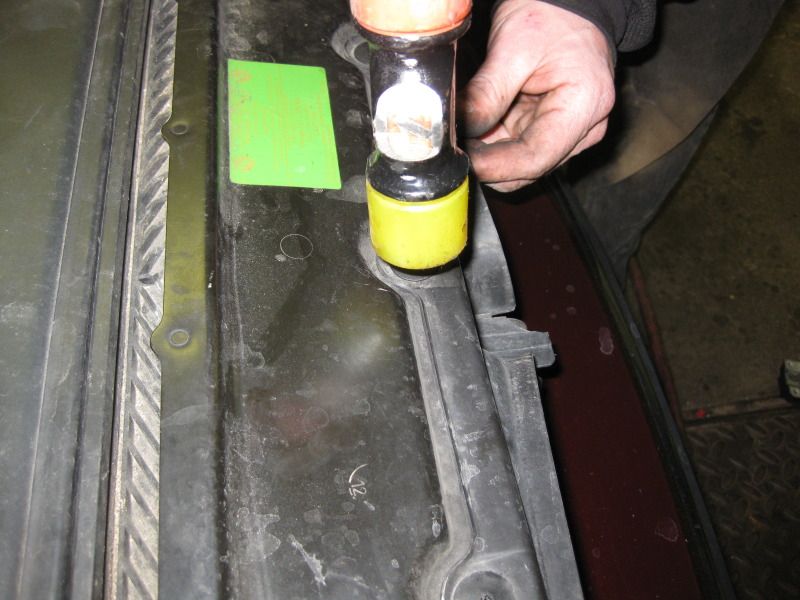
- Using a punch tool, push the center retaining pins of the three expansion rivets out and then remove the rivets (optional). This will allow the crossmember to be bent outward without risking cracking the plastic cowling. Make sure you support the pin from underneath as you will be reusing the pin and rivet.
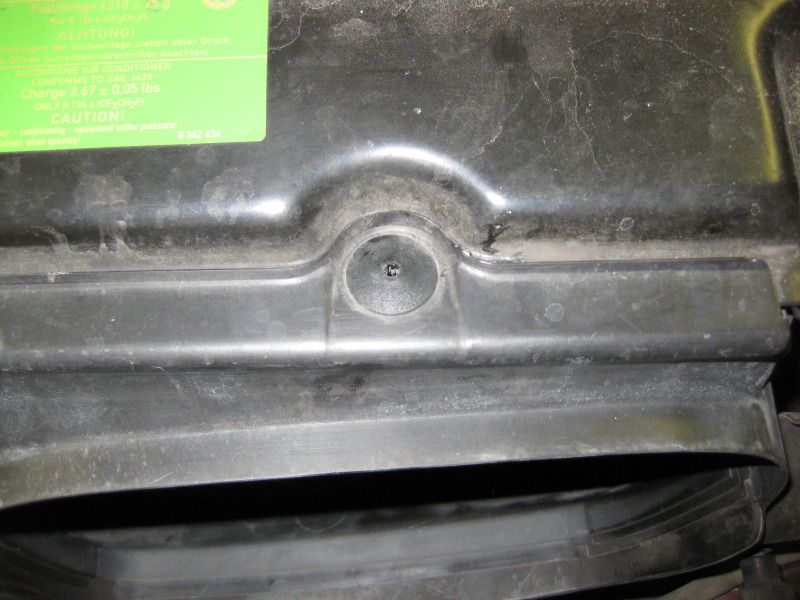
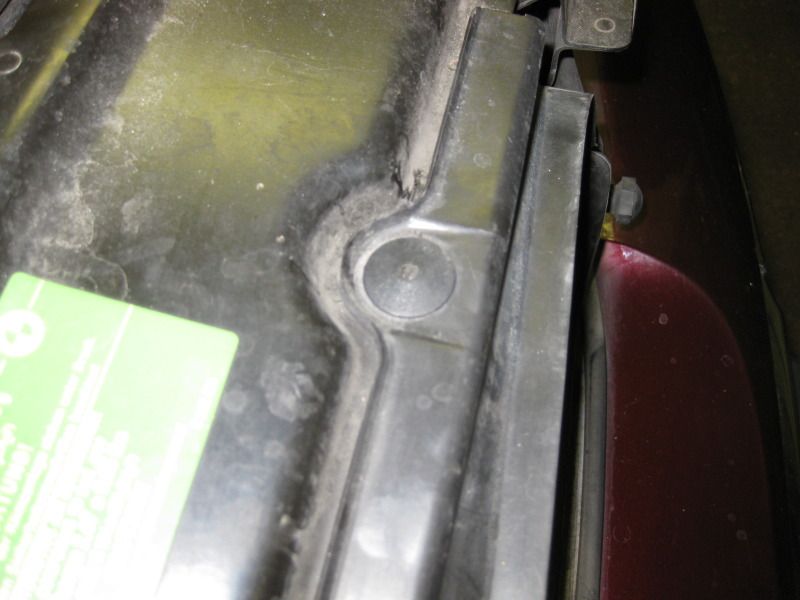
- Rivet with pin removed.
- Rivet removal tool.

- You can now bend the crossmember outward to access the latches and cable underneath.
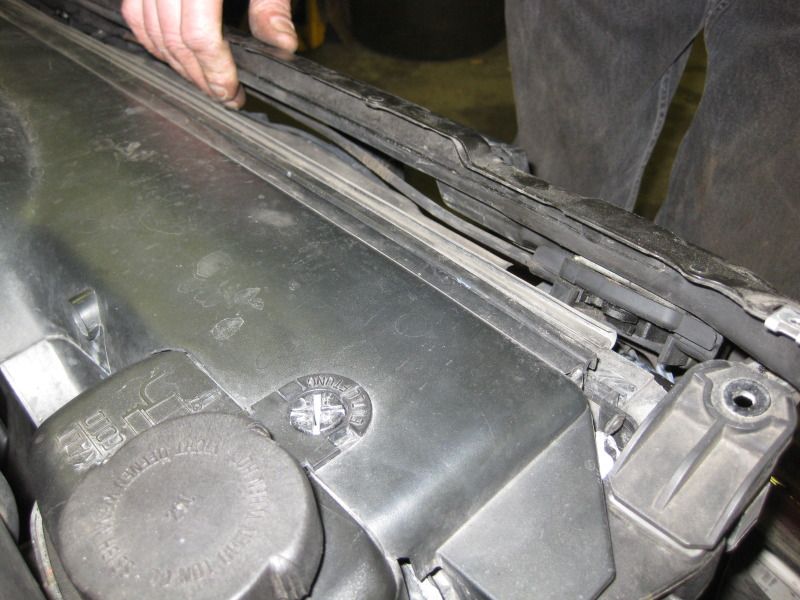
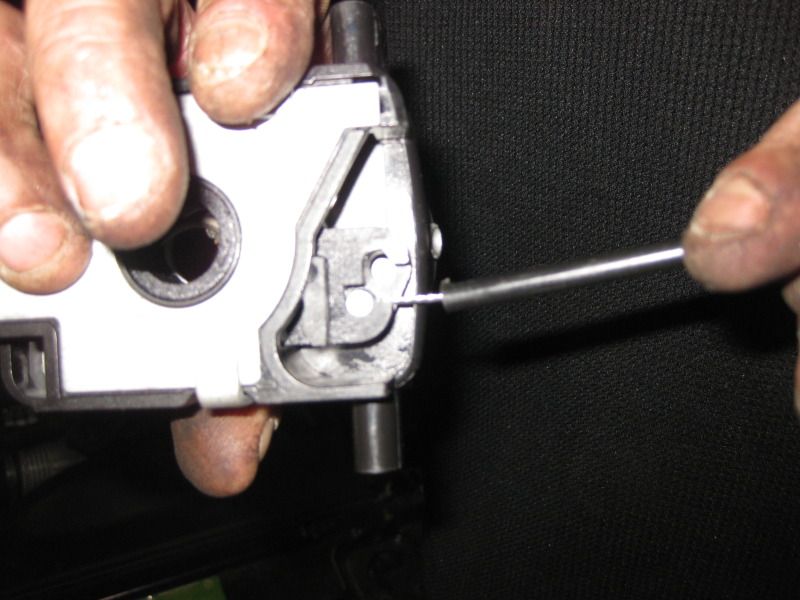
- Unscrew the remaining T30 Torx screw and remove the latches and cable. DO NOT wipe the crossmember down or clean it as you will want to be able to see where the latches were seated when installing the new ones.
- Latches and bowden cable removed.
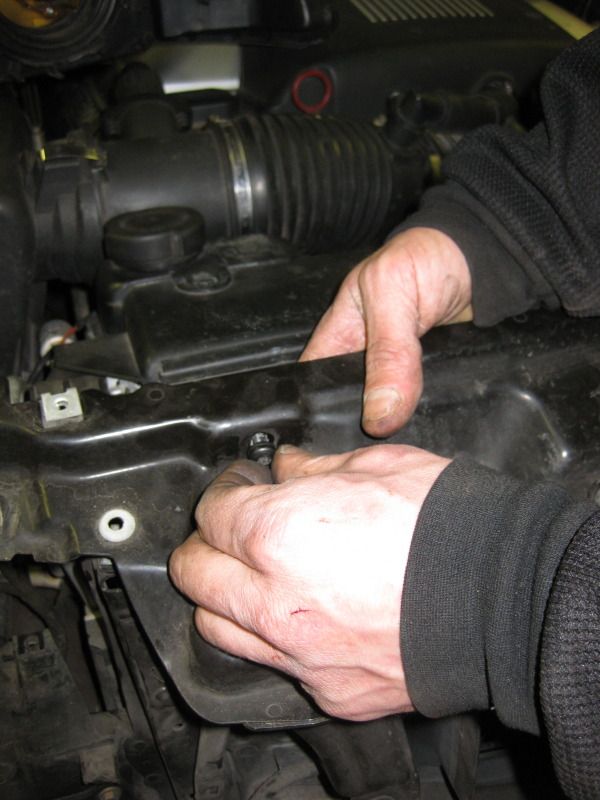
- Pull the junction box away from the body. There are two clips holding it in place. Since this installation includes the bowden cable with the new junction box, you don't have to worry about being too rough with it as this may take some force.

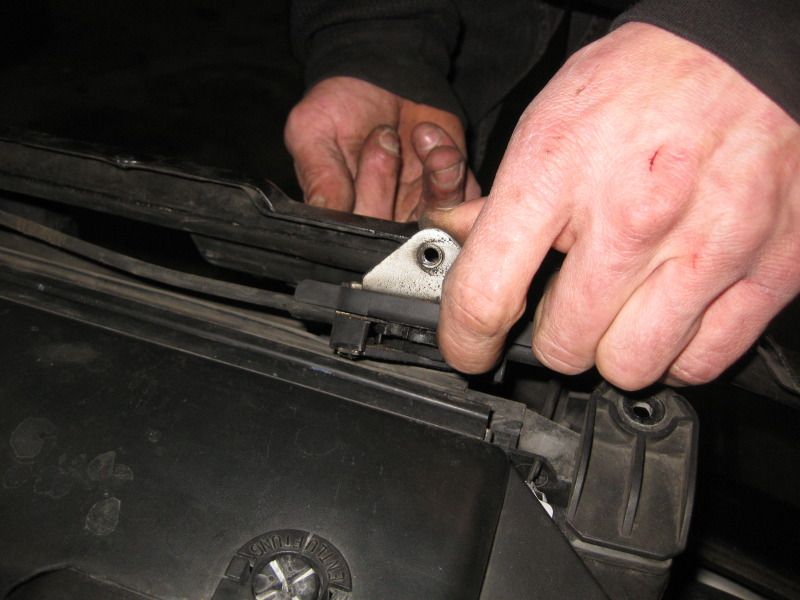
- Connect the new bowden cable to the new passenger side latch before installation.
- The holes for the latches are not tapped and the metal is very soft to allow the screws to self tap the threads. This is easier to do if you use an impact wrench but it's possible to do this without the power tool. Do this to all three holes prior to installation.

- Carefully bend the crossmember out and install the latches and cable.
- Don't tighten the T30 Torx screws down fully yet. You want to tighten them after you position the latches back in their original positions using the outline left on the crossmember.
- Reinstall the expansion rivets and reinsert the pins using a hammer with rubber or polyethylene head.
- Secure the crossmember with the 10mm bolts, 8mm rad tab bolts, and phillips head screws.
- Reinstall headlights making sure the bowden cable is routed properly above the housing.
- Use the DIY above to install the cable from the junction box to the hood release lever.
- Test the installation to make sure everything works.
- Have a beer and relax.
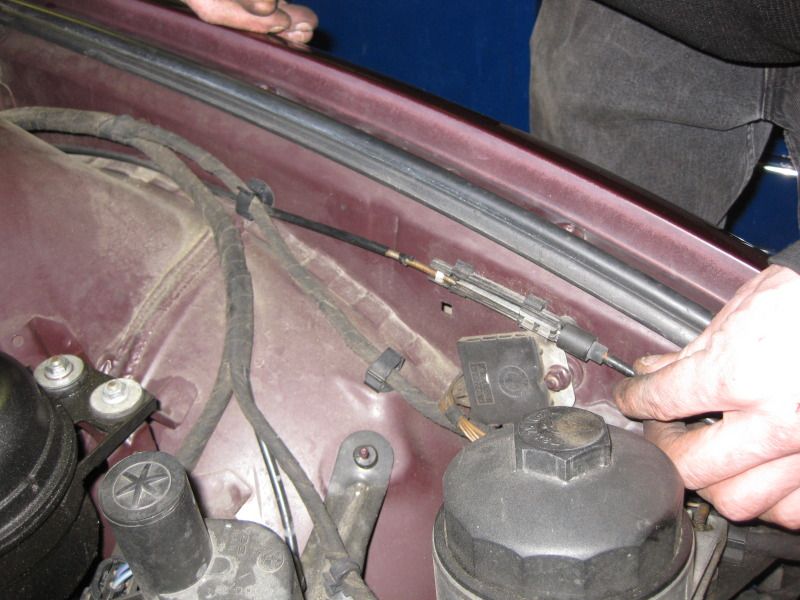
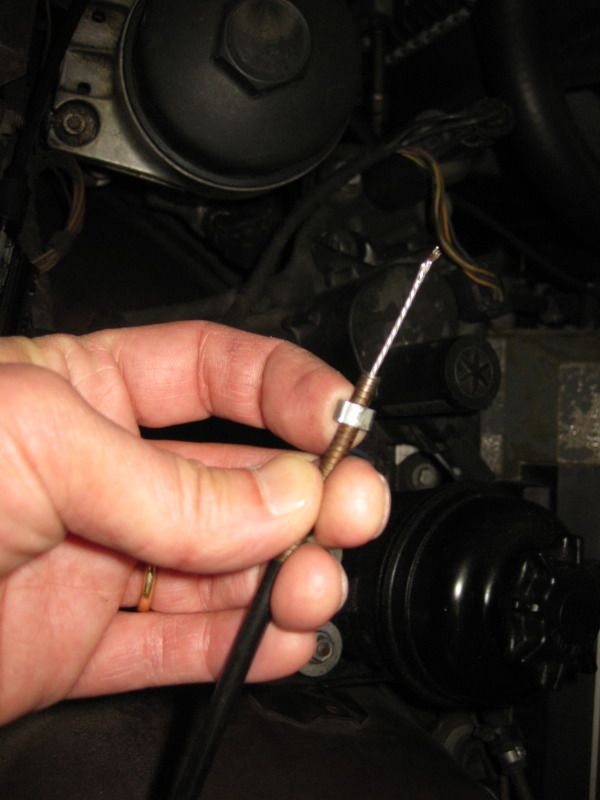
- In the following pic, you can see the metal sleeve that failed in the junction box. Crimping this sleeve allowed me to be able to temporarily pop the hood.

 BMWCCA 484984
Originally Posted by jamesdc4

Fan Blades Can Explode.. Read My Thread
 Posting Permissions


 Reply With Quote
Bookmarks