
 Member
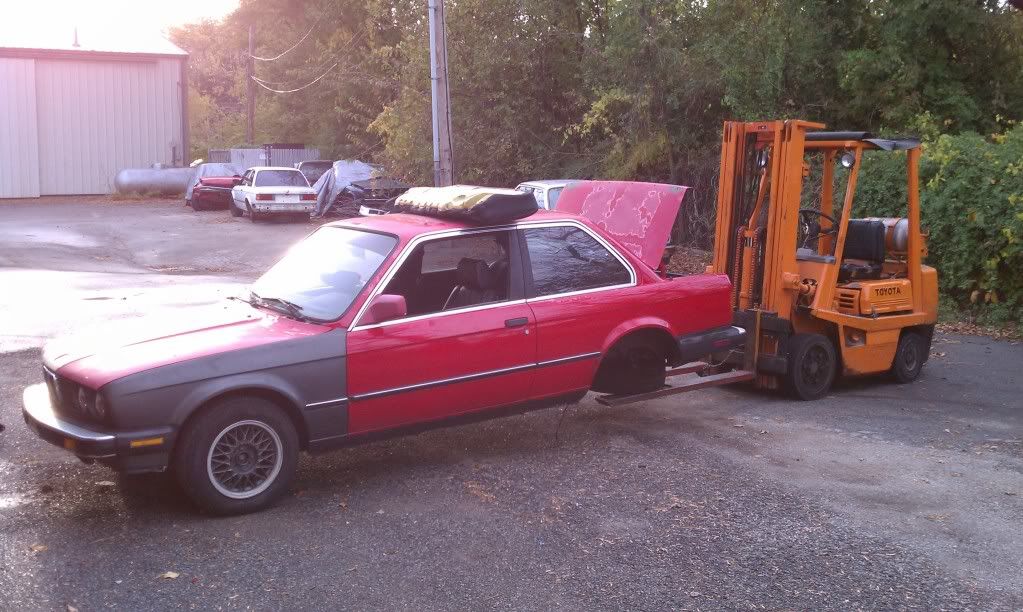
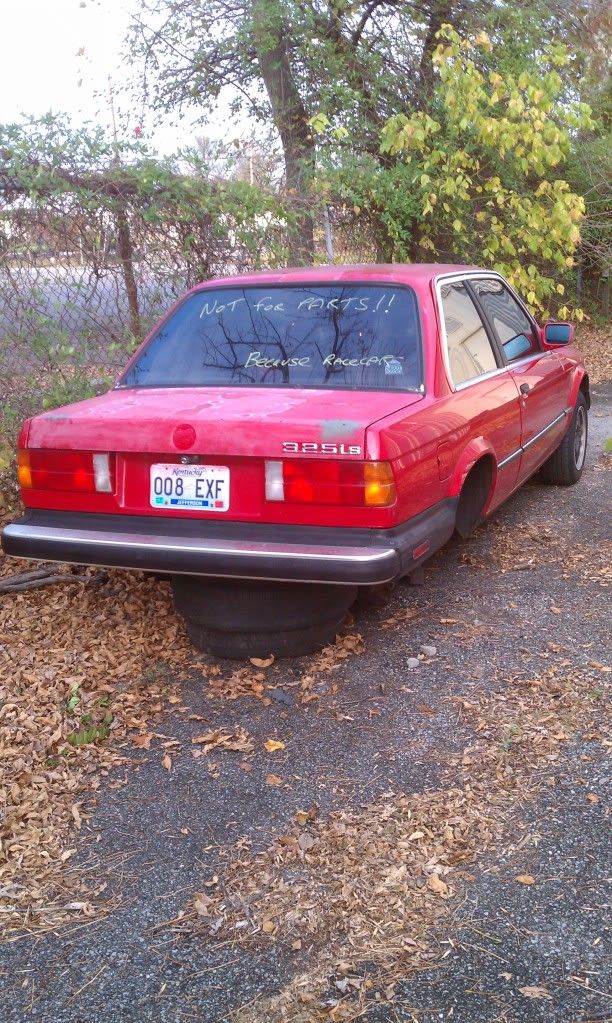
Beep beep beep
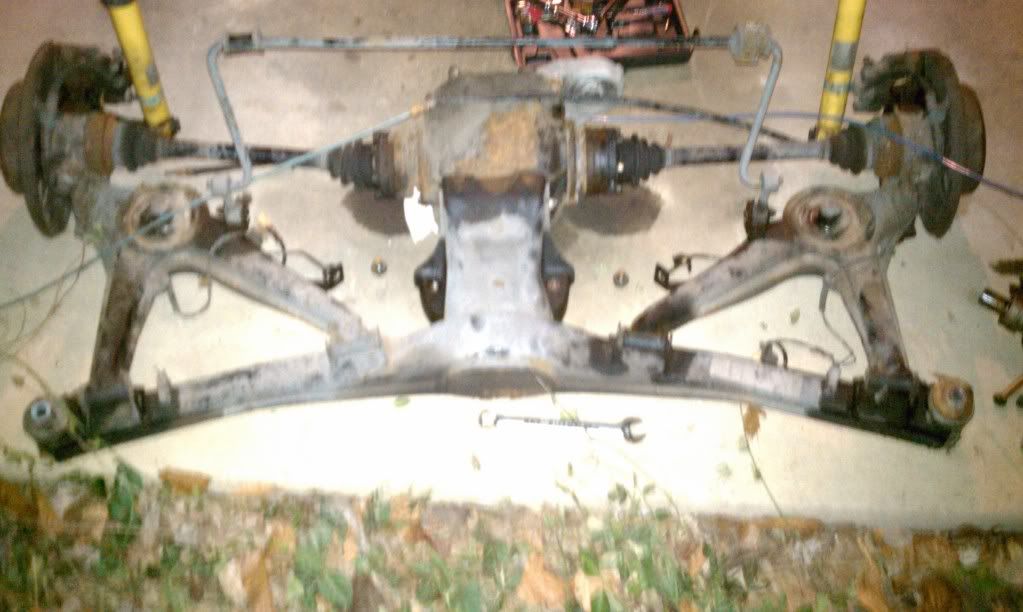
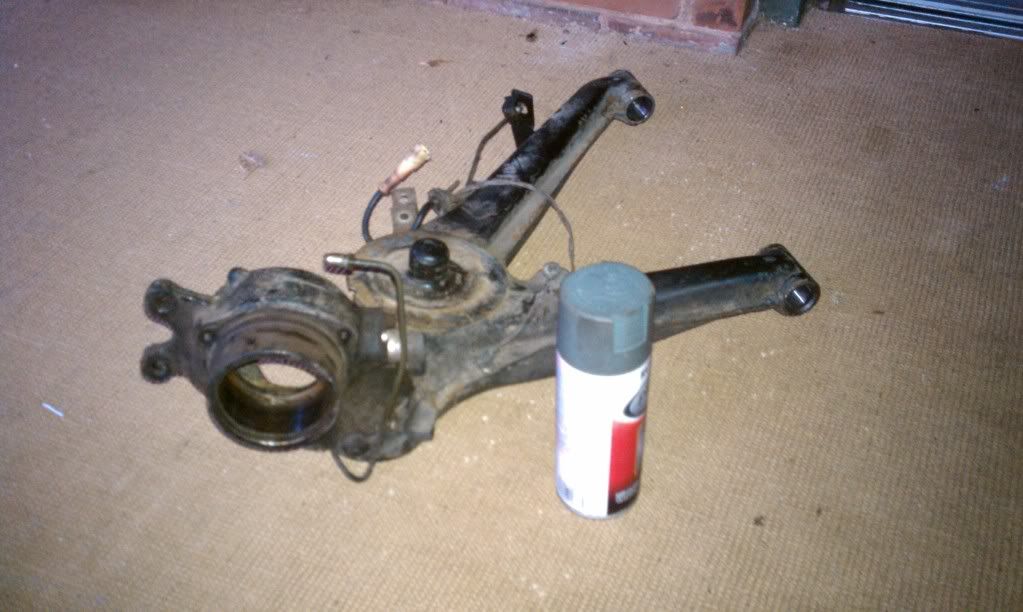
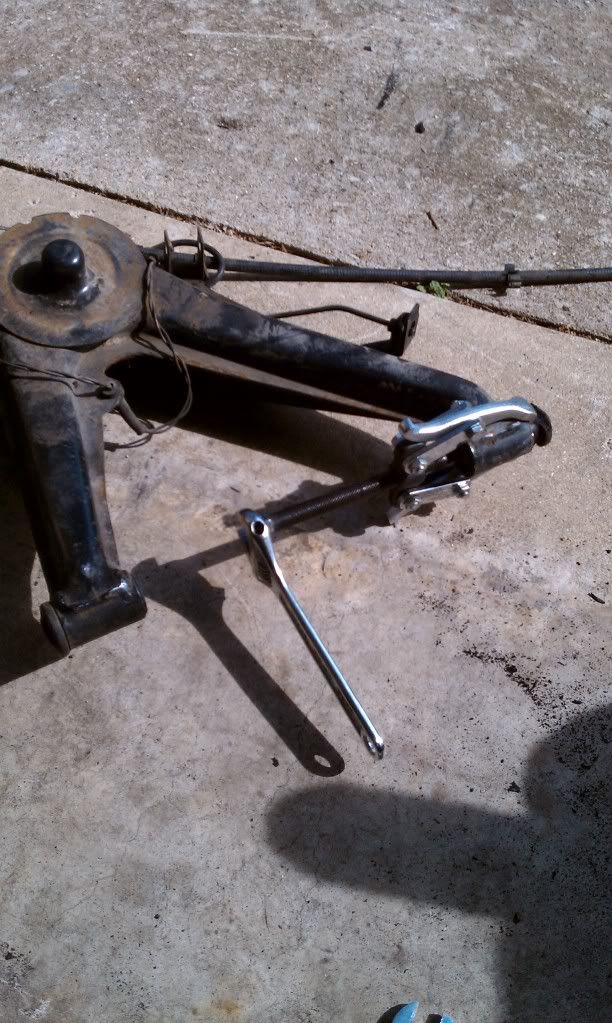
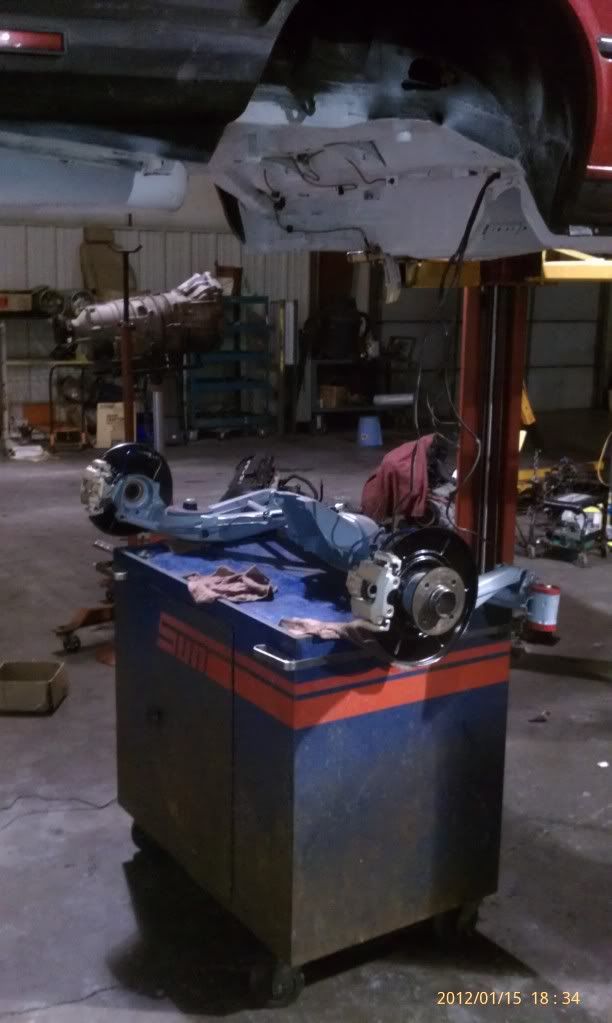
Find a spare subframe
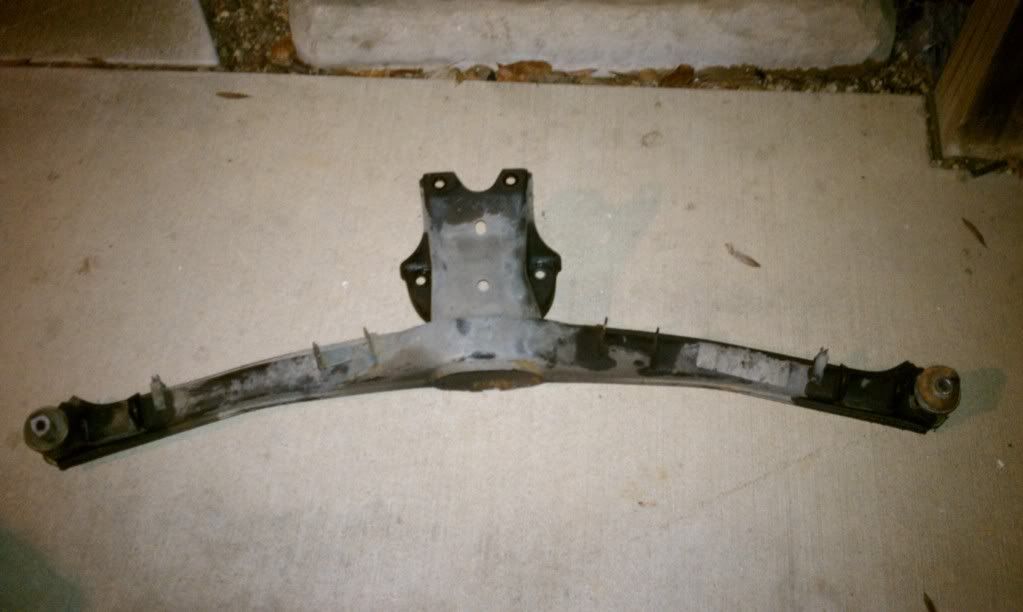
take it apart
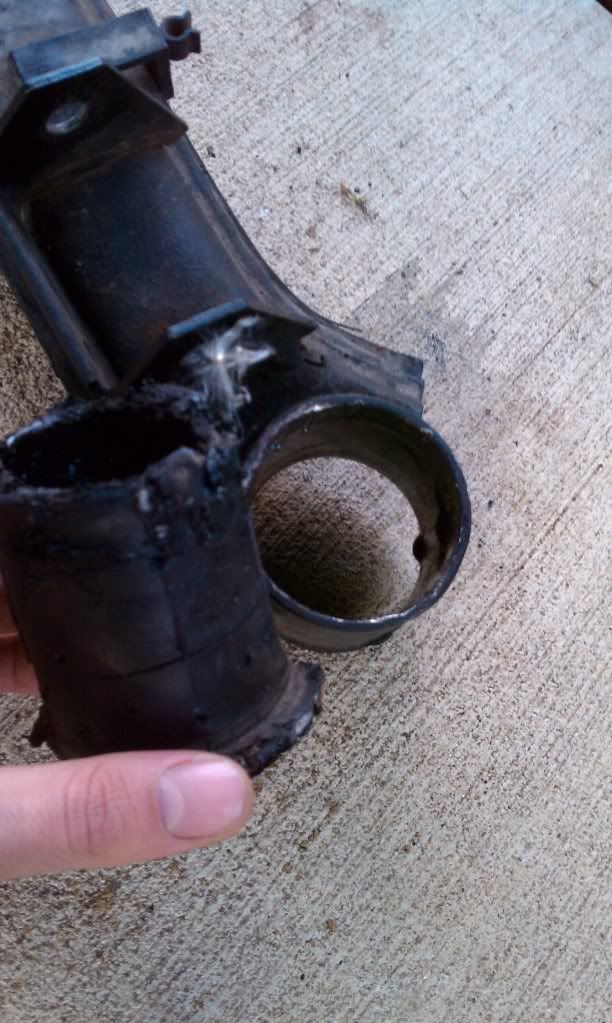
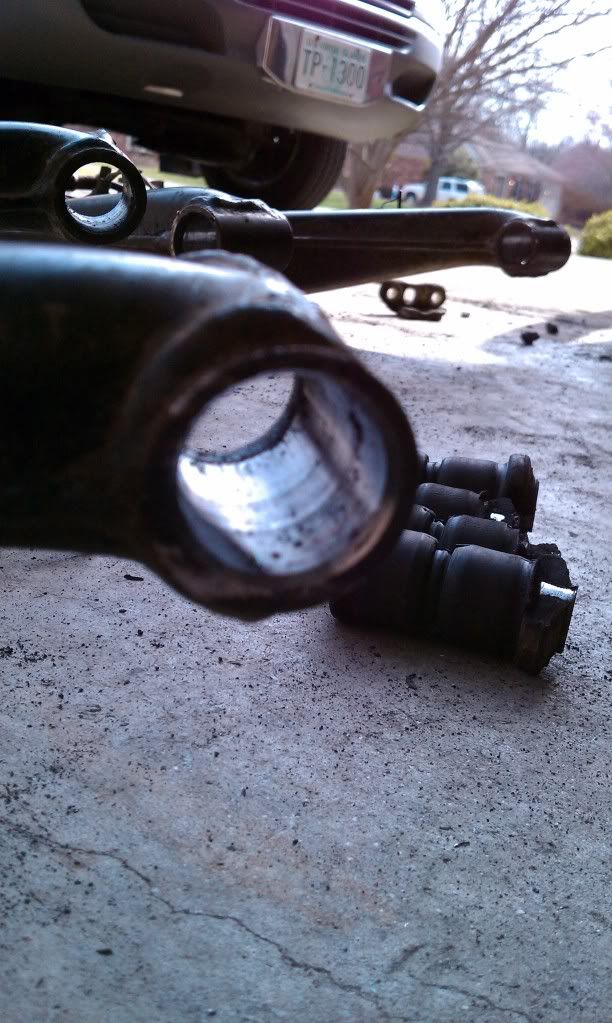
Get that junk outta there...
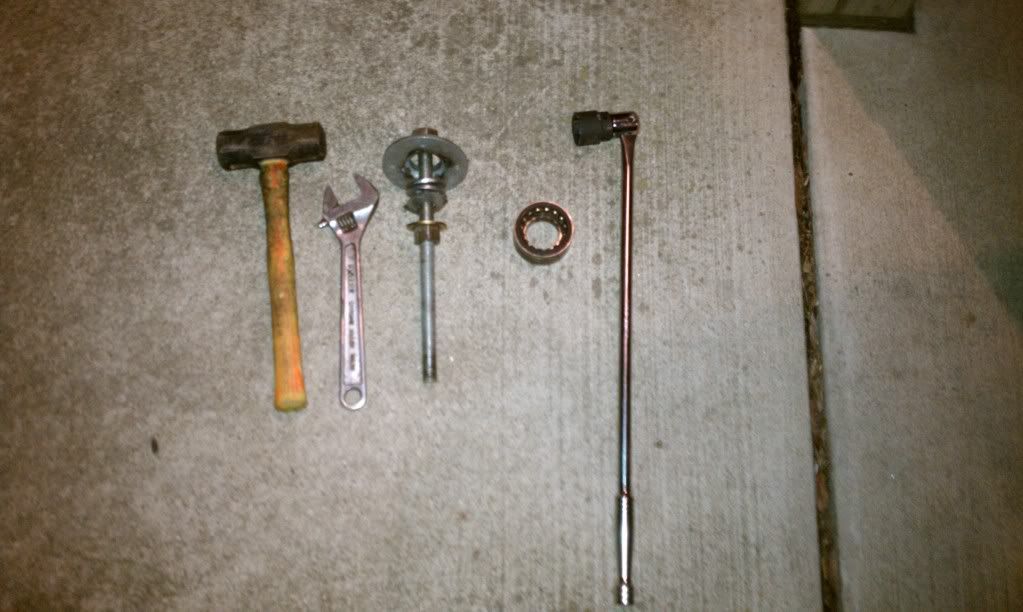
hmm don't have wheel bearing tool at home. PERFECT!
more junk
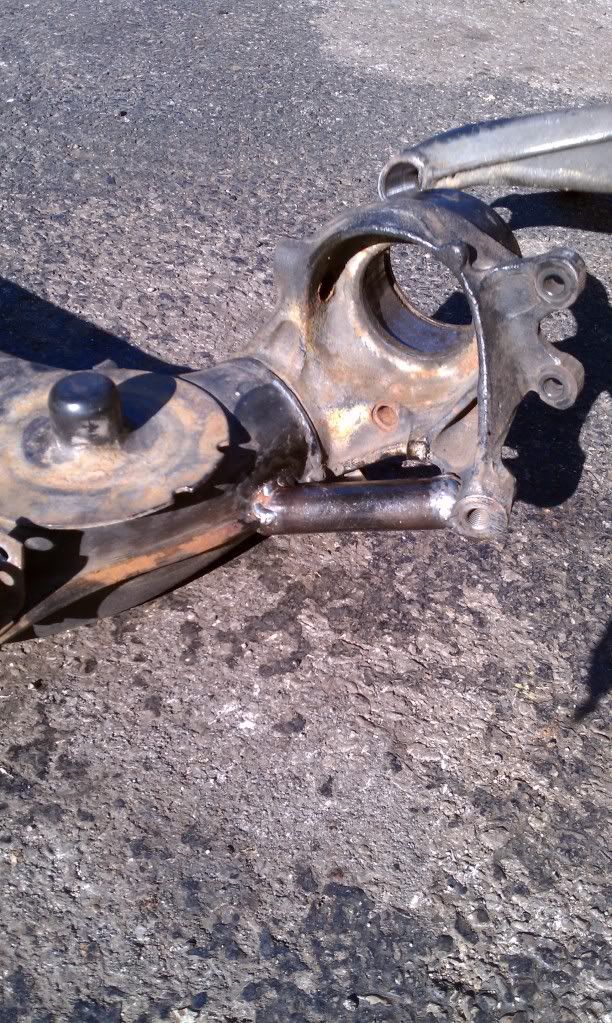
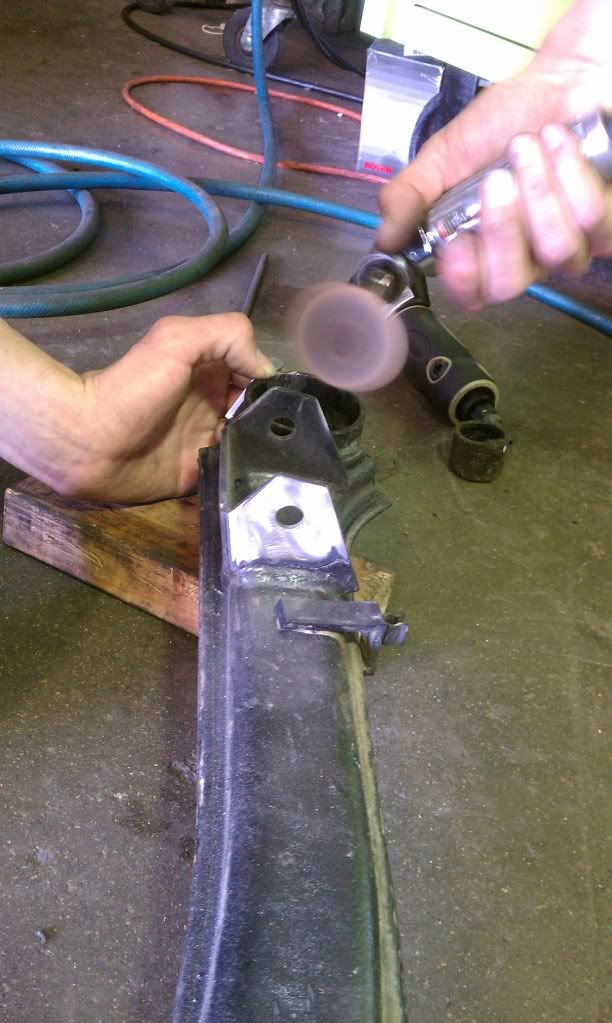
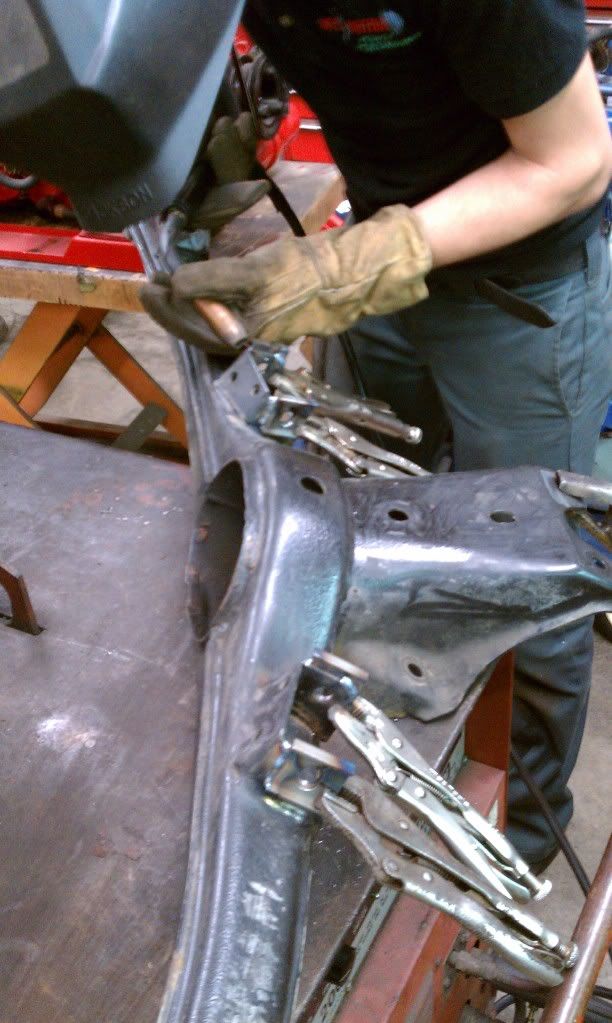
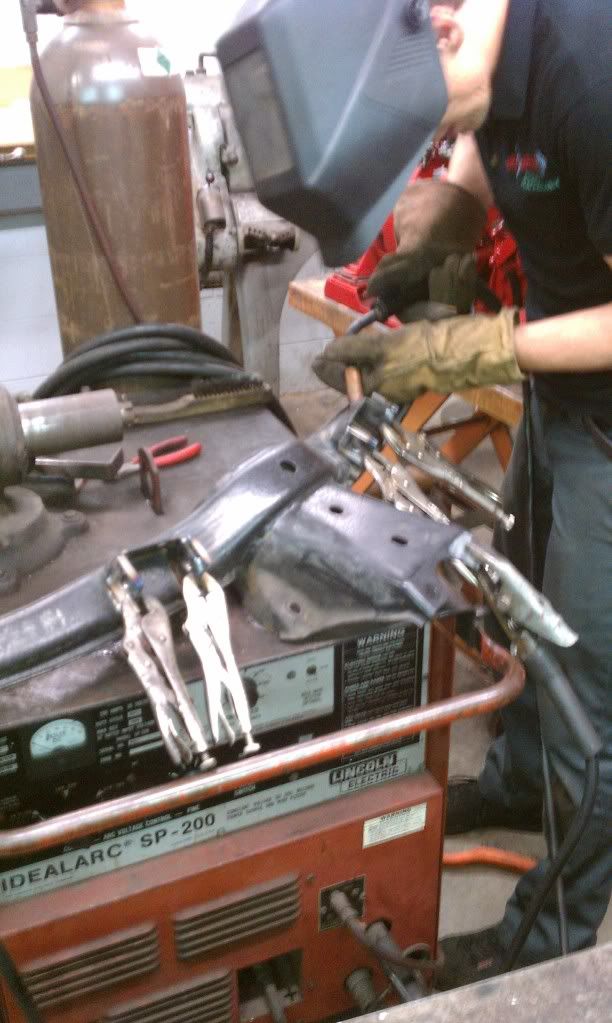
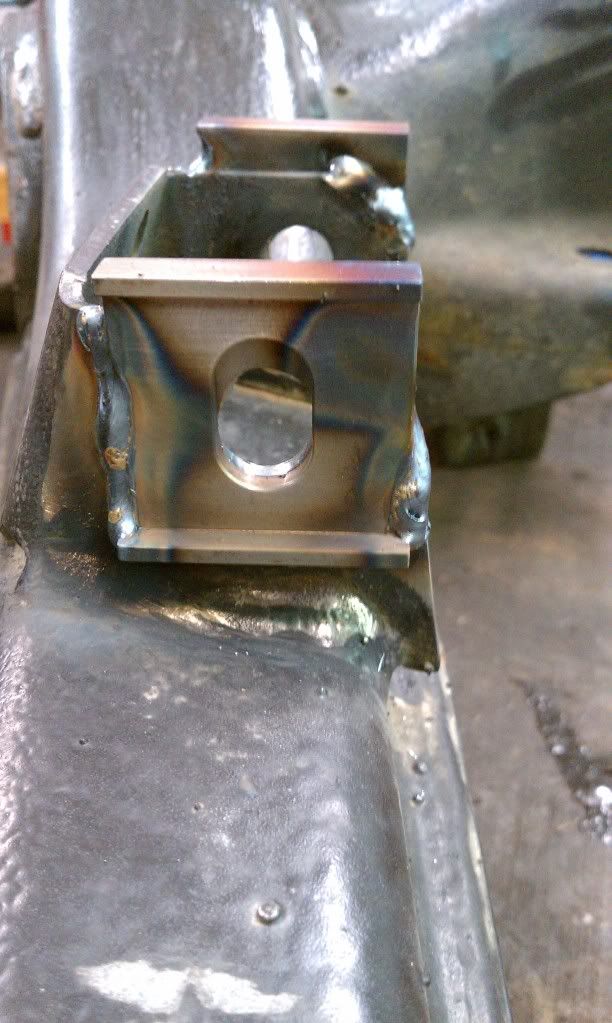
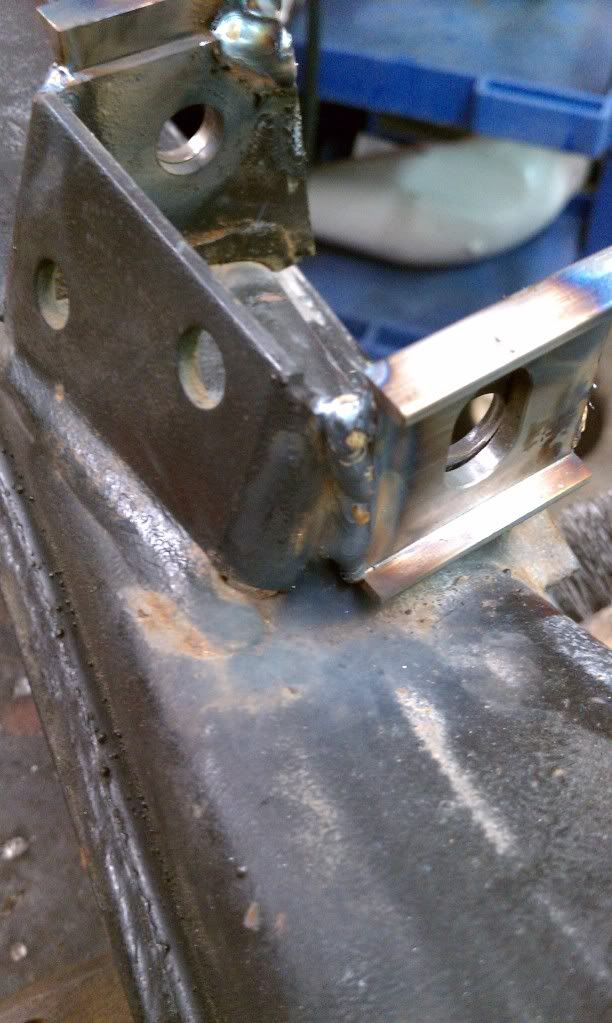
reinforce time
toe all outta whack no problem
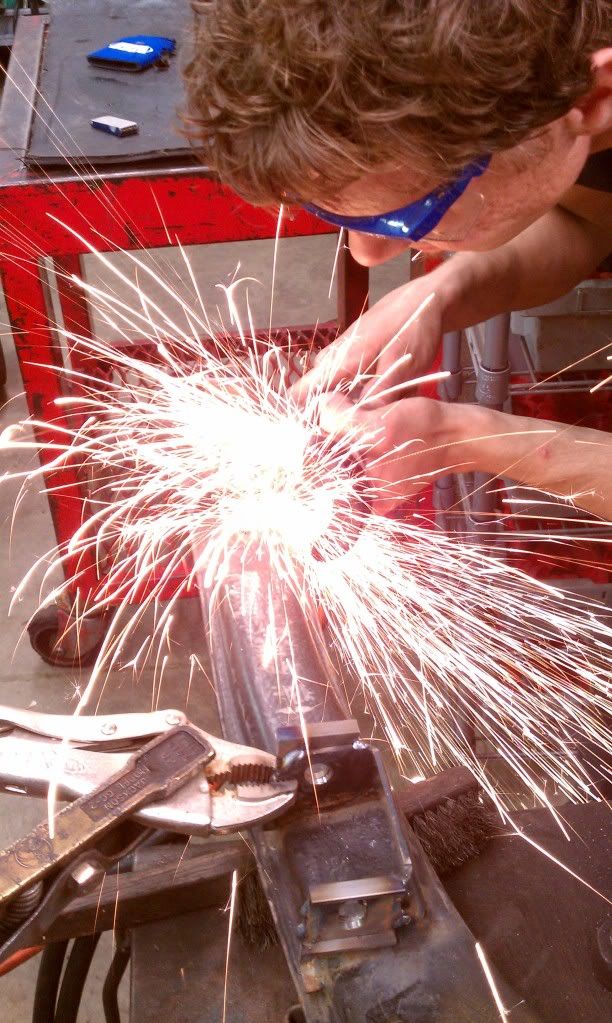
grind your welds fool

Previous vehicles: (87' 528E 5spd) (Two 89' 750IL's)Originally Posted by MikeLenoch5

(E36 318is) (E34 535i) (E34 M5) (E36 M3) (Two 87' E30 vert) (E30 Touring)
Member
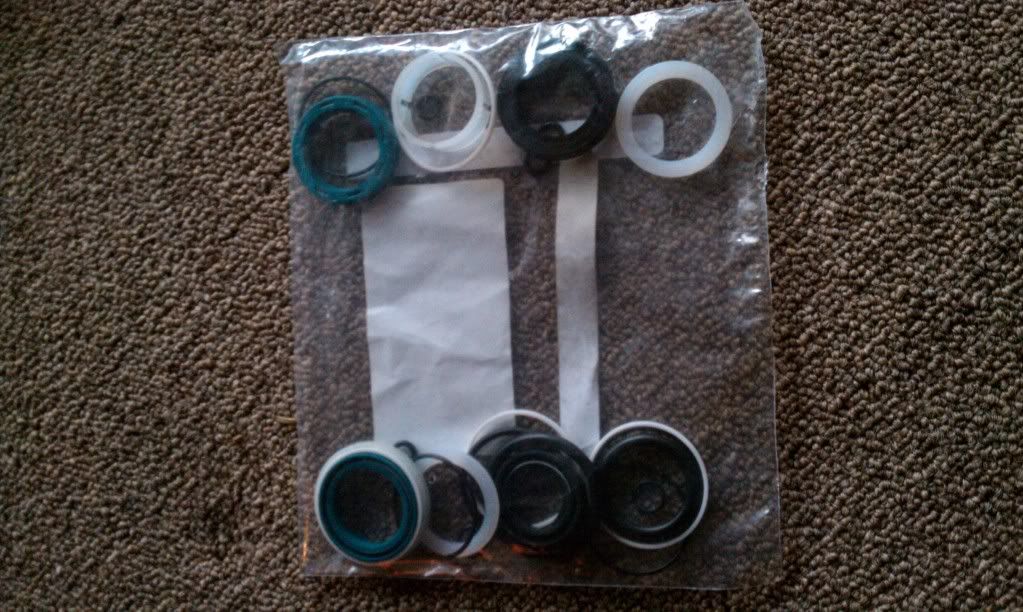
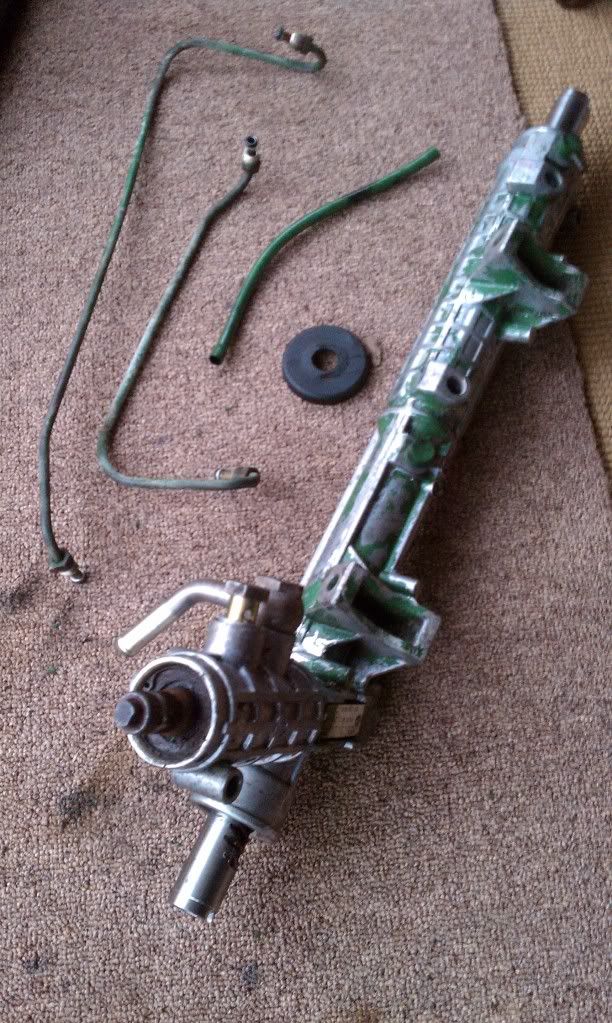
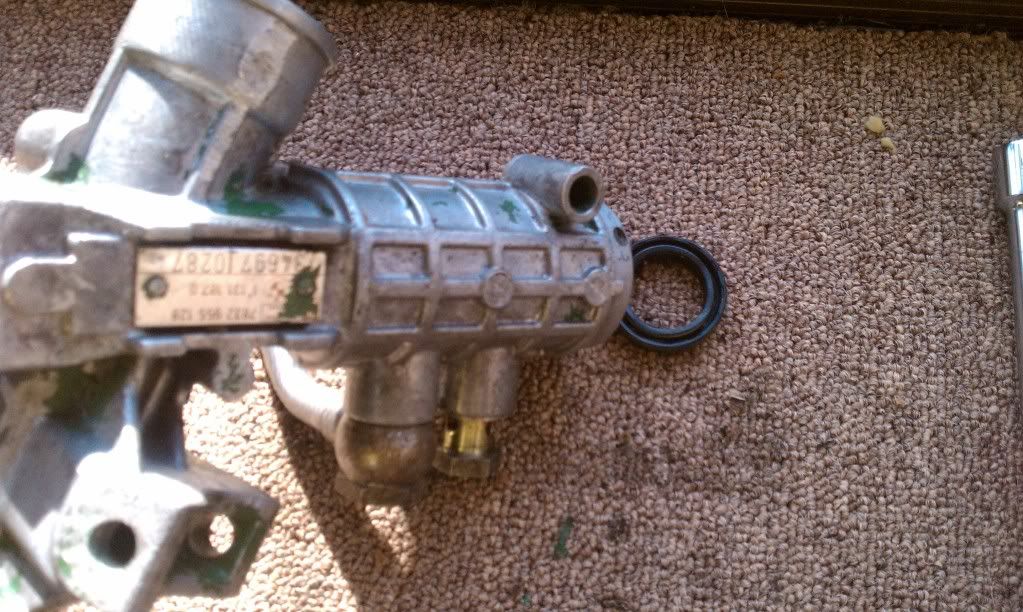
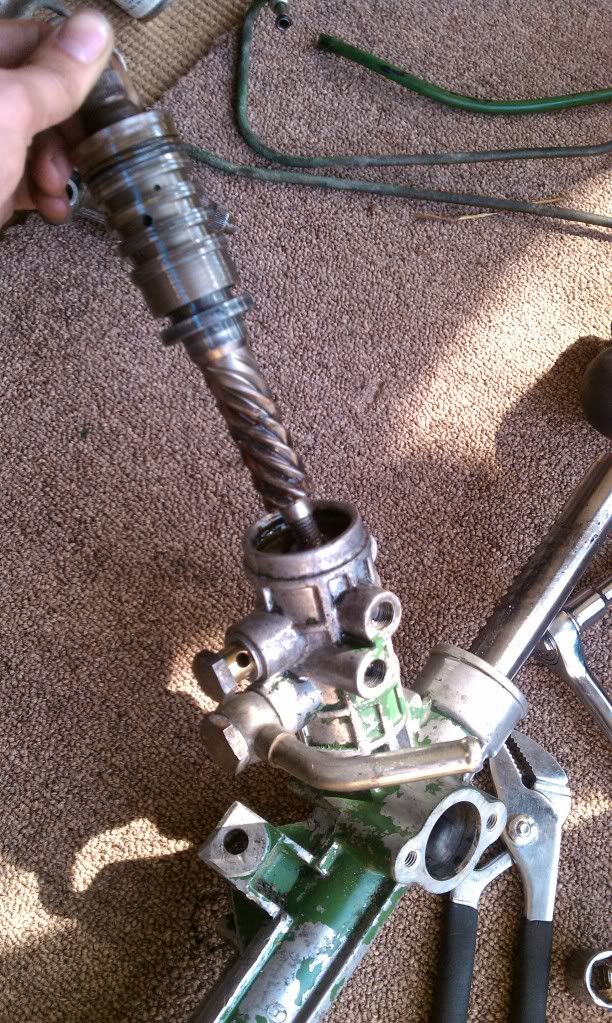
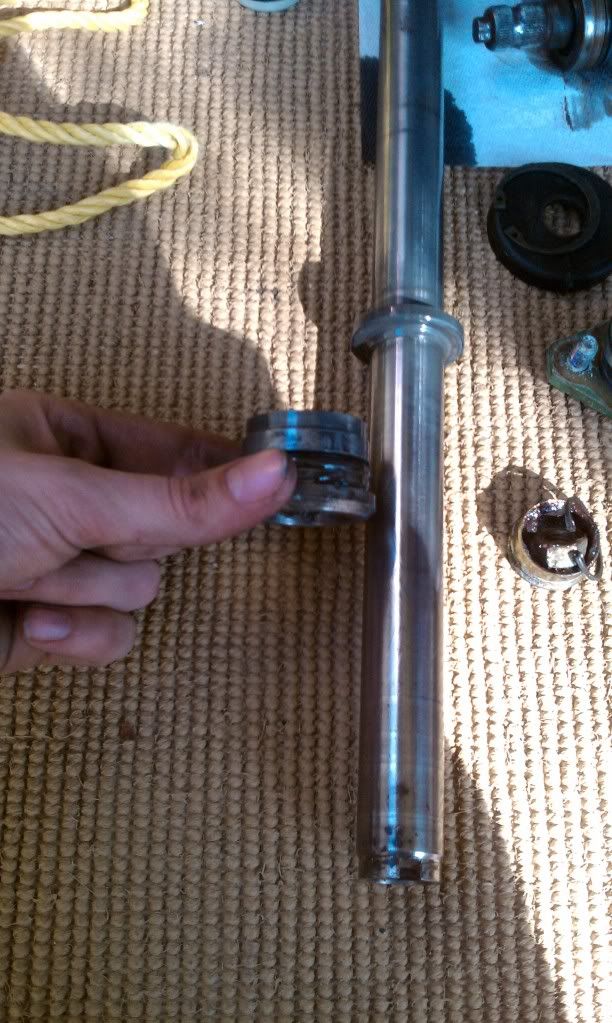
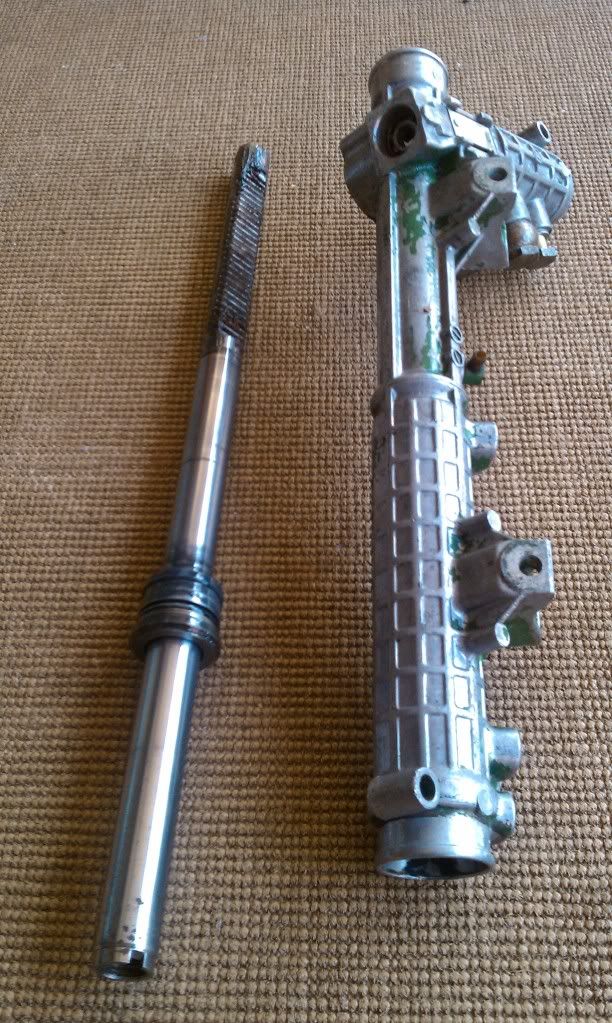
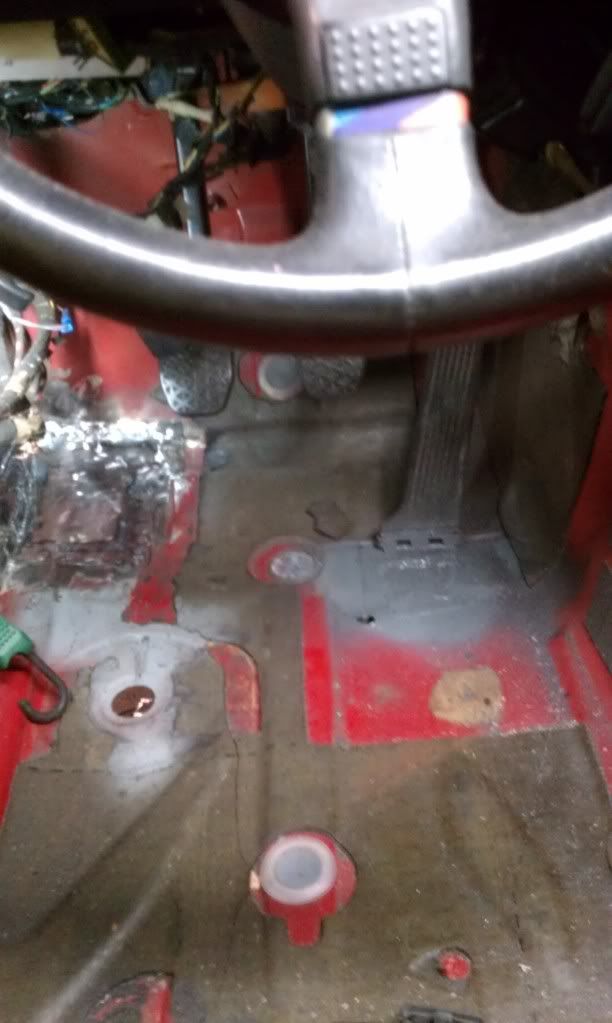
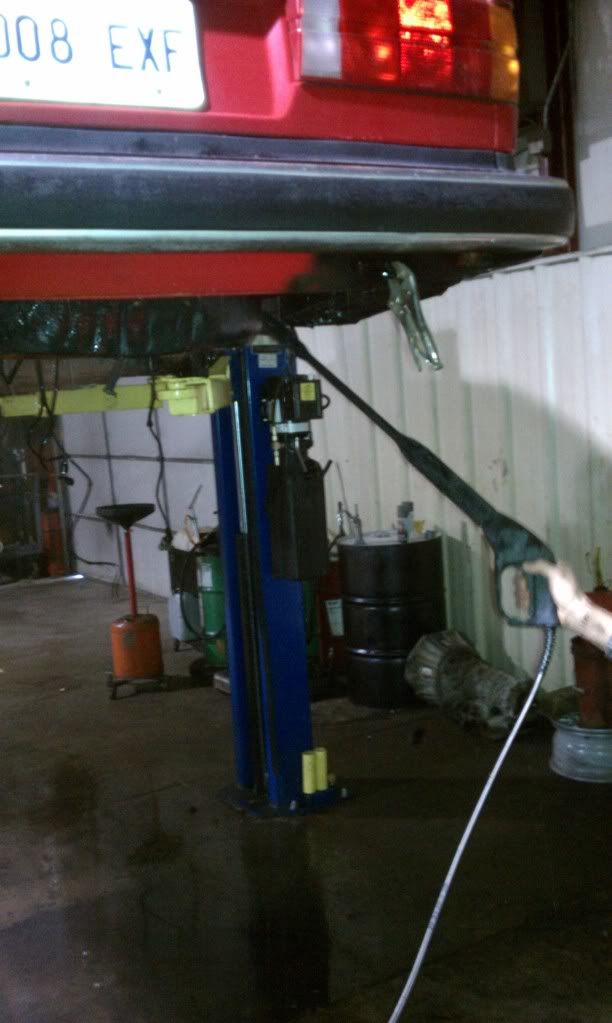
Damn steering rack leaking all over my carpet
I see you
YAAA
you too
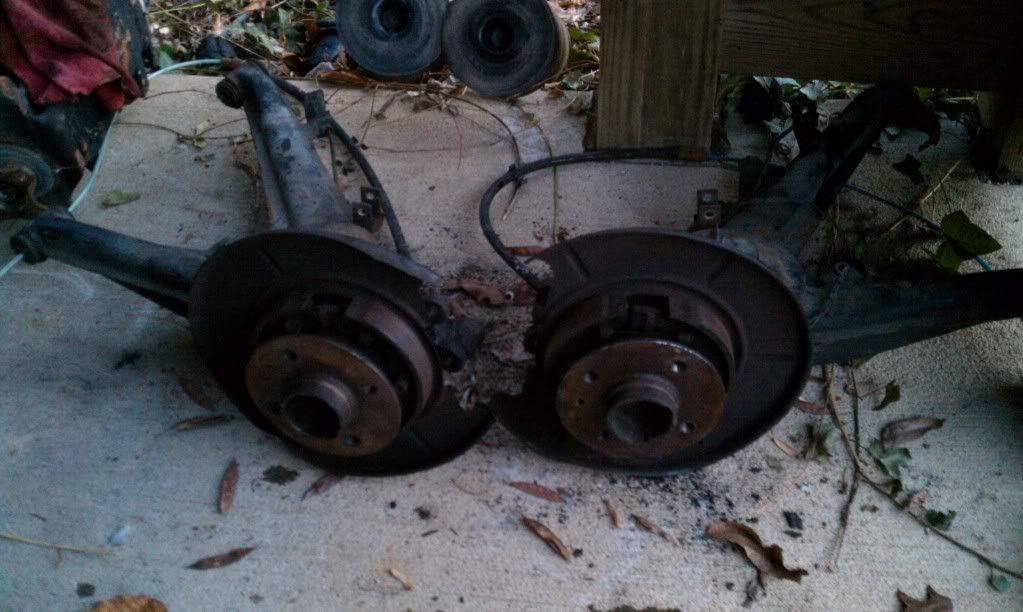
put all that stuff back
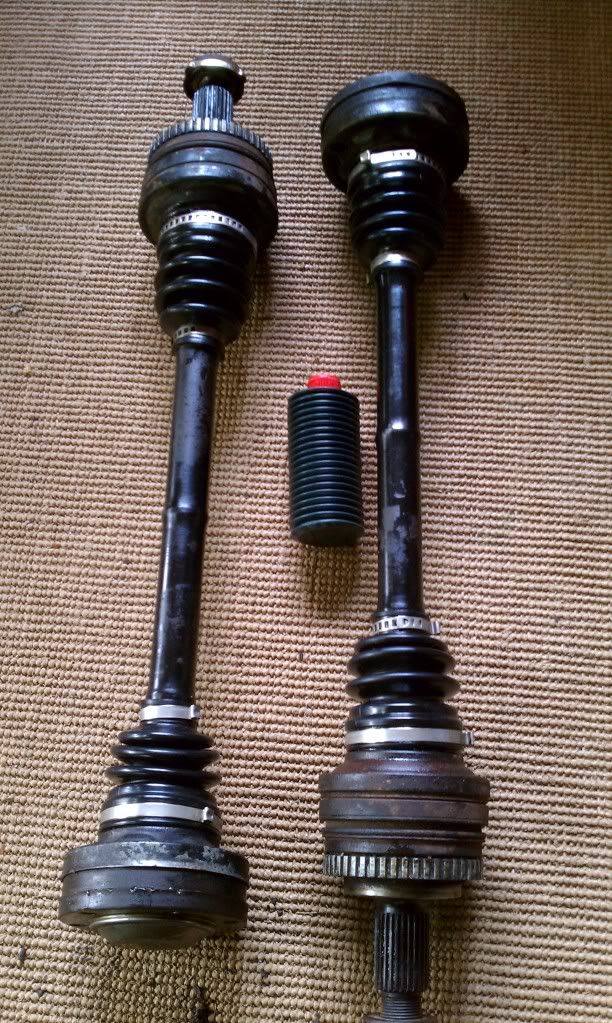
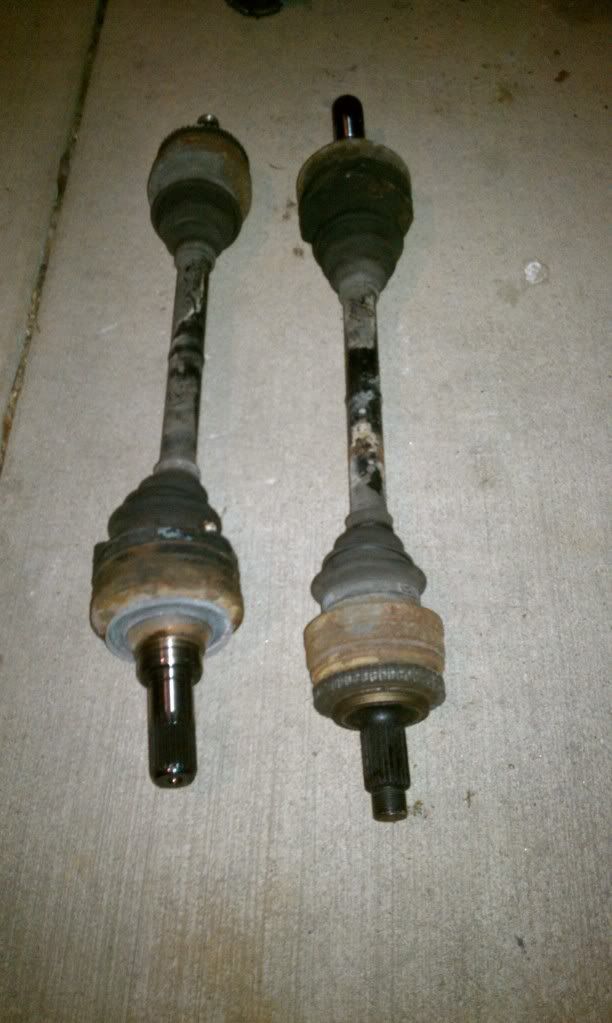
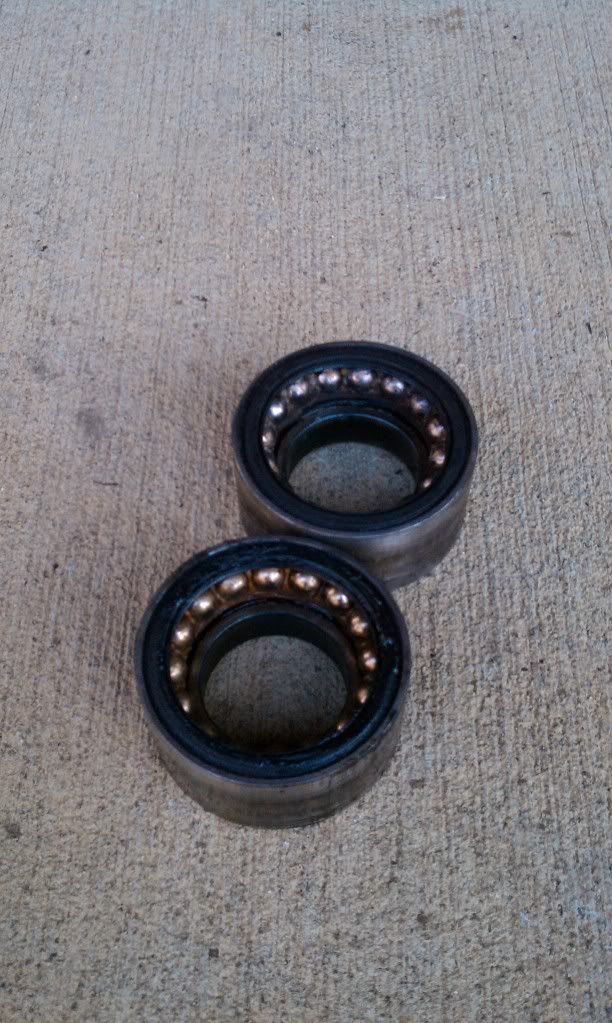
HEY axles are done
Previous vehicles: (87' 528E 5spd) (Two 89' 750IL's)
(E36 318is) (E34 535i) (E34 M5) (E36 M3) (Two 87' E30 vert) (E30 Touring)
Member
What class are you building for?
Member
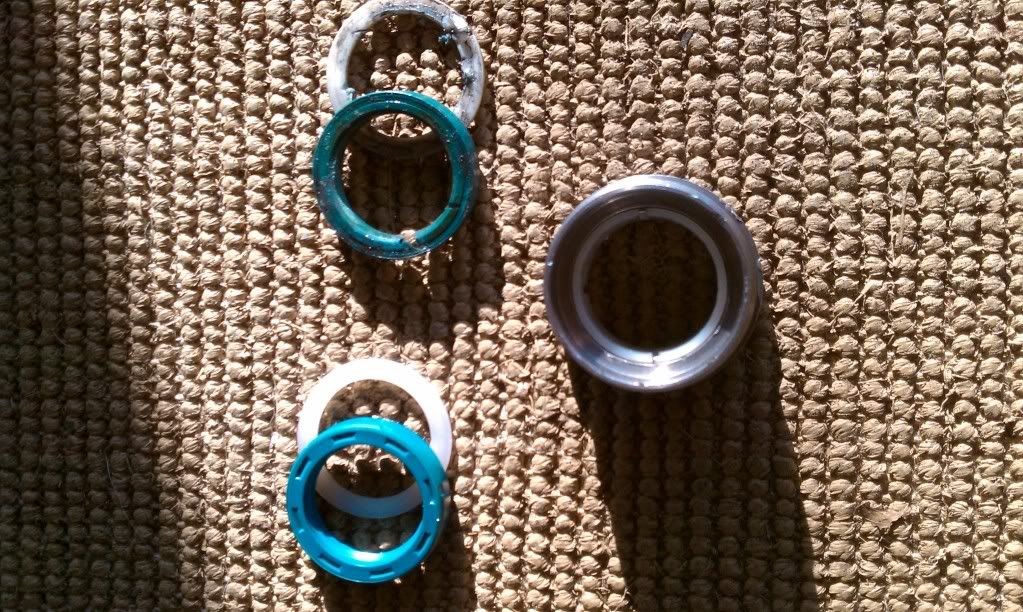
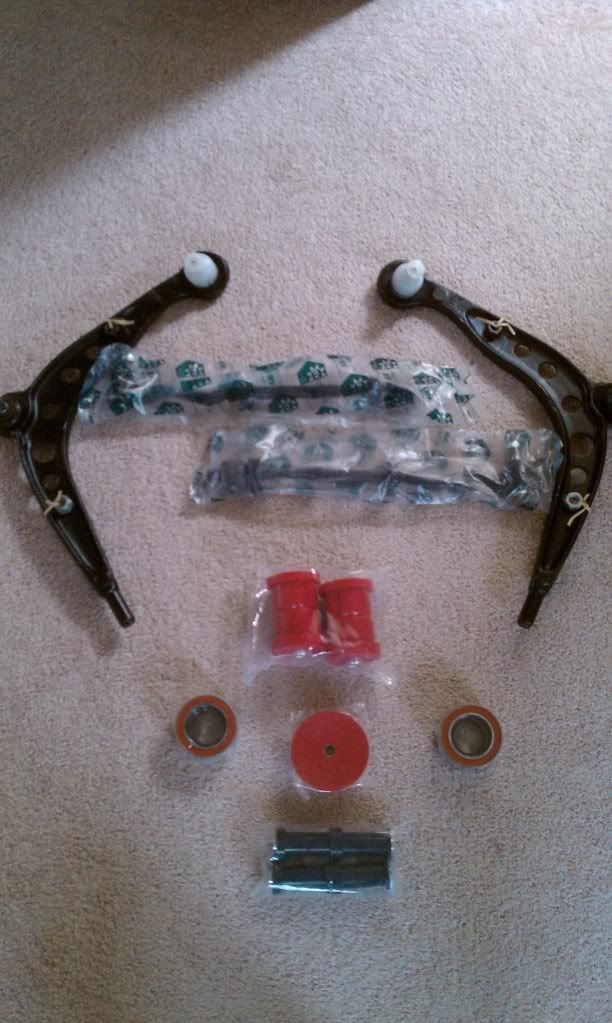
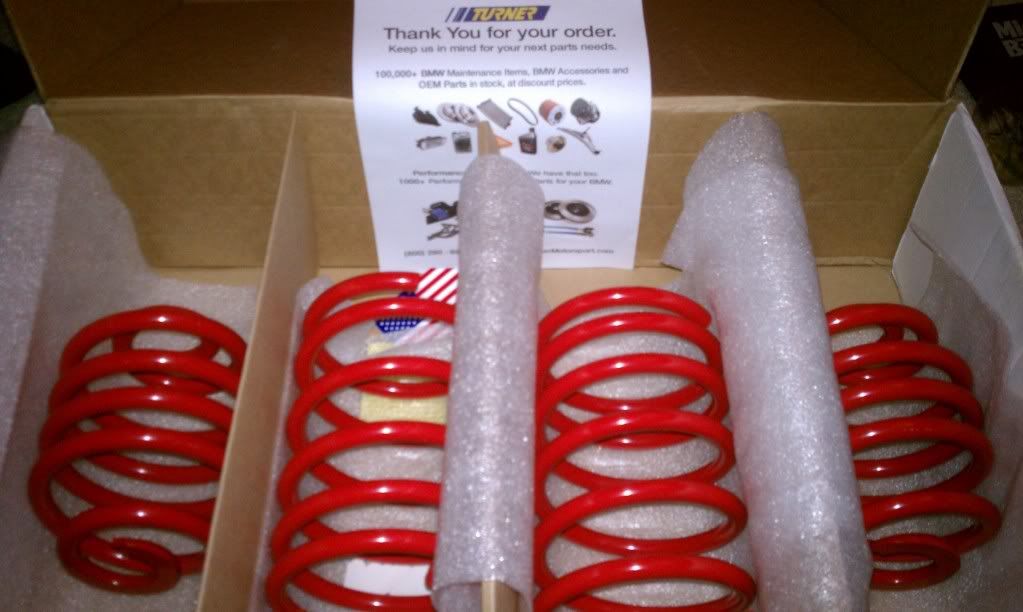
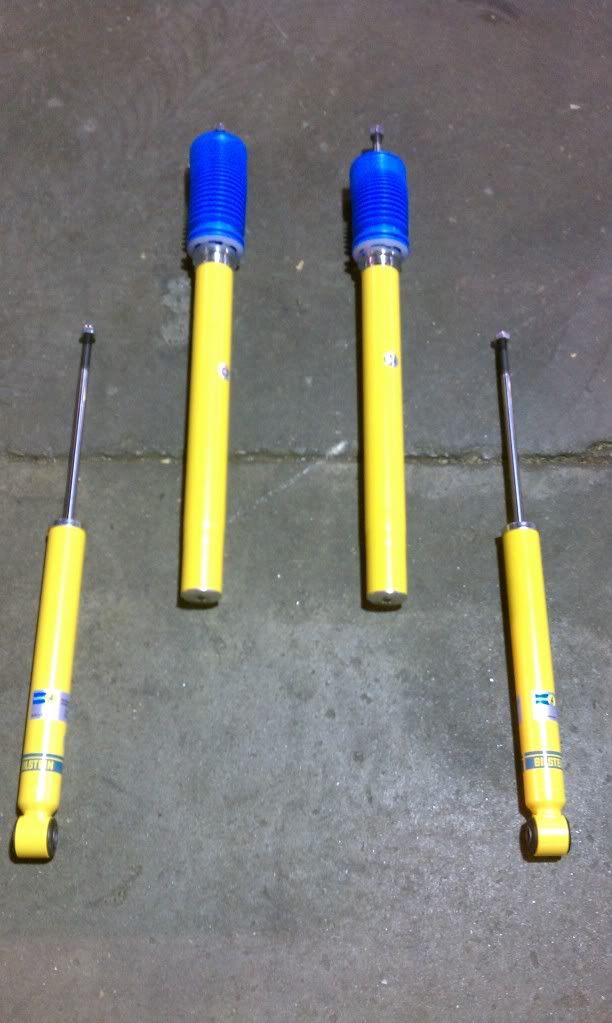
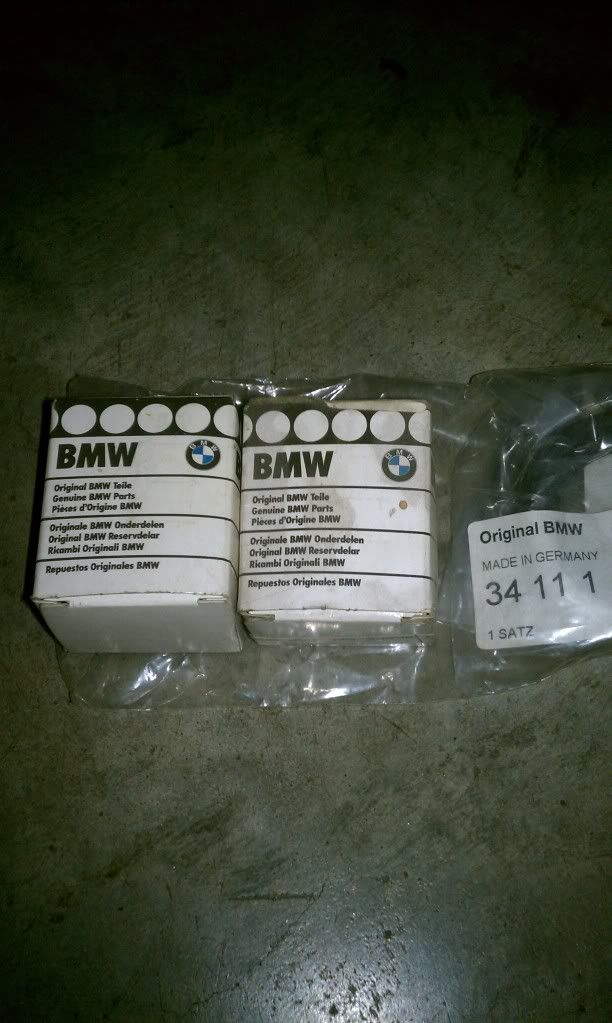
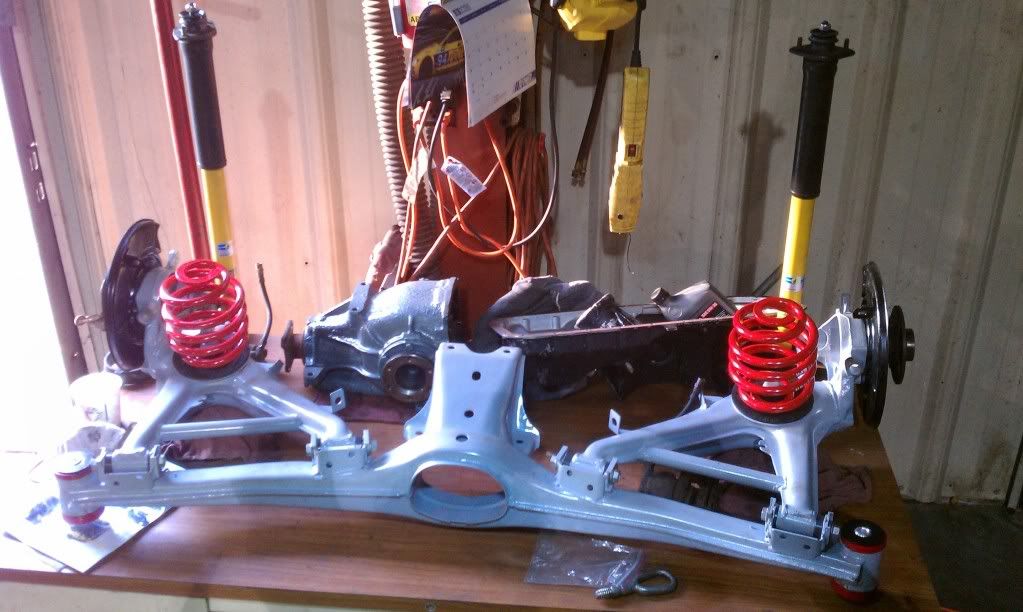
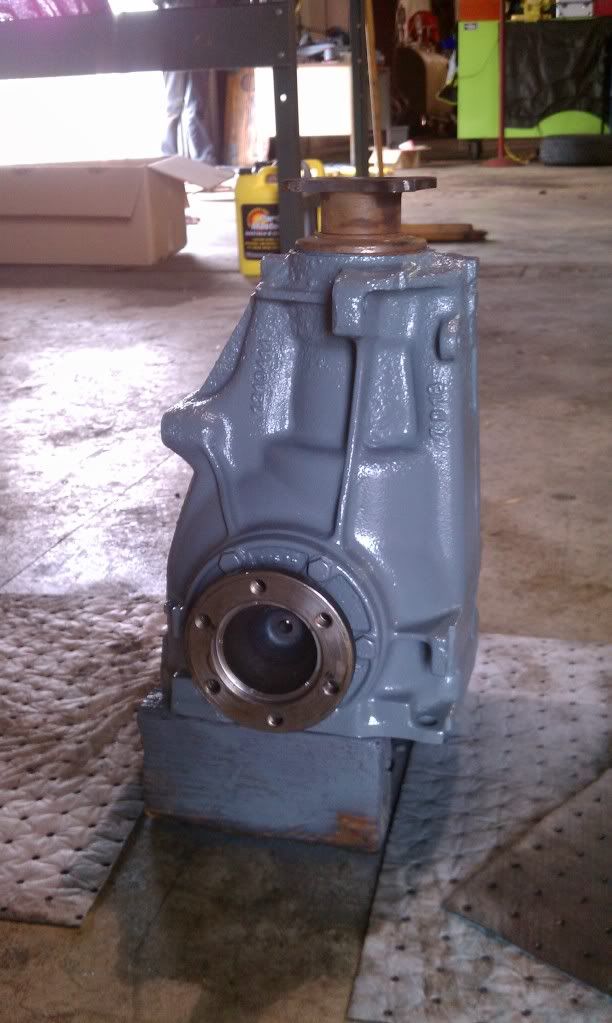
Parts make you feel great
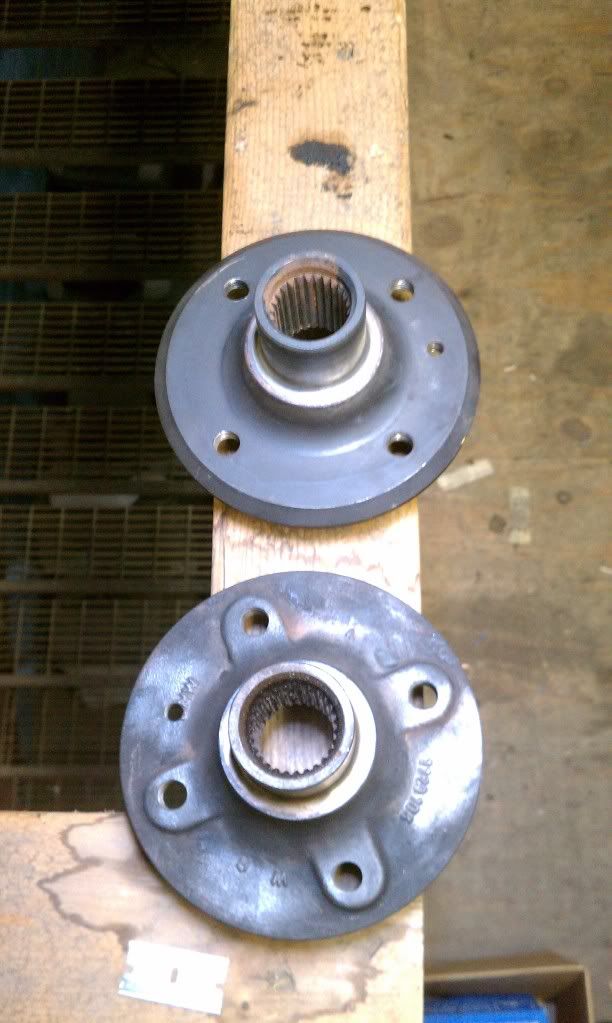
Went with the milled hub
And just like that
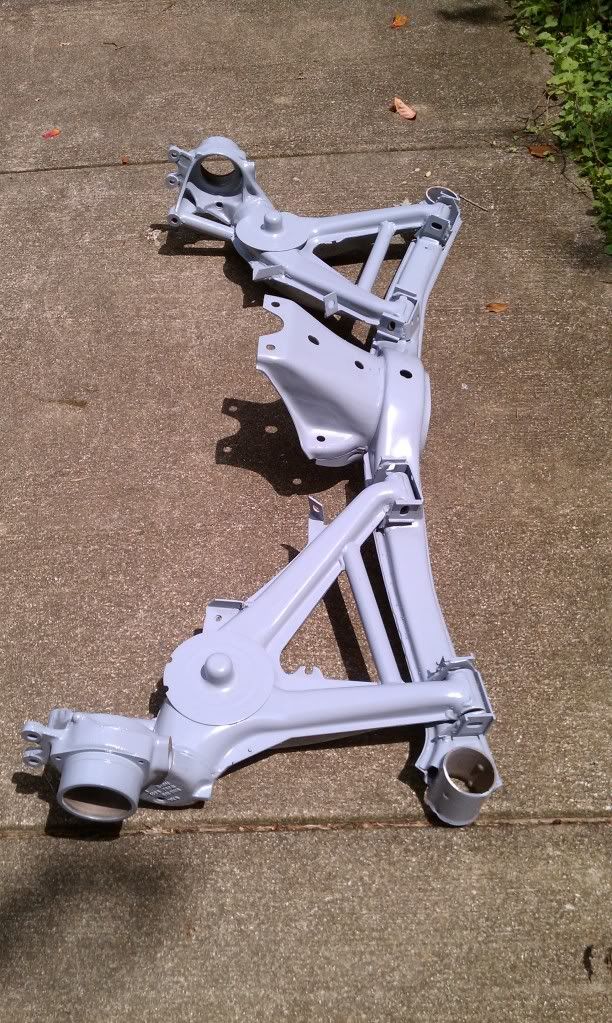
POWDERCOAT
straight from a model car kit
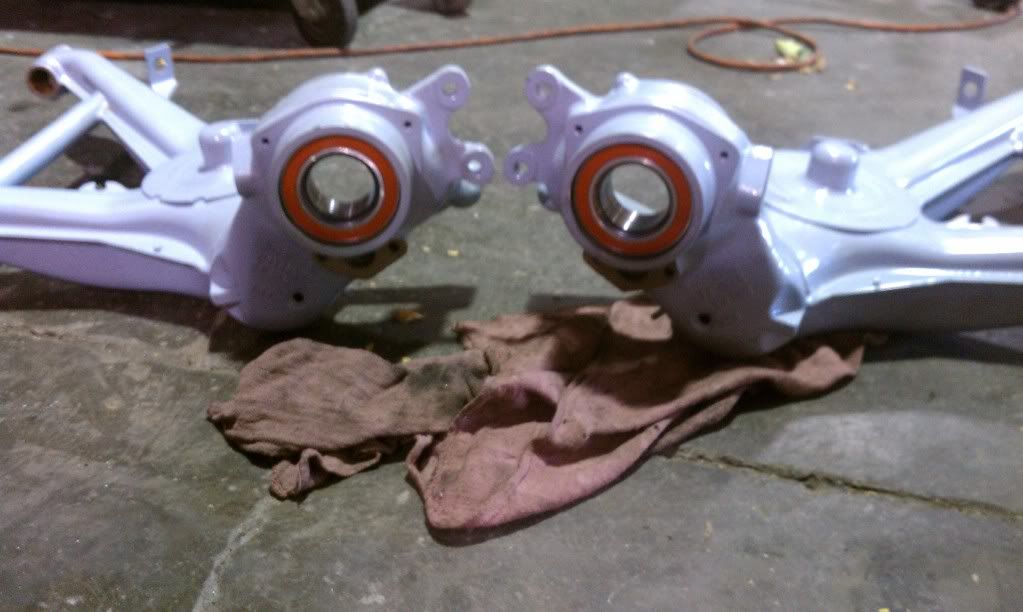
insertion complete
BAM
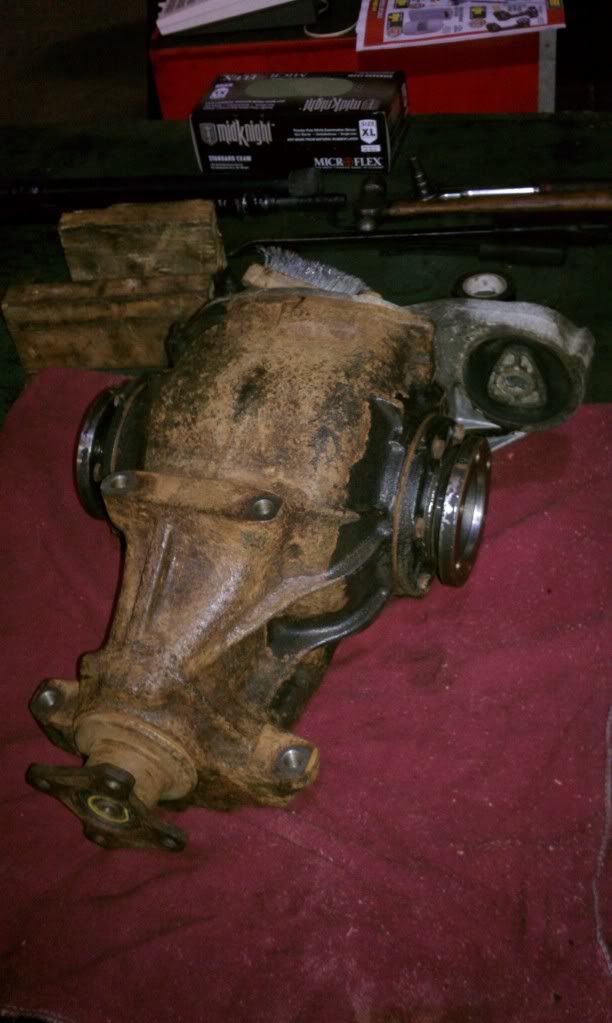
Doesn't need much
Started some rust prevention/repair
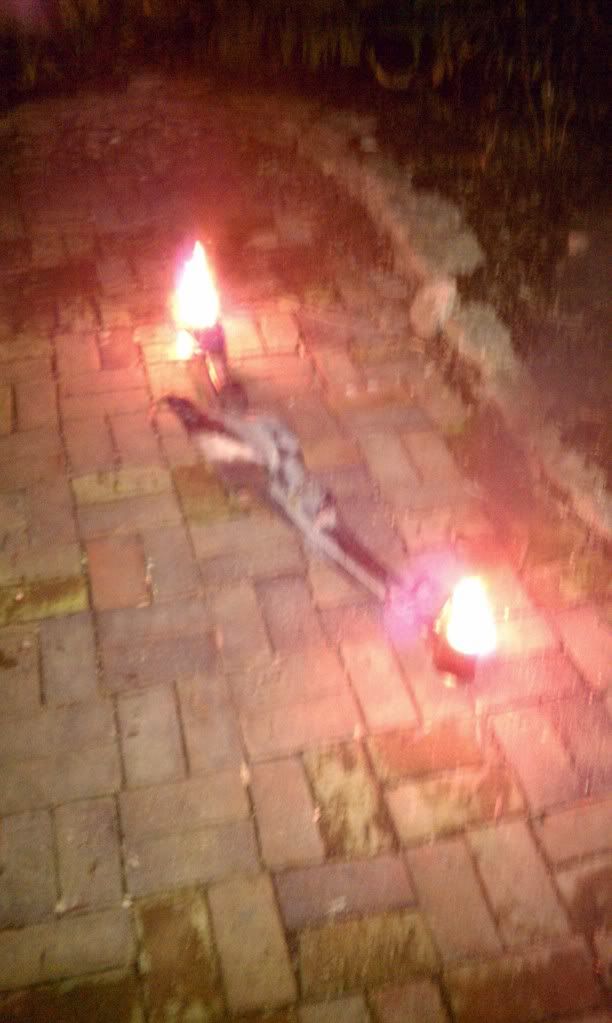
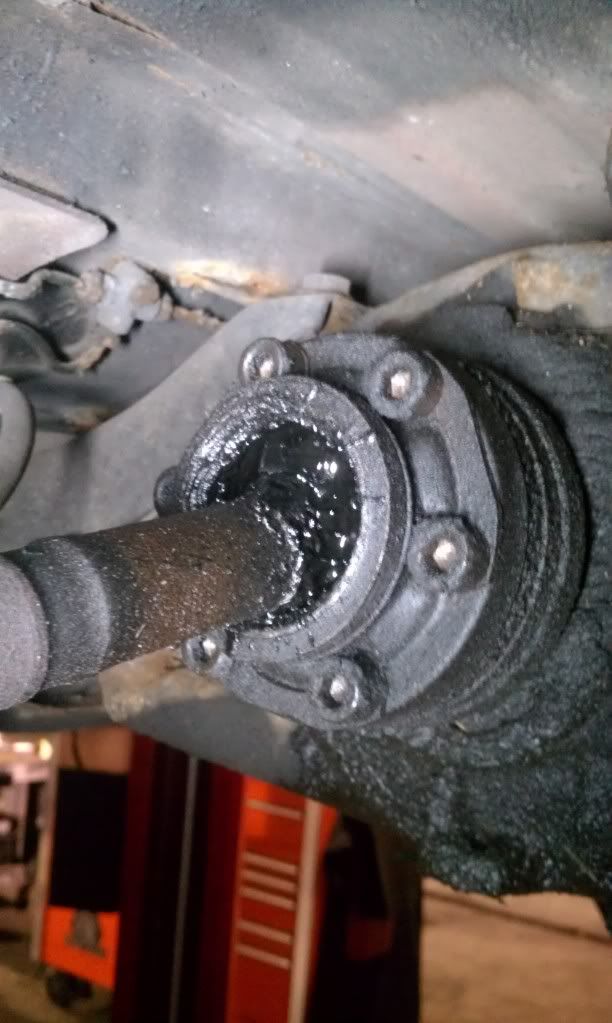
HAHA wtf old axle?
Used to sing on the highway
[ame]http://www.youtube.com/watch?v=Xa5SU2J2a-k[/ame]
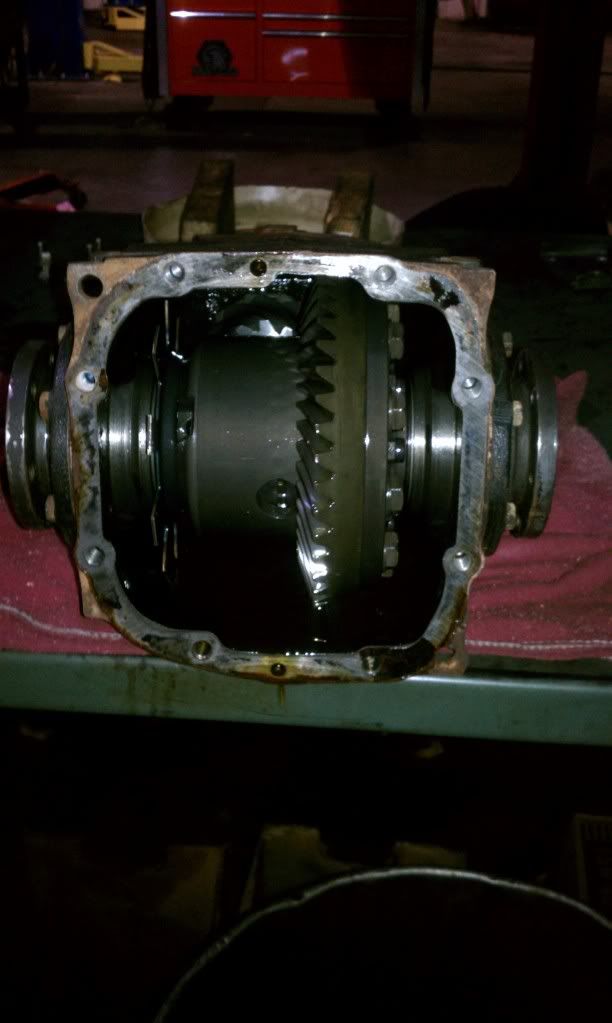
good axle condition
[ame]http://www.youtube.com/watch?v=xC6pp3p2iBg[/ame]
Spec E30
Gotta get the HPDE's out of the way first. After that it will be time to Cage and do a lot of chassis work.
Last edited by Proctor750; 10-24-2011 at 09:01 PM. Reason: Automerged Doublepost
Previous vehicles: (87' 528E 5spd) (Two 89' 750IL's)
(E36 318is) (E34 535i) (E34 M5) (E36 M3) (Two 87' E30 vert) (E30 Touring)
Member
And so it begins.
Quality BMW service "street, track, race"?
Email: ZakspeedRacer@gmail.com
1999 BMW 318Ti/M Hellrot Msport DD/Fun car
1/2 1987 BMW 325is/M Future Spec e30 (track prep'd)
1994 530It/A Alpinewise III Traded out
1988 BMW 325ix/M Diamond Schwartz Recently sold :/
1986 BMW 325e/m Bronzit Beige Metallic
Get Involved!
www.bluegrassbimmers.org
OKI BMW Facebook group
BMWCCA Member# 436428
Member
You are off to a great start, I am not to far away if you ever need anything. Got to caution you though, some of the stuff you are doing is not legal in se30. Make sure you read the rules before you weld anything.
Member
Ah you should come down to one of our monthly meets! OhioKyIndiana is OKI SO come on down!
Previous vehicles: (87' 528E 5spd) (Two 89' 750IL's)
(E36 318is) (E34 535i) (E34 M5) (E36 M3) (Two 87' E30 vert) (E30 Touring)
Member
Nice!!!
Member
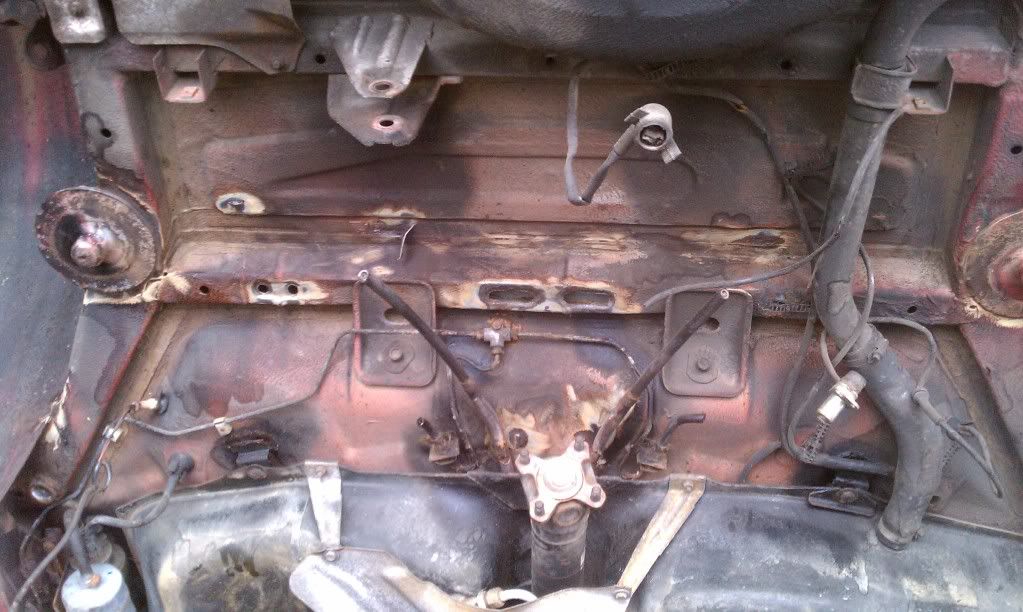
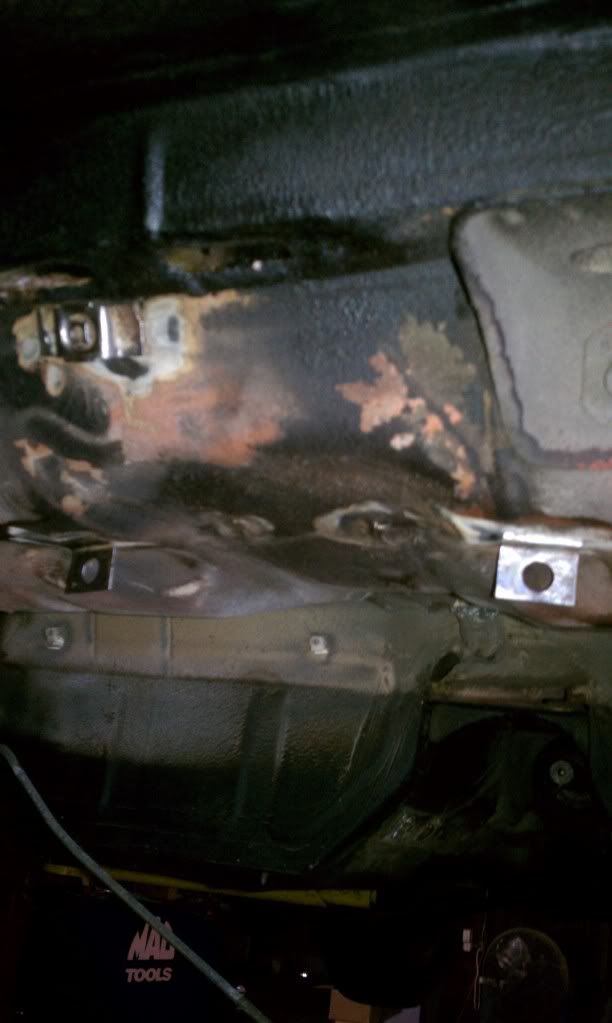
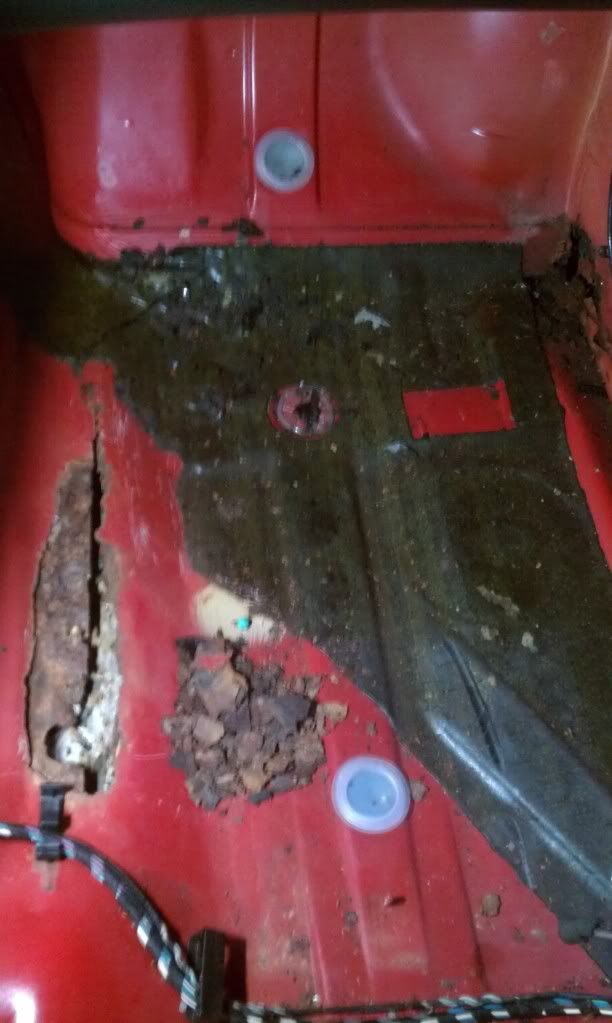
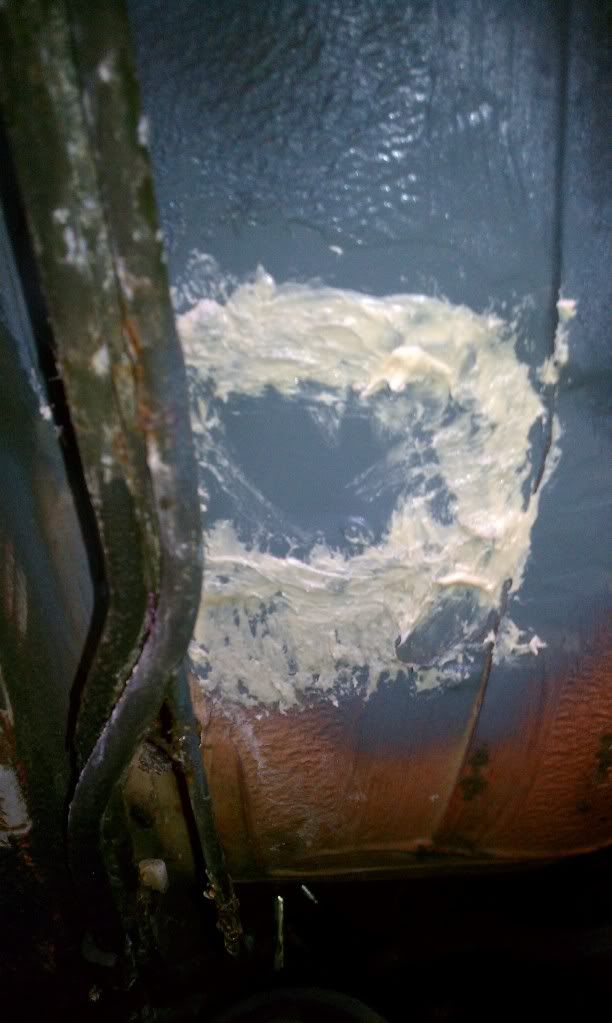
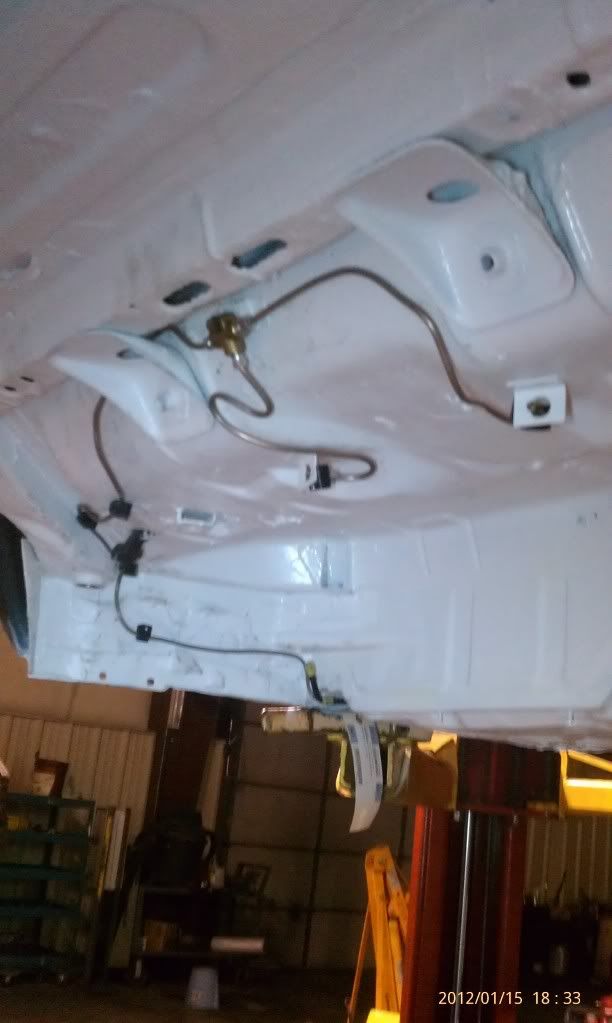
Gotta get that gas tank out cause the tabs that hold it ARE COMING OFF!!
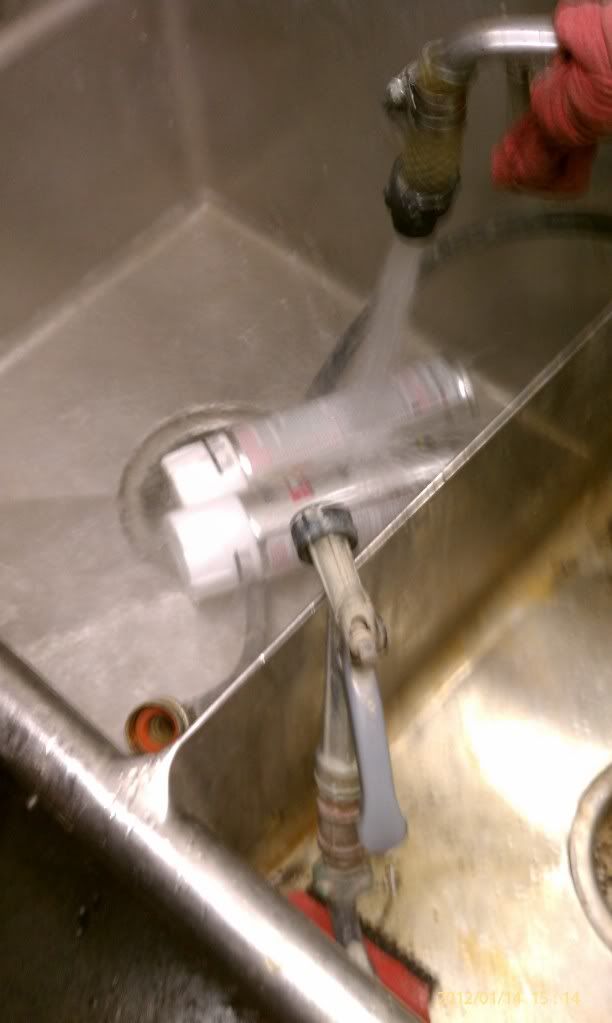
Steel brush that stuff get the brake lines out..
No thanks
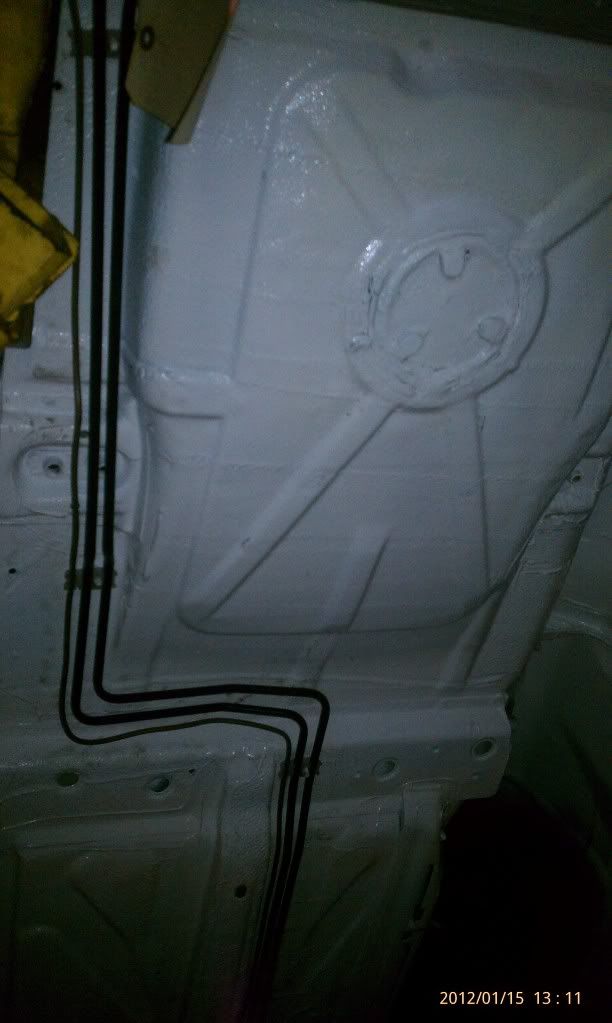
heres the upstairs view
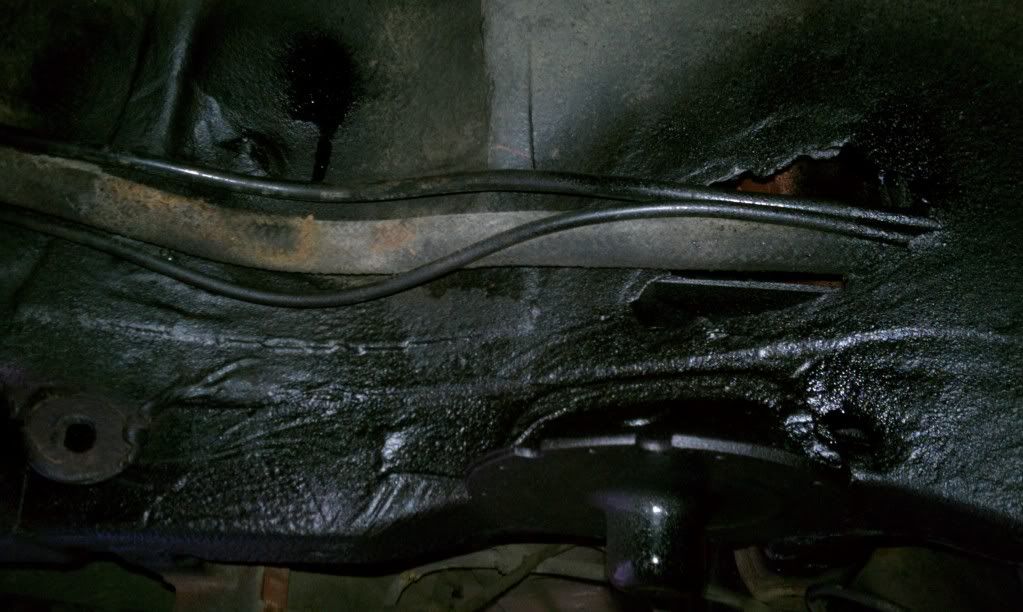
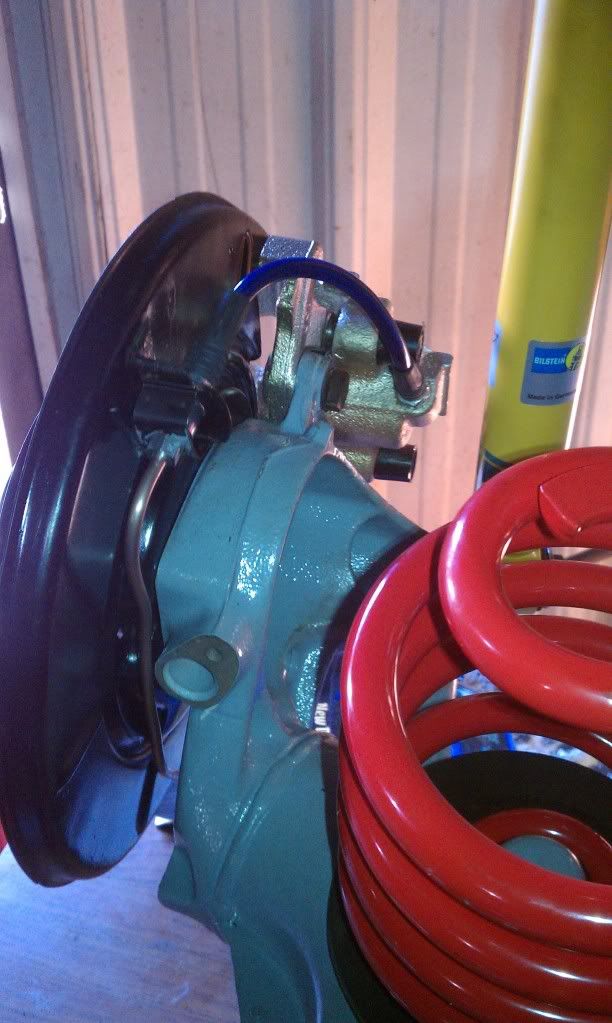
welded and rubbered
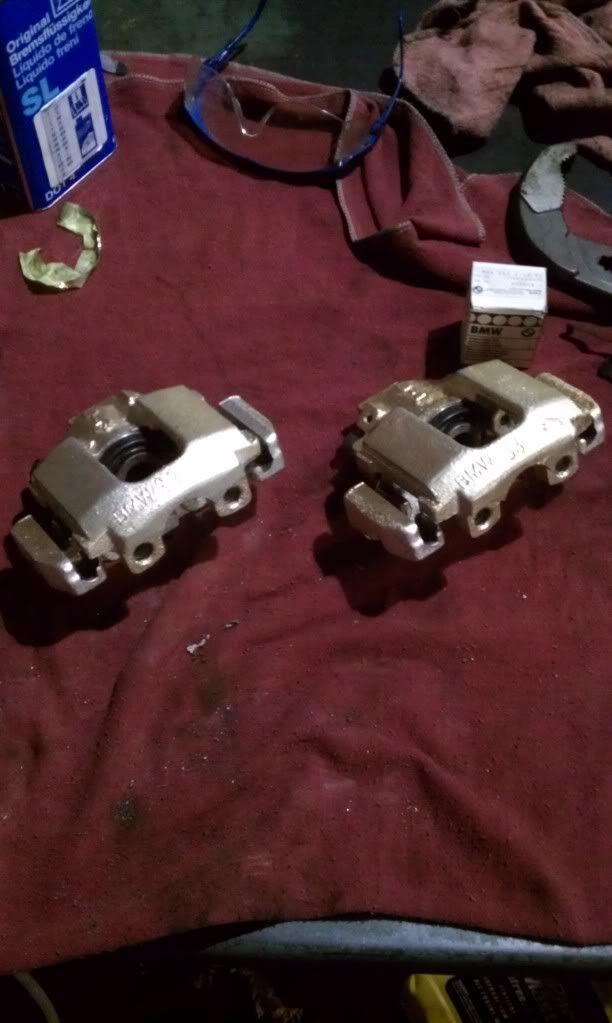
rebuild those calipers and put some paint on them that will melt off in 5 min
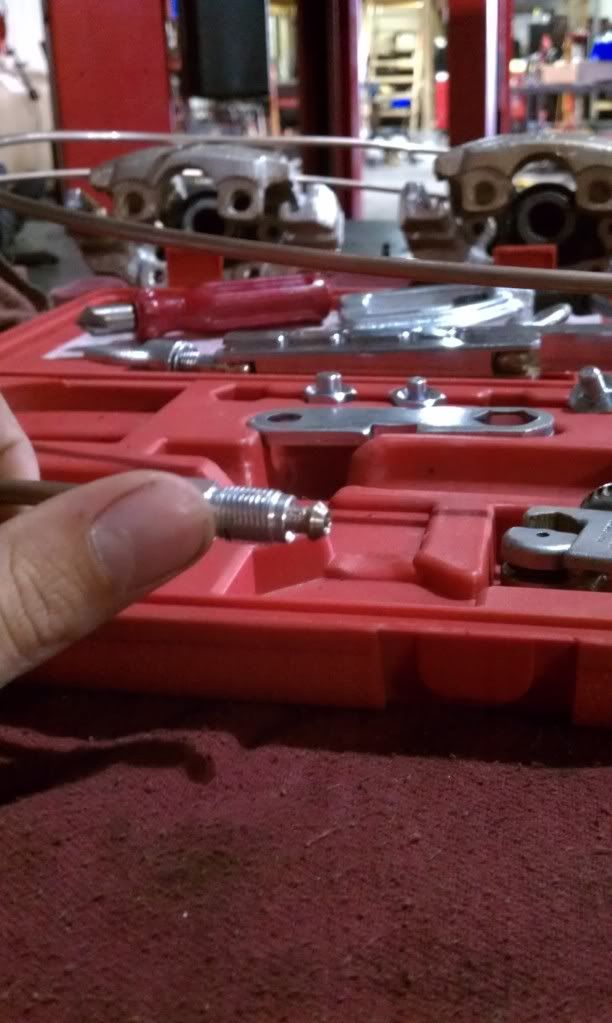
bubble flare
MOre to do

Previous vehicles: (87' 528E 5spd) (Two 89' 750IL's)
(E36 318is) (E34 535i) (E34 M5) (E36 M3) (Two 87' E30 vert) (E30 Touring)
Member
Are you putting in the Late model fuel tank/pumps? HIGHLY recommended.
Member
Hmm I've heard its better but not sure why? Theres nothing really wrong with external. Plus you have to have the late model tank which I think won't fit. Correct me if I am wrong I am ignorant on this one, but do help me understand what the benefits are.
Quality BMW service "street, track, race"?
Email: ZakspeedRacer@gmail.com
1999 BMW 318Ti/M Hellrot Msport DD/Fun car
1/2 1987 BMW 325is/M Future Spec e30 (track prep'd)
1994 530It/A Alpinewise III Traded out
1988 BMW 325ix/M Diamond Schwartz Recently sold :/
1986 BMW 325e/m Bronzit Beige Metallic
Get Involved!
www.bluegrassbimmers.org
OKI BMW Facebook group
BMWCCA Member# 436428
Member
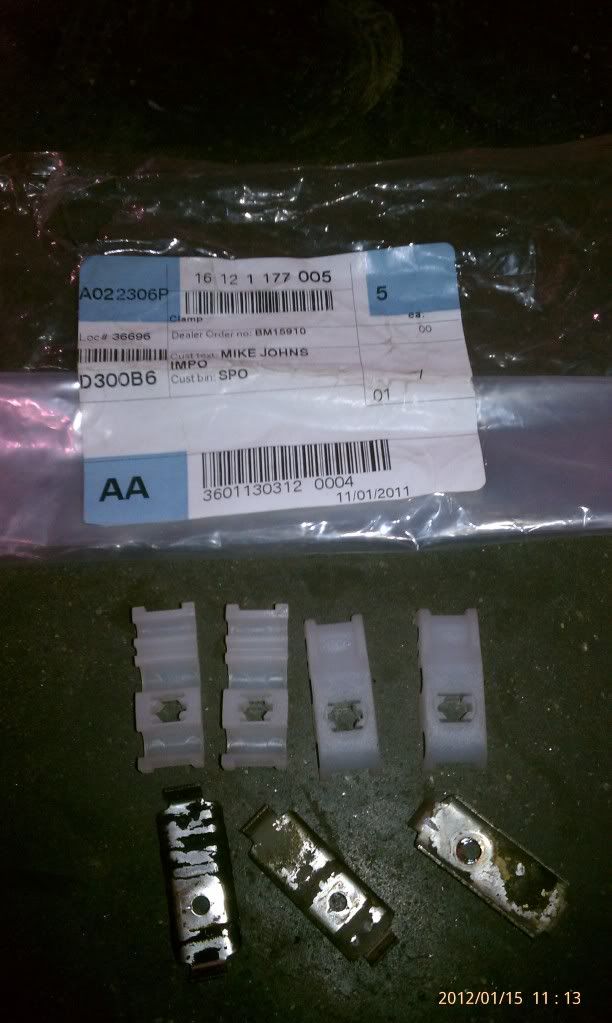
Got the RSMs but can't use das boots anymore. Also need to get the correct bolt plates for a hardtop, they sent convertible halfies by accident.
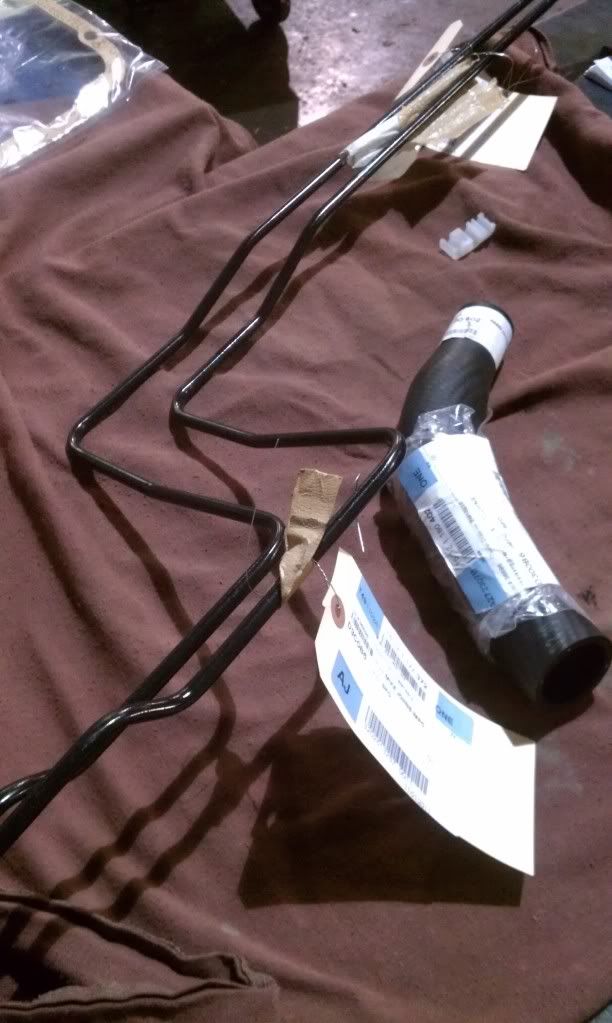
Got the new filler neck tube and lines
Retainer clips
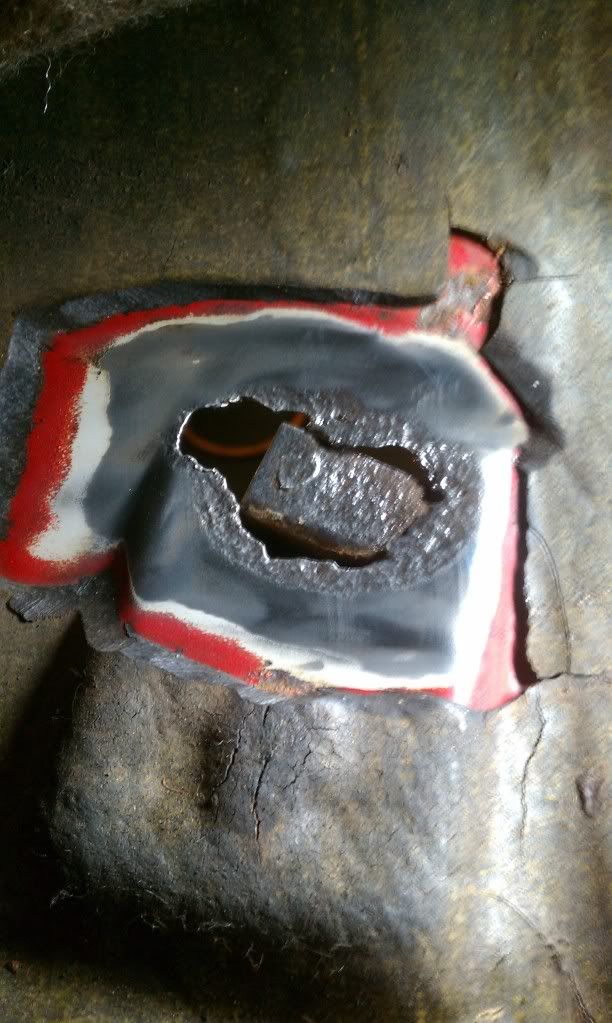
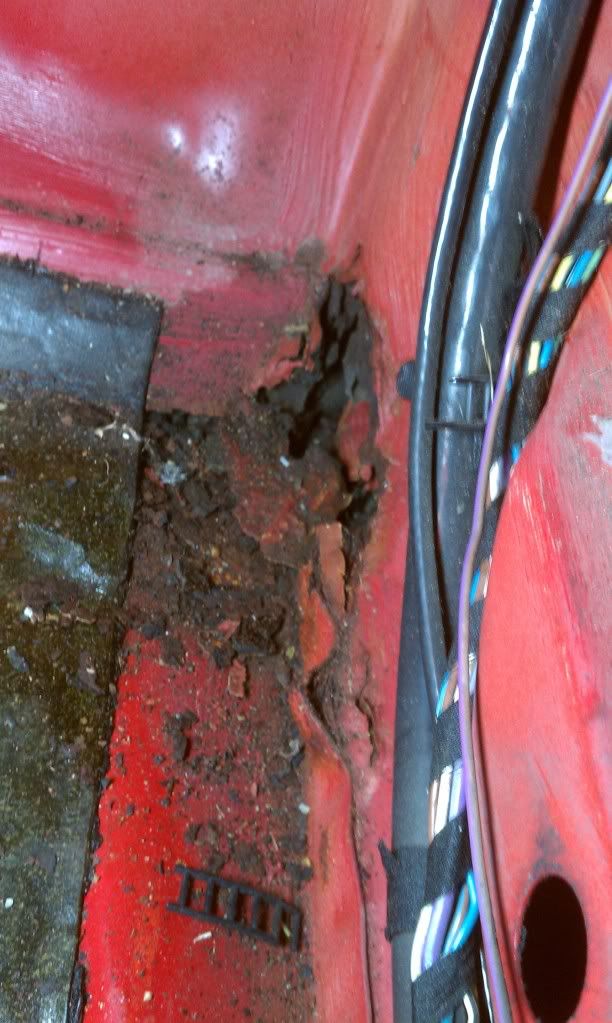
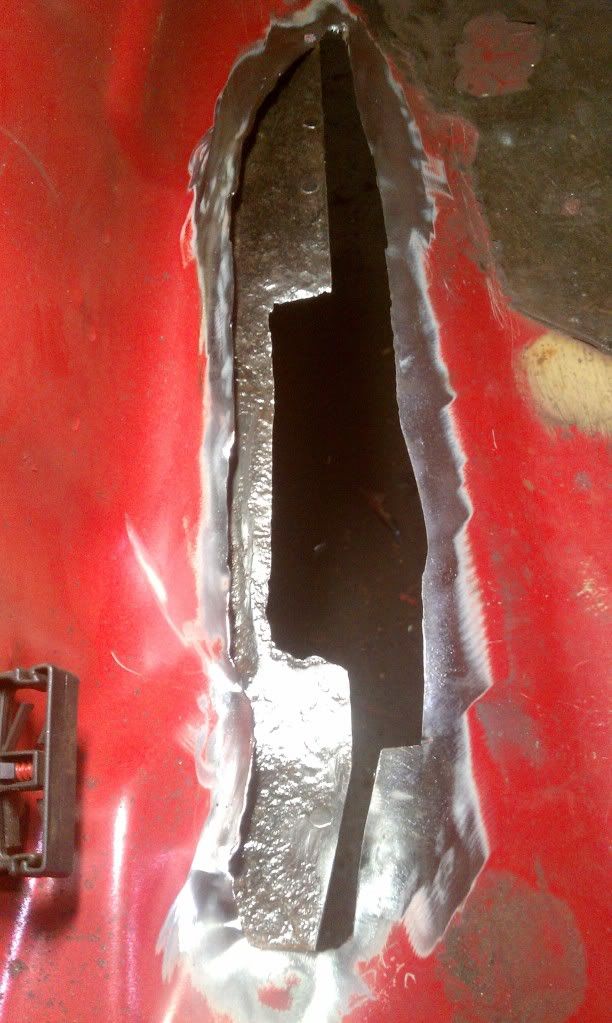
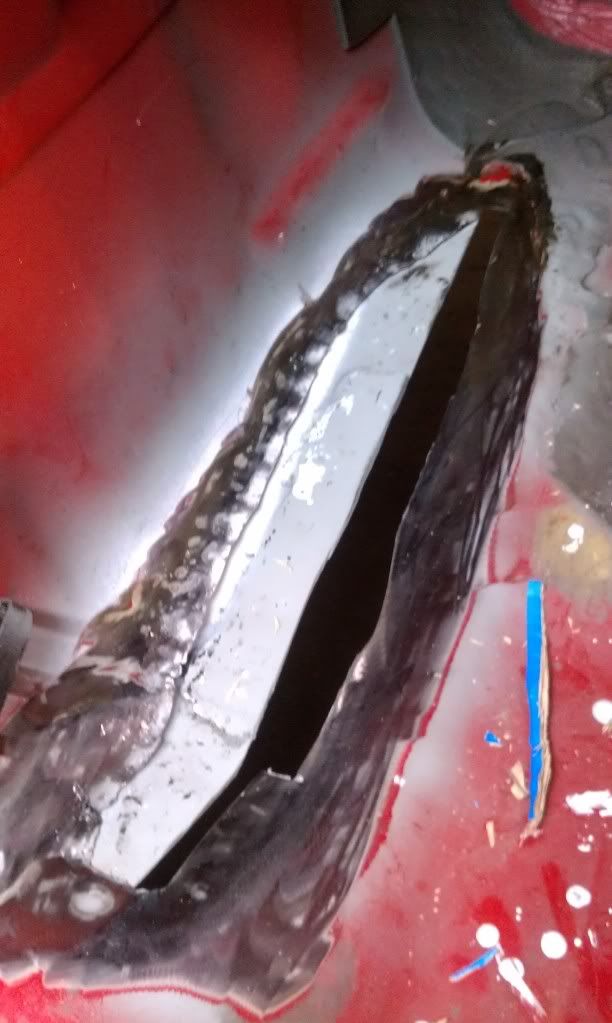
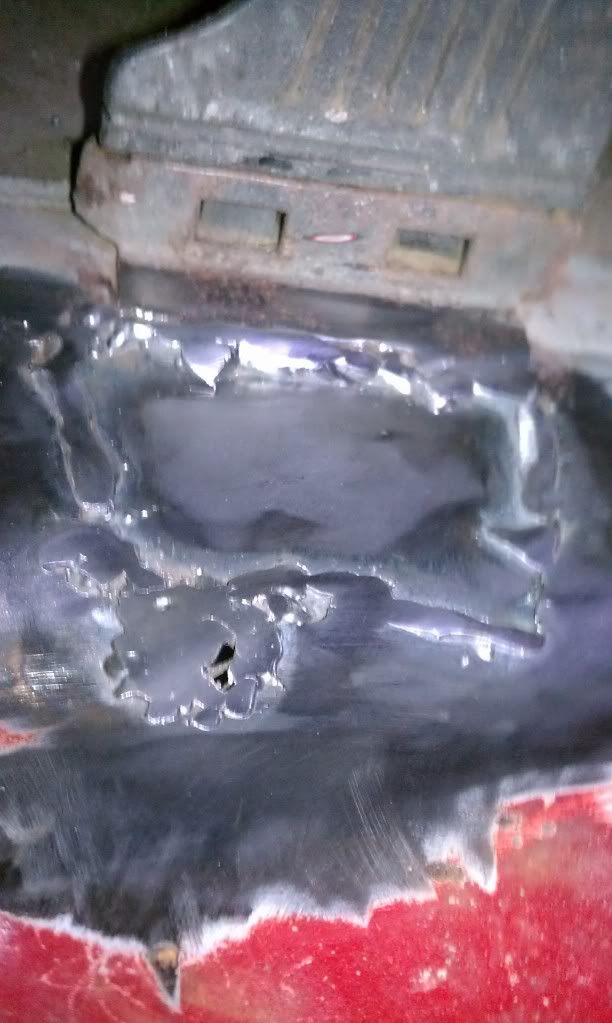
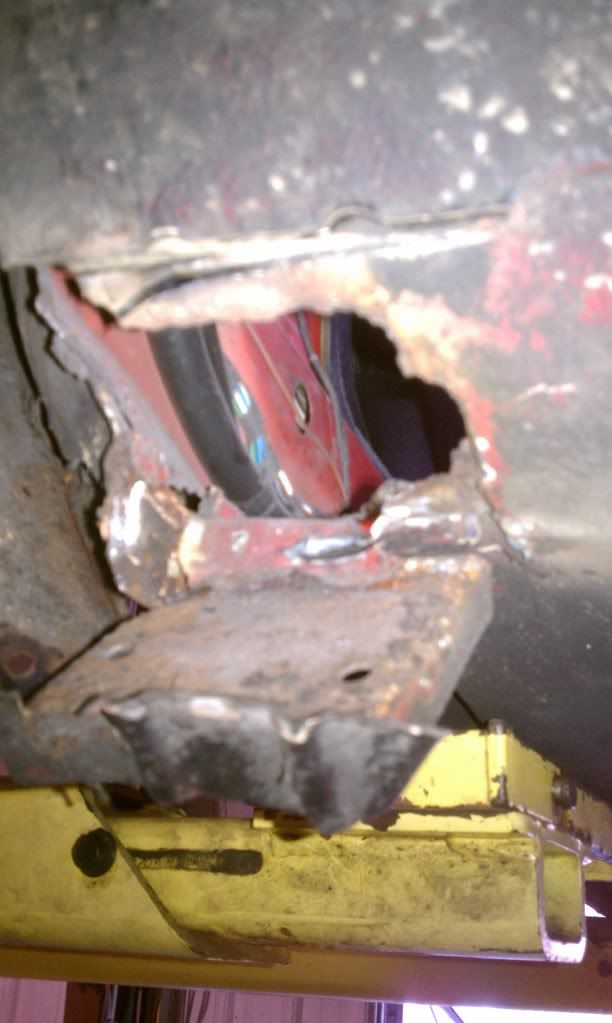
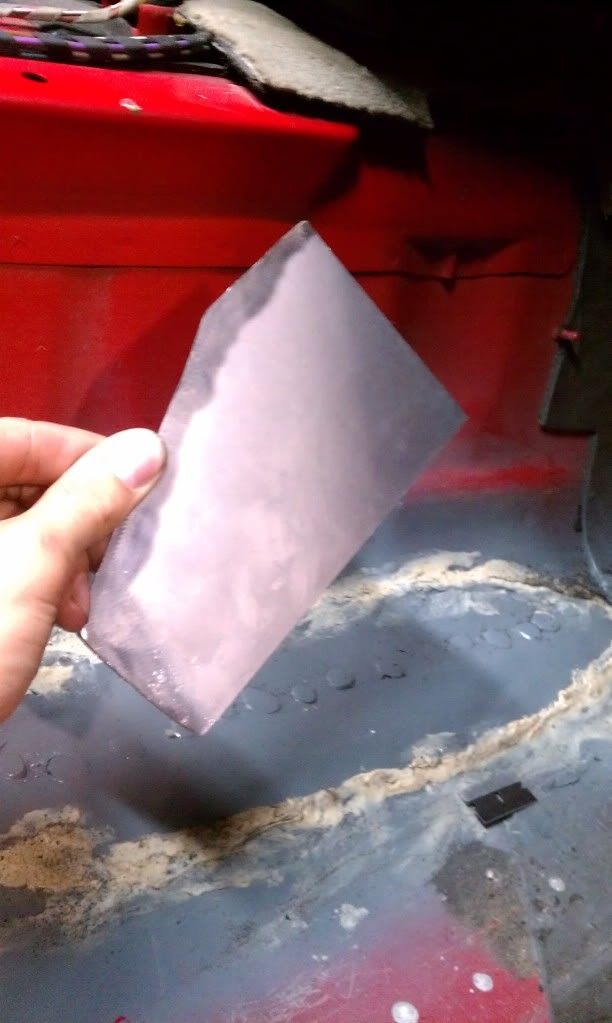
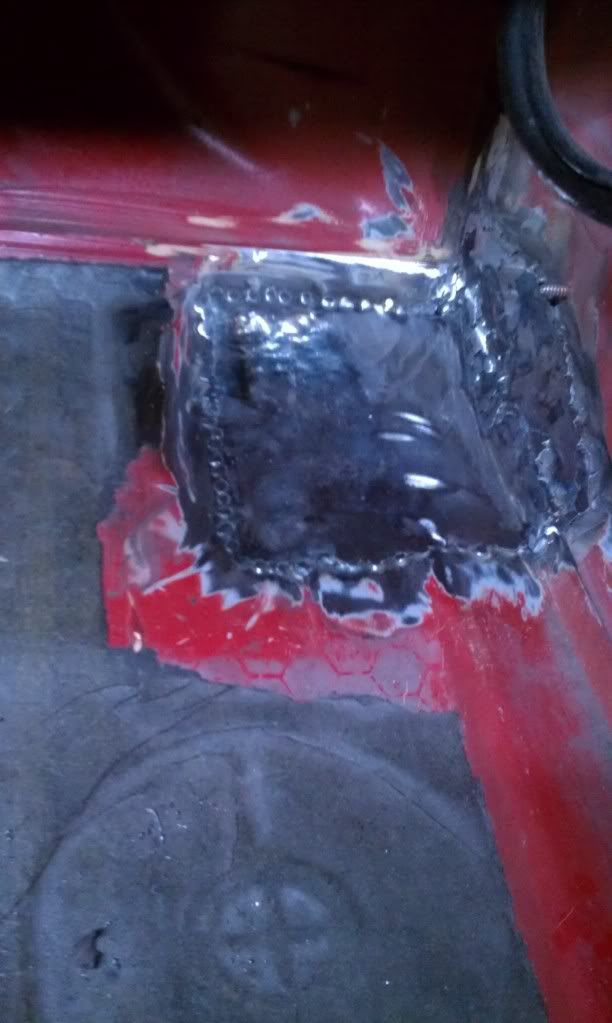
Cut a little carpet out to do a small rust patch
PIIIIISSSSSSSSS
One thing at a time. Start with transmission tunnel into floor rust repair.
More to come:
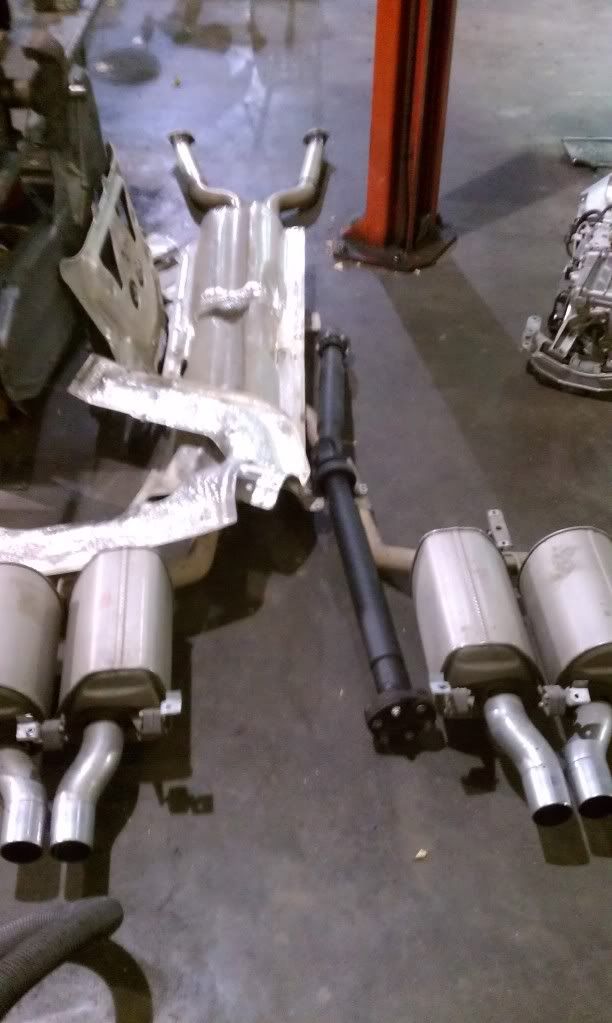
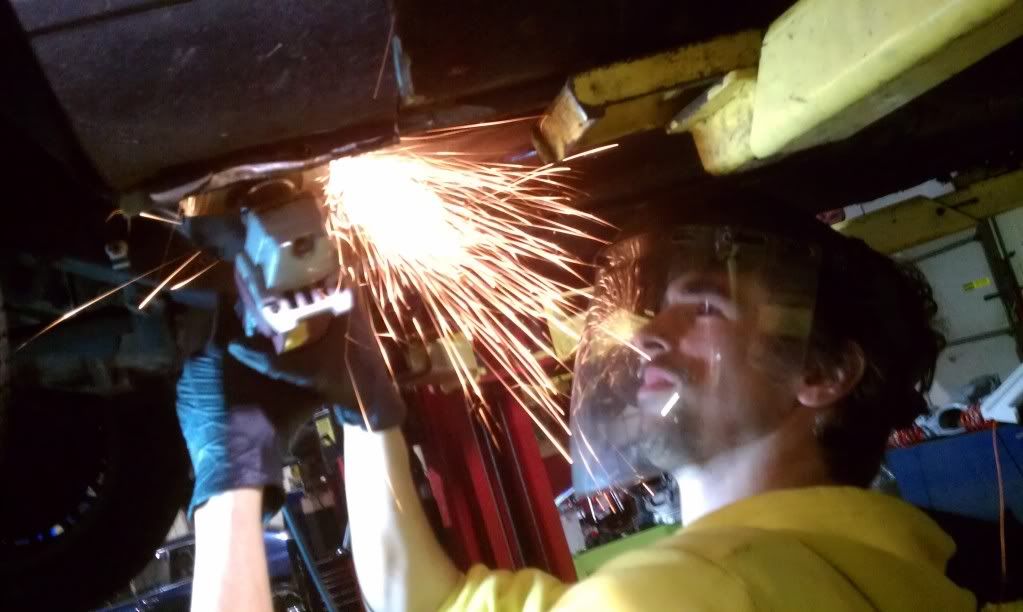
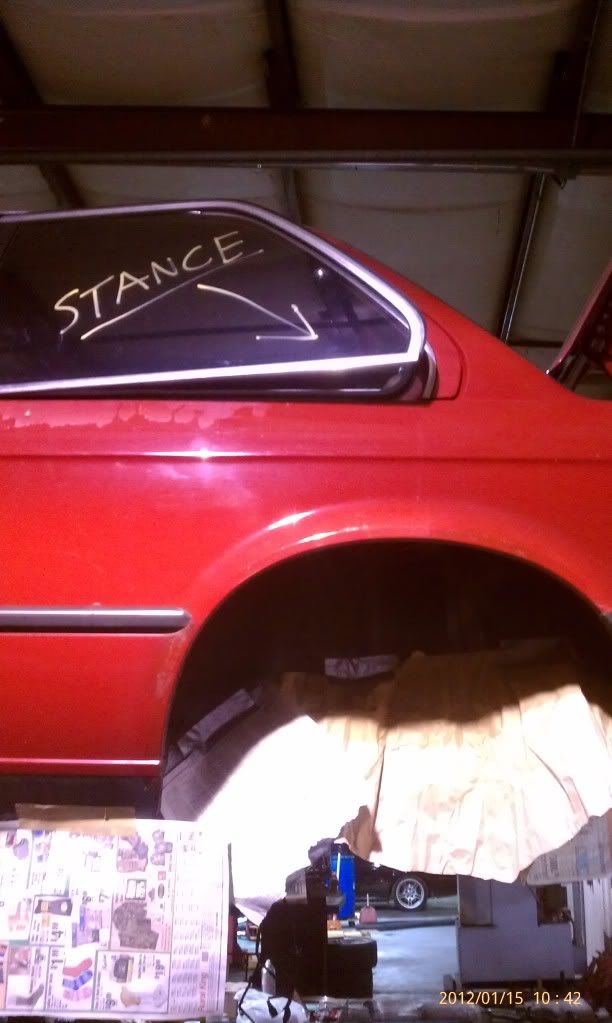
Here is shop owner building kitty heaven
And here is E60 M5 exhaust if you don't know what it looks like, they took 4 iron workers lunch boxes to make the mufflers.
Previous vehicles: (87' 528E 5spd) (Two 89' 750IL's)
(E36 318is) (E34 535i) (E34 M5) (E36 M3) (Two 87' E30 vert) (E30 Touring)
Member
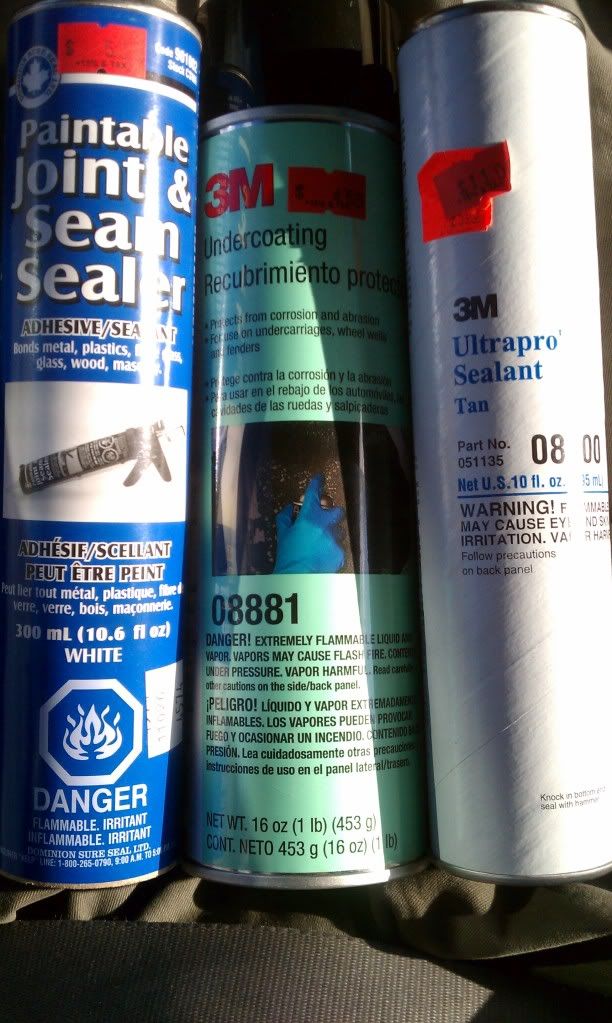
Bought some supplies, wanted to see if the cheaper tube was any good vs the 3M seam sealer.
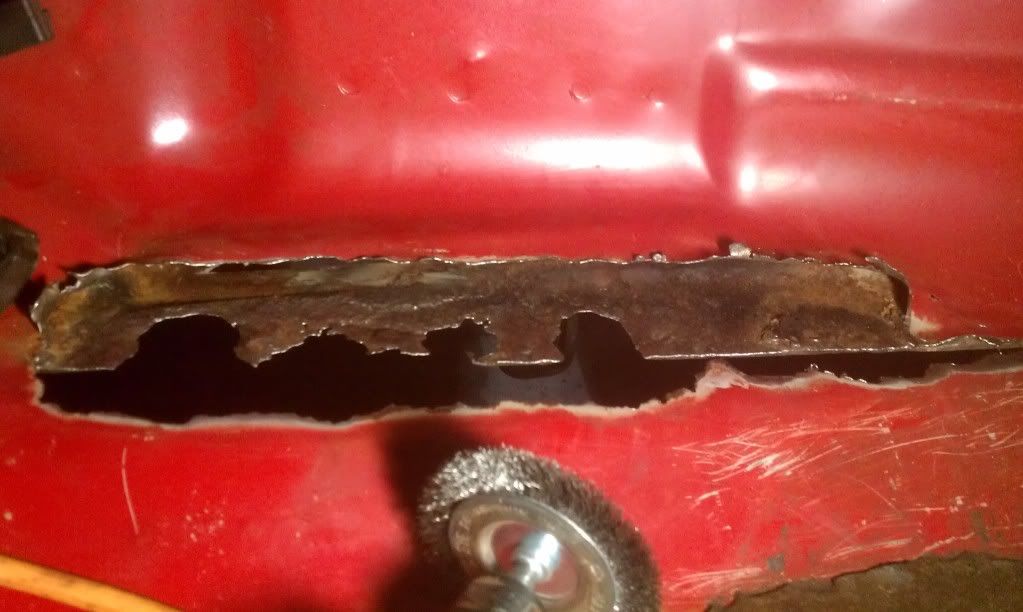
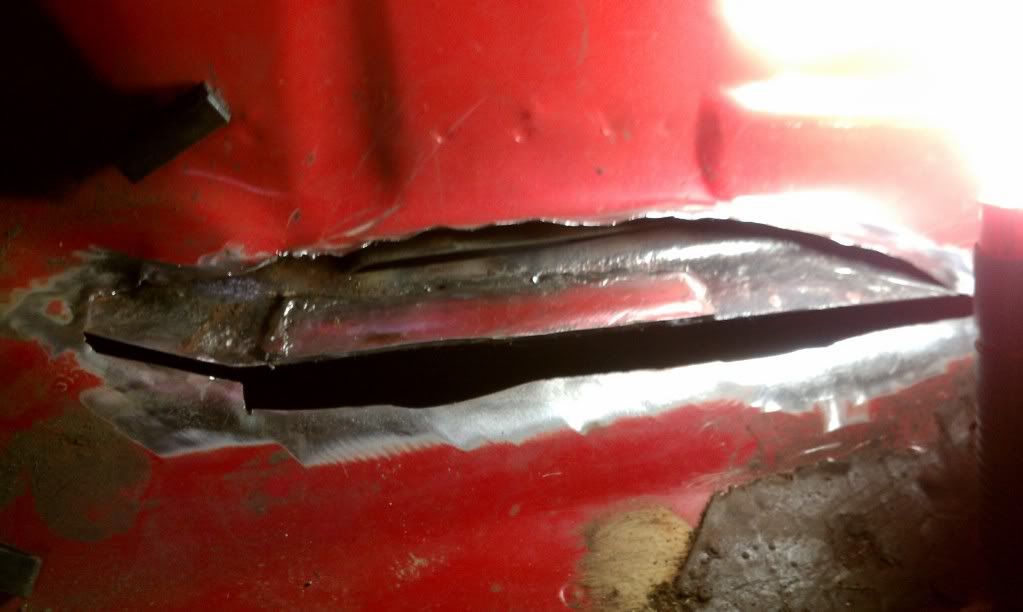
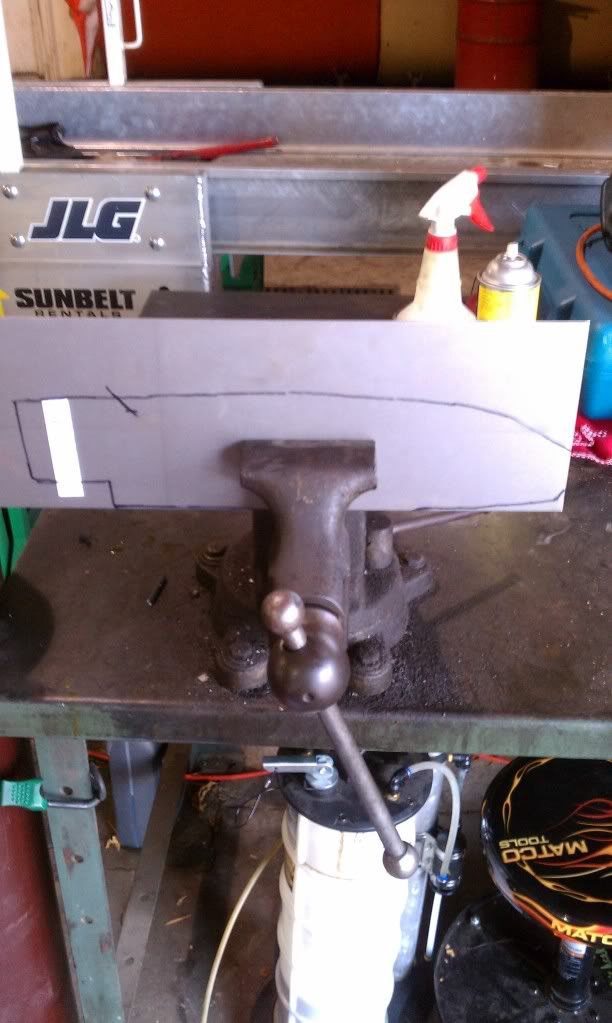
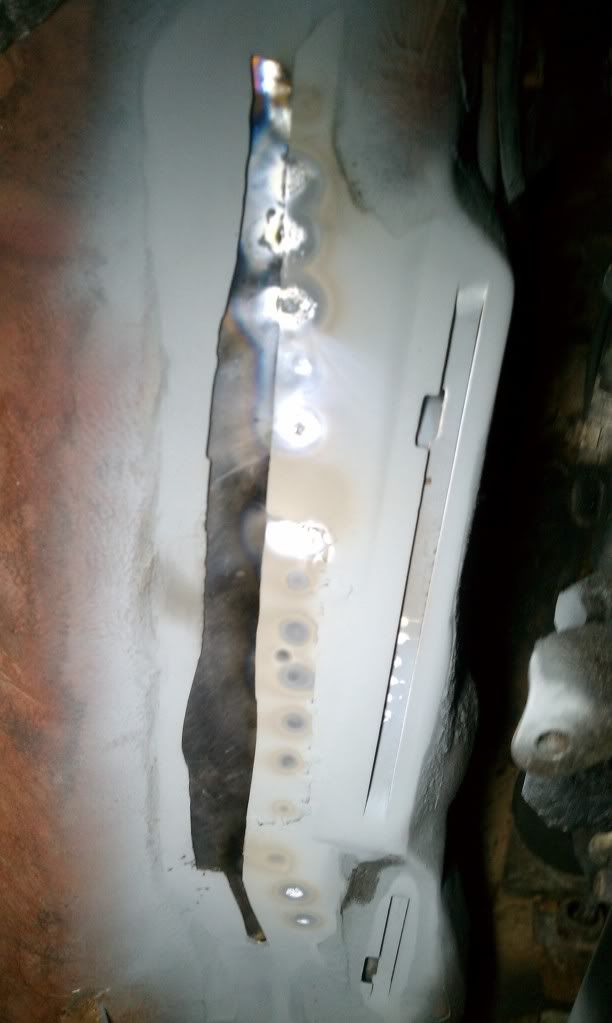
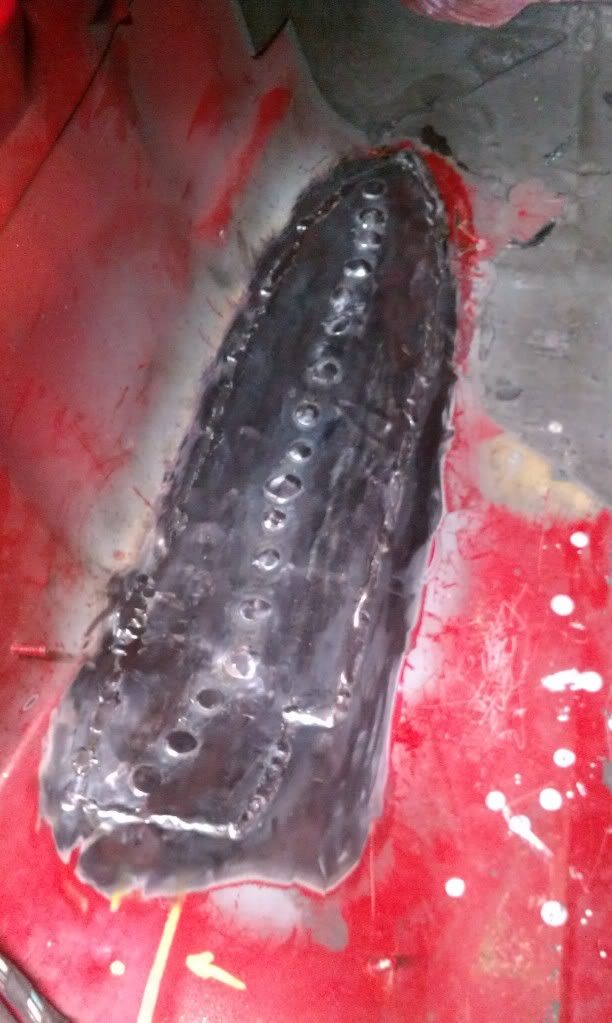
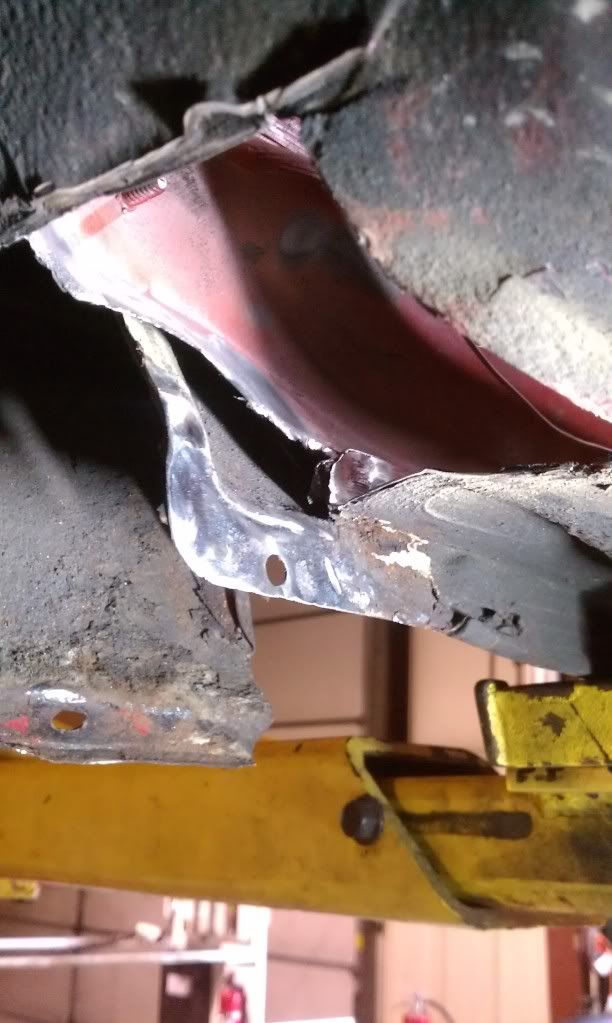
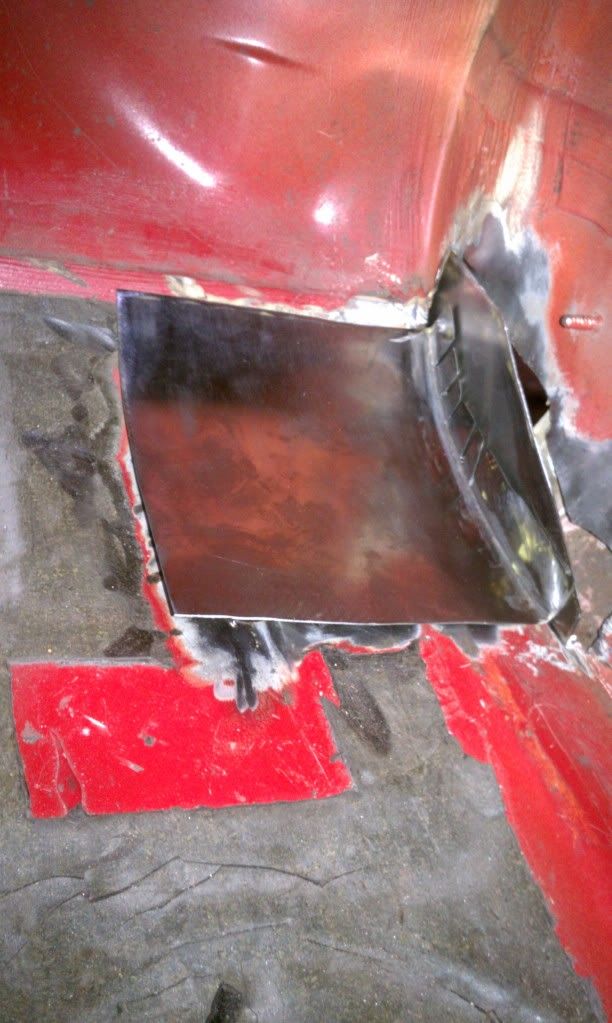
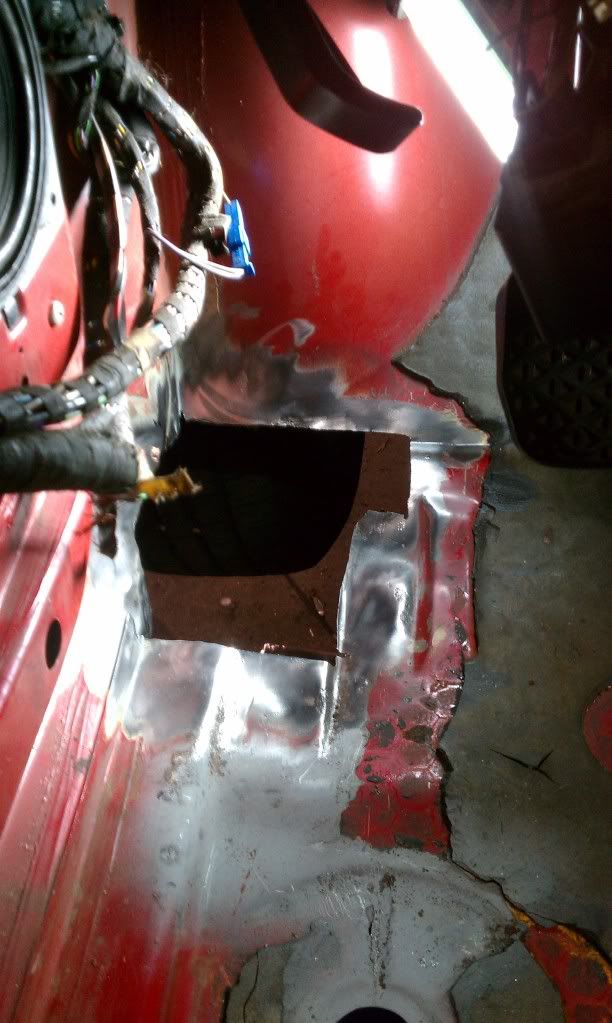
Time to cut out a new section of floorboard that the tranny mount metal can weld to..
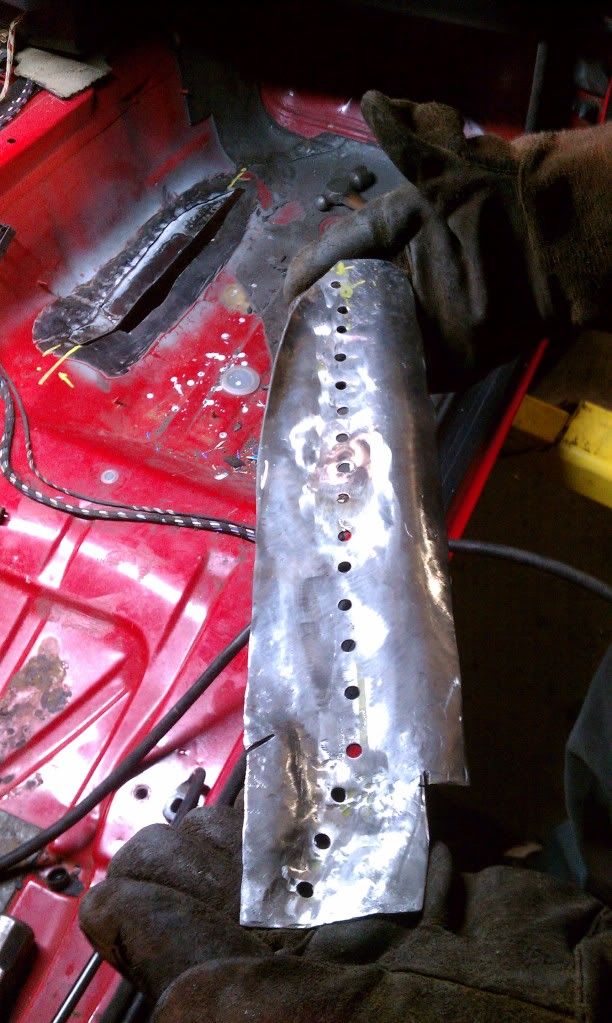
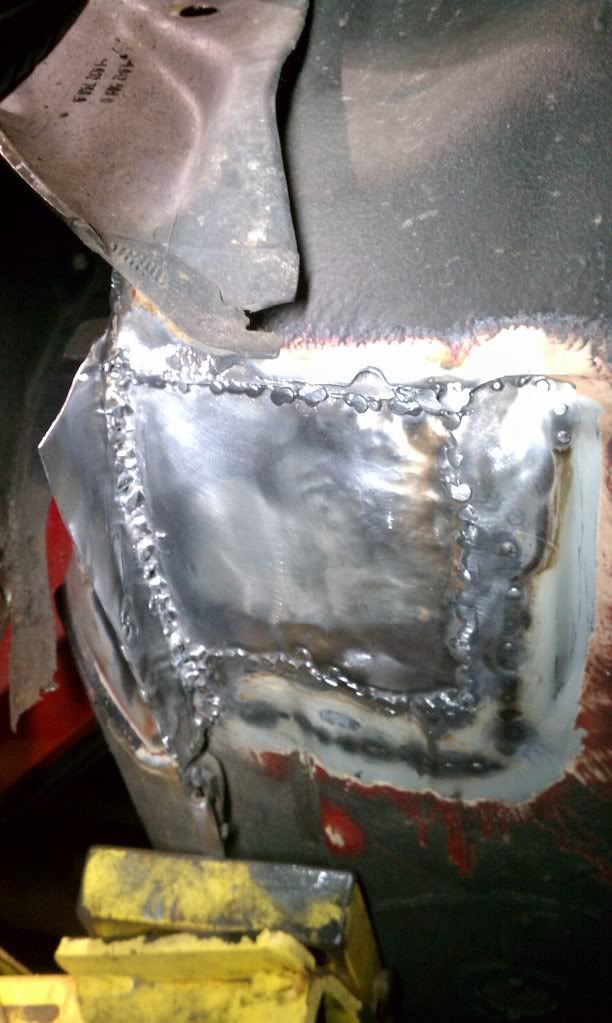
Clean up the weld surfaces
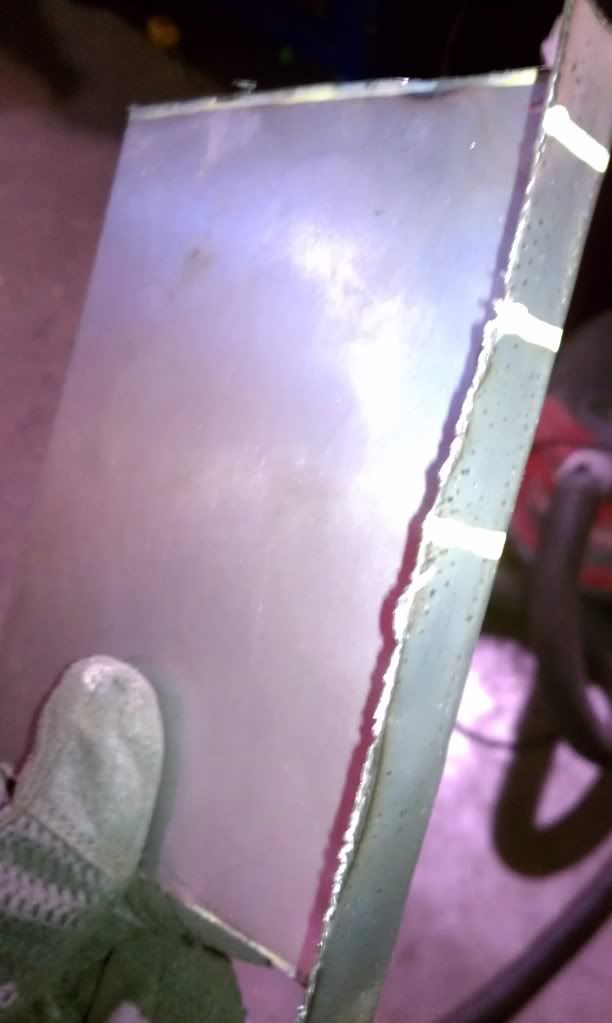
Drill holes to weld bottom metal to new floorboard metal.
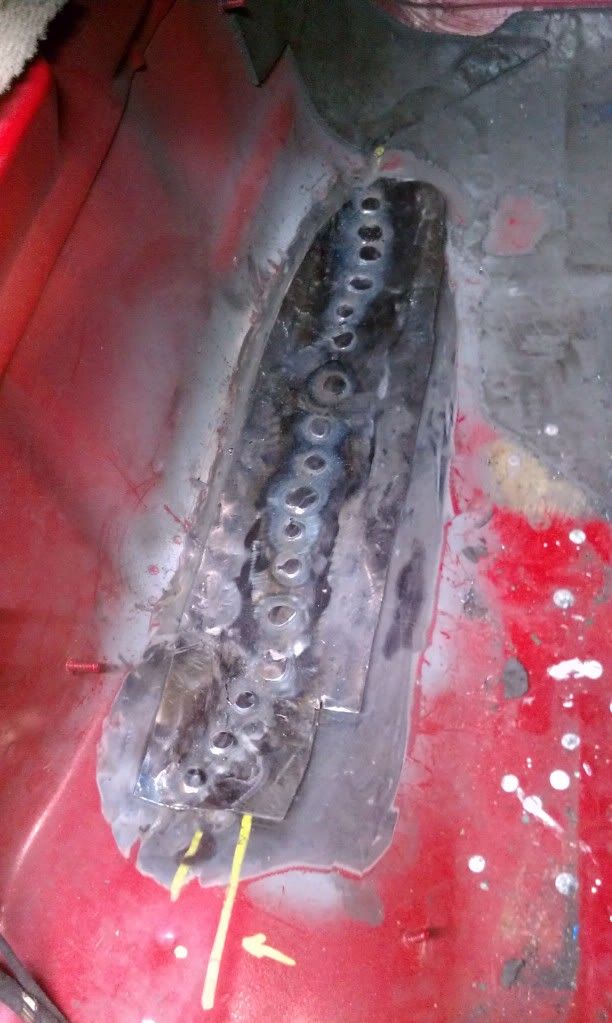
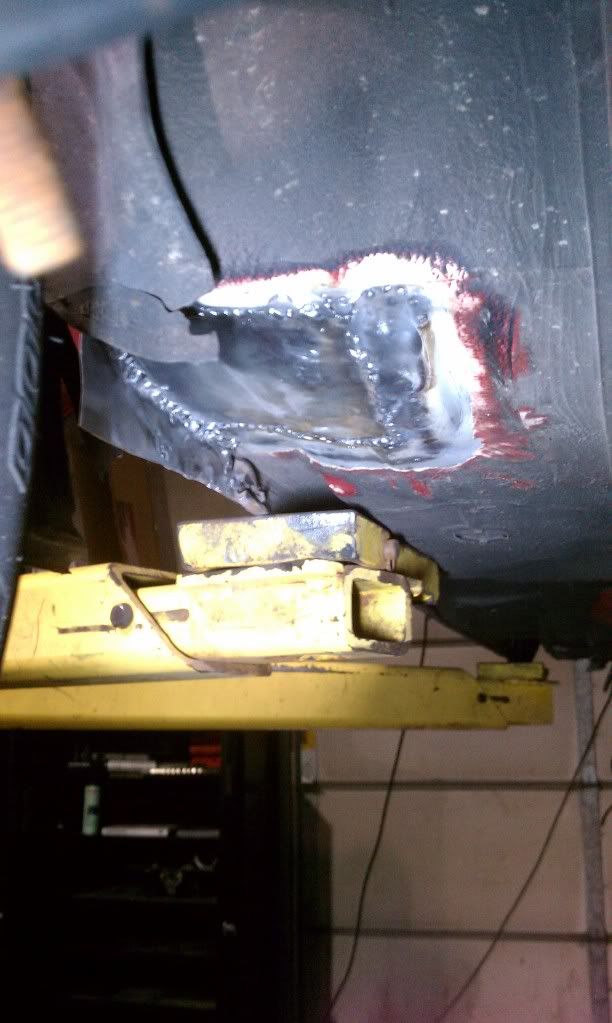
hammer time
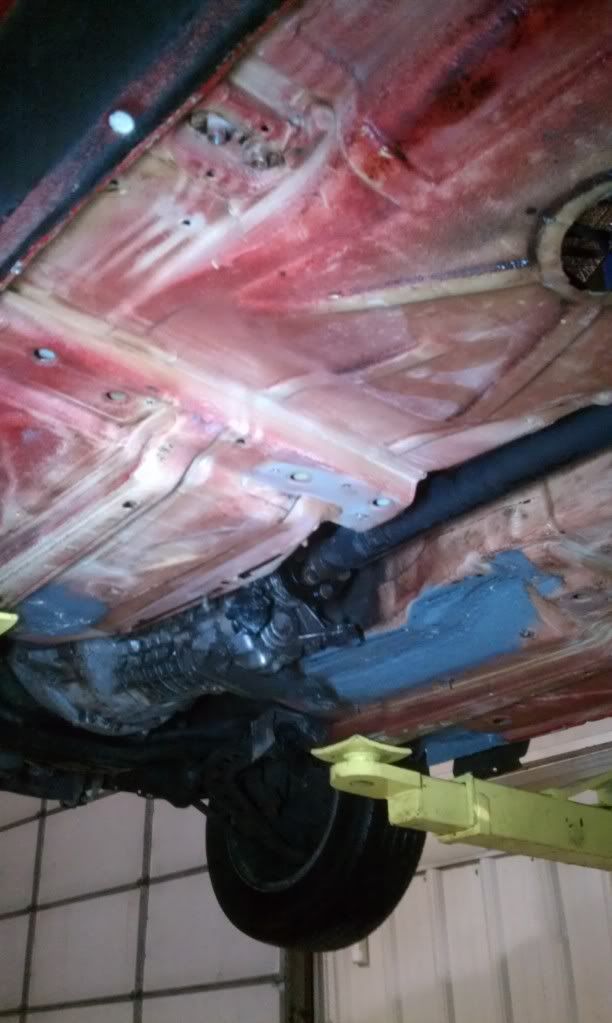
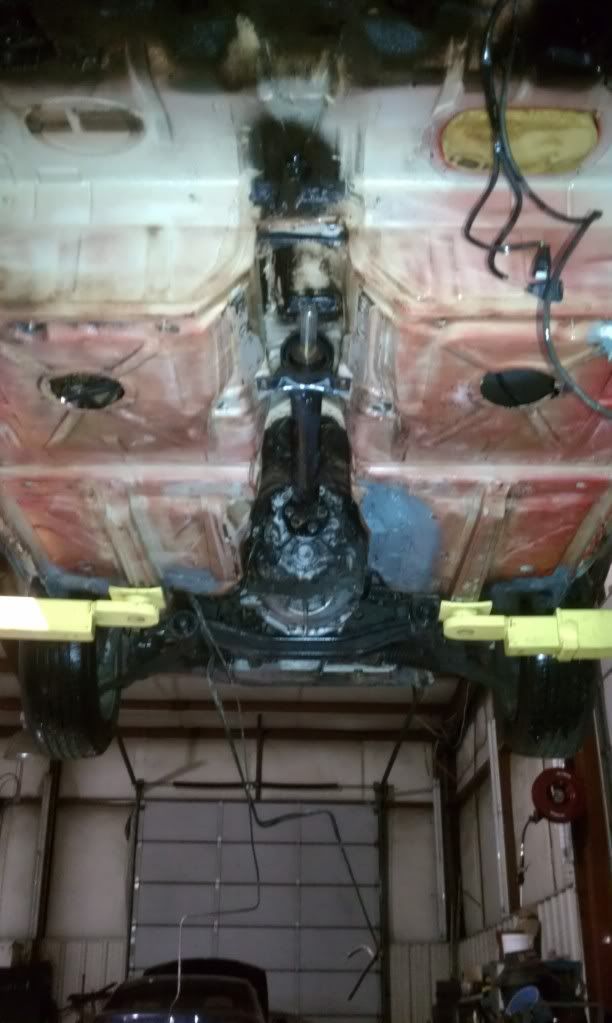
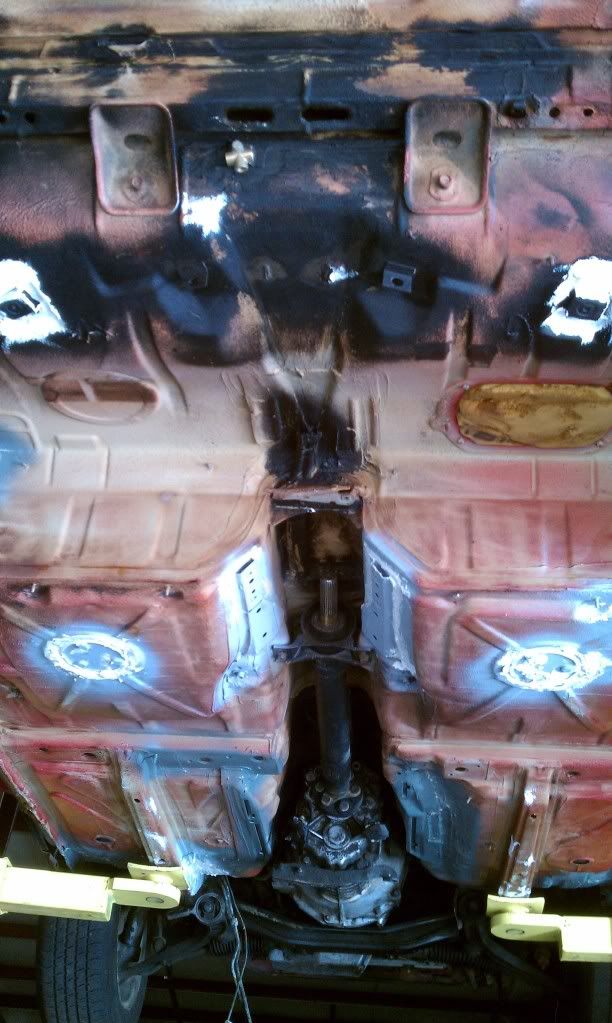
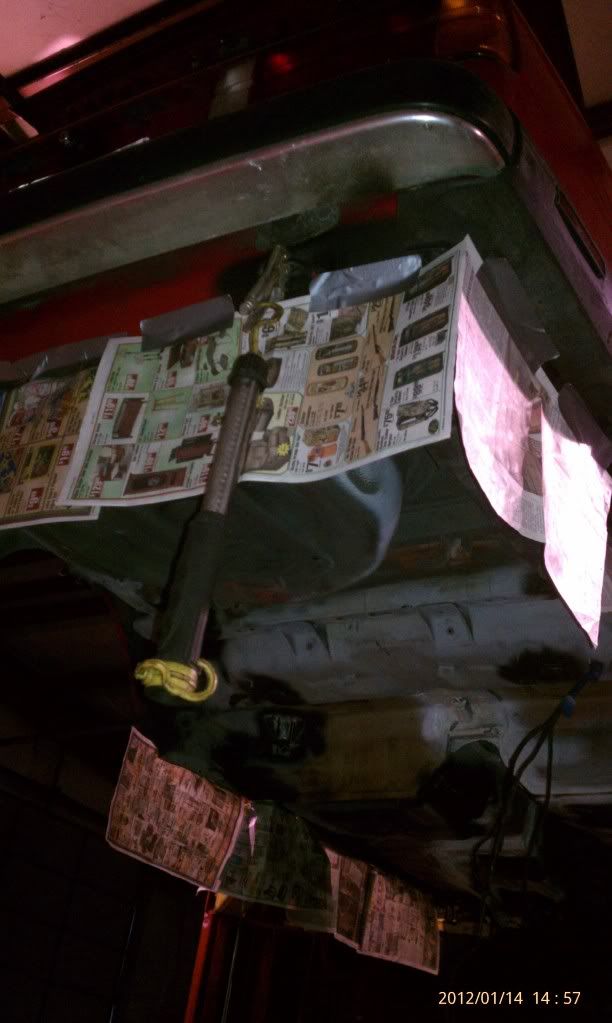
view from underneith
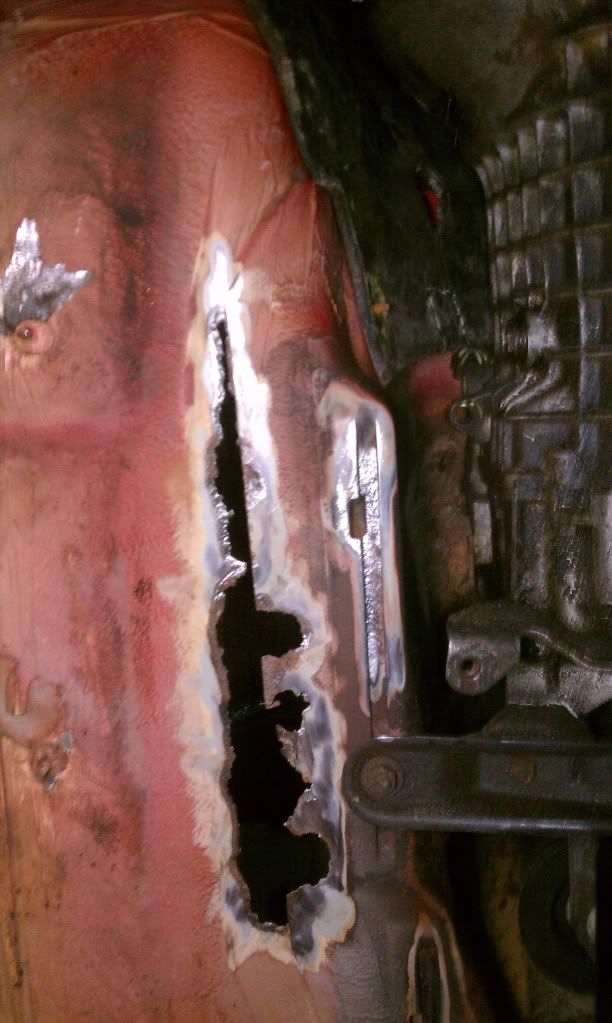
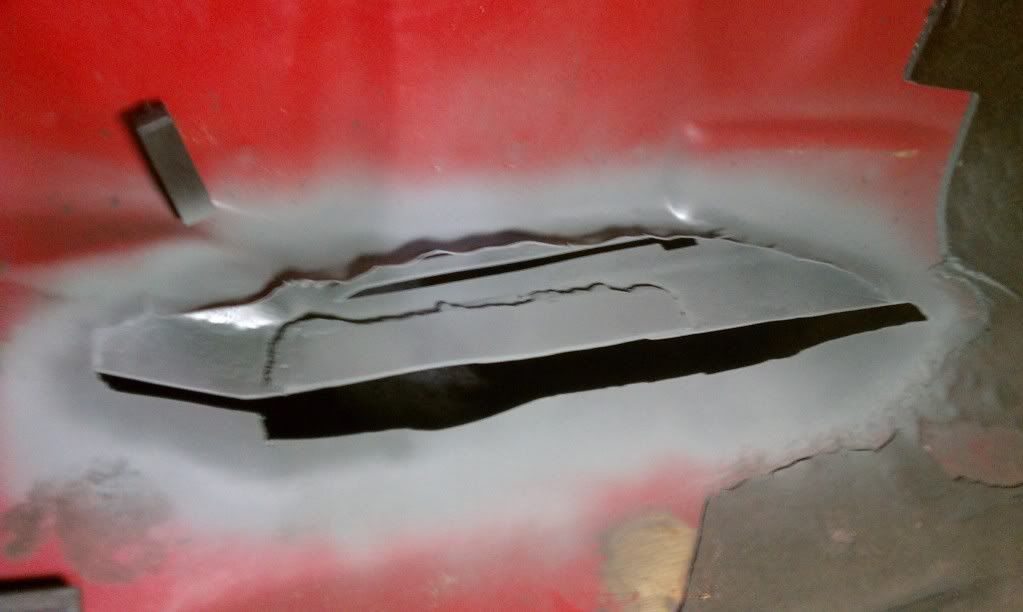
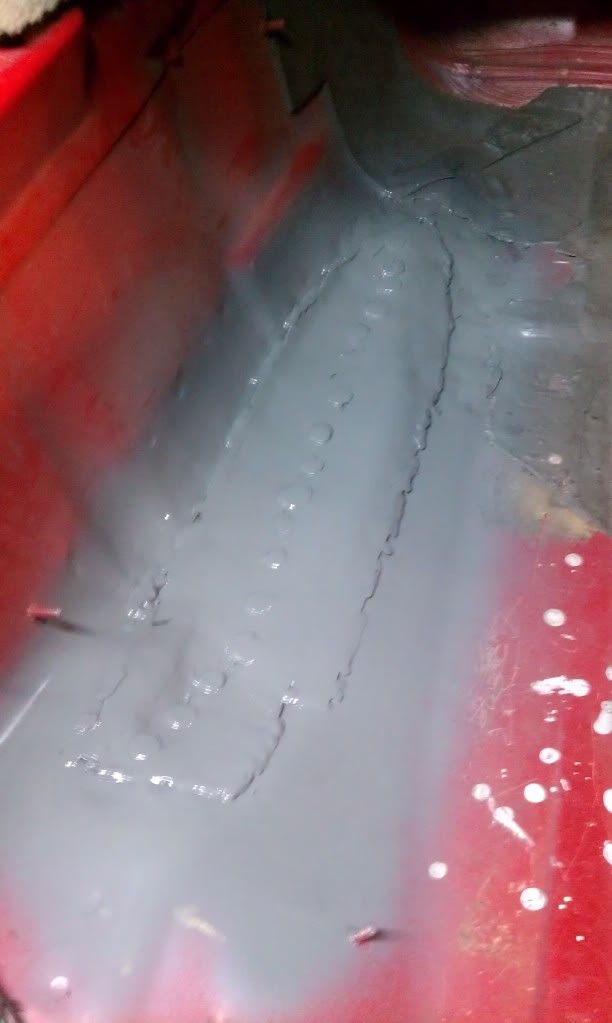
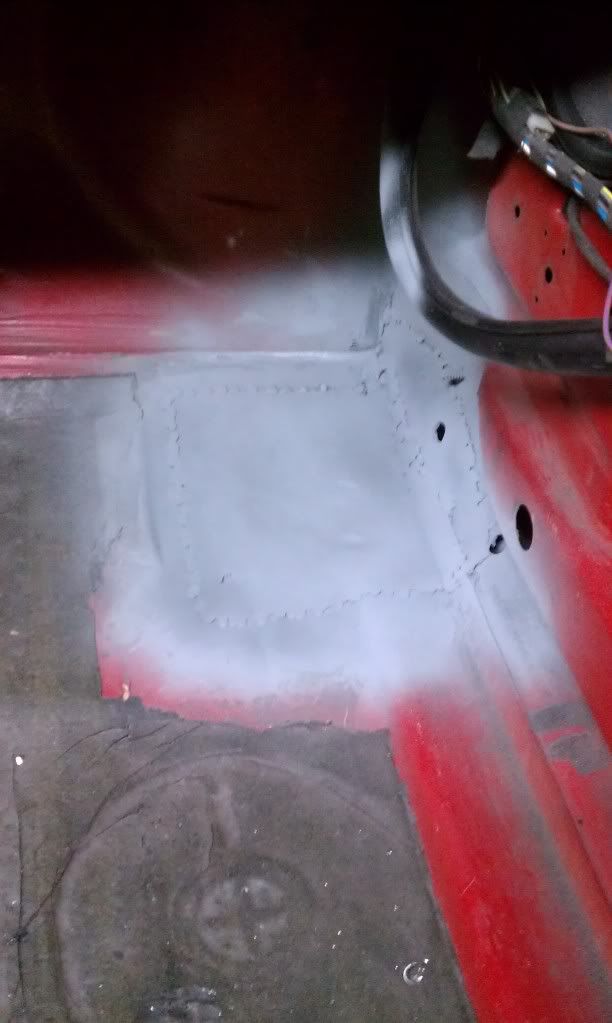
Weld parameter and grind
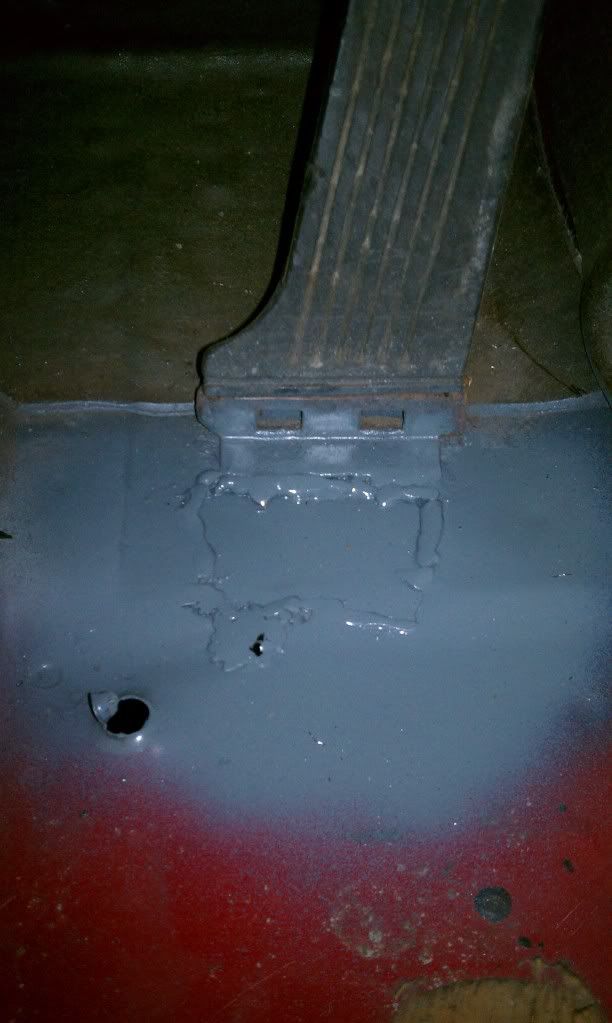
Spray and seam seal.
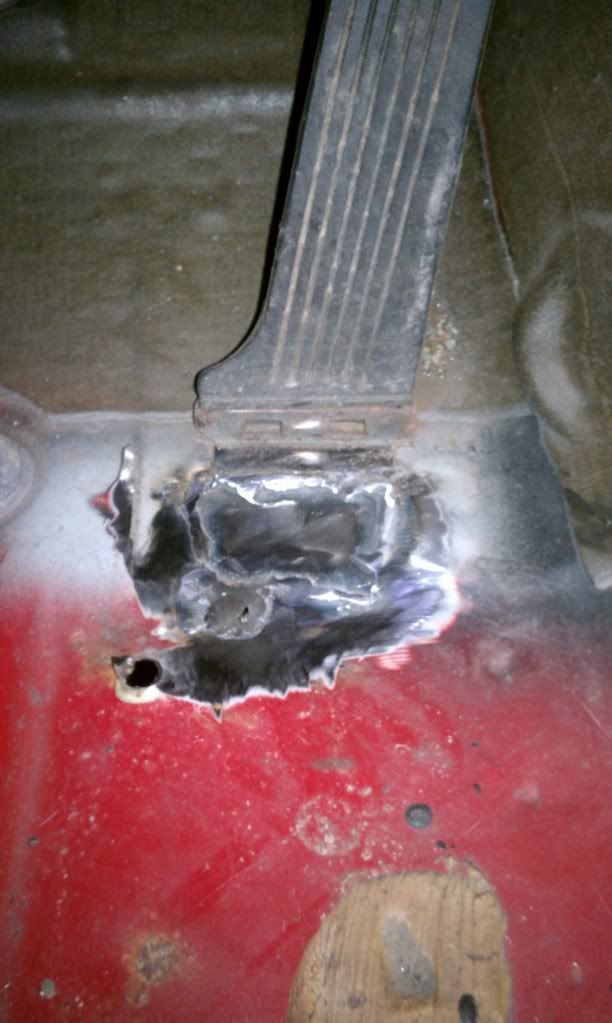
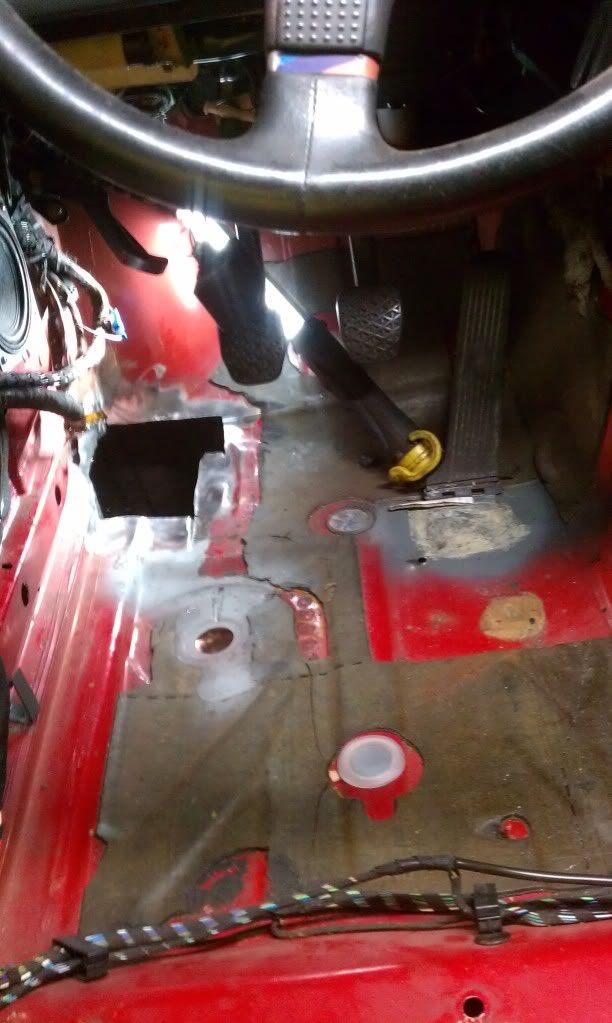
The hole behind the accelerator has been welded
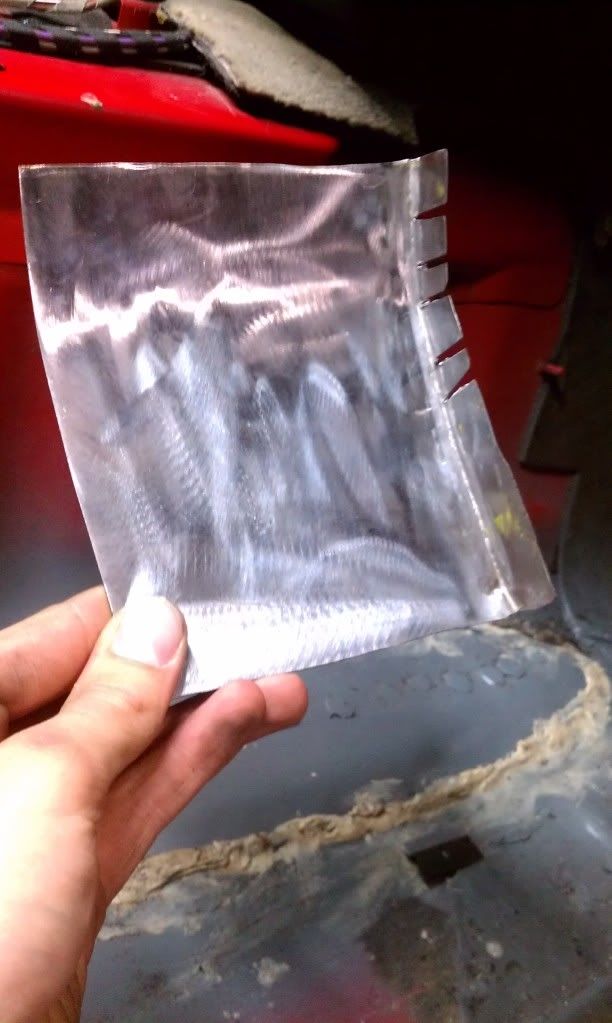
So now on to the front corners behind the front wheels where the jack points are
Cut jack point out
Bend some metal
Thats it for now.
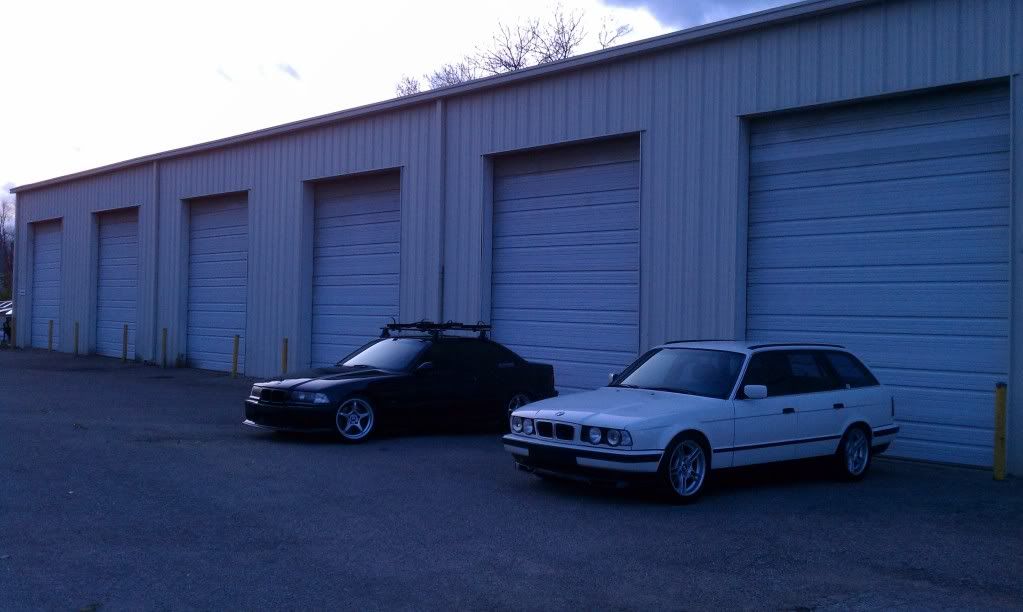
Bonus Material:
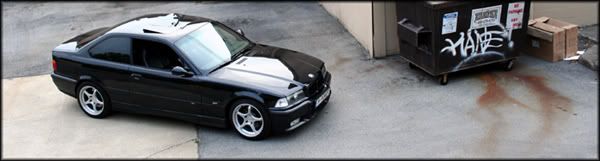
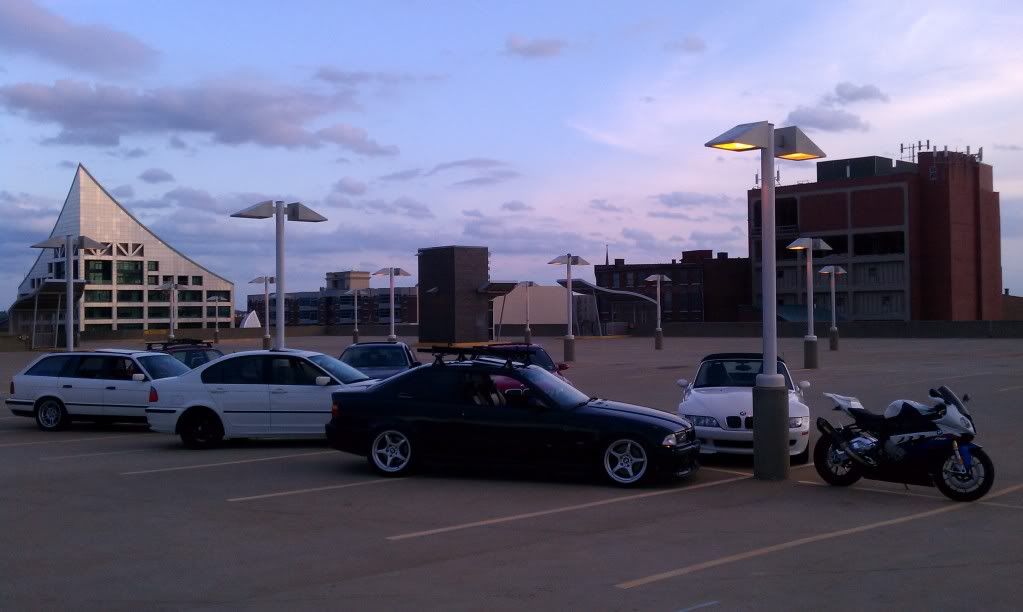
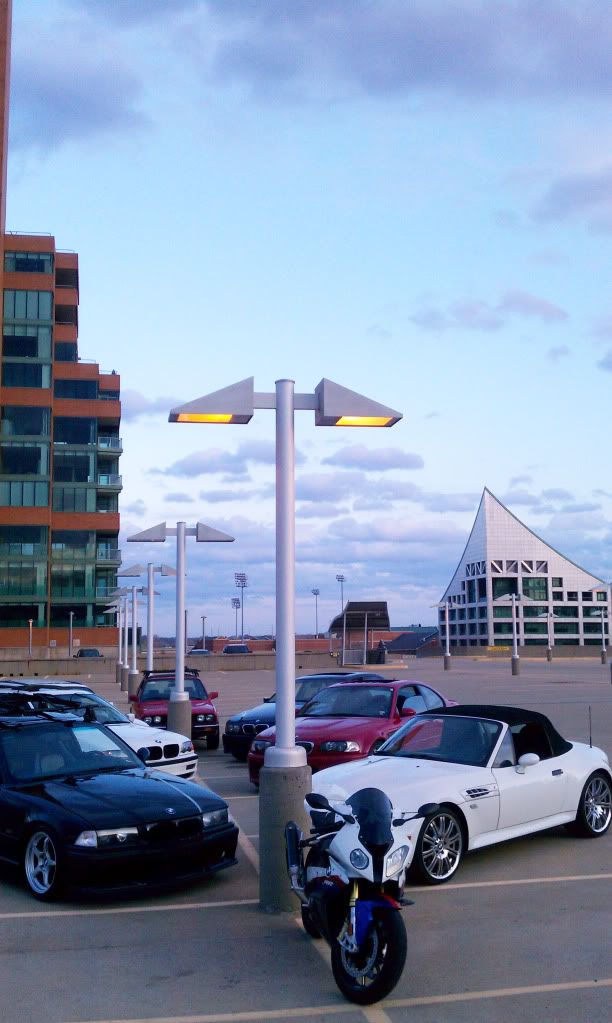
Outside the shop: Me in black zach in white
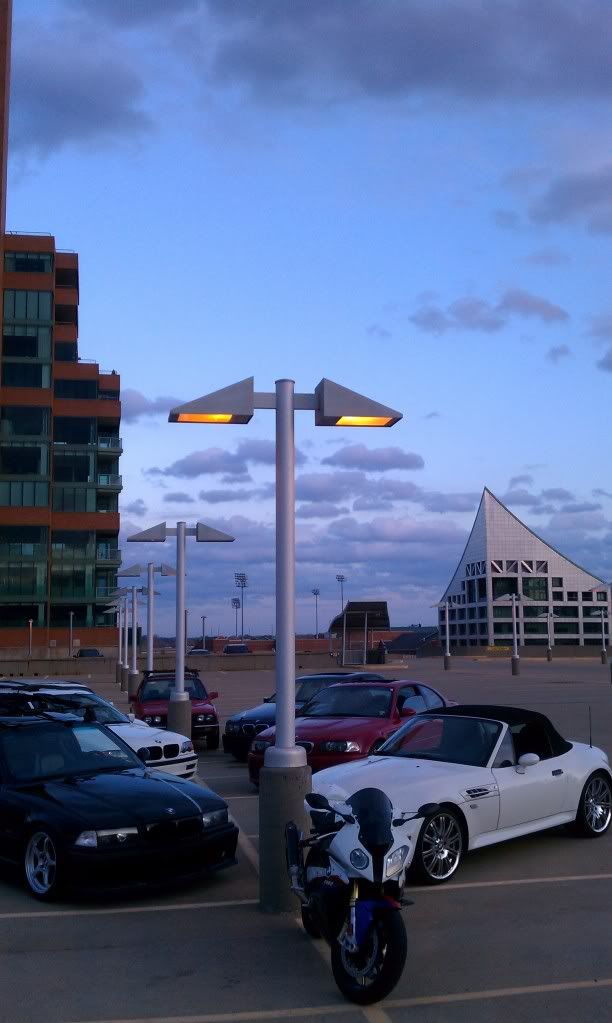
Monthly Meet
brighten that up so you can see better
See ya next week
Last edited by Proctor750; 11-13-2011 at 09:49 PM.
Previous vehicles: (87' 528E 5spd) (Two 89' 750IL's)
(E36 318is) (E34 535i) (E34 M5) (E36 M3) (Two 87' E30 vert) (E30 Touring)
Member
Update the fuel system or you won't be able to run longer events without fuel starvation, ask me how I know. :-/
Member
Which style tank you have?
Quality BMW service "street, track, race"?
Email: ZakspeedRacer@gmail.com
1999 BMW 318Ti/M Hellrot Msport DD/Fun car
1/2 1987 BMW 325is/M Future Spec e30 (track prep'd)
1994 530It/A Alpinewise III Traded out
1988 BMW 325ix/M Diamond Schwartz Recently sold :/
1986 BMW 325e/m Bronzit Beige Metallic
Get Involved!
www.bluegrassbimmers.org
OKI BMW Facebook group
BMWCCA Member# 436428
Member
Yeah we are going to have to address that soon. I assume you had the old tank and had the issue then put the new tank in and problem solved? Need more input on this.
Previous vehicles: (87' 528E 5spd) (Two 89' 750IL's)
(E36 318is) (E34 535i) (E34 M5) (E36 M3) (Two 87' E30 vert) (E30 Touring)
Member
Sent PM.
Member
Thanks AKG...

Previous vehicles: (87' 528E 5spd) (Two 89' 750IL's)
(E36 318is) (E34 535i) (E34 M5) (E36 M3) (Two 87' E30 vert) (E30 Touring)
Member
Operation rust fix is coming to a close i think. then more fun stuff next week.
left off with hole in each corner of floorboard where jack pads are.
took this metal
thats one
Zachs welding is getting better.
Pictures are fun, it looks like it happened fast. Actually that was a day.
more next week....
Previous vehicles: (87' 528E 5spd) (Two 89' 750IL's)
(E36 318is) (E34 535i) (E34 M5) (E36 M3) (Two 87' E30 vert) (E30 Touring)
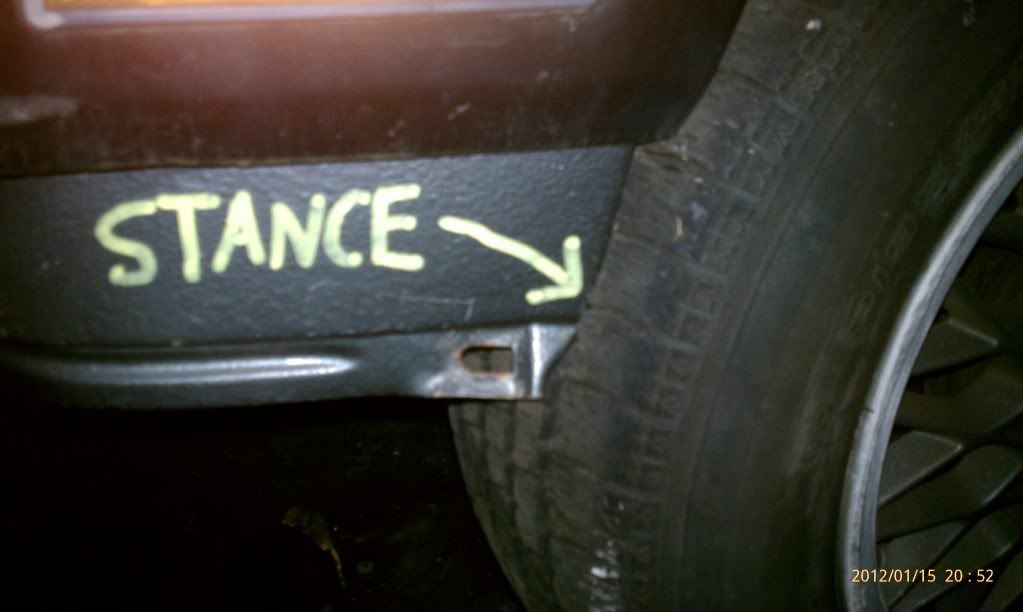
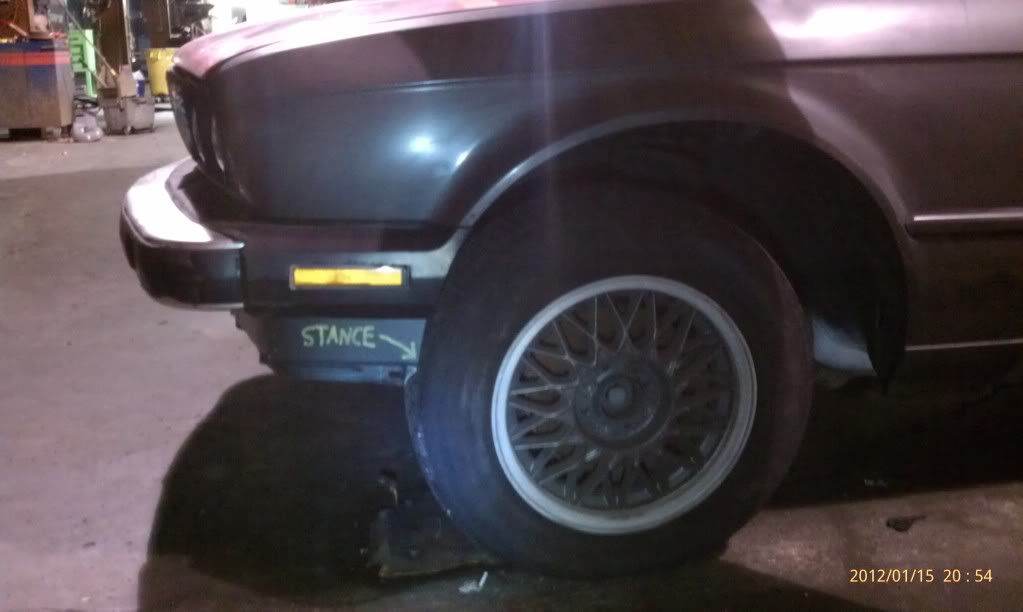
#stanceHater
That's great work man. Thanks for all the pics. Keep them coming!
Member
You get the idea,
that, plus 2 final small holes needed to be welded.
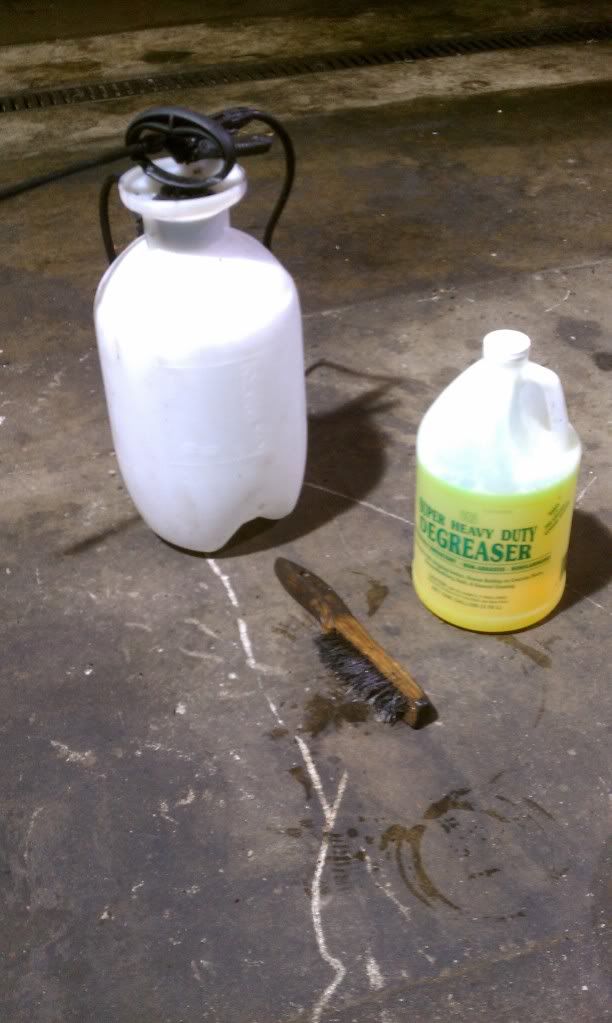
Then sprayed entire underside of car with heavy duty degreaser and power washed.
not heavy enough and more duty. gonna need to let it sit over night and may need to brush or flapper
Previous vehicles: (87' 528E 5spd) (Two 89' 750IL's)
(E36 318is) (E34 535i) (E34 M5) (E36 M3) (Two 87' E30 vert) (E30 Touring)
Member
power wash, scrub, power wash, scrub, seam seal.
almost time to paint
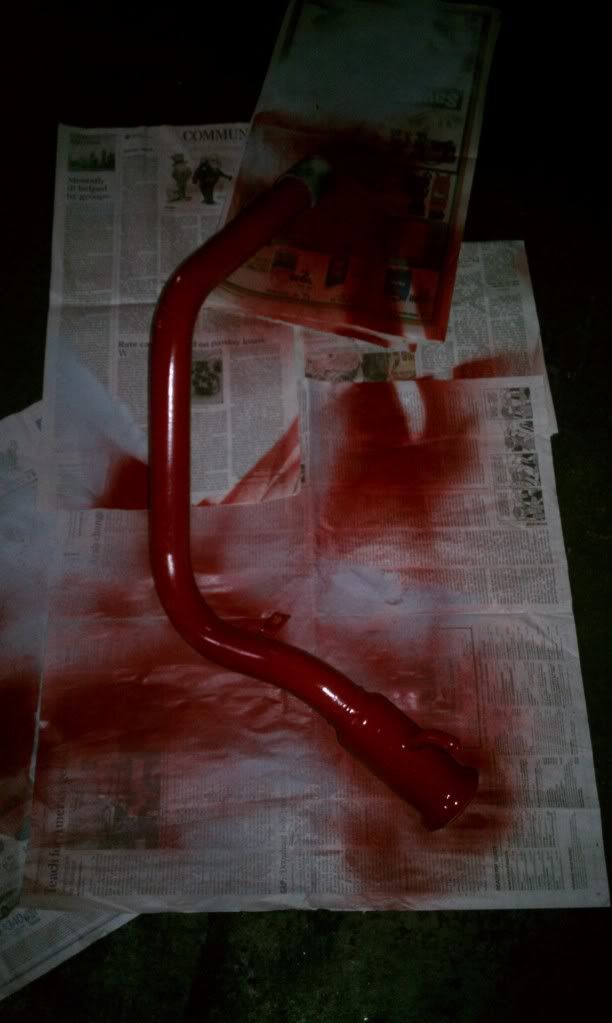
Filler neck painted
floating?
need to get

Last edited by Proctor750; 12-12-2011 at 06:14 PM.
Previous vehicles: (87' 528E 5spd) (Two 89' 750IL's)
(E36 318is) (E34 535i) (E34 M5) (E36 M3) (Two 87' E30 vert) (E30 Touring)
Member
updates?
Member
Large break over. Back to work
all seam seal and patch panels painted from before..
20 degrees outside...
More to come...
Previous vehicles: (87' 528E 5spd) (Two 89' 750IL's)
(E36 318is) (E34 535i) (E34 M5) (E36 M3) (Two 87' E30 vert) (E30 Touring)
Member
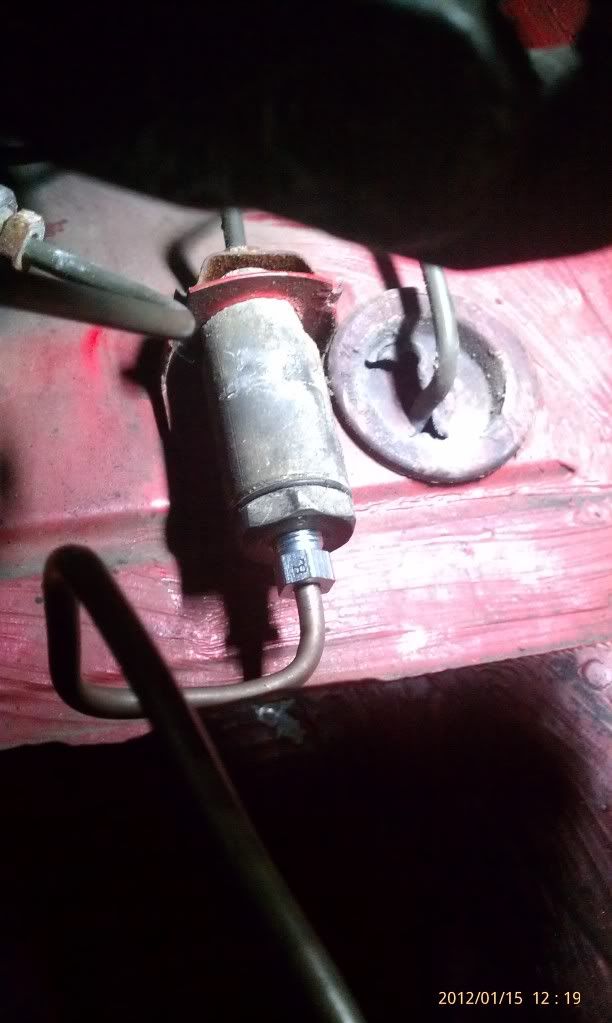
Fuel and brake lines need to go in, lots of looking at old brake lines and even messing with fuel feed and return, looked to be labeled wrong would not fit so had to swap.
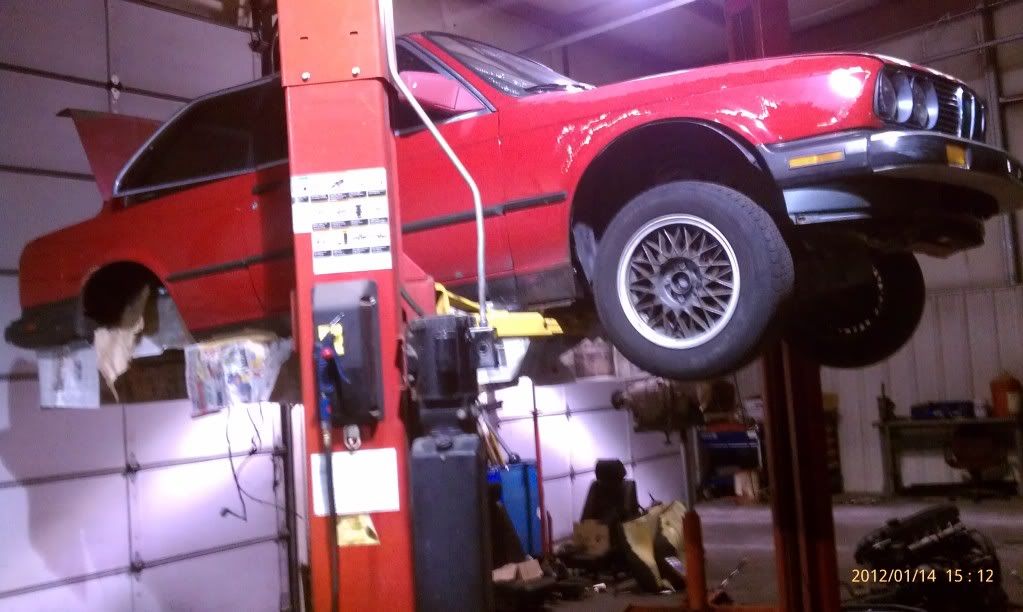
Brake line starting point under brake booster, without a lift... forget about it.
Order UP
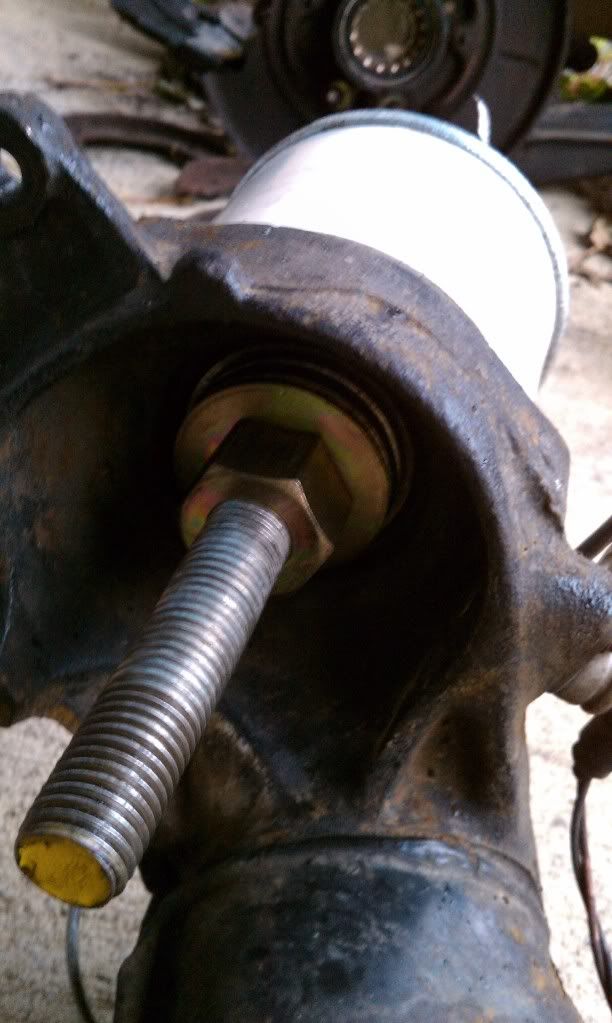
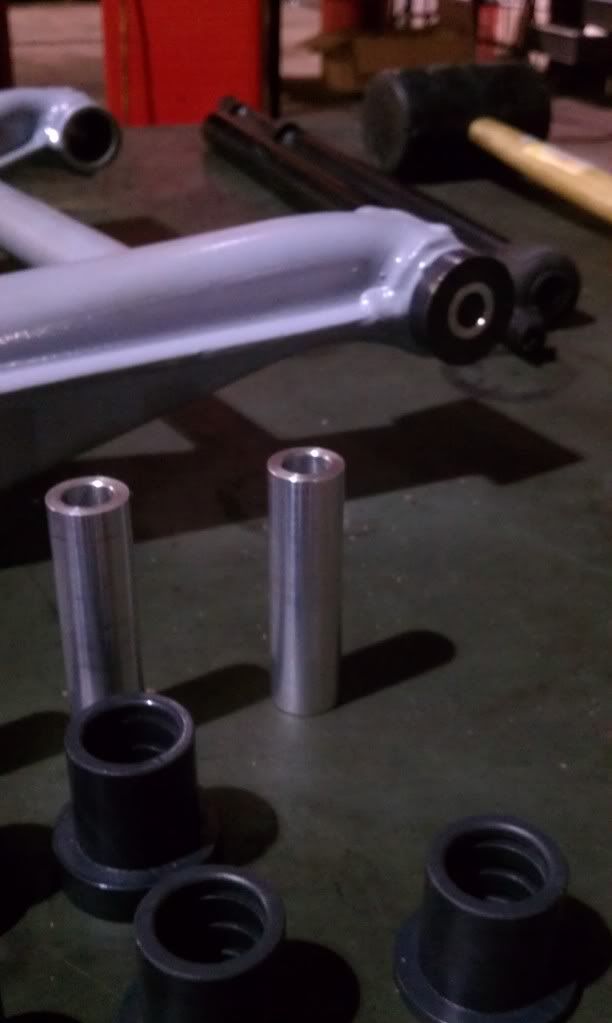
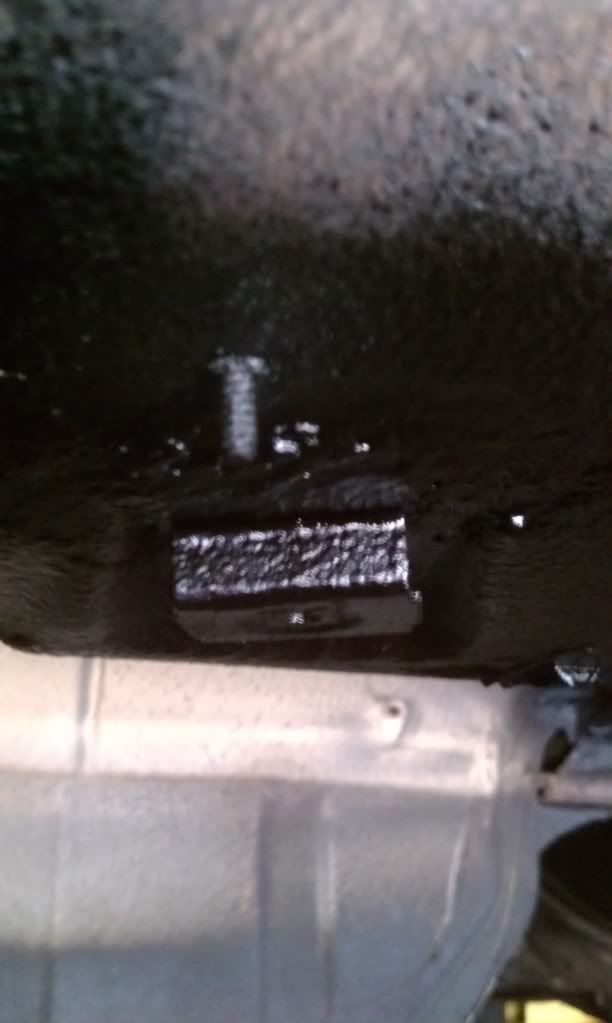
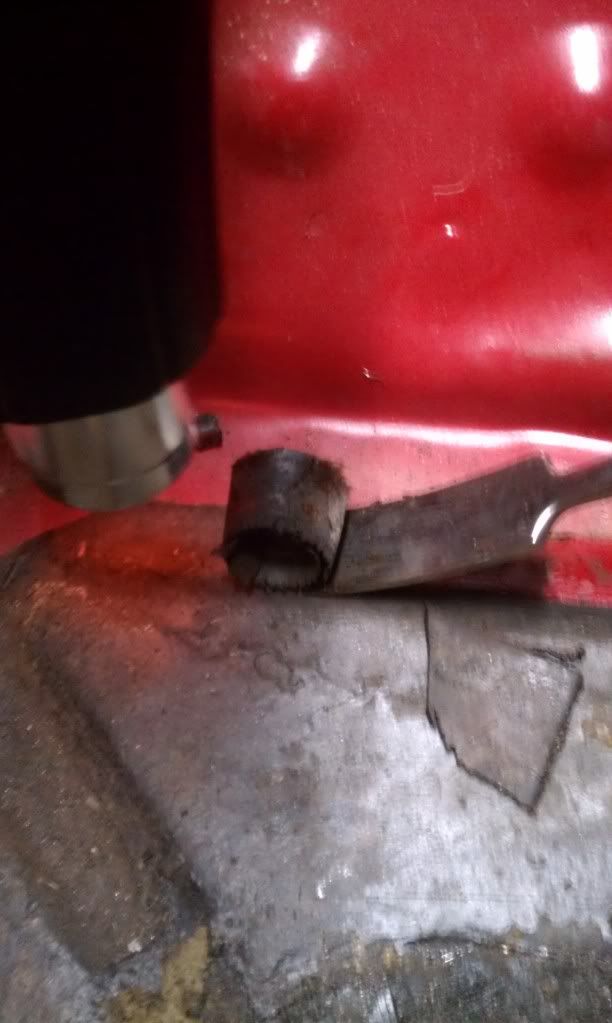
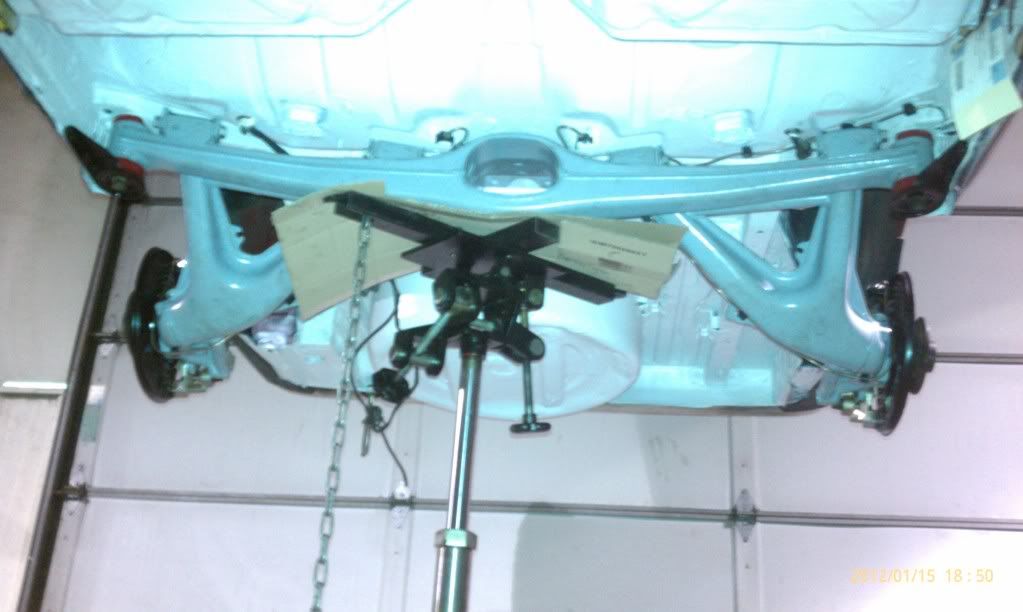
Bottom plates didnt sit flush, so after impacting they did...
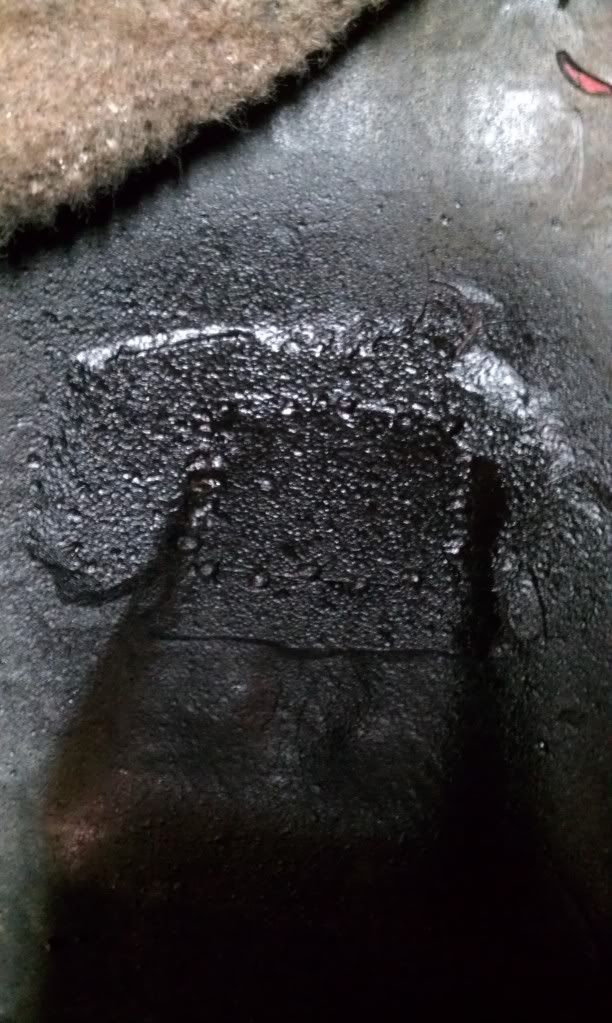
upon looking closely, there appears to be a bowing effect to the top of the bushing when torqued against the car... We opted out of the washers as they were thick enough to not allow the aluminum sleeves to enter the body.. The ground off part is typical to allow room to adjust the eccentrics.
It looks like the bushing is sagging under the pressure..
Previous vehicles: (87' 528E 5spd) (Two 89' 750IL's)
(E36 318is) (E34 535i) (E34 M5) (E36 M3) (Two 87' E30 vert) (E30 Touring)
 Posting Permissions


 Reply With Quote
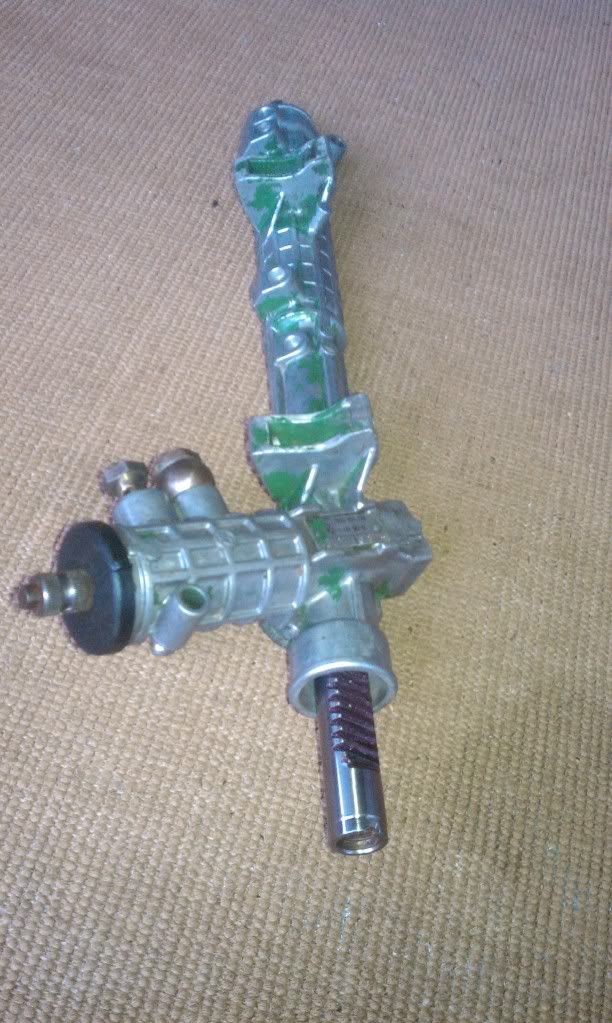


Bookmarks