

 Member
This DIY covers all pre-facelift E46 coupes. I have been asked how to install bulbs a few times recently and I just happen to be installing some new prolumen D2S 6000K bulbs that I got from Bav Toys. This DIY is very basic and covers every step of the process.
Do this DIY at your own risk, the xenon system is a very high voltage system and can cause injury.
Step 1: Put on gloves, the less oil from your body that goes on the bulbs the better.
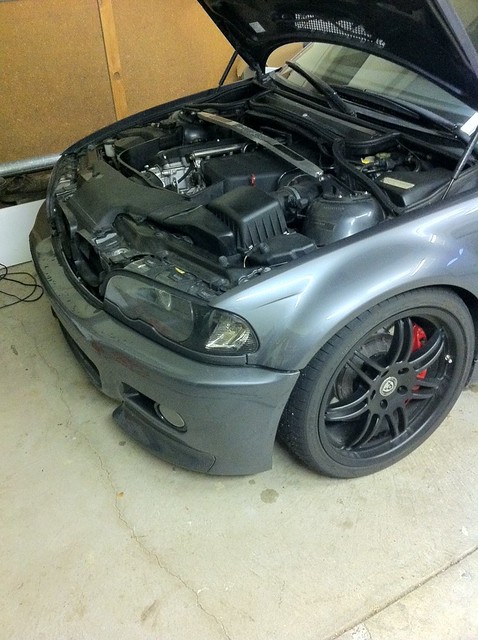
Step 2: Pop open your hood
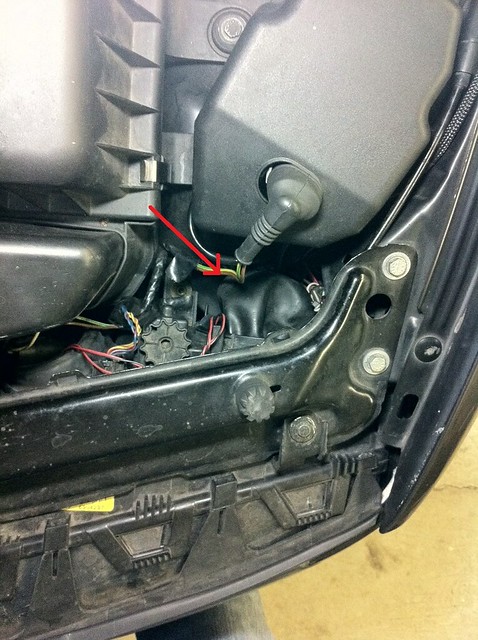
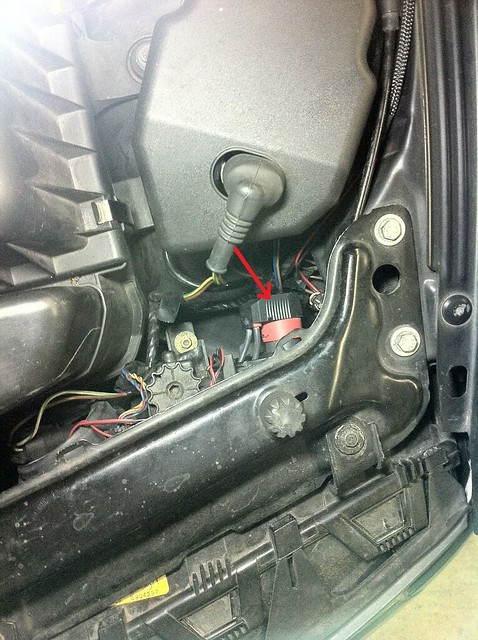
Step 3: Pull off the rubber boot.
Step 3a: The passenger side has the washer fluid filler cap blocking the area, you can press the tab in the red arrow and lift to remove it.
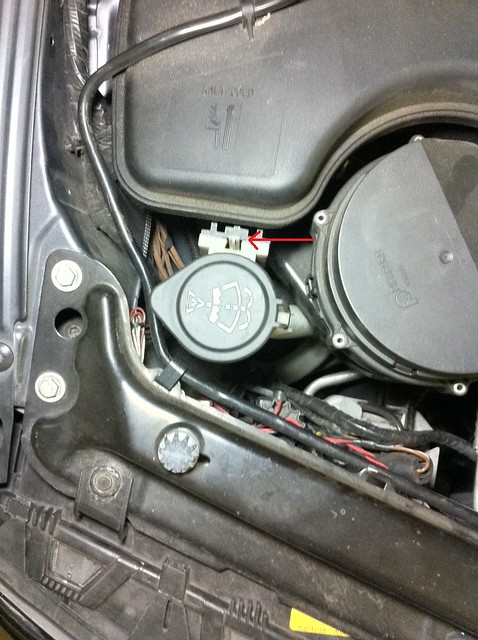
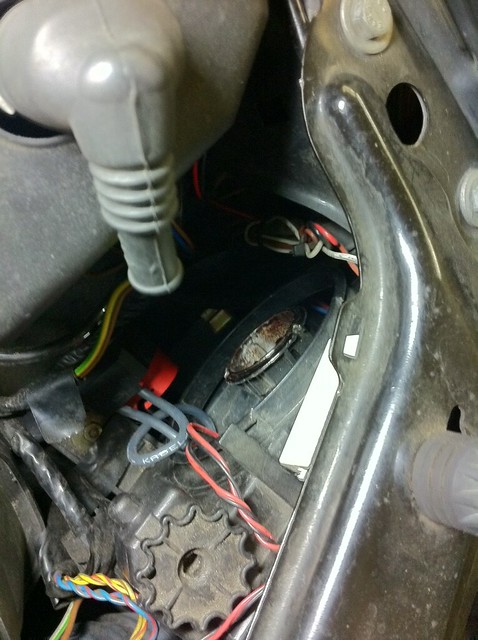
Step 4: Remove the red connector, it needs to be turned counter-clockwise
Step 5: Turn the black plastic ring counter-clockwise to remove it.
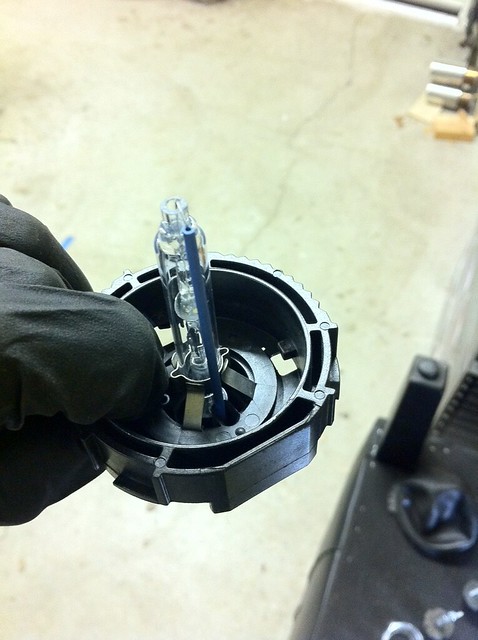
Step 6: You can now remove the bulb along with the black ring you just removed. The bulb is now loose to make sure to hold both pieces while removing it.
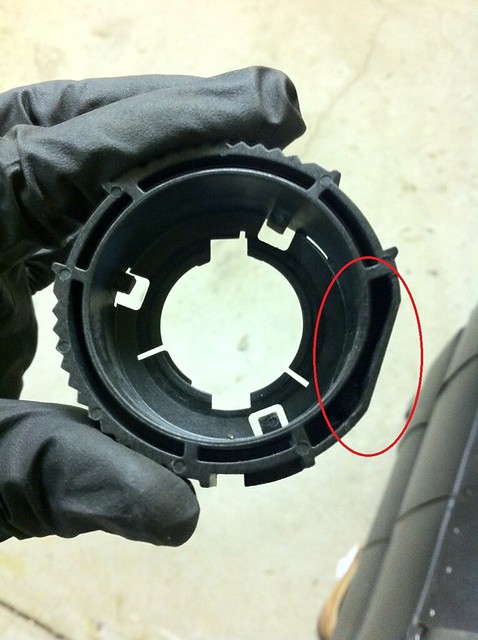
Step 7: Pull the bulb out of the black ring and replace it with the new bulbs. The bulb gets orientated in the following way. The blue piece on my bulb is lined up with the flat side of the black ring. Also make sure that bulb is flush with the inside of the black ring as shown.
Step 8: The flat part of the black ring goes on the bottom. Remember that you will be turning the ring clockwise to install it.
Step 9: Put the red connector back on. You will have to turn it clockwise.
Step 10: Put the rubber boot back on and put the windshield washer fluid cap back on.
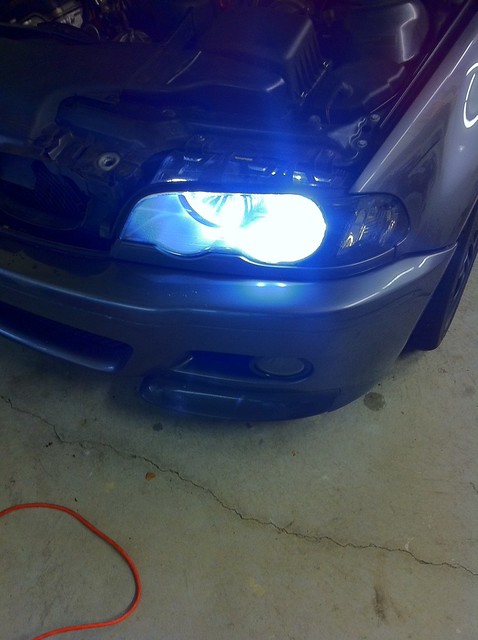
Step 11: Enjoy!
Last edited by mpegripper; 03-24-2011 at 10:51 PM.
 Posting Permissions


 Reply With Quote
Bookmarks