
 Member
Dear all,
I have try very hard to install a new left C pillar, but all I can do is put the rear two tabs and one front tab in place. (three tabs let lose).
Should I just leave it like that or if you guys have special method or sequence to install it.
Thank you
www.wokke.de
the way they are mounted absolutely sucks. I'm currently fighting with a similar problem since on my covers some tabs are broken. I'm currently thinking about a solution where I would cut off those tabs entirely and work with velcro. I haven't yet figured out if it is going to work but there must be a way other than this idiotic tab mounting.
In your case I'd just leave it as it is if the cover holds tight to the pillar.
Member
I too have a similar problem as I put the C pillar covers back. Some of the tabs on my covers broke too. I found it easiest to refit the covers if you leave the lights out of the holes. The opening allows you to grab the cover with your thumbs and with the other fingers squeeze the top of the cover down, work the tabs of the cover into the slots in an in and upward push. It takes a few tries to get that process down.
If you leave the covers the way they are, there's a good chance the covers will be blown off at high speed if you have the rear windows down. Ask how I know that. I just had that happen over the weekend.
Chris
Dependable Engines
The pillar attachment scheme is a joke. I finished attaching the A-Pillars last weekend with Velcro and will be doing the C-Pillars this weekend. I have had "common" Velcro adhesive melt during hot days when the interior turns into an oven.
I trying out the version of Velcro with an acrylic pressure sensitive adhesive that is made specifically for higher-temp applications. Use in auto interiors is called out in the production application literature. I will probably have to wait until next summer to see how this works out.
Member
The problem is I have a brand new parts, and still hard to fit it on.
Folie a Deux
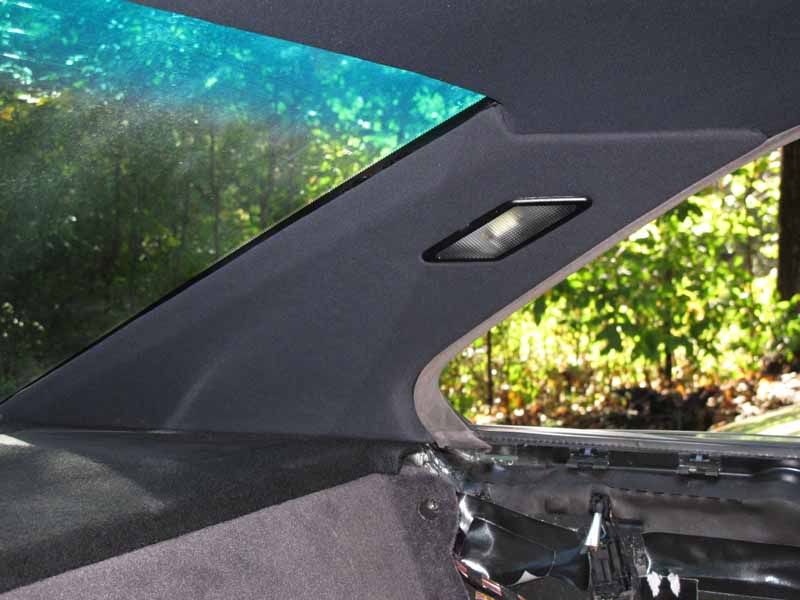
The important thing to watch is the angle of the tabs... that's critical. Yes the attachment system sucks but you should only have to do it once. There are (4) tabs for each C-pillar arranged in a zigzag (-_-_) pattern. I've seen pillars that weren't even put on right at the factory. The metal clip inserts of the body holes are quite secure with that plastic and you need to push the tabs straight in at the proper angle that they're oriented. As a member suggested, remove the light first to get a better hold to apply even pressure at the mount points. With patience you'll get it, good luck.
Member
While you have the C-pillar covers off, could you please make some detailed pictures of the naked C-pillar and the back side of the cover? This would be great information for anyone who wants to remove the C-pillar covers. It always helps to know where exactly the tabs/clips are and what they look like. A-pillar pictures are welcome as well of course.
Dependable Engines
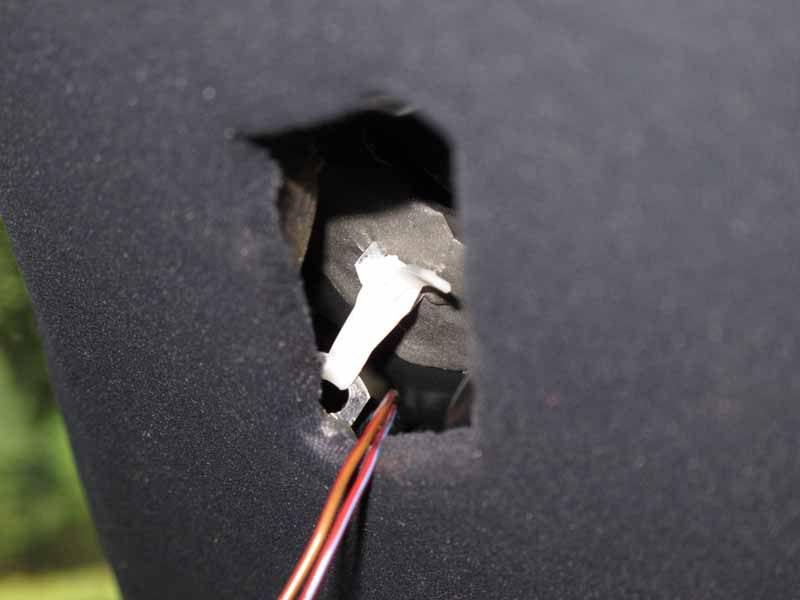
For the c-pillar showing locations of hooks and tabs:
Tab on panel
Hook on panel:

Member
Thanks Mike!
Member
Great thread and timely, as I have a new set from Charlie at Gault coming this weekend both C and A pillar sets. Any ideas on how to replace the front ones??
Dependable Engines
The A-pillar cover is attached by one clip as shown below and is captured between the pillar and dash at the bottom. This photo shows the Velcro strip that I used to attach the panel with a broken tab.
If you are really careful inserting the thin tab into the clip you may be successful. Especially with new covers.
What was really aggravating for me was that I was ale to remove the panel with out braking the tab and then reinstall that panel without breaking tha tab, but the the tab snapped on it's own a few days later.

Last edited by Mike in CT; 09-23-2010 at 08:38 PM.
Member
Great help! Thanks!!
Sick Puppy Motorwerks
The rear (C-Pillars) can be attached via a zip-tie by removing the courtesy light assembly. Pull the zip-tie tight, and reinstall the courtesy light. Velcro won't work for the longterm solution.
'93 850Ci - Mineralweiß Metallic
2001 740iL - Titansilber
ALPINA B7 -Alpinweiß III
...the price of cool ain't cheap!
Dependable Engines
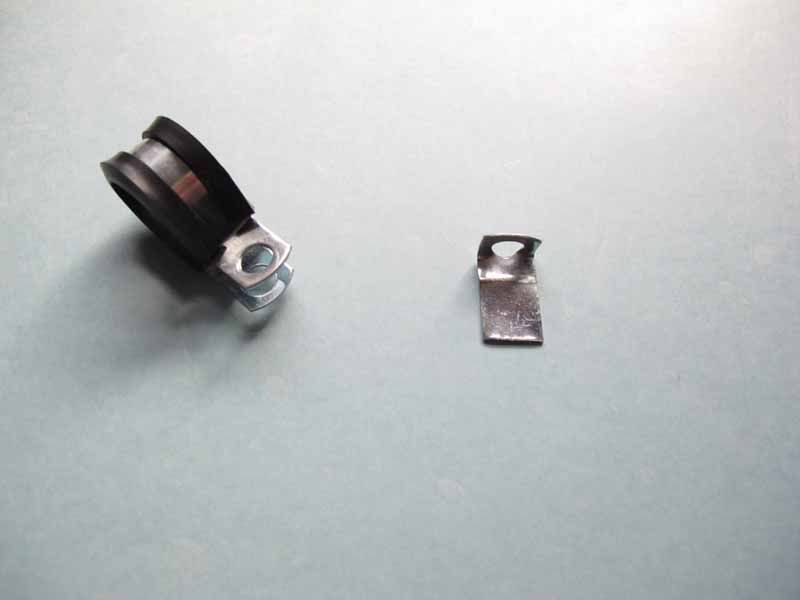
Use of tie-straps for attaching c-pillars is good advice. Finally finished up the last of headliner install this morning.
Not sure how others did this and did not find any details in the archives.
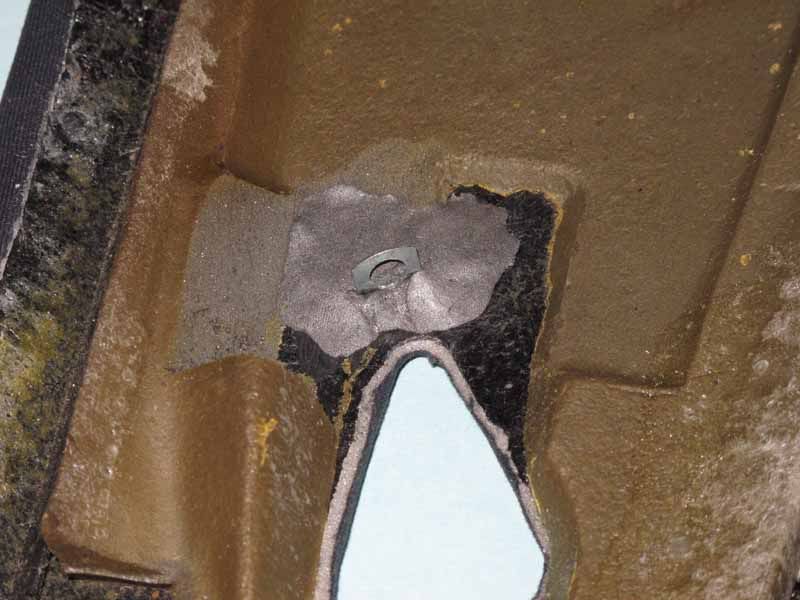
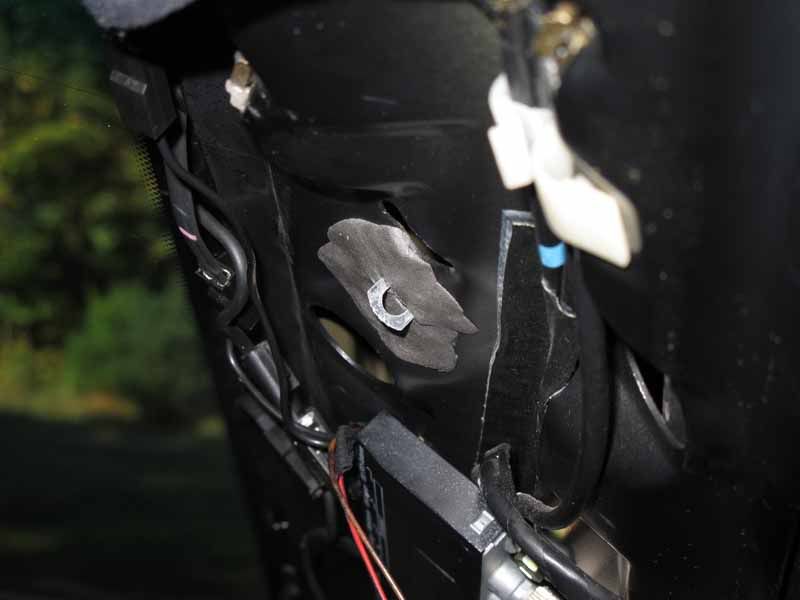
I fashioned some attachment straps from hardware I had.
Attached straps to c-pillar cover and c-pillar with JB Weld epoxy putty.
Connection with tie-strap through light fixture opening as suggested.
Works well. I did have a couple of the hooks and tabs in place which helped.
Last edited by Mike in CT; 09-29-2010 at 11:08 AM.
Member
Just replaced both C and A pillars covers with new ones from Charlie@Gault. Front ones were a breeze since plastic was new and not brittle, the tabs went in easilly. Only issue was to make sure bottom of cover was seated fully to front toward windshield. Make sure the metal clip is seated fully in body, if not - it is too tight for tab to insert. On C pillars, I replaced with lights out as already described and used that light opening to manipulate as Randy said. Placed top rear tab in place first feeling tab and slot thru light opening to align. Then with rear window down could see front tab enough by pulling/bending front of cover to inside of car just enough to visualize slot and to manipulate tab into slot from outside car looking thru rear window opening. I used a ten inch long slot screwdriver to align tab to slot and press toward outside of car in slightly forward and outward direction following path and direction of tabs. Once these top tabs are pressed in, the bottom tabs were aligned pretty well top to bottom wise and with a little alignment/trial and error to 'feel' them into slots front to back (you feel a firm outward pressure from the tabs against body until tab aligned over slot, then pressure/firmness relaxed and tabs would go in). Once the bottom tabs seem to be in place and held cover in place, extreme pressure with finger tips over the area of each rear hook with finger tips, starting at bottom most hook, pressing near window on cover where first hook is, in a outward and slightly frontward press snaps first one in (you can feel it snap and lock in palce). Then go up to next hook and press in same way - in and slightly forward almost bending the rear angle of the cover to bow hook forward and inward slightly until it snaps in place. Walk up to the next hook area and complete in same manner. You are almost bowing the cover against the in-place tabs holding the cover to snap the hooks in front of the loop holders on the body. I don't have a clue how the factory does it, but this worked for me on New Covers. Reusing older covers probably does require retrofit like others have nicely shown since the older plastic won't be maleable enough to slightly deform without breaking. Warming the covers in sunshine or over a steam double boiler on stovetop to make more maleable is helpful as well. I used good old southern sunshine! Good Luck and keep the tabs or velcro at hand just in case!
Member
Why is there so much insulation on these things? (C-Pillars) that seems to create a problem of its own. I had my rear window repalced so ofcourse the guy broke the tab on drivers side. I bought new ones and went to replace. What a PITA. I ended up removing the insolationon the old one and it popped right in I am tempted to just leave it like that. Thus my question,Why so much foam in there?
97 840ci-99 540i6-90 535i5 all black
Member
I finally installed new A & C pillars that I bought in 2011. WOW I must have spent 1.5 hours (on the right side alone) trying to get the 3 black plastic tabs that point towards the rear window to slide into place and then hoped to push the 4 horizontal tabs into those (I'm going to break your plastic) clips. after breaking 1 of those hz tabs off and realizing there is no way in hell this new part was going in with this insulation, I pulled it all off too. I should have pulled off the old yet still very soft (and much softer but still perfect condition compared to the new insulation) and put it on my new C-pillars just to have some insulation (and I still could, if I ever care to attempt swearing adn sweating that much again). Holy, worst design ever by BMW.
I swear, my cars are like a girlfriend.
Sometimes its a rough ride, sometimes its smooth motorin'.
Sometimes she doesnt like how i treat her and sometimes i dont like how she behaves.
BUT at the end of the day, she loves it when I am inside her.
 Posting Permissions


 Reply With Quote


Bookmarks