
 ¯\(°_0)/¯
Is the ticking only when the engine is cold? Piston slap?
Member
nah, no piston slap for me so far. I have a card-in-spoke sort of sound on closed throttle decel. the higher the rpm's the louder/more frequent the noise.Originally Posted by stowe9man

I believe it's my passenger side header v-band connection - I think I need to chop and redo the connection because my custom tie into the stock cats might have left a little gap in the v-band.
Still has a E39
Supporting Vendor
Have you made it back to the dragstrip?
Member
nah, all the local tracks are closed for the year - I actually got the very last run of the season for the track I was at when it started raining
Still has a E39
Supporting Vendor
Rear end still holding up?
Member
so far no issues or weird noises - I've put about 1500 miles on it so far and i'm not exactly nice to it
Still has a E39
Supporting Vendor
I was looking back on page 5 at your videos(that I missed before somehow) when you were riding in the car and he is talking about the rear "steering", mine did the same thing. I replace the trailing arm bushings with the powerflex bushings from Bimmerworld and it took care of that.
The Beez Kneez
Just finished reading everything while at work. Keep up the great work! Any future suspension plans?
Member
357 - I have sense replaced the rtabs with limiters and the issue has completely gone away, rebuilding the rear suspension was a PITA but very worthwhile.
thanks idowork - I'm planning on probably throwing some AST's on probably before the track season next summer really gets going. I'm also looking at probably putting together a budget ls2 ls3 headed motor for some extra oomph.
Currently i'm chasing a coolant leak I can't frickin' find. I replaced my t-stat and reworked my heater hose layout (I was running the heater valve on the outlet of the heater core instead of on the inlet) to fix my lack of heat on the highway issues - it totally worked! (everyone follow bimerok or 357i [I forgot who originally made it] diagram to the T or else!]however i'm loosing a lot of coolant and I can't find where it's going - which obviously has me troubled. the only physical hose I haven't checked is the return on the heater core over the top of the engine - I looked at the other two ports but not that one - I need to get under the car and see if it's leaking down the engine in that area.
AirborneDEN
What did you find was the easiest method of combination of putting the engine in. Subframe bolted to the car and then engine with headers on w/o engine mounts, then steering column, etc?
Last edited by Don Nguyen; 02-21-2011 at 05:10 PM.
Member
unfortunately I didn't get to play with that too much - the front of my car is tweaked just enough that lining up the subframe required some effort so I didn't try installing the engine already mounted to the subframe - just down and in like an old school engine install.
if I had to guess - knowing the difficult parts to line up, I'd wager from the bottom up without the headers on - already mounted to the subframe would be the easiest way to install everything.
don't forget to clearance all the various parts before installing them or you'll never get the headers in!
3 1/2" Member
Have you had any luck getting the OBD2 port wired up yet? How long until you need to go through DEQ?
Member
OBD 2 port has been wired up and working for a long time now - when I got my car running that is.
I'm down to one code left to be obd2 DEQ compliant - and I've found talking with Braap that I need to plug a few more wires in - namely the bmw fuel tank sender feed needs to go to the ls1 computer so it can schedule evap system tests. I'm planning on working on it this week - today specifically but I found a downed tree in my backyard I have to address first...
3 1/2" Member
As soon as I know someone has gone through DEQ (and passed), I can start to assemble the pieces for my conversion.
Member
You might have an easier time swapping an obdI car....? No obdII stuff to worry about.
3 1/2" Member
I don't disagree, but I want to swap into a sedan, and I already own an M3 sedan. The M is a better platform anyway (or so I was told)
AirborneDEN
Did you have any issues fitting the spark plug wire back on to the very back driver side spark plug? The header basically causes me to take off the metal heat shroud to put it on, and even then, it hits the spark plug boot a bit causing it to bend towards one side.
Also, on probably 6/8 of the spark plug boots won't fit on the spark plugs with the headers on. I have to take the heat shrouds off of them to have enough wiggle room to slide them in.
Looks like I'll have to take a grinder to the header flanges a bit.
Member
Use MSD wires. You can put them on and then you can bend them out of the way of the tubes. They work very good on #7.
Member
I haven't been running the stock spark plug heat/metal pieces - I"ve been running without issue on 7/8 of the plugs with MSD wires. the rear drivers side is of course the tightest and even with the MSD wire i'm still having melt problems with that wire - I threw a spark plug boot over it but resting on the header is still causing problems for it. ideally it needs one of those custom MSD wires that is stock length but has a 90 degree clip on it to properly clear the header.
----------------
In other news I took the car out for a weekend of autocross, both the first time for it and myself. Overall the swap held up great - didn't mind living 60 seconds at the top of 1st and had way more power than I could easily put down. to put it lightly it liked to step out, A LOT. I hammered out some decent times and got used to it after a little while - ended up getting second in my class.
After seeing how wallowee and sloppy it is on the auto-x circuit I'm going to go after suspension as my next area to address - as well as improving the nut behind the wheel.
Last edited by Tongboy; 03-06-2011 at 05:24 PM.
БМВ Фанат!
wow that sucks. Sounds like a poor design on the headers.
- 96 328is 6.0L. (LS1 to LS2 build thread: http://forums.bimmerforums.com/forum...ad.php?2098938)
- 96 328is 5.7L. (LS1 build thread: http://forums.bimmerforums.com/forum....php?t=1289987)
- 95 ///M3 6.0L. (LS2 build thread: http://forums.bimmerforums.com/forum....php?t=1619249)
- 97 ///M3. (e46 Fender Flares/track car build thread: http://forums.bimmerforums.com/forum....php?t=1727098)
- 96 328is (Dual Fuel Pump to Surge Tank thread: http://www.bimmerforums.com/forum/sh...ad.php?1964025)
AirborneDEN
I guess a minor inconvenience. Other than that, the rest of the construction is awesome.
I am probably going to order the multi angle MSD wires and run heat sleeves on the spark plug boots.
-Don
Forgot to also ask, did you end up doing anything to the brake booster, or has it been fine with the engine touching it slightly?
Last edited by Don Nguyen; 03-07-2011 at 03:52 PM. Reason: Automerged Doublepost
Member
Brake booster has been fine, the engine has never touched it thus far.
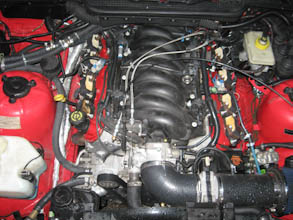
So - I finally got around to spending time working on the rest of the wiring, it isn't all the way cleaned up yet but it's a lot better than it was before and I believe i've plumbed all the wires I need so now I can clean it up.
Hopefully some good info for others:
The fuel tank pressure sensor was straight forward - the wiring is all simple from the x6031 connector in the engine bay - x20 - 5/6/7 wires.
the ls1 computer needs the fuel level for obd2 stuff and the bmw computer never gets it - you have to splice into the wire from the fuel gauge to the cluster and run a line into the engine bay to the pcm.
I used some of the wires I had leftover from the auto prndl connector to the trans connector in the engine bay so I didn't need to run new wires for the fuel level and the backup lights as well as the clutch pedal sensor - I"m not sure how the manual people would address those needs but i'm sure there are some extra wires floating around so you don't need to push your own through the firewall.
Reverse lights - I found these poorly documented in the LS swap docs as well as the BMW stuff. Everyone says to pull the wires directly off the t56 but the reverse wiring already goes to one of the ls1 body harness plugs - its marked in almost all the documentation as the park neutral output - these are C230 G & J - brown & green on the manual harnesses. I ran these thru the auto trans connector to by the shifter and spliced them to the backup lights that are on the same PRNDL connector by the shifter.
Alternator warning light is straight forward - splice ecu red 15 (orange) into the x20/25 blue wire and it works great.
I wired the ls1 oil pressure sensor - c220a tan to x20/23 brn/grn but it isn't working
The clutch pedal sensor was an addition for me as the car was an auto to start with. I wired it through the PRDNL wires and tied it into the blue 32 on the ECM - it isn't setting a code but it doesn't seem to be letting me get into reverse any easier - still to look at...
The AC wiring - this is something not too documented for the e36 but I finally got around to wiring it up after i've had the plumbing done for 6+ months now.
I used the original BMW ac compressor relay.
I also had the GM pressure sensor incorporated when I had the plumbing run.
Plumb the AC compressor wire to the stock wire that went to the original BMW AC compressor - the GM wire is bright green and goes around the harness to the compressor - also splice in GM PCM red 18 AC status wire.
GM red 43 goes to the AC relay - i believe this is x20/4 - it's the blk/blu wire.
GM red 17 recieves the signal to turn the AC on from the BMW system - fun fact - the BMW system is a negative enable and the ls1 is a positive enable - basically - if you wire it straight through (as I have right now) you have the AC button indicated as "on" in the interior and it's off - turn it "off" and the compressor engages - this means you need to use a polarity reversal relay like below.
this wire (with relay, if you want to do it right) goes to blk/gry on the x20 - it's either pin 5 or 6.
This leaves the bmw pressure sensor and everything in and plumbed but should not have any effect on the AC - I'm still to discover if the auto climate control tries to get in the way with the extra information it receives - I'll report back on that.
the biggest thing I fought with forever was the Carbon canister vent valve - (as bmw calls it) GM calls it the evap vent valve (not the same as the evap purge valve) Depending on how you plumb the x20/8 pin with your ECM relay it might not be that painful - basically - you need start/run power to x20/8 (red/wht) and GM PCM red 45 (wht) to the x6031 pin 2 (grn/blu.)
I fought with that stupid wiring for probably 8 hours, as loathe as I am to admit that - the BMW docs call for a fuse - fuse 50 that I do not believe exists on my car. I also had to wire power to the x20/8 connector becuase I didn't run my BMW ecm relay as most others have done (while I was rushing to get it running.)
More info on the next steps towards OBD2 test passing after I fail the next round of codes and set more CEL codes - I'm currently running with no codes right now but as I drive it in the next few days i'll obviously fail a few run tests that i'm aware of and should be close to finishing all the work to be able to pass the various system tests to set readiness (and thus emissions.)
off to a weekend of autocross with the porsche club!
Last edited by Tongboy; 03-12-2011 at 12:53 AM.
Member
Props on the documentation! I'd like to put it on my site for future documentation, if you'd give me permission to do so (with credit to you of course).
Member
thank you - absolutely - keep that info around for posterity - god knows I spent enough time fiddling and swearing that I can hopefully save someone some time in the future.
Member
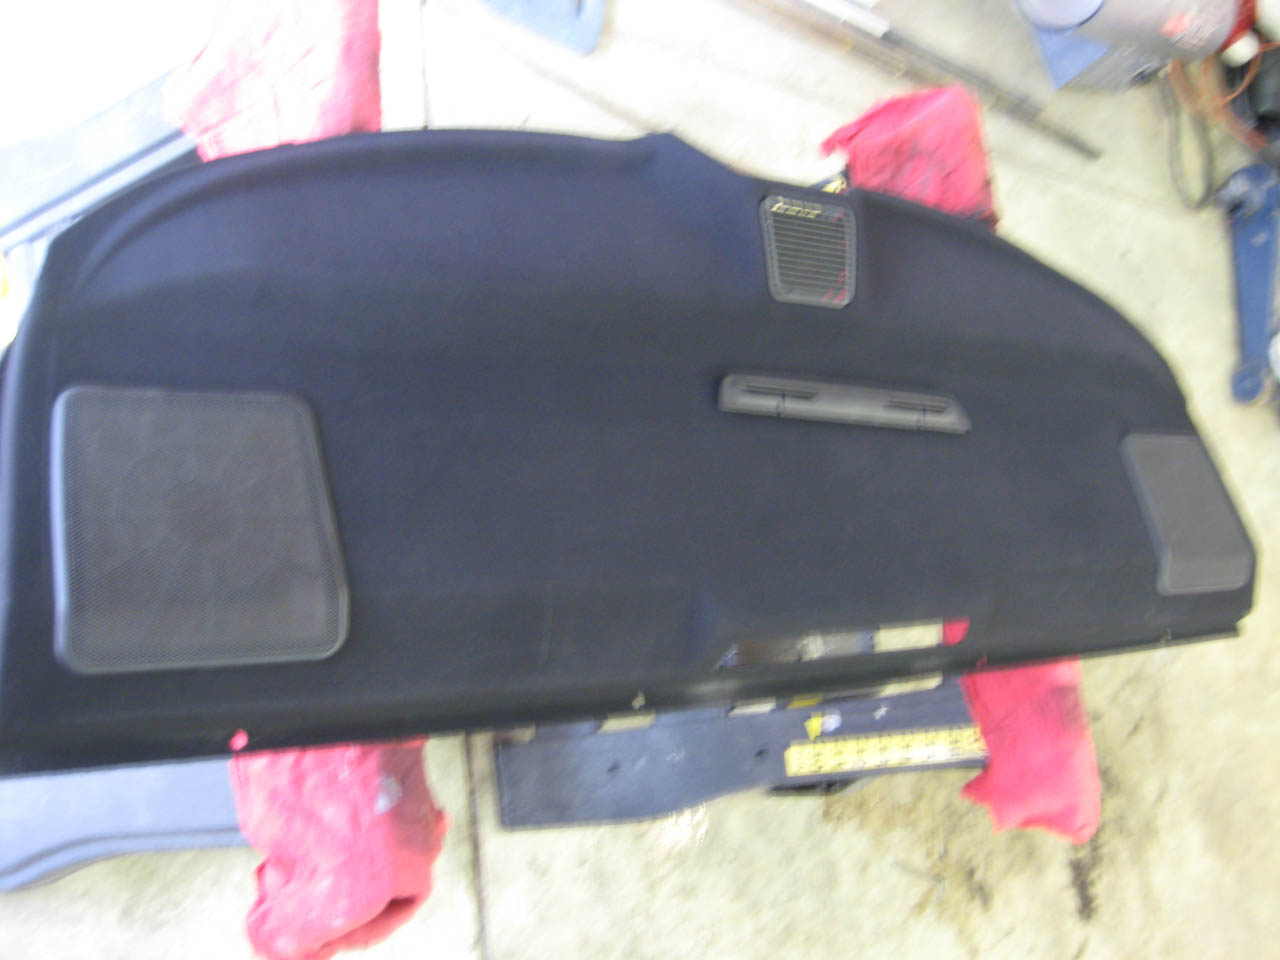
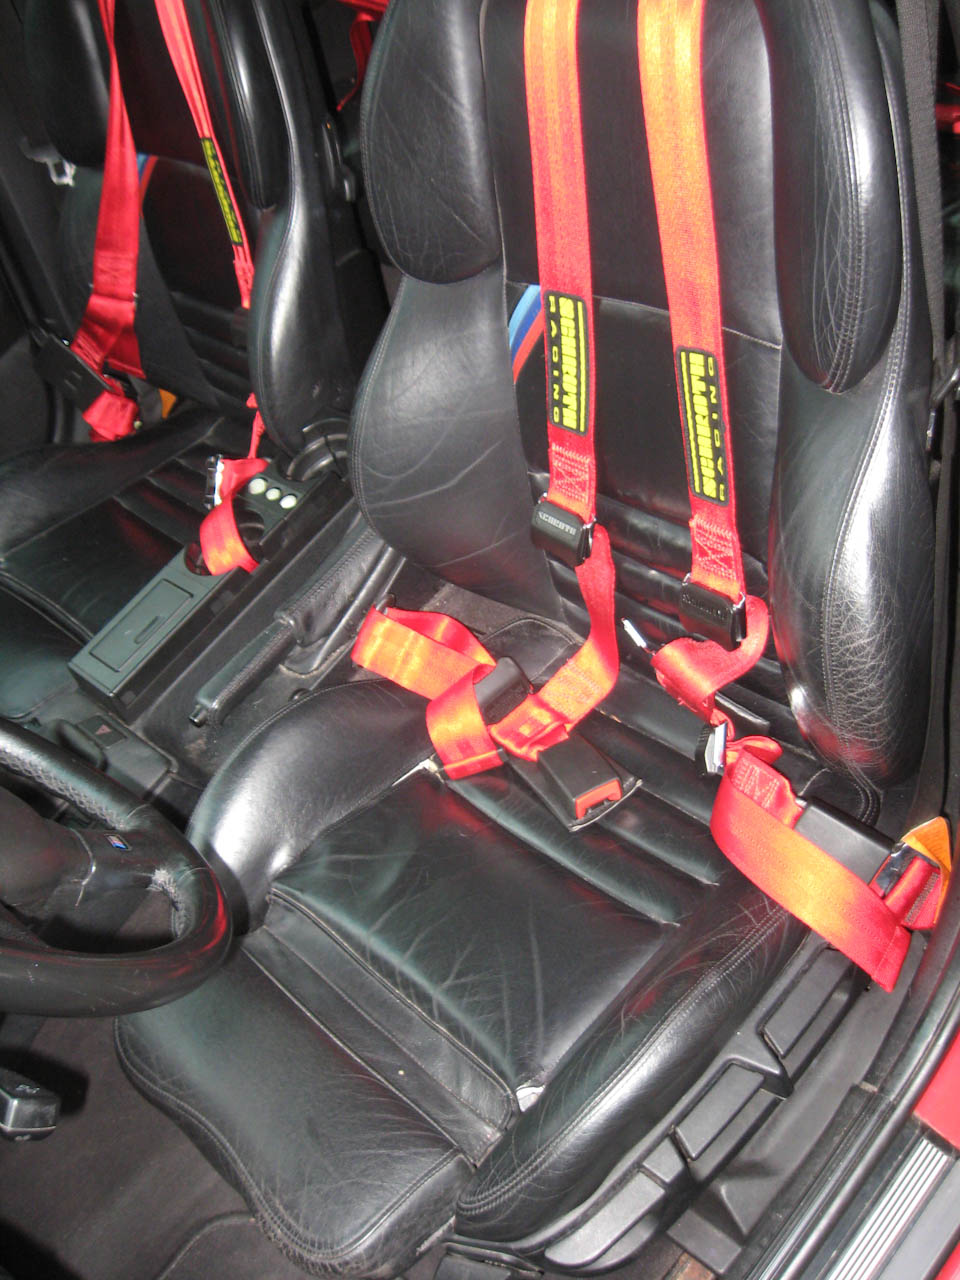
After my first weekend of auto-x I picked up a pair of clip in harnesses to try and hold me in a bit better - while installing those I re-dyed my rear parcel shelf since the arizona heat had baked it to a nice blue from the black - the pictures suck but the difference is great - the interior is all one color again.
before
after
harnesses - SO nice to be able to clip them in at the track and undue them and drive home with the normal 3 point.
Having the AC work today really helped out - I had a bunch of instructors in and out of hte car all day and it was rainy and all the moisture was fogging up the interior - besides everyone telling me I should "turn off my AC" before I drive it worked really well.
I've got my new suspension workings coming in this week and i'm determined to get the rest of the emissions stuff buttoned up this week.
fastest way to get an ls1 to give you all the codes/pass readiness (another good to keep around image for documentations sake)
 Posting Permissions


 Reply With Quote


Bookmarks