
 Member
Finally started the tear down
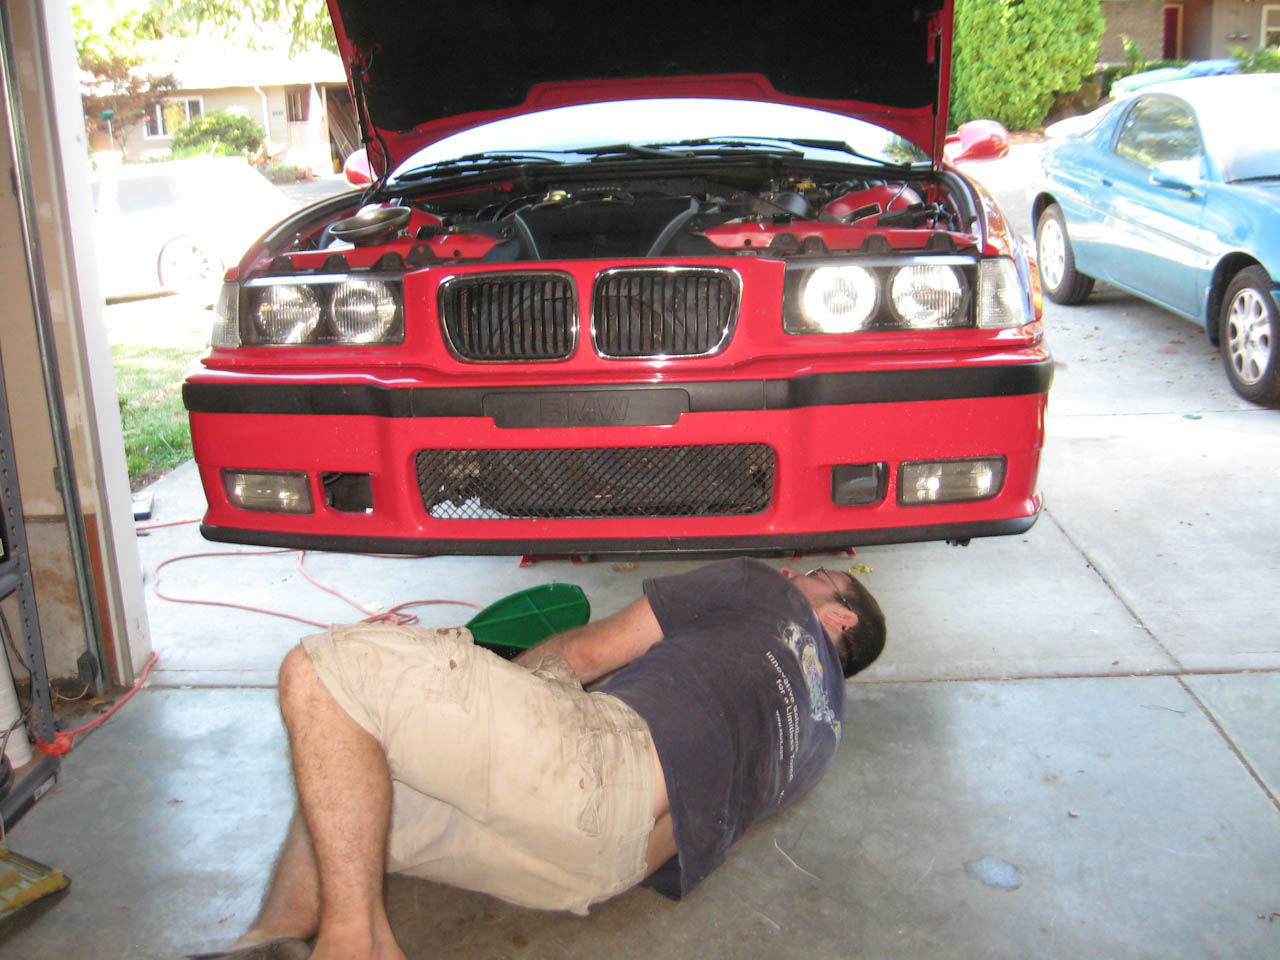
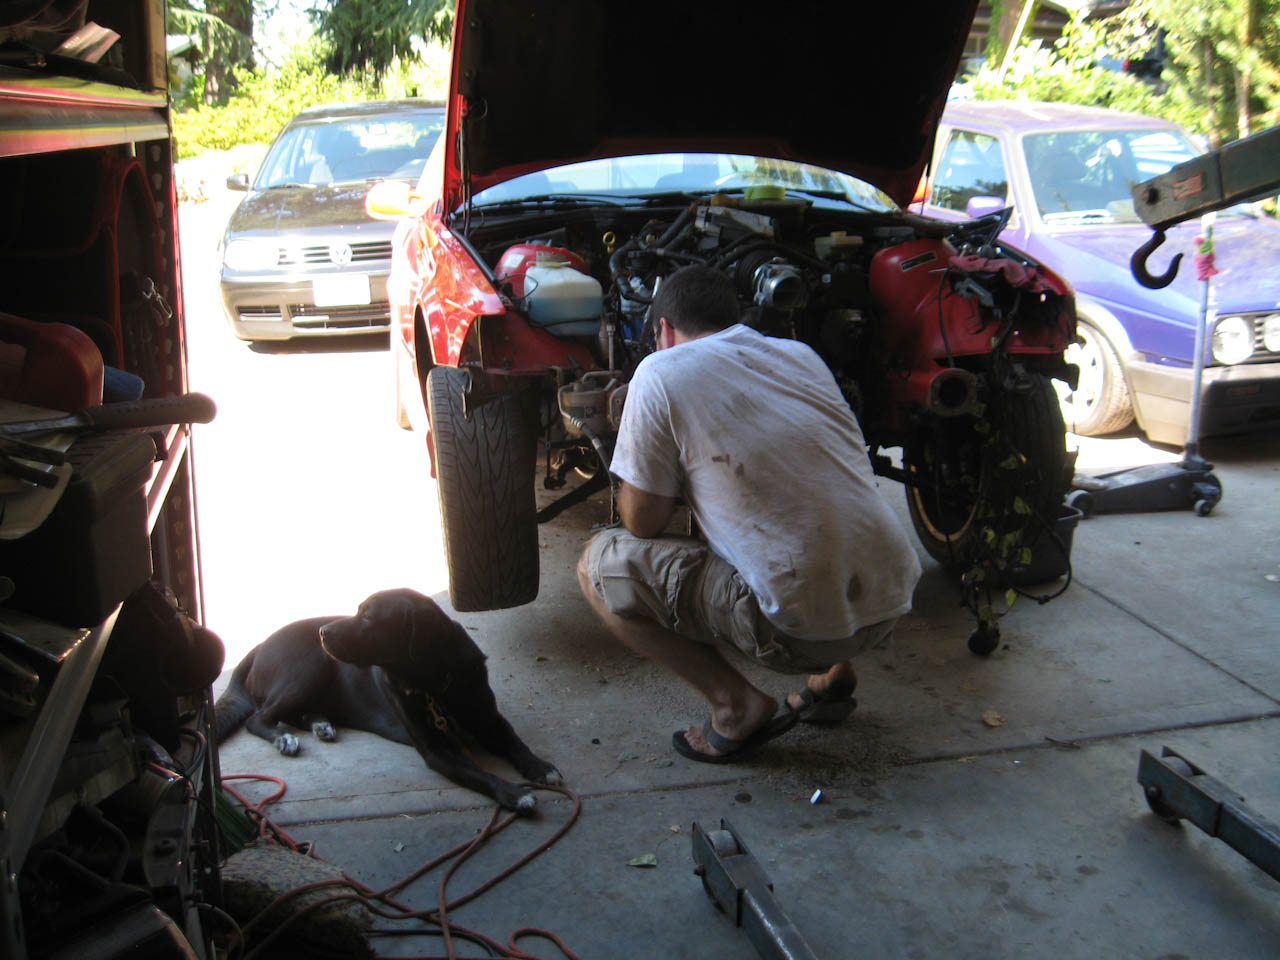
how the day started
ls1 sitting in the corner
thrown in the air
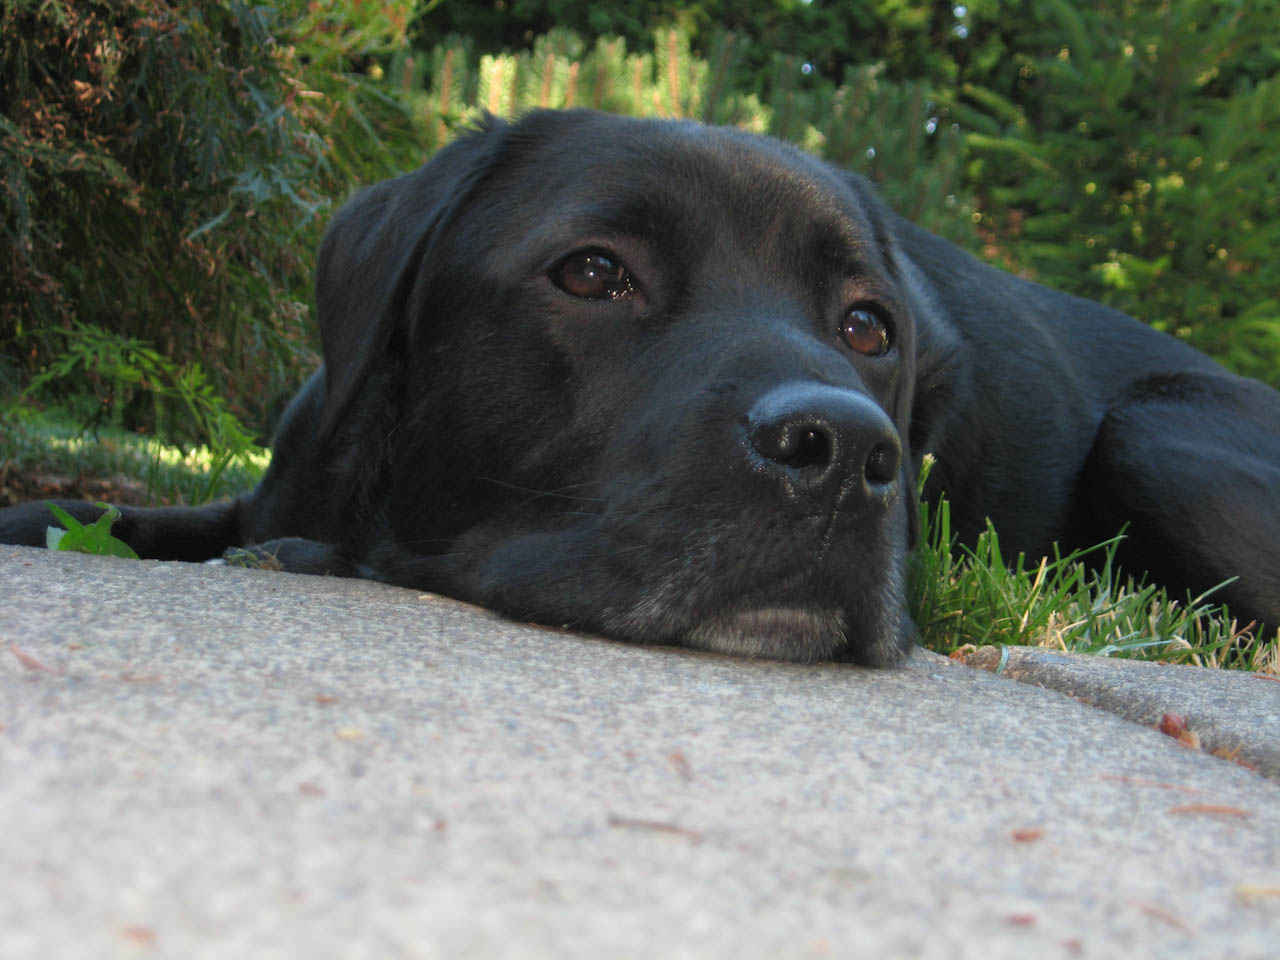
gordon helping out <3
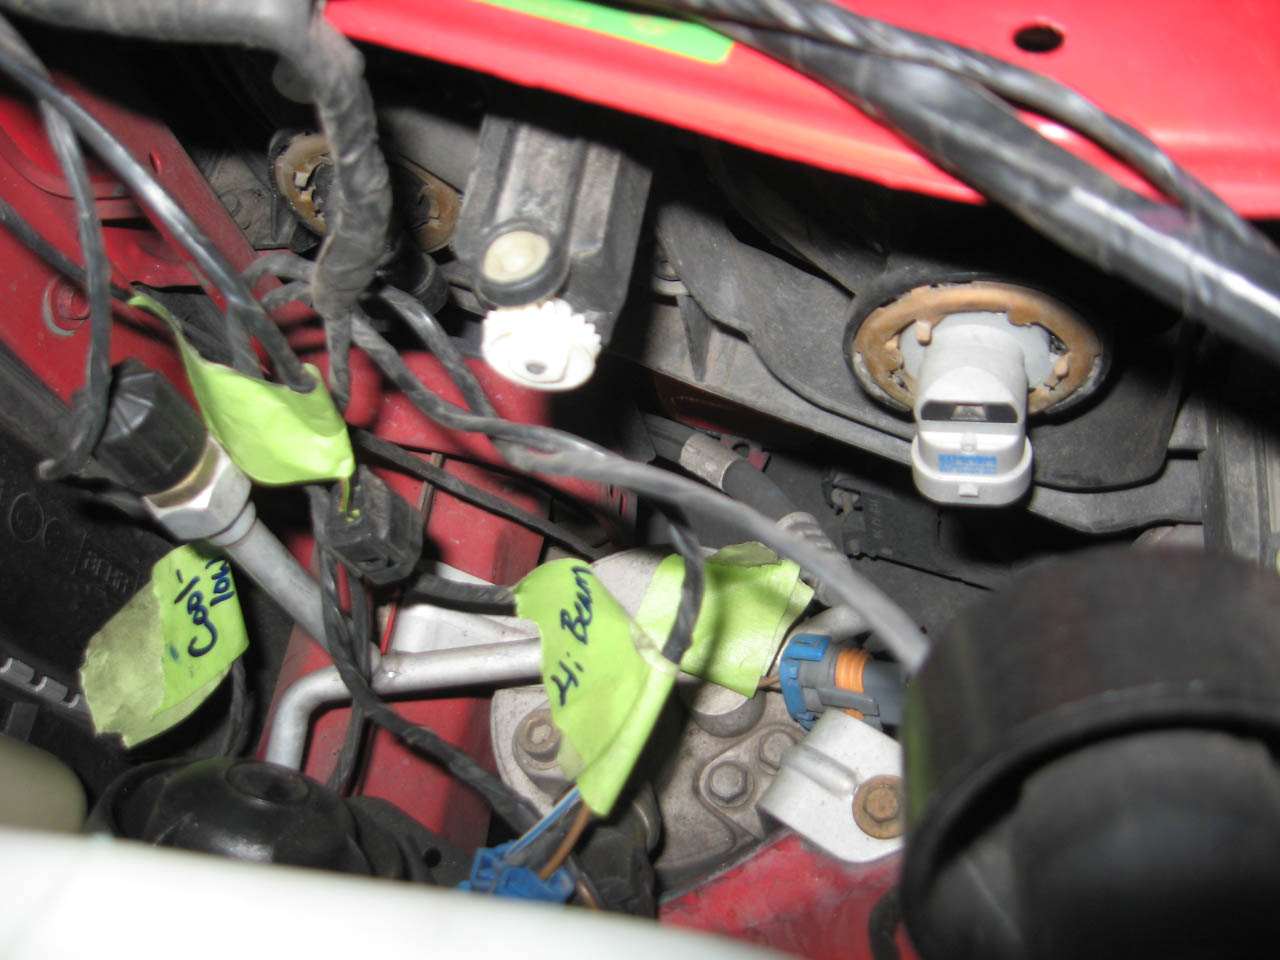
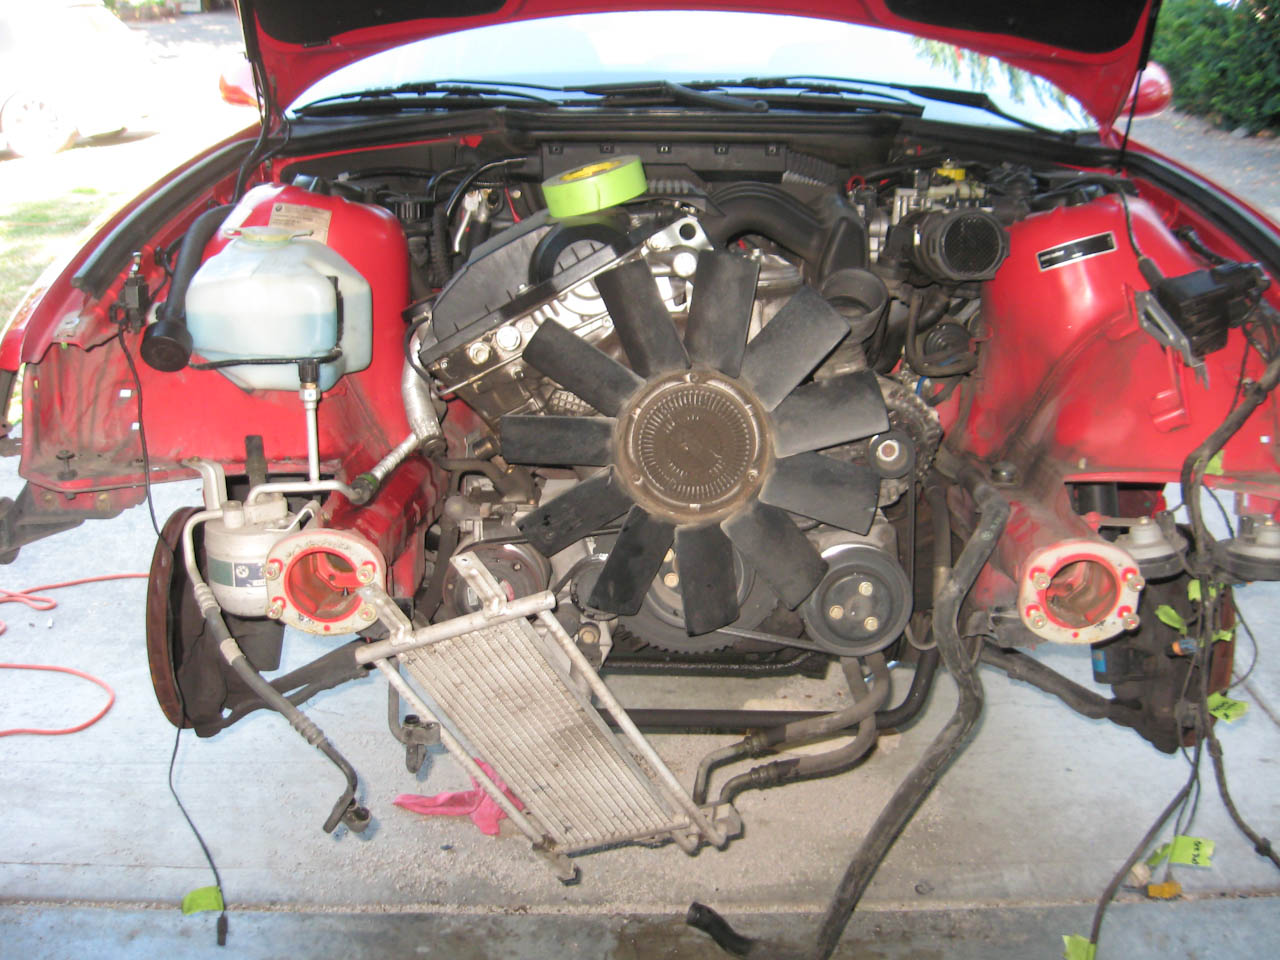
labelled EVERYTHING that I disconnected both for myself and for the guy buying my engine
I was really impressed with how NOTHING from the engine bay goes into the cabin - it's all maintained in the engine bay, very much looking forward to doing this wiring compared to the jetta
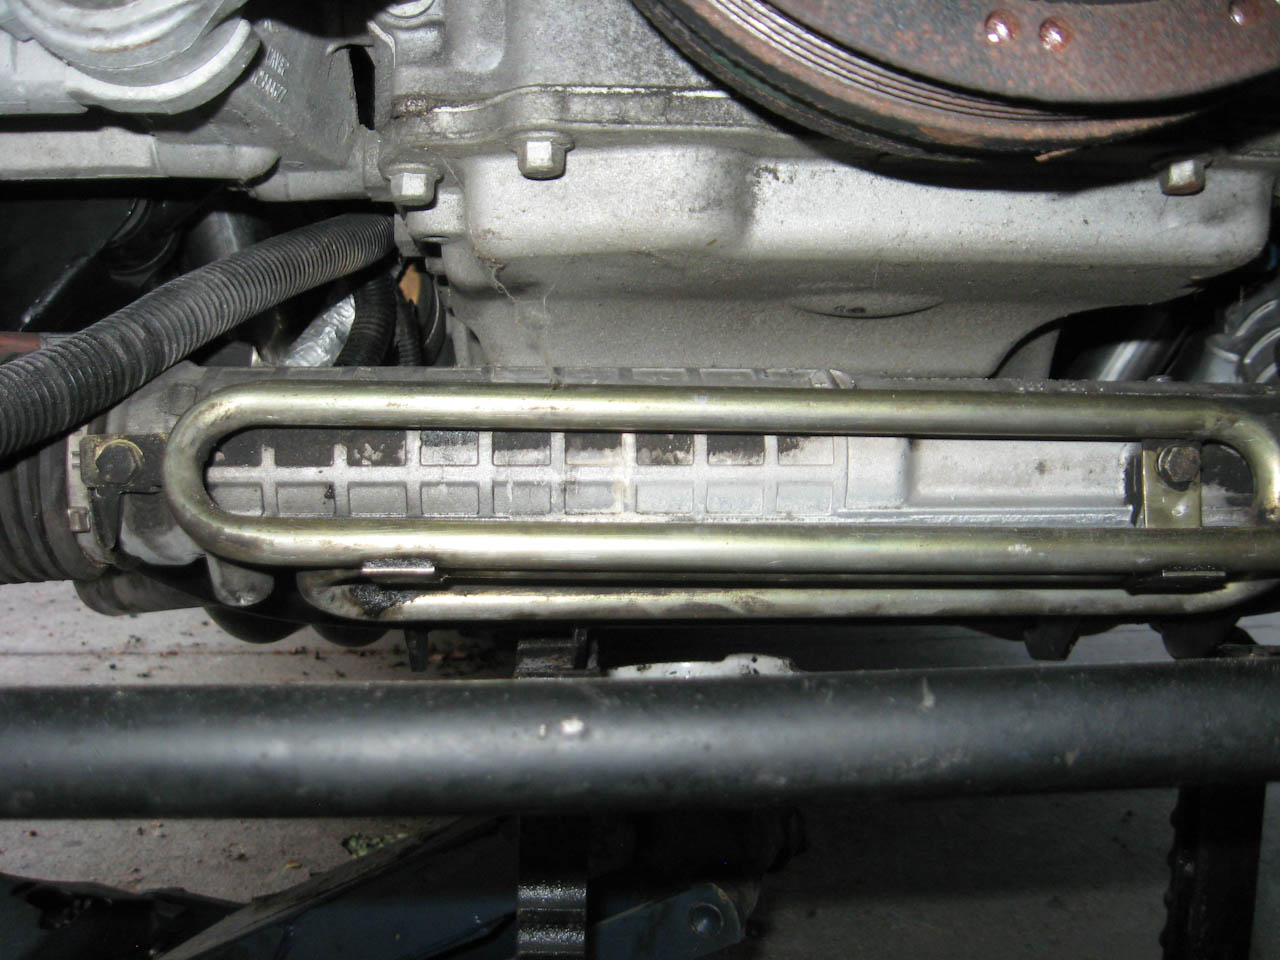
front end off - little radiator is the auto trans cooler, i'm going to keep it and re purpose it as an oil cooler down the line becuase it fits so well.
Exhaust out of the car. I think i'm going to use the cat back for now as it's a true dual to keep the fabrication down until everything is running correctly
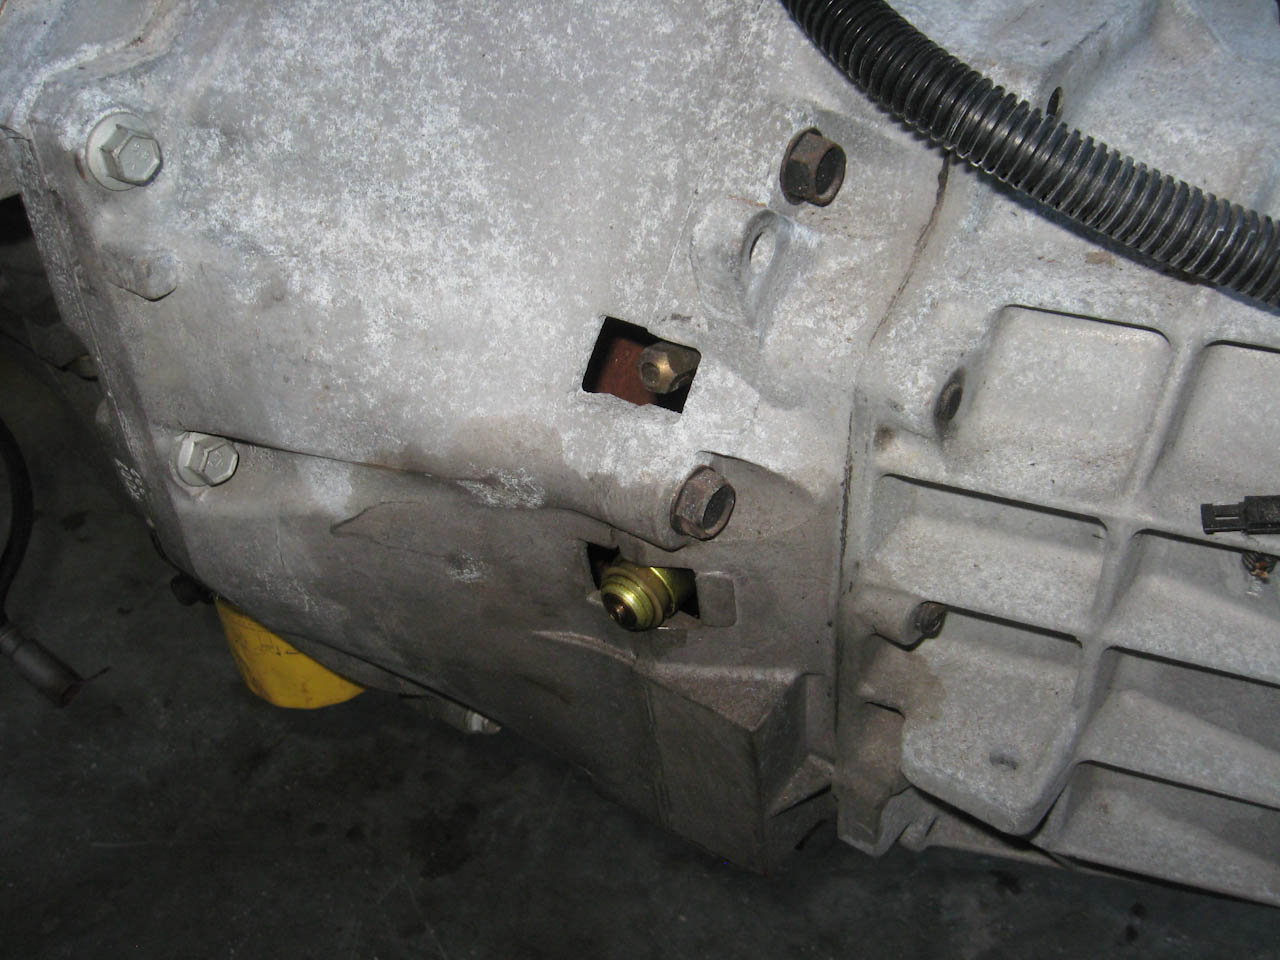
auto tranny has a 4 bolt flange, hurray, things are going well.
engine finally coming out of the car
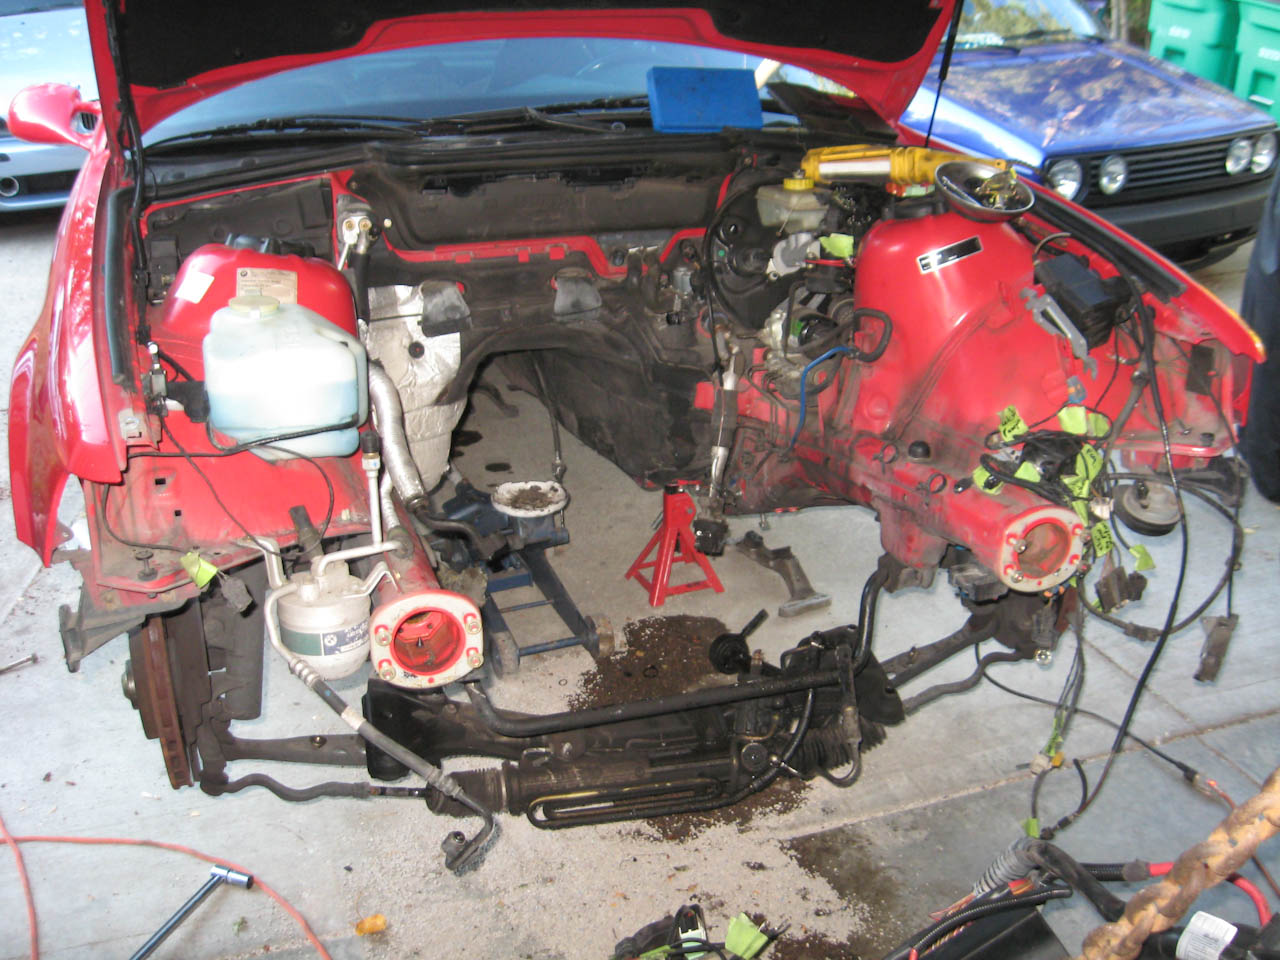
Finally an empty engine bay - the wiring disconnected ended up taking me a while as it was my first time in an e36 bay.
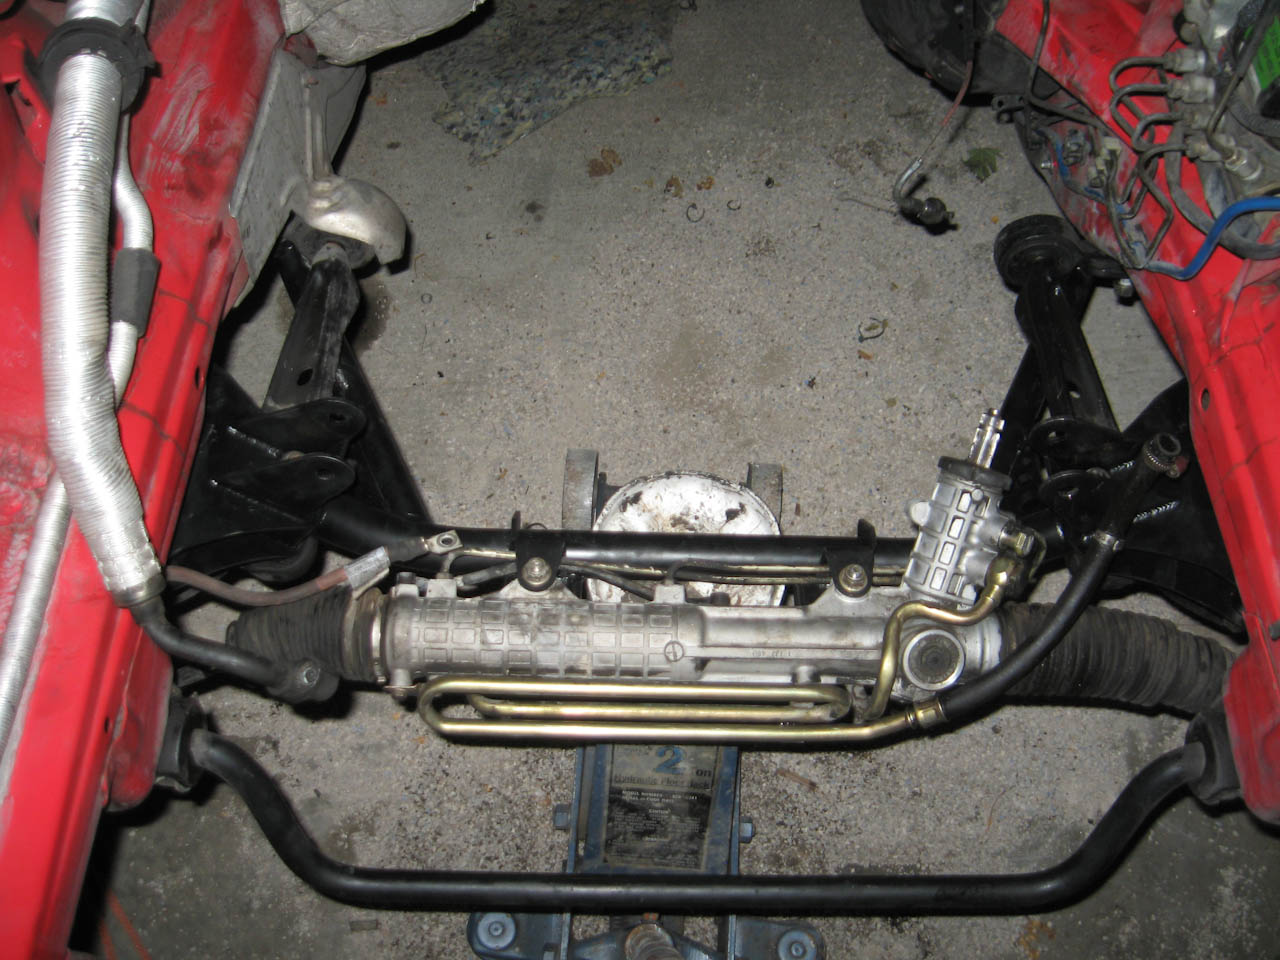
cleaned up the steering rack - check it out in the last pic
installed the subframe - looks like my car might have been tweaked or something as it didn't line up exactly as it should have and I had one subframe bolt on the old one that I ended up breaking becuase it was rusted. I was able to get everything in without too much tweaking beyond pulling the frame rails together just a pinch.
I need to get longer bolts for the lollipops with the new subframe. I'm also going to get new subframe bolts that are as hard as I can find to offset the slight side load they'll have. The steering had a slightly different on center as Braaps did (looks like different part numbers.) so I oblonged one side out so that the bolts ran through it.
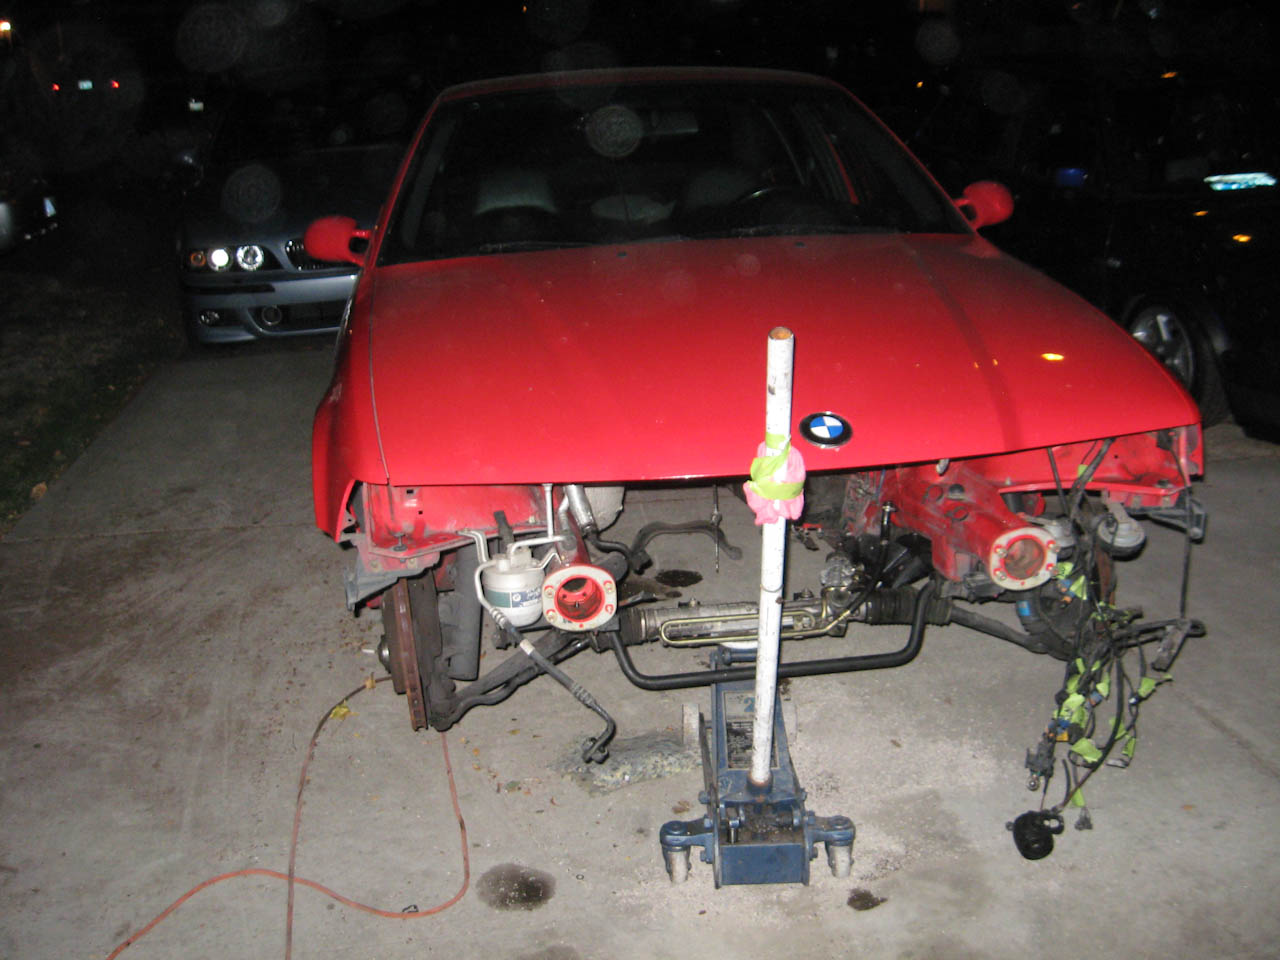
rolled the car back into the driveway so I could close the garage
tomorrow is going to be finish pulling the auto stuff out of the car - clearancing the shifter area for the t56 and fitting the clutch pedal. If I have time I'll also try and get the engine in the car to see how much clearancing I need to do on the frame rails.
Member
wow super fast progress
holla, holla, holla
lookin great... wish i woulda dropped my cross member last week when i pulled mine
Member
HURRY UP! lol good start!
Member
got all the auto stuff out - had to pull the surround out of course
next couple of pics are the various clearances that had to take place
sensor needs the plugs moved to stick out of the side instead of the top of the plug
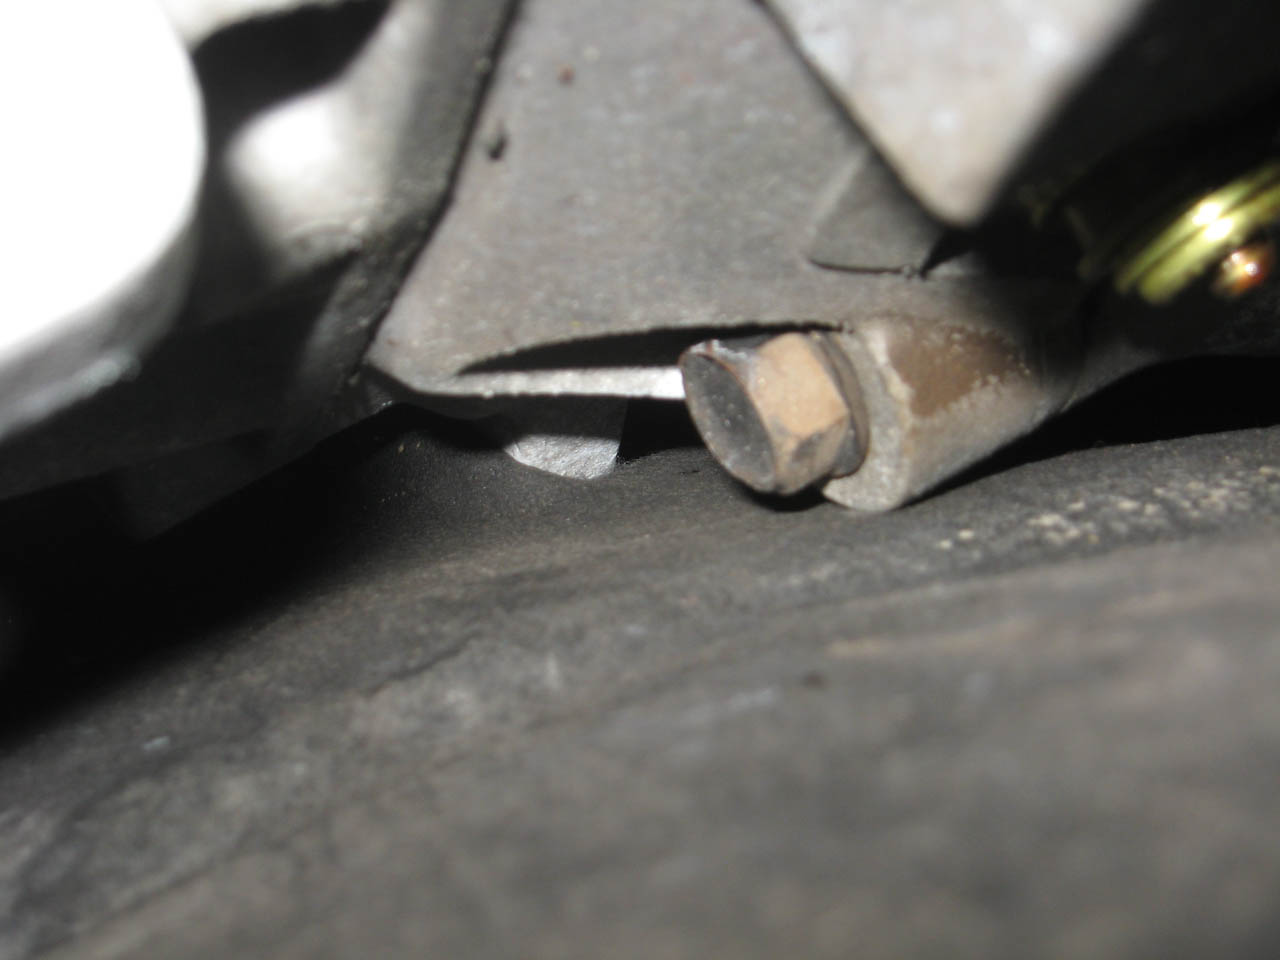
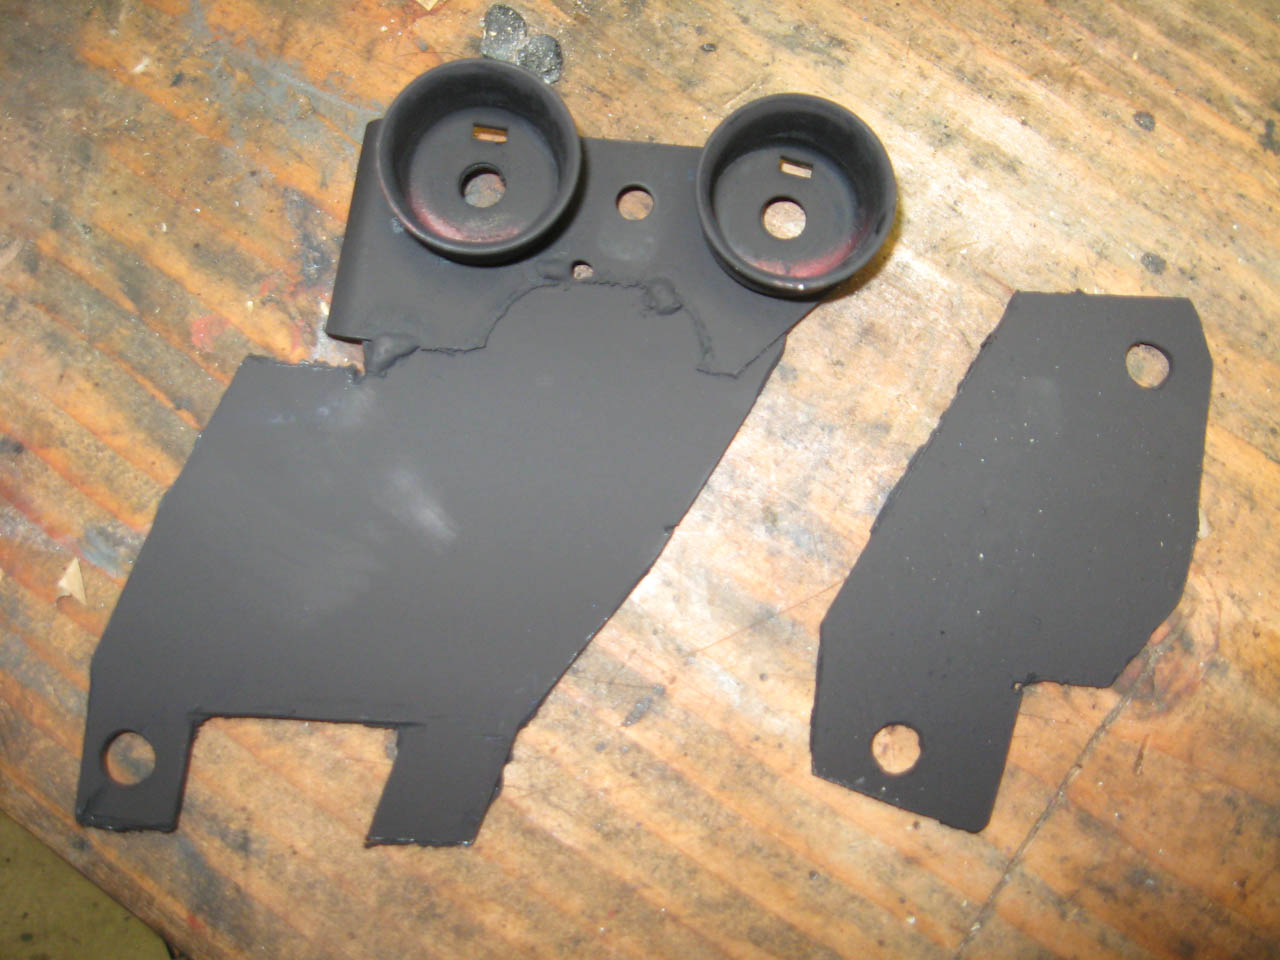
had to remove that top piece - this is drivers side front of the trans tunnel
I left the sound deadener in - I figured I’d rather tear it up a in a few places than lose the benefit of it entirely.
the lug right above the bleeder hole is the one pictured above - it went away
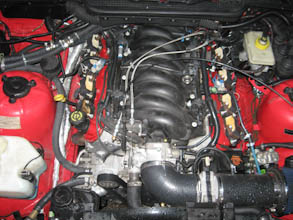
the engine sitting in the car on all of the mounts
a pic of Gordon and I perplexed
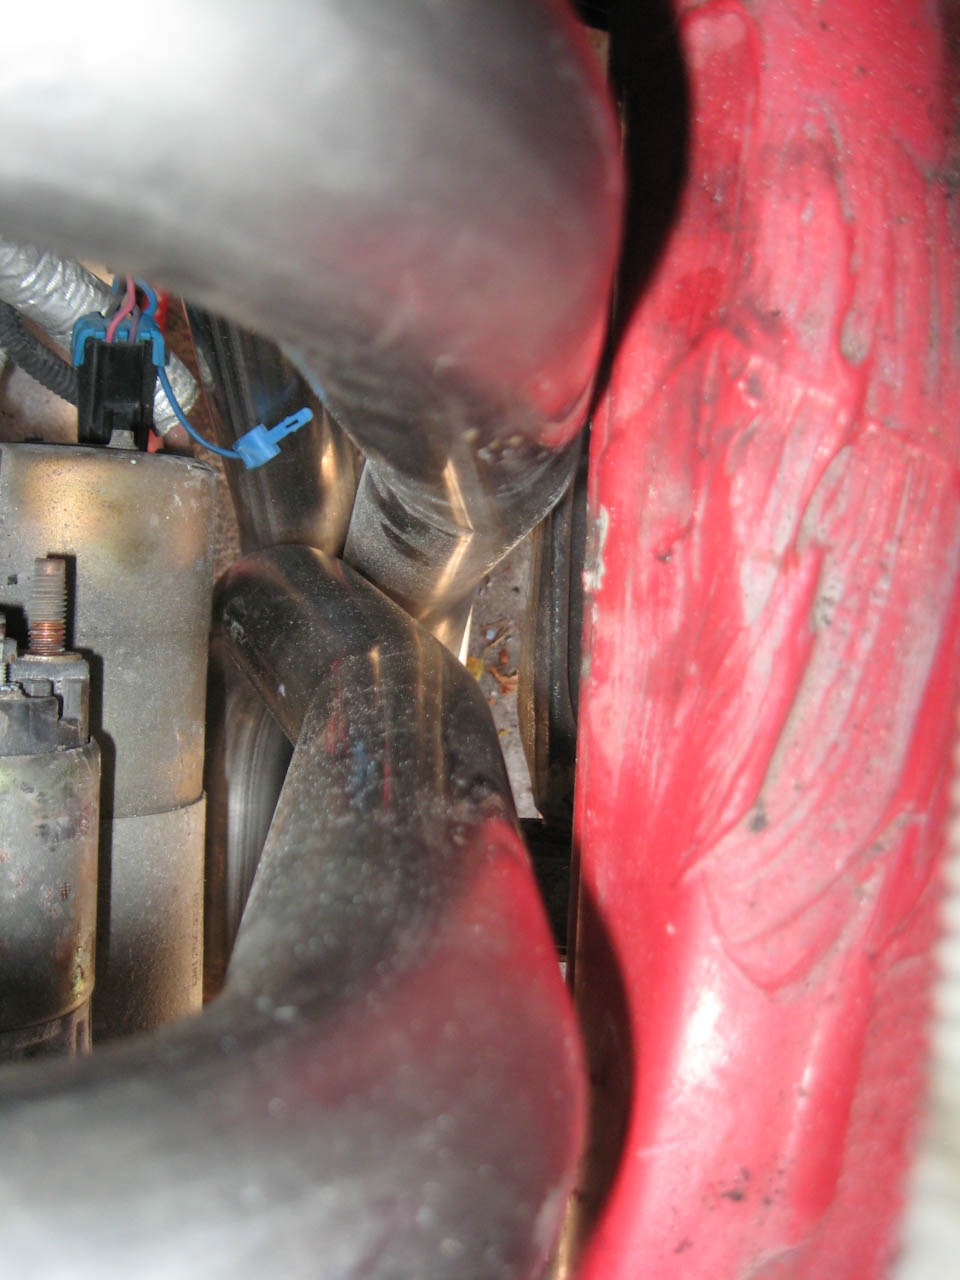
this plastic shield by the starter very much got in the way
it went away
the #6 just barely touched the paint
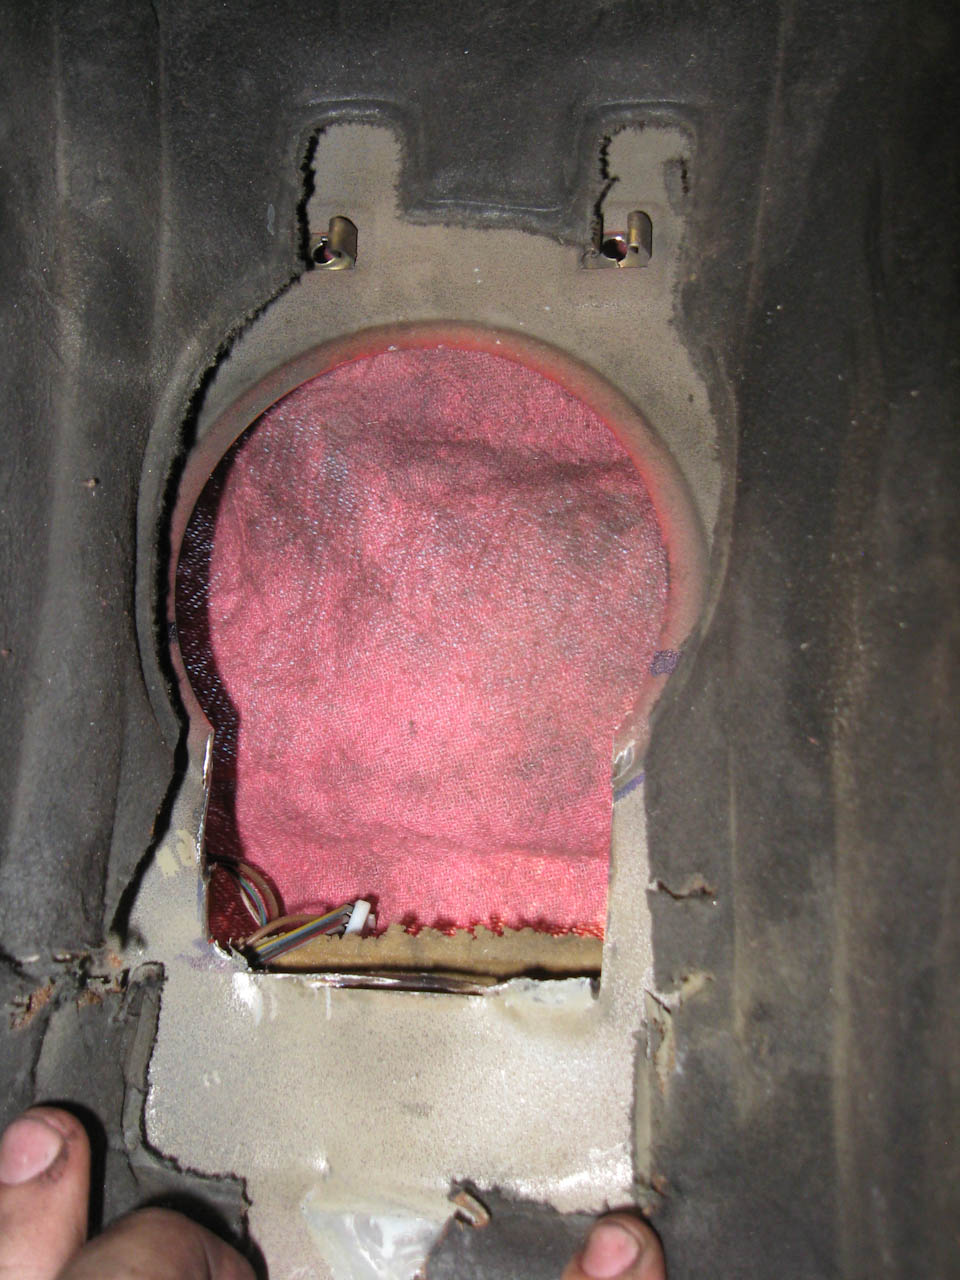
the modification needed to clear the shifter surround in the console
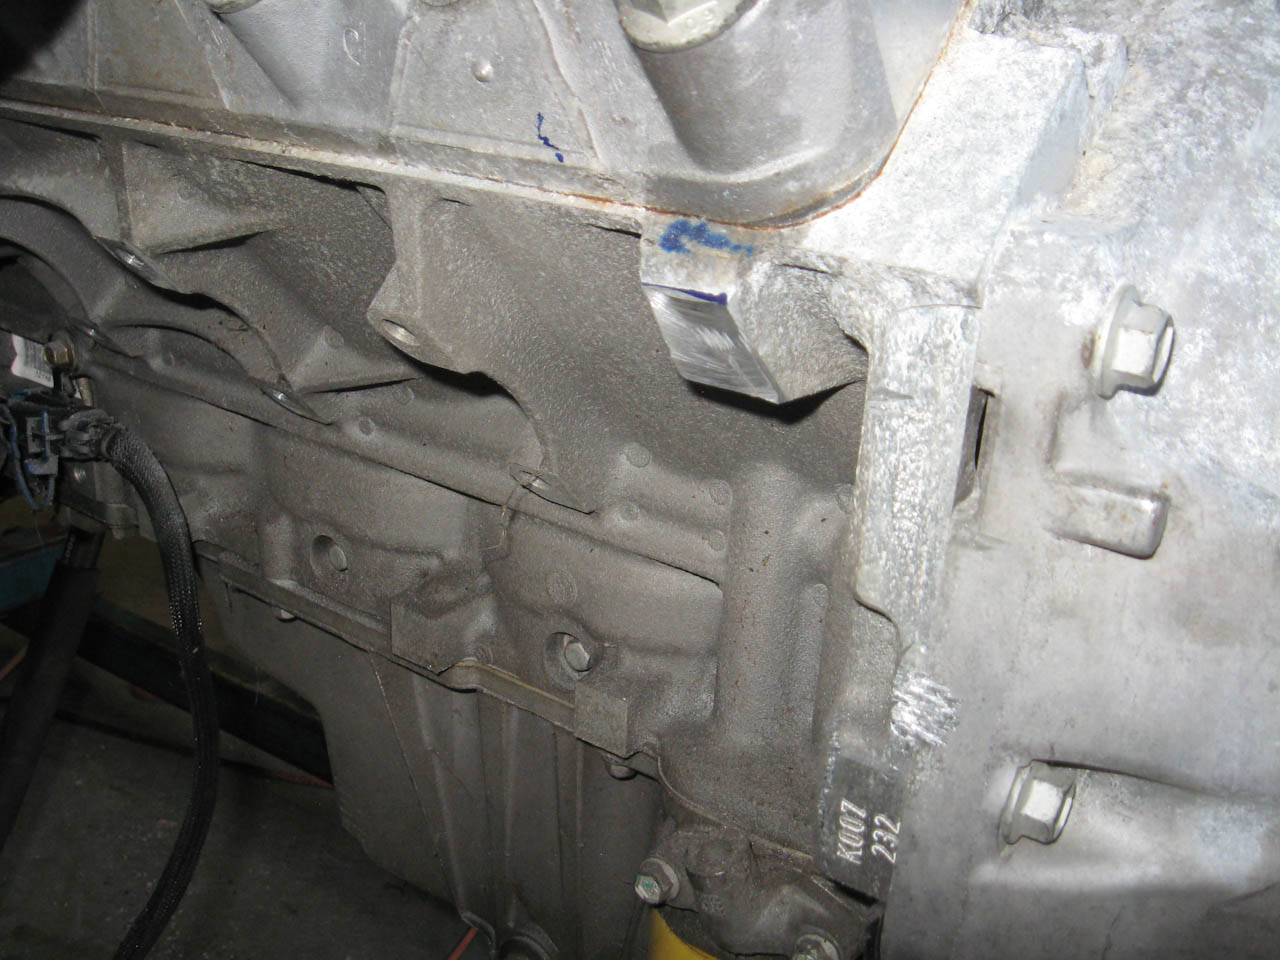
the area for "clearancing" the #6
took a few dead plugs of aluminum off the back of the block to make it easier to get the headers in and out
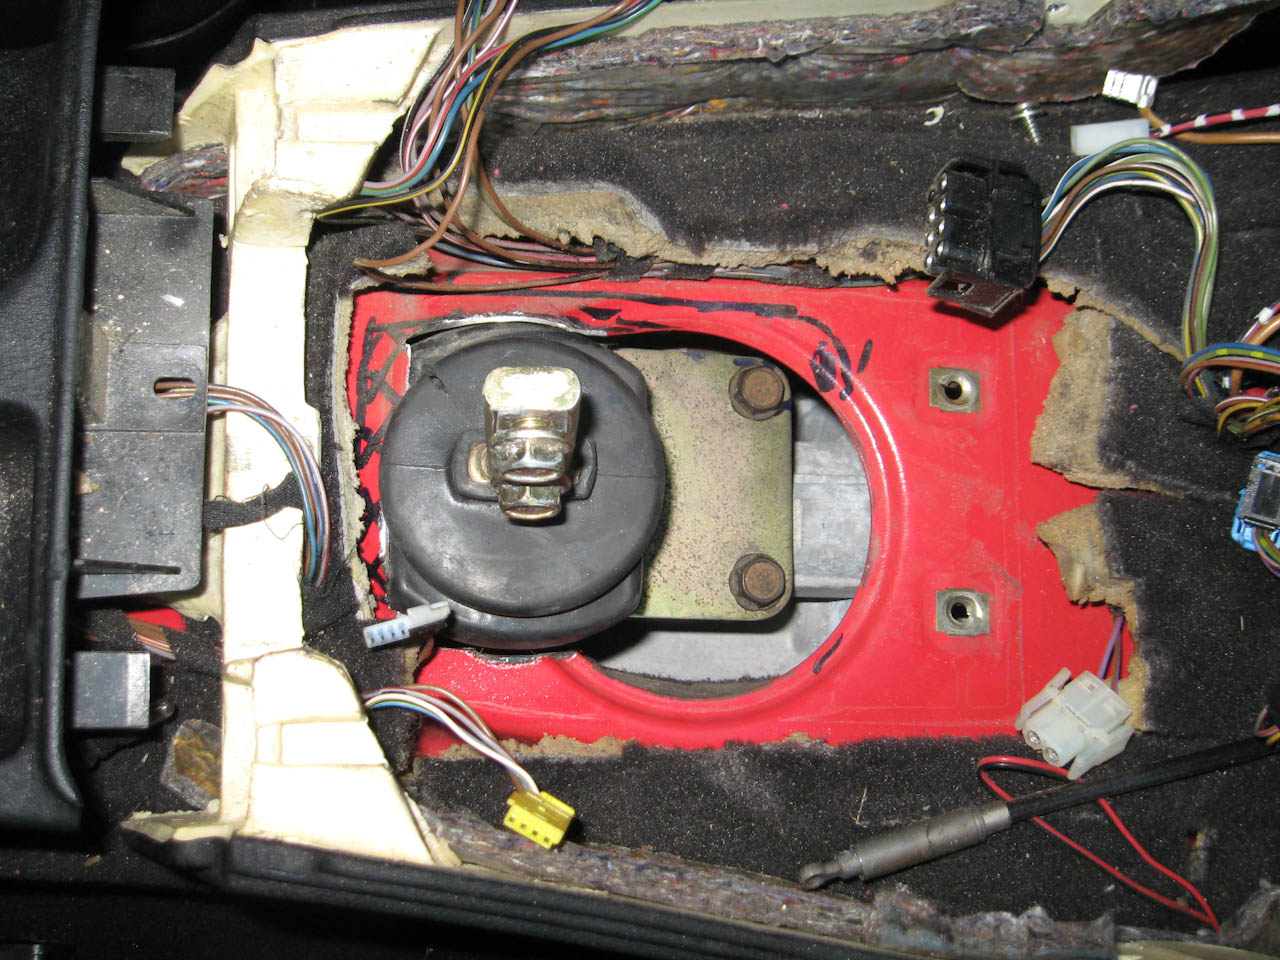
the shifter from below (covered by a rag for grinding) to show the cleared area - I also removed the bracket from just behind that area as well for more rearward clearance
how the shifter sits in the area - need to trim just a pinch more in the back and the side - basically exactly where I marked
oil pan clearance with the f-body pan, i'll run a later pan in the future for better oiling but this will work for now.
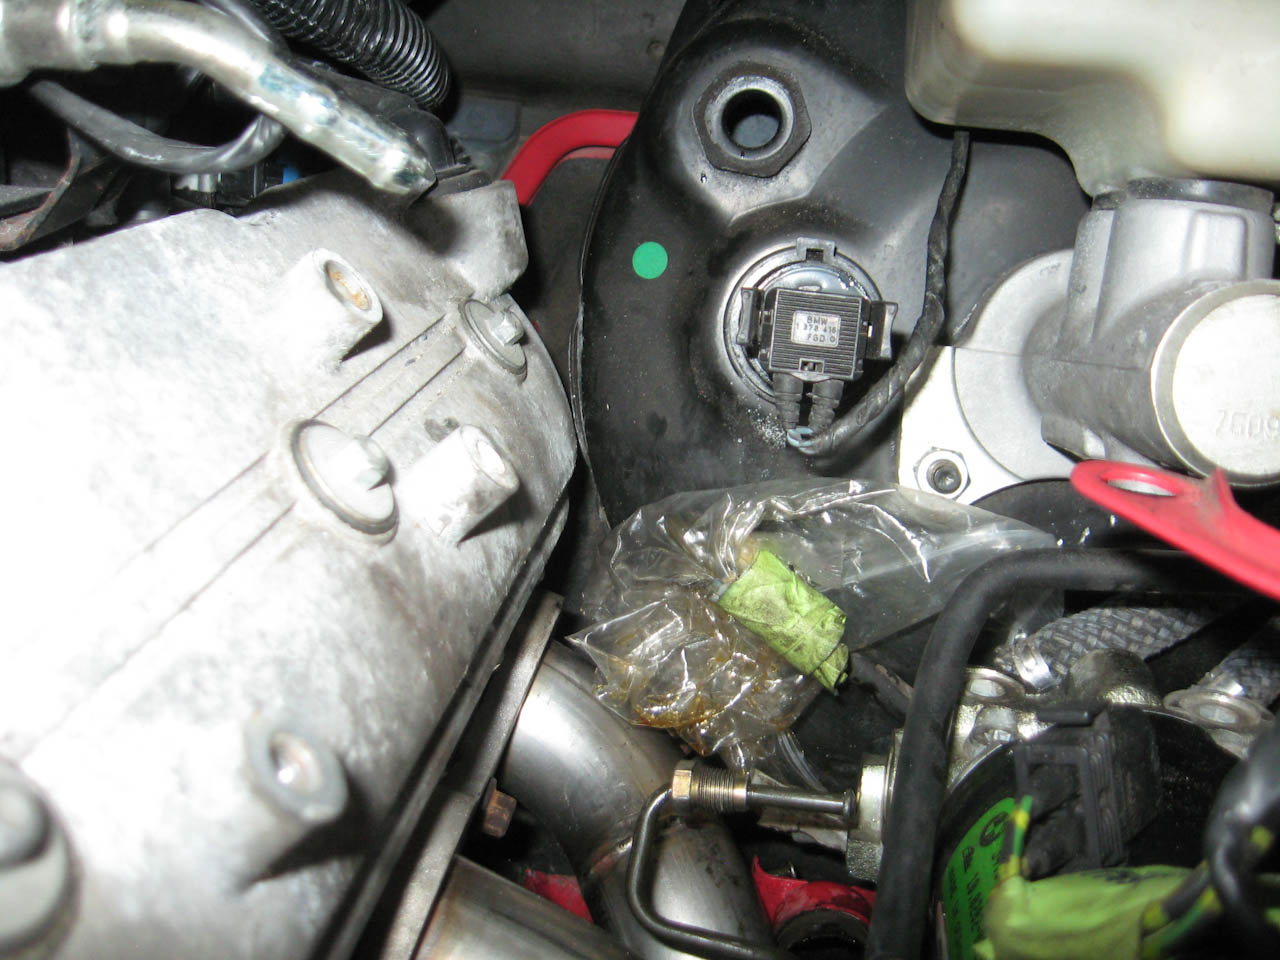
this is the tight side of the motor - the vacuum can just barely doesn't touch the motor - i'll probably give that area a hit with the hammer just to give the motor a pinch more wiggle room but it's good now
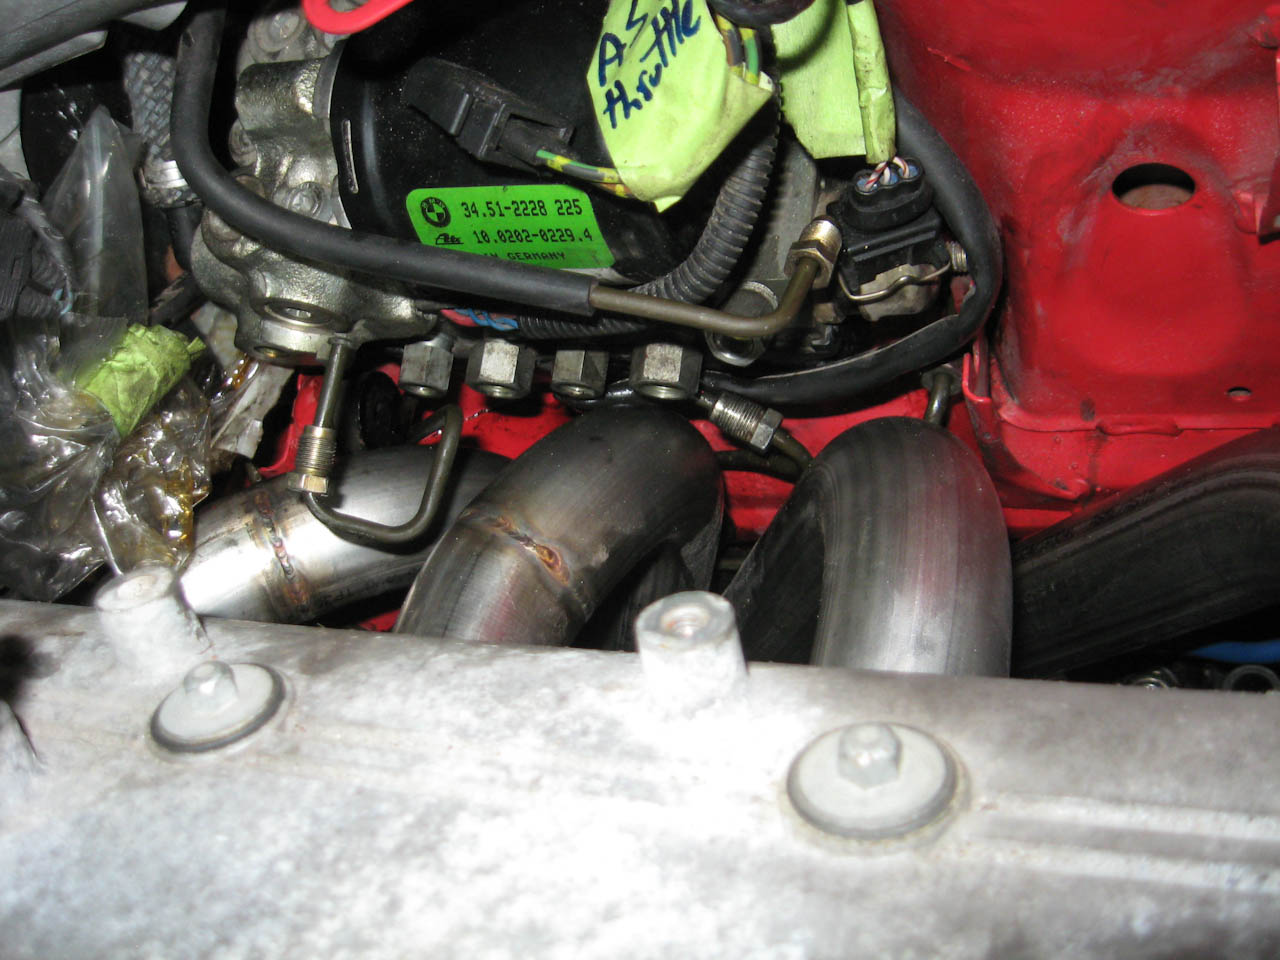
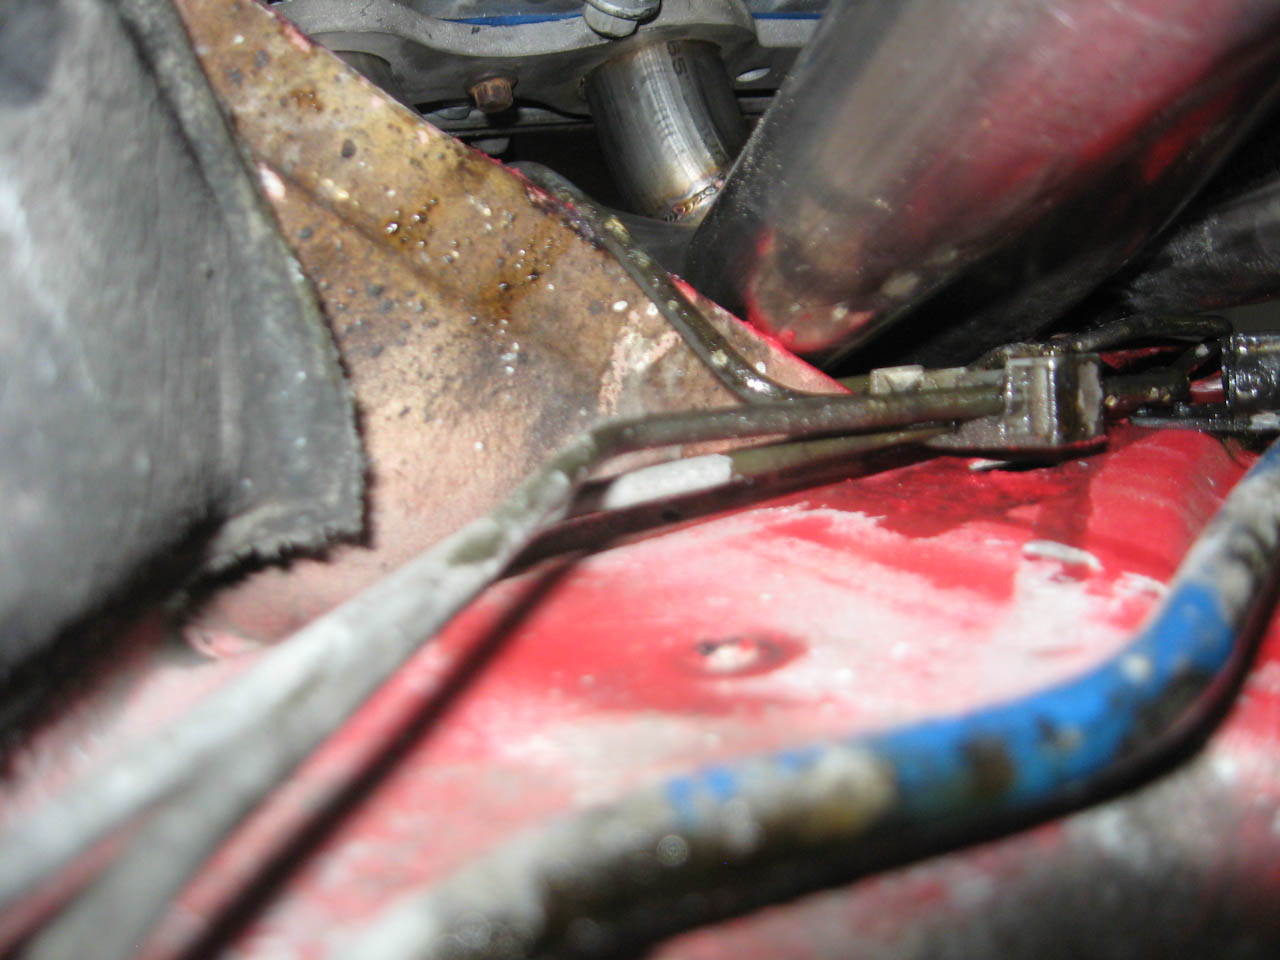
this is the real fun area - the ABS and all the brake wires. my intention is to reshape the brake lines and potentially get a few small extensions to shape them around the headers and push the abs pump up and back in the frame about 1.5 inches up and 1.5 inches back - add in some 90's at the plugs and cover with a heat blanket.
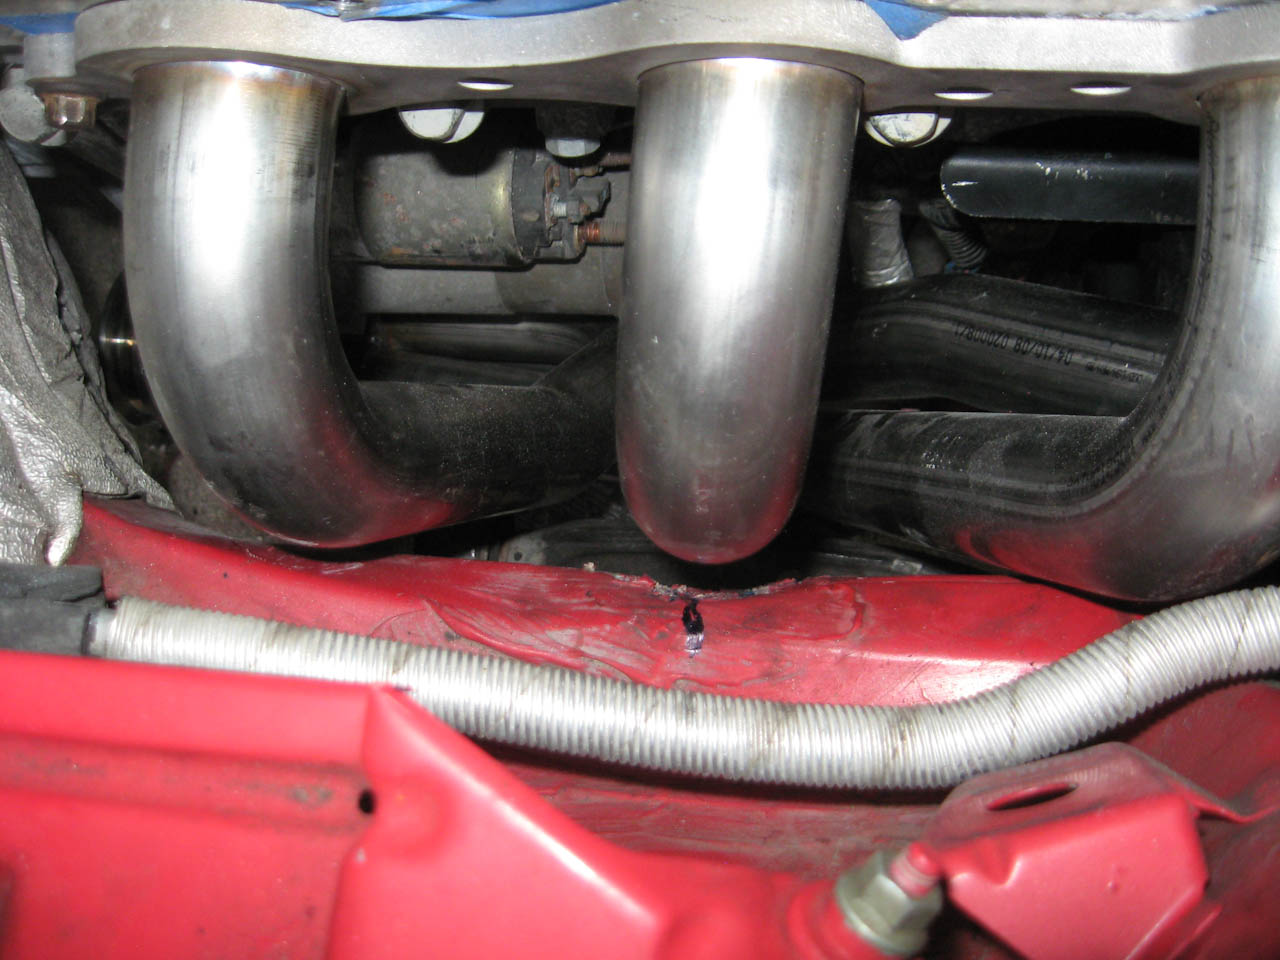
the after clearanced frame rail on the #6 (second time the motor was in the car)
how close the oil filter is to the headers (old oil filter still, don't worry)
the #7 and the slight touch it has against the frame rail extension and the brake lines. I'll clear that again now that the motor is out.
the motor is out again after all the measurements were done - my intensions are to get the clutch lines in, sort the brakes and clearance the #7 so that I can put the motor back in again and hopefully keep it in. I also need to pull the tranny to install the remote bleeder before the assembly goes back in the car.
plenty more to do but good progress again
Still has a E39
Supporting Vendor
These are pretty bad fitment issues for a complete kit in my opinoin, but good progress on your part to make it work.
Member
Rob
Prior projects:
1998 540i with 6.6 LS2/T56 Chevy Power
- pictures and details
1992 325i with 6.6 LS2/T56 Chevy power - pictures and details
1995 M3 with 6.6 LS2/T56 Chevy power - pictures and details
Member
WOW on the fitment issues.....
It didn't seem like Braaps car was as bad with fitment...?
That is a lot of work done in one weekend! Good Job!
Member
Originally Posted by 357i
 The subframe itself fit perfectly in braaps car as far as mounting went - mine didn't, I do believe it was because my car saw some sort of small collision at some time due to my one rusted sub frame bolt. that is the issue with a new subframe - if you car has any pre-existing issues you'll find them...
Honestly, I think the header on the #6/passenger side could EASILY address needing to clearance the frame rail, I'm going to pass the feedback/location issues back to Samberg. I don't mind as much on the drivers side, I understand why it's done - you either clearance that small area that isn't as structurally important or you run into steering shaft interaction or you push farther up into the area above the frame rail forcing movement of the ABS - and then you have to somewhat mirror that on the passenger side. I think clearing up the #6 fitment would make this a fantastic kit.
The tranny mount - something I haven't mentioned at all - is a work of art - it just works, perfectly. no fitment issues, nothing, just set it in and bolt it down - the engine and all the accessories and everything make getting the engine in and bolted down up front a PITA but the tranny mount is just simple and it's nice that it is also setup on the same poly mounts as the engine mounts so a bit less vibration should be felt in the chassis.
Member
I'd also have liked to see the clearance at the booster to be a little greater... be careful with the hammer on that thing.
Agreed the transmission x member is awesome!
Member
it would be nice but again, it's that whole trade-off - if it only supported an f-body pan the motor would sit ~1.5" lower and there would be piles of space by the booster and on top of the tunnel. the option exists to go to a smaller booster but that has the trade-off of having to deal with the brake pedal movement sensor. Engine swaps are all about compromise - I'm a big proponent of leaving as much as possible alone in the car so it involves modifying less things - it's the big reason I don't want to wholly move the ABS to somewhere else in the engine bay with lots of spare room (like where the SAI pump was.)
I of course do have to move the coolant valve, my intention is to move that over to the giant open area created by the SAI pump
Last edited by Tongboy; 08-16-2010 at 02:04 PM.
Member
But you can use the dry sump hotness!!!!
Member
Looks good, I hope to see this car in person along with Braap's when they are done. Will you plan on running this with full OBD2 compliance or are you outside of the DEQ area? I am still shopping for my E36 but have been sticking to 92-95 cars to avoid having to set up the OBD2 port and all required sensors.
Member
i think the parts look really good and quality made, but for a complete kit there are just to many problems, for a complete kit i don't think the engine should be coming in and out unless there is a mistake on your part. but hey.... good work on the progress
Member
good work..
what driveshaft options are you lookin at?
- Peter Shen -
Member
I'm very much within the DEQ bounds. I had the car tested when I bought it and do intend on making it fully functional via the OBD port, it's only a few wires, why not.
we'll see about complying 100% but I have no problem running cats
thanks
I sent my JTR adapter down to driveline of texas (or whatever the company is called) to make me up a 3" aluminum unit - my measurements put it dead on 4 feet from trans to flange. lighter and substantially less expensive than the vorschlag unit.
i'm actually going to go call them now to check up on it, thanks for the reminder :o
Member
I know that BRAAAP will be using all OBDII compliant pieces down to emissions stuff.
(I sent him some of mine)
Interesting on the driveline stuff, nice to know!
Member
motor looks a little high to me, i think if it came down a c-hair it would help tremendously. I'd also be wary of a big aluminum driveshaft, you might have clearance issues there...I had to abort mine and go with a sleeker steel one.
Member
Problem with the hight is that samberg is leaving room for any oil pan to be used, most are thinking about the LS7 Dry Sump stuff...
Member
You'd have to run a cat for OBD1 compliance anyway, in order to pass the sniffer and visual tests. I'm sure that making the OBD port functional is easy, but it's all the little things like fuel tank evap, secondary O2's, etc that might be a PITA to wire up properly so that there are no codes being thrown, causing you to fail DEQ. I'm still leaning towards an OBD1 car, but if I knew that someone had done this swap with full OBD2 functionality I'd be able to get an M3 sedan (which is what I wanted to use to begin with).
I spoke with him a while back, he said the same thing to me but since he's outside of the DEQ testing area, he has the luxury of removing portions of the OBD2 system that get in his way.
Member
The second 02s from the original stuff would work, if you need to have an EGR setup you can use the stock Fbody and make it work, the tank pressure can be integrated as well... I Really think you could make it an OBD II legal swap.
What is DEQ?
Member
Sorry, DEQ is just shorthand for emissions testing here. (Department of Environmental Quality). The only places in the state that requre this testing are the Portland Metro area and the Rogue Valley down south. OBD1 cars here require a visual inspection (very minor, they don't even open the hood) and a sniffer test at idle. OBD2 and later cars just require a scan of the system via the OBD port...if there are no issues reported by the computer, then you're done (no sniffer test required).
If you live outside the 2 areas listed above, there is no testing and you'd be free to swap an LSx into a 96-99 E36 without having to worry about the OBD port working.
I'm still curious as to how tough it will be to get all those little things to work. I'm getting to the point that I might just buy an OBD2 car and get the DEQ test done immediately, which buys me 2 years before the next time I'd have to get the car tested (plates/tags are done every 2 years here).
Member
DEQ = oregon's emissions place - department of environmental quality
the front and rear o2 sensors are straight forward
the EGR is a PITA with the headers but certainly do able. the evap and fuel tank pressure stuff isn't bad at all, just a connection to the f-body stuff.
just buy a sedan, sedan's are what all the cool kids drive
Last edited by Tongboy; 08-17-2010 at 08:01 PM.
Member
hehe...no choice there, I need to fit 2 car seats in the back so a sedan would make much more sense for me.
Member
More progress today
ugly but functional brackets for ABS movement upwards
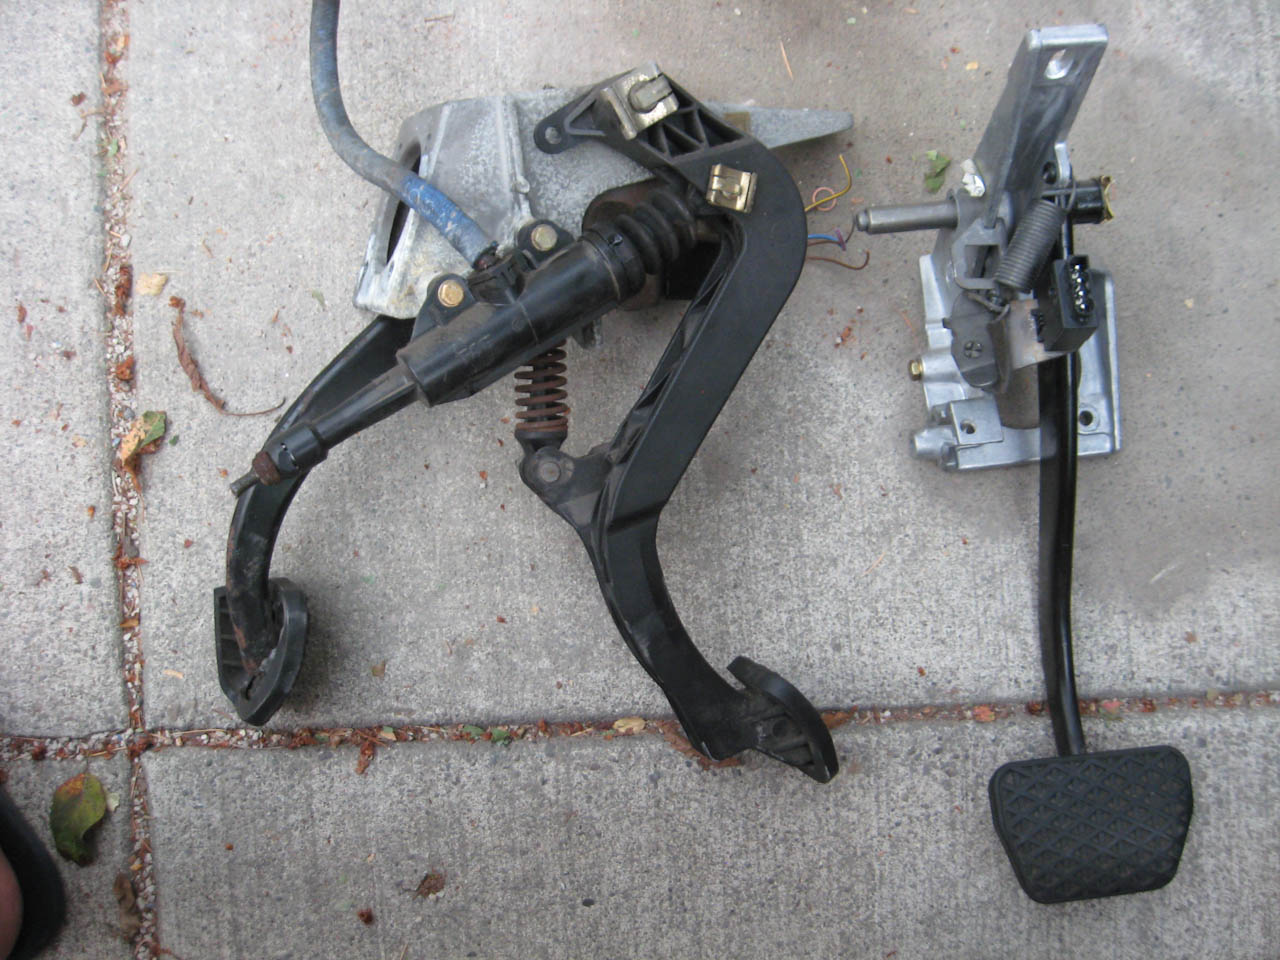
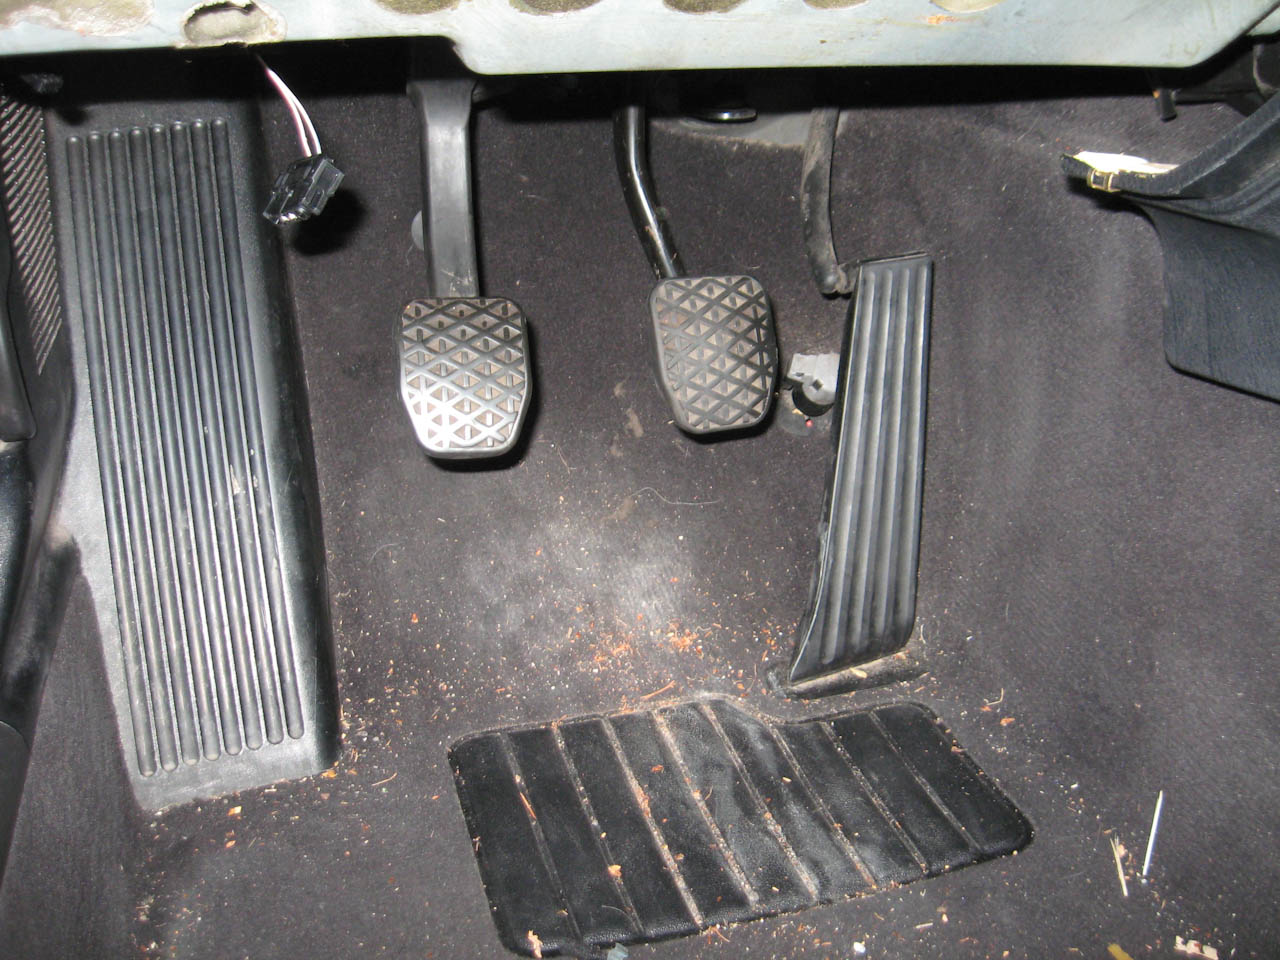
I can't believe how EASY putting the clutch pedal and master cylinder in was - it was SO MUCH EASIER than the mk2 jetta. unbolt and bolt in, punch out the holes and plug everything in, it was fantastically easy.
the extra pedal in there now
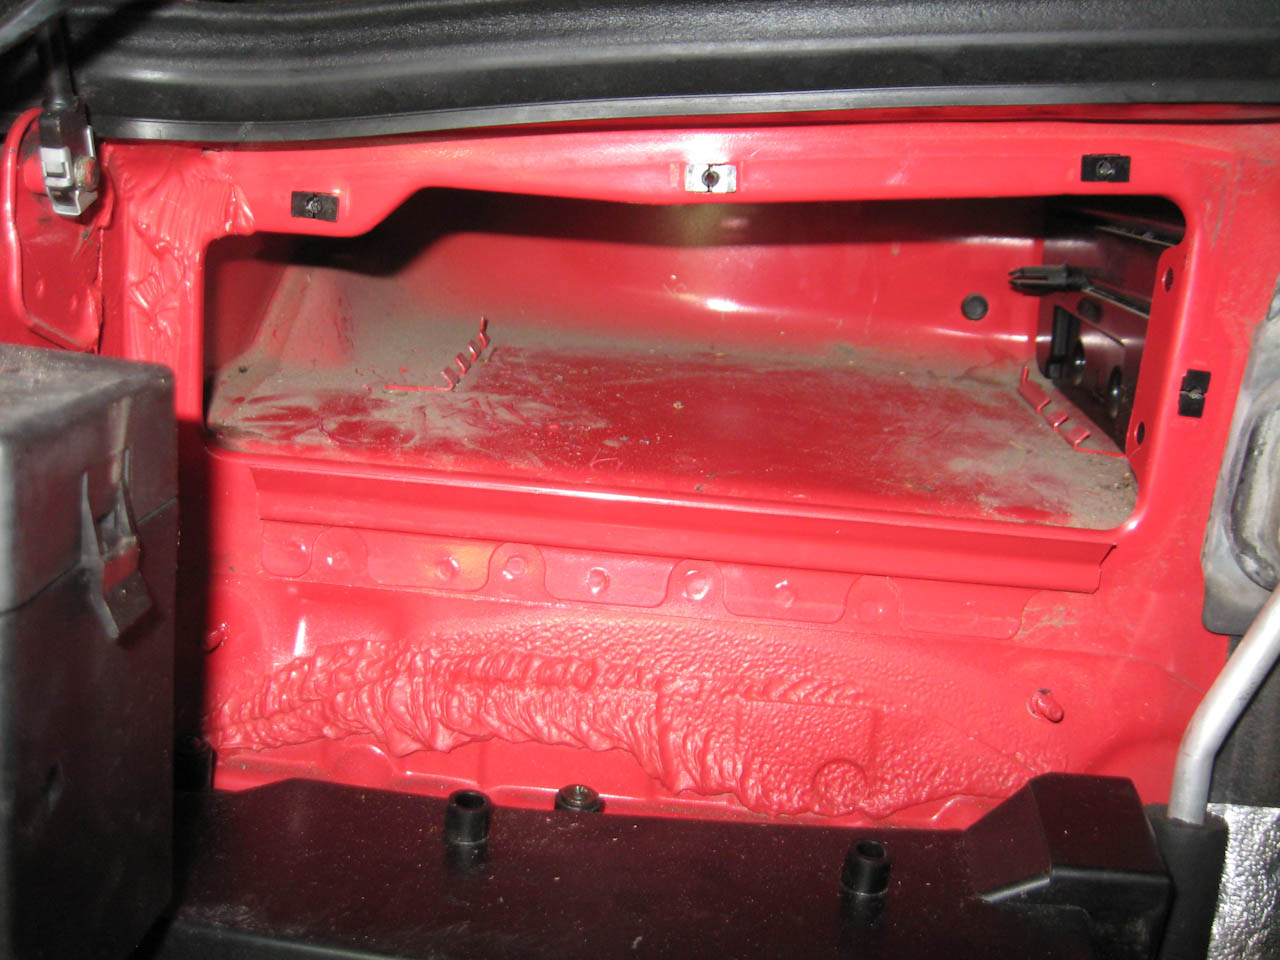
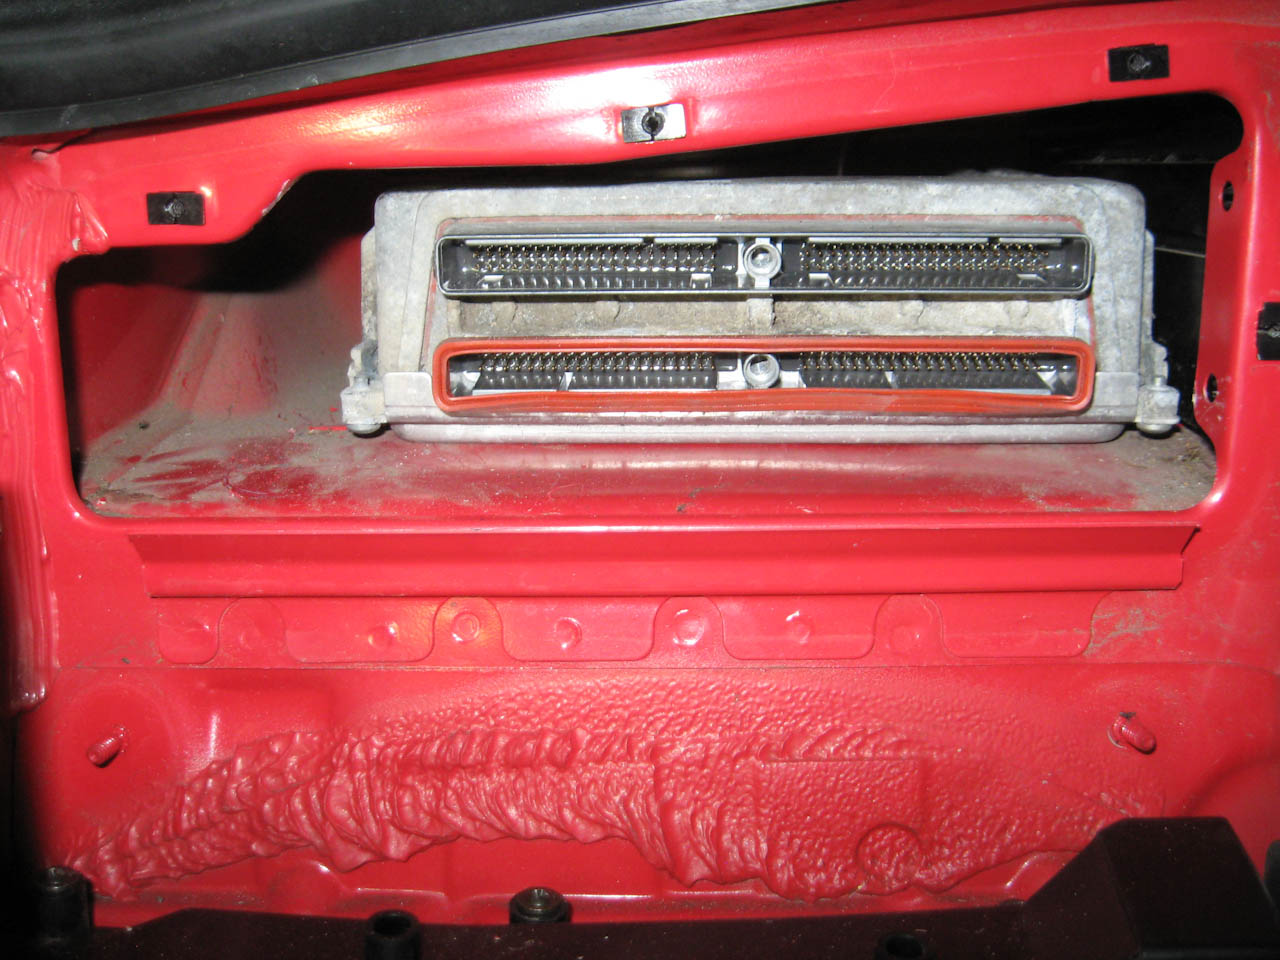
cleaned out the ecu box to make room for the LS computer
I've seen talk of needing to clearance the box to get the ECM to fit - this wasn't necessary for me at all - you can see I scraped the paint just slightly but no issue at all or trimming necessary.
the movement of the ABS is complete, you can see the extension for the rear lines and the clutch line as well as the clearancing on the frame rail.
the pegasus racing AN conversion fitting. I do believe a straight in metric to AN fitting could have been done for cheaper than the very expensive pegasus piece - for anyone else planning power steering plugs.
Tomorrow the motor should be able to go in for the last time and the wiring fun can start.
Last edited by Tongboy; 08-18-2010 at 12:26 PM.
 Posting Permissions


 Reply With Quote
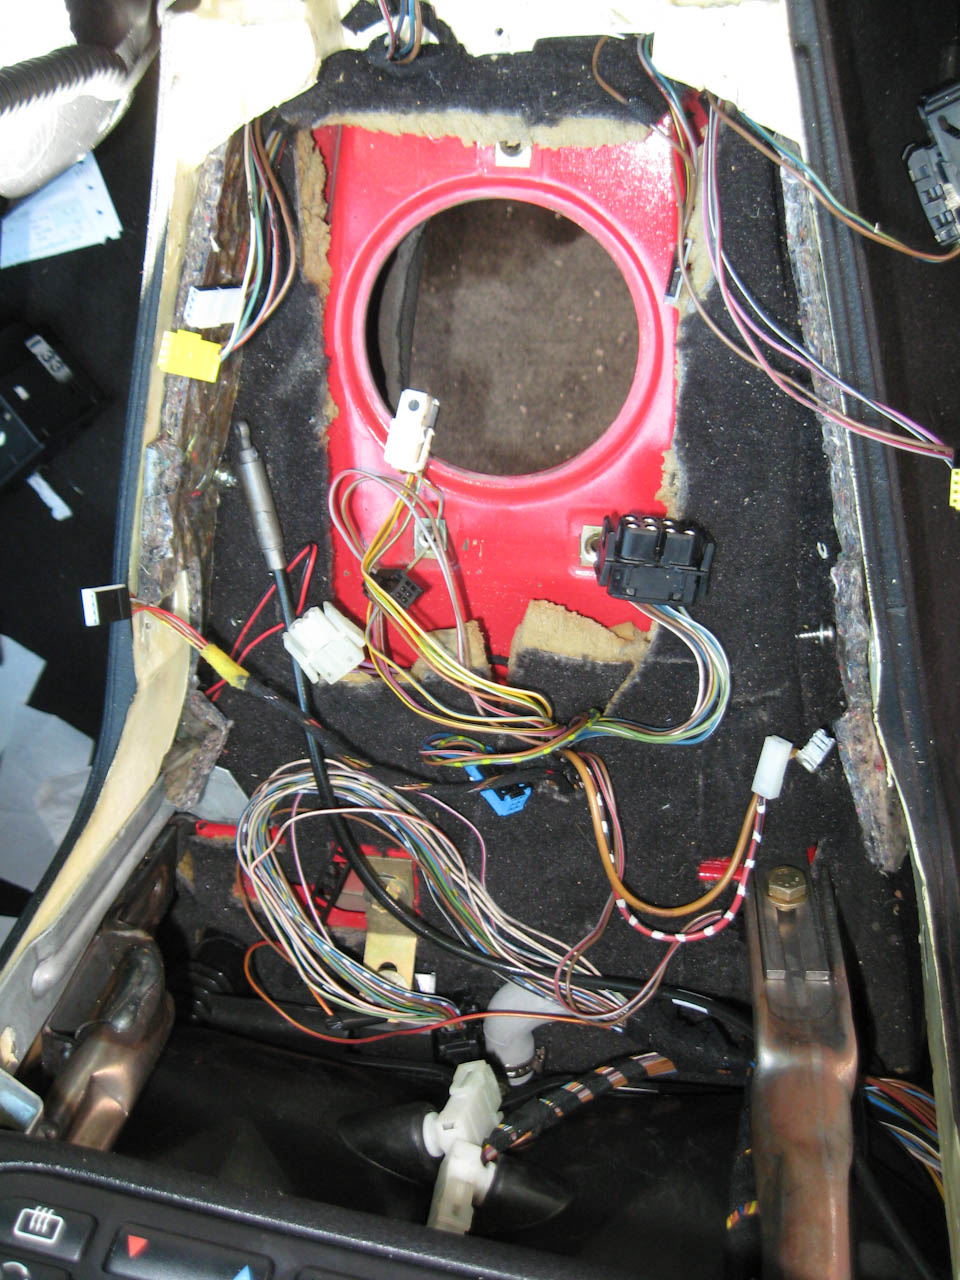


Bookmarks