Well after several annoying months of hearing the dreaded "Ding" only to discover yet again that my windshield wash reservoir is low, I decided to do something about it. There has been a leak somewhere in the system which caused the low fluid indicator to go off after just one to two days of filling.
After an exhausting search on this forum, I found very little information about the location of the reservoir in an e39, so I've decided to post up some pics and this little DIY of the project.
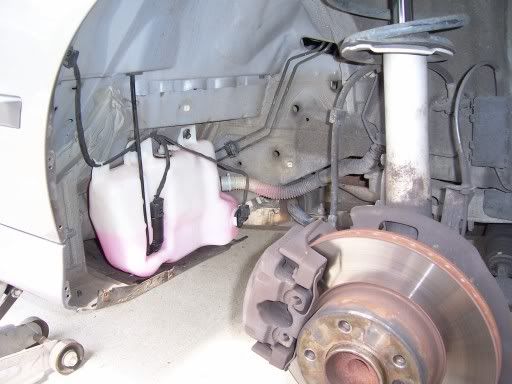
First off, you've got to jack the front passenger side and remove the wheel. (Please use a jack stand to support the vehicle) Then remove the inside fender panel using an 8mm socket on all the fasteners. There are also three "push locks" at the rear edge of the fender well. After breaking the first one, I pulled back the liner, reache in and pushed them out from the inside with a small screwdriver.
This photo shows the location of the reservoir with panel removed:
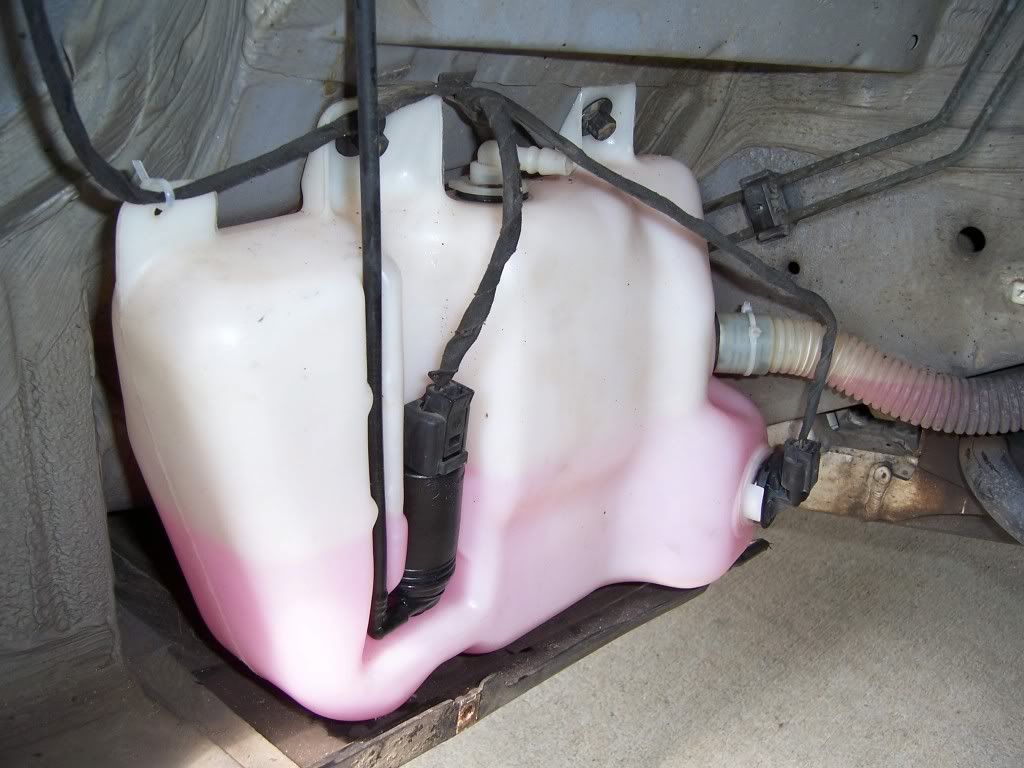
Pull off the fill hose and carefully disconnect the washer line from the pump(located at the bottom left of the next photo). Disconnect both electrical connections and clip the zip tie (if there is one) holding the wires to the reservoir. Remove the two bolts holding it with a 10mm socket, then simply pull forward to remove.
Photo 2:
Drain any remaining fluid into a clean container or discard if it is dirty. To remove the pump and level sensor from the reservoir, simply slide them out slowly. The pump should have a blue plastic screen on the end which may come off. Just shake it out of the tank to retrieve.
Clean the entire tank, inside and out, with a soapy water solution or mild degreaser. Perform a leak test on the tank. Simply plug all the holes with your fingers and blow hard!!

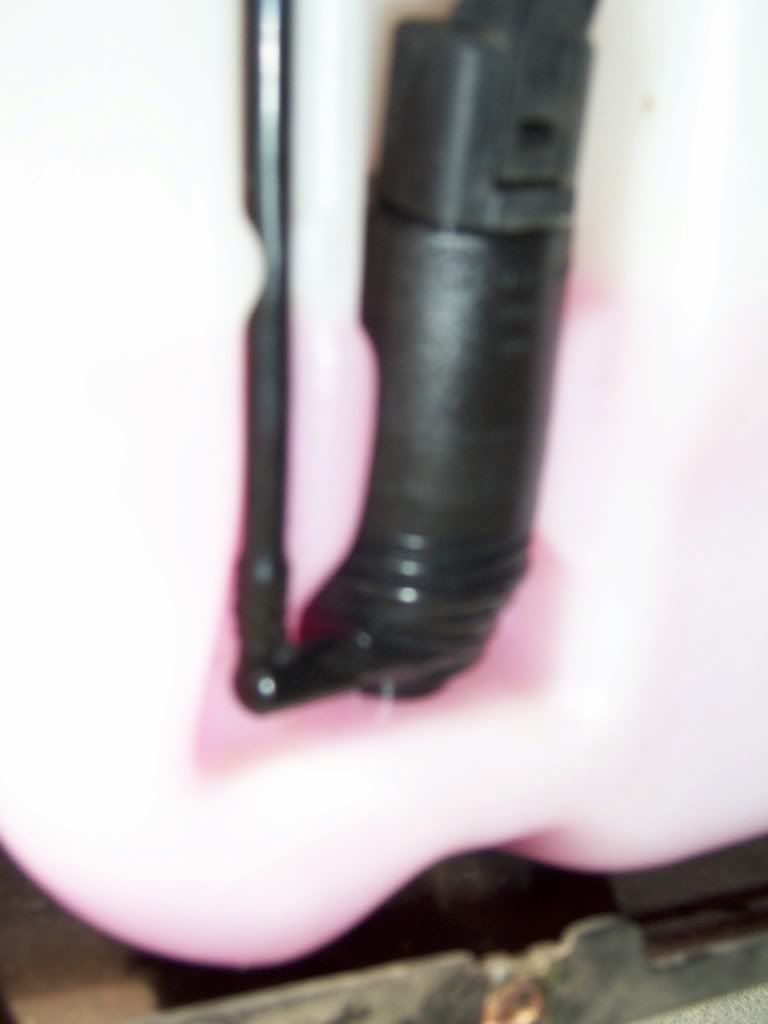
Do the same leak test on the pump by plugging the outlet and blowing on the inlet. I discovered that my pump was leaking slightly at the housing connection. Rather than purchase a new pump, I simply covered the joint with plumber's teflon tape, then covered that with black electrical tape. The final photo, although blurry, shows the finished product re-installed.
Washer pump:
While you've got everything out, take the time to clean all the fittings and check for tears, etc. I used a little silicone spray to clean all the rubber grommets and used a dab of KY jelly to create a better seal. I also used a zip tie to fasten the fill tube to the tank as there was nothing before and it was a bit loose. Go ahead and clean the fender liner while you're at it with a good degreaser.
Installation is reverse of removal. I suggest a leak test before putting the liner back in. It's been 5 days and no leaks yet!!! BTW all photos were taken post fix.
Total time: 30-45 min.
Cost - $0-$2
Have Fun!
Edit: Still leaked from my "patch" but not nearly as bad. Did not realize how cheap the pump was, so I bought one and replaced it. No more leaky!

 BMWCCA 484984
Originally Posted by cnn

 Posting Permissions


Bookmarks