
 Member
Well I finally decided to attempt to fix my pixels.
I just purchased this car about 3 weeks ago. It's a 97 bmw 540i, this is my third project on this car. First was the rear window regulator, second was the driver side memory control unit, and finally this.
I did not make a DIY cause I was too damn stressed out trying to figure out how to do this to begin with. I tried to do the bmwna route but they just kept jerking me off.
Anyhow I took a few pictures to give you a guys an idea of what I did.
The whole set is on my flickr account. http://www.flickr.com/photos/darkfla...7621916775887/
Otherwise here's some key photos..
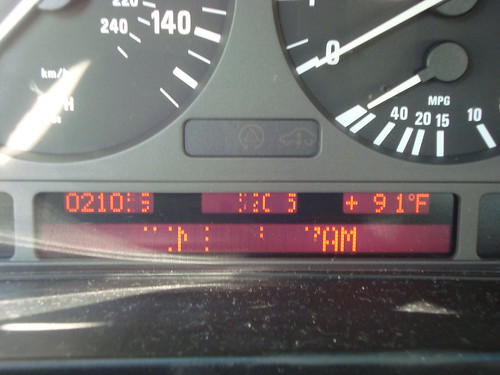
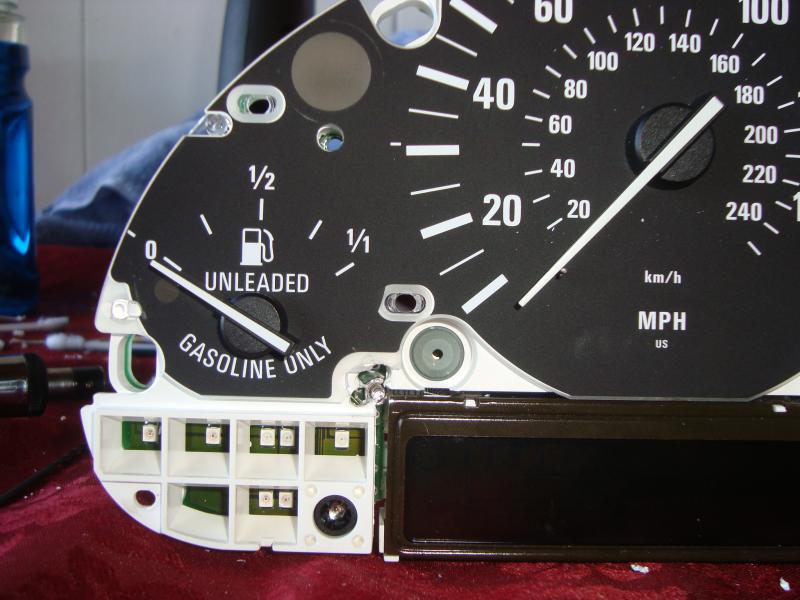
Before
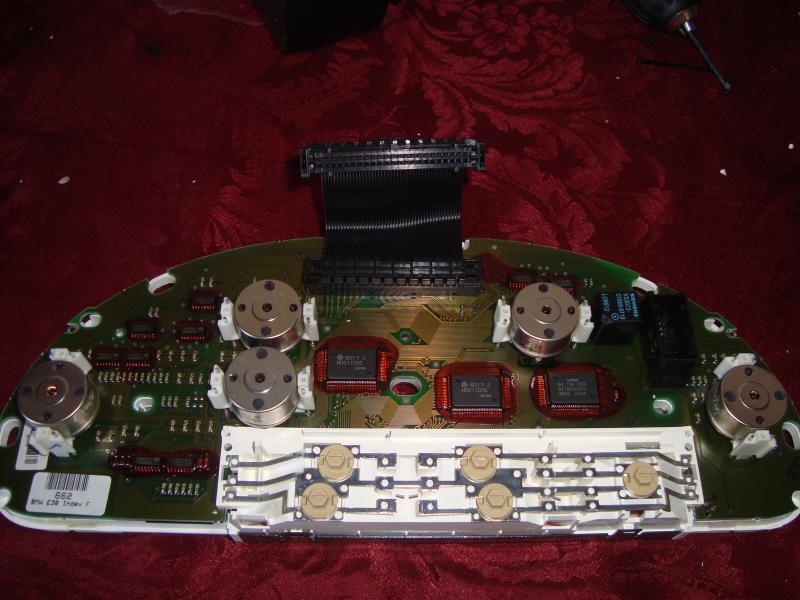
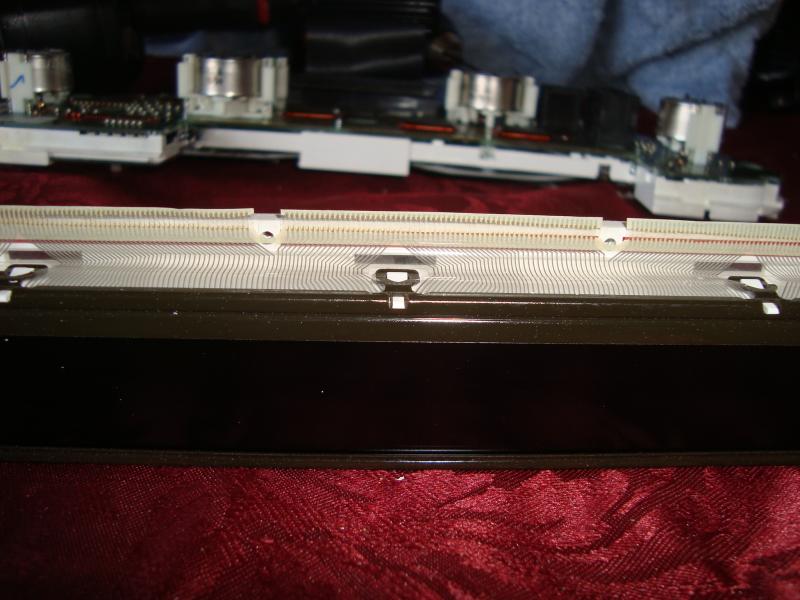
Taking the unit apart.
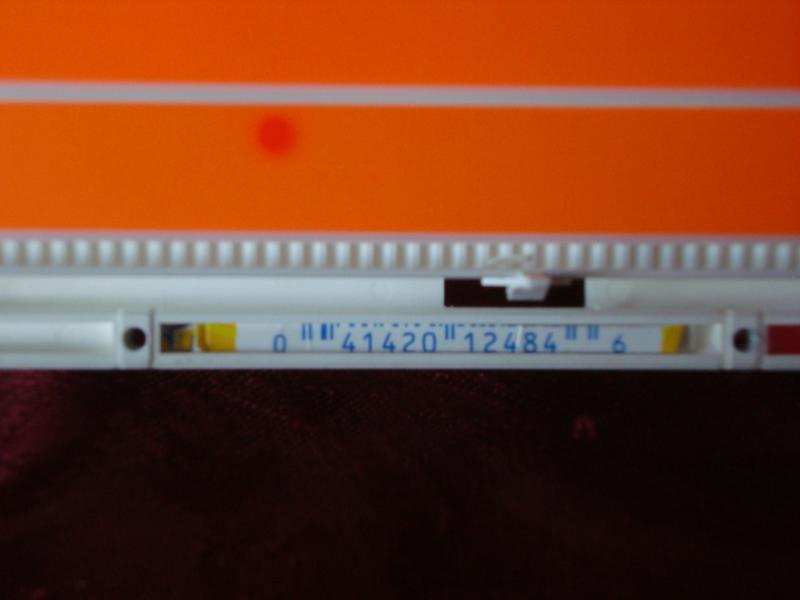
I needed some cardboard to add pressure to the rubber pieces that hold the LCD ribbon to the LCD panel. I figured what better way to pay tribute to the engineer who used this damn cable by using a piece of cardboard from a box dedicated to that specific engineer.
Here is a shot of the cardboard strips. Note the part number in the sad event that I need to order a replacement.
Anyhow I put it all back together and turned on my cluster and got nothing, no pixels nada!, I practically killed the damn thing!!!!!!
I'm sorry I didn't take a picture of that moment because I just had the image of 700$ grow halo's and wings and fly out of my bank account.
So I sat there, prayed, went to the restroom to cry in private and came back out to see that I had cracked the two end plastic holders that secure the LCD to the board.
Well I didn't actually crack it, it was cracked under stress from when they tightened it to begin with.
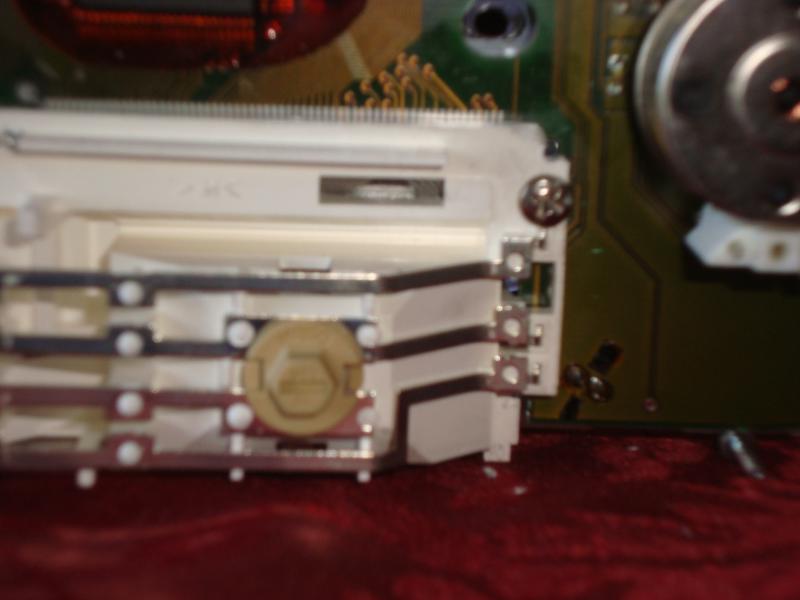
So I took a drill and drilled the two holes right below those points and ran a screw and nut trough them and tacked down the LCD really tight.
and
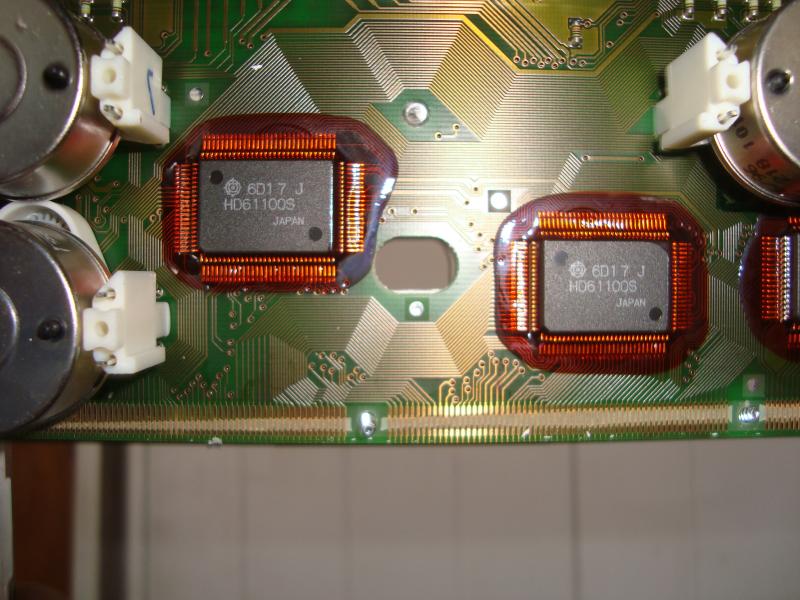
On this following photo you can see the ribbon cable all hashed.
and
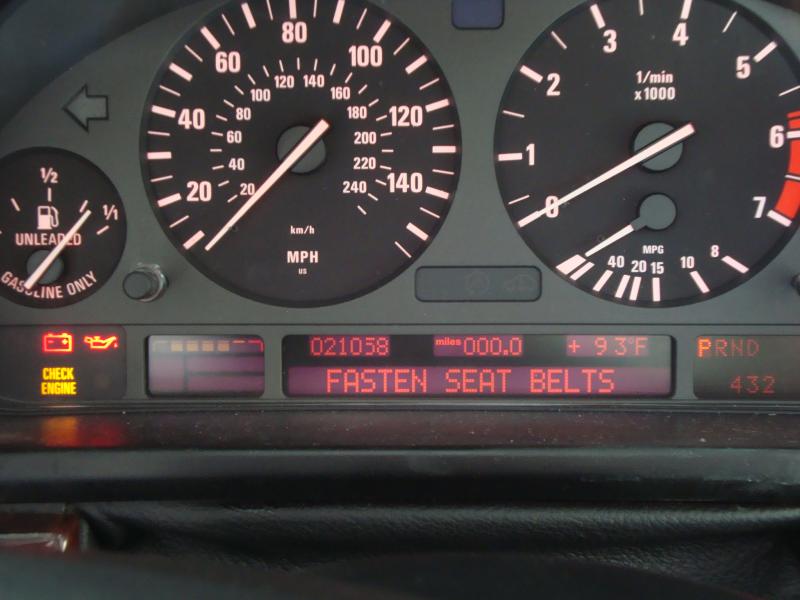
I ended up replacing the cable that I got from pixelfix and after putting everything back together the second time (with the screw/bolt mod) here is my end result.
Mahalos to everyone on the board for all the info and insights. You guys gave me the courage to accomplish this.
I highly suggest anyone who attempts to do this to have some beers first. The uneasy nerves combined with the depression of thinking you messed up is not worth the stress.
Also, be very slow in the drilling process. Especially if you are going to do the screw/nut mod. The bolt is on the outside, hold the cluster to the sunlight you will see that there is a whole in the pcb that you can drill to the front. It's near the LCD glass so go really slow, take your time, TAKE YOUR TIME, TAKE YOUR TIME!!!!!!!!!!!!!!!!! ok take your timehehe I think you got the idea.
Anyway I also used a razor to scrape the gunk off the contacts then polished them up with a fiberglass pen.
I hope you guys enjoyed my torment. Aloha!
Beast Mode
wow nice job! i would do this except all my pixels are still working
And your 97' only has 21k on it?!
2009 135i/6 | Cobb Stg 2+ | VRSF Downpipes | aFe Intake | Evolution Intercooler | Evolution CP | Apex ARC8s | BMW Performance Spoiler | Carbon Fiber
Member
Lol yeah hard to believe huh. I got it from an elderly couple with a large bmw collection. I paid 6 grand because of all the electrical nuissances that I described. Also, the husband passed away so she sold all his cars since she had no license.
Member
BMW CCA Member
cool i may try it on my 97
Yes I Stole It!
nice work!!!!this really makes me wanna fix my stupid radio display.
Last edited by Paintballistic; 08-14-2009 at 11:30 PM.
Originally Posted by volodka1985

Member
Gratz. You got a helluva deal on that car even with the problems. It cost them around 50K to drive it a years worth. Lol.
2000 540i M-sport
1991 Camaro RS LT1/T56 Procharger ATI
"The laws of physics cannot be repealed,
even with ASC+T/DSC" --As stated in the driver's manual.
Member
nice work ..now you only have 21,058 miles
1998 540IA Arctic Silver, OEM M-Tech Bumpers, Koni FSD/Eibach Pro Kit, MKII Motorsport 18x8.5 and 18x10, M5 Style Mirrors, ACS Style Trunk and Roof Spoiler, OEM Hella Xenon Headlights 4300k blubs, Slim HID 3K Projector Fogs, Euro Hella Celis Taillights, OEM M5 Kidney Grill, 35% tint, magnaflow 18415
pompous a*s
are all of your needles still calibrated?
Member
yup. they are. I never removed them, I did the drill method.
Member
Nice! It would be nice if you can do a DIY write up on this!
You said you replaced the ribbon! How much did it cost and where is the website?
Last edited by RRDBMW; 08-15-2009 at 04:59 PM. Reason: Automerged Doublepost
Member
21,058 miles. nice!
Member
I doubt I could do a DIY writeup because the actual replacement because it literally took all of my concentration just to do the task.
Here's a simple write up.
Follow these instructions here.
http://www.bimmerboard.com/forums/posts/543597
When you get to the part where you put cardboard strips I placed them under the rubber piece instead of on the ribbon can mold to fit and not be affected by the cardboard strip.
Also, when you have the LCD OFF, flip the cluster and brace the cluster on a wooden hollowed square block (so cluster needles are not pressed on but support is given to this area.
If you look through the this point in the sun, you will see there is a hole in the pcb. Look at my pictures on flickr to see where the hole is, support this area on a wood block and from the rear, drill through the white plastic (work from the rear of the cluster and drill to the front. If you look at my picture it looks messy but this is because you need to fit a nut or screw head in, I chose to but the nut here. With the nut sitting in place you can thread the screw in from the rear and this will press the lcd to the board. It looks like that was the original plan in the design but to save costs they never used it.
Drill with the lcd off and you won't have to worry about cracking the glass. I already had the LCD seated I didn't want to try again. use a dab of super glue to hold the nut in place or fish it with a small wire if it loses its position when you press the lcd.
For the lcd, line up the pixelfix ribbon in the sunlight. the traces are hard to see but you can tell you got it when the trace turns grey. If it's black you're off. for the ribbon on the board, you have to eyeball it. you can't see the contacts cause the lcd is covering it but if you look at the traces going to them, they should line up. If you have majority of them lined up chances are the rest fall into place.
I don't think i'm gonna take it apart again just to do a DIY but if I ever have to do it again I certainly will since I have a head start now.
.oOOo.
Member
Very well done...had BMWNA refused to fix mine for labor only, I would've been using your thread for direction. I think it should be added to the DIY since you avoided complete disassembly AND discovered another clever way around the problem. I'm betting your "new" cluster never goes bad again. Do you think the problem could've been fixed had you just secured the original cable properly with your clever drill&screw technique?
If someone else is gonna tackle this fix, you should give this technique a try using the original cable to see if others can do the same without any cash outlay...eh?
'00 540iA Sport w/235k+ Original TCG's, Vanos and transmission.*Trans failure at 244k+...FS Now
Member
No I don't think the problem would be fixed. You'd just have a longer period of time before failure. The problem is the ribbon. it's printed on a piece of tape. They do this to make assembly easier. A person or machine simply has to match up the pins, press it down and it'll stick in position long enough for the rest of the assembly line to finish it's job and press the ribbon down. Over time the ribbon either oxidizes or corrodes/rusts away to where the connection fails. You can see in one of the pictures when I attempt to remove the ribbon it just crumbles and leaves the traces and glue on the clusters board. I had to scrape it off with a razor. It's like like dried out clay that crumbles when you attempt to remove it.
Mounting the bolts in and screwing it down tight makes it a lot more secure.. A heck of a lot more compared to the amount of pressure those weak plastic points can handle.
What I would suggest if anyone is gonna go this route is if you want to preserve your original cable, spray some contact cleaner inside and clean the contacts. Then press the cable down using the nut and bolt method.
Make equal alternating turns on each side to insure that you are placing equal pressure on each side of the LCD. This will give you uniform pressure amongst the entire lcd screen.
I think the fact that the replacement from pixelfix has no glue or sticky crap on it will help in the long term. The extra pressure on the ribbon will keep the traces in contact with the board. The fact that it's not a moving part helps too.
Good luck. If you guys have questions feel free to ask!
Member
I just did this mod and all my pixels are back!!!! FTW!!
License Suspended
I attempted to do this up until the step I have to remove the gauge needles. When I read that things may need to be re-calibrated and if I am not careful, it will go out of whack. I backed out. Say it isn't so. Give me courage.
Member
I did this, without the assistance of aiming fluid (beer). I am only on the first re-assembly though. I got the left half of the pixels working great - in the Pixelfix instructions where it says to line up the LCD pads with the wires on the ribbon, they're not kidding.
Also, easy with the drill - I managed to break my ASM LED. That's fine, because the module is broken anyway. Damn German electronics. If you follow the instructions VERY exactly you should however be fine.
 Posting Permissions


 Reply With Quote

")

Bookmarks