
 Member
DIY- Aux. Fan Replaced (Not the full DIY but I'll post one soon with detailed instructions, as I just threw this up to show everyone)
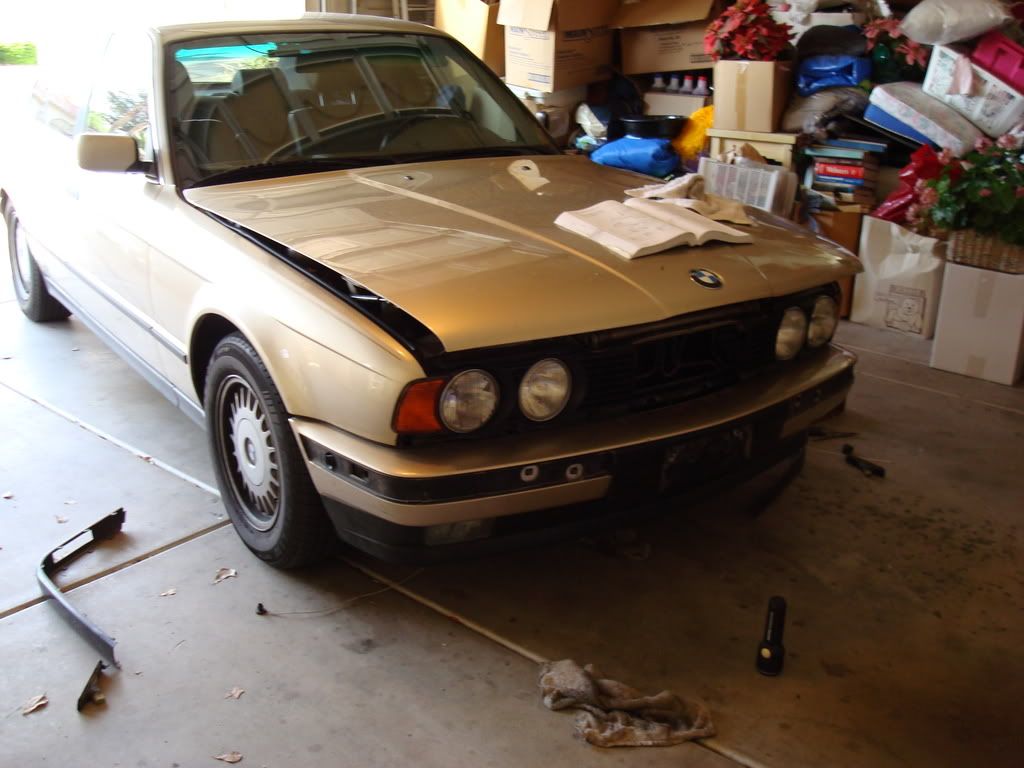
Alright so I finally replaced my aux. fan with a new one since my old one was making a crazy noise and sounded like it was on its way out the door. I first did my research on the aux. fan since a new OEM fan was priced at around $430 and at autohaus $260. When you look at the area that the aux. fan is located around, the area is very small and cramped. I ended up getting a Be Cool electric fan from Submit Racing online. http://store.summitracing.com/partde...5&autoview=sku This electric fan is great (Pusher fan, Diameter= 16in, Thickness= 2in, Amp Draw= 7.50amps, Max Fan CFM= 1,300cfm). Below is what I did as well as pictures:
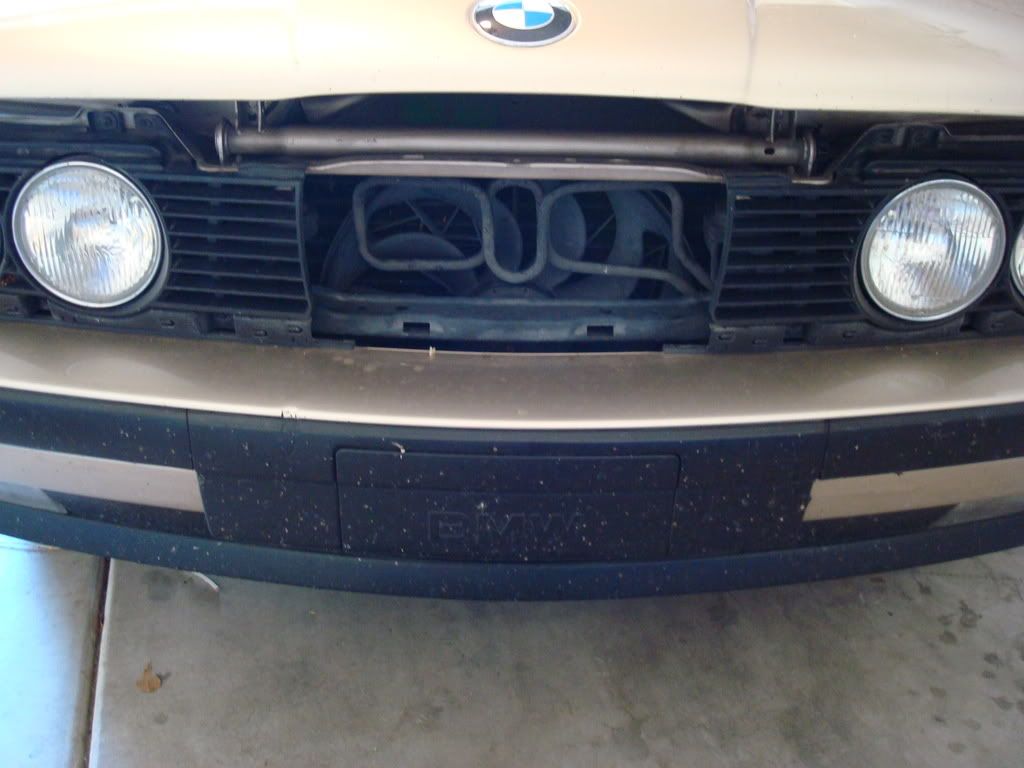
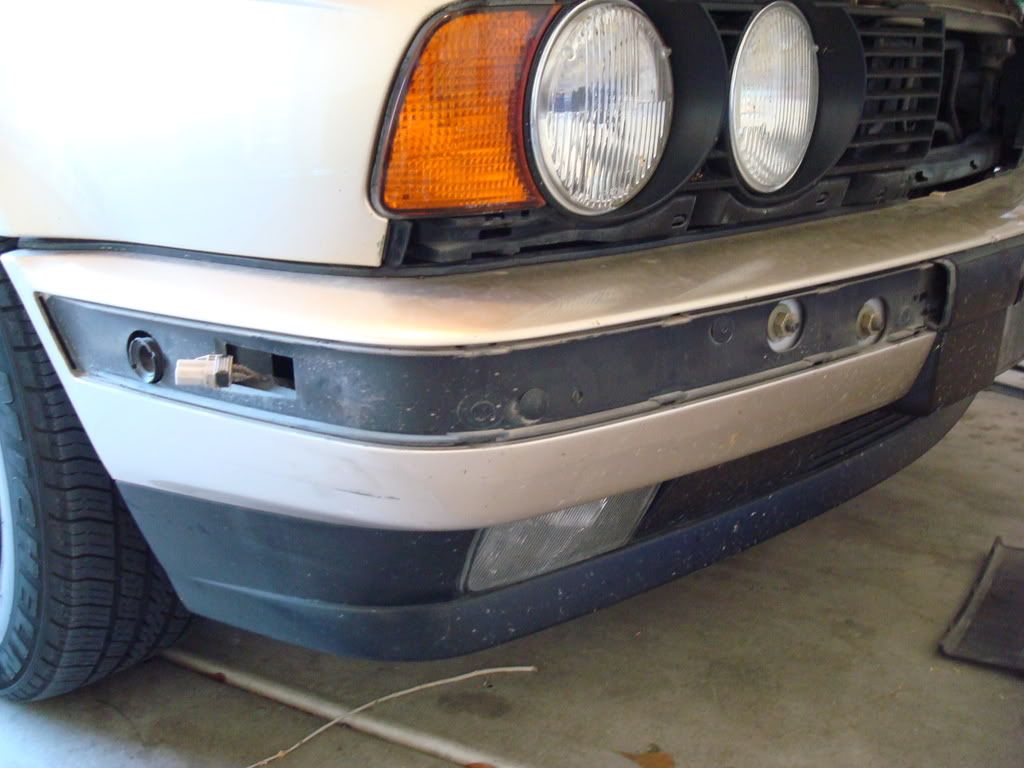
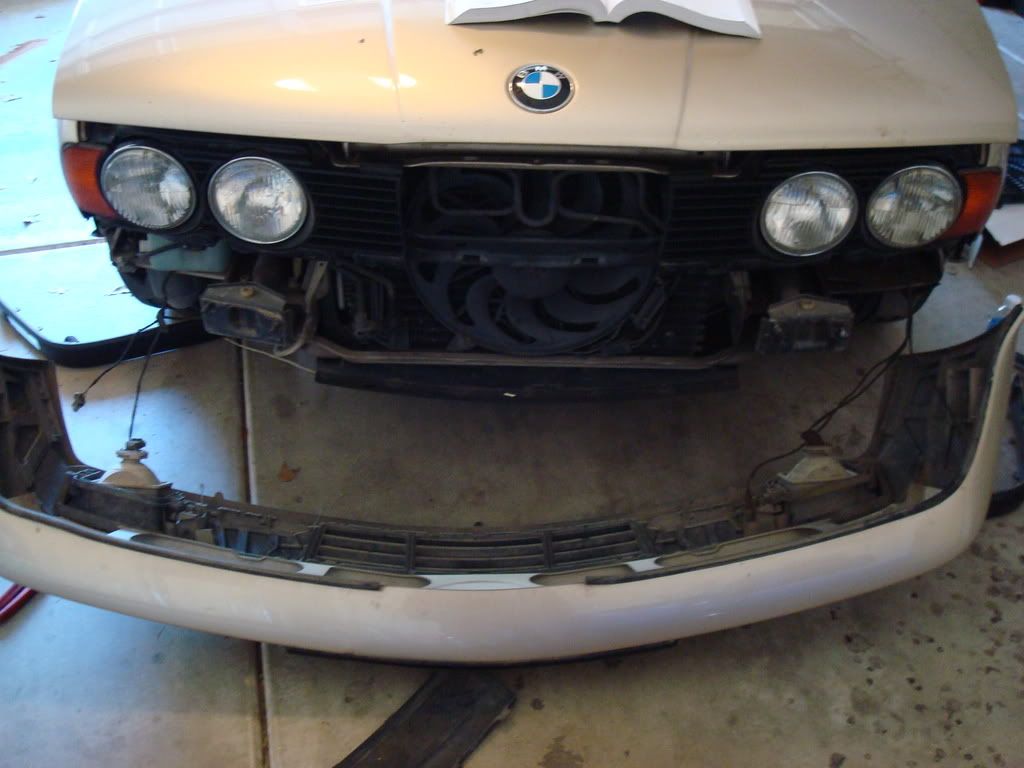
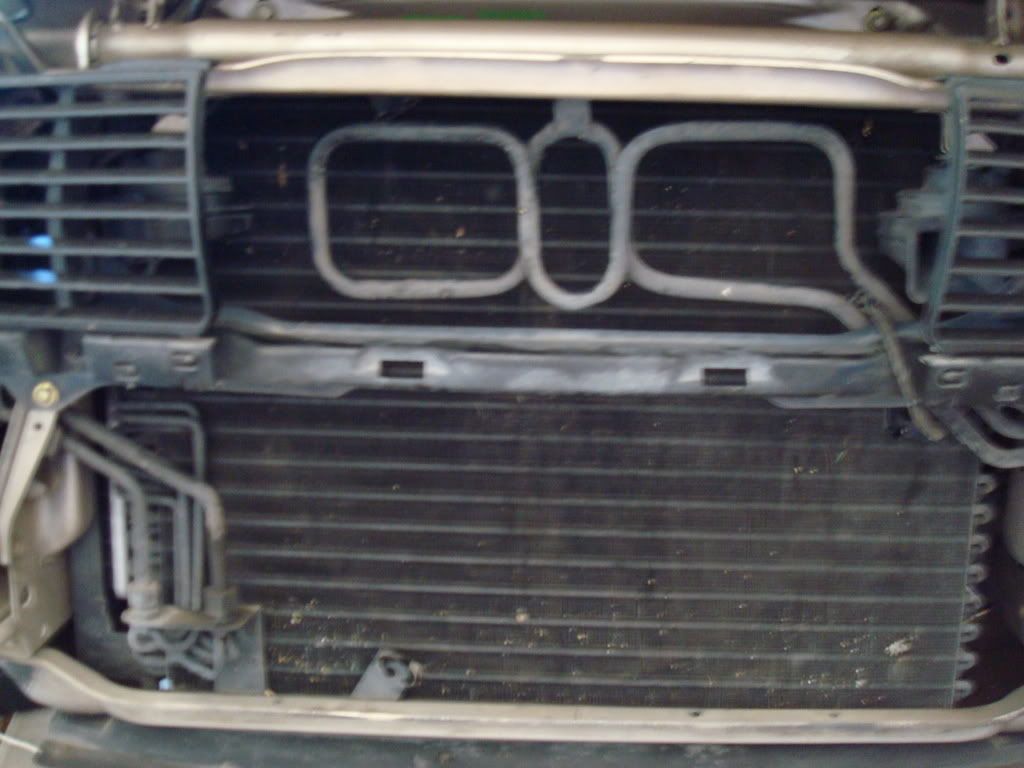
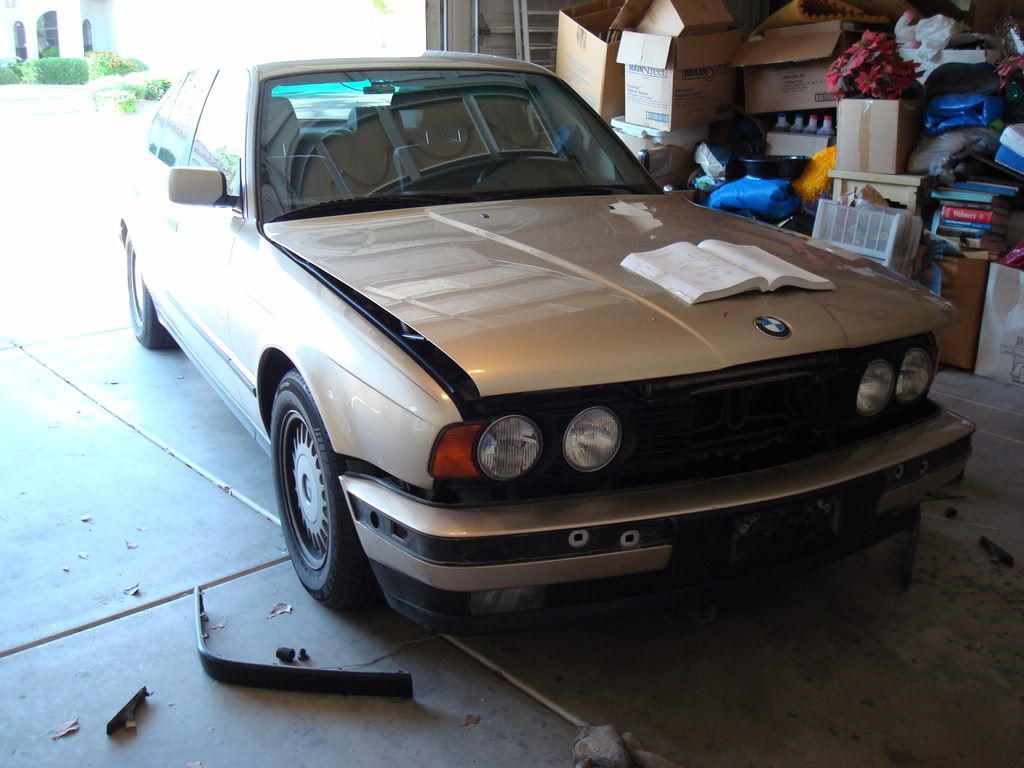
1) Took of the front grill and bumper.
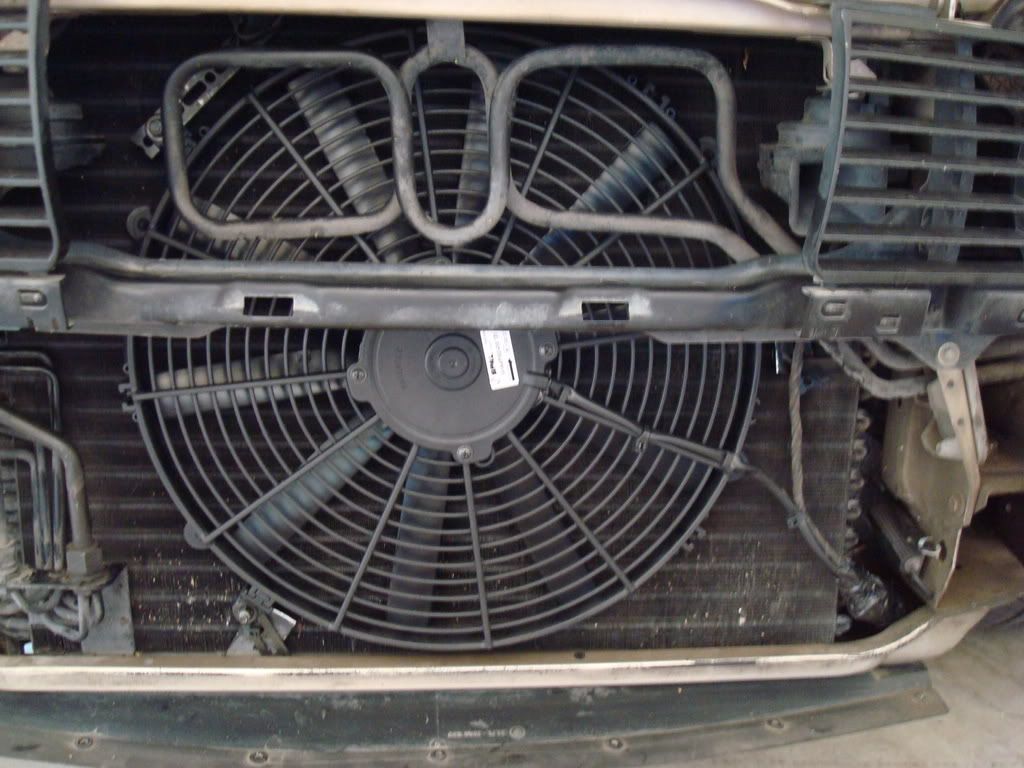
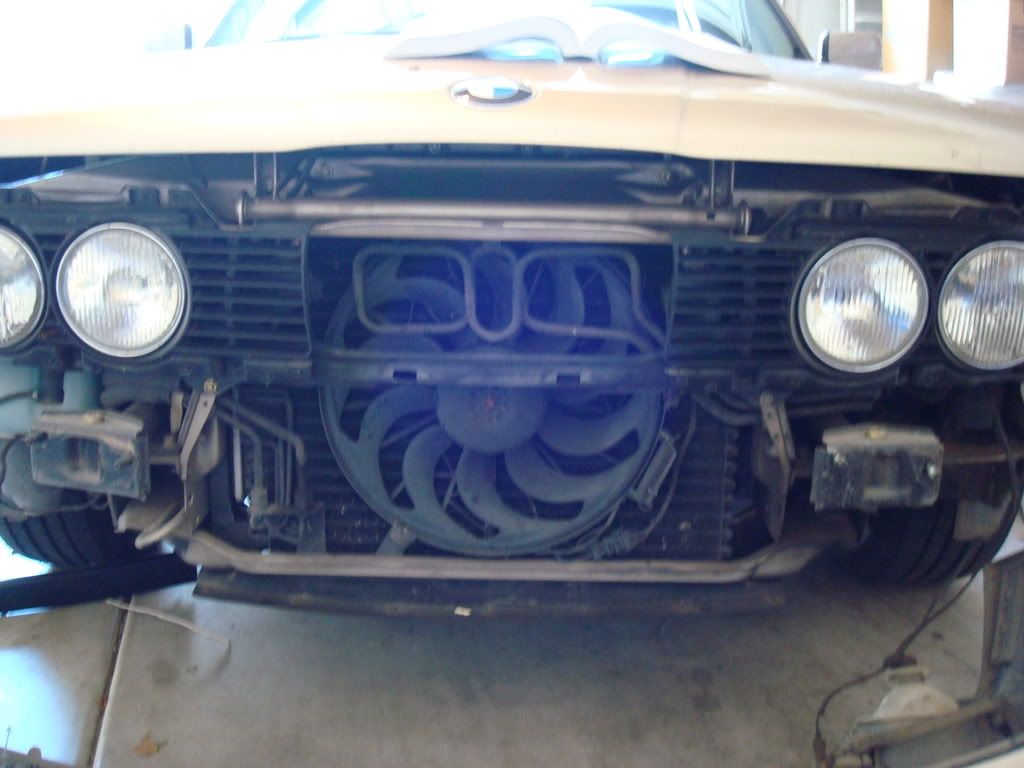
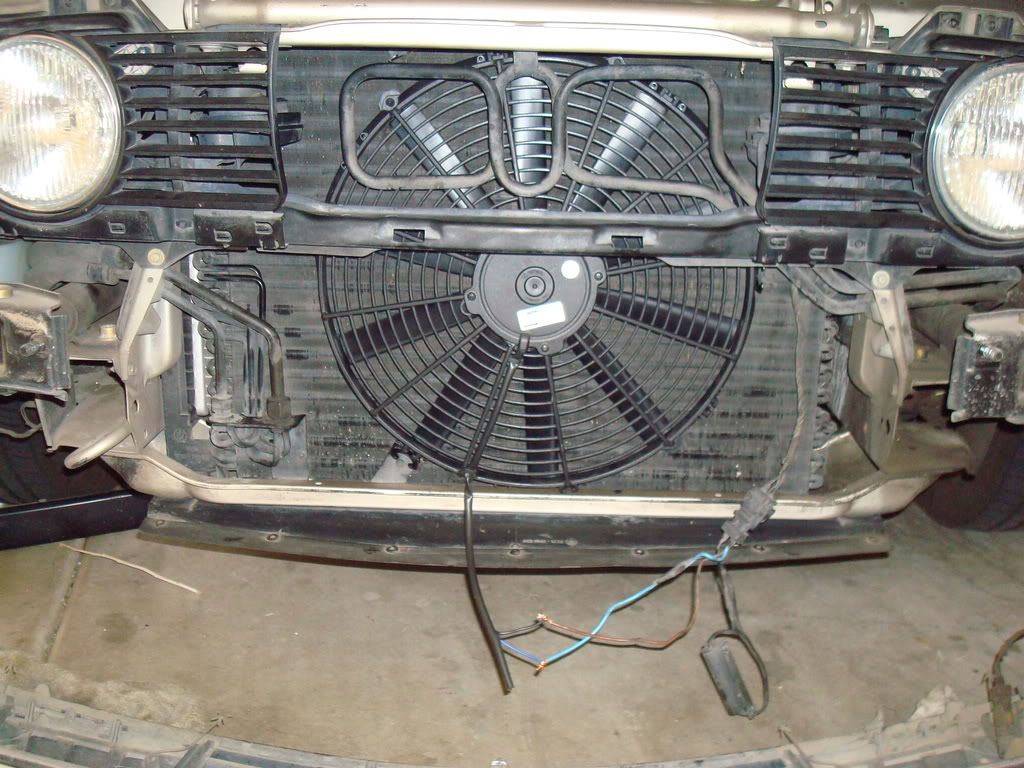
2) Pull the old aux. fan off (cleaned the area as well)
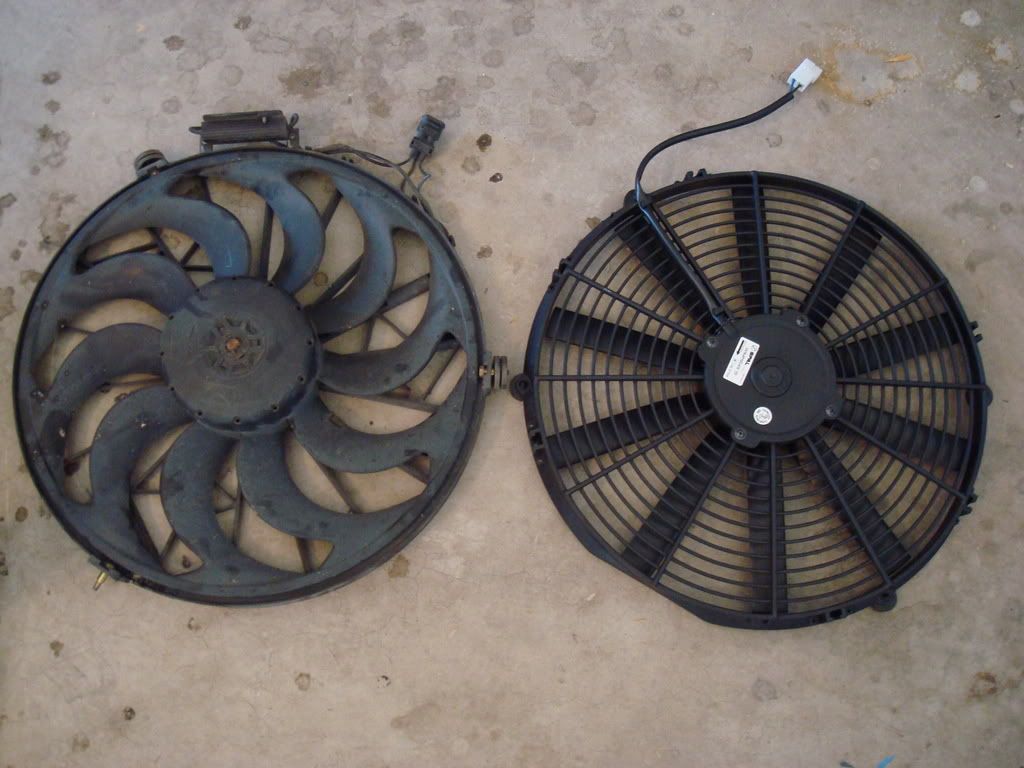
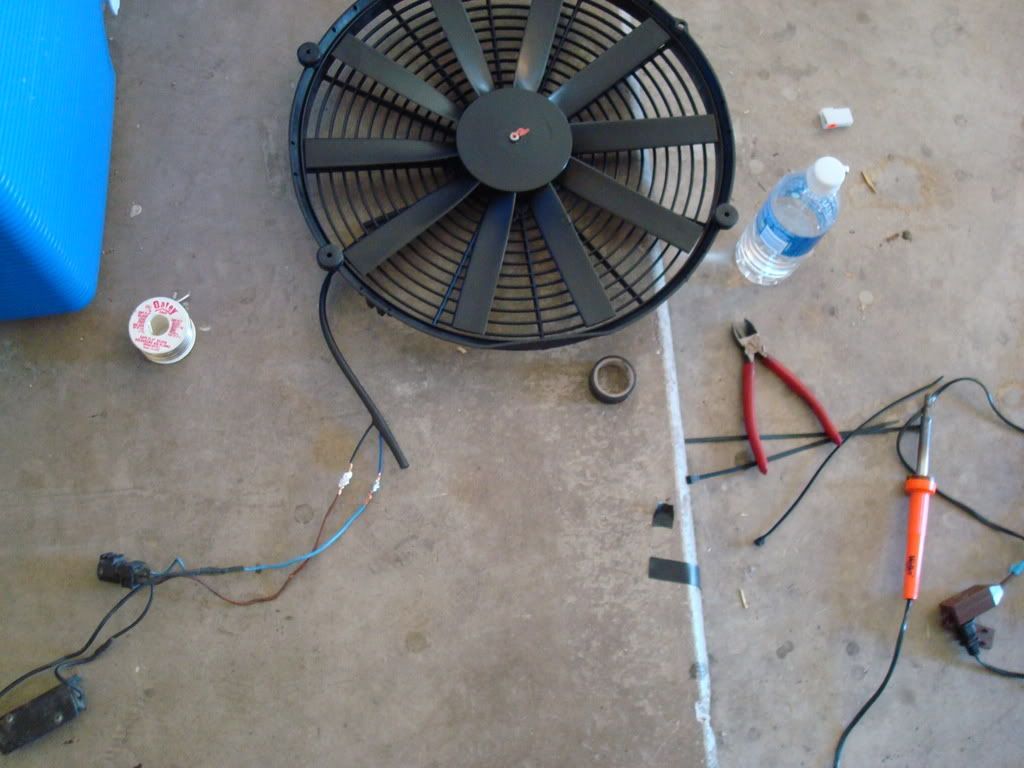
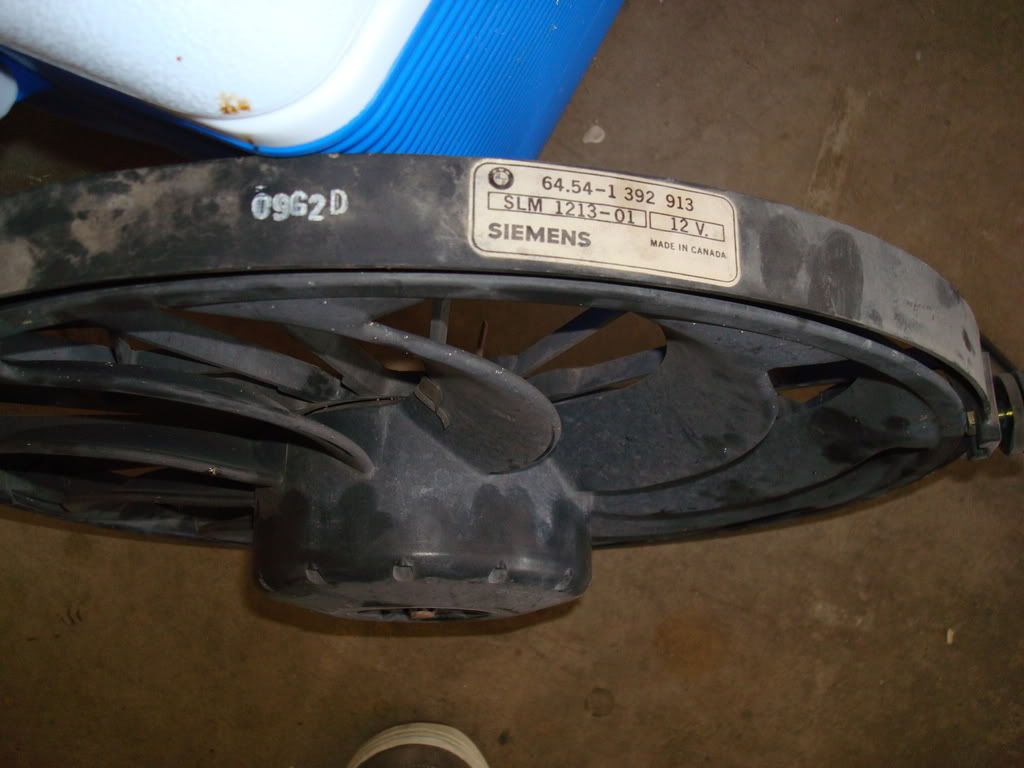
Old fan next to the new fan:
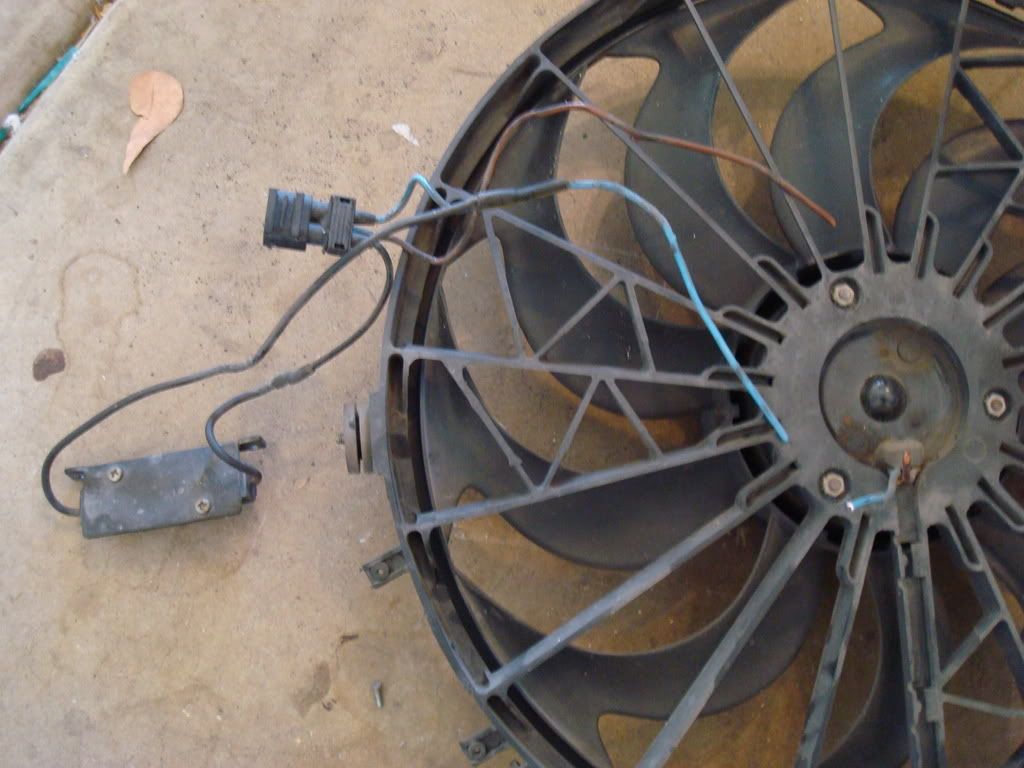
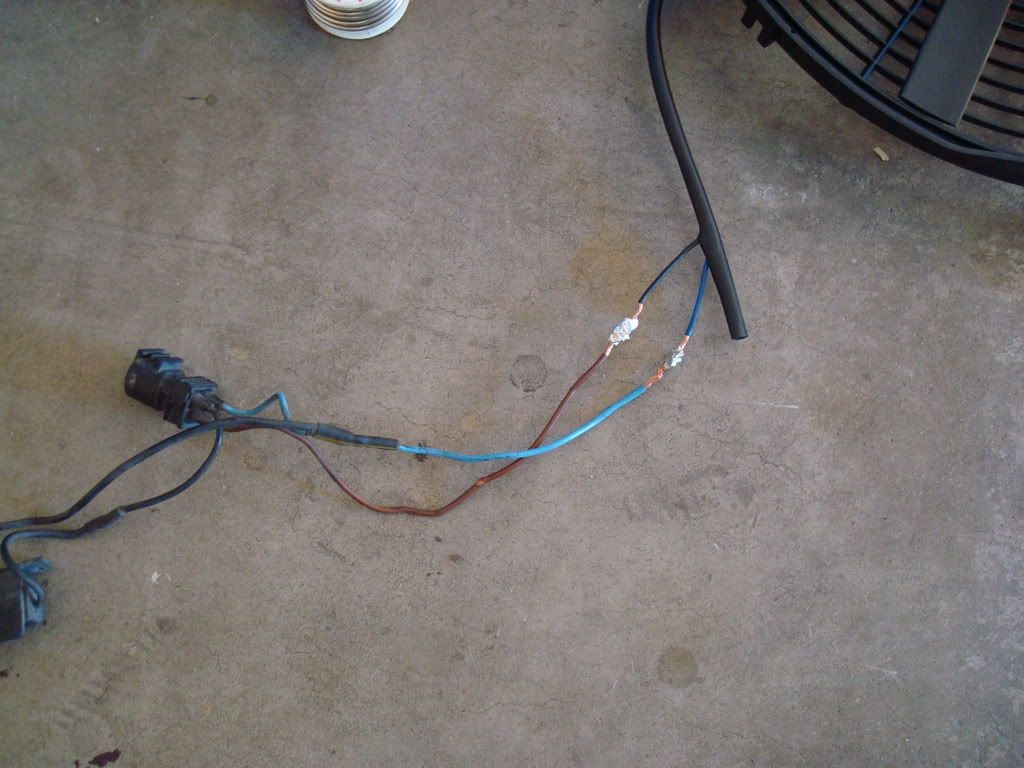
3) Time to figure out the wiring (cut the existing wiring + the resistor and connector)
The Blue wire on the new fan is the positive wire as is the wiring connected to the resistor.
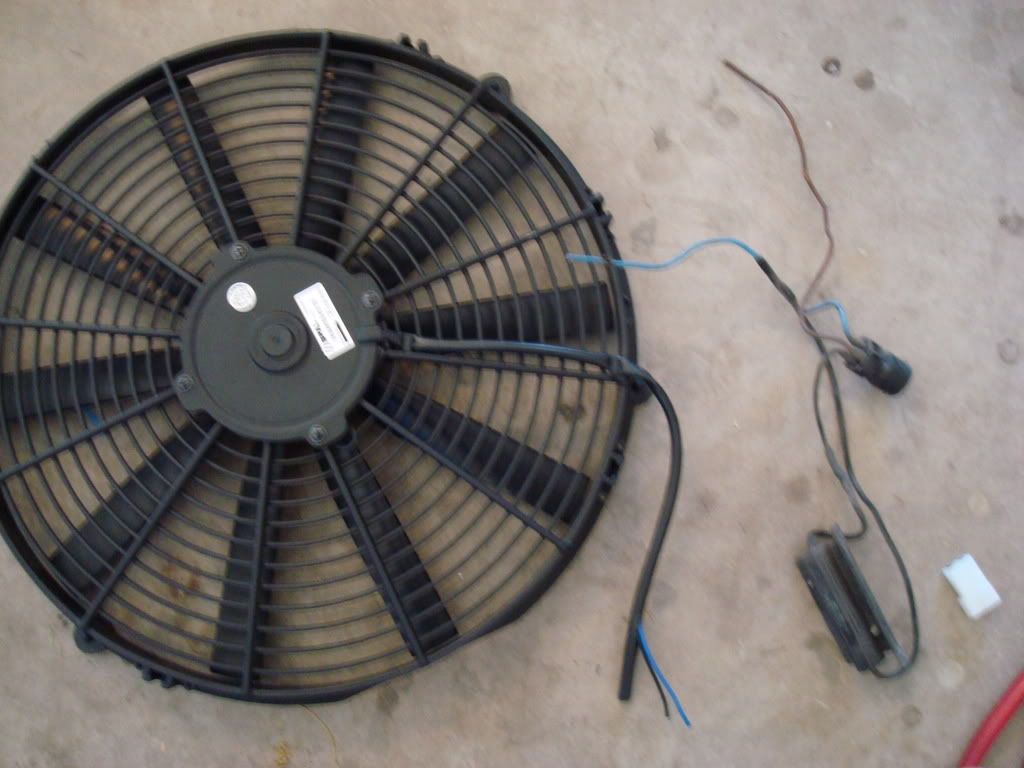
4) Testing the connections before soudering the wires making sure the fan properly turns on, both low and high speeds work, it shuts off and the resistor is working properly.
5) Soudering the wires together and securing the fan and system within the front area.
Member
*To many pics so heres the rest...
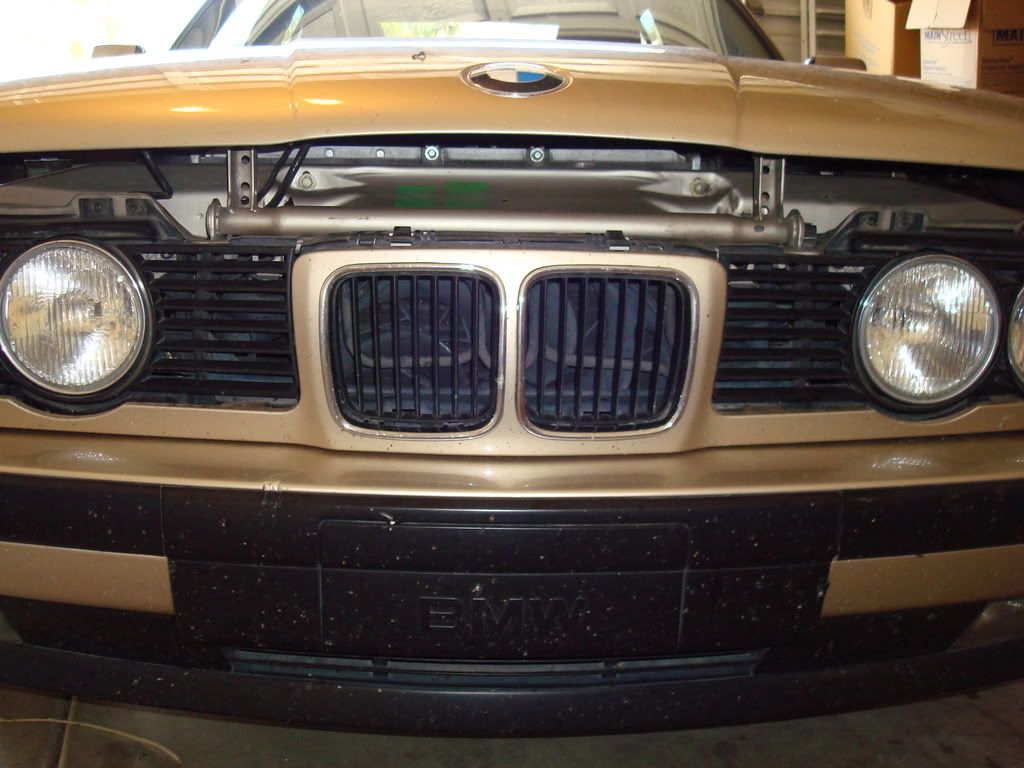
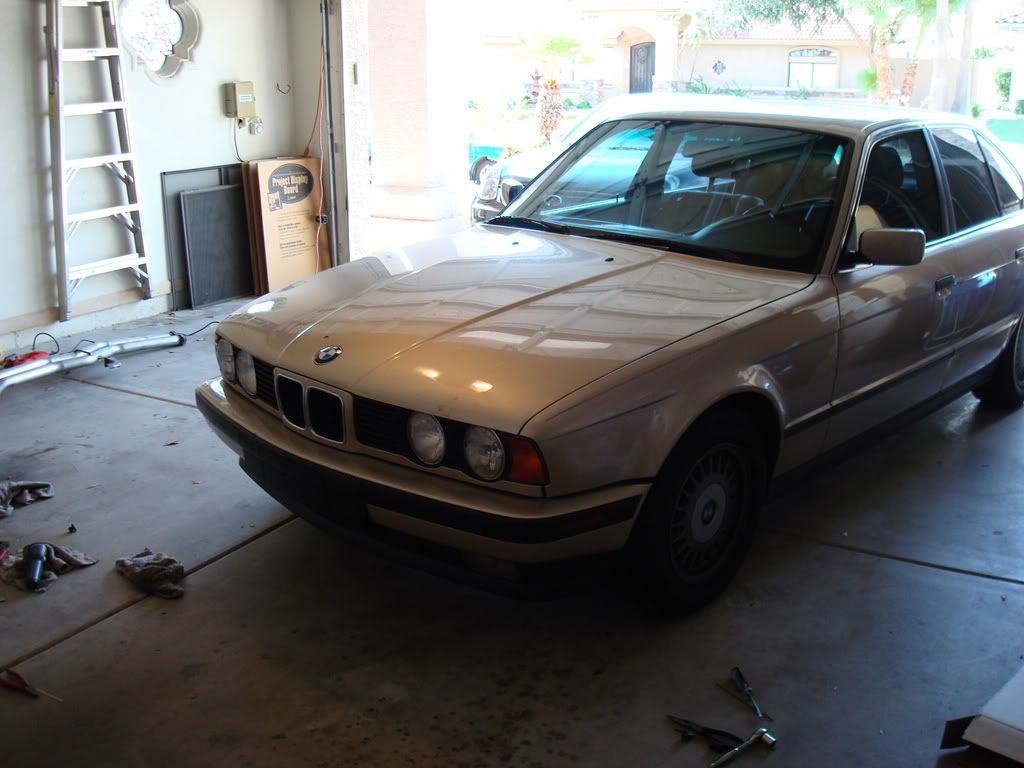
6) Put the front bumper and grill back on.
7) Your done- Enjoy cooler A/C.
What yah guys think? Thanks.
Member
cool. didn't know the oem fan was made in Canada..
seriously. good DIY that should likely be put in the sticky
MAGA TRUMP 2020
Perfect. I'm going to replace mine soon.
I own mostly junk. Except the Porsche, that's kind of cool.
All the motorcycles are trash which you can read about at
http://oneguytwowheels.blogspot.com/
I'll update it eventually
Thansk
Rotary engine goes hmmmmm
How many CFM is the stock aux fan? Thanks for the writeup. Im sure it will help people out in the future as well as myself in case I ever need to replace mine.
Member
$100 for a new fan is good - been spending about $50 on used fans that are listed a "A", low miles parts - but I would rather go new - good find.
Member
subscribed
Member
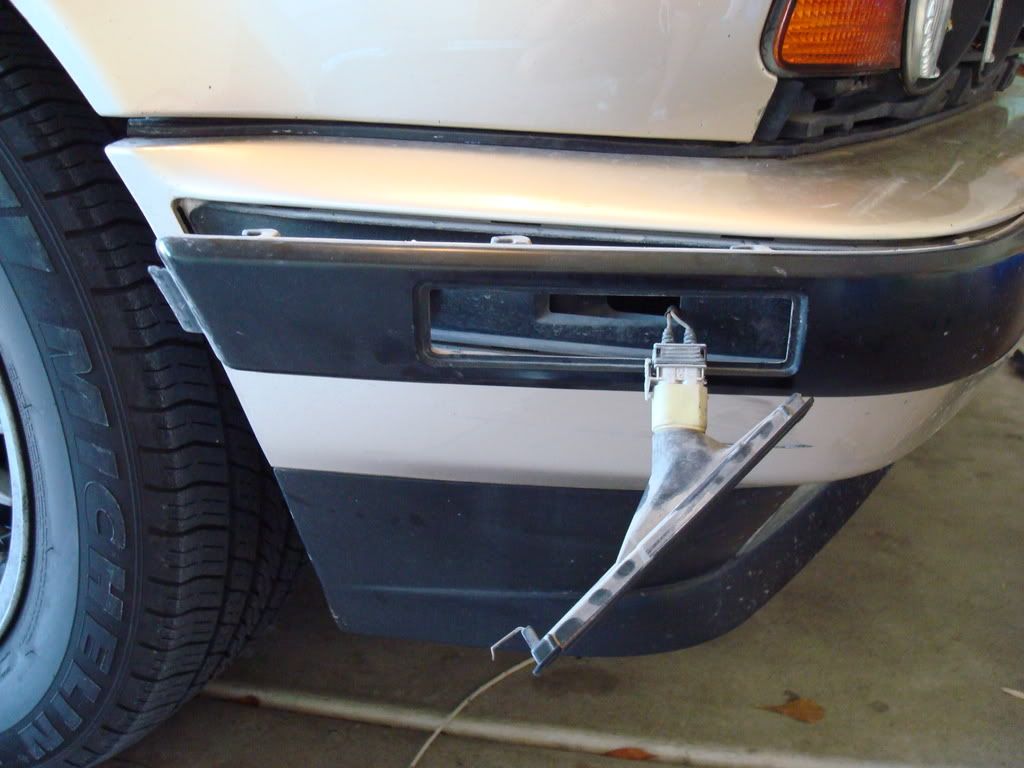
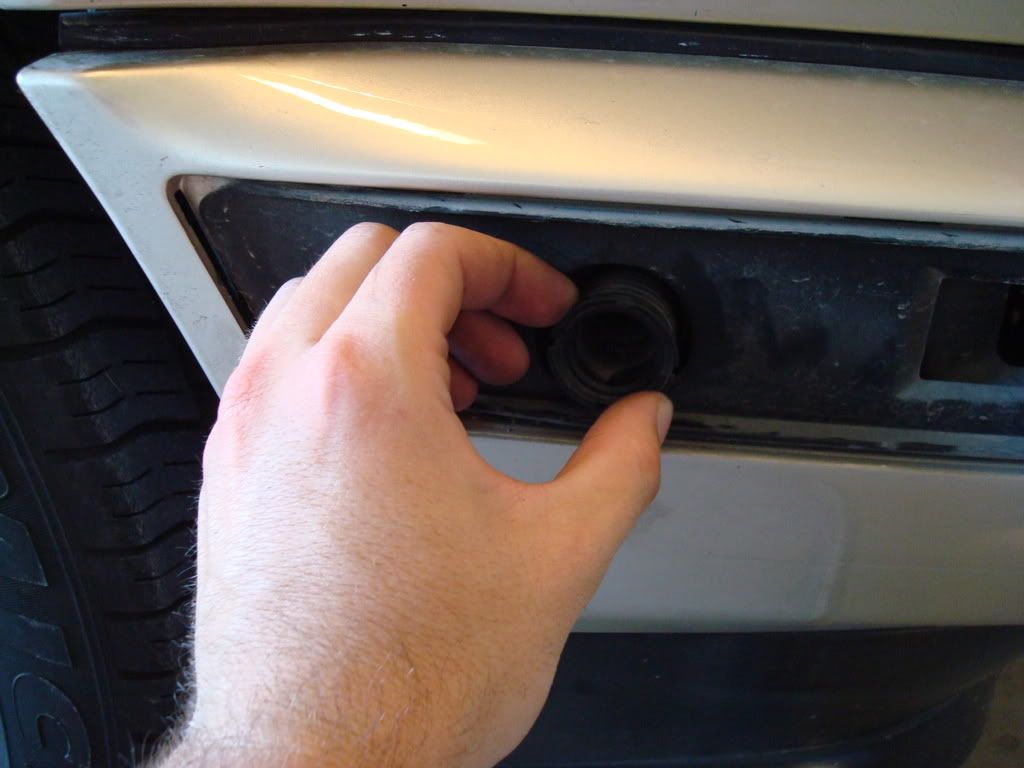
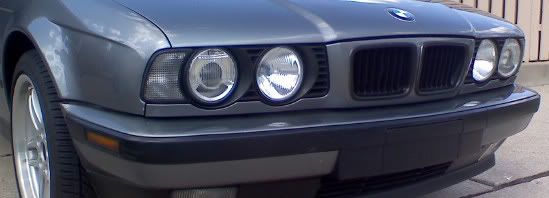
What are the round things in the bumper behind the side marker lights? I don't think I've ever seen them before.
Go ahead and bite. Plenty for everyone.
Member
Very nice writeup. I'm saving it and doing this swap next spring.
Thanks!
Fred
Member
Turning them adjusts the gap to the body
If you can leave two black stripes from the exit of one corner to the braking zone of the next, you have enough horsepower. - Mark Donohue
Member
They also hold the bumper on right?
No current BMWs.
1994 Roadmaster Wagon
1974 Alfa Romeo Berlina
Member
Great DIY thanks! But you need to work on your soldering. You are supposed to tin each side of the wire by heating the wire and spreading the solder over the heated wire. Once done on both sides you touch the tinned wires together, and quickly add heat from the soldering iron and voila good as new..
It looks like you used some thick gauge solder!
Last edited by 94530inh; 12-18-2008 at 04:37 PM.
1994 530iA
License Revoked
the above comment is incorrect.
you twist the wires together, heat the joint, and apply solder.
E XXXIX
Thanks for the write-up and research on a more reasonably priced replacement!
E39 4/5/6
Download the FairTax.org toolbar
Member
About to tackle this job.. Got this ACM (Made in Germany) OE Style and plug fittment from Parts Geek for $176.70 shipped..
Haven't looked at the work area yet. Will I be able to fit a ratchet w/ socket onto the three mounting nuts or will I need an open ended wrench? Not having one of this size I need to get one before I start if there's no room for the short socket

Member
Bulls > Suns.
Member
Originally Posted by plmuzikmaster

Ahh ok then... thanks...
Member
Check out the other Aux fan DIY:
http://forums.bimmerforums.com/forum....php?t=1256597
Member
Got it done yesterday.
I was able to get the Nuts off with a small adjustable wrench but it took a great deal of effort and I had to remove the passenger side horn.. a BoxEnd/Open End Wrench with a bend in it would have been the proper tool..
 Posting Permissions


Bookmarks