
 Member
UPDATE!!! This car has been sold to an awesome buyer and I believe that you can look forward to some really awesome updates very soon!!
Ok, so Team RacersWeb.com got busy this past weekend and got quite a bit done and in a very positive direction.
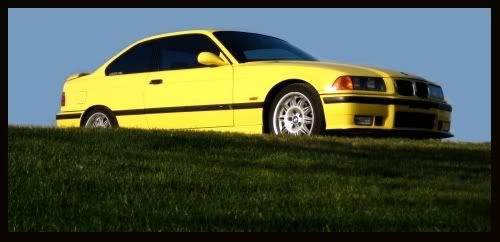
As you might remember, we started with a bone stock 1995 BMW M3, Dakar Yellow with chrome 17 wheels. Well, all that is still the same as of now, but look for that to change in future updates. Everything that we're removing from this car is for sale. If you're interested in anything at all from this car, please PM me.
We wanted to remove most everything from the interior with the intent on selling most of the parts for some type of race funding. All proceeds either going to our initial investors or to performance/race parts. This required that we didnt go about it like drunken monkeys and that we actually took our time and removed things as gingerly as possible. It was a task for sure.
We started the day off with the intension of just cleaning the front seats, of course that led to a full on shredding/gutting of the car! The car has the much sought after Vader type sports seats and they are fairly in demand within the BMW enthusiast community. We cleaned those up so nicely that we decided to just go ahead and remove them so that when we did come across a buyer we would have them available for immediate pick-up.
Once we cleaned and removed the passenger side seat we also realized that we wouldnt be able to move the car if we took out the drivers side seat, so we decided to leave that and move on to the rear seats.
We removed the rear seats, side bolsters, rear deck, speaker covers, speakers and rear seat bottoms.
This also led to us removing all the seat belts and hardware associated with those.
We then went about removing the first layer of sound deadening material as well as some unnecessary wires and wiring.
Then we moved on to the trunk. We found a very nice/new BMW motorsport wheel with a brand new Kumho Ecstra Supra tire on it Hopefully that might fetch a good dollar.
We removed the BMW 6 disc CD changer as well as all the hardware and wiring that went along with it. The changer looks as if it was never used. This probably would have been a great streetcar if only we werent stupid enough to turn it into a money pit!
Weve done quite a bit considering that this is Team RacersWeb.coms first plunge into the car building/prepping world. This is what we were left with when all was said and done. A pretty good pull in our opinion!

Last edited by PMilleraz; 09-16-2012 at 05:21 PM. Reason: New updates coming soon!
Member
Stage 1 complete!
1996 328i (m52B28US) OBD1 euro ZF 5spd. 3.23LSD conversion / Chem. PnP Head/ DINAN stg.2 CHIP/ VAC race valves/ S52 cams/ A/C delete/ fan delete/ Washer Fluid resv delete/ ARP head studs/ Cometic 140MLS / VAC Solid Engine/trans Mounts/ CAI / 2.5"Borla race exahaust/ NGK R spark plugs, M50 Mani, S50 Oil Res, Riot Racing HFTB, SAMCO Hoses, JBR FW, X-Brace, Mtech Front Bumper, RE RSMs, stoptech SS lines, Bilstein sports, H&R Race Springs, S52 Reinforcement plates, Kosei K1 w/ bridgestone RE960as, Brembo/stoptech slotted rotors, M3 Trailing arms, M3 Calipers, M3 Axles, ACS strut brace, weight reduction.
http://mbuild.blogspot.com/
Member
I saw this thread on azbmw.org. Can't wait for more updates.
Dakar ftw lol.
Member
nice, very nice, I'll be starting this process soon on my car also.
- Mani
Member
Thanks guys! I'm going to try to post all the 'damage' that we did two nights ago on here too... Team RacersWeb.com should be on track in no time (j/k, this stuff is taking forever!!!)
Alright! Where do I start? Day 2 of the Team RacersWeb.com shred party. We wanted to make considerable headway today. We had left everything from the front drivers/passenger seats intact and we wanted to try to get as much done there as possible. This is what it looked like when I started

We got over the fact of removing the drivers seat. We knew from reading on many different forums that there is a TON of weight to be lost under the seats and that was one of the larger tasks that we figured we could handle
We figured that style points probably count as much as quality removal of stock parts, so we put our best face forward and got to work
Does any of that count for style points???
Anyway, we started to remove the center console and its got more screw down anchor points than we thought it would. Almost Rubiks cube style, but we were able to remove a good portion of the center console with a little bit of out-smarting the car.
With the center console out it was easy to see that we had our hands full with miles and miles of wiring Wiring is NOT our strong suit! In the end, we are going to have to face that monster and find out what wires are keepers, and which are not. Hopefully well call in a genius for that move.
I dont think anyone on Team RacersWeb.com knew that interior carpeting could cause so many injuries to ones person, but after we started tearing out carpet (at times over 6 inches thick) our hands were shredded. Felt like fiberglass inserted millions of times into our hands (who knows, maybe there IS fiberglass in that stuff we dont proclaim to be pro car shredders!).
So, day 2 of the RacersWeb.com tear down, build up came to an end. We are fairly confident that we are making good progress, but we NEED YOUR HELP, INPUT, SUGGESTIONS, AND IDEAS! We need to stay focused, and the thought of having a decent track car at the end of the tunnel is appealing enough to keep us on track. The final pictures Ill leave you with are the ones of the complete drivers side door panel (THAT IS OF COURSE FOR SALE!!!) and the fact that were working on the correct seat positioning for our driving position since we dont have any seats in it yet!!!
Thanks for hanging in there and checking out Team RacersWeb.coms Day 2 shred. If youve made it this far, youre either a hardcore track-er, or trying to get to sleep.
Keep checking in, were on the move and well be adding more to this thread as soon as we can!
Last edited by PMilleraz; 04-04-2009 at 02:57 PM. Reason: Automerged Doublepost
Member
Day 3 Team RacersWeb.com started out with a rotisserie chicken and some dry ice. We were determined to try to remove some of that daunting sound deadening material/matting, and one of us was hungry Moving along. We decided that we would start from the rear (experimental style) and move forward as we went.
Mistake number one. As we went, we realized that we should have kept the dry ice in a single solid piece but in our infinite wisdom we went ahead and broke it into many smaller yet harder to handle pieces.
Before we start to chip away at the sound deadening stuff/goo, some of Team RacersWeb.com had to do the old dry ice in the water trick, just to prolong the work
Alright, so now it was time to get down to business. Freeze the mat for about 5-8 minutes and then just chip away, simple as that, but again, would have been easier with a solid piece of dry ice.
Some pieces we were just able to lift the matting right off of the car without any ice or scraping.
Here you can just see how difficult it became with dozens of tiny dry ice chips.
No matter which method you go with, theres still going to be quite a bit of excess material that might not pull up completely.
Sometimes just a good scraping would do, even without the dry ice.
Passenger side done only with scraping. Ambient outside temperature has a lot to do with the ease of removal too.
So in the end we discovered a couple of things. A) that sound mat weighs more than we thought, and B) you can fit a full grown man in the spare tire area for ballast, if needed. Two very important discoveries.

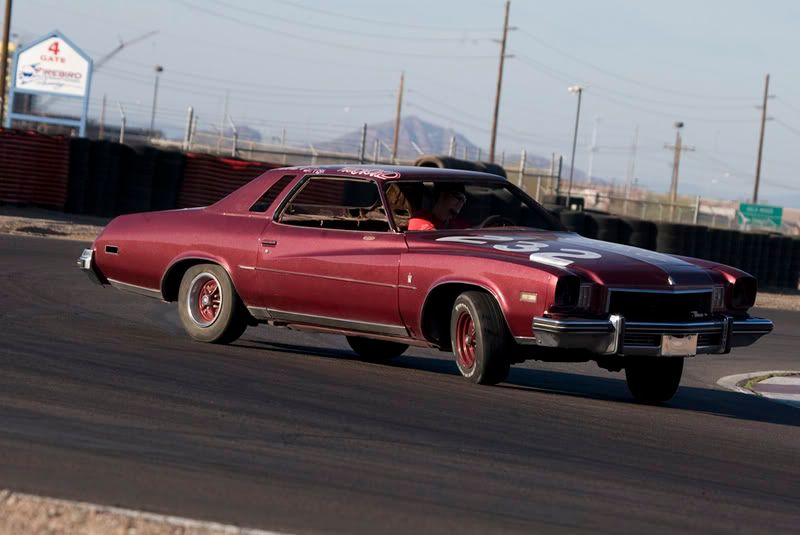
Low, Loud, Fast
good build.
im liking the finding about ballast. haha
keep up the good work and waiting for more!!
-Jason
--I shoot a Nikon D300. I track a 1997 BMW E36. I wrench with Matco.
I Boost a 2015 F150 Ecoboost --
--I dont Fail; I succeed at finding what doesnt work--
--Horsepower is how fast you hit the wall and torque is how far you take the wall with you--
--If you can leave rubber from the apex to the braking zone, you have enough power--
--1997 BMW 328is--2016 F150 CCLB Ecoboost
--2004 F250 CCSB FX4 Diesel (sold)--2006 Acura TL (Sold)--2010 Acura MDX (Sold)--2019 STI (Sold)
Member
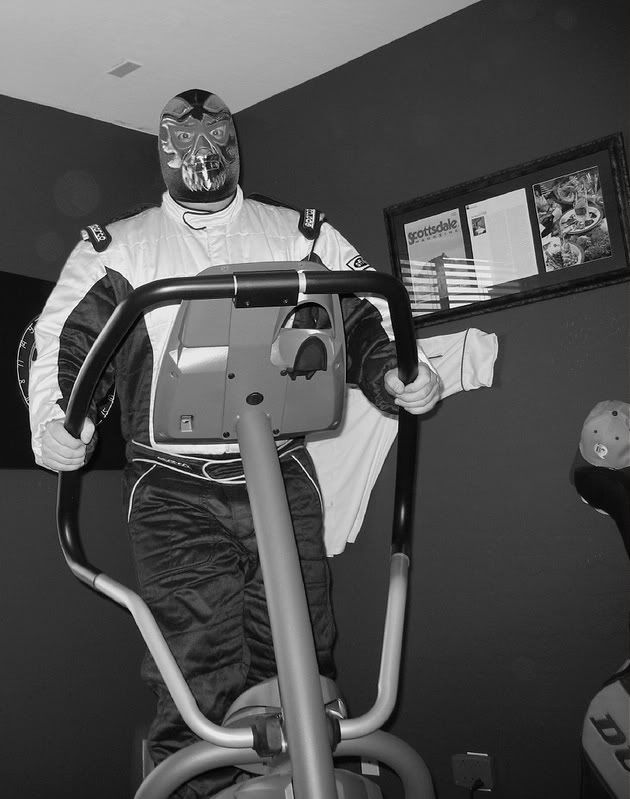
<-- Human Ballast. I hope all of you are enjoying the build! Please comment and let us know what you would like to see!
Hoss
WWW.Racersweb.com
Member
wow, deja vu all over!!
I just did your stage1, stage2(and some) and partial stage3 all this past weekend in my E36.
I also did not go thru the car ripping stuff out but was not exteremely careful trying to save them either, result is a broken clip here and there but mostly a clean interior removal.
Notes :
1) The power seats weigh a ton
2) The amount and the complexity of the wiring is overwhelming
3) Carpet padding as the OP has noted is almost 6 inches deep in some places.
4) It is cool to see the power windows and power lock operate(the mechanical moving parts) with the door panel out.
5) The sunroof(the whole cassette and the glass) is very heavy and bulky when it drops down, it's good to have another person helping for this step.
6) Ran out of patience and time after trying to remove the tar with a) a chisel and hammer and b) with a torch and a knife, that bugger is persistent.I did not try the dry-ice method.
7) Make sure there is no rain/showers in the forecast when you have removed your sunroof and you have no garage.backup plan - keep a good sized tarp handy
.....and a HUGE thanks to old_skool for all the DIY threads he has out there in the E36 section of this forum.
Last edited by dollar; 04-06-2009 at 02:24 PM. Reason: Automerged Doublepost
- Mani
Member
The dry ice method is where its at! You can buy a cube of dry ice for 6$ and that would probably be enough to clear all the sound deadening material from the rear seats to the trunk. Just make sure you let the ice sit on the sound material for about 10 minutes and then take a screw driver and pry underneath the material.
I was able to peal most of the passenger side sound deadening material with a screw driver.
WWW.Racersweb.com
Member
Originally Posted by HossM3


- Mani
Member
A heat gun takes it off easily and cleanly in large pieces and it only takes a few seconds to heat it up enough for it to lift. Also, Goof Off in the spray can works great on the residue. Just make sure you buy the type in the aerosol can, as it works better for some reason.
Member
The AZ sun does weird things to plastics and adhesives. This thing's been baked for awhile! We might give the heat gun a shot, but the dry ice seems to be a pretty clean way to go.
Member
subscribed, cause i think i'll be doing this soon
1997 E36 323i, S50B30, MoTeC, stripped, caged, whored, the lover
2002 E53 X5, 4.4, stock as a rock. The wife, the tow car.
2008 E92 M3, Jet Black, Eibach's, Megan Exhaust, the mistress
Member
good stuff, lmao at your socks.
Member
Live it and Love it
Stay tuned!!!
WWW.Racersweb.com
Member
Nothing like another e36 around...I have memories of a Dakar one but can't remember who...
Good stuff!
Try this with your socks.
Last edited by M3Chef; 04-07-2009 at 07:18 PM.
Member
^^^ what the?!?!
Last edited by dollar; 04-08-2009 at 11:15 AM.
- Mani
Member
RESPECT THE MASK!
WWW.Racersweb.com
I want to ride my bicycle
i guarantee the heat gun method is faster, simpler, and cleaner. just do it.
Member
The heat gun method is faster moving the deadening material, but it seems to leave alot more of the sticky residue. The dry ice seems to remove all the deadening material as well as the adhesive, it may take longer initially, but I believe dry ice is where its at. Just for the simple fact your not spending any extra time trying to scrub up any left over adhesive.
WWW.Racersweb.com
Member
First off, read your entire build thread, and if I'm going to listen to anyone it's going to be you!!! Expect to see a heat gun in our future updates! Thanks for the info.
Member
Just wanted to remind everyone that we have all these interior parts cleaned up and ready to part with! Vaders, wheels, spare, tires? You might have read it other places already, but we're wheelin' and dealin' this weekend! PM for info.
Member
Day 4 of the RacersWeb.com E36 M3 car build is right around the corner. We made a few mistakes while trying to compression test it (any advice is appreciated!), so we're going to take another shot at it in the next couple of days. Hopefully we'll have the sound matting completely out at that point to.
Any good advice on undercoat removal?
I want to ride my bicycle
I was going to suggest it, but didn't know how far you guys were going to proceed with your build.......get the chassis acid dipped to remove all that undercoating.
others (myself included) have used a wire wheel on an angle grinder. it gets the job done, but is tiring, time consuming, very messy, and doesn't remove the seam sealer between the panels, which really screws up the welding if you stitch or seam weld.
Search the build thread by "M3 Muscle" to see how he used a wire wheel on an angle grinder
 Posting Permissions


 Reply With Quote


Bookmarks