
 Member
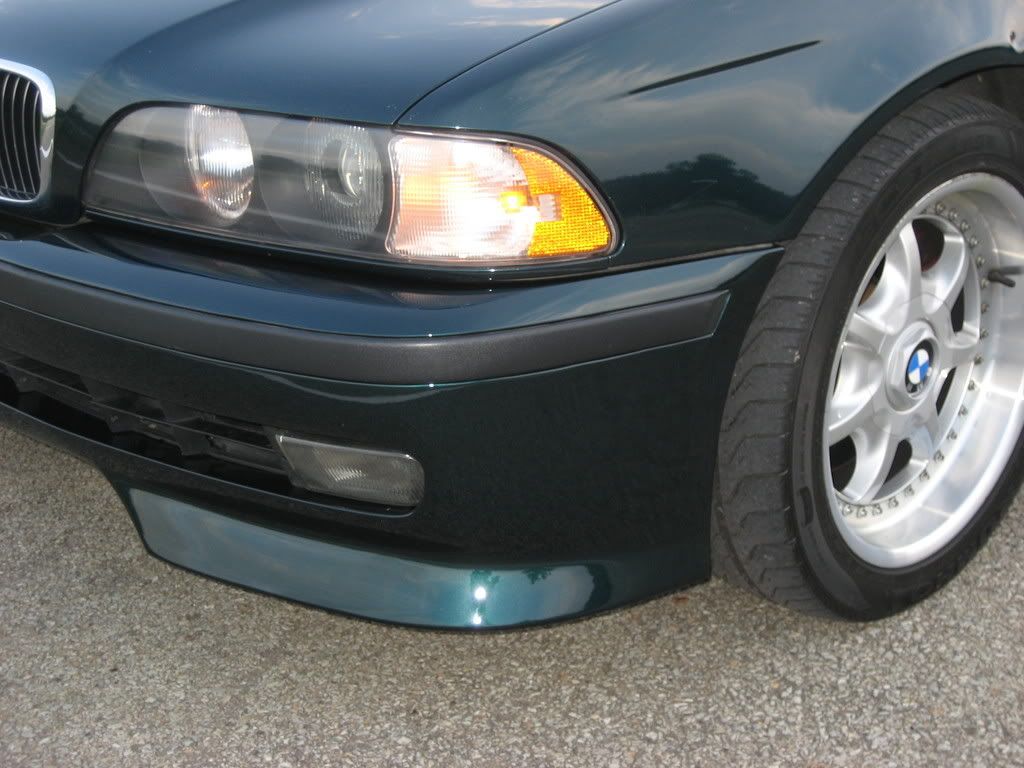
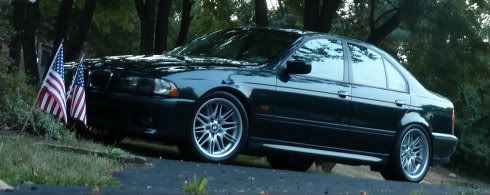
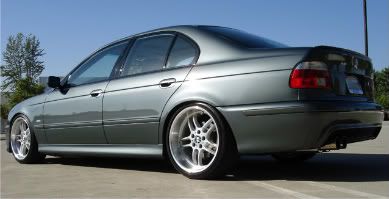
Here's the DIY on my integrated spoiler.
SUMMARY:
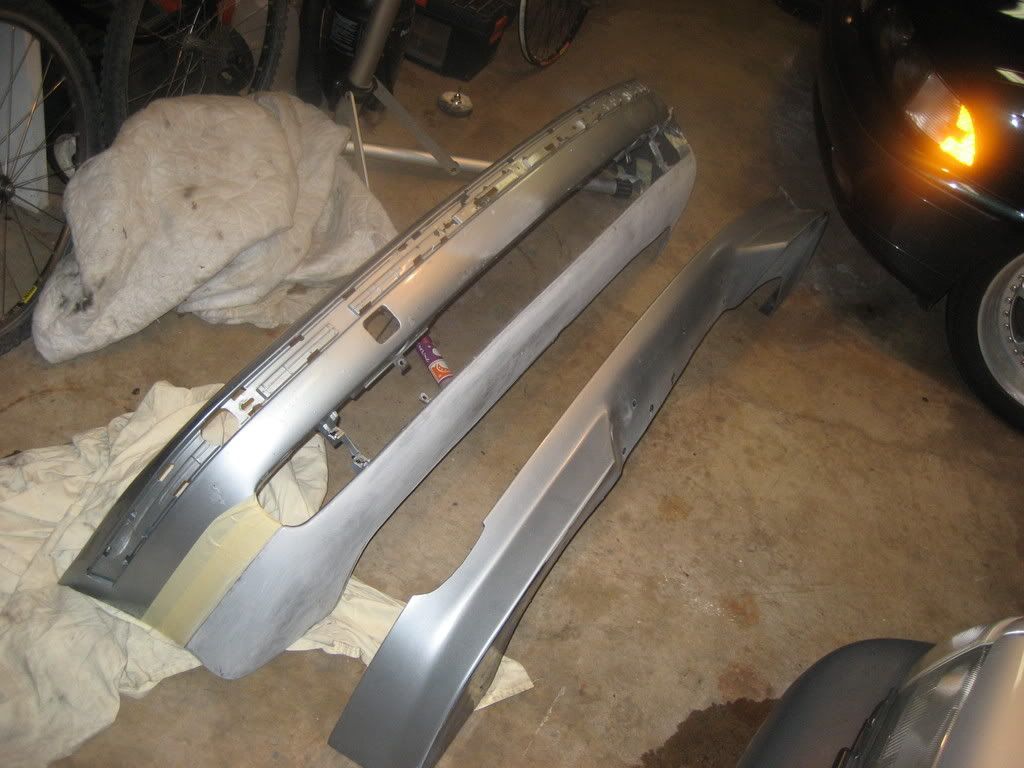
I took a pre-facelift ('96-'00) OEM bumper and epoxied the polyurethane spoiler available on eBay for the facelifted ('01-'03) bumper. I then filled in the sides of the bumper with a flexible plastic body filler made for plastic bumpers to make it look like it was one piece.
I got the bumper cover and spoiler from Nightkrawler. Thus, the lip spoiler was already painted, which made it a little less flimsy than what you get when you buy it. Thanks again to Nightkrawler for the parts for this project!!
This was time consuming, and ultimately not cheap, especially when compared to the DDM M5 replica bumper is $150. The lip spoiler is about $120 with shipping, and the filler I used was more than $80. Then there is the epoxy, sand paper, primer, spot putty, tack cloth, the need to find a donor bumper, etc.
DETAILS:
First issue was gluing the two pieces together. I used Loctite "professional" 5 minute epoxy from Home Depot.
Sand the pieces down to bare rough plastic. Where they will be glued, no paint and no dirt.
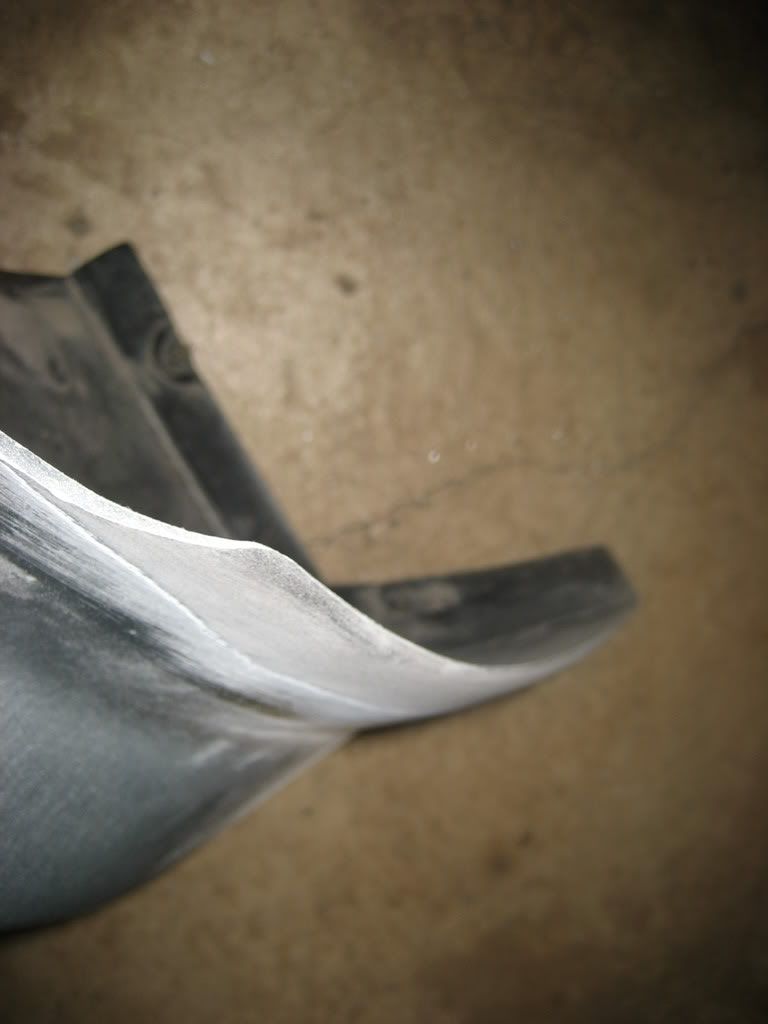
I sanded the upper edge of the spoiler to a very thin edge so that it would be easier to blend the two pieces together with filler. I also sanded out all the high spots of the seams in the inside of the spoiler with a dremel.
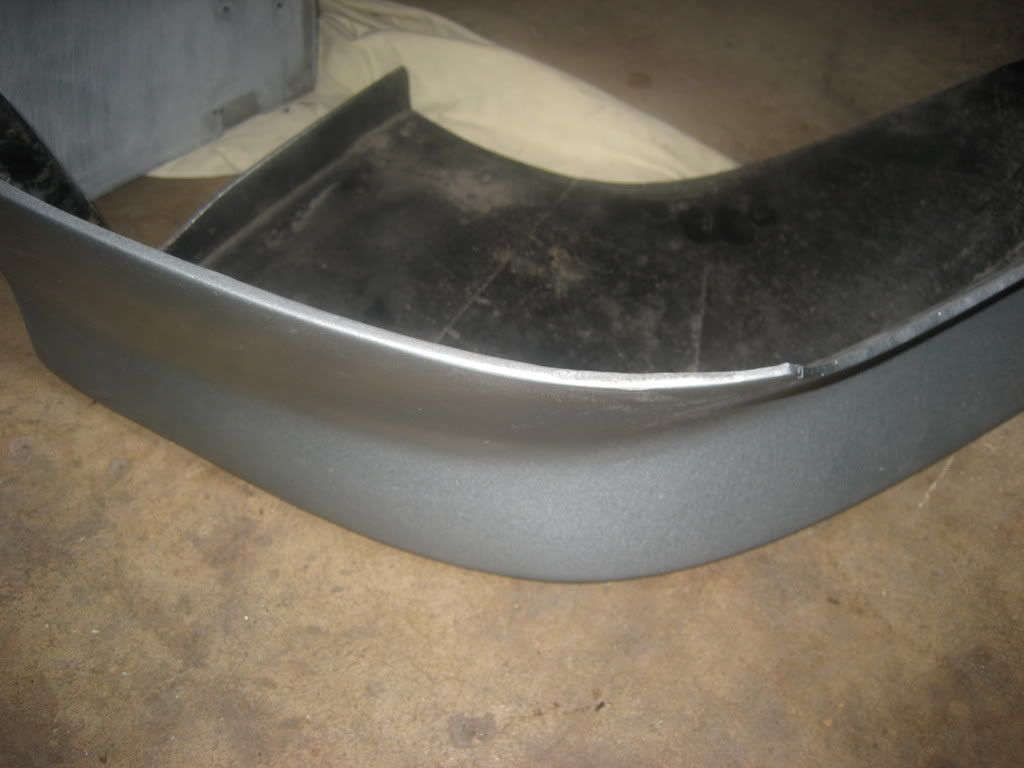
Upper edge of the spoiler before sanding:
And after:
Even if I were not going to make an integrated spoiler, I would still sand that edge down. It looks alot better sanded than unsanded.
Gluing the two pieces together was a little tricky. You want to line up the sides evenly, while also making the two pieces tight together.
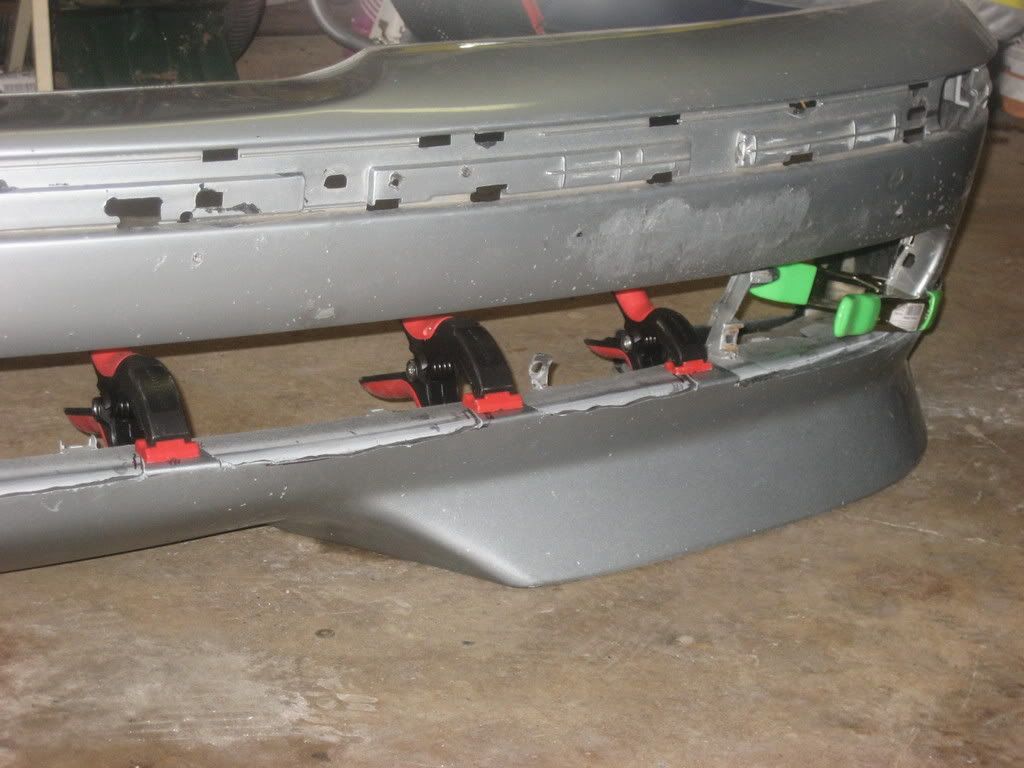
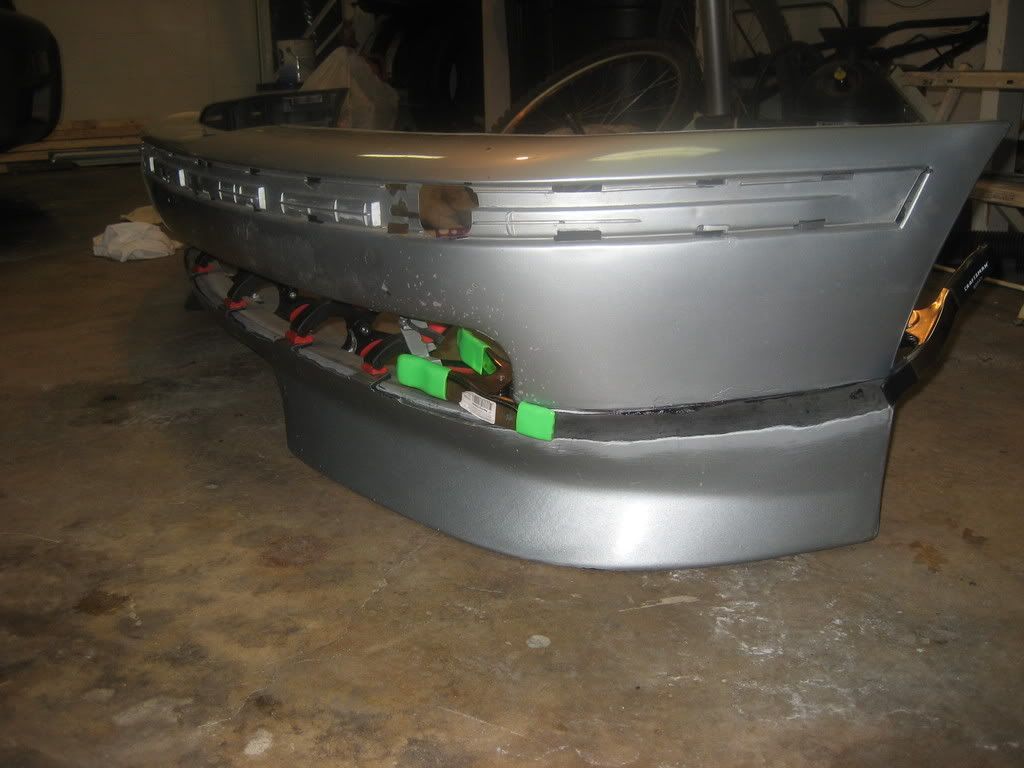
I also did not want to make the lower grille any smaller than it already is, so I wanted to cut off the upper part of the lip that goes "inside" the lower grille. What I ended up doing, as pictured below, is cut "tabs" in the part of the upper lip that goes inside the lower grille. Then I used clips (again, pictured below) to hold the two pieces together after epoxying them. The epoxy has a 5 minute set time, which is plenty of time to put the glue on, put the pieces together, and then check and double check to see that everything is lined up properly. The clips are like 99 cents each at Home Depot. I probably used about 14 of the clips.
If you decide to go with the "tab" method as I did, the more tabs the better. You will get a more consistent edge with more tabs.
Ultimately, the point at which the spoiler and bumper meet at the lower grille needed to be filled in and sanded, which made the job twice as time consuming, but it had to be done if I wanted to keep the lower grille opening from being any narrower. Plus, without doing it, it may have made it difficult to get the two outer pieces of the lower grille in and out of the car.
Note the tabs and clips. (The tabs are cut off after the epoxy dries.)
Before putting in the epoxy, I lined up the bumper on both sides, with the clips to hold it, and used a black marker to show me where the edge would be after there was epoxy between the two pieces.
Here's a good shot showing how sanding the upper edge of the spoiler made the pieces "blend" together.
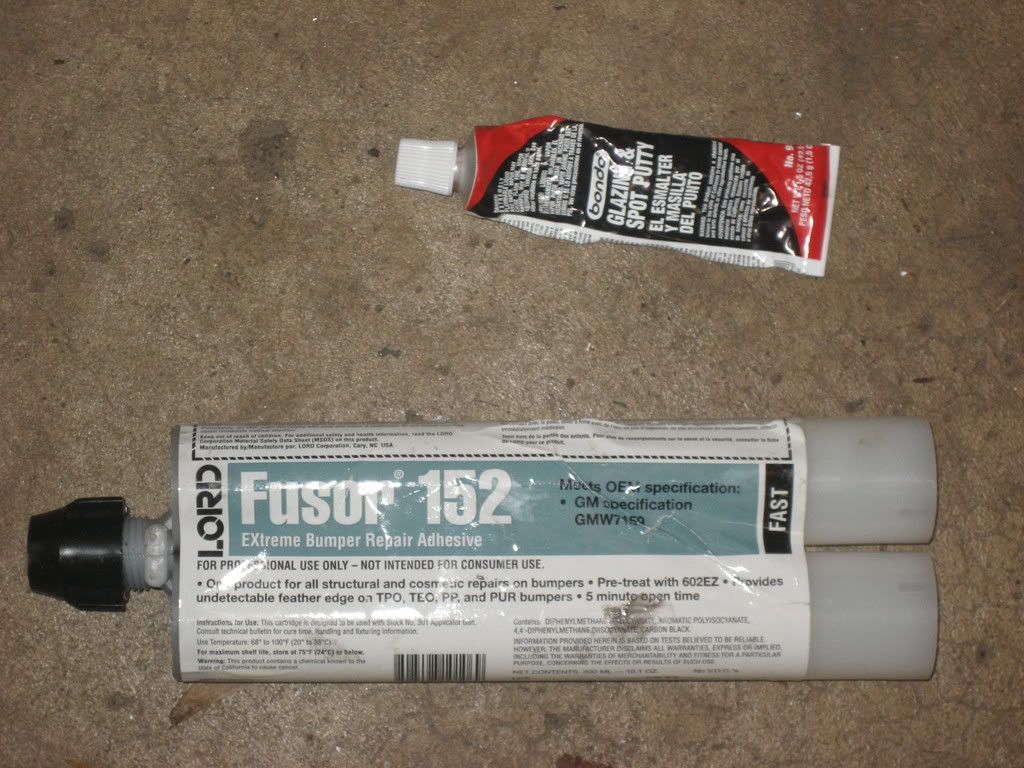
Then comes the filler. I was told that you can't get a good over-the-counter plastic bumper body filler. After doing some Internet research, I determined that what I wanted was a product made by 3M. I then found a local wholesaler/distributor of the stuff, who told me to use Fusor products.
Below is a picture of the Fusor that I used, and a tube of the glaze/spot putty used to clean up minor imperfections later.
The Fusor 152 gave me a good set time and worked very, very well. Very easy to sand after it dried, and the perfect combo of flexibility, adhesion, and hardness for the job. You need to use a two piston caulk gun for it, but the wholesaler let me use their gun for the job "for free." It took two containers of the Fusor to do the job, and at more than $40 each, it wasn't cheap, but I wouldn't use another product.
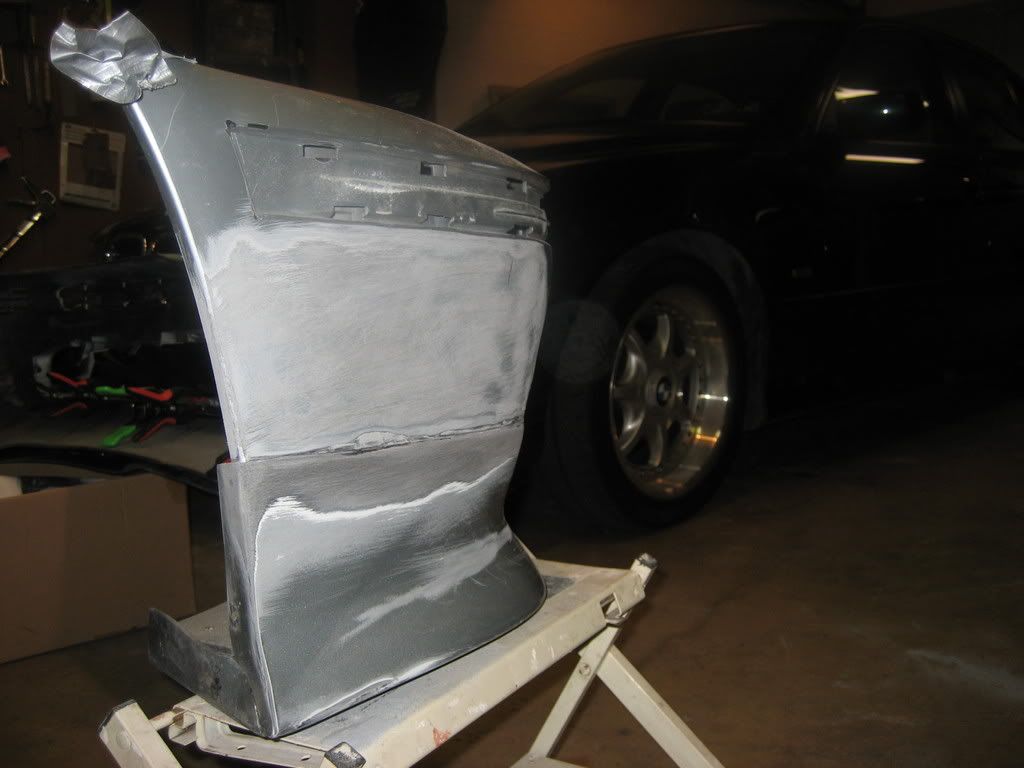
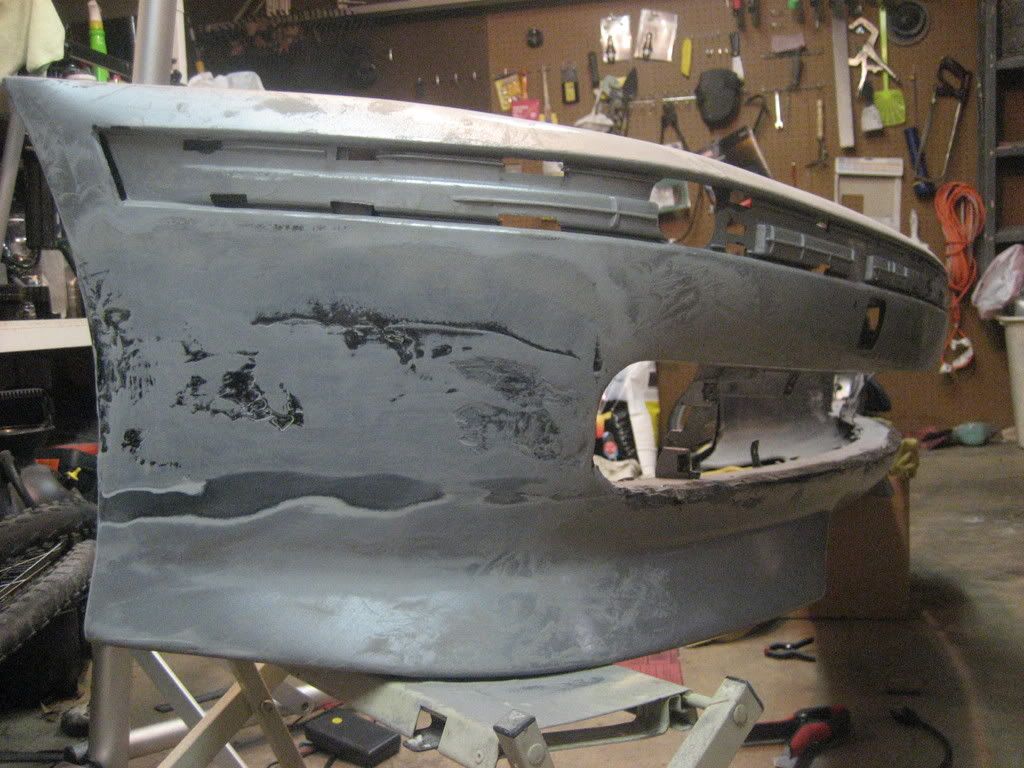
I have some experience doing body work, but I am no expert by any means. A pro looking at this would probably say "don't quit your day job." It took many "coats," with some sanding in between, but it starts to take shape and get smooth.
Here it is after more work and a coat of primer.
I have learned that you can't tell if its smooth just by feeling it. You really need to get it wet and look at the reflection.
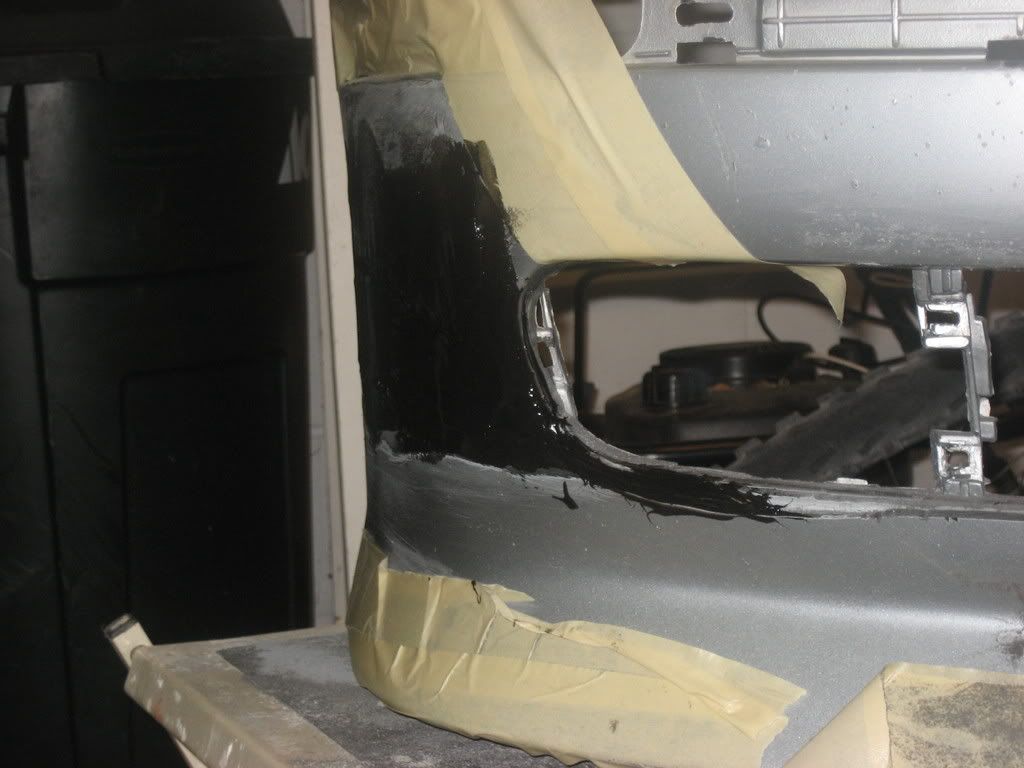
The Fusor shoud be run all the way up to the bumper strip, and about as far over as the primer in the picture above between the bumper strip and the lower grille.
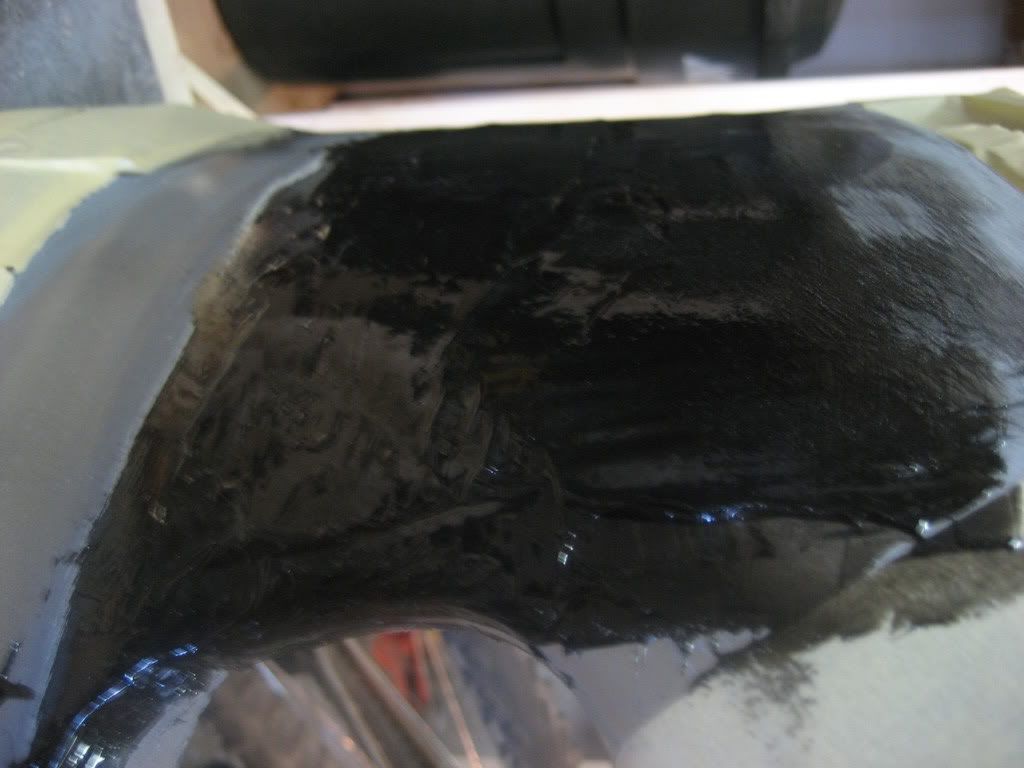
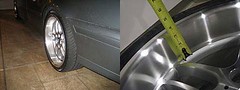
I also filled in the back edge of the spoiler (where it meets the wheel well) This is one of the added benefits of making the integrated spoiler. It's simply cleaner at the wheel.
The child labor laws are pretty lax in Pennsylvania. So I hired a local kid to do some sanding.
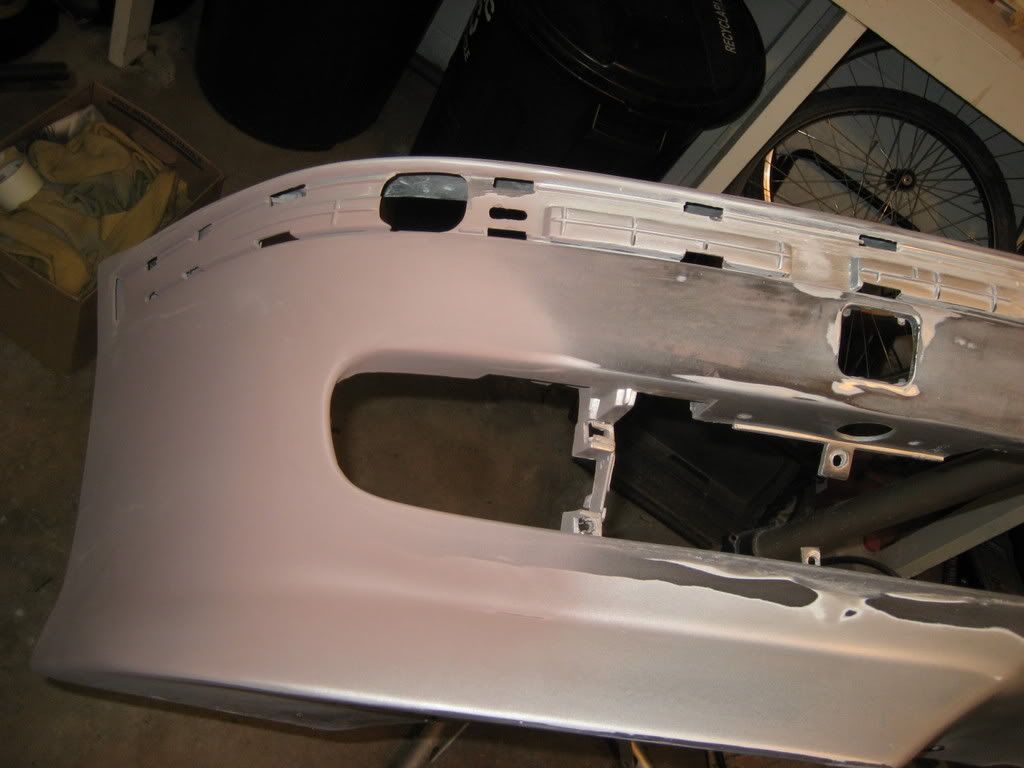
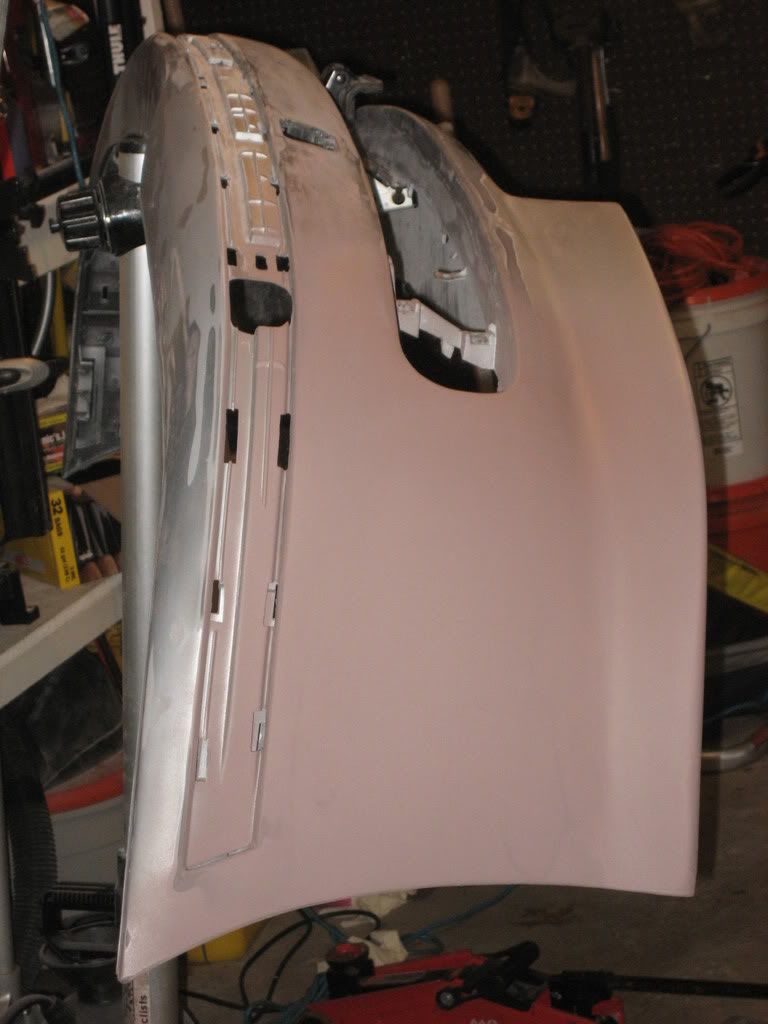
I used duplicolor flexible sandible primer, and I was very pleased with it.
Light wet sanded with 400 grit, ready for paint:
Here's a closeup of the finished product:
More pictures here:
http://forums.bimmerforums.com/forum...er+project+III
I have an extra one of these polyurethane lip spoliers if anyone wants to buy it. Feel free to PM me with an offer.
Oxford Green 1998 540i/6
BMWCCA No. 425591
Status Quo!
Kick ass DIY man!!!! Lets get a few views on this and then we'll pop it into the diy section. Good stuff man!
Another FP5241 Creation
Parting out M54 Engine. Intake and all. Cats avail as well. PM ME!
Prodigal Member
Epic.

UNDER CONSTRUCTION
- 2000 528i Sport -
Got any questions about my car? Feel free to PM me!
Prodigal Member
request it be added to the DIY archives for all time!!!
UNDER CONSTRUCTION
- 2000 528i Sport -
Got any questions about my car? Feel free to PM me!
Member
dude that was SWEET!!
FS:NEW_BF_Goodrich_245/35/17
Reason|Science
wow. phenomenal job
lol @ "The child labor laws are pretty lax in Pennsylvania. So I hired a local kid to do some sanding."
Member
nice work bro
///M5
Member
Very nice work!
No longer with us ... RIPOriginally Posted by freethrowdunk

+1 to both of those!
Rollin' Down Rodeo
Member
Nice work, best integration i've seen so far.
Member
Nice! That style of spoiler (the OEM version) is my favorite and you did a really good job.
"I'd smash that (Jennifer Connelly) like a failed coup in sub-Saharan Africa."
~Macktheknife in my epic Jennifer Connelly OT Thread
Member
Verrry niiiace. Looks OE, yet, one-of-a-kind'ish all at the same time. Wish I had the skills to pull something like that off. Good job!
Member
Very nice, and best of all it's original!
I know, I know, but they make me smile!
BMW MasterTech
excellent work, bro!
Member
Wow that turned out great!
Member
sweet
Member
i love it i have the same lip on my 97 everyone give me props on it but i like urs better wanna sell it to me lol
BMWCCA 484984
How did I manage to miss this. GREAT job!!!!
I'll add this to the DIY Quick Links thread.
Member
Nice work!! Looks OEM!!
I miss having the time to do projects like this
License Revoked
Good Show! looks great! flawless!
License Revoked
Looks great. I tend to favor this look than adding an M5 replica bumper to a non-M 5 series.
Member
very nice write up
99 E39 528i / 08 E92 M3
Member
Looks awesome, I hope I see it around town sometime. If you still have it.
Member
Petes540i6,
That looks fantastic. If I ever find a a clean low mileage 540iA, I want it set up just like yours... !
 Posting Permissions


 Reply With Quote


Bookmarks