
 License Revoked
I finally parked my car last night for a while, while I turbocharge it and convert it to megasquirt fuel injection. I figured that there are people out there who own these cars and want to gain more performance out of them, but aren't exactly sure where to start - so that's why I'm making this thread, it's from start to finish, a complete build thread that covers the removal of every nut/bolt, the splicing of every wire, etc - the only thing I will not cover is intercooler mounting in here, since I did that without taking pictures and it will vary greatly from car to car, but standard turbocharger placement and FI conversion should take care almost all of the guesswork out of this project.
This endeavor is being undertaken upon by my 1976 2002. It has a rebuilt engine with 20K on it, it could definitely use a lot more power, so FI (both fuel injection and forced induction haha) are going to be installed on this car.
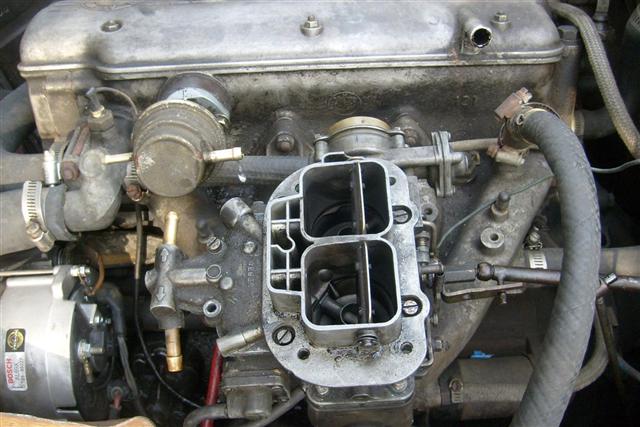
As it stands, the car has a 32/36 carb, upgraded ignition system, a few other tidbits among the engine bay, but it should be almost identical to most other 2002's out there.
Here's a rough sketch of a parts list, including what I have so far and what I'm still waiting on or haven't ordered.
The plan:
20PSI on this car running Megasquirt-II fuel/spark management with american car parts thrown in. Will be hooked up to a laptop and monitored via MS interface, which will give readouts to all major components of this system.
Outline:
Remove carburetor, sell
Remove distributor, coil, plug wires, all related wiring, sell
Remove intake manifold, sell
Remove exhaust manifold, flip and weld custom flange for T04
Remove cylinder head, remove camshaft
Send cam in for a 272 custom grind, low duration high lift
Make intake manifold, plenum with 1-2" runners (POSSIBLY GSX-R ITB's)
Custom piping from turbo to IC to plenum
Custom exhaust, 3" out the side or all the way back
Install megasquirt controller, all sensors
Install BOV/Bypass valve
Install old laptop running windows 95 permanently in car for readouts/sensors VIA megasquirt software
Finish roll cage
Inspect welds on diff, ensure they're still holding up
Load pre-tuned baseline MAPs for megasquirt to get car running
Hit boost once, break transmission and twist diff out of subframe
Replace all broken parts as needed lol.
Current compressor map showing engine specs and variables:
Note, I have not decided yet on a BOV/boost controller, those are not in the parts list yet.
So let's get started, this will be updated as I work on my car on a daily basis, sometimes less frequently but we'll see how everything goes.
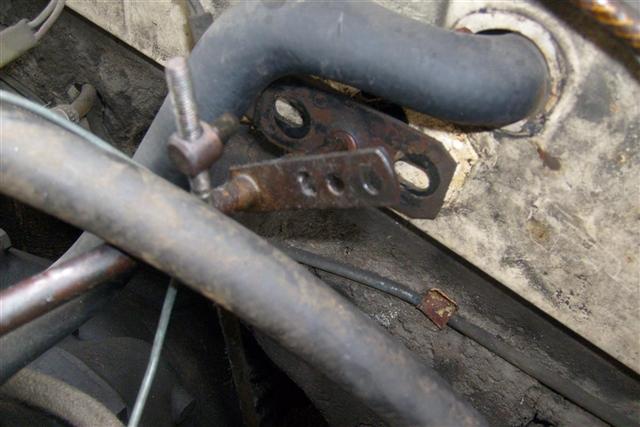
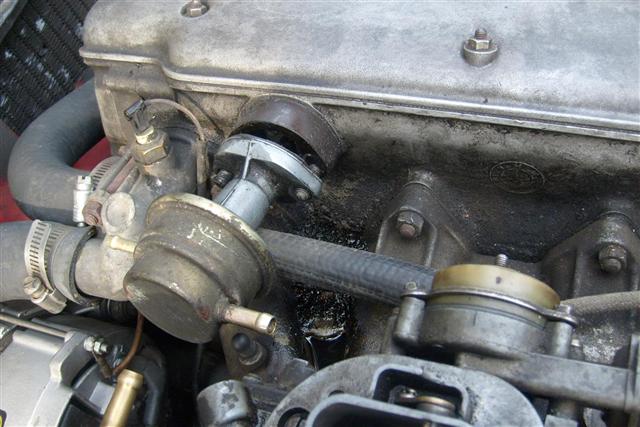
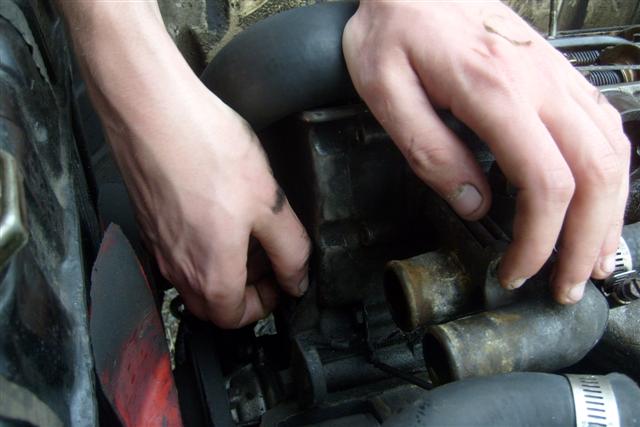
First things first, disconnect the throttle linkage bracket from the firewall. This is held in by two 12mm bolts. Slide the bracket upwards over the shaft that connects to the carburetor, this will seperate the carburetor from the plate.
Remove the carburetor top plate as it makes it easier to remove work with, it's held on by four 10mm bolts.
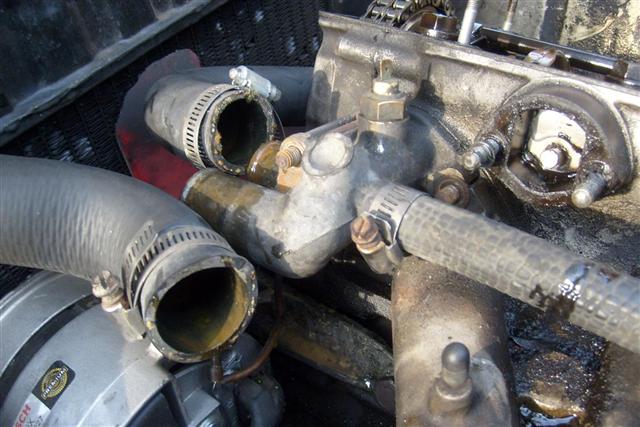
Use a flat head screwdriver to loosen the clamps on the fuel lines on the pump, and the carburetor. Remove the lines, leave the inlet line (with filter) in the car, as well as the return line coming off the caburetor.
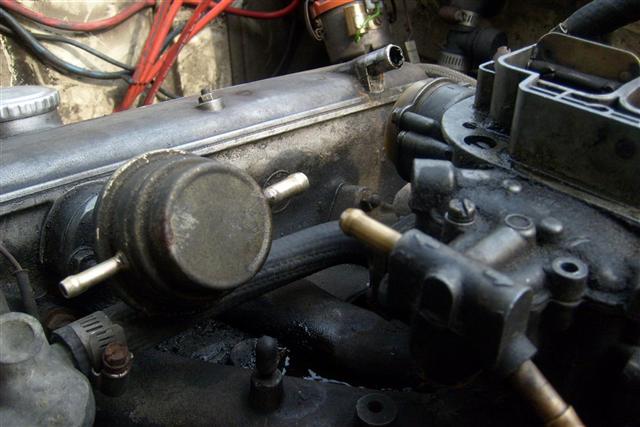
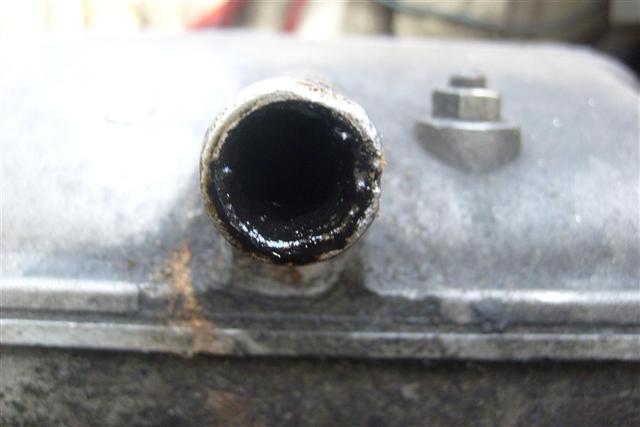
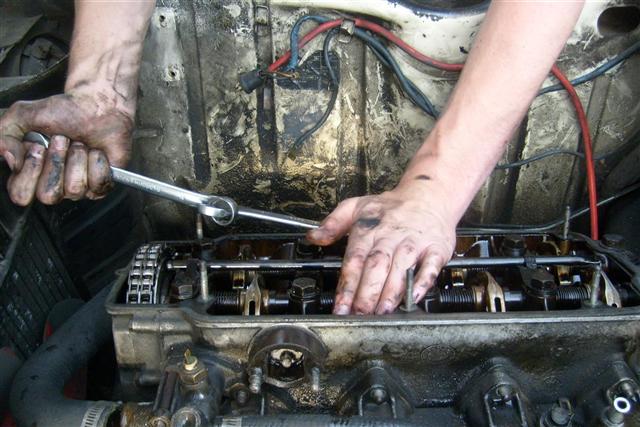
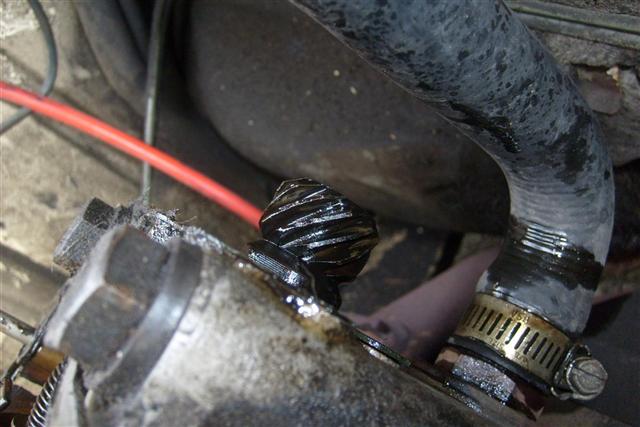
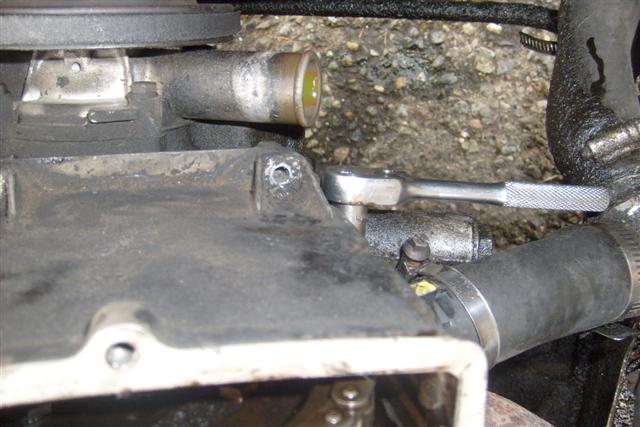
Disconnect the brake booster line from the valve cover. Mine was pretty gunked up on the inside leading me to believe the motor was sludging, but when I pulled the cover off it was a different story.
Remove the two 12mm nuts on the fuel pump base.
A block-off plate will need to be fabricated/installed here, simple task - requires a bandsaw/cutter & drill.
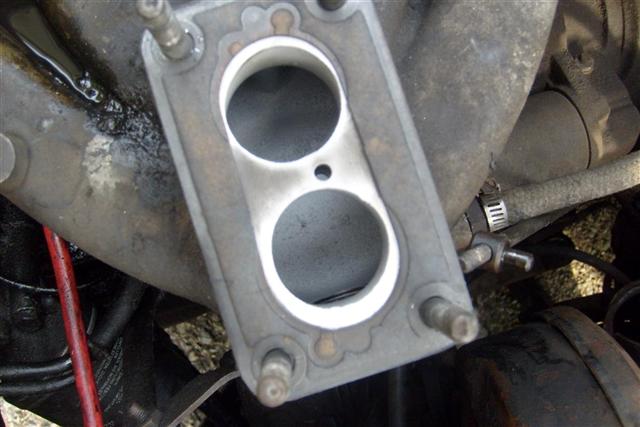
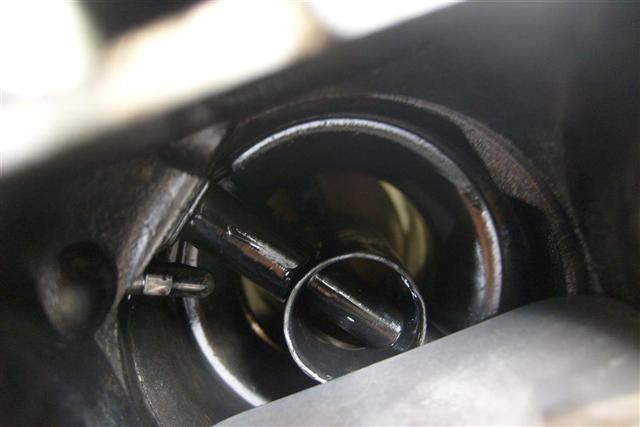
Remove the 4 12mm nuts on the base of the carburetor (this is for a Weber 32/36). The carburetor will slide over the studs revealing the manifold & carb gasket/spacer. The fluid between the runners on cylinders 3 and 4 is just fuel that spilled out of the pump.
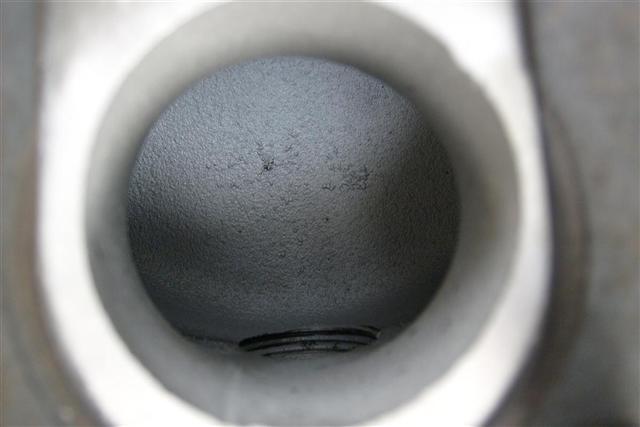
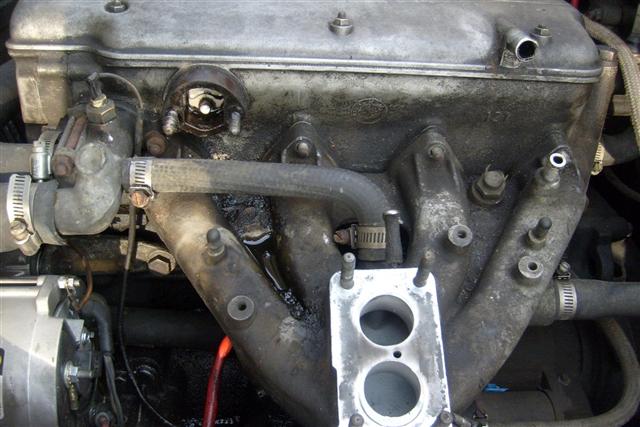
The inside of my manifold still looks pretty clean - it has to be scrapped however for an M10 318i intake manifold.
Last edited by n00bjabi; 08-01-2008 at 12:13 AM.
License Revoked
Carburetor is in great shape still minus the gunk, I'll clean it off and sell it since it was rebuilt ~500 miles ago.
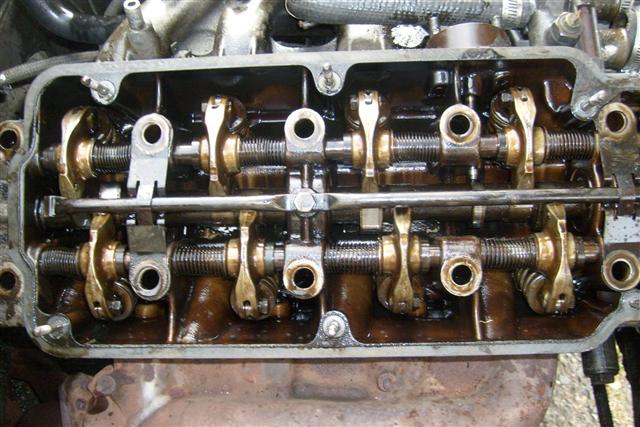
I started removing the top nuts on the manifold, they were 12mm - but I gave up when I realized that the bottom ones are damn near impossible to remove without getting the head off, so I'll just take the manifold off with the head. Meanwhile, remove the eight 10mm nuts that hold the valve cover on.
Break time. Greg's E30 is prowling in the back.
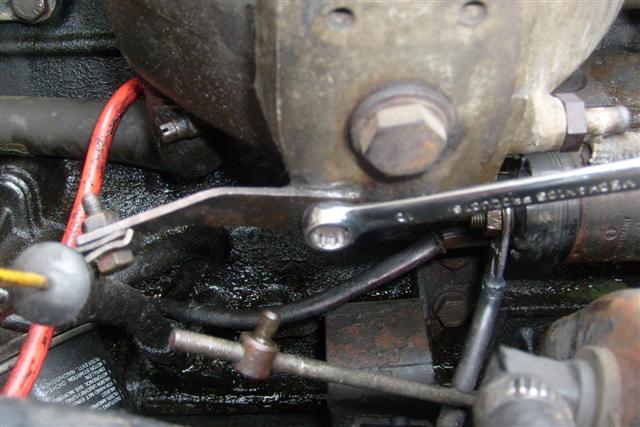
With the valve cover off, you can gain acess to the head bolts. They are 19mm bolts and there are 8 of them. Take them off in sequence, start with the corners and go towards the inside, gradually loosening up each bolt 1/4th to 1/2 turn at a time until they're loose and can be removed by hand.
It may be hard to break them at first, you can use 2 wrenches together to substitute as a breaker bar if you're too lazy to walk to the table and grab one.
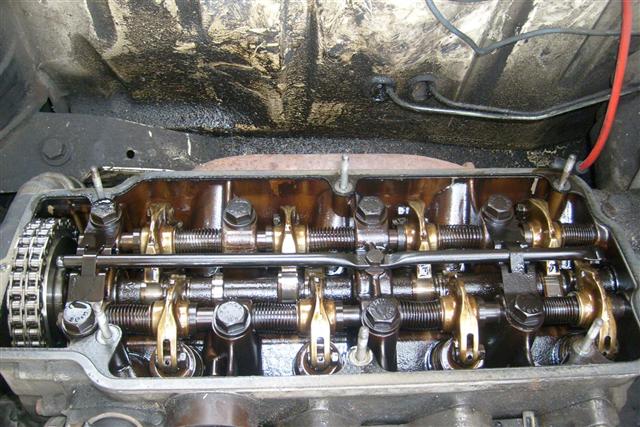
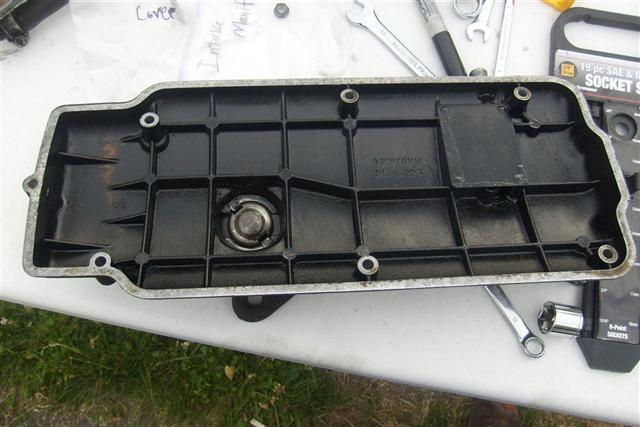
My valve cover still looks pretty good, there's no sludge at all.
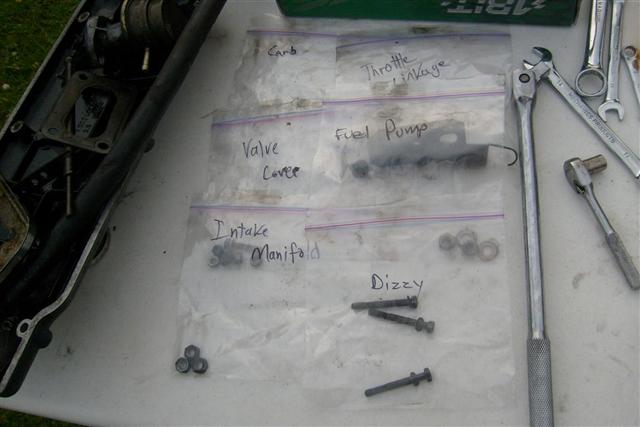
It helps to organize all your parts in bags.
Remove the coolant lines, remove any and all coolant lines that go to/from the head. The line from the temp sensor housing to the manifold can remain as it will come off with the head and can be disconnected at a later time.
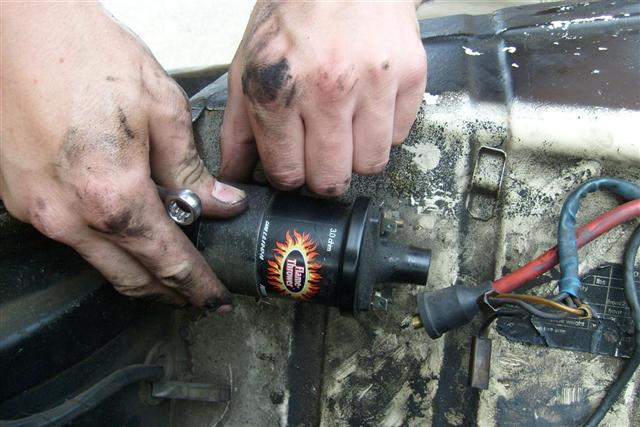
Remove the bracket that holds the coil in place, it is held on by one 10mm bolt. Unplug the coil and remove it.
Remove the three 13mm (IIRC) bolts on the side of the distributor, towards the firewall. The bottom one is the hardest to get to. Remove the distributor cap if you need room for your hands. Unplug all plug wires and remove them from the vehicle. This exposes your distributor gear.
With the head bolts removed, the head is almost ready to be removed.
I'm stopping here, will continue tomorrow.
Member
I like when people call them dizzies... newbergoobers don't know what it is and its fun
License Revoked
Lol that's the shit, of course I haven't forgotten the ol car e-slang.Originally Posted by 5mall5nail5

Member
youz a little bitch, whats good with the e30
License Revoked
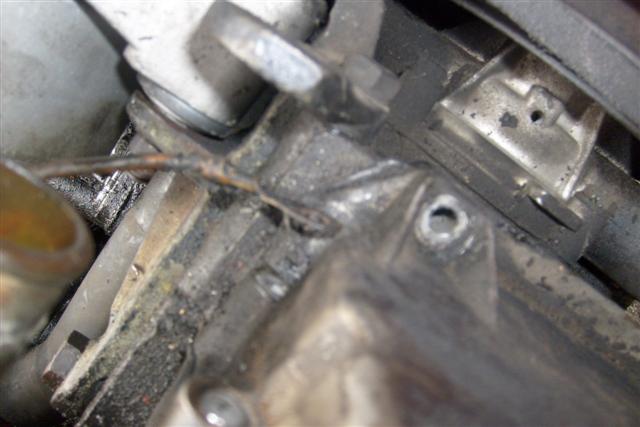
Remove the eight 10mm bolts on the side of the timing chain cover.
Remove the 10mm bolt that holds the dipstick bracket on the driver's side of the manifold.
Remove the bolt that attaches the alternator ground to the timing chain cover.
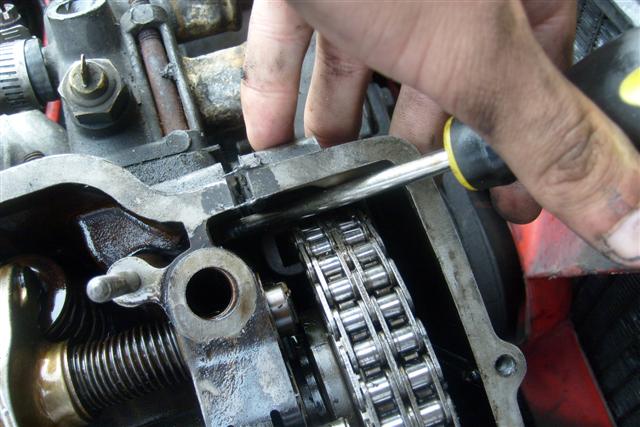
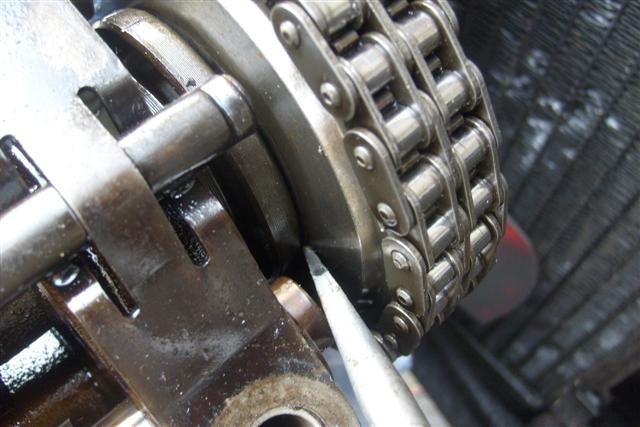
Insert a prying tool in as shown.
Gently pull towards the front of the engine, the cover should seperate.
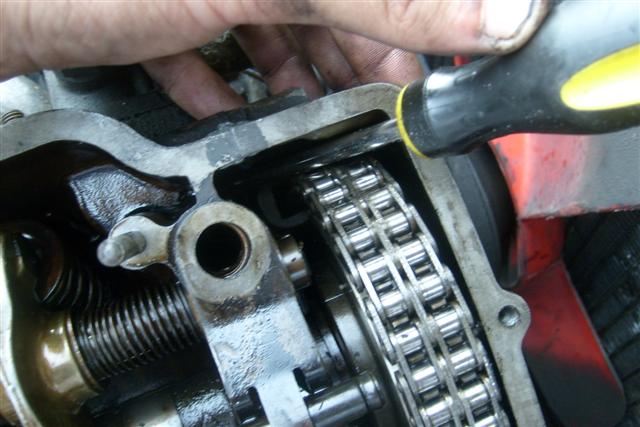
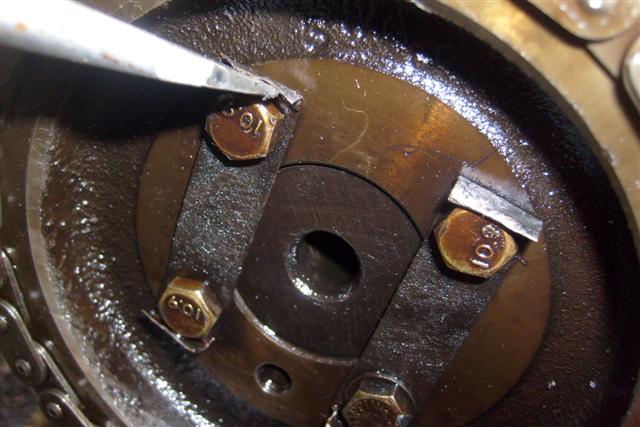
Flatten the tabs that lock the cam bolts in place.
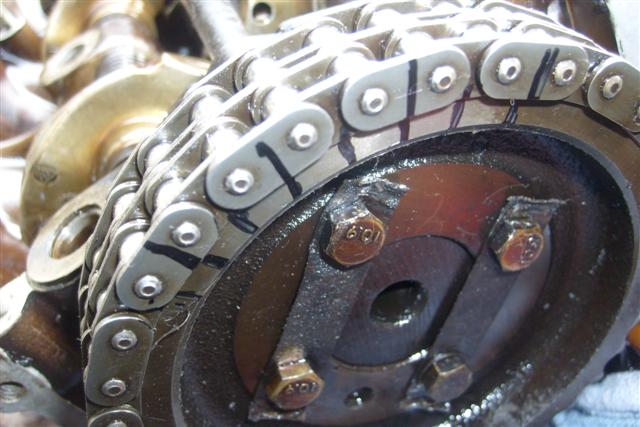
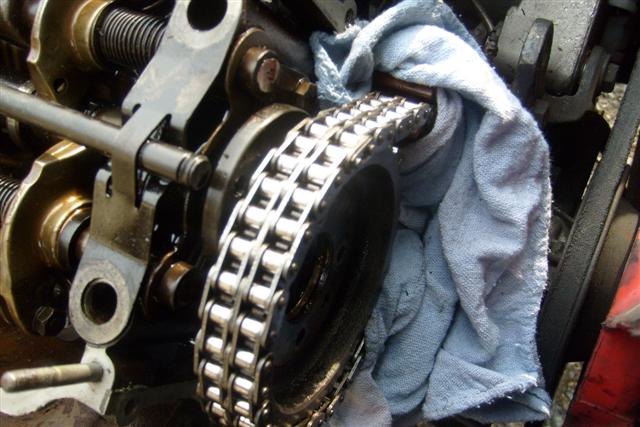
Clean the sprocket and chain off with a cloth and make marks to line up when reinstalling the cam.
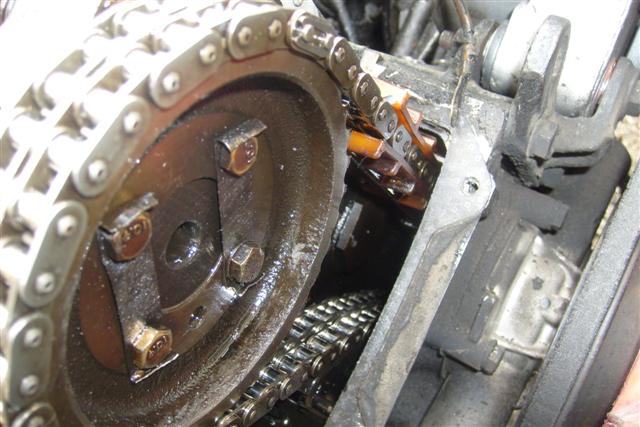
Gently pry the sprocket off from the back, from multiple directions.
Lower the sprocket within the chain, and remove it once the teeth slip off of the links.
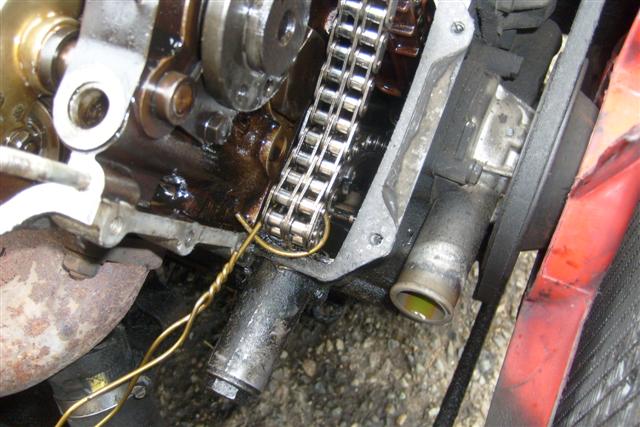
Secure the chain with a coat hanger or whatever. I found a coathanger laying around so I used that.
Had to stop early tonight, went to go see Hancock with a few people instead of working on this. Hancock was awesome, btw.
License Revoked
Got a few parts in today, closer and closer every day :P
Megasquirt V3.0
A little something to help with cooling
Sum gauges and shit yo.
Walbro :P
ARP goodies
XS BOV

Member
awesome project
1995 E36 M3 (Sold)
FS: BRAND NEW SHOEI HELMET http://forums.bimmerforums.com/forum....php?t=1275204
Member
Sick! I love 2002's! How about some pics of the outside of the car?
Member
That is for blow by not the brake booster.
Member
the process for re-applying the head is a strange one. You have to torque them to spec, then warm up the engine to operating temperature, and then turn the head bolts an aditional 30 degrees each. Don't forget to do it.
Member
Turboed 2002s are fun.
Why the thick head gasket? Was your motor a high compression one to start with, mine is a standard 8.3 to 1 ( IIRC ) and I just put a standard MLS ( from IE ) one in and it works fine to 18psi and a bit more with water/meth injection.
License Revoked
For massive boost pretty much, better safe than sorry :P
I can add more boost if needed. How much power are you putting out?
Member
I have no idea how much HP it makes, I can run 22psi on pump gas in the winter and about 19 in the summer with out pulling too much timing. The dyno #s really don't matter to me, it's as fast as it is and knowing some # isn't going to make it any faster. I will tell you it's fun as hell.
License Revoked
Wow, sounds great - I'm really excited and looking forward to this thing being done, almost done collecting parts then it's just fab work and installation, not hard.
I'll dyno tune it though, see what it really puts out for shits and giggles.
Member
Upgrade to an MS2 while you are getting everything together. The overall response from the MS2 is MUCH better.
Rob - 2000 BMW Z3 M Roadster | 1986 Porsche 944 5.3L LM4
Killer of cars
yeh, dont forget the warm up - i blew a perfectly good gasket forgetting the retorque.
And as much as every one says dont retorque - keep doing it untill they dont need it anymore, you'll know when
Fast, Cheap, Reliable - Pick any two, and the third is laughable
Member
absolutely can not wait to get the rust taken care of in my 02 so i can start my squirt/turbo project, if i were you i would get rid of the blow off valve that particular design tends to leak boost and can be a pain in the ass, plus they sound annoying. i would recommend a tial 50mm you can pick em up used for 150 and they look sound and work amazingly.
Member
Subscribed! My head is at the shop as I type this...hopefully getting its pnp for my turbo build! Keep us updated.
Why do you say that you will twist the diff out of the rear subframe? Pinepig, did you have any issues with your mounts and or tranny for that matter? You are hittin' 22 psi, that is why I ask.
85 318i- Sold
95 332is- Sold
95 Hellrot M3- Sold
1975 2002- Sold
2020 X3M Competition- Custom E85 Tune- Catless Downpipes- Custom DIY E85 Analyzer- Designed and printed Custom Air Scoops
2003 M3- Custom Rotrex Supercharger setup-AA Headers-Meisterschaft-Vorsteiner-Brembo-BBS-CSL
Member
I'm sure I can break things if I want too, I just be a little gentle on it in first a second. I'm running a 5 speed out of a 320 from the junk yard. Urethane mounts/bushings every where under the car. The dif is the weak point and can be lunched very easy, you won't twist it out but the ring and pinion will loose teeth in a hurry if you try. A good clean stock clutch will take a lot of regular driving but abuse it and it'll die quick, the 618 pressure plate with a stock 228 sachs disk seems to hold up just fine.
License Revoked
Sorry for the lack of updates - been busy with work and shit. No pictures today.
Here's where I'm at in terms of fab so far:
Flipped the exhaust manifold upside down, fabbed up an adapter to mate the exhaust flange off the manifold with a new inlet flange I made myself for the turbine - none of it is pretty, there's some cleanup, but the welds look to be rock solid and should hold quite a bit of pressure.
Still waiting on IC piping, injectors, fuel rail, etc - this thursday I should have all the fab work done. Gotta make an intake manifold, gonna buy some aluminum welding rods tomorrow and start fabbing up the plenum & runners. Also need to buy some aluminum pipe... Note to self lol.
And you guys will get a kick out of what I'm using to make the plenum for the intake manifold :P
No secrets revealed yet, just know it's a large part of the car that I removed at one point and it's... roughly, the perfect size and shape for a decent plenum with little fab work needed.
Pics and updates coming tomorrow.
Killer of cars
your using the bumper?
or is it a 4x4 bullbar?
Fast, Cheap, Reliable - Pick any two, and the third is laughable
License Revoked
I think I gave too much of a hint lol.
Yeah, it's the bumper. :P
Killer of cars
very nice
If a cop asks where your front bumper is, you can show him
Fast, Cheap, Reliable - Pick any two, and the third is laughable
Member
You should consider getting a wideband 02 sensor to tune the thing. Innovate makes a great one for a reasonable price and JAW is a cheaper alternative. Can't wait to see the pics of the plenum.
 Posting Permissions


 Reply With Quote
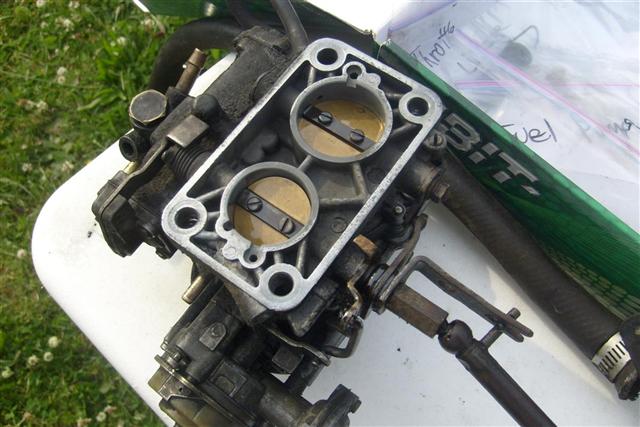


Bookmarks