
 Supporting Vendor
I noticed that my front end was looser then i felt it should be. When i would hit bumps the car had a slight shudder to it that made me feel un-easy. After looking at bilstein/hr combo and the cost i decided to start with the simple stuff. My best buddy knew what i was talking about on my car and knew that i could not make up my mind on what i wanted to start with. so he ordered me a set of powerflex lower control arm bushings.
Im going to out line the install as well as give my observations.
This is a good article to read about how to install the bushings : http://www.understeer.com/lcab.shtml
I did things a little different, when it came to getting the LCAB off the lower control arm the article above said to use a 3 jaw plyer. Instead i used a ball joint fork. It was simple 2 hits and one tug and the bushing was off in one piece. This saved me a lot of time and really made it easier in my opinnion.
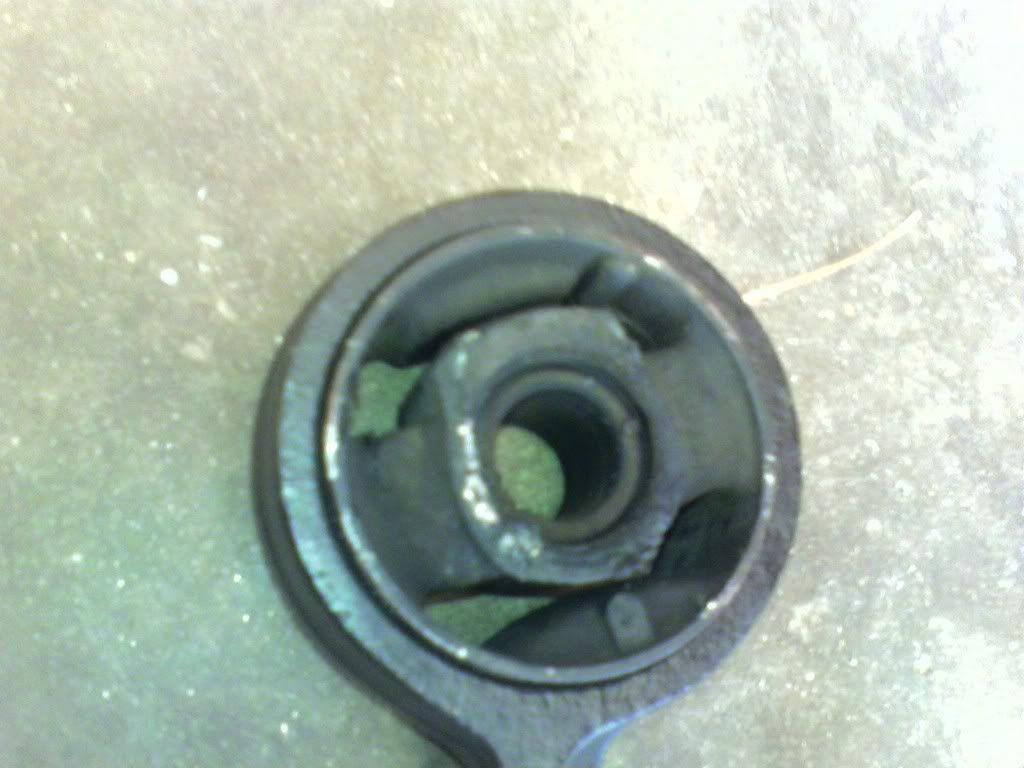
With the bracket and bushing now out of the car i proceed to remove the center of the bushing, this was not essental i just wanted to see how easy it was. It took one hit with a dead blow hammer to remove the whole center (pic below.)
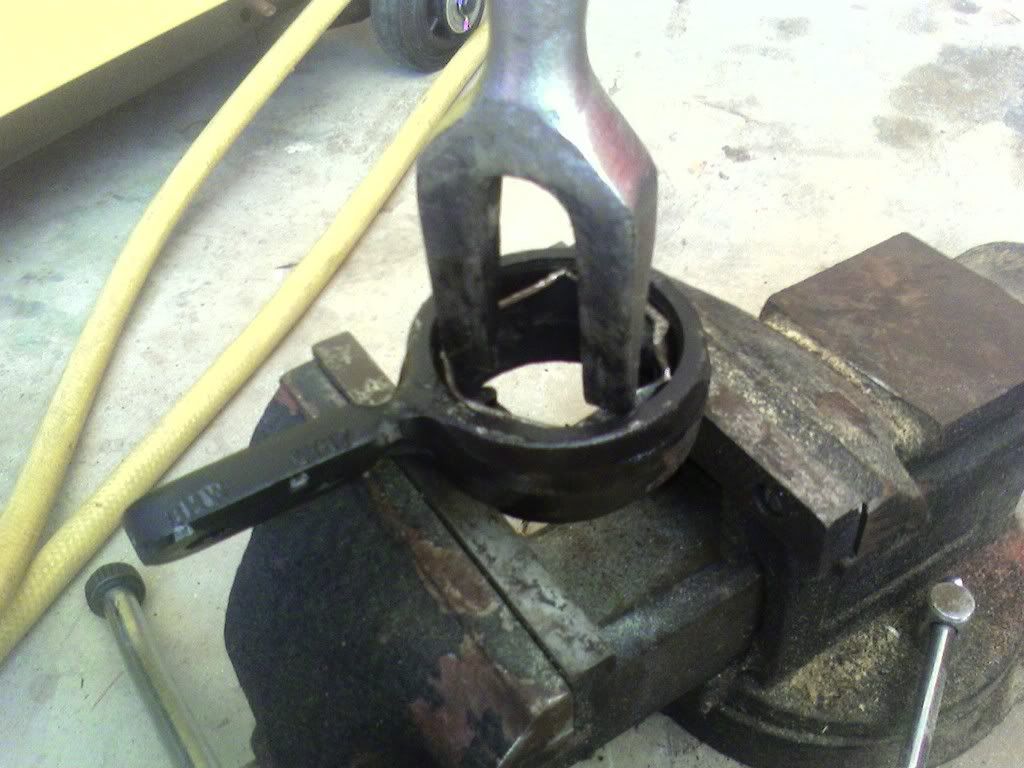
Now using the ball joint fork again i beat the metal shell of the bushing out of the holder: (pic)
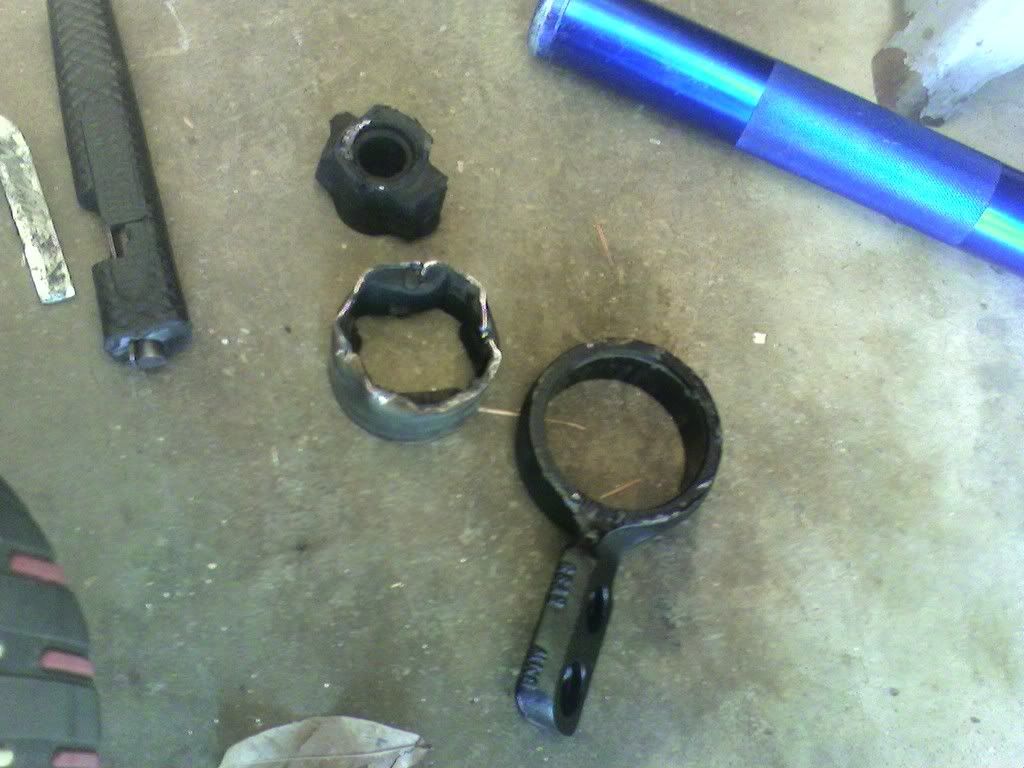
The end result is this:
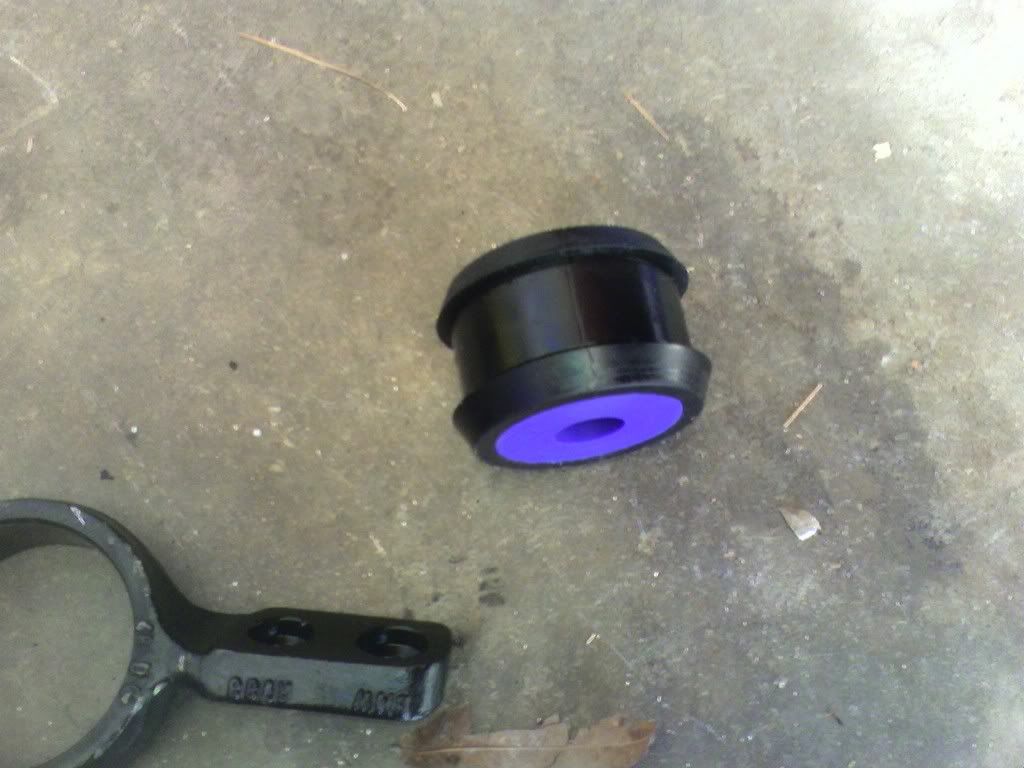
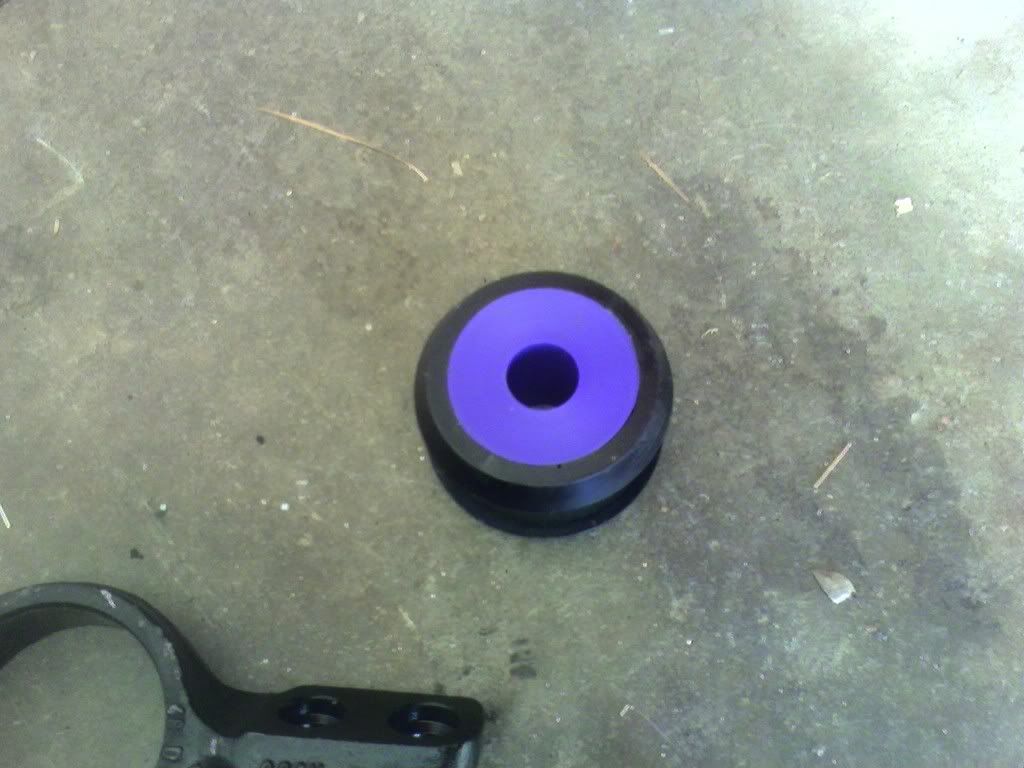
The new bushings from power flex are really really kwel. they are a two piece design that locks together as well as around the bracket. the middle of the bushing is made to pivit with suspension travel with out letting it felx left right or up and down. you lube the center section and use sand paper on the control arm and the bracket to make sure that the two pieces of the bushiner stick to their contact and it only pivits in the proper place.
Pic of new bushings.
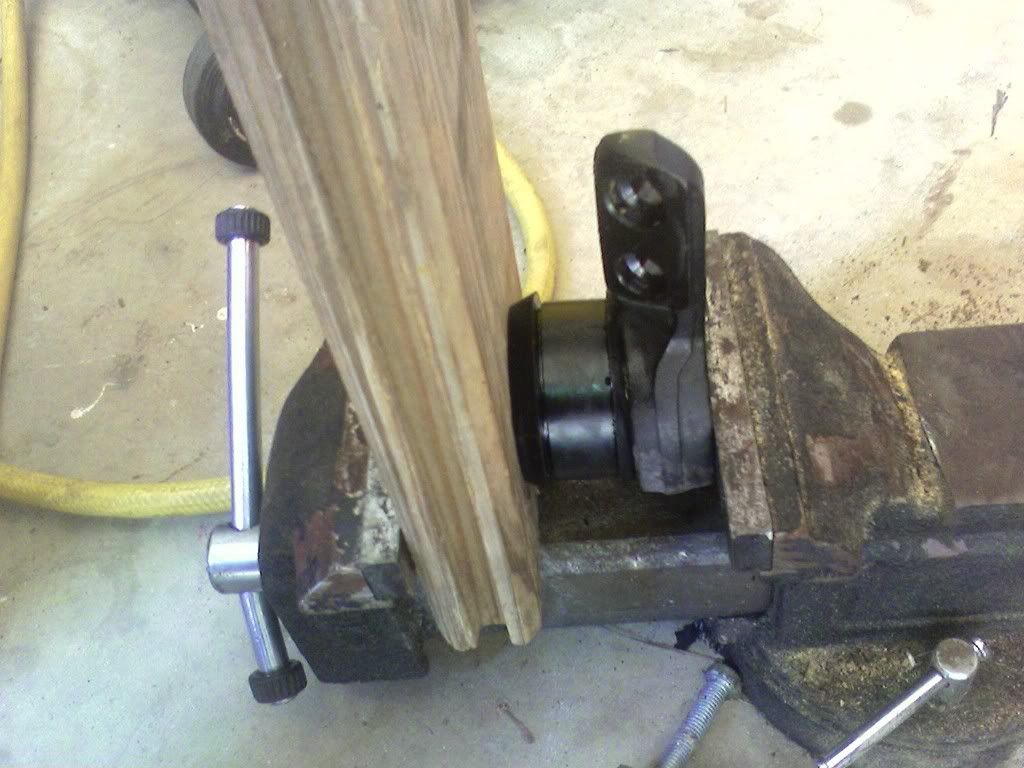
I used a piece of wood and a vise to install the new bushings into the brackets, it was painless.
I then used the windex to allow me to push the new bushing and bracket onto the control arm.
I will say that the new bushings are fatter so its harder to get the bracket to line up with the chassis holes, but using a torq bar got it in plave no problem.
the car feels firm, the only thing out of place now is the rear subframe (need new bushings) i did notive that it corners flatter and it has a tad bit of understeer that it never had before (i asume when i get the rear done it will be balanced again). Everything is tight and very responsive. i do not know what the ///m bushings would have done but for 50 bux and the easy install of these bushings i do not see why you would want to put the ///ms in your non m and why you wouldnt replace your ///m's bushings with these
Member
FYI, there's a parked DIY thread. Better to post it there.
2001 S54 LSB/NAPA. 1 of 7.
Supporting Vendor
can someone move it
____________
Nice writeup! I'm gonna copy the link and post it in the stickied thread for you.
-Joe
Supporting Vendor
Thanks
____________
So for this job, all you really need is a ball joint fork, piece of wood, a vice, and the new bushings? Where do you get the fork from?
-Joe
Supporting Vendor
lol, I have a whole shopOriginally Posted by QuestMCoupe

i believe that i bought the fork from autozone a few years ago when i was replacing control arms on my dodge. not more then 10 bux.
Supporting Vendor
oh yeah and dont forget a really large rubber hammer and a dead blow hammer.
____________
Cool. Where did you get the bushings from? Thanks.
-Joe
Supporting Vendor
Member
Can you explain to me how you got the holes to line up. I can't get them with my hands or a clamp.I will say that the new bushings are fatter so its harder to get the bracket to line up with the chassis holes, but using a torq bar got it in plave no problem.
Edit: Never mind, that was so easy I feel stupid for having asked.
Last edited by JWin; 06-11-2009 at 09:20 PM.
Supporting Vendor
i was about to ans. . .lol
Member
Thanks for all your help man, you've been awesome. Test drive in 30 minutes and counting.
Supporting Vendor
man i hope that fixes your problemeither way you will like the powerflex bushings.
Member
I just used two big sockets and a vise to press the old bushings out and press the new bushings in.
Rob - 2000 BMW Z3 M Roadster | 1986 Porsche 944 5.3L LM4
Member
If/when I upgrade to poly I'm going to try a ball join press, used it on my jeep to do control arm bushings
3.73 | TCK S/A w/ H&R Sport | M50 manifold | IE Subframe Bushings, RSM, & SS brake lines | Shark Injector | UUC Evo3 SSK & DSSR | Cosmos Strut Brace | ASC, Resonator, CDV Delete
Gort! Klaatu barada nikto
Good information - Thanks
2000 Z3 MCoupe, '01 LSB E46 M3, '99 GTI VR6, '06 Audi A4, Andrew '95 Avus M3
Member
I found a very quick and easy way to get the stock bushings out.
Using a strong screwdriver or other similar tool, drive it between the LCAB frame and the bushing (see attached photo) all the way through until it comes out the other side. The metal frame of the bushing will bend without too much effort. You should then be able to fairly easily tap the tool back out.
This collapses the structure enough to make its diameter just a bit smaller...small enough that it will hammer out easily.
Then, simply place the bushing on a vice and one or two strikes should be all it takes.
Last edited by BladeAZ; 09-18-2009 at 01:10 AM.
Member
Good thinking, probably will save people some $$$
3.73 | TCK S/A w/ H&R Sport | M50 manifold | IE Subframe Bushings, RSM, & SS brake lines | Shark Injector | UUC Evo3 SSK & DSSR | Cosmos Strut Brace | ASC, Resonator, CDV Delete
Member
Another tip for removing the OEM LCAB: spray the bushing with CRC "QD Electronic Cleaner" (my MAF wire cleaner), the solvent breaks down the OEM adhesive and it comes off without much pounding and zero heat. I used a 2-jaw 4" gear puller from Horror Freight and got the outside moving. Started spraying both sides of the rubber bushing and tapping inside of bushing with round punch. Once it was halfway the solvent breaks down the remaining adhesive and you can wiggle it off with large hands.
Supporting Vendor
Nice add :-)
Ralph
I just pressed mine out with a small shop press and appropriate sized socket (36mm if I recall)

Member
Ja.....i'm referring to the initial removal from the wishbone control arm on the car.I just pressed mine out with a small shop press and appropriate sized socket (36mm if I recall)
Ralph
Ah, I replaced my control arms too, so I had it all off the car and in a vice, which made it much easier--I think I used brake parts cleaner to clean/loosen everything up.
 Posting Permissions


 Reply With Quote


Bookmarks