
 Member
I was out for a drive when the cruise control didn't go off when I tapped the brakes as I was running up on the rear end of the slower moving car (aren't they all?) in front of me. Yikes! Fumbling with the control stock, I avoided a collision.
I thought, "I can live with that," but then I thought, "Maybe the brake lights are activated by the same circuit, I can't live without those." So I started with the easy stuff. Fuse - ok. Pulled the connector off the brake switch (no easy task. there ain't much room for a 6'2" guy to get under the dash). I shorted the two wires that go to the switch. The brake lights came on, Voila! In the hope it was just a loose connector, I reconnected the connector to the switch and try the brake pedal again - nothing. Ok it's obviously a bad switch. To get the switch out, I had to remove the knee panel under the dash - more calisthenics and contortions. The bolt for the switch bracket hides behind the clutch pedal. Fortunately I could get a ratchet on it, but it was by feel only, no way could I see what I'm doing. Did I mention that in the instructions (Pelican) I found for how to do this they showed an automatic version of the car? Not fair. It took me several minutes looking at the pictures before I figured out why it was so easy to see the head of the bolt that had to come out in the instructions and I couldn't see mine even with a mirror.
So now I had the switch in hand. Just for grins I put an ohm meter on it. Guess what? It works just like its supposed to. No, its not the adjustment, I saw the switch plunger move with the pedal just like it did when I tested it with the ohm meter and my finger moving the plunger.
The new switch arrived and following Pelican's instructions, I tried to press the switch into the bracket. Nothing doing. I clamped the bracket in a vise and was using a piece of wood to press the switch into place when the switch snapped into three pieces. And HERE is the only reason it was worth reading this: Now, with the pieces in my hand I could see that there was a step missing from the instructions. The switch has concentric plungers which activate the switch, on white and one red, the red being larger. The red cylinder has to be pulled out so that the tabs that hold the switch in the bracket can be compressed in enough to allow the switch to be pressed into the bracket. Once installed, the cylinder is pressed back into place locking the switch in the bracket. Some BMW engineer probably got a bonus for that design. Not only does it work great, but they can sell two or more switches for every repair until the mechanic learns the trick.
Member
That sucks.I have changed these in just about every e36 based car I've owned, but I've never destroyed one like you did.
2001 Z3 3.0i -Oxford Green/Sandbeige
2016 428xi -Estoril Blue II/Black
2018 430iC- Estoril Blue II/Black
2018 330it - Melbourne Red/Venetian Beige/Black
Grumpy
BMW CCA Member
Shouldn't this be posted on the Pelican forum? That is the most screwed up DIY I have heard.
/.randy
Is Enabled
BMW Tech Expert
Ya, once you do a few, it becomes much easier. My last one was in the parking lot of the Prater park in Vienna. Took all of about 10 minutes. I'm 6 feet and medium sized and it's possible to do without losing all your dignity.
-Abel
- E36 328is ~210-220whp: Lots of Mods.
- 2000 Z3: Many Mods.
- 2003 VW Jetta TDI Manual 47-50mpg
- 1999 S52 Estoril M Coupe
- 2014 328d Wagon, self-tuned, 270hp/430ft-lbs
- 2019 M2 Competition, self-tuned, 504whp
- 2016 Mini Cooper S
Ralph
Ok, now try replacing the clutch pedal bushings...
Is Enabled
BMW Tech Expert
I've been storing the UUC bushings for 2 years for all the cars, just because I don't look forward to it. Very true.
-Abel
- E36 328is ~210-220whp: Lots of Mods.
- 2000 Z3: Many Mods.
- 2003 VW Jetta TDI Manual 47-50mpg
- 1999 S52 Estoril M Coupe
- 2014 328d Wagon, self-tuned, 270hp/430ft-lbs
- 2019 M2 Competition, self-tuned, 504whp
- 2016 Mini Cooper S
Grumpy
BMW CCA Member
For me, it was 5 minutes in the Wendys parkinig lot.
Tools required. A screwdriver. Maybe
Remove lower panel. Not the knee bolster. Two 1/4 turn clips that may require a screwdriver. Or a quarter.
Start engine
With one hand push the brakes on and hold
with other hand, slide switch barrel forward. The last click is stubborn sometimes.
Switch will now fall out. Unplug and remove.
Plug in new switch.
Push on brake and hold
Insert new switch into bracket (make sure barrel is fully out)
Hold switch in place while releasing brake pedal
Test brake lights.
reinstall cover.
Clutch bushings are almost as easy. Step one is to ignore the bogus DIYs out there.
Last edited by rf900rkw; 03-04-2015 at 09:01 AM.
/.randy
Member
hmm... good stuff to know regarding the CC circuit/brake light connection..
and not to derail this, but perhaps RF900rkw might post a lil 'almost as easy' DIY on the clutch bushing?? i'm sure i'm not alone in perceiving this as a pretty daunting undertaking... but i'm simple and need all the help i can get.
Member
I very much like the approach, ie, making a virtue of a necessity, ie, instead of the brake pedal being a problem, it becomes part of the solution :-)Originally Posted by rf900rkw

And care to share an equally succinct DIY for the bushing, having hinted at it?
DO IT YOURSELF.
I've done the clutch pedal bushing job twice now. It's not that bad.
Not fun, but not that bad.
Grumpy
BMW CCA Member
The switch is self-adjusting. That is the barrel's job. You have to get enough clearance to let the plunger and barrel full extend. Either removing the switch bracket (not hard either, but requires tools), or depressing the pedal. having the engine running gives vacuum boost to help.
Pedal bushings have been described in several other threads. I don't do illustrated DIYs; I don't own a camera.
/.randy
Member
I wish I had these instructions when I started.
But I want to know, Randy, how long are your arms? If the knee bolster is still in place, when I get my head where I can see the switch, my hand is 4 or 5 inches above the switch and my elbow is crammed against the floorboards or footrest. There is no way I can do anything to that switch, much less get another hand in there to move the brake pedal.
Coupeless Racer
The trick to working under the dash is to jack the car up as high as you can, or put it on high ramps, or preferably, a lift. Even without the lift but on ramps, you can sit next to the car and see and reach things a whole lot easier than you can when it's on the ground.
I like the unicorns.
'99 Z3 Coupe - Jet Black/Black (1-of-114)
'99 M Coupe - Estoril Blue/Black (1-of-82)
'03 540iT - Sterling Gray/Black (1-of-24)
'16 Z4 sDrive35i - Estoril Blue/Walnut (1-of-8)
Member
I have a similar variation, ie, if you can't raise the bridge, then lower the water: I build a platform that extends from the door sill outward away from the car, and exactly at the same level as the sill, upon which I can lie and slide in and out of that space under the steering wheel and in front of the seat.. don't have the luxury of sitting like Josh mentions, but can lay comfortably and work upward under the dash all the same [platform is a slab of 3/4" ply 5ft x 2+ft, sanded and varnished, ie, smooth and easy to slide on, and resting on some large diameter pine rounds plus or minus a couple pieces of 2x4 to get the height just right]... also since it's in the way, don't have the problem of the door trying to close on ya at the wrong time (is there a good time??).... has the downside that one has to be careful to not drop tools etc in one's face or eyes [lighted face shield is useful this way - provides handsfree light upward, and protects face, though in the winter can fog up easily].
Last edited by gmushial; 03-05-2015 at 02:49 PM.
DO IT YOURSELF.
I never considered either of those options. That would have been so nice when I was fighting my evaporator a few years ago.
Member
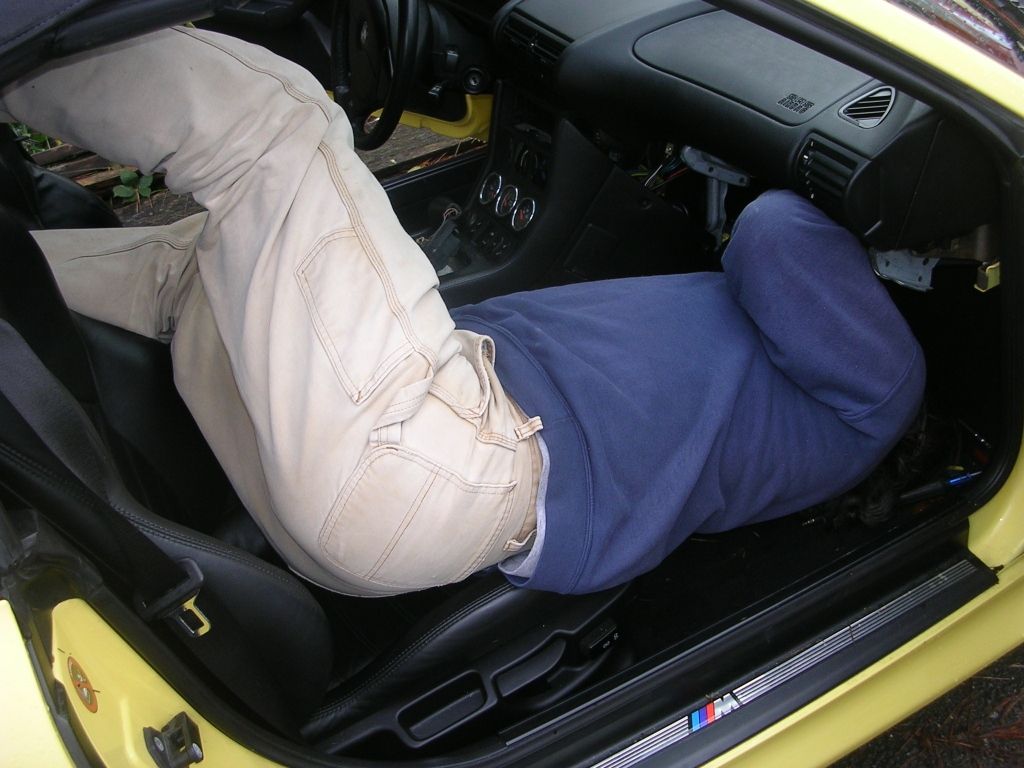
I avoided doing the heater repair to stay out of this:
But after a buncha yoga lessons it wasn't so bad. Actually more comfortable than underdash work in the VW Kombi.
Call me Mel. Some years ago- never mind how long precisely- having little or no money in my purse, and nothing particular to interest me at home, I thought I would motor about a little and see the other parts of the world. It is a way I have of driving off the spleen and regulating the circulation.
Ralph
The last time I had to go under-dash I happened to have the seats out. MUCH easier. I don't know that I would necessarily pull a seat to do it again (although it's only five bolts and some plugs), but if you happen to have the seats coming out anyway, plan all your under-dash stuff to do at the same time.
 Sim Simma
Moderator
Sim Simma
Moderator
As Ralph touches on, to me it is just easier to yank the seats out to do this kind of work. I can get the seats out in just a few minutes, and I'll save easily that much time over the course of any sort of major under-dash job to justify taking them out. And its a good opportunity to vacuum/clean underneath em.
Going into my TENTH YEAR of providing high quality reproduction BMW fabrics!
PRICE CUT on ALL FABRICS
Offering the best prices on the best quality reproduction fabrics!
Member
So true... there one gets to work at arms length overhead, and it doesn't take long before the arms get simply tired.
Member
I'm waiting for the replacement switch, and I have a side impact sensor that needs to be inspected. The driver's seat is coming out this weekend -- two birds with one stone (almost). BTW, IMHO replacing a brake switch shouldn't be a "major" under-dash job.
 Posting Permissions


 Reply With Quote


Bookmarks